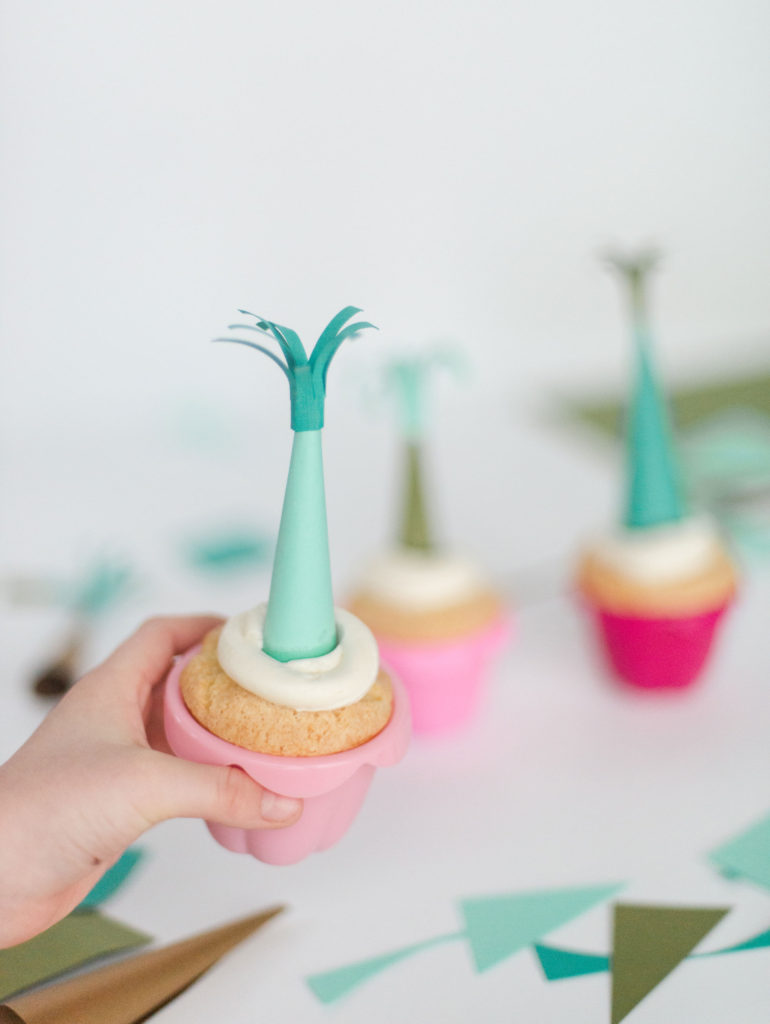
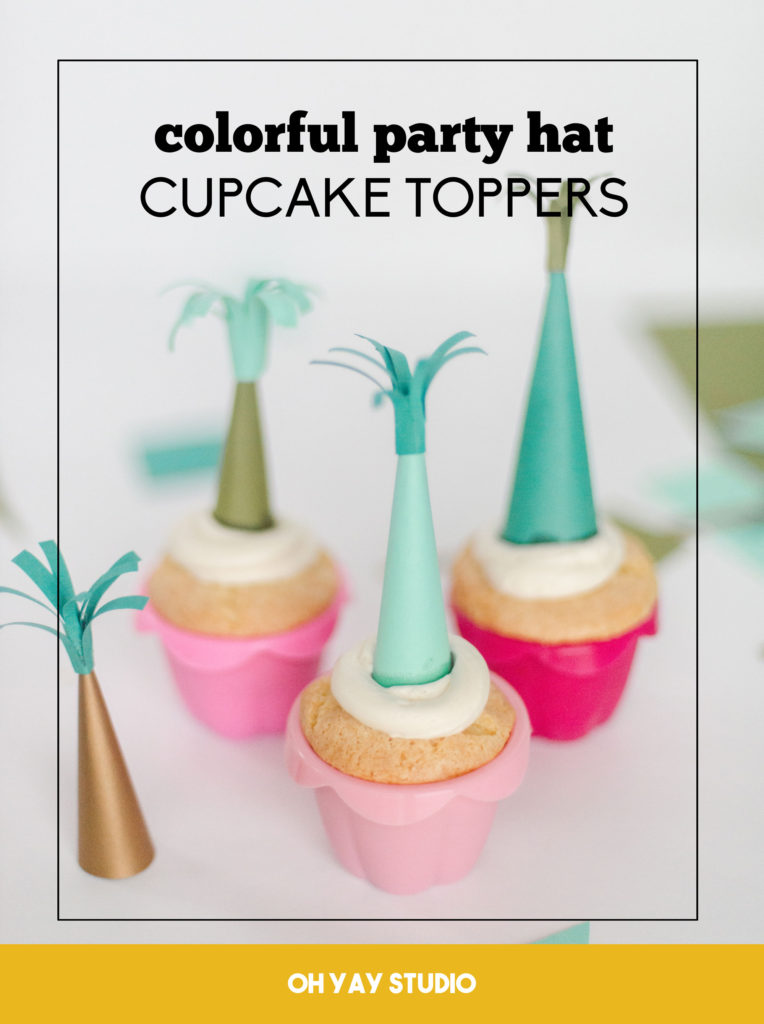
How to make party hat cupcake toppers, an easy 10 minute craft!
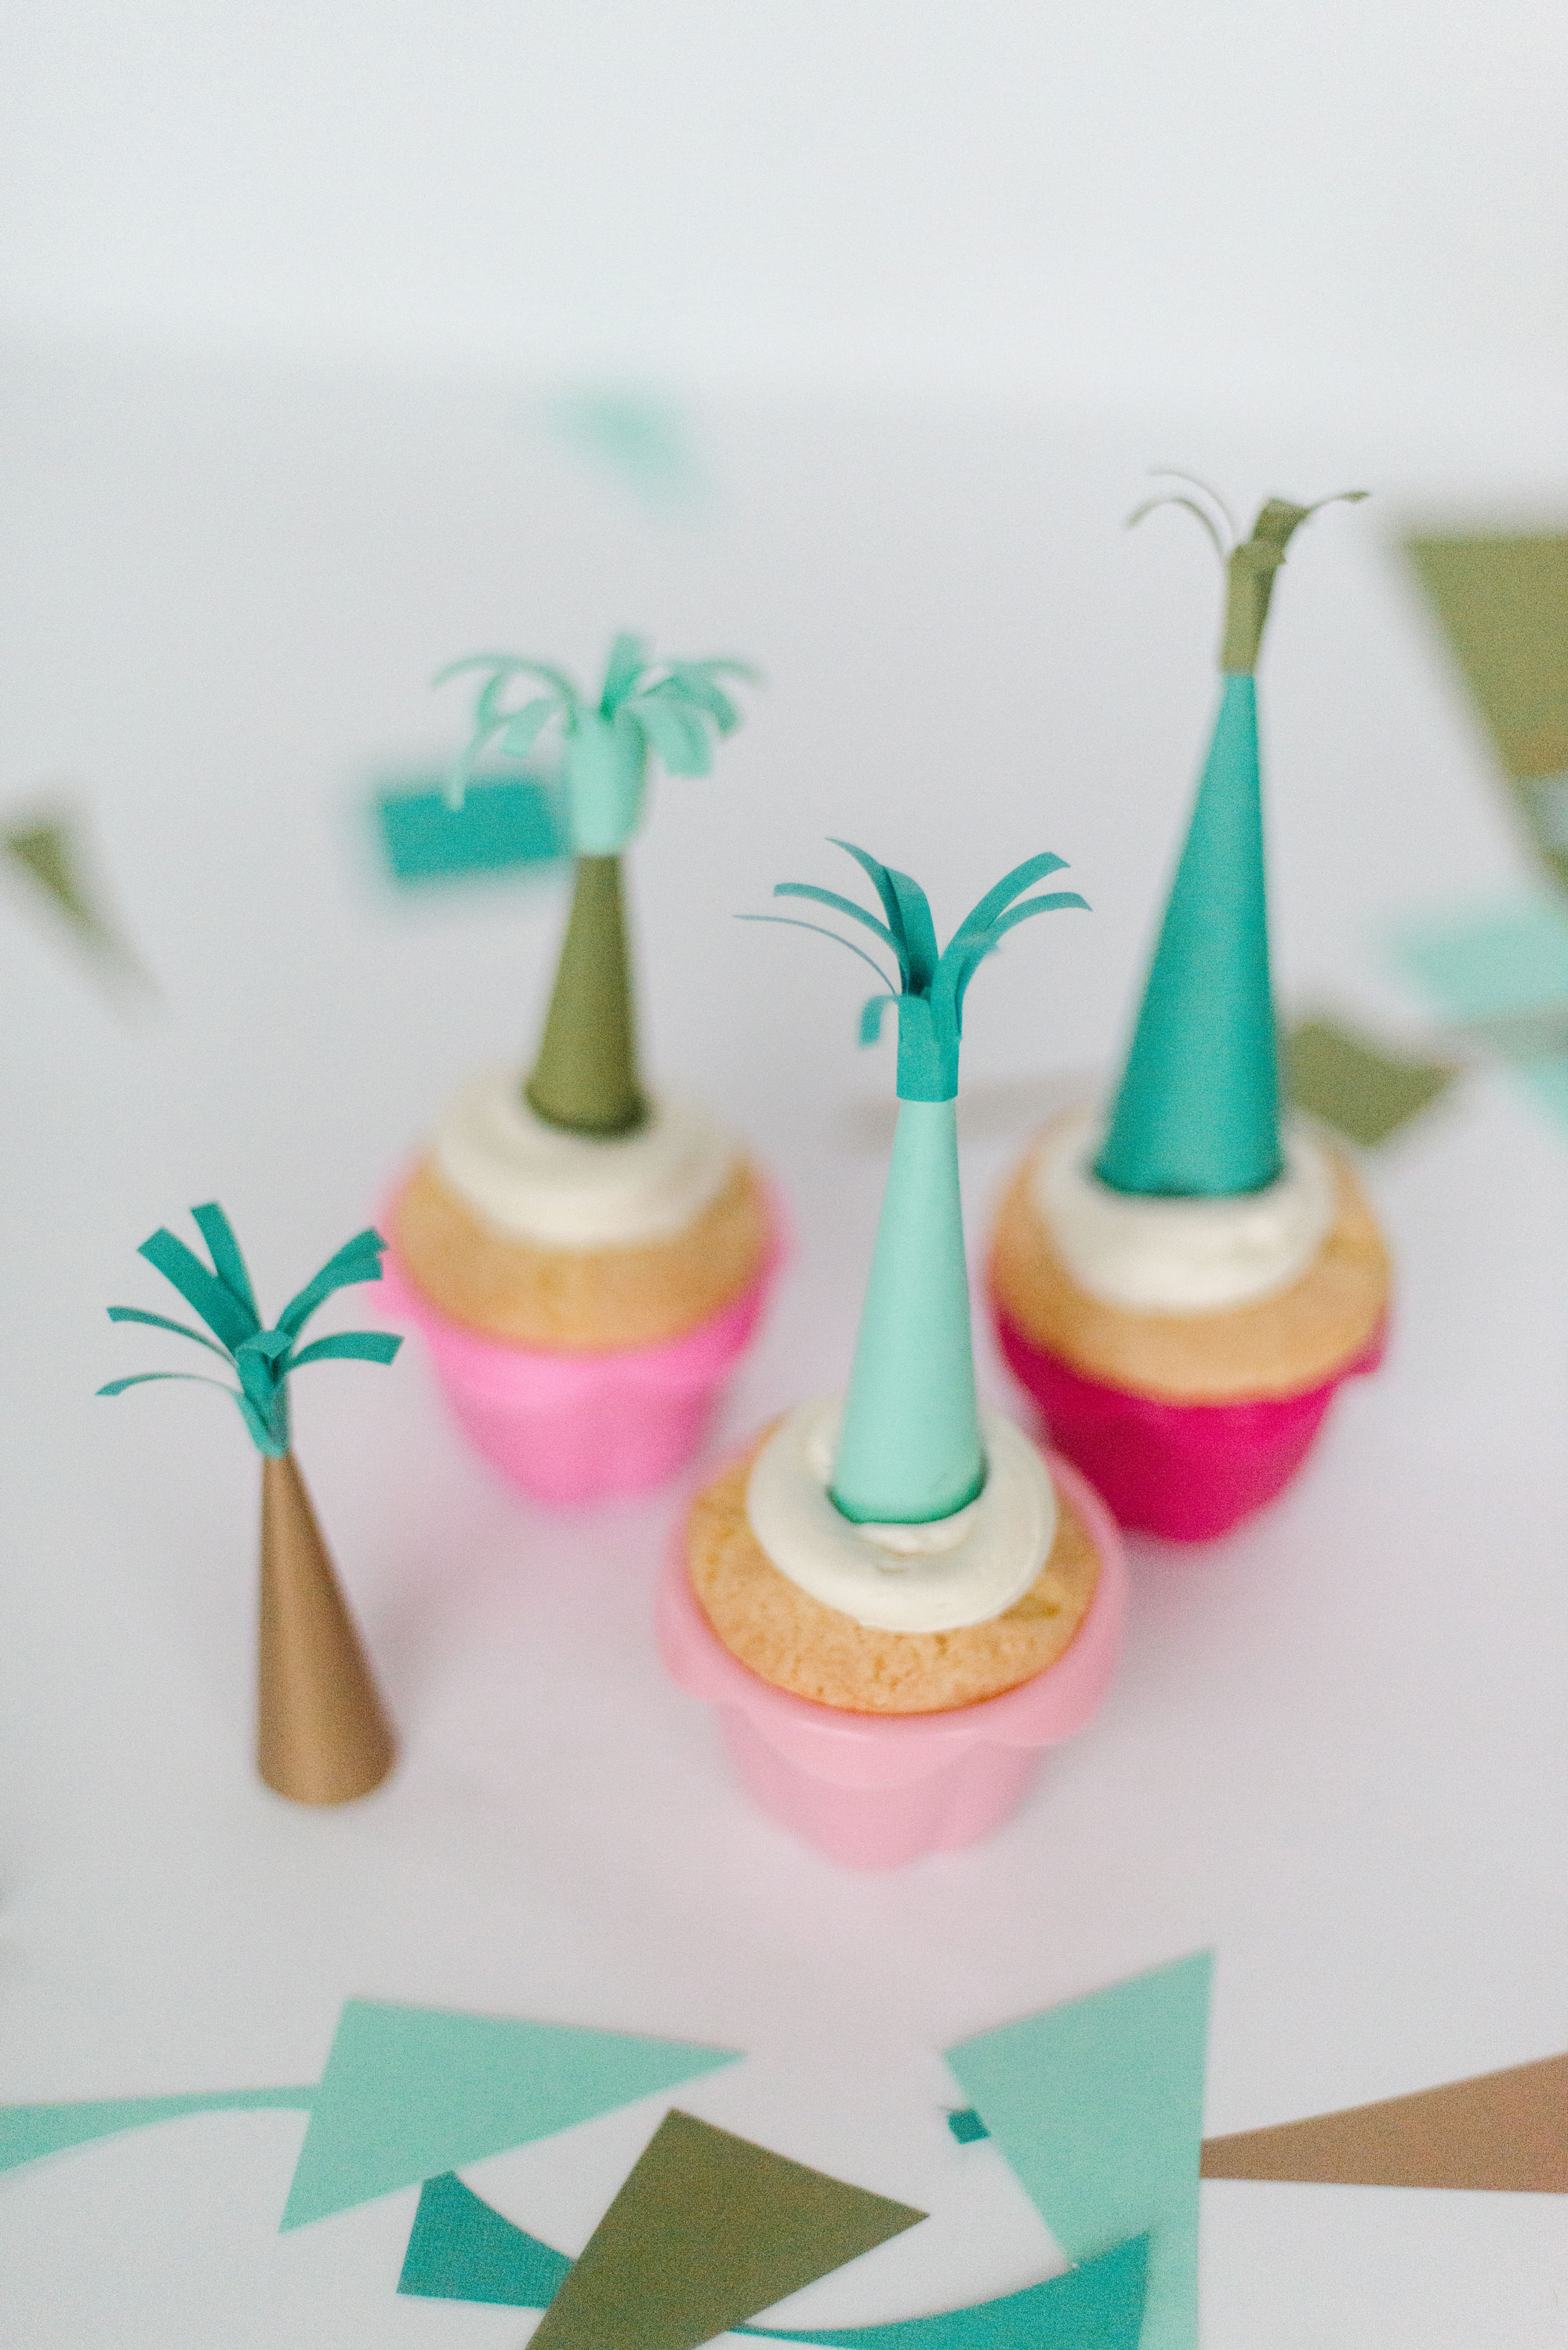
You have a party planned OR you just want to celebrate something worth celebrating that happened in your week (your kiddos first soccer goal or no cavities at the dentist, ya know, the things that I LOVE to bring attention to and celebrate)! BUUUUUT you don’t have loads of time to make the most pinterest-worthy cupcake topper or decoration. Wellllllllllll let me tell you that I have the *easiest* and potentially most colorful party hat cupcake toppers that you can whip out with only a few supplies and 10 minutes of your time (while the cupcakes are baking in the oven)! 🙂 And today I am sharing a little video tutorial AND all the step by steps…..I hope you LOVE THEMMMMM! 🙂
You can make these party hat toppers in ANYYYYY color combo, texture, or size that you want. They can be itty-bitty for a baby shower or HUGE for a giant milestone….or they can just be made from leftover scrap paper that you have lying around! Really, the sky is the limit with these little ditties.
Materials:
- Paper – in various colors. And really any thickness will work, although not TOO thick so that you can roll easy
- scissors
- a hot glue gun (you can use regular Elmer’s glue, but you may lengthen the time of the project because you’d have to hold the hats closed and allow to dry)
- Cupcakes with a good dollop of frosting! 🙂
Instructions:
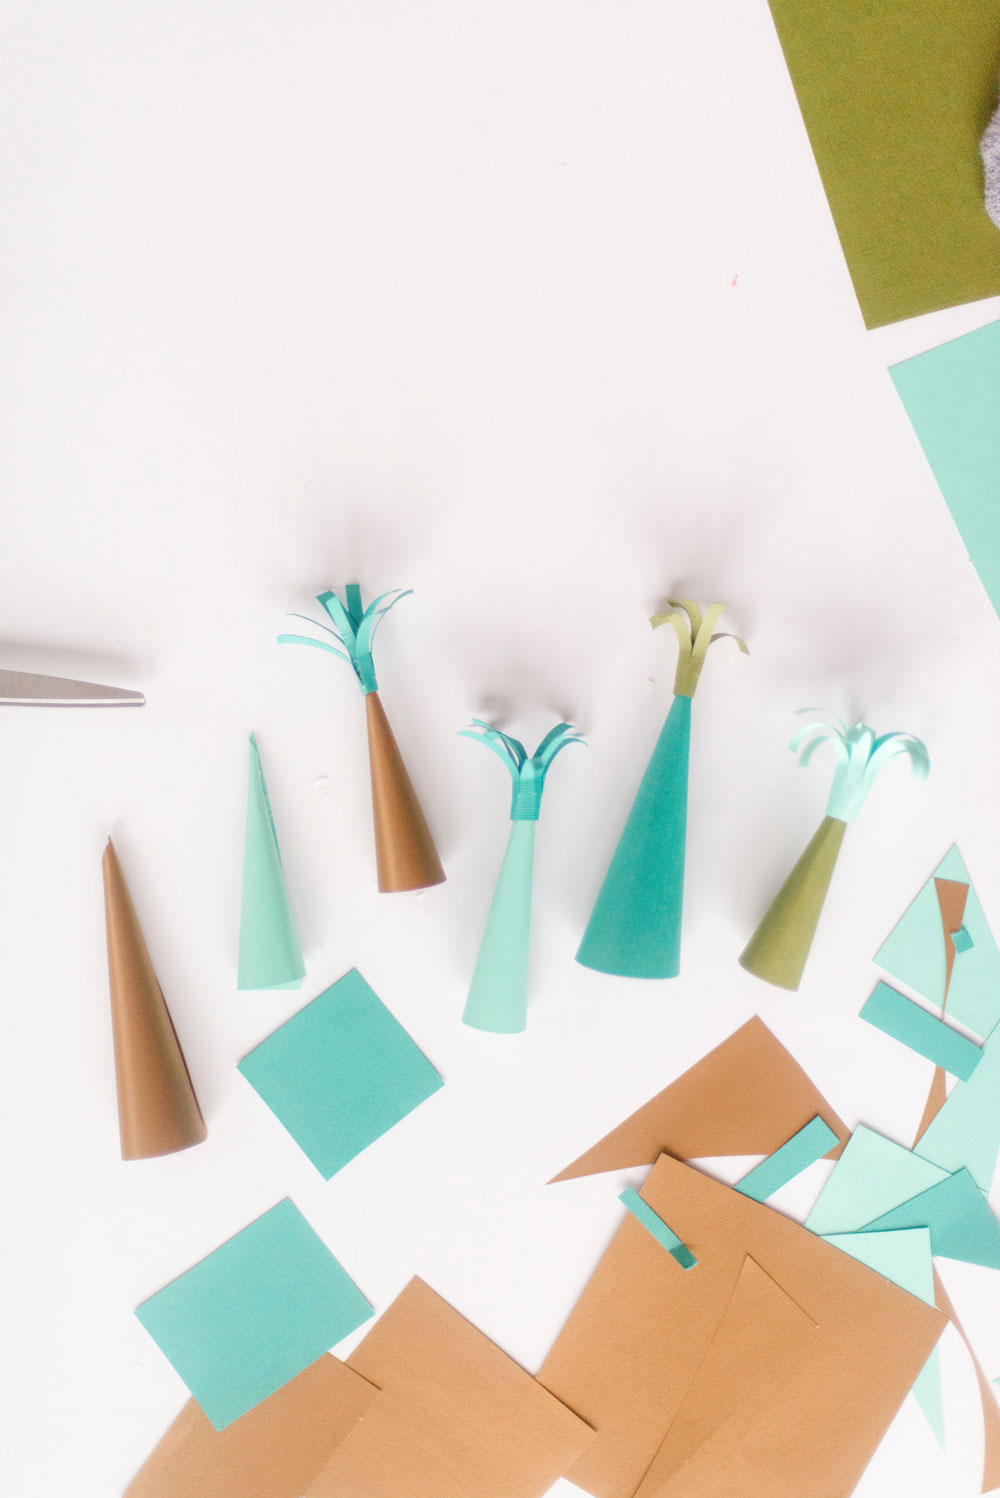
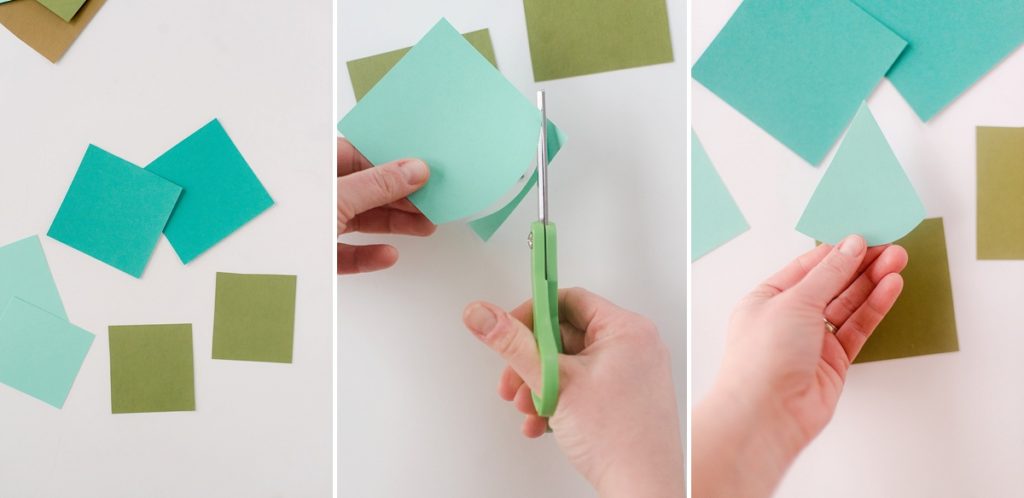
- Cut your pieces of paper into squares based on how tall you want the toppers. Ie, if you want a hat that is about 3 inches tall, cut the paper into a 3×3 square. Round out the bottom of one side of the square, starting and ending about 1/2″ – 1″ up on each side. Then from the rounded sides, cut up each side towards the center of the top square edge to make a triangle. You will be left with a rounded bottom triangle (and trust me, this shape DOES NOT have to be perfect)
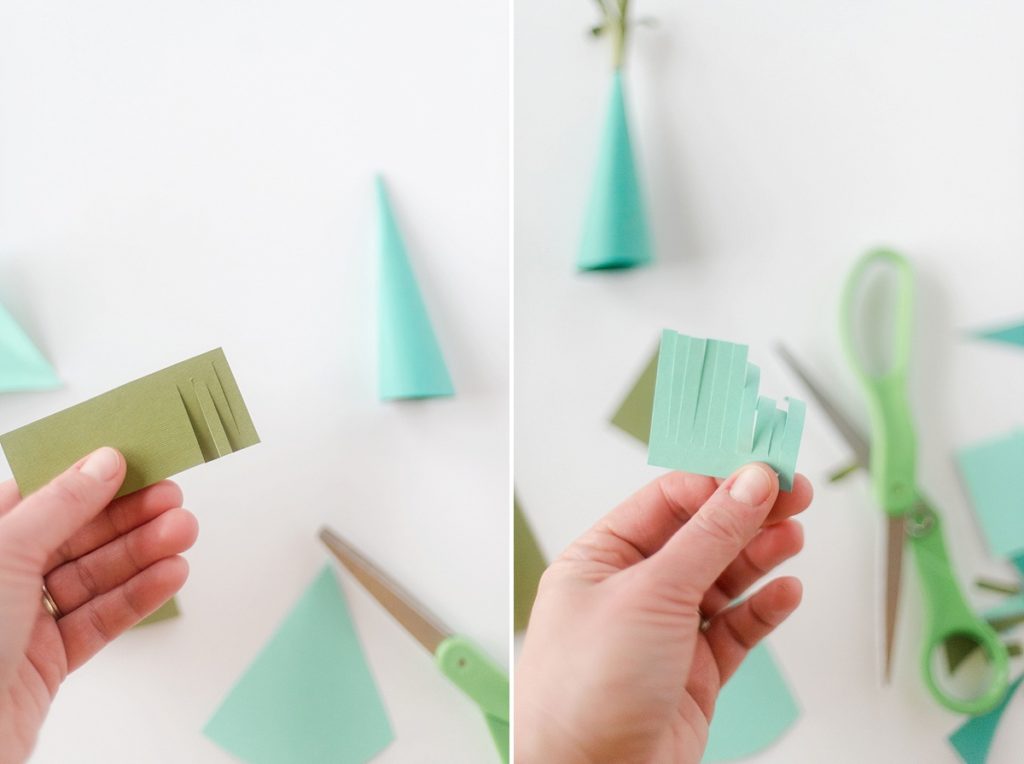
2. Cut strips of paper in various 1″-2″ widths (these will become the top tassels so you don’t need loads of strips). Then cut these strips into 3-3 1/2″ chunks. Fringe the long edges of these chunks for the tassels. Open up a scissors and carefully run each fringe between your finger and the sharp inside edge of the scissors, working from inside to outside, to curl the fringes (PLEASSSSE be careful not to cut yourself if you have sharp scissors)!
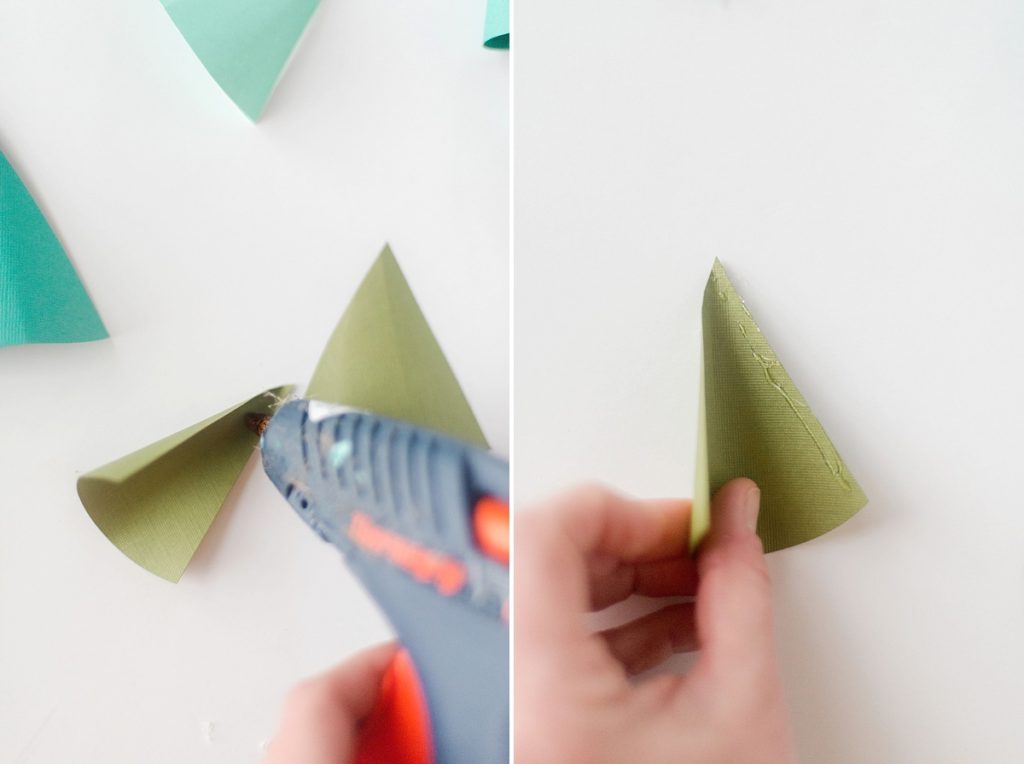
3. With your hot glue, run a bead of glue along one side of the triangle on the hat. Then roll the triangle into a hat shape and glue together. In a tight circle, roll up the fringed piece (in step 2) and then open up slightly and run a small (very small) bead of hot glue along the rolled fringe to stick it together and then adhere to the top of the party hat.
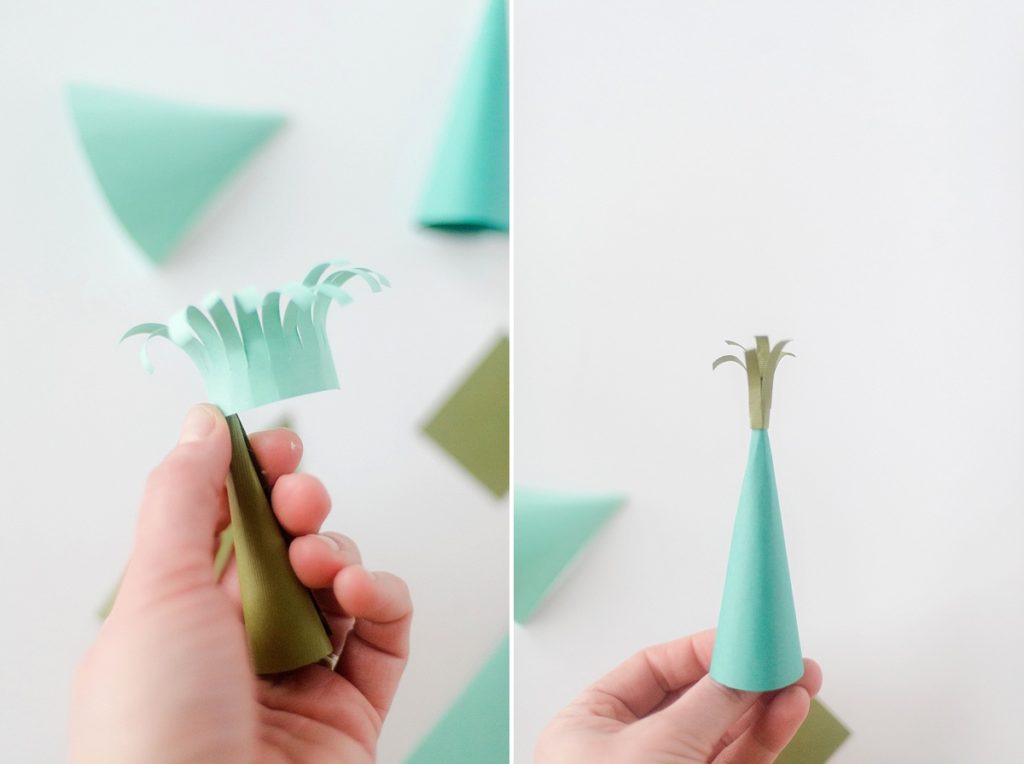
4. Repeat steps 1 through 3 until ALL of your party hats are made. Display them on your yummy cupcakes and share with the world!!! 🙂
