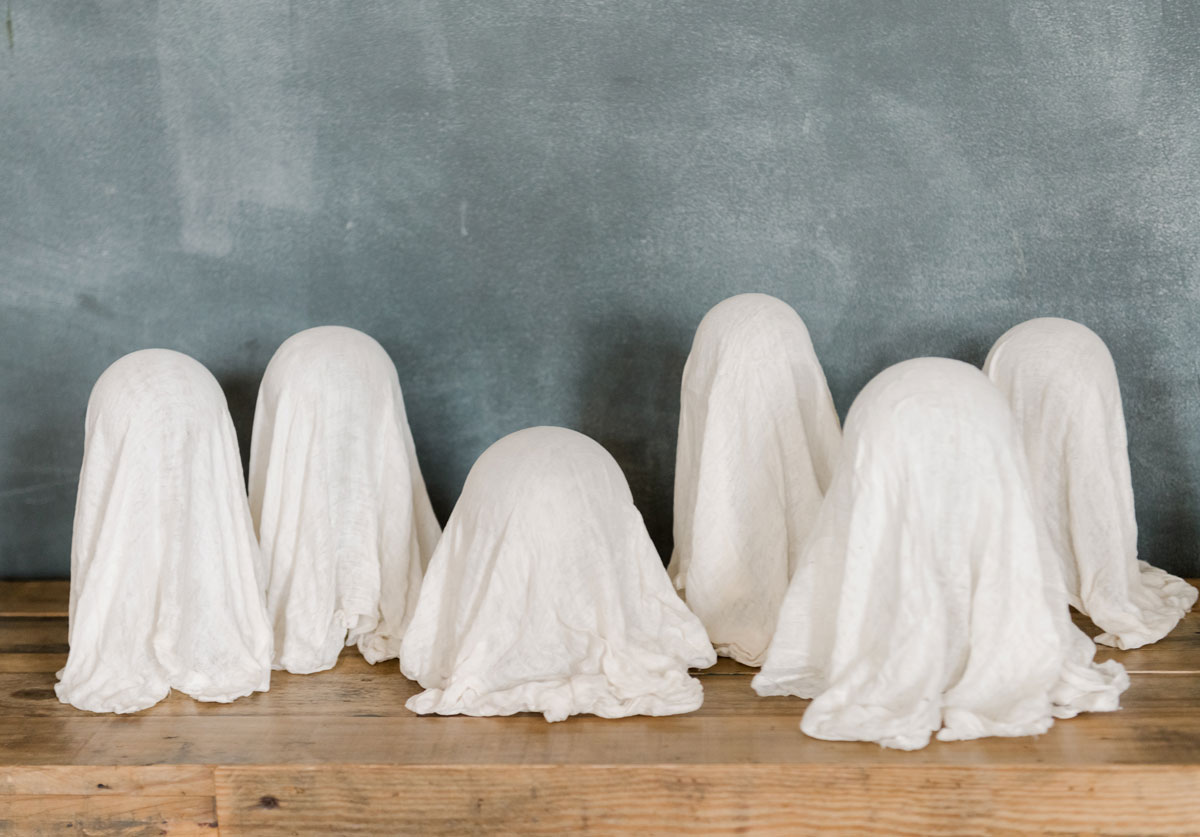
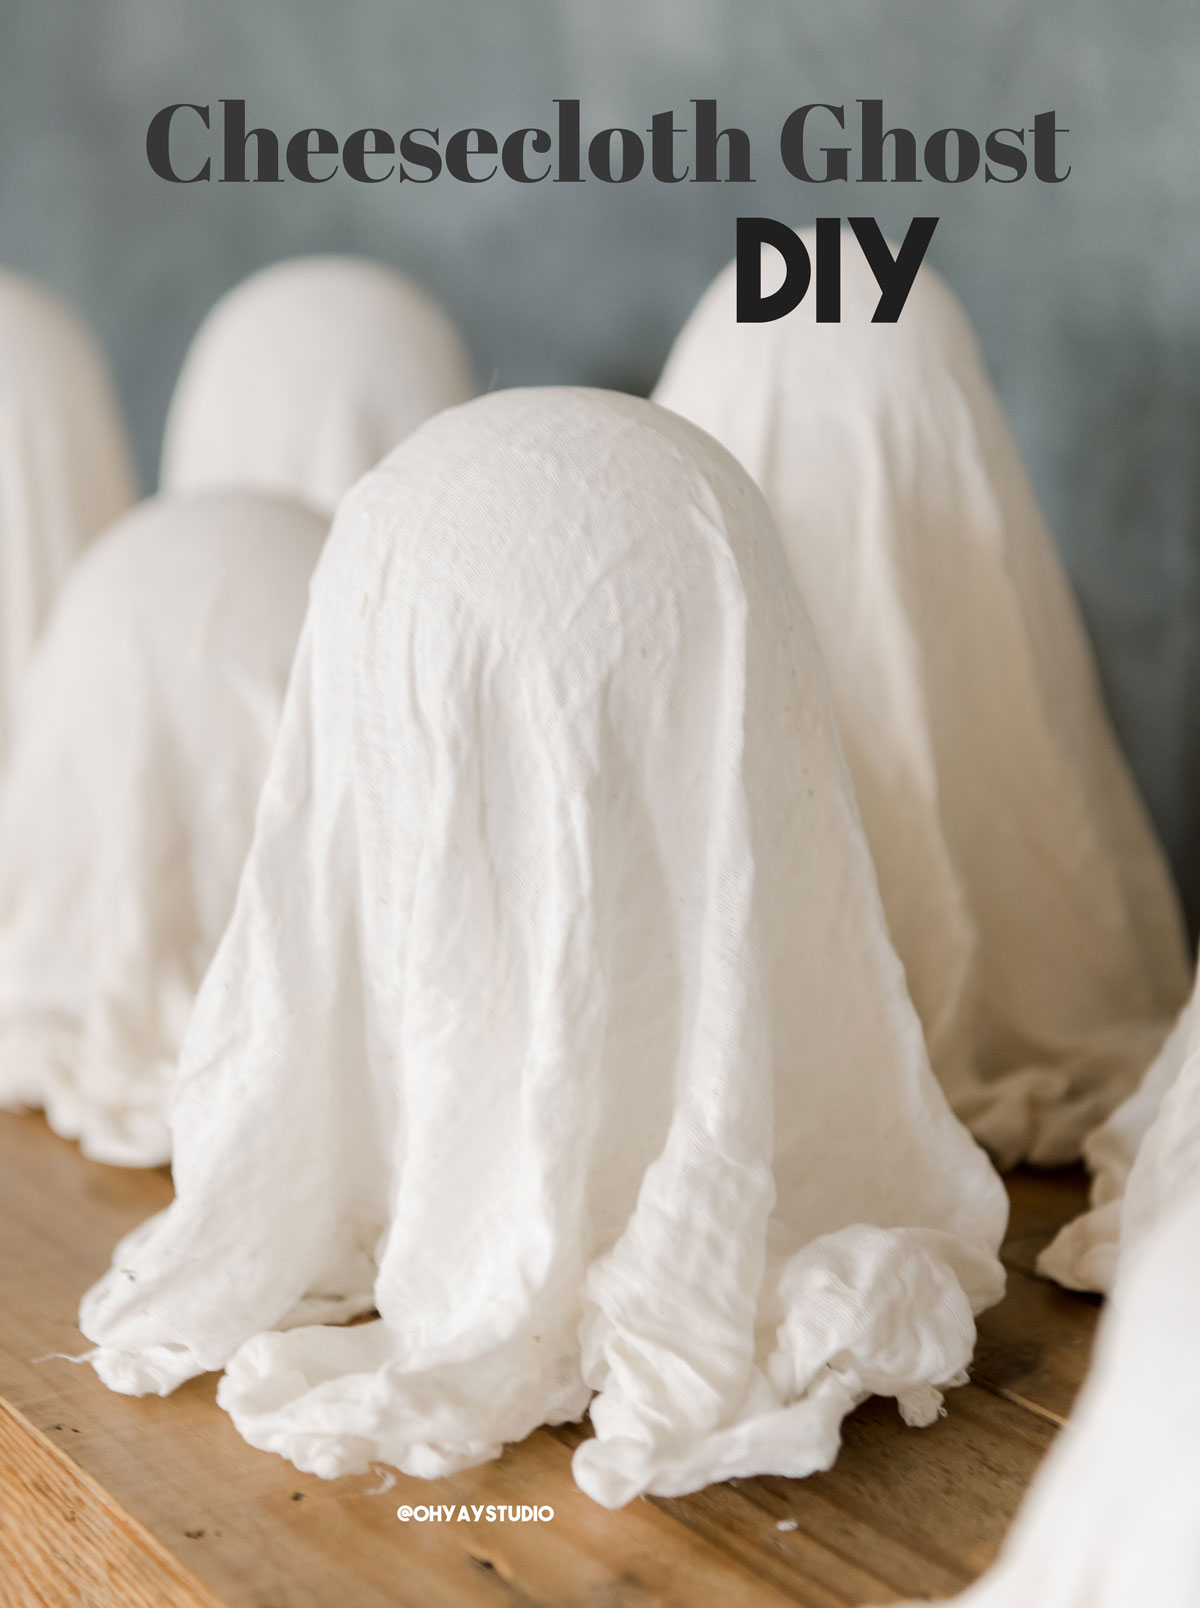
How to make cheesecloth ghosts!
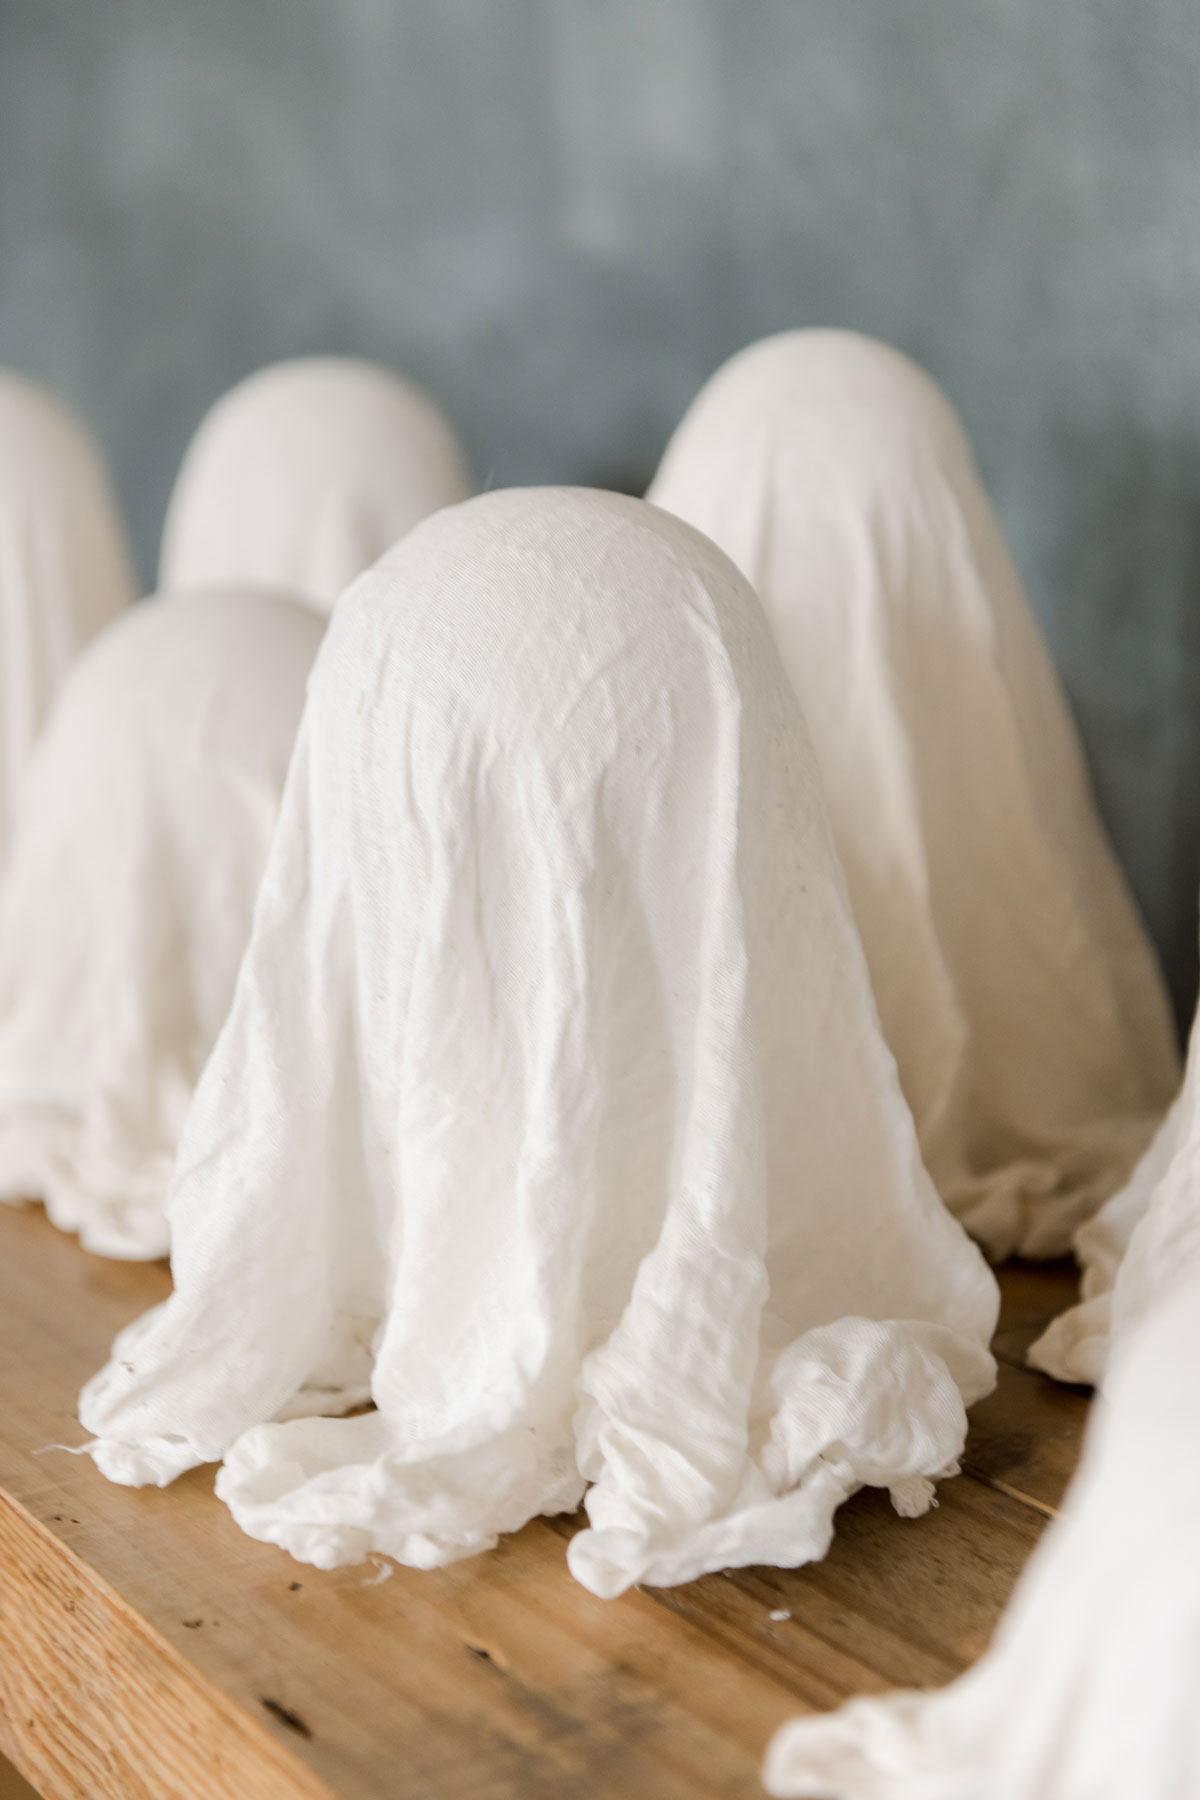
I AM SOOOOOOO EXCITED ABOUT THESE! Like so excited!
I used to make these cheesecloth ghosts as a kid and just LOVED coming up with expressions for their faces and hang them inside the house and outside in trees! 🙂 Honestly, with a few simple materials (that you likely already have lying around the house) you can make yourself a gaggle of cheesecloth ghosts to make your home Halloweeny festive! 🙂
This falls under the “SUPPPPER” simple category of making (and honestly get the kid involved….they will love this) BUT fair warning, that this isn’t a last min project….simplllyyyyyy because you have to let the ghosts dry for quite a bit of time (I think we left ours for like 3 days)! But the “Illusion” of making a floating ghost is actually sort of mind-blowing and SOOOO creative!
MATERIALS:
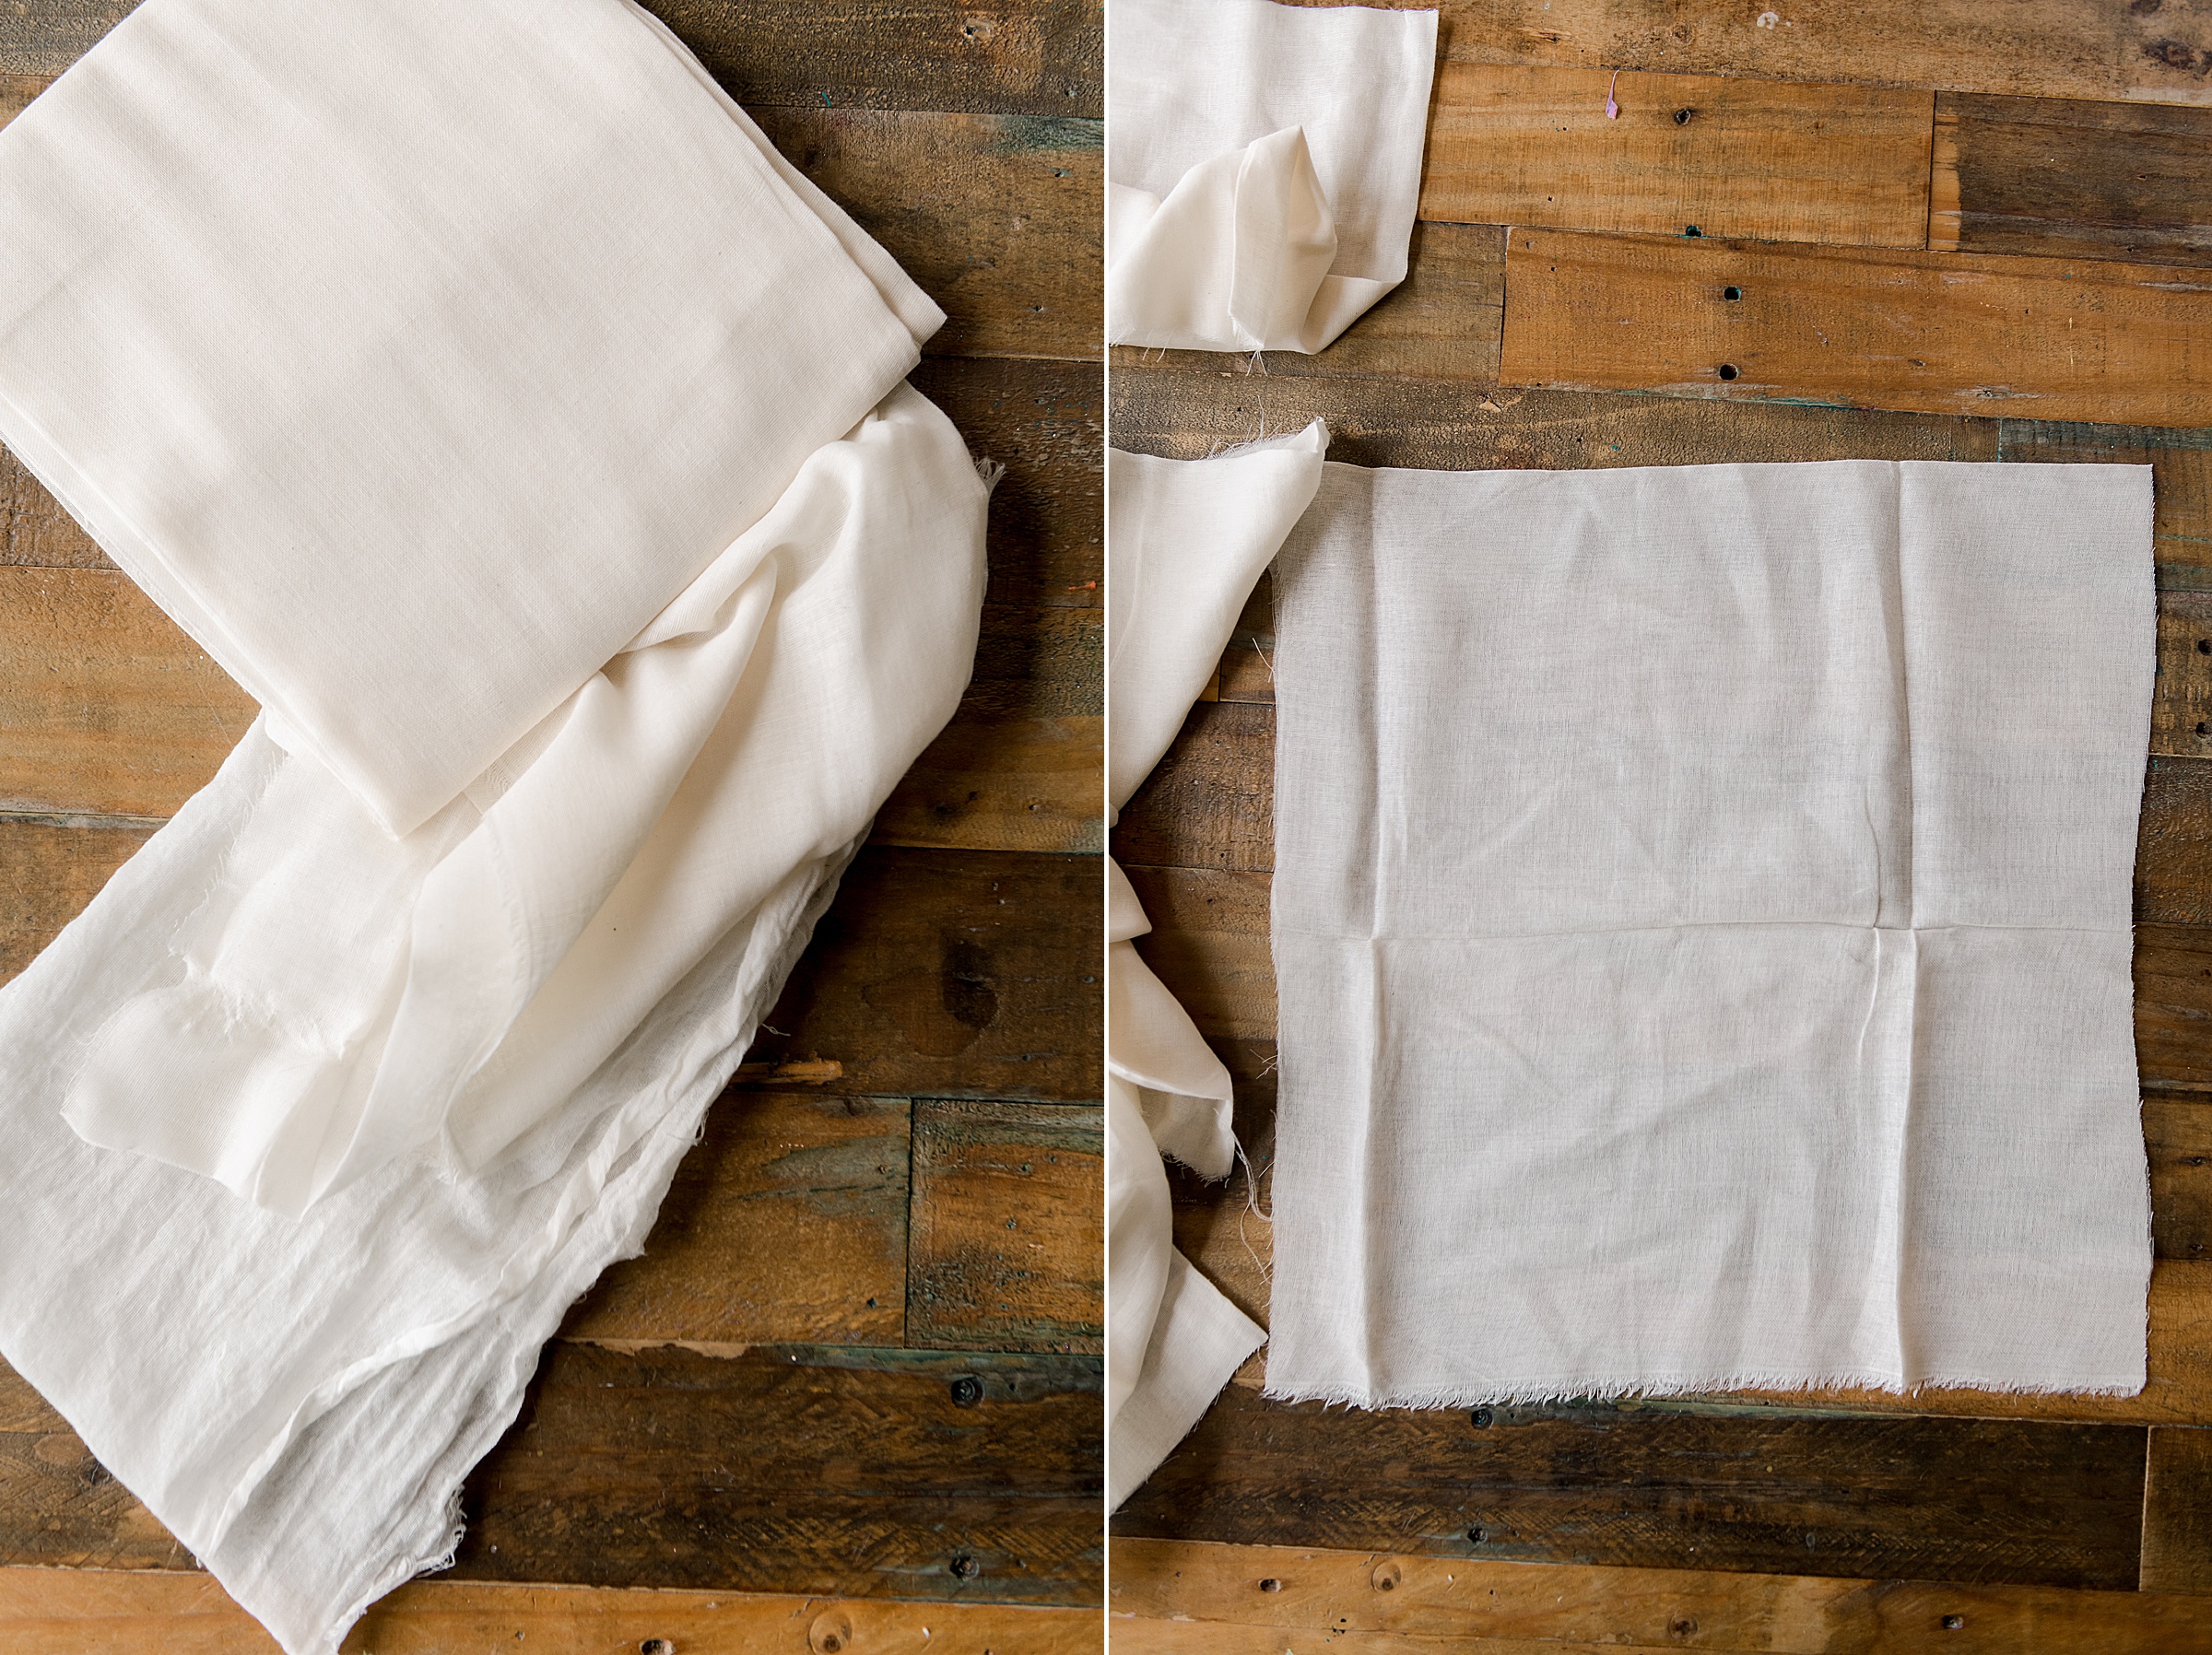
- A package of Cheesecloth – honestly, any will do….the tighter the weave, the better (they go by “grades” if you are actually making cheese)
- Scissors
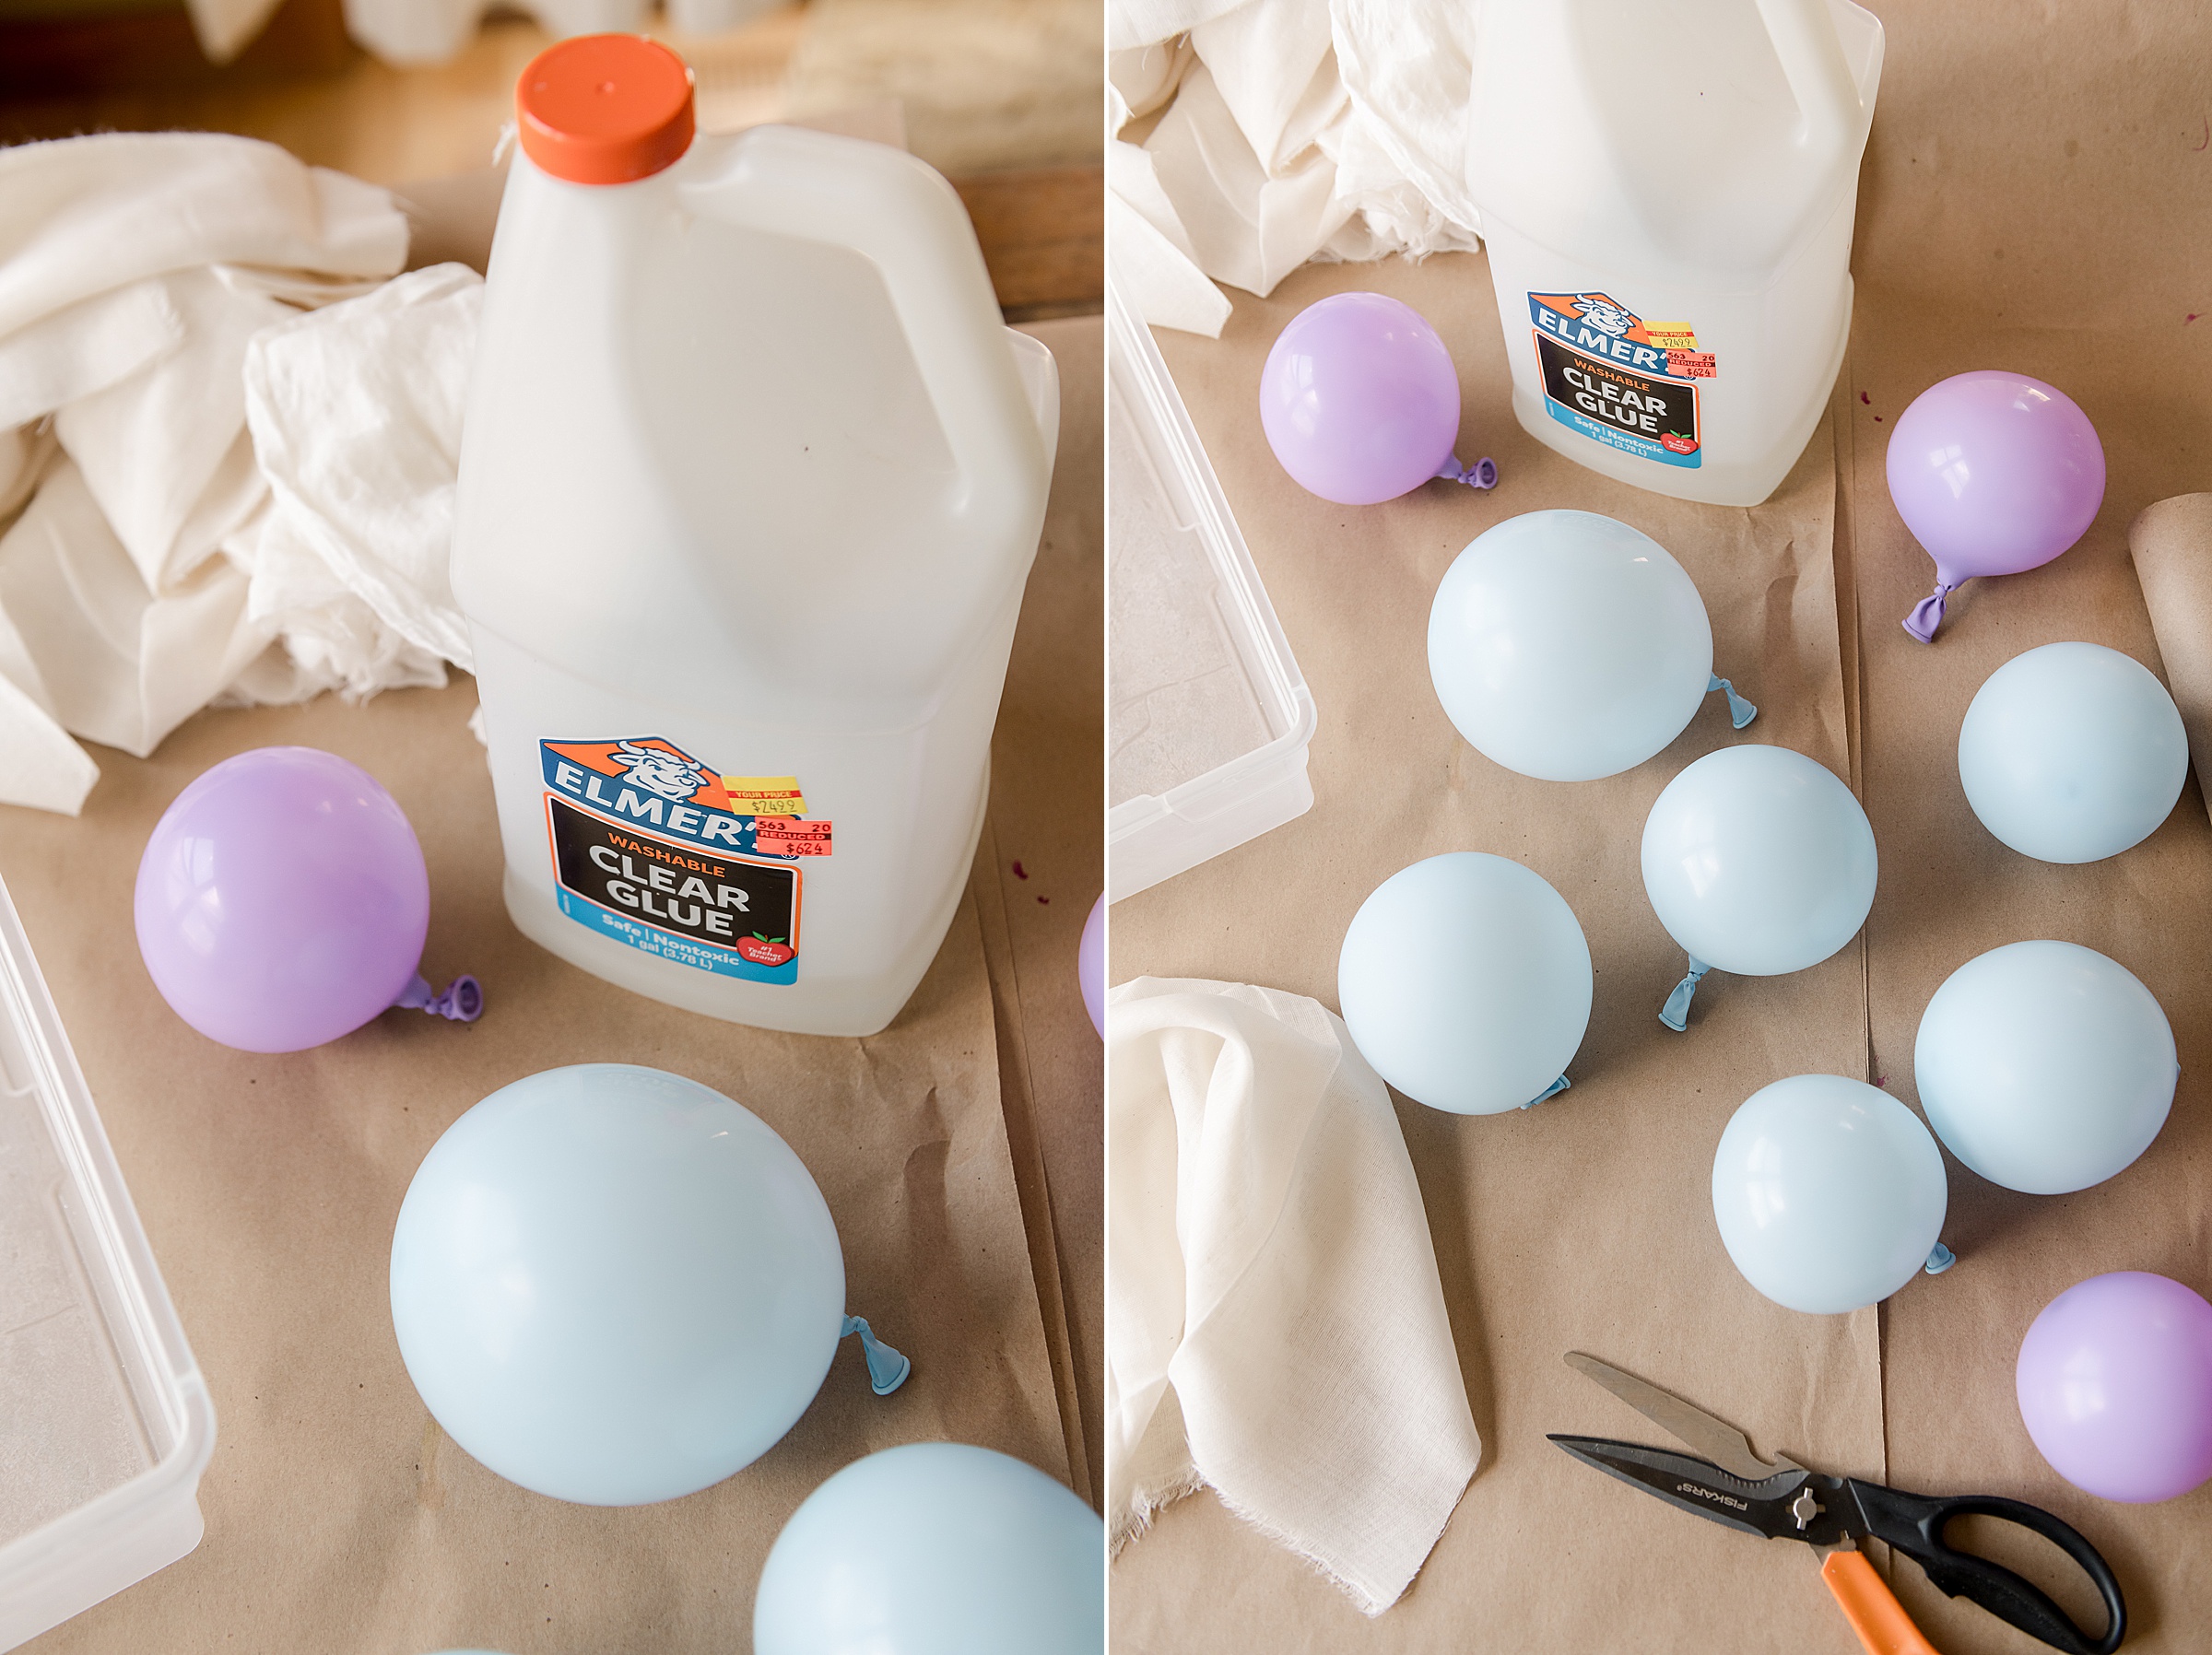
- Some glue – any kind of PVA glue (school glue, Aleene’s tacky glue…whatever you have on hand that can mix with water)
- Some small balloons
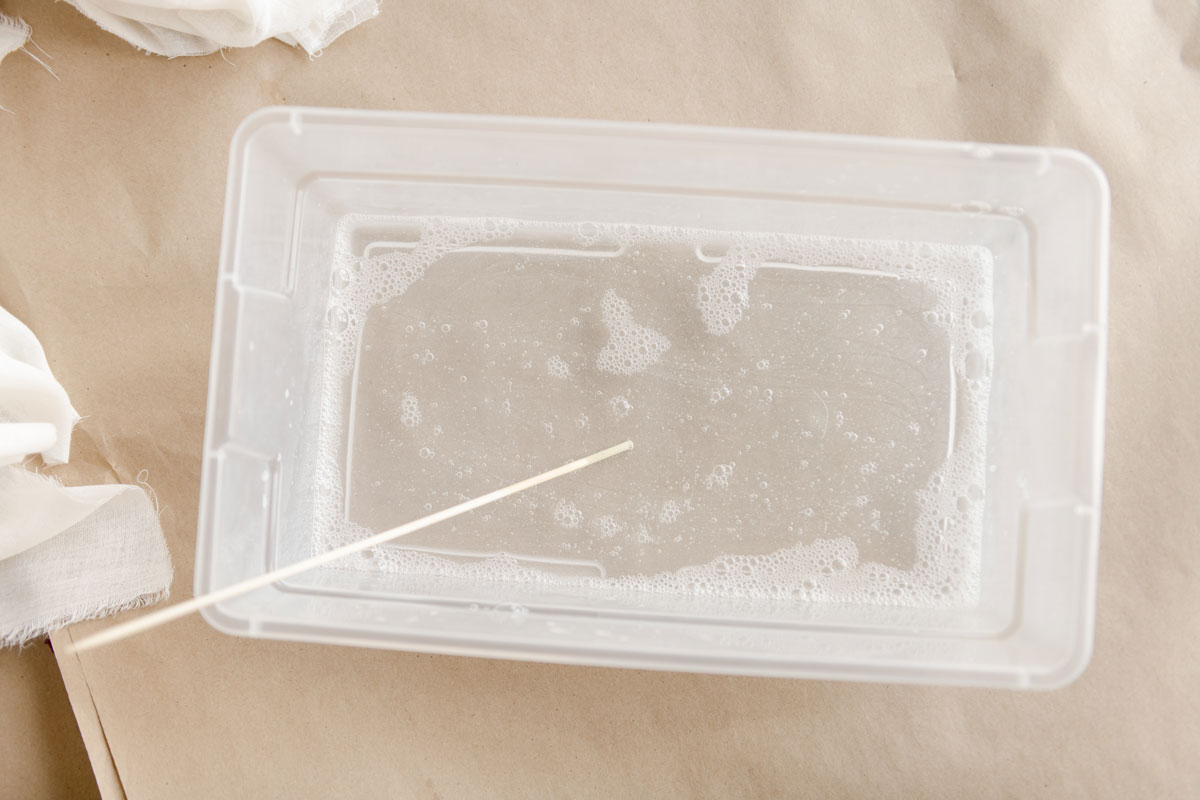
- A tub or bucket to mix in
- A stick or skewer to mix the glue and water with
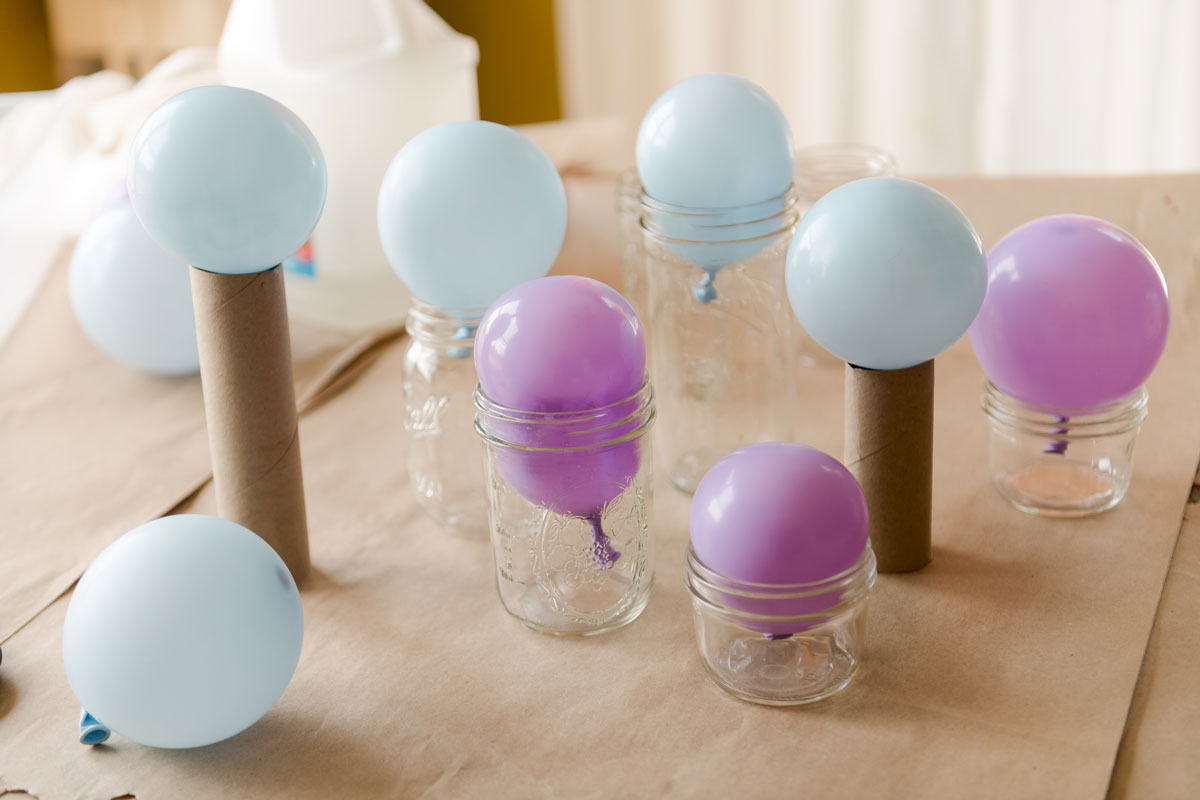
- Some small balloons, paper towels rolls, jars, anything creative to make your forms – honestly, check the recycling for this part 🙂
- A plastic cloth or something to protect your work surface + allow the ghosts to dry
- optional black felt, scissors and glue to make faces 🙂
INSTRUCTIONS:
1. Begin by prepping your work surface and making your ghost forms. You will want to blow your balloons up (small….like the size of an orange) and begin placing them onto your paper towel rolls, jars or anything that you’ve collected to make your forms. Start to imagine what the ghosts will look like clustered together…..I wanted various sizes and shapes so I just started by blowing up the balloons and placing them onto the jar to see what fit best.
2. When your forms are ready, you can start to see how big you need your cheesecloth pieces. Most of mine were about 14” x 14” with some being slightly smaller and some slightly bigger……again, I wanted variety in my sizes! 🙂
To cut the cheesecloth, I simply rolled it out and cut into wide strips and then cut the strips in 1/2….this gave me TWO PIECES OF CHEESECLOTH PER GHOST! 🙂 I wanted to be sure the ghosts were “sturdy” enough, so the doubling of the cloth was the ticket 🙂
3. Once you’re done cutting your pieces and your forms are done, now it’s time to mix up your glue! Your glue to water ratio will be 2 parts glue to just under 1 part water. I started with 2 cups glue and just over 3/4 cup water. You want to water the glue down but not too much because you still want the glue to be nice and thick.
Stir the glue and water mixture super well and so that you end up with some watered down glue! 🙂
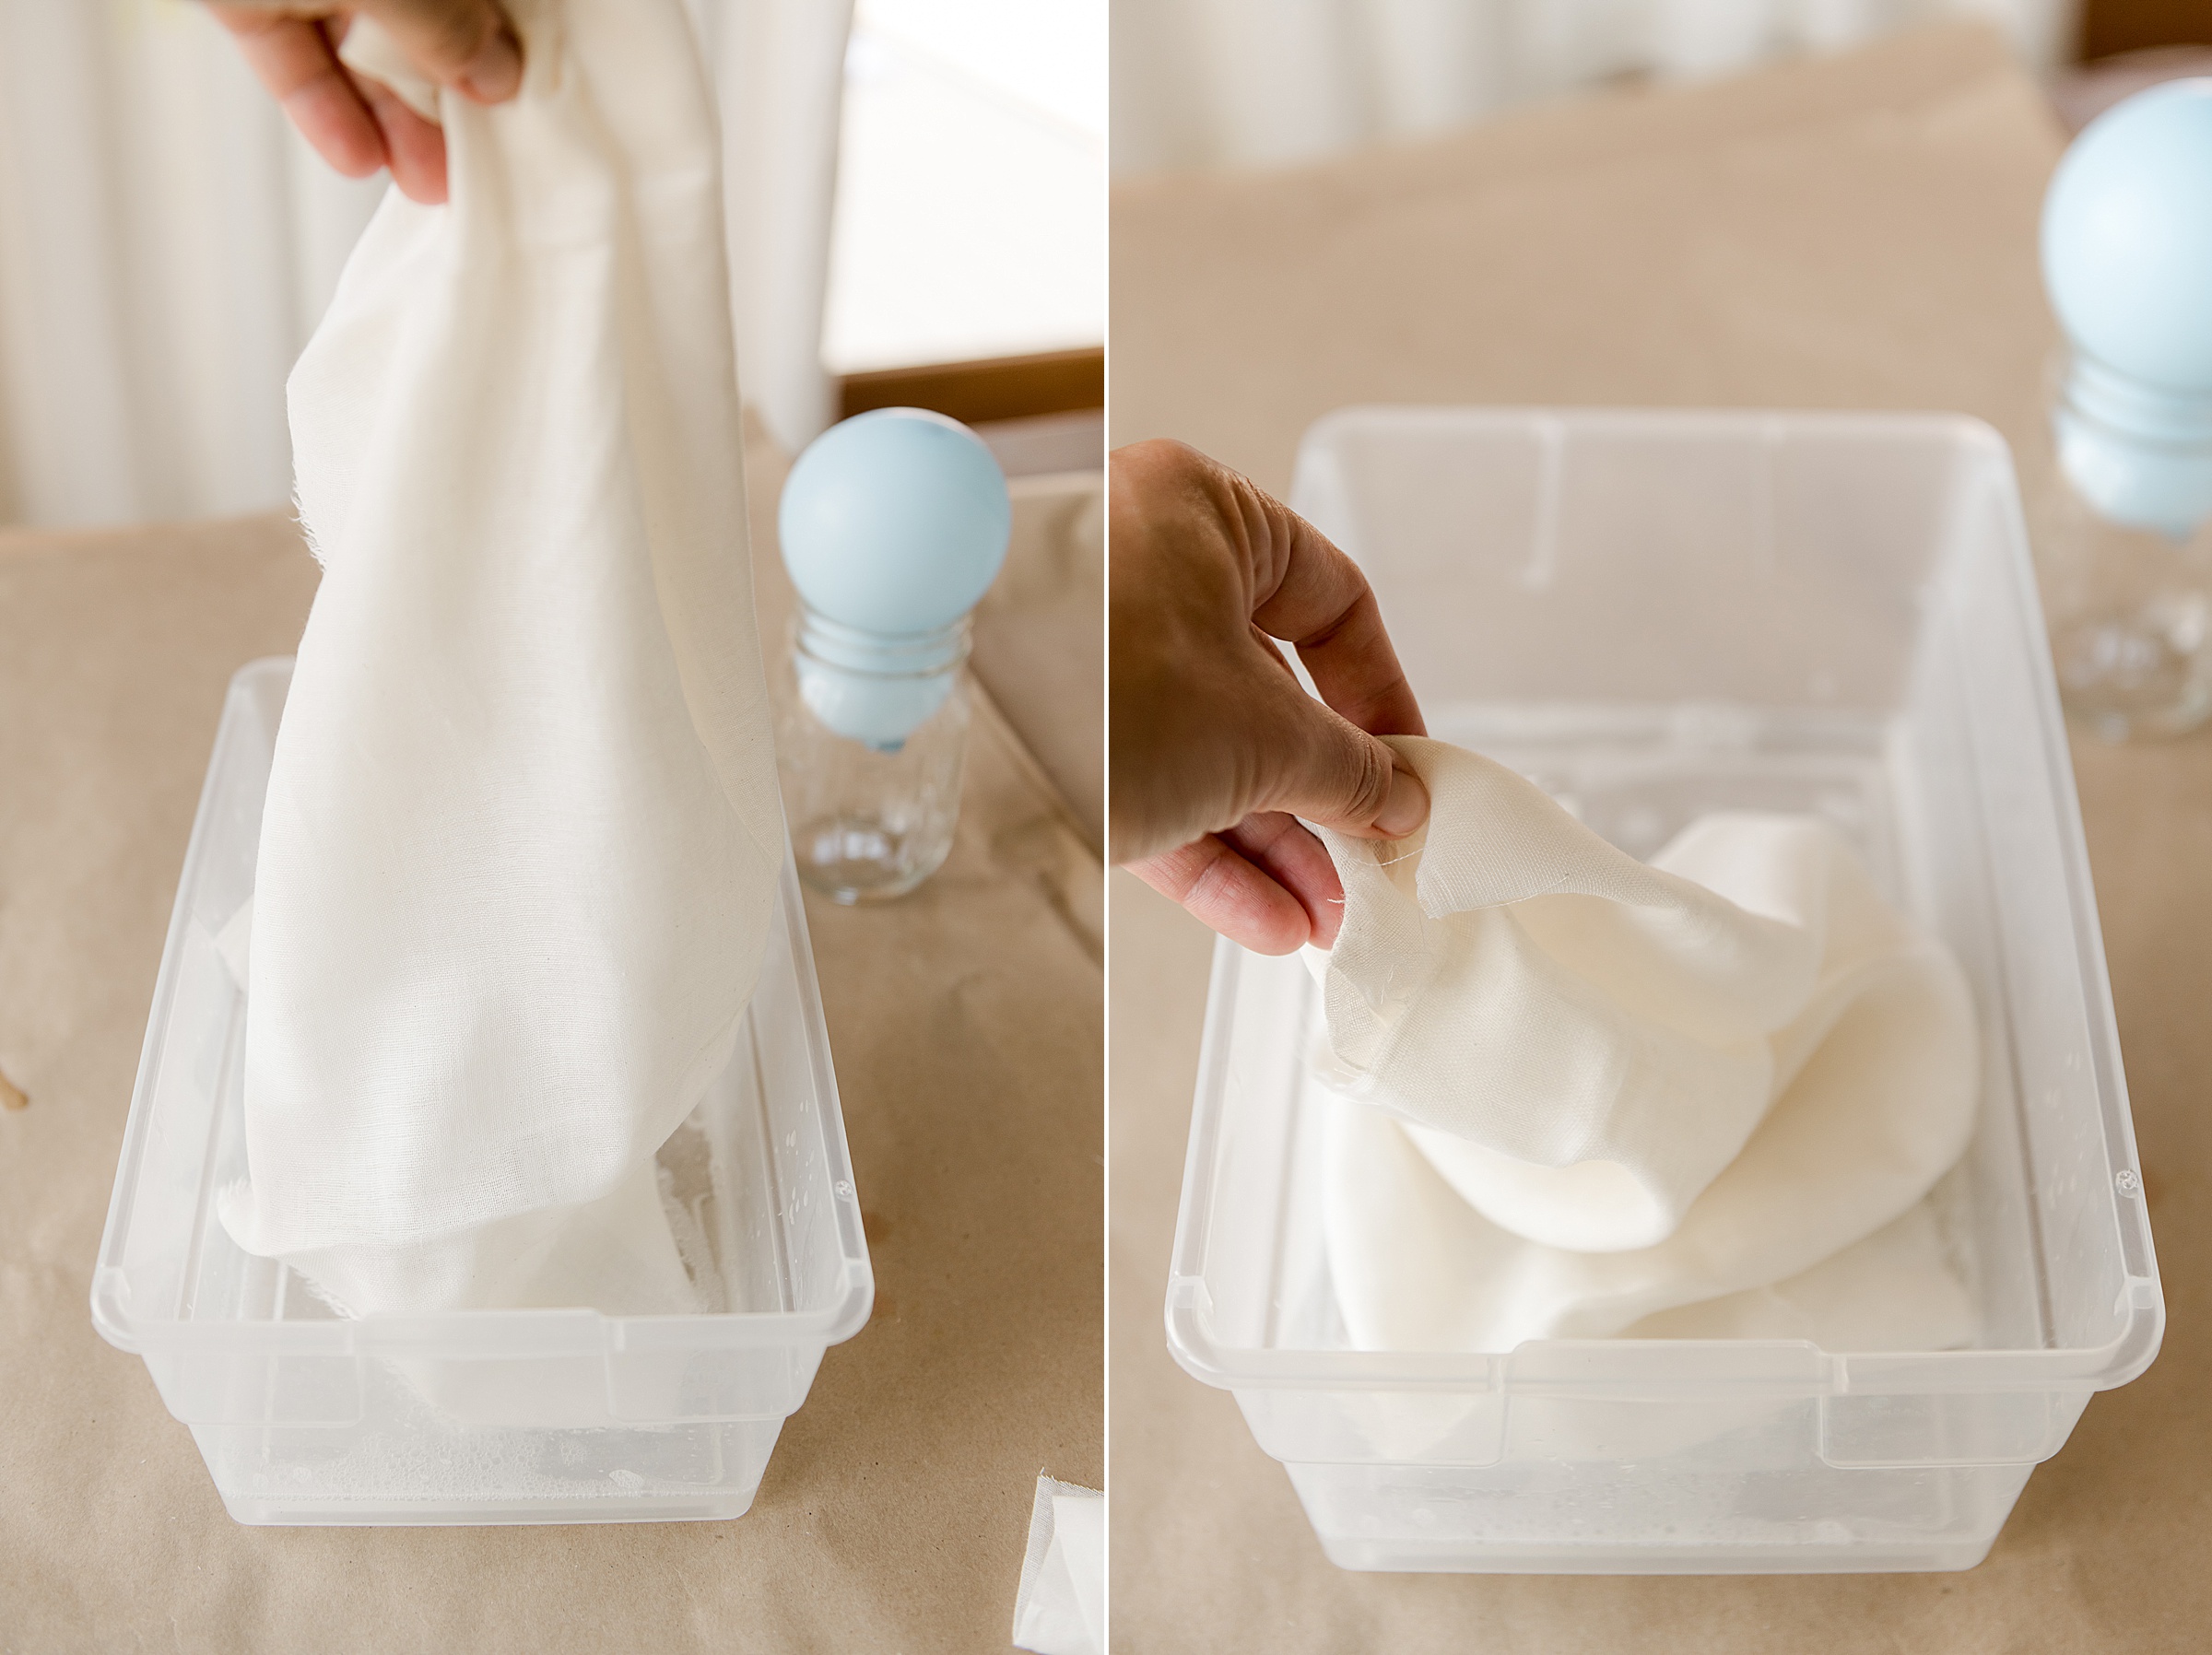
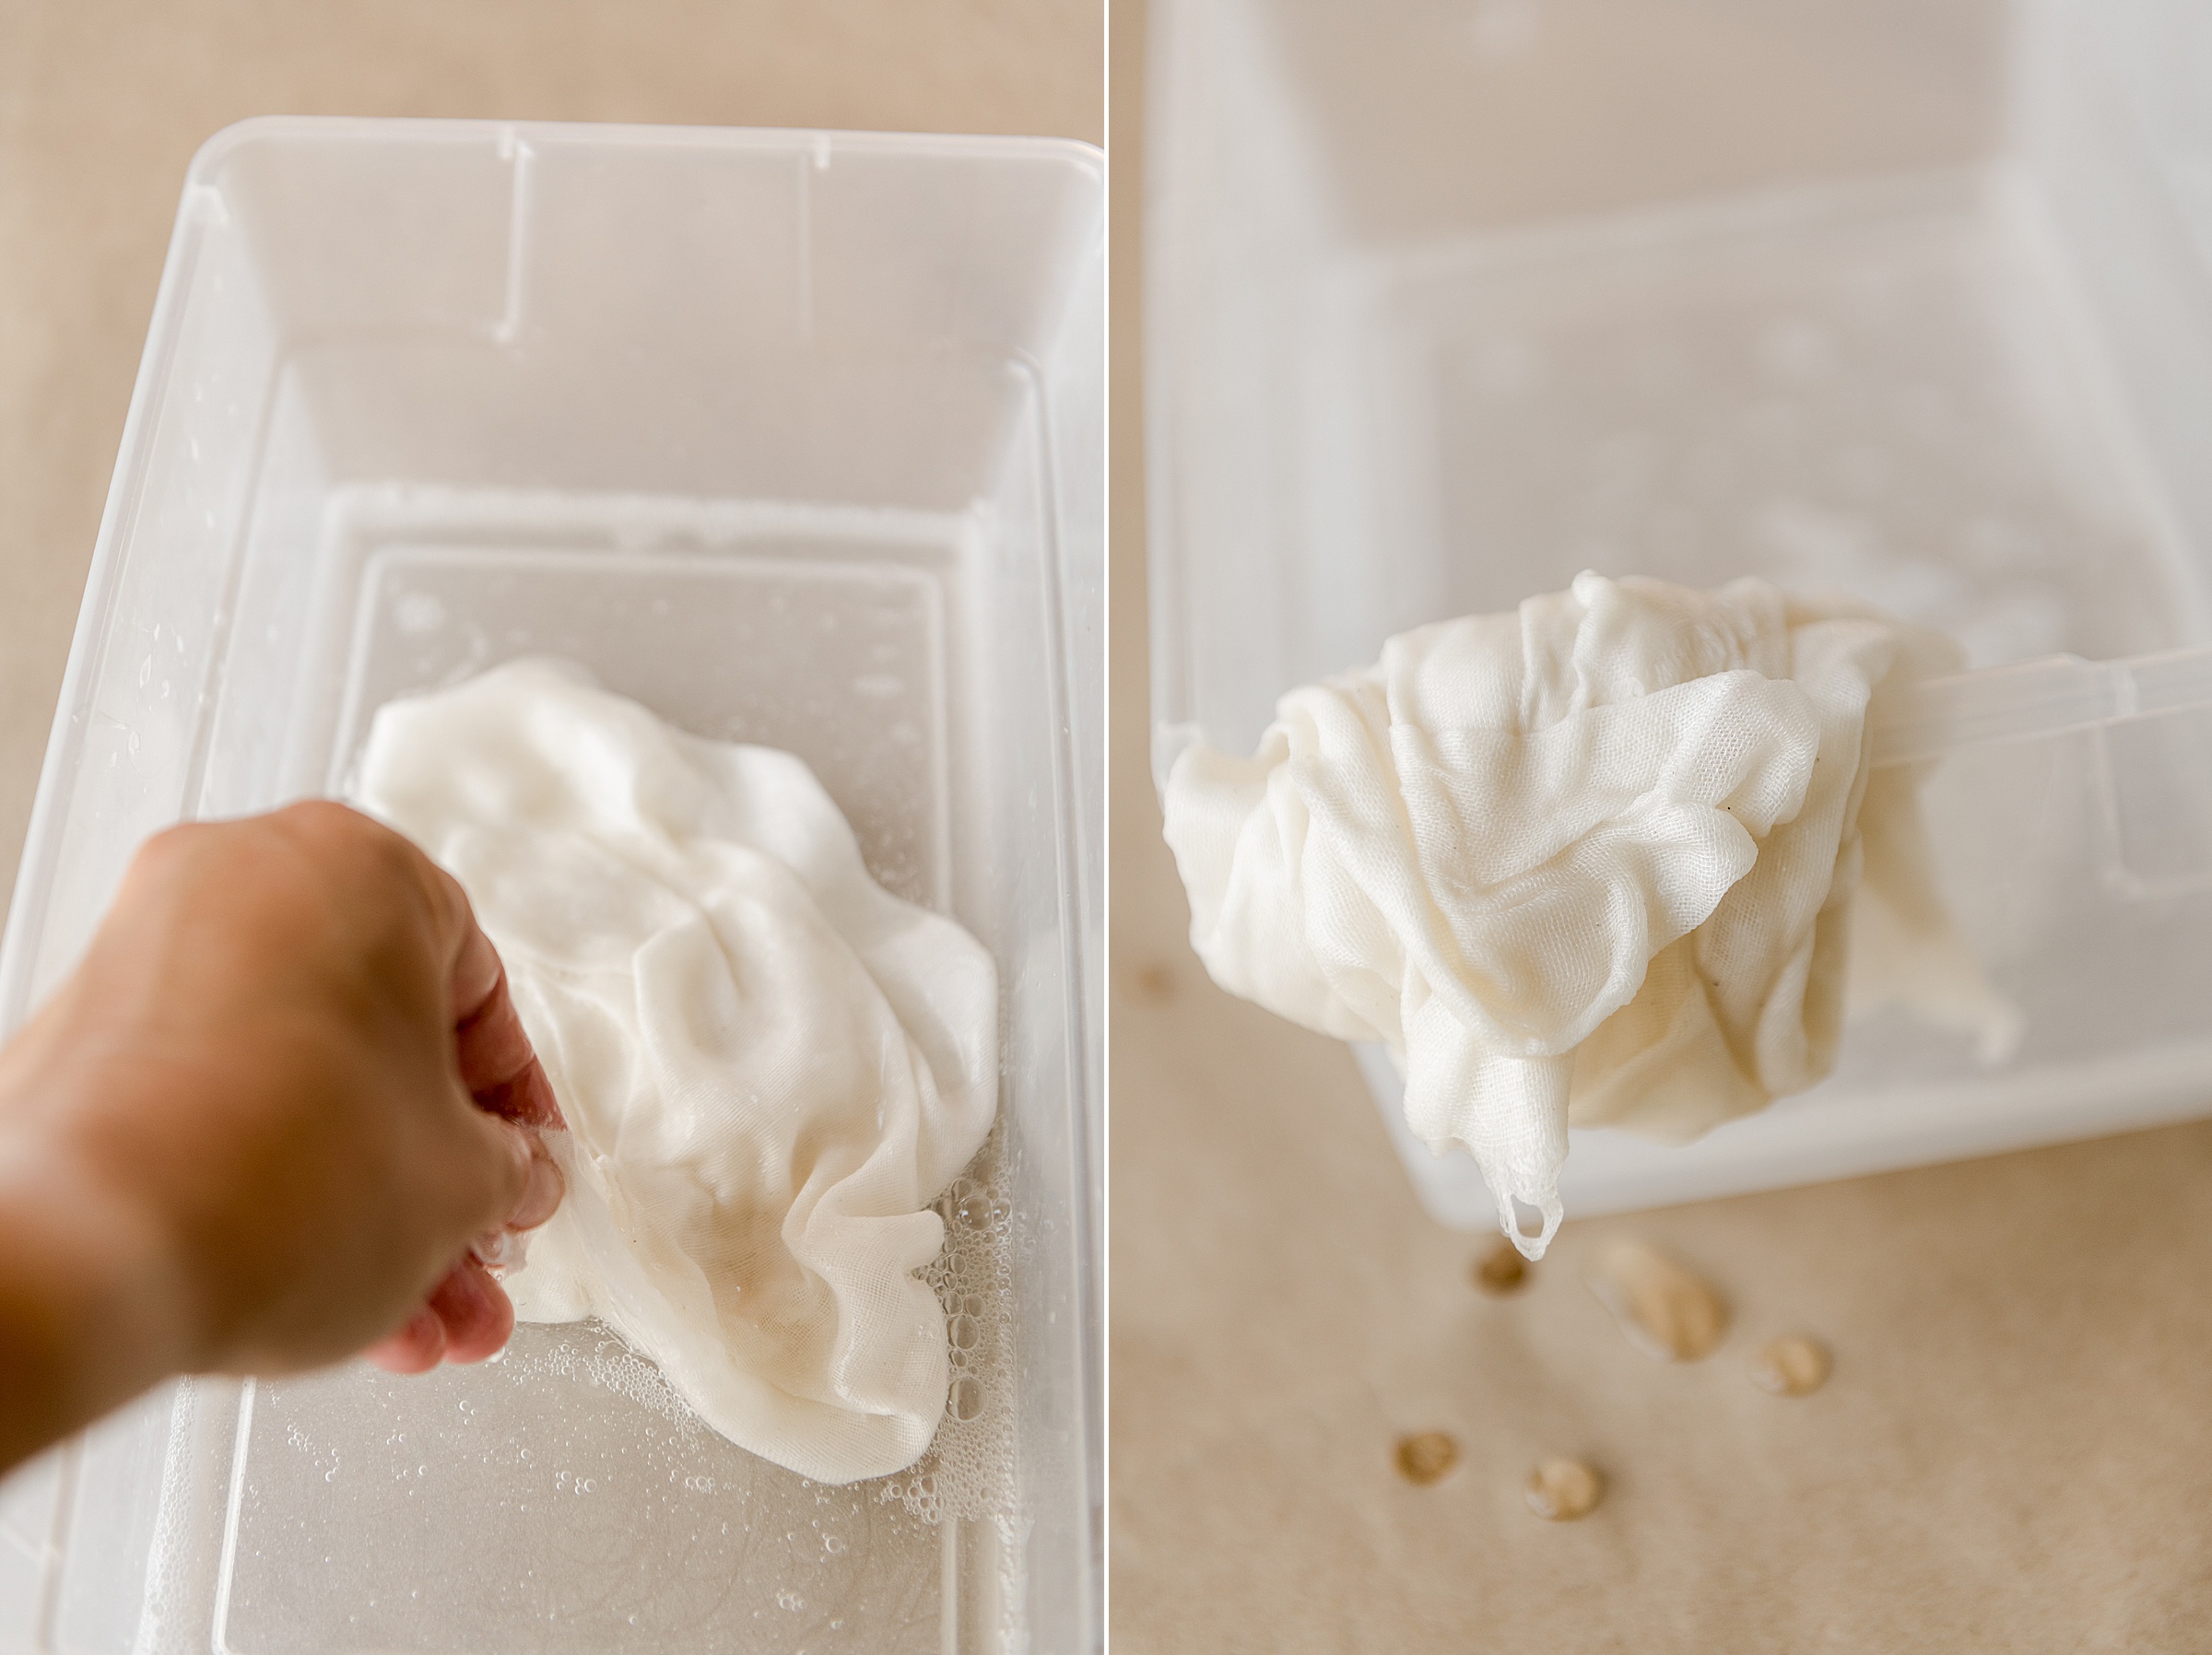
4. One ghost at a time (remember, 2 cheesecloth pieces together) you will begin dunking your cheesecloth into the glue mixture, making sure it’s submerged completely. Agitate the cheesecloth to make sure that the fabric is fully coated and then pull it out of the tub….hold the dripping cheesecloth over your tub with one hand and with your other hand, gently use your middle finger and pointer finger to run from top to bottom of the cheesecloth getting the excess off of the dripping glue/cheesecloth piece 🙂 Doing this will still allow enough glue to be soaked in the cheesecloth, but not so much that it’s using all of the glue mixture in one shot! 🙂
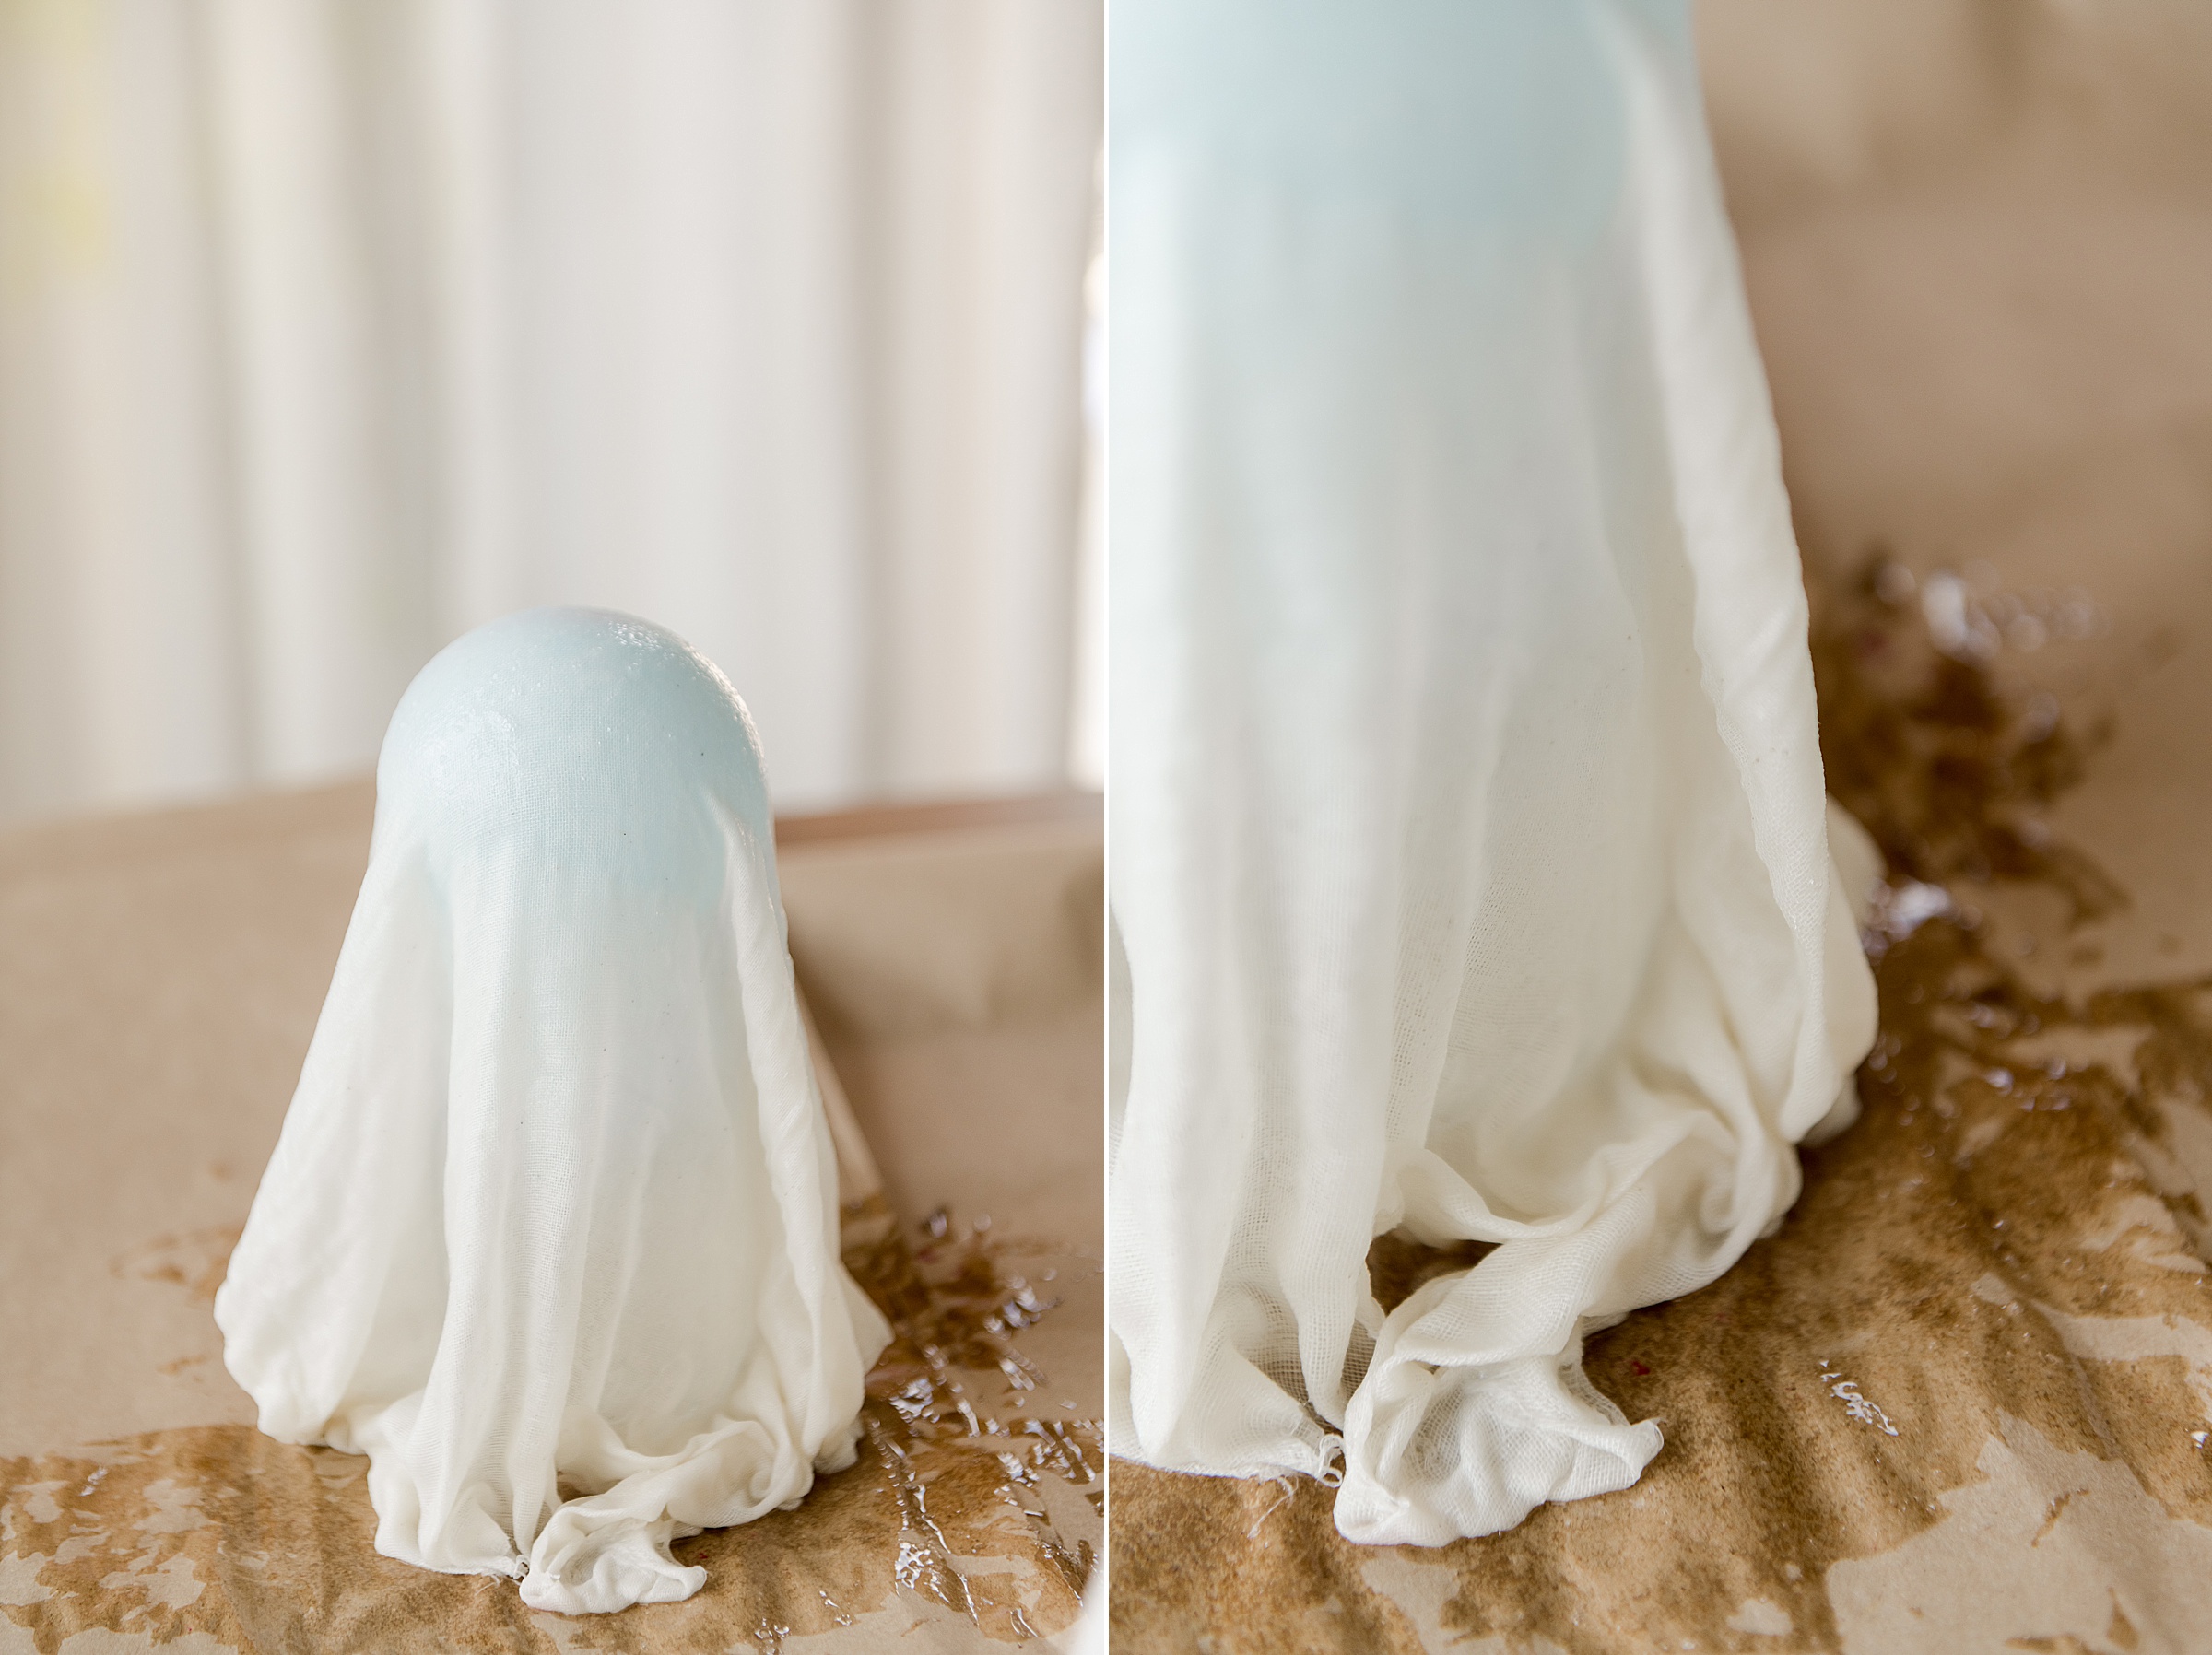
5. With your hands, grab the corners and try to “smooth” out your gluey cheesecloth, then begin to drape it over your first ghost form. I wanted to make sure the “heads” were smooth, so I smoothed out the head parts that lay directly on the balloons and then helped work some ghost-like creases into the rest of the draped cheesecloth.
BE SURE THAT YOUR CHEESECLOTH TOUCHES FLAT TO YOUR WORK SURFACE ON AT LEAST THREE SIDES TO DRY! If you don’t, then your ghost will not stay up when you take the form out of the middle once dry.
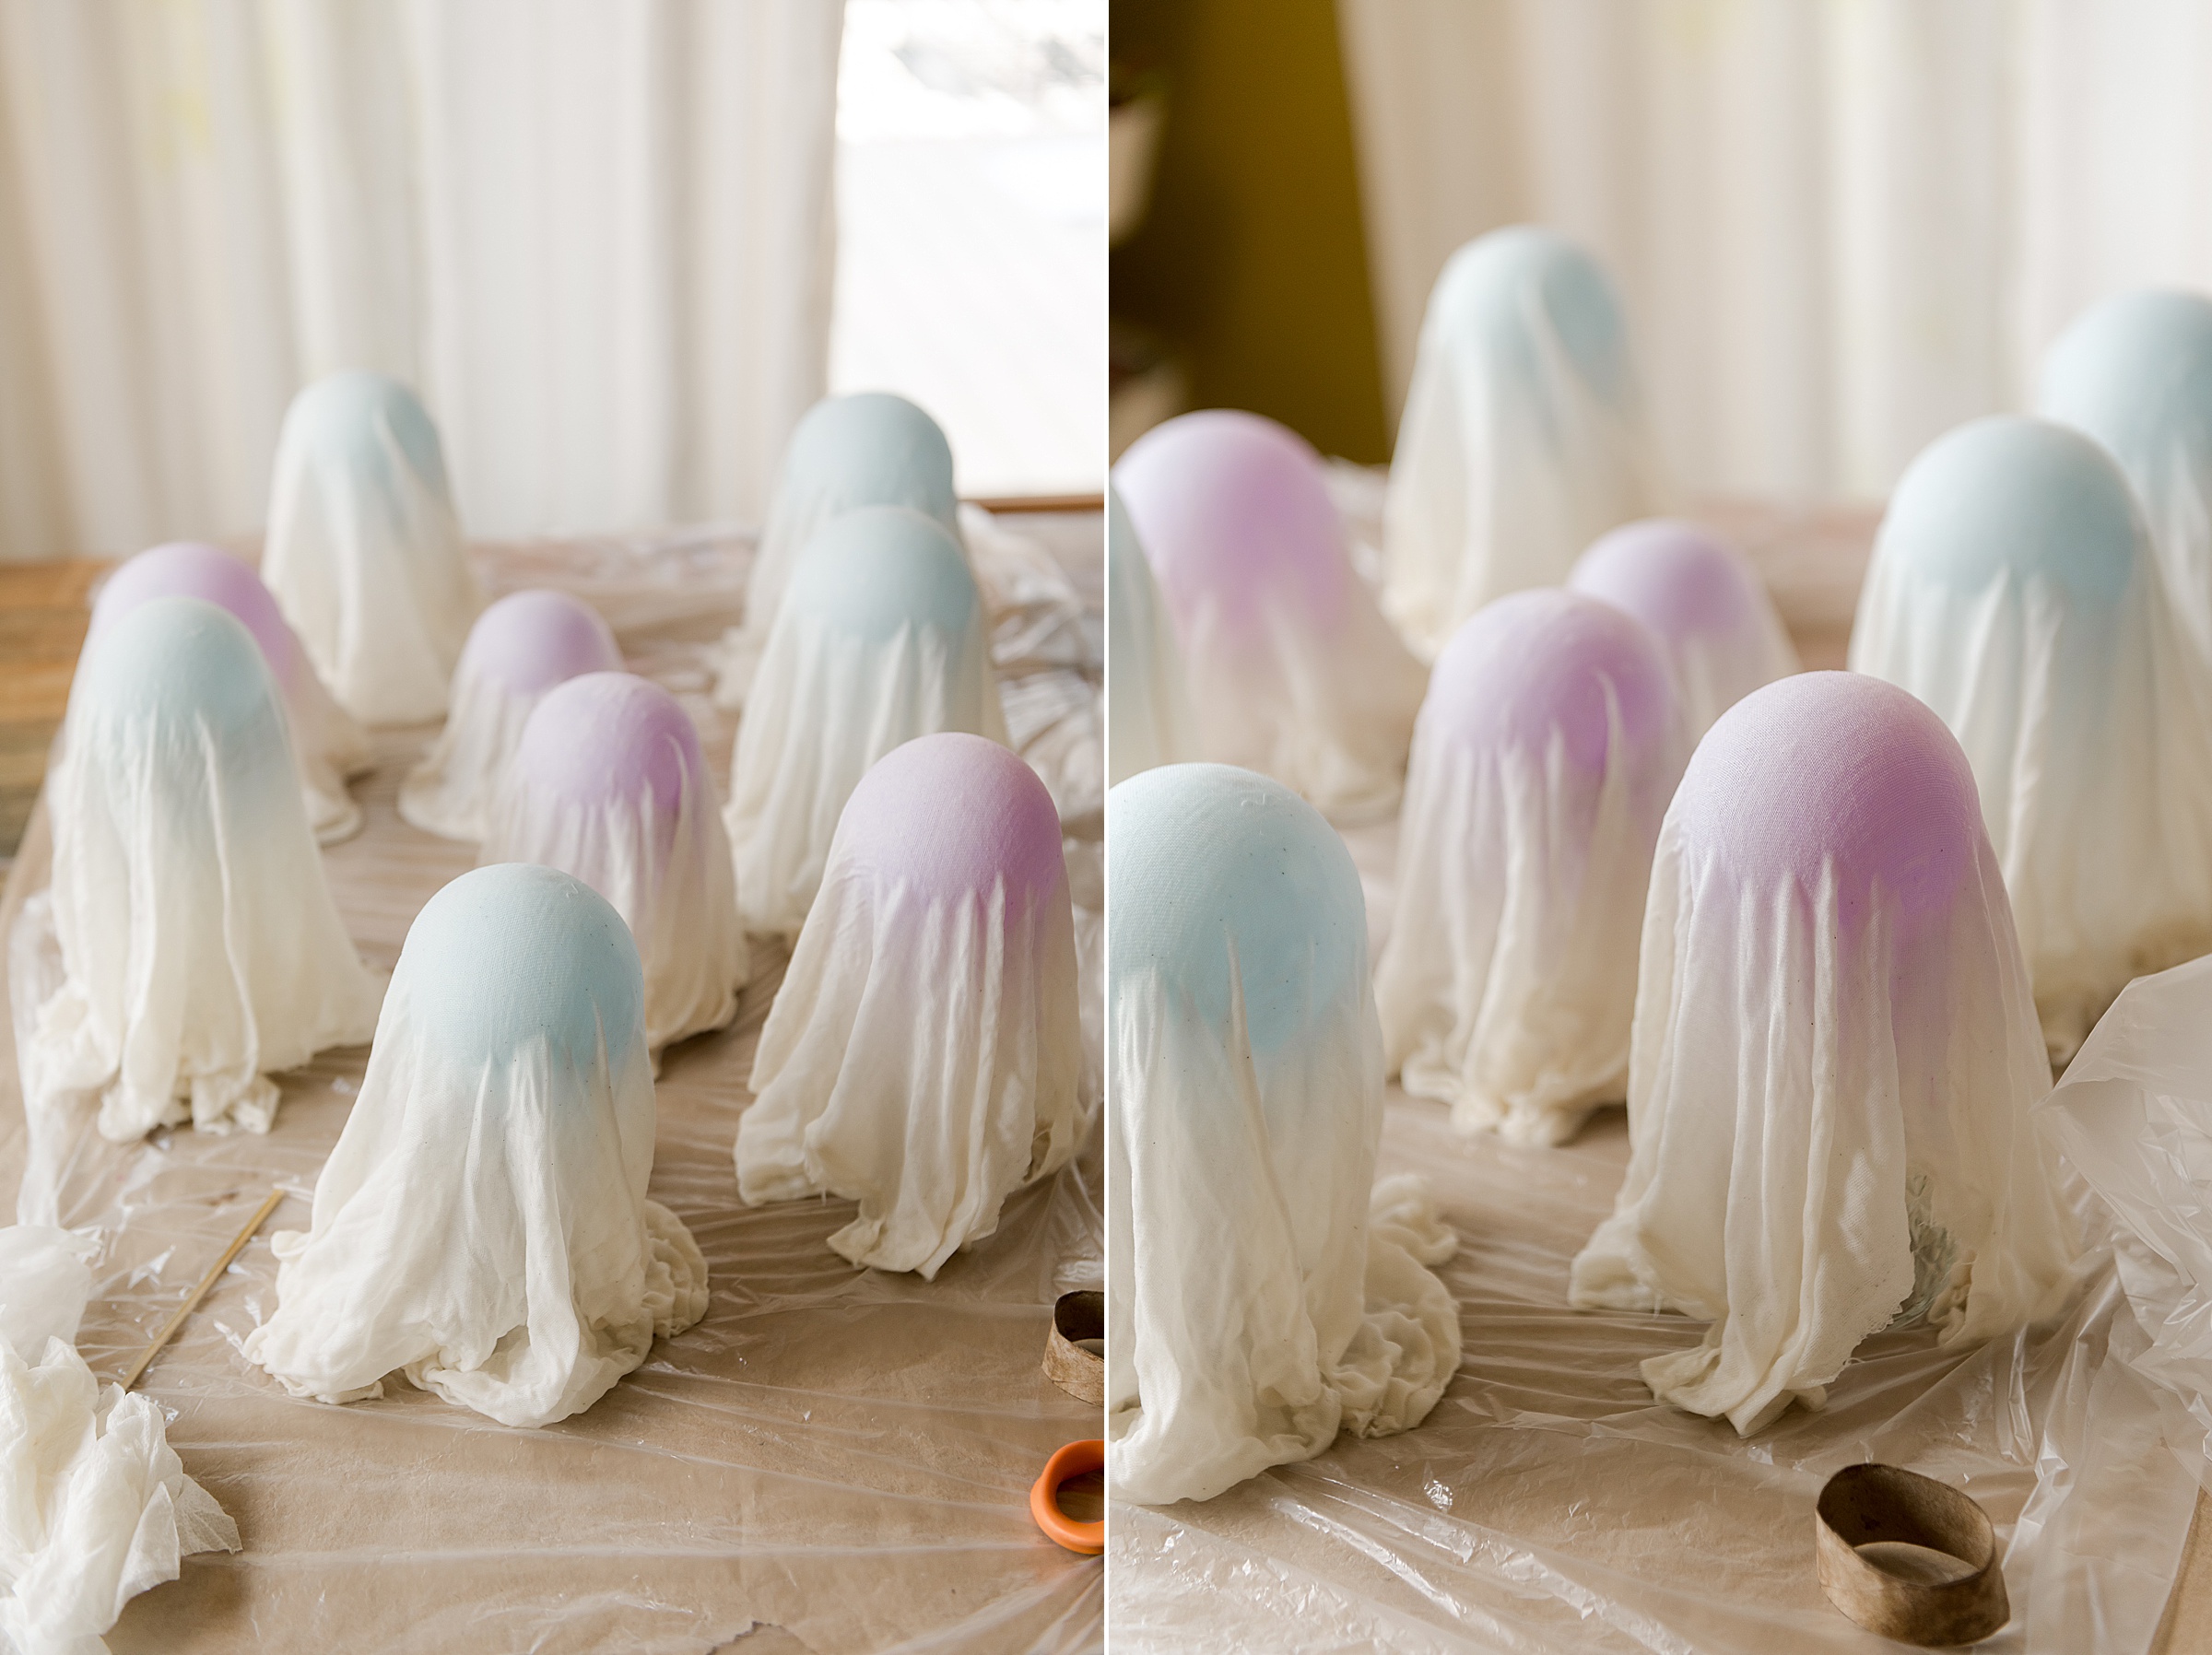
6. Repeat steps 4-5 for as many ghosts forms as you have! 🙂
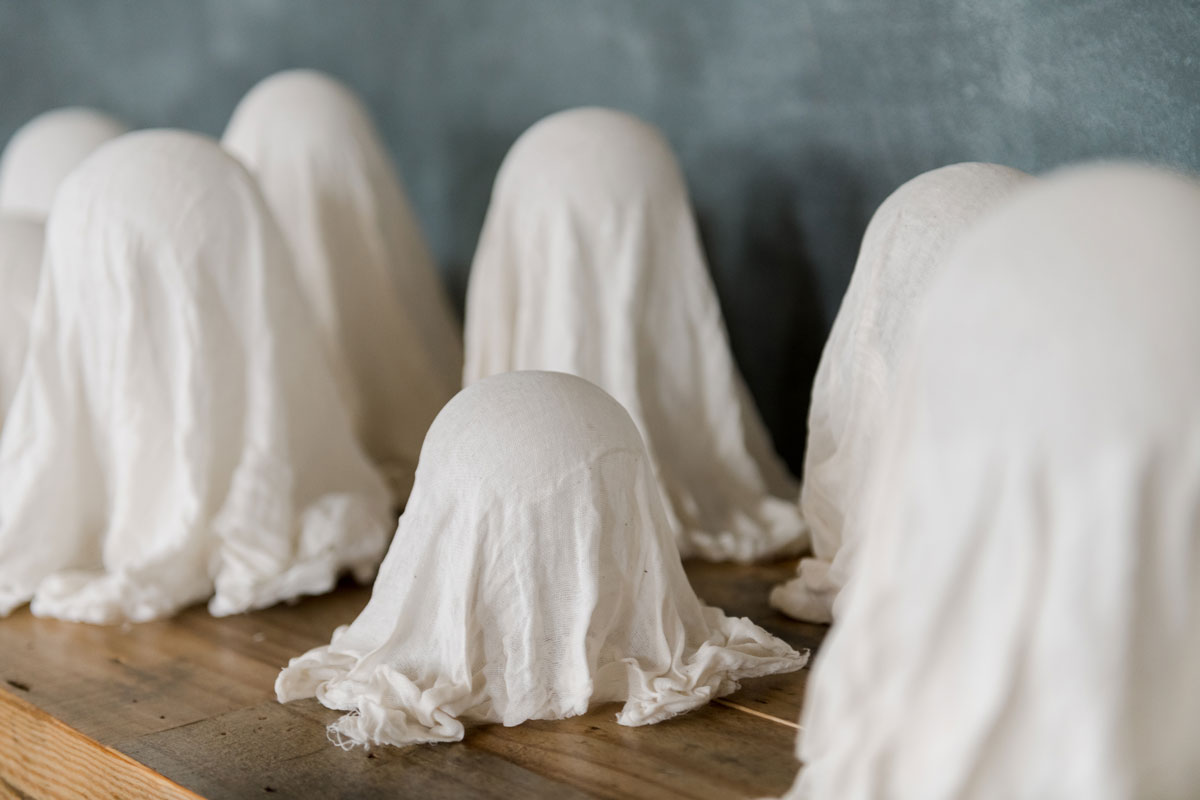
And then the lame part – letting them dry! Set all of your ghosts in a place to let them dry for 2-3 days or until ALL of the ghosts are hard and ready to handle! 🙂
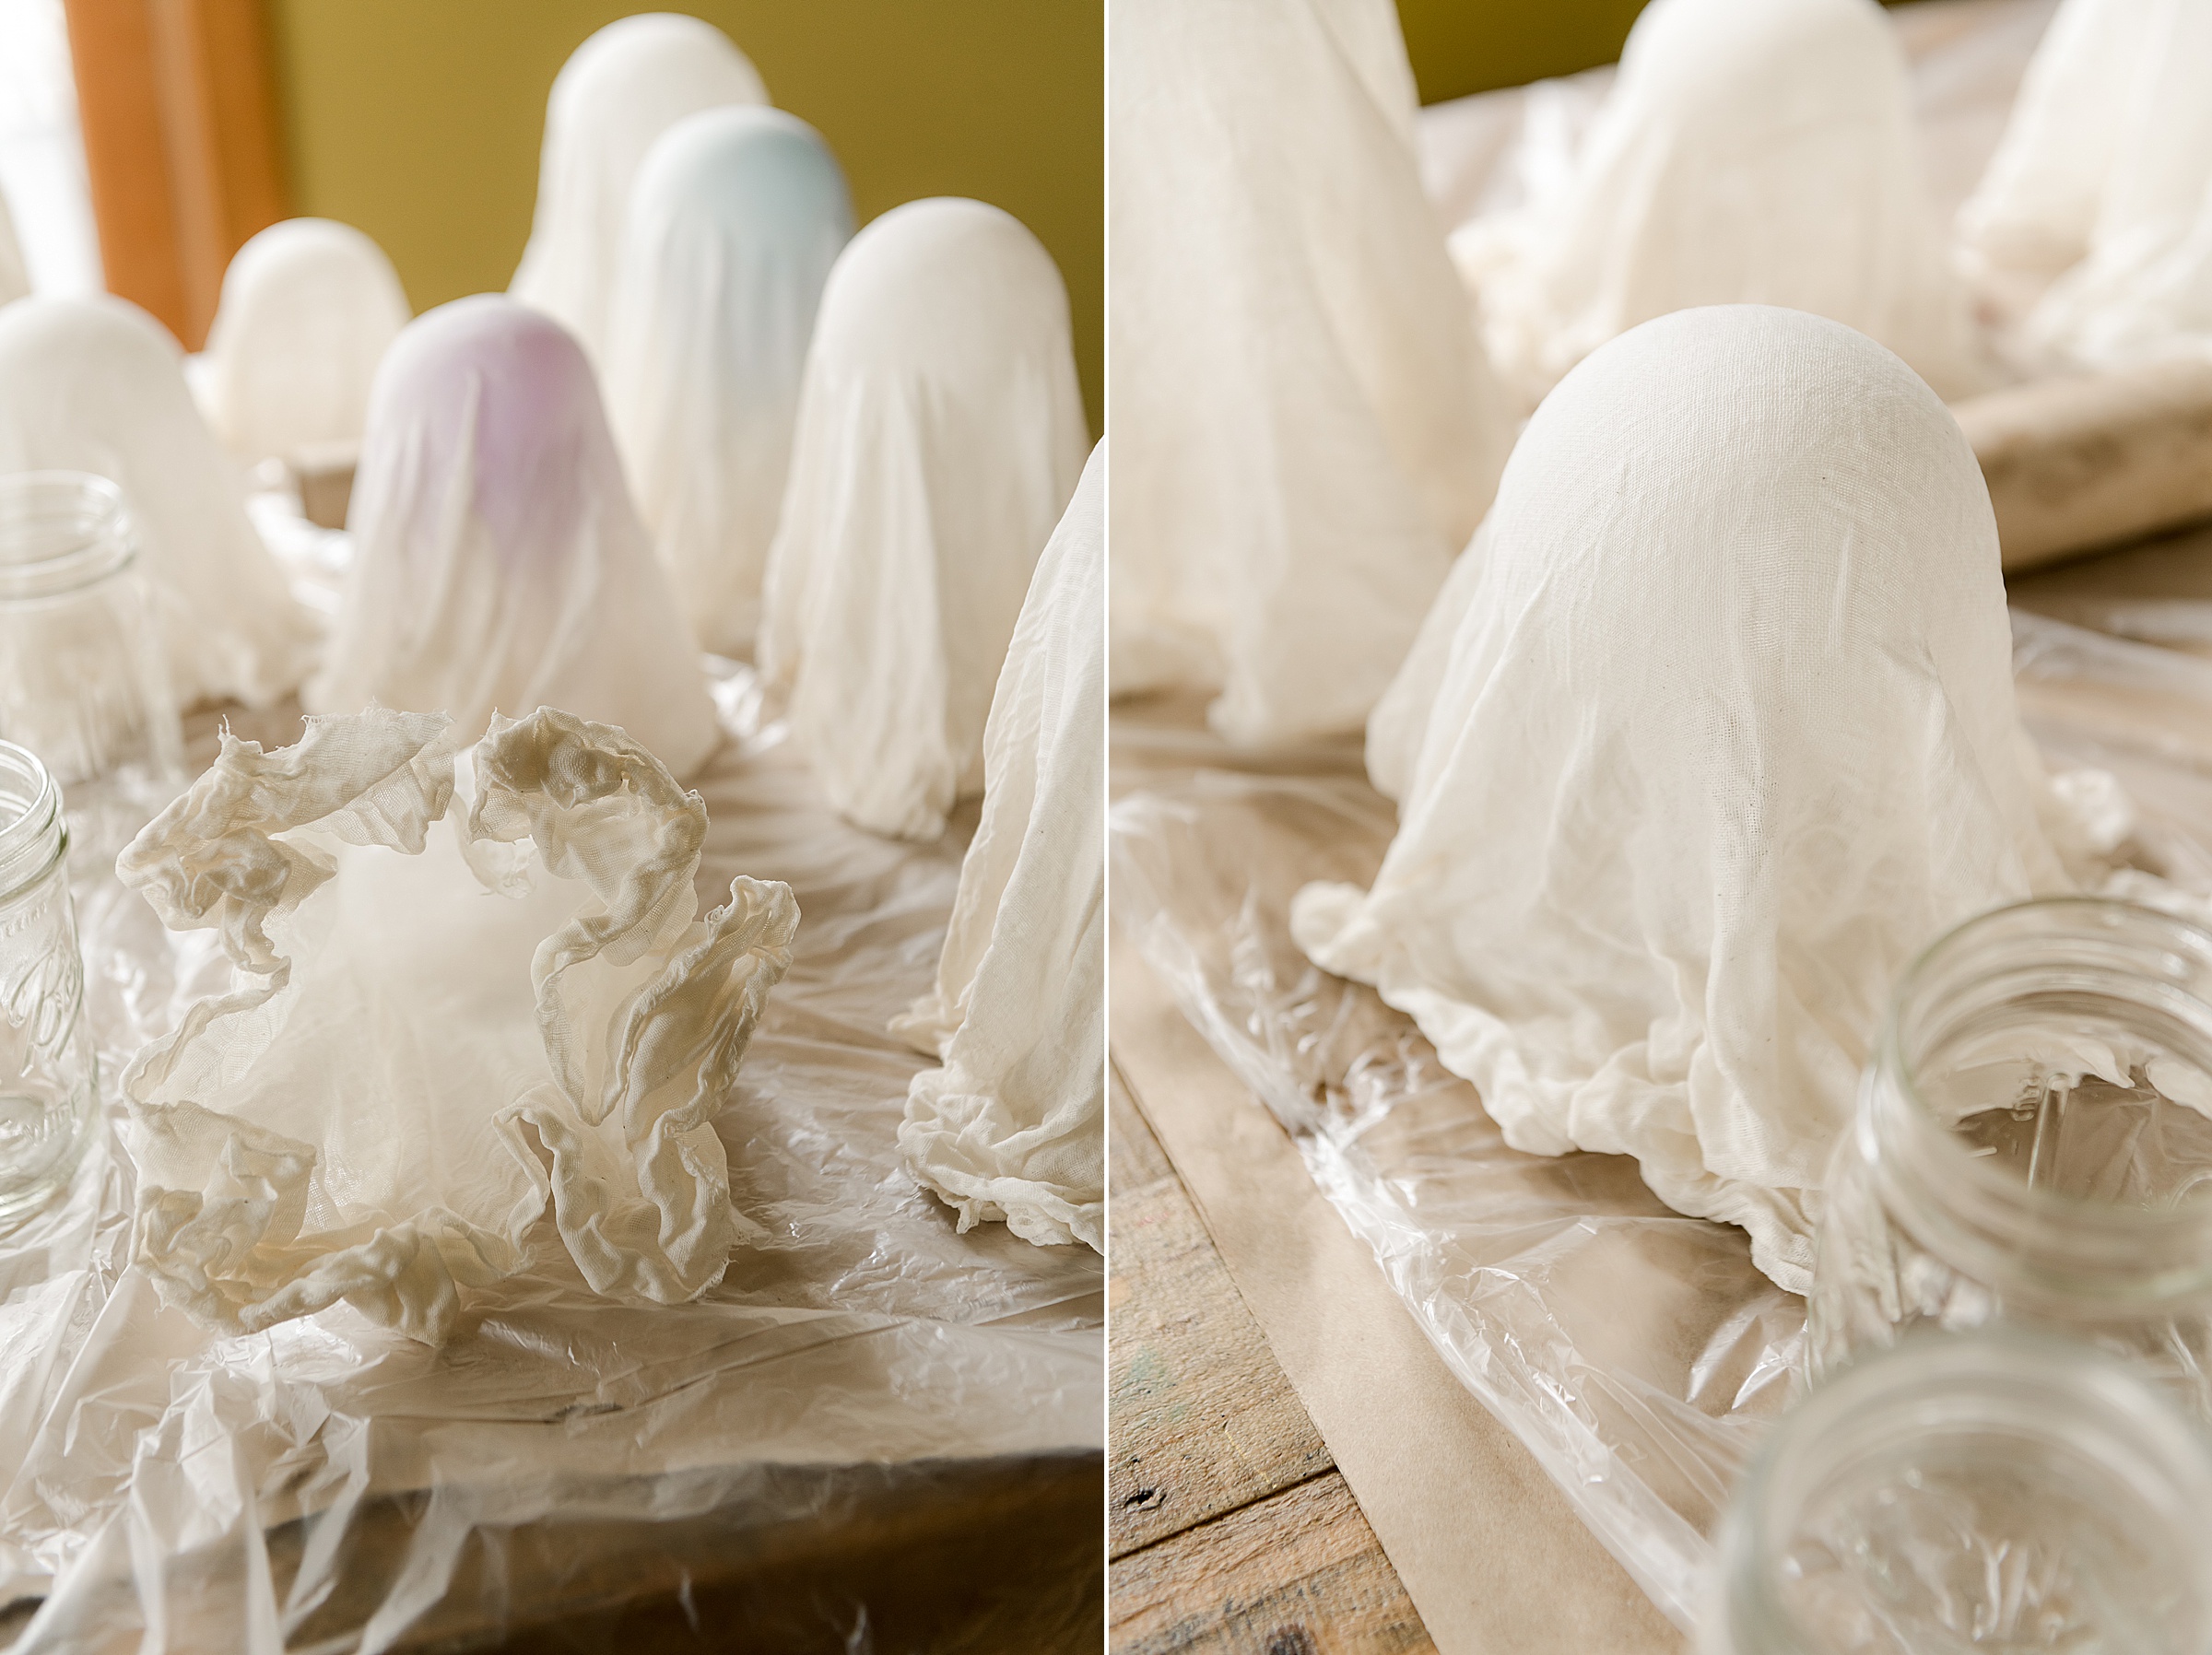
7. Once the ghosts are hard, carefully begin removing the inside forms and then stand up your ghosts to make sure they are stable! 🙂
Now you have the option to customize them….with felt faces (honestly, play around with the shape of the eyes or mouth and you can get SO many expressions) ORRRRR you can see how I chose to customize ours into a colorful rainbow set of ghosts HEREEEEEE 🙂
HAPPY CHEESECLOTH GHOST MAKING!!!!!!!
