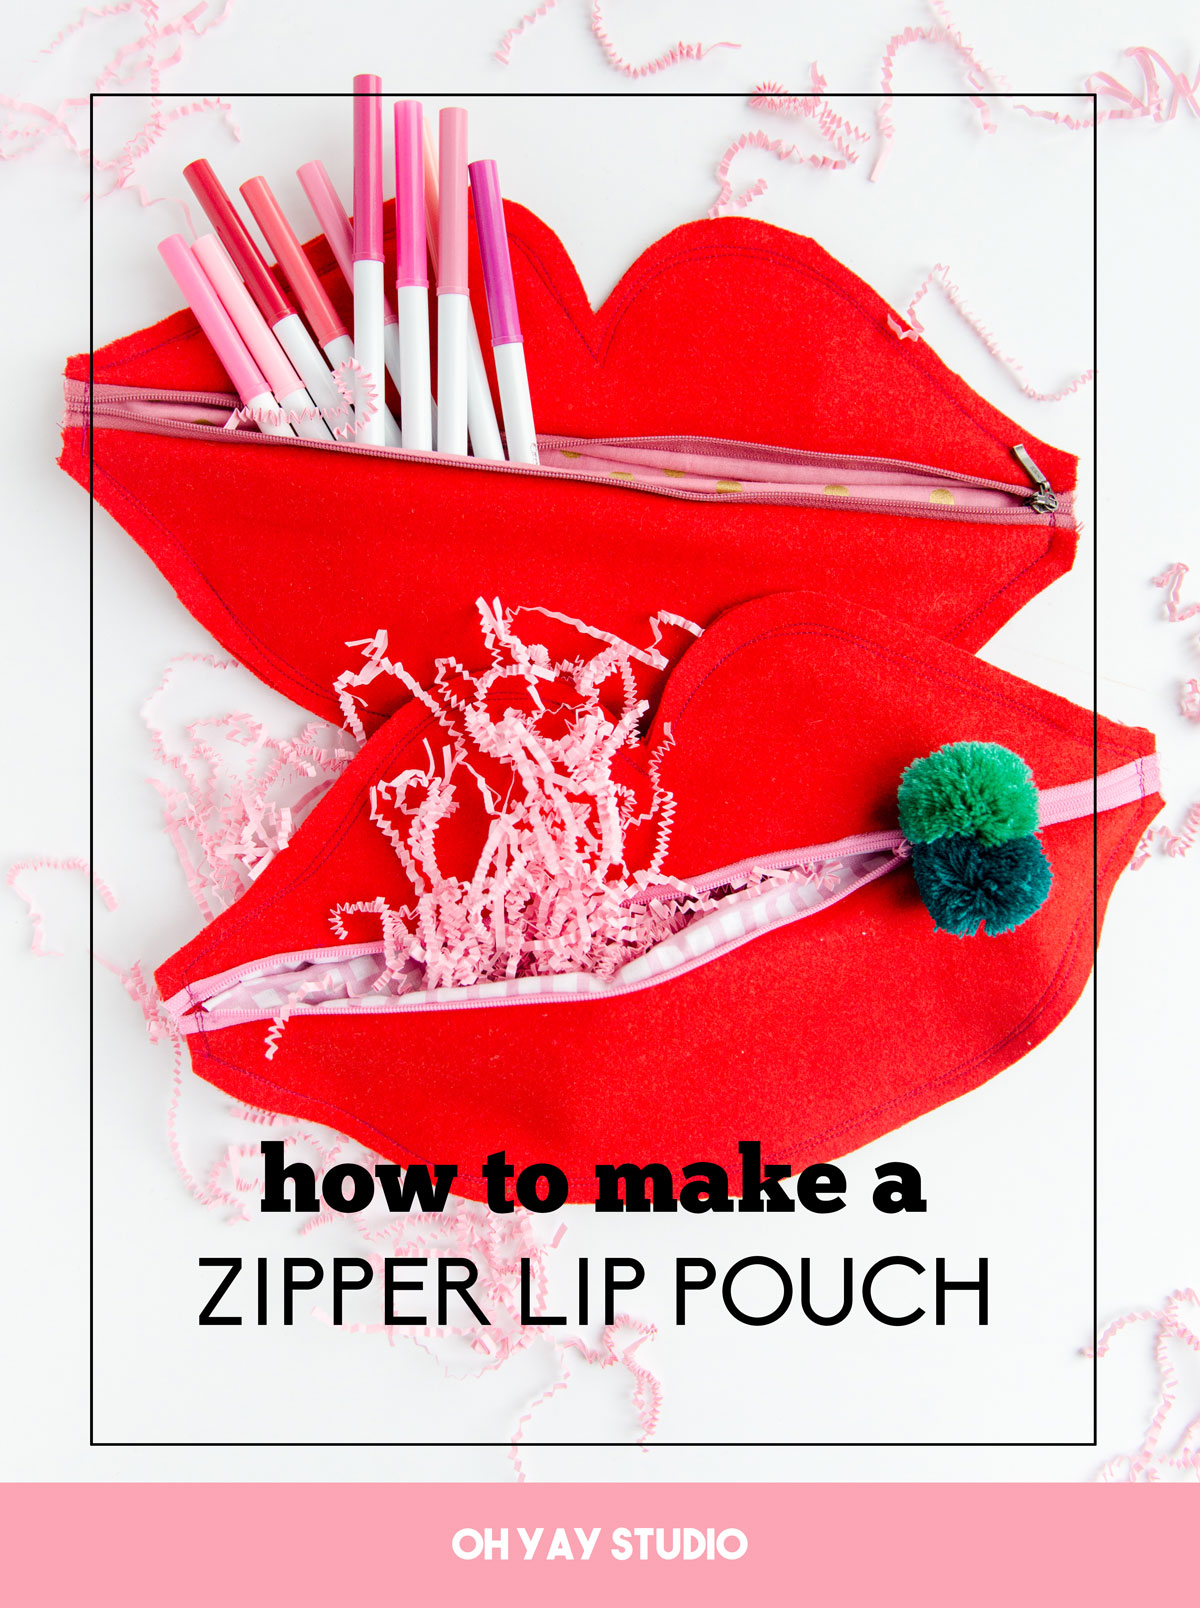
How to make a DIY zipper lip pouch
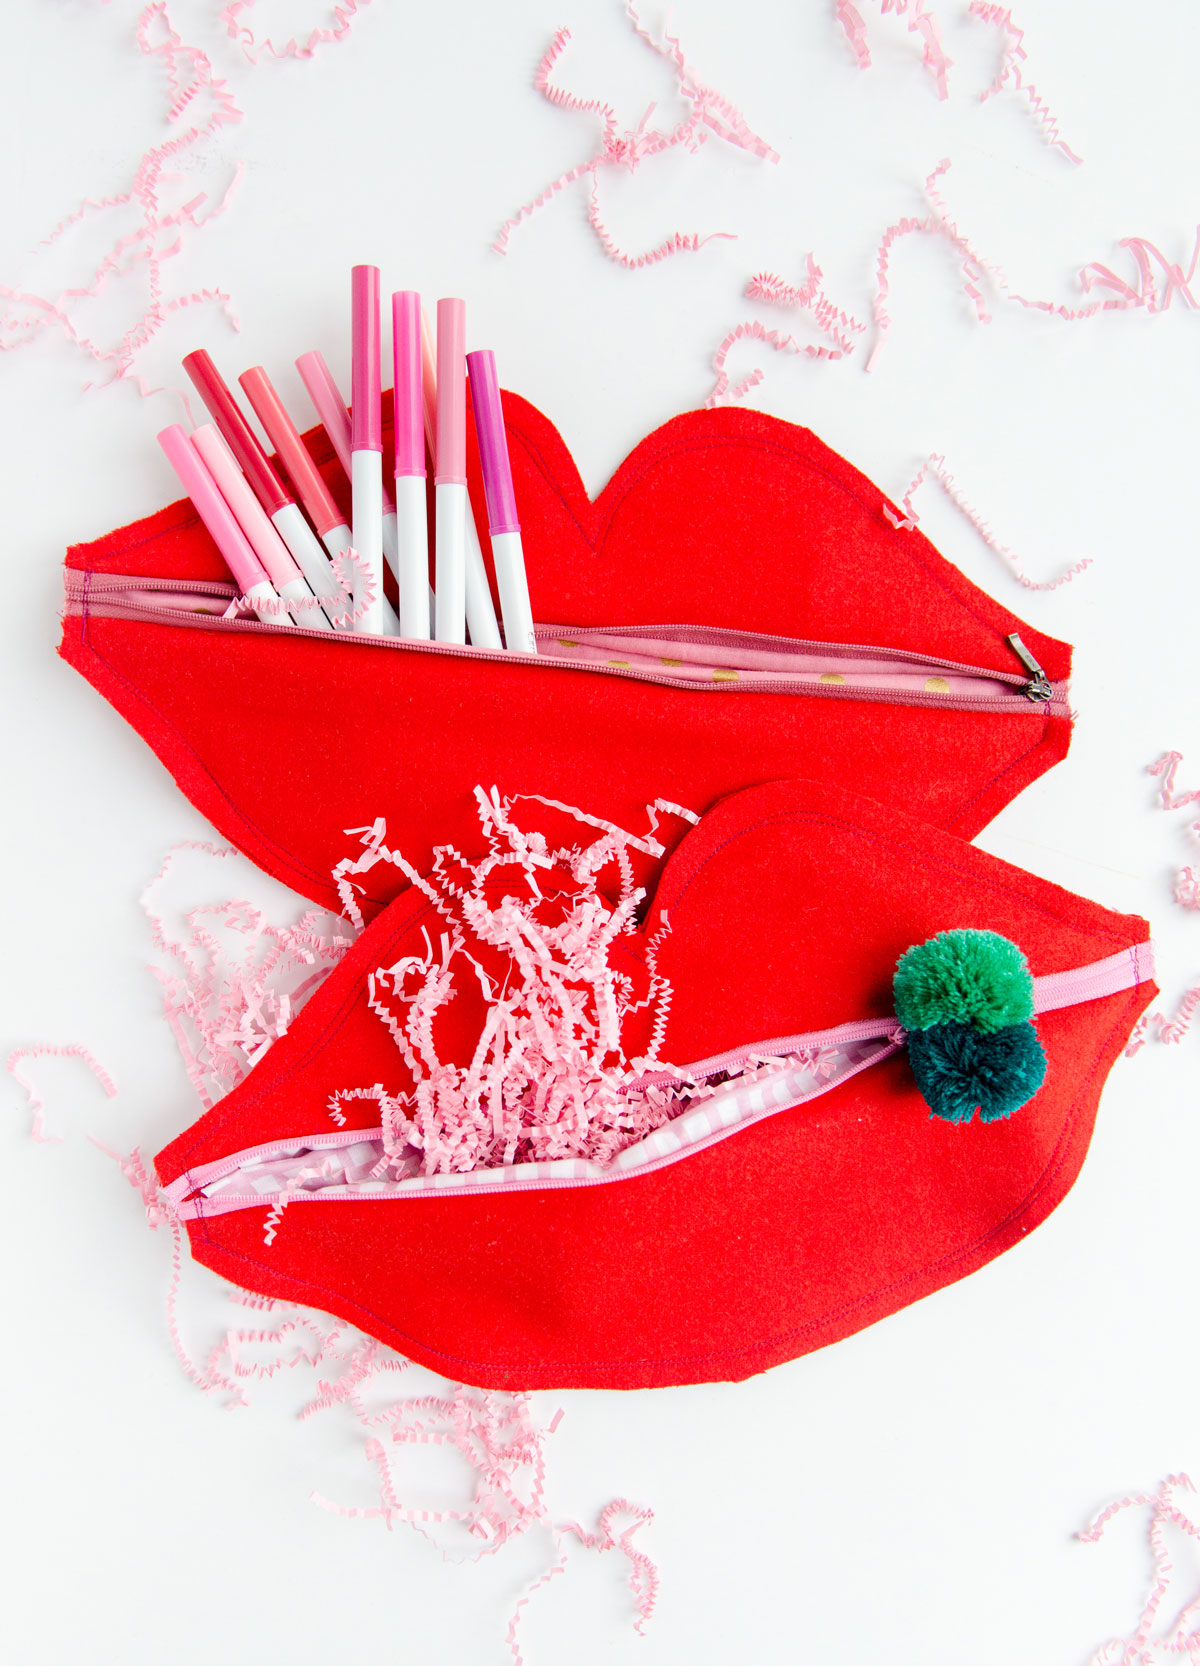
Because Valentines day is around the corner and what girl on the planet DOESN’T NEEEEED a zipper lip pouch. For makers or lip gloss or gel pens or even a stash of candy hearts or chocolates?! AMIRIGHT?! 🙂
Today, I am sharing this adorable (and easy) tutorial on how to make one.
BUT ALSO *hint hint* if you aren’t a sewist or don’t feel crafty, I do have a few already made up in my shop if you’d like to snag one already finished! 🙂

Supplies:
- A piece of wool felt about 20″ x 16″
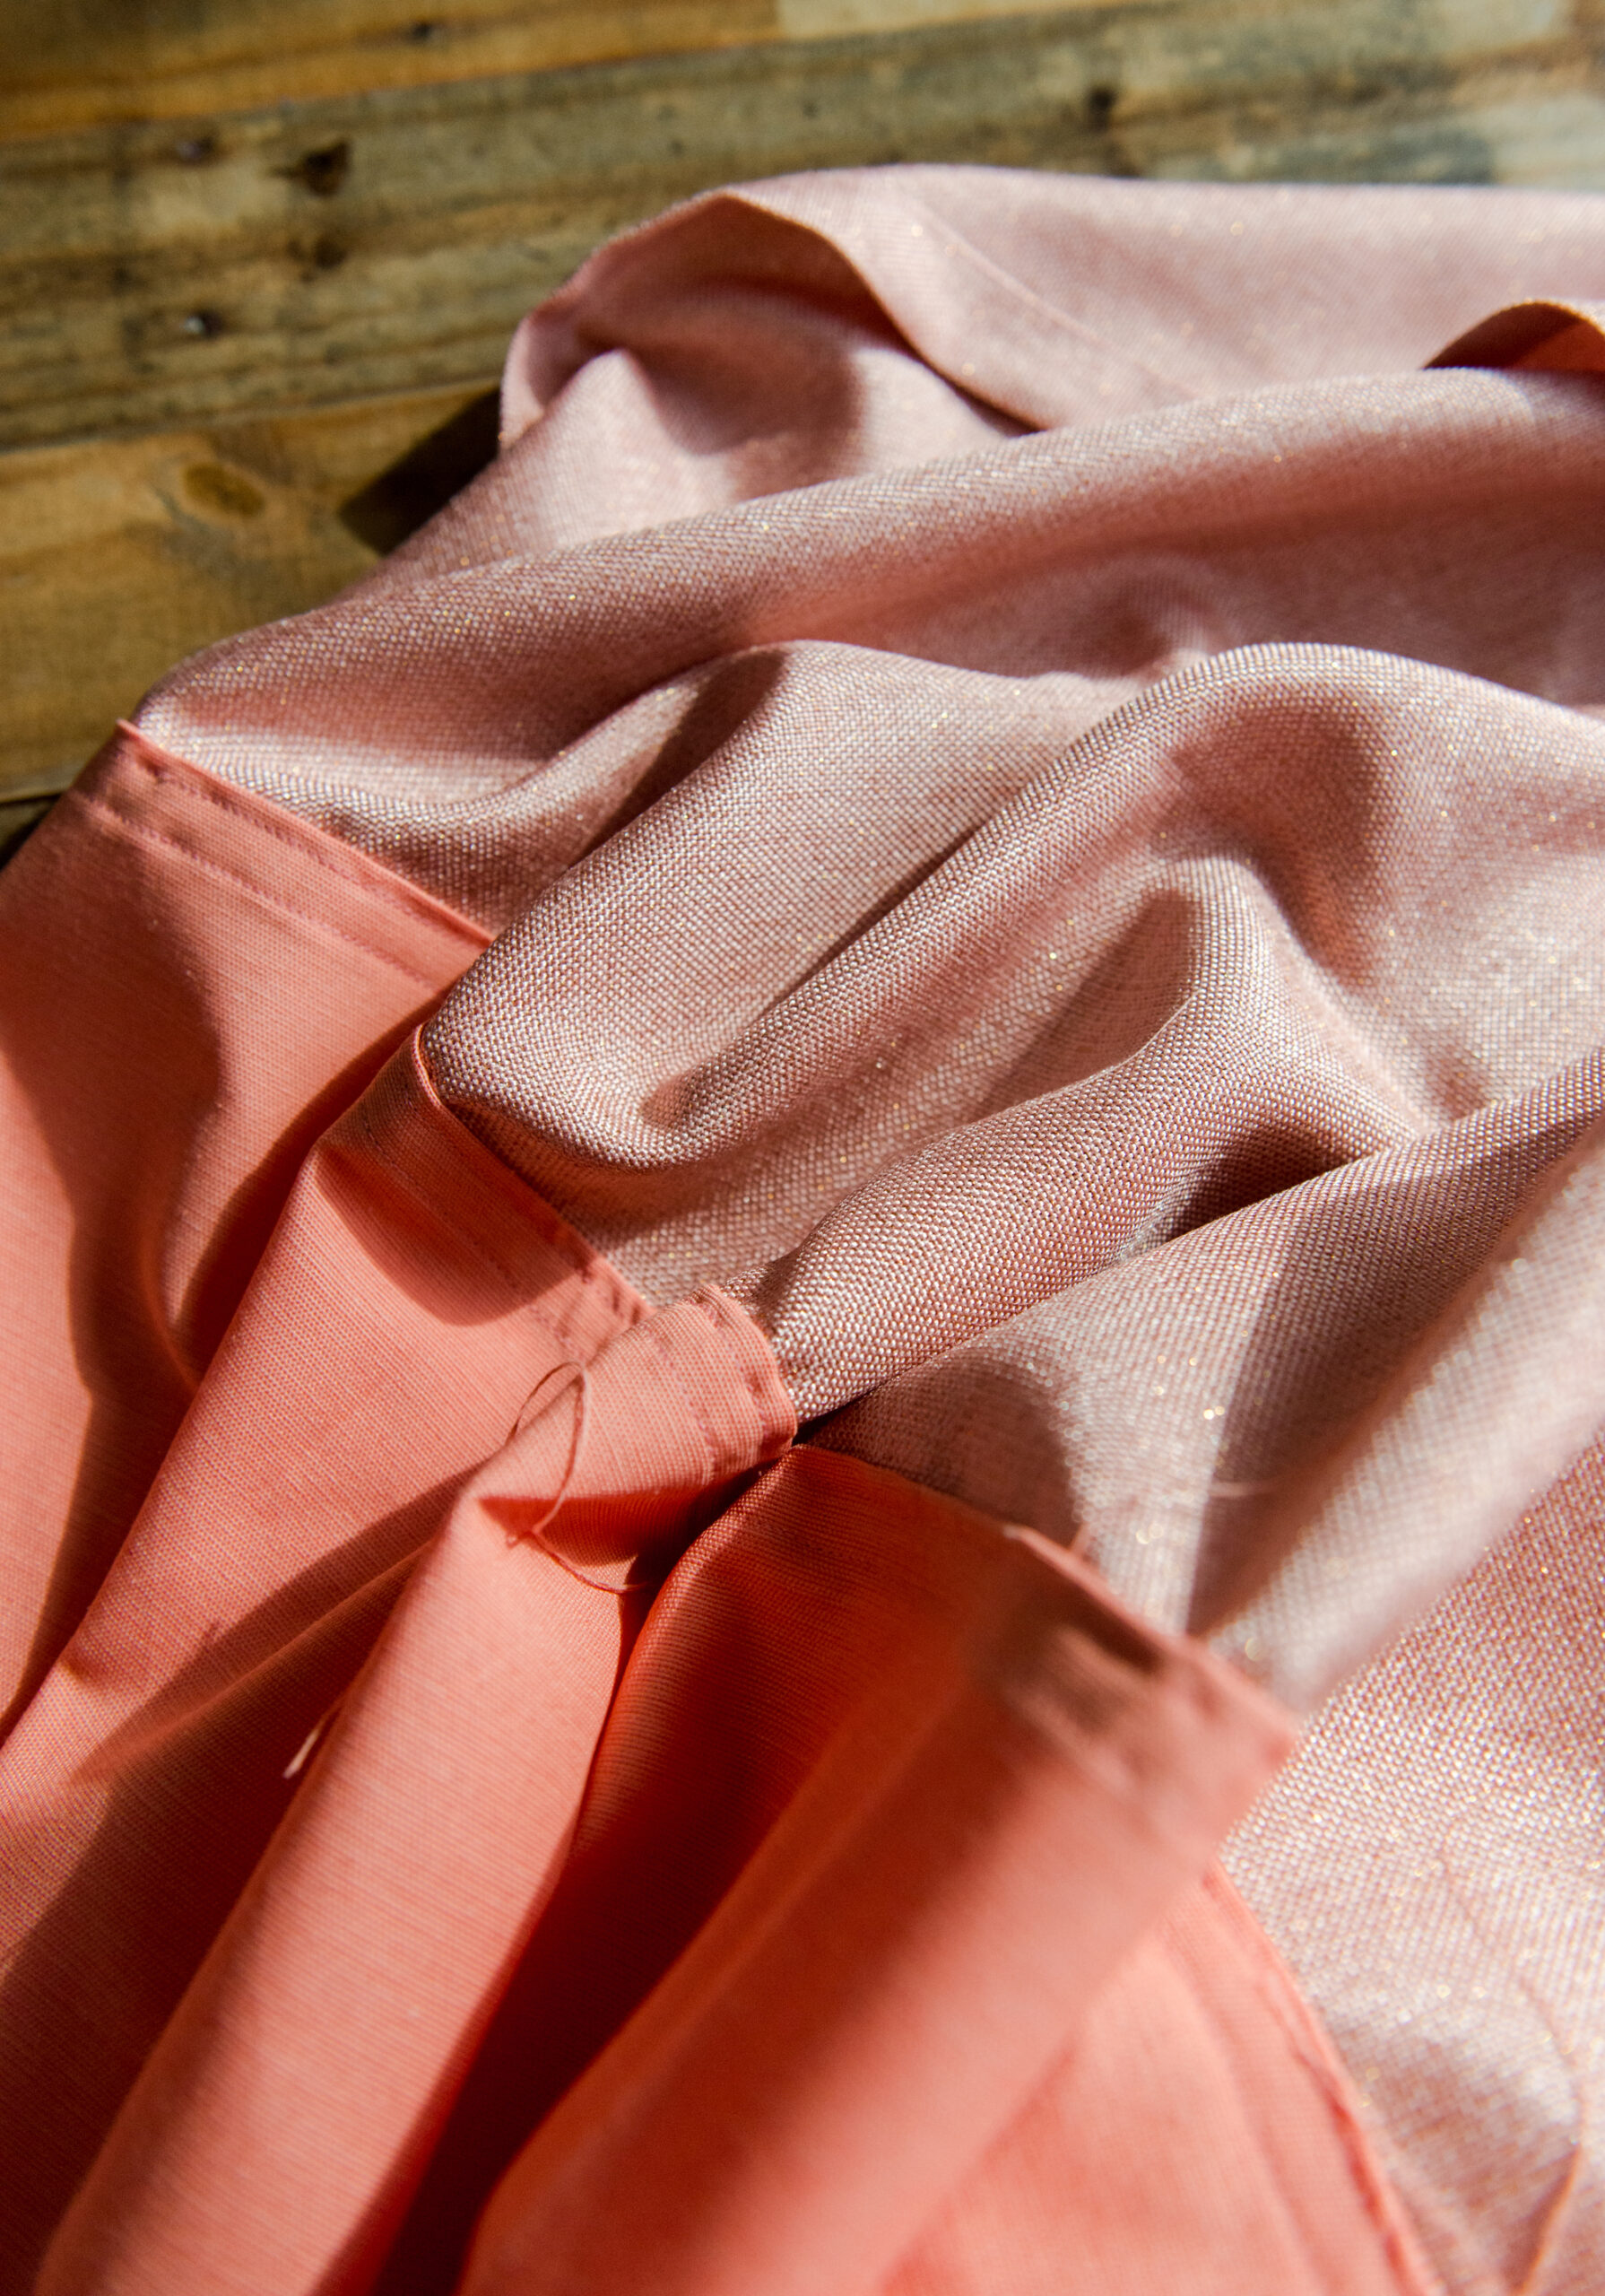
- A piece of lining material (I used 100% cotton) about 20″ x 16″
- 1 zipper measuring at least 14″ (mine was 24″ and I cut it to length)
- the BEST SEWING MACHINE EVER – my Janome 9450, a literal DREAM
- zipper foot + coordinating thread
- Lip template, download HERE
Instructions:
- Cut Pieces
Cut 2 lips from the main fabric (each on the fold)
Cut 2 lips from the lining/inside fabric (each on the fold)
Then with one outside lip and one inside lining, cut down the center horizontally to split the lips into a top and bottom (for the lip zipper opening)
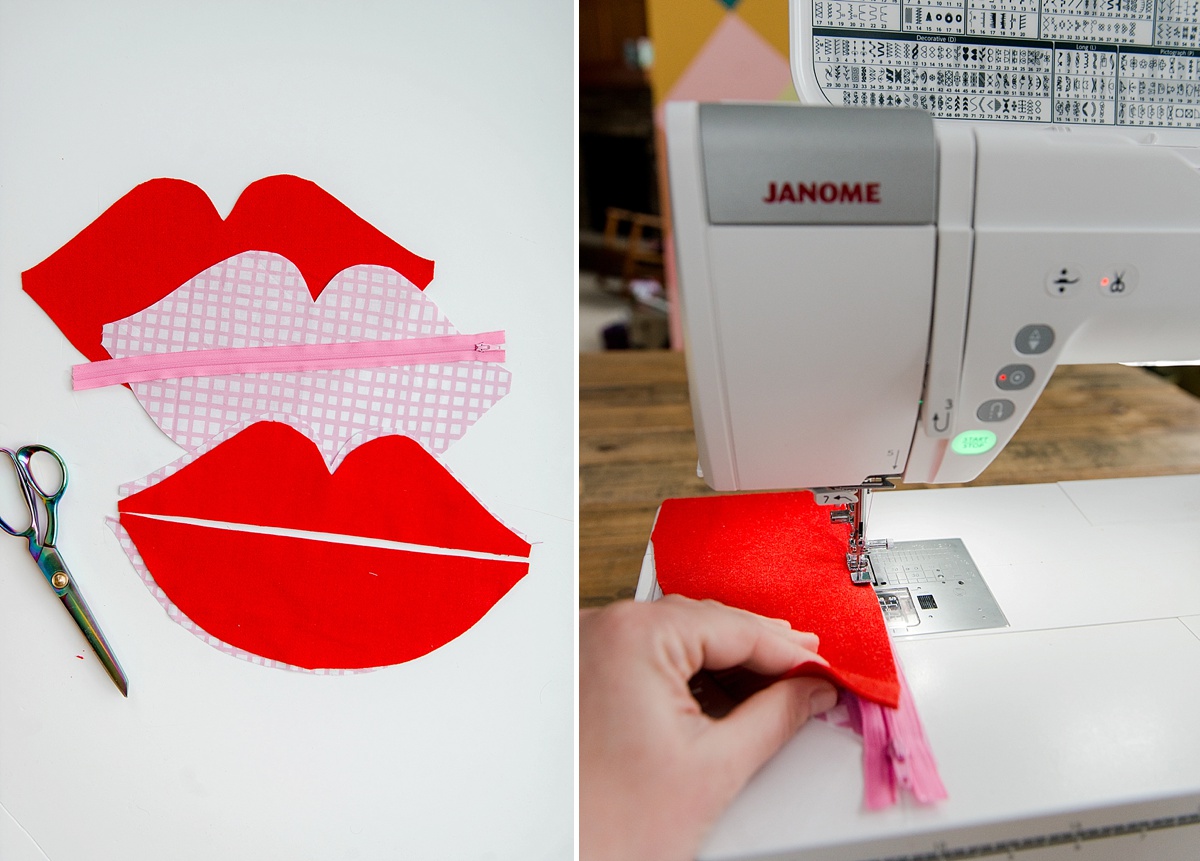
2. Sew Zipper
Layer your fabric as follows: top lip lining face up, zipper, the top lip outside face down. Line up your edges to make sure all 3 layers are flush, and stitch in place with your zipper foot.
Do the same with the bottom lip lining + bottom lip outside
*TIP when sewing zippers: be sure to stop your stitching when you come to the “pull” on the zipper, drop your needle down, raise your presser foot and then zip the pull out of the way. Then continue sewing your stitch to the end of the zipper. If you don’t do this you will get a bulge or notch in your zipper stitch which will be obvious when you want the zipper to lay flat.
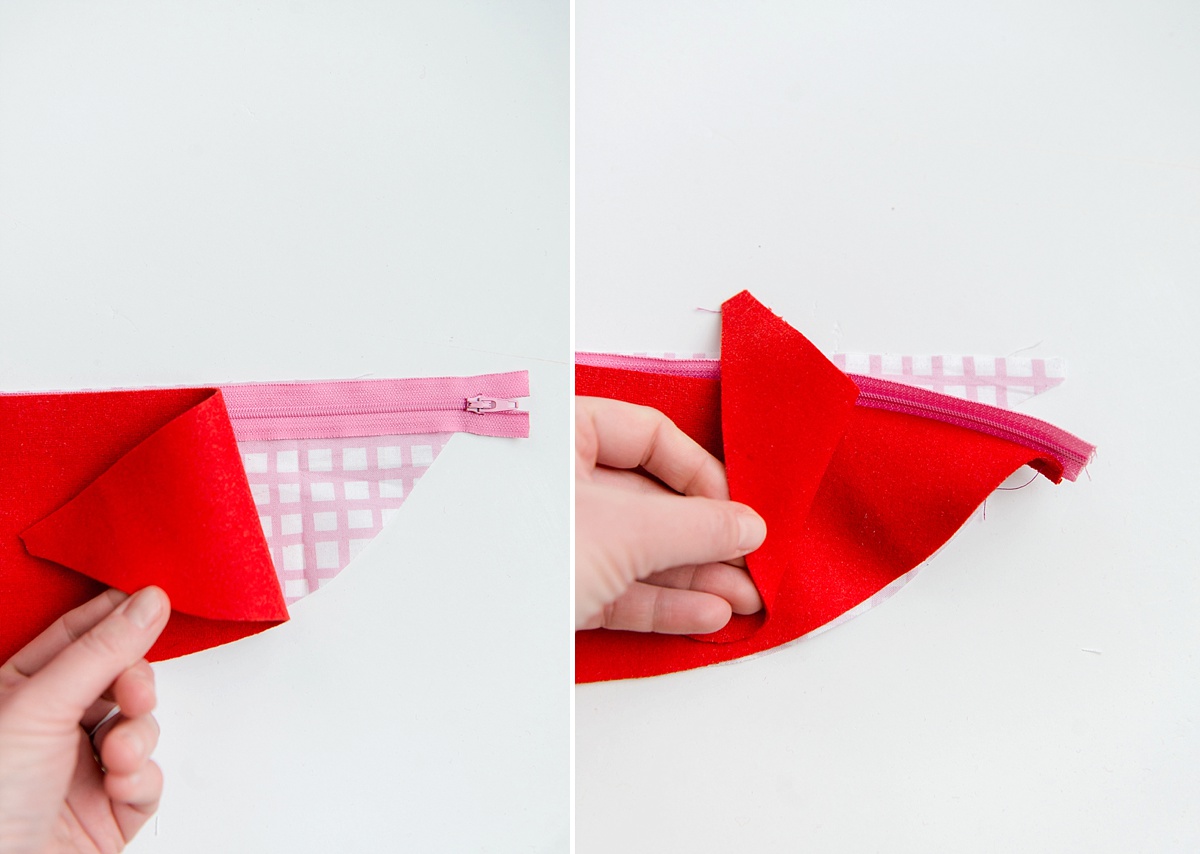
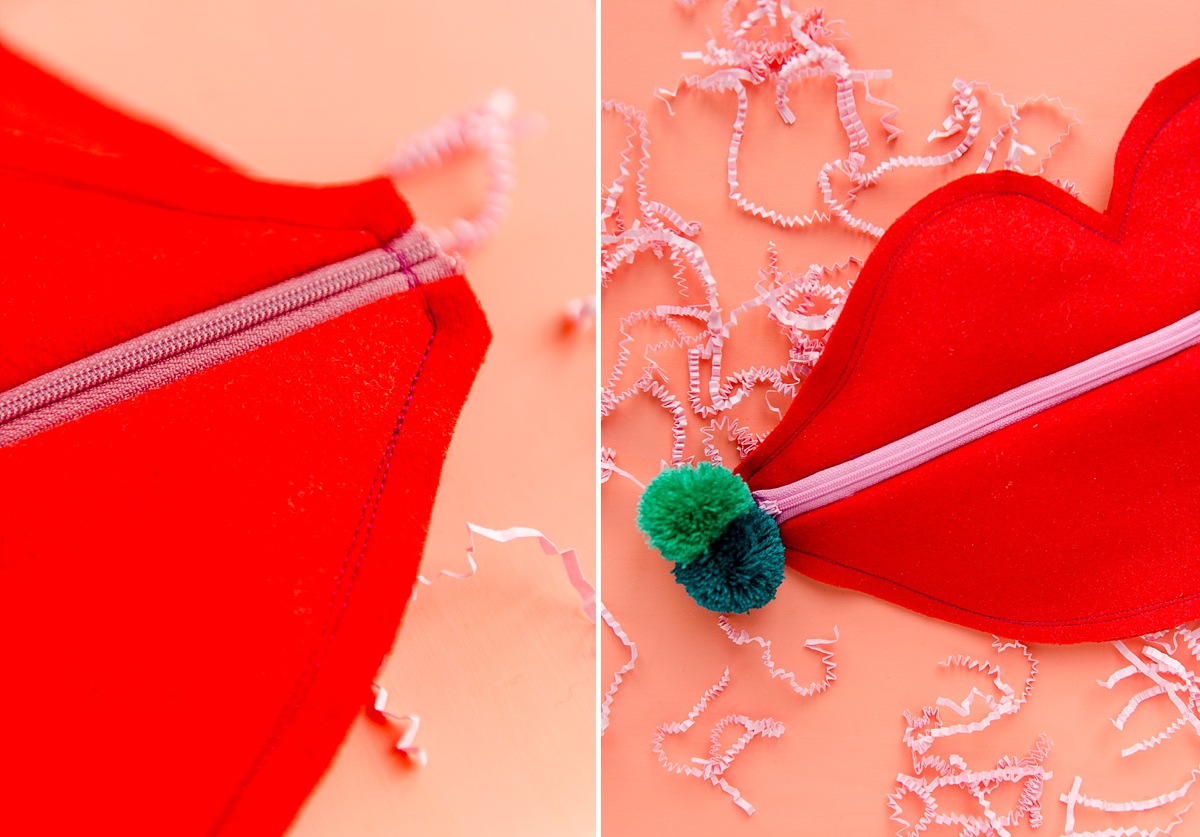
3. Iron zipper + Material
With your iron press the zipper flat and pull your fabric away from the teeth of the zipper to create a nice seam.
**optional to top stitch along the top of each side of the zipper. I chose not to because I like the look of the lips being a bit more “bulged” from the fabric. But by not top stitching, I run the risk of the fabric getting stuck in the zipper teeth as it’s being used because the lining fabric isn’t stitched in place.
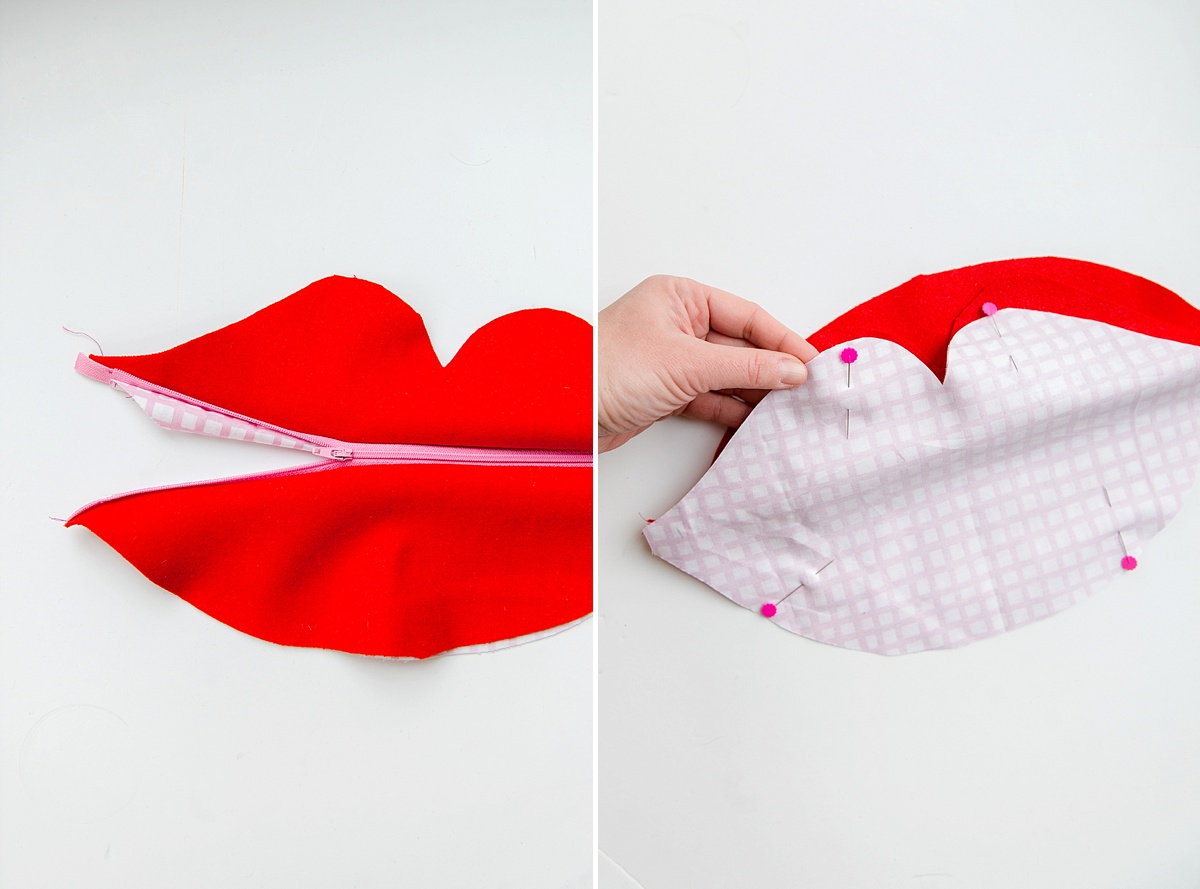
4. Stitch lining together
Line up the inside back lip, right sides together to the inside panel you just sewed. Pin in place. Begin stitching around the outside of the top lip with a 1/4” seam stopping and starting at the zipper on each side (DO NOT SEW OVER THE ZIPPER). And be sure NOT to catch either of the front lip panels in your stitching.
Once done, clip your seams and press out any corners with your fingers or pencil. And press flat.
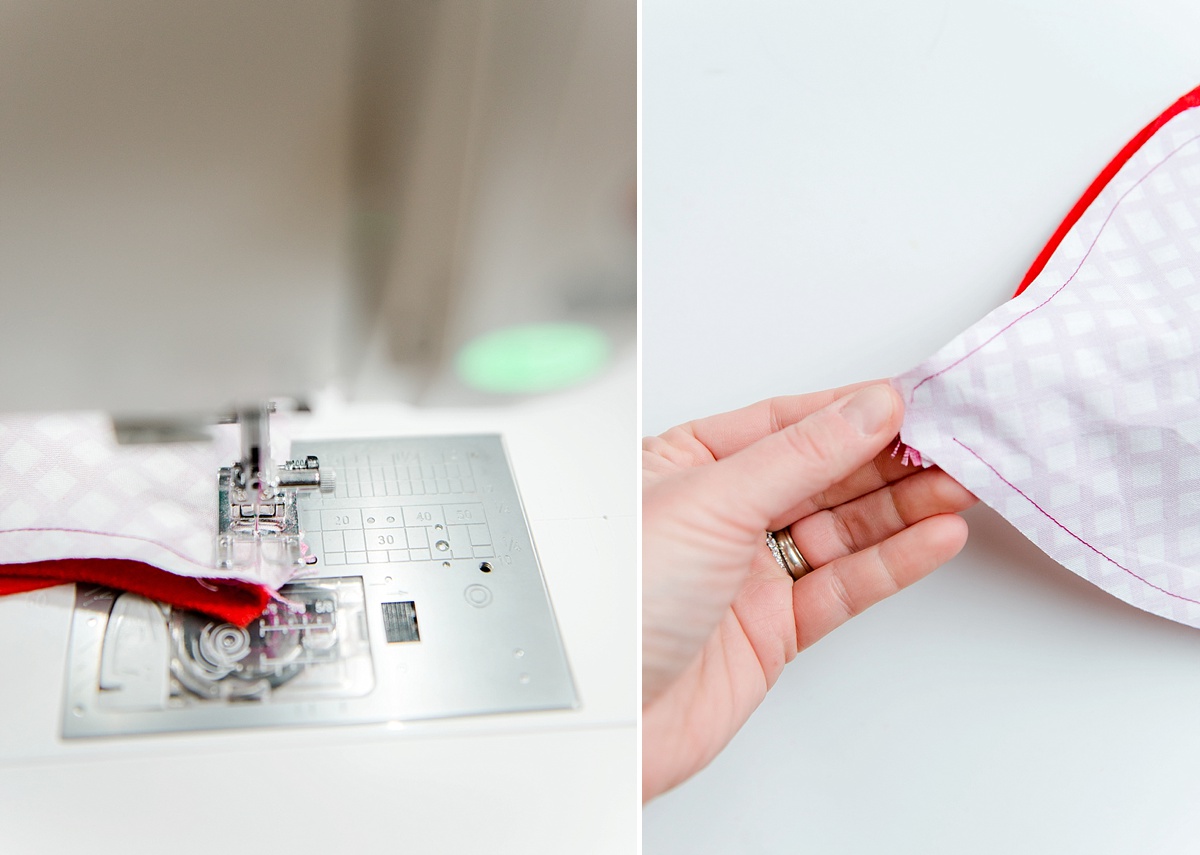
5. Stitch together
With your outside back lip, line up and pin to the front, wrong sides together. Being at one zipper side and start stitching using a 1/8” seam , being careful as you go over each zipper side not to bunch or bulge the inside lining fabric.
I went around the outside of the pouch 2-3 times because I love the “sketchy” stitched look and I love how it movement to the lines of the lip!

6. Add flair
Make a few poms or tassels to tie onto the pull of the zipper OR even a fabric or paper tag with a handwritten Valentine’s message!