Easter egg pom stir sticks

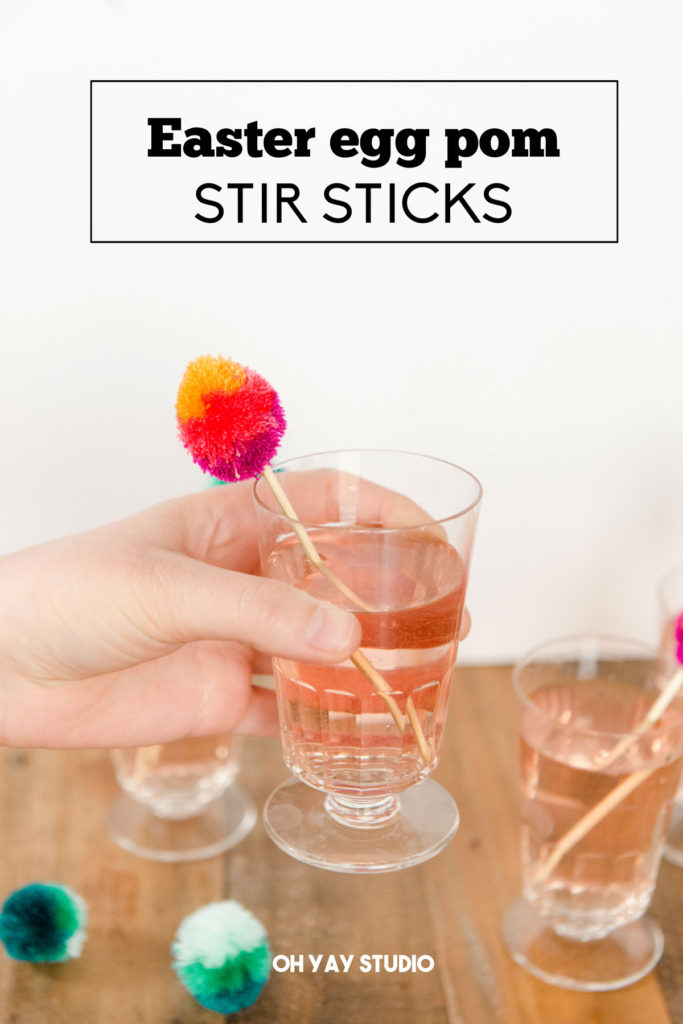
I love poms and I love Easter and I love beverages (like allll the beverages: coffee, wine, bloody marys….) So these Easter egg pom stir sticks are just the ticket to add an extra punch of color and fun for our Easter brunch this year! Annnnnd today I am going to show you how wildly easy and fun they are to make.
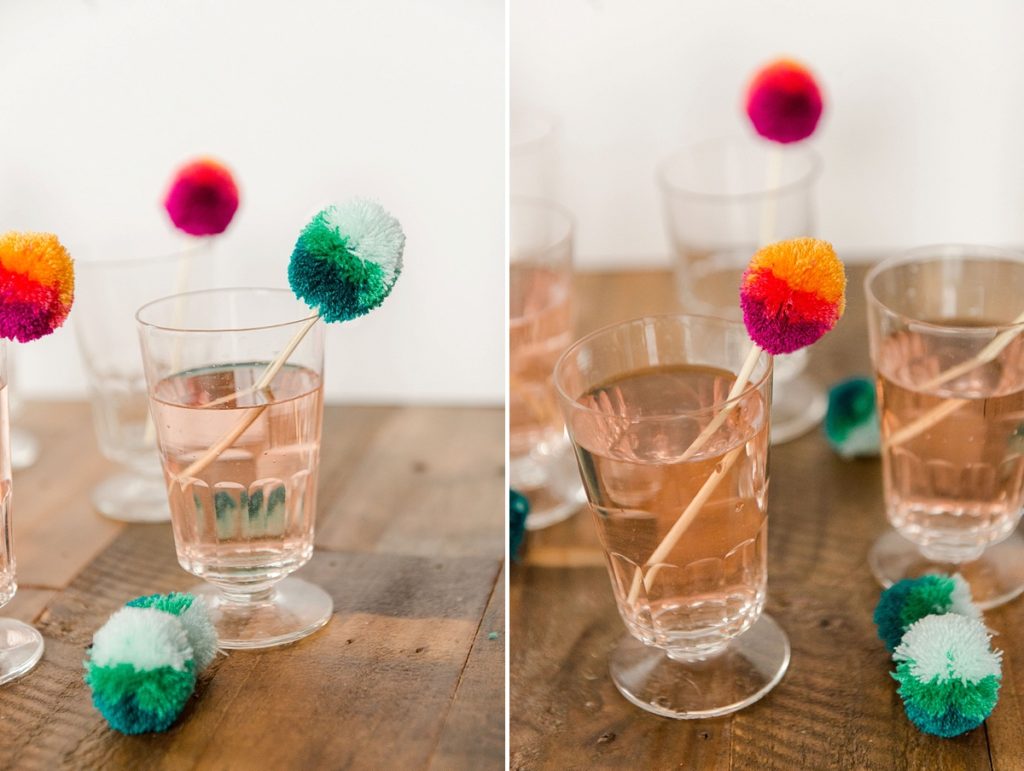
The idea of these Easter egg pom stir sticks is EASY: Make a pom in your fave Easter colors and then trim it to look like an egg. From my years of making poms, trimming is really what makes a pom a pom. We’ve all seen poms that are janky and uneven or not quite “right”…..I have learned that poms are ALLLLLL in the trimming (or mostly anyway). And my trick to making the perfect pom is a *TRIM GUIDE*.
What is a trim guide you ask? Well, it’s a paper (or wooden or cardboard) guide that helps you trim the pom to it’s perfect form. Basically, once your pom is finishing being wrapped and tied and clipped, you will use this guide to form it into the perfect shape by “squishing” the guide to the pom and trimming around the edges. (Don’t worry if this doesn’t make sense, I give a full visual tutorial below)! 🙂
So take this note for THIS pom project and any other future pom projects, that a trim guide is going to make your pom go from cute to WOAH in it’s shape and appeared density! 🙂
Supplies:
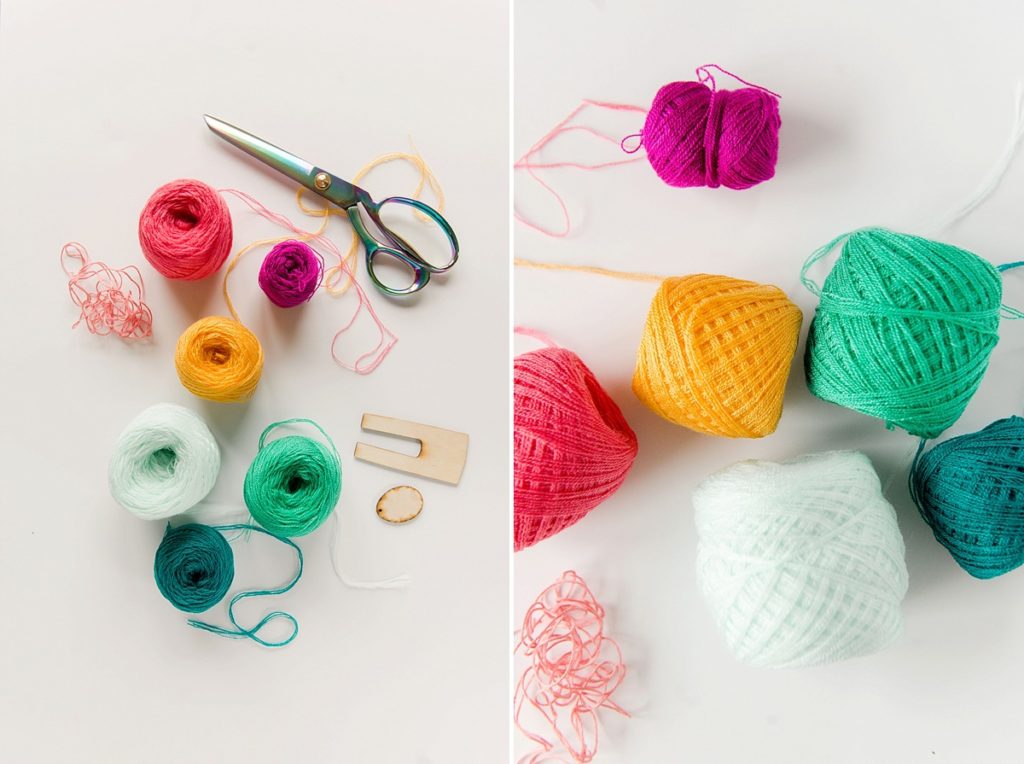
Yarn (I used my new fave, Omegacryl)
A pom maker
Embroidery floss to tie the poms
Very small wooden dowels or wooden BBQ skewers cut in 1/2
SHARP scissors
Pom trim guide (print off HERE)
Instructions:
- Wrap your yarn around your preferred pom maker
I am using the one that I made (I used to make poms from kitchen forks when I was a kid, so I made this one to resemble my childhood learning). And I chose to do a 3 color block as if they eggs were dip dyed.
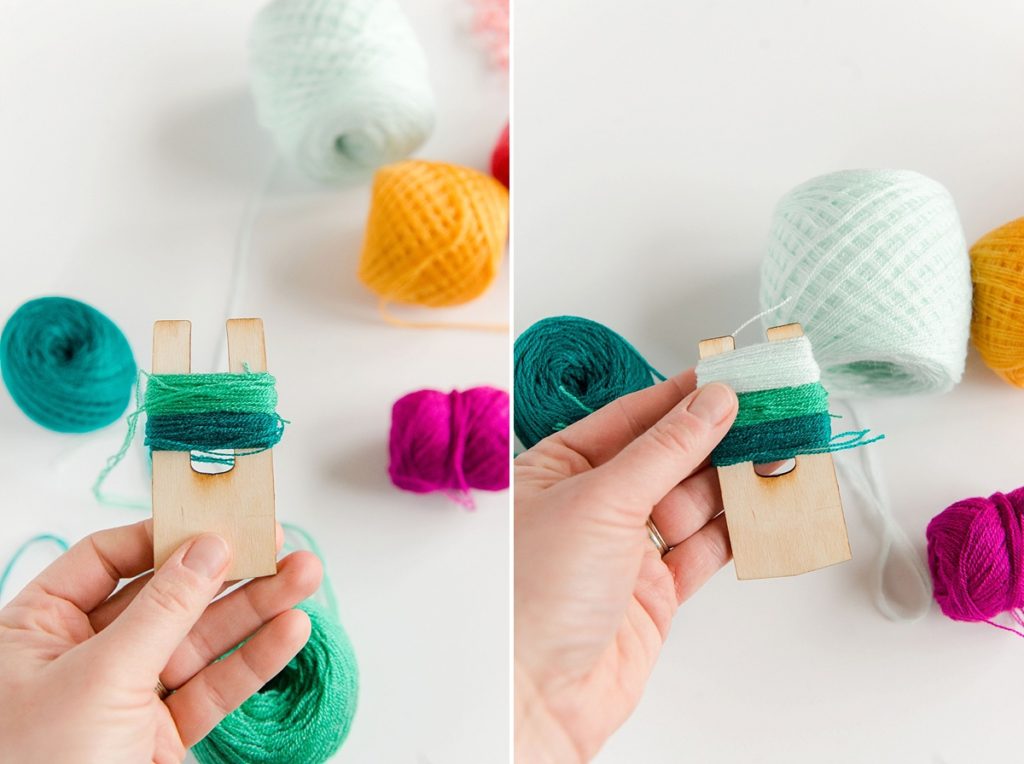
NOTE: Play around with how much yarn to wrap. With my thin Omegacryl yarn, and the size of pom maker I was using, 90 wraps was a great number which ended up being 30 wraps of each color. If using thicker yarn, less wrapping is necessary. Do a few test runs and aim to find a number that is dense enough to hold a shape, but not too dense that makes it impossible to trim down.
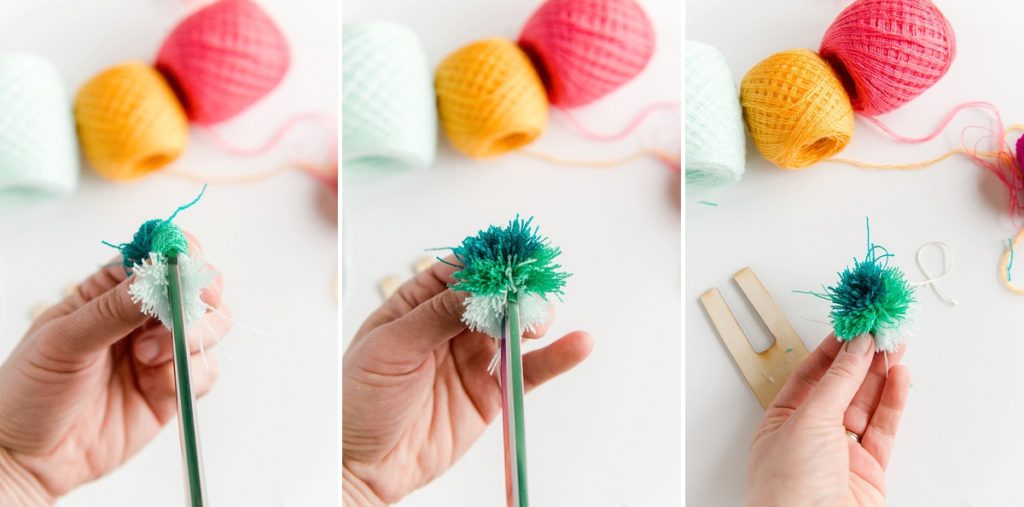
2. Tie off the pom + clip ends
Using embroidery floss (and the specifics from your preferred pom maker) tie off the pom from the pom maker, slip it off the maker and then clip the loop ends.
Note: Why embroidery floss? I have found that this is one of the stronger strings to tie a pom with. Waxed thread also works wonderful as well! 🙂
3. Use the trim guide!
Print off this trim guide and use it to trim around the edges of the pom to make the egg shape! I printed this guide, cut out the egg shape and then traced them to cardboard so that the trim guide was more “substantial” to use when trimming MANY eggs for the stir sticks.
Basically you will be pinching the trim guide on top of the untrimmed pom and using it as a guide to “cut” around
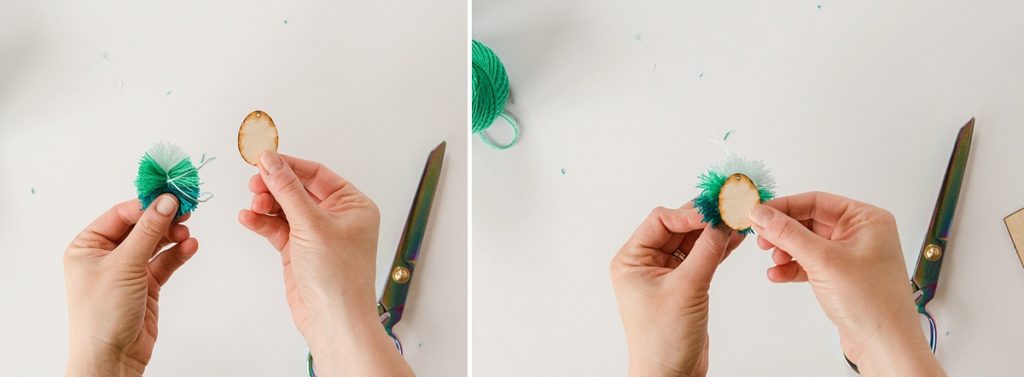
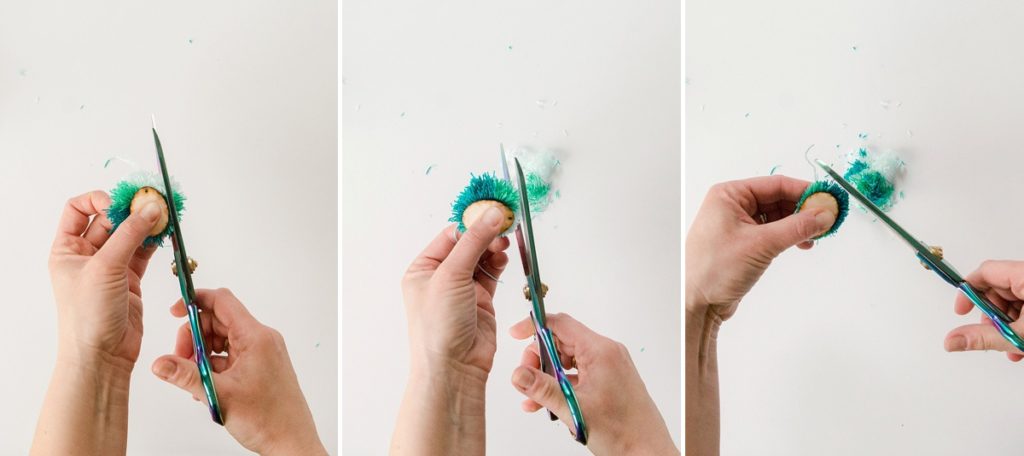
Trim tips:
*Start slow. Don’t trim off too much at one time or you will end up with a flat edge. Take it slow and keep trimming small amounts
*When you are using your scissors, keep moving in the shape of the egg as you are cutting (ie, don’t just make small straight cuts but rather cut and move the scissors as the same time to follow the shape and make longer, smooth trims)
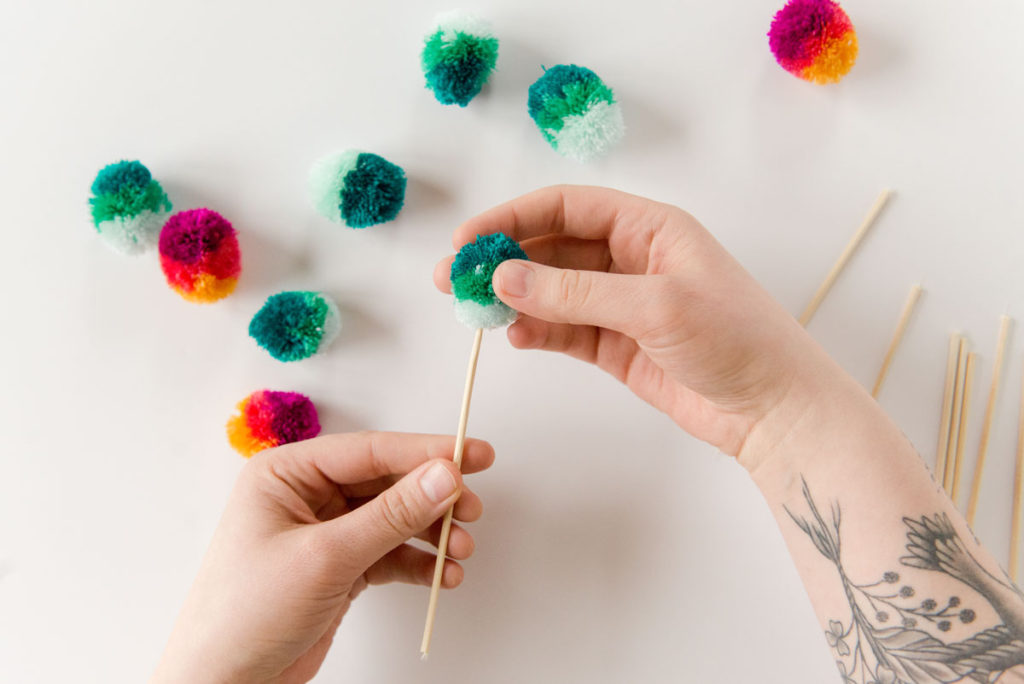
4. Assemble stir stick
Using your wooden dowels or skewers (if using skewers, make sure to cut them in 1/2 so that they aren’t so long), simply stab the egg into the skewer so that it sticks to the top of the dowel. It is optional to add a dab of hot glue to try and get the egg to stay more permanently.
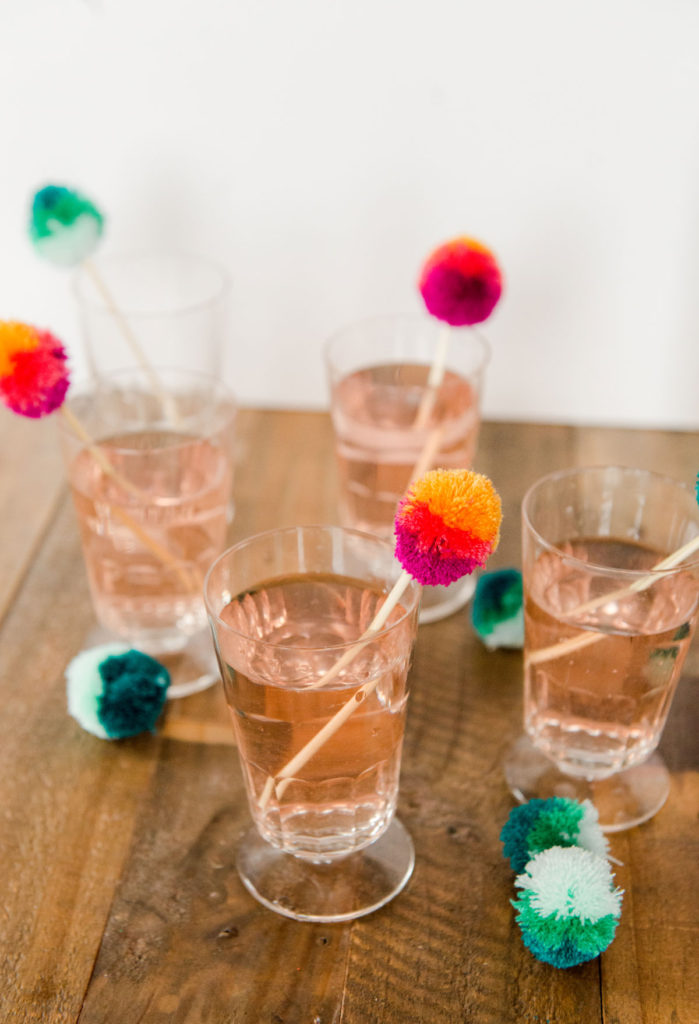
And the best part about these eggs is that you can make them all one color, you can speckle them, you could color block them, ORRR you could even color coordinate them to use them as drink makers for people OR to denote which drinks are what if serving different recipes! 🙂
HAPPY Easter egg pom making AND a giant HAPPY SPRING! 🙂
