DIY backyard movie screen
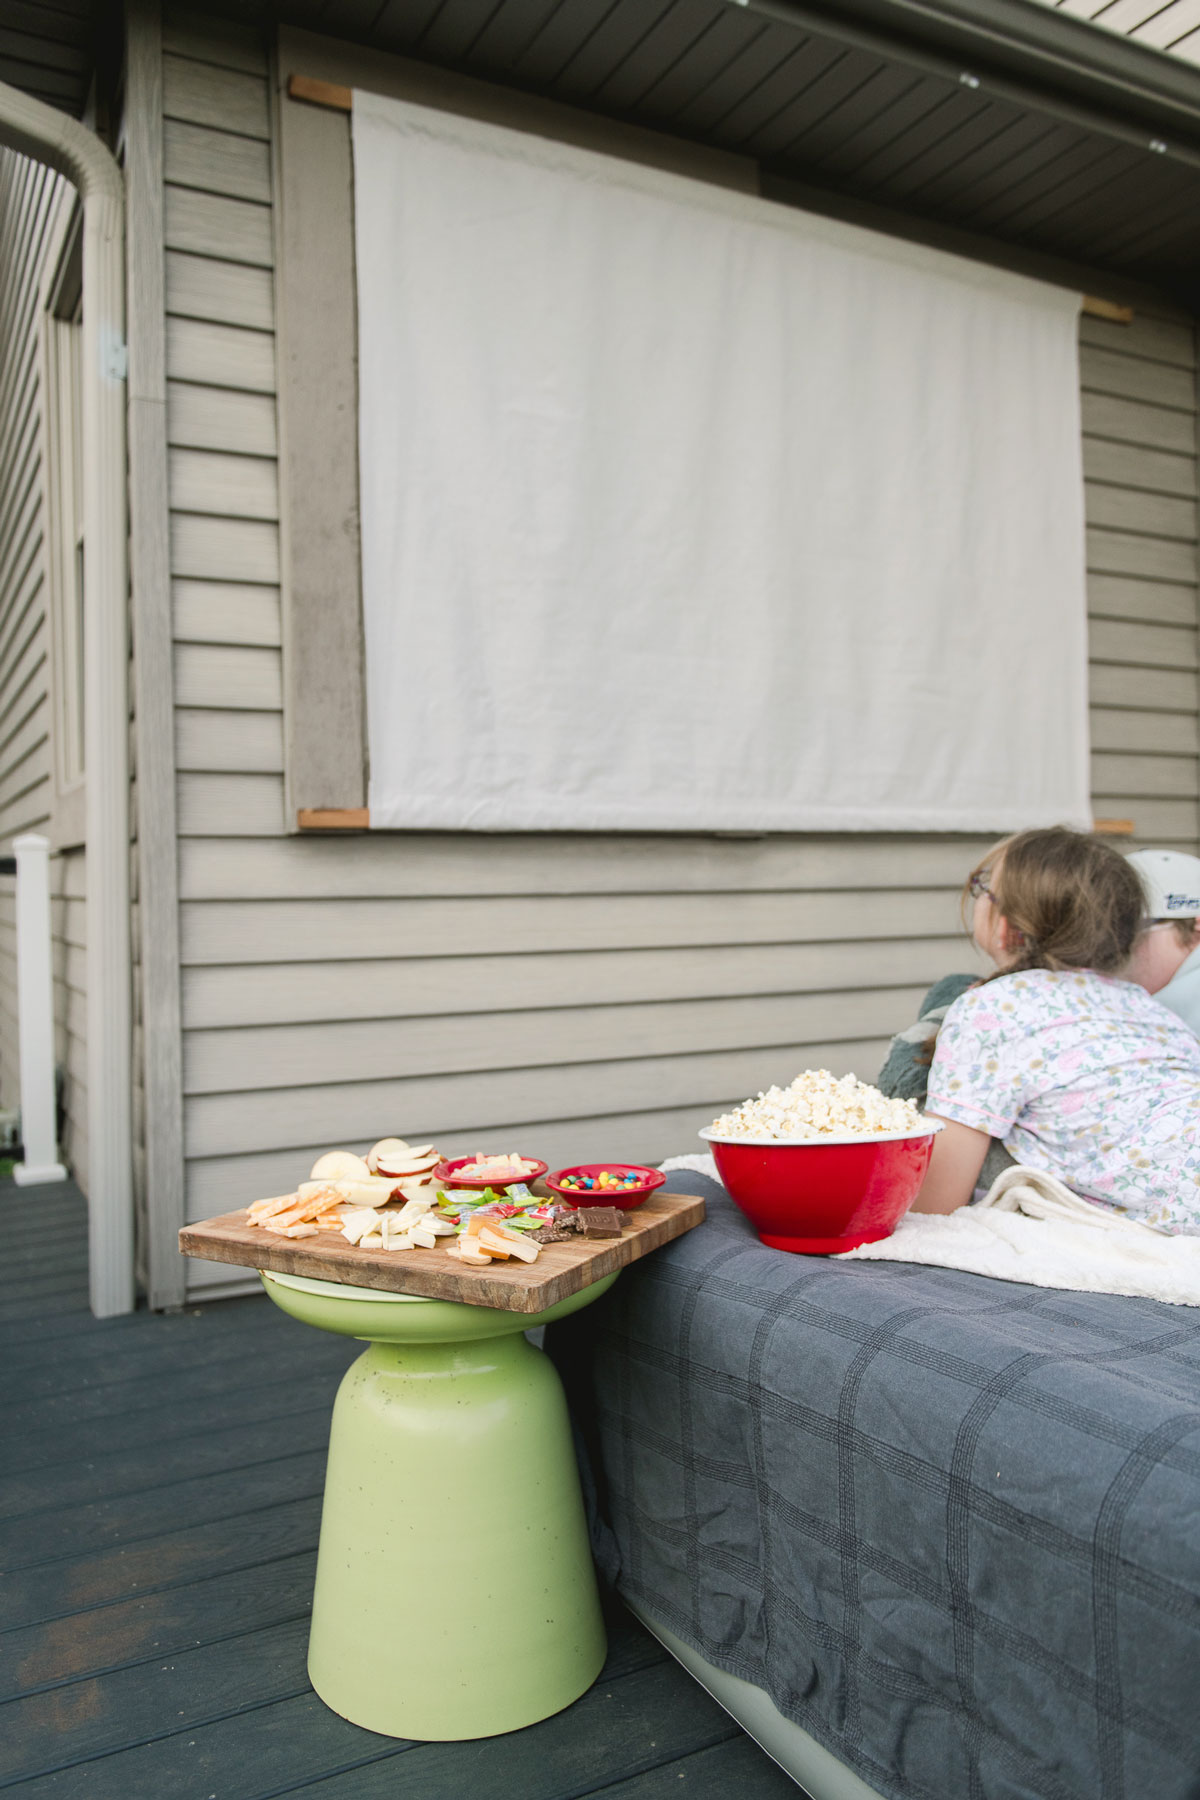
There’s something magical about watching a movie under the stars—the cool night breeze, cozy blankets, and the joy of sharing a favorite film with family and friends. And we are FOR SURE a typical Friday Night movie family! 🙂 With a little creativity and some simple supplies, you can build your very own DIY outdoor movie screen right in your backyard.
All the steps are below for walking you through a simple and affordable way make a DIY movie screen for your backyard so that your summer backyard movie watching dreams can come alive! 🙂
And the best part of this project is that it totaled about $35 in materials! 🙂

MATERIALS:
- A drop cloth (my finished screen was a 7’x4’ so I purchased a 6’x9’ cloth for under $20)
- 2 – 1” x 2” 8 foot boards
- Your fave sewing machine (or hot glue will work too)
- An iron and ironing board
- Some Velcro Sew on Flexible tape (or any type of fastener)
- Some Velcro Extreme Outdoor tape (to make the screen removable without using glue, nails, or epoxies)
- Any string lights, blankets, pillows or things to make your setting cozy
- Your fave projector and movie 🙂
- AND OF COURSE: popcorn, snacks, and other yummy things 🙂
INSTRUCTIONS:
1. Start by cutting your drop cloth to size
Knowing my finished movie screen will be about 7’x4’ (this size is flexible, just be sure you have your screen in a 16:9 ration for those widescreen movies), I chose to cut my drop cloth to just over 8’ wide x 4’ tall. My boards were 8’ wide so that I had 6” of the board sticking out past the finished screen on each end.


**optional, you may need to iron your drop cloth before cutting and sewing, depending on how it’s packaged
2. Sew (or glue) the channel for your boards
If you had to cut your edges, you will begin by ironing over your “edges” on the long side (top and bottom) of your drop cloth screen and then stitch in place to “finish” the seam .
Then you will create the channel. Since the boards I purchased were 1” x 2”, I needed my channel to be about 3 1/2” wide (7 inches “unfolded”). Measure this out and then pin your sew on velcro into place. You could (in theory) also hot glue this velcro in place too if you didn’t have a sewing machine! 🙂


Repeat this for the other “long” side so that you have 2 channels on your drop cloth – one at the top and bottom for your boards
3. You will fold over your channels and insert your boards into those “pockets”.

Then you are going to add your velcro outdoor strips to the boards itself. I cut about a 3” strip for all 4 sides of the exposed board. I attached the velcro according to the instructions and then hung it on the siding of our house.


It truthfully worked awesome at holding the weight of the screen and the velcro seemed to come off well (I tested a bit with some goo removal to make sure that I didn’t permanently damage our siding!
The best part of this screen is that it’s roll-up-able so that it’s easy to store until your family movie night!!! 🙂


