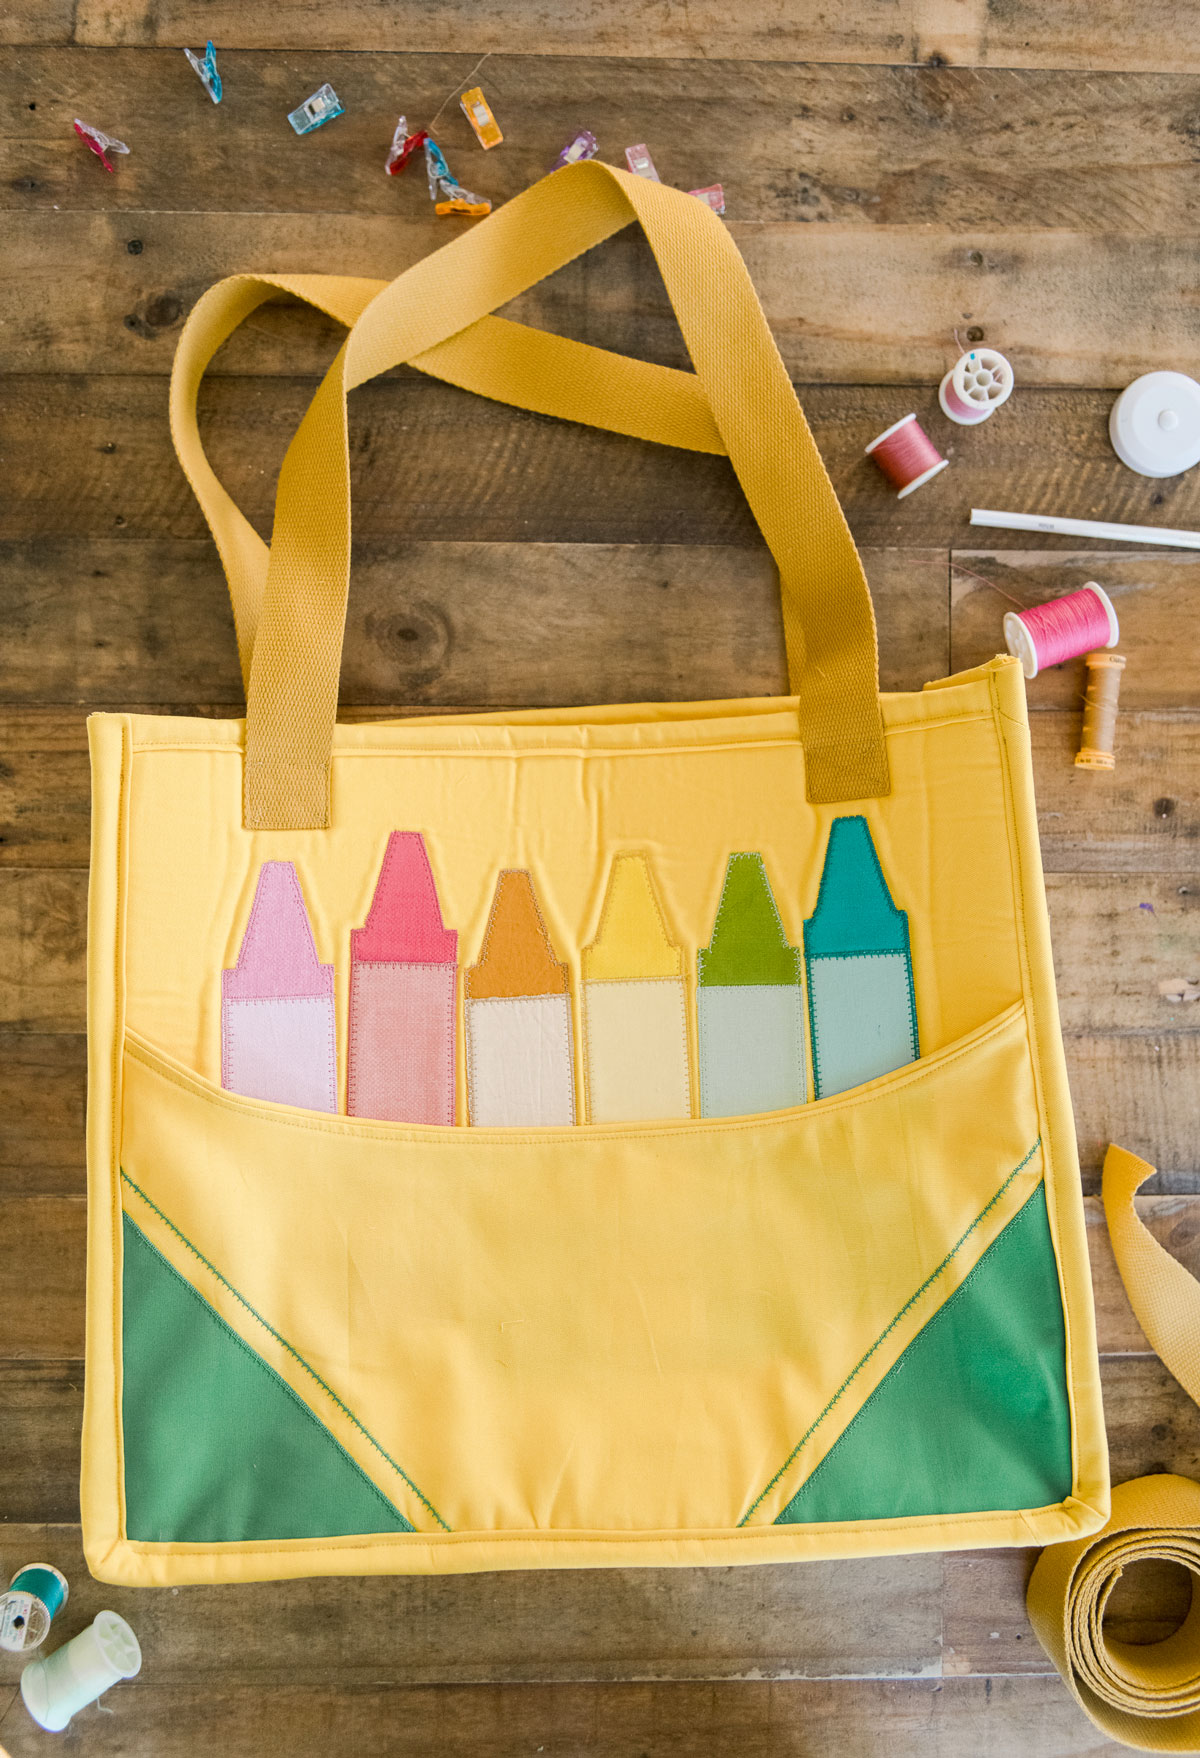
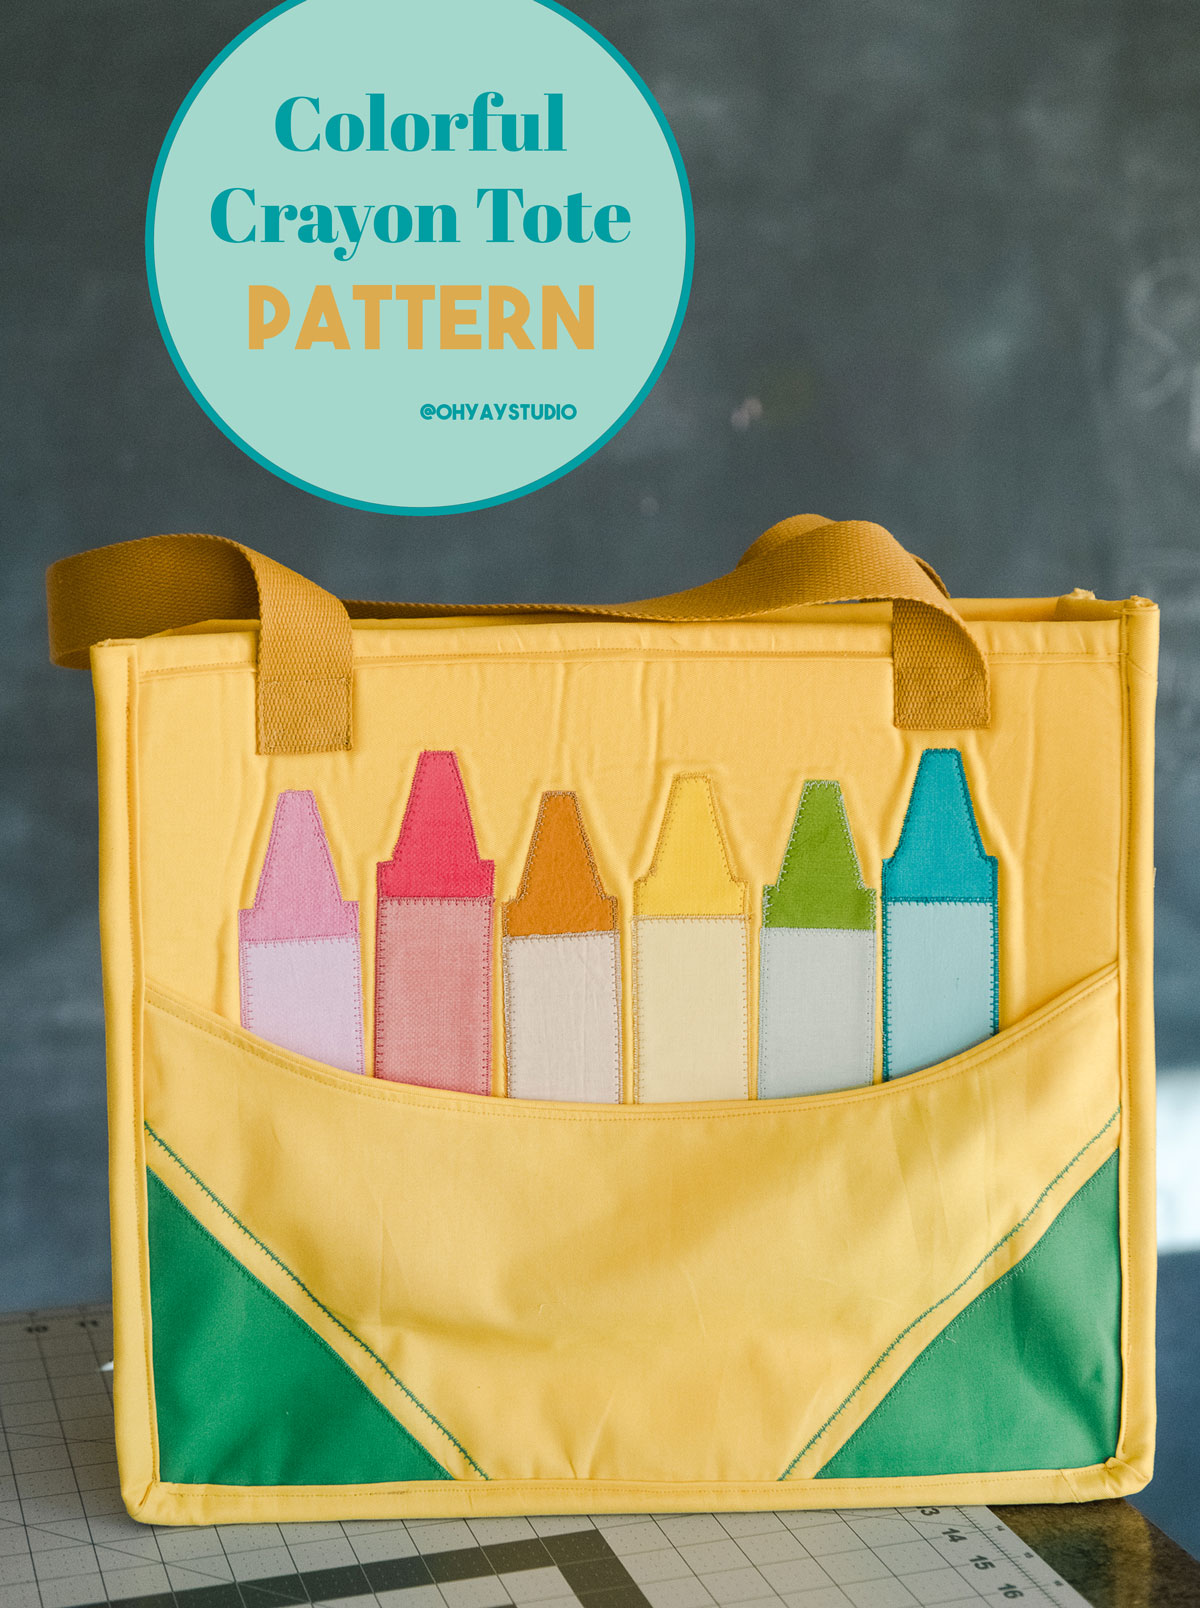
Crayon box tote DIY
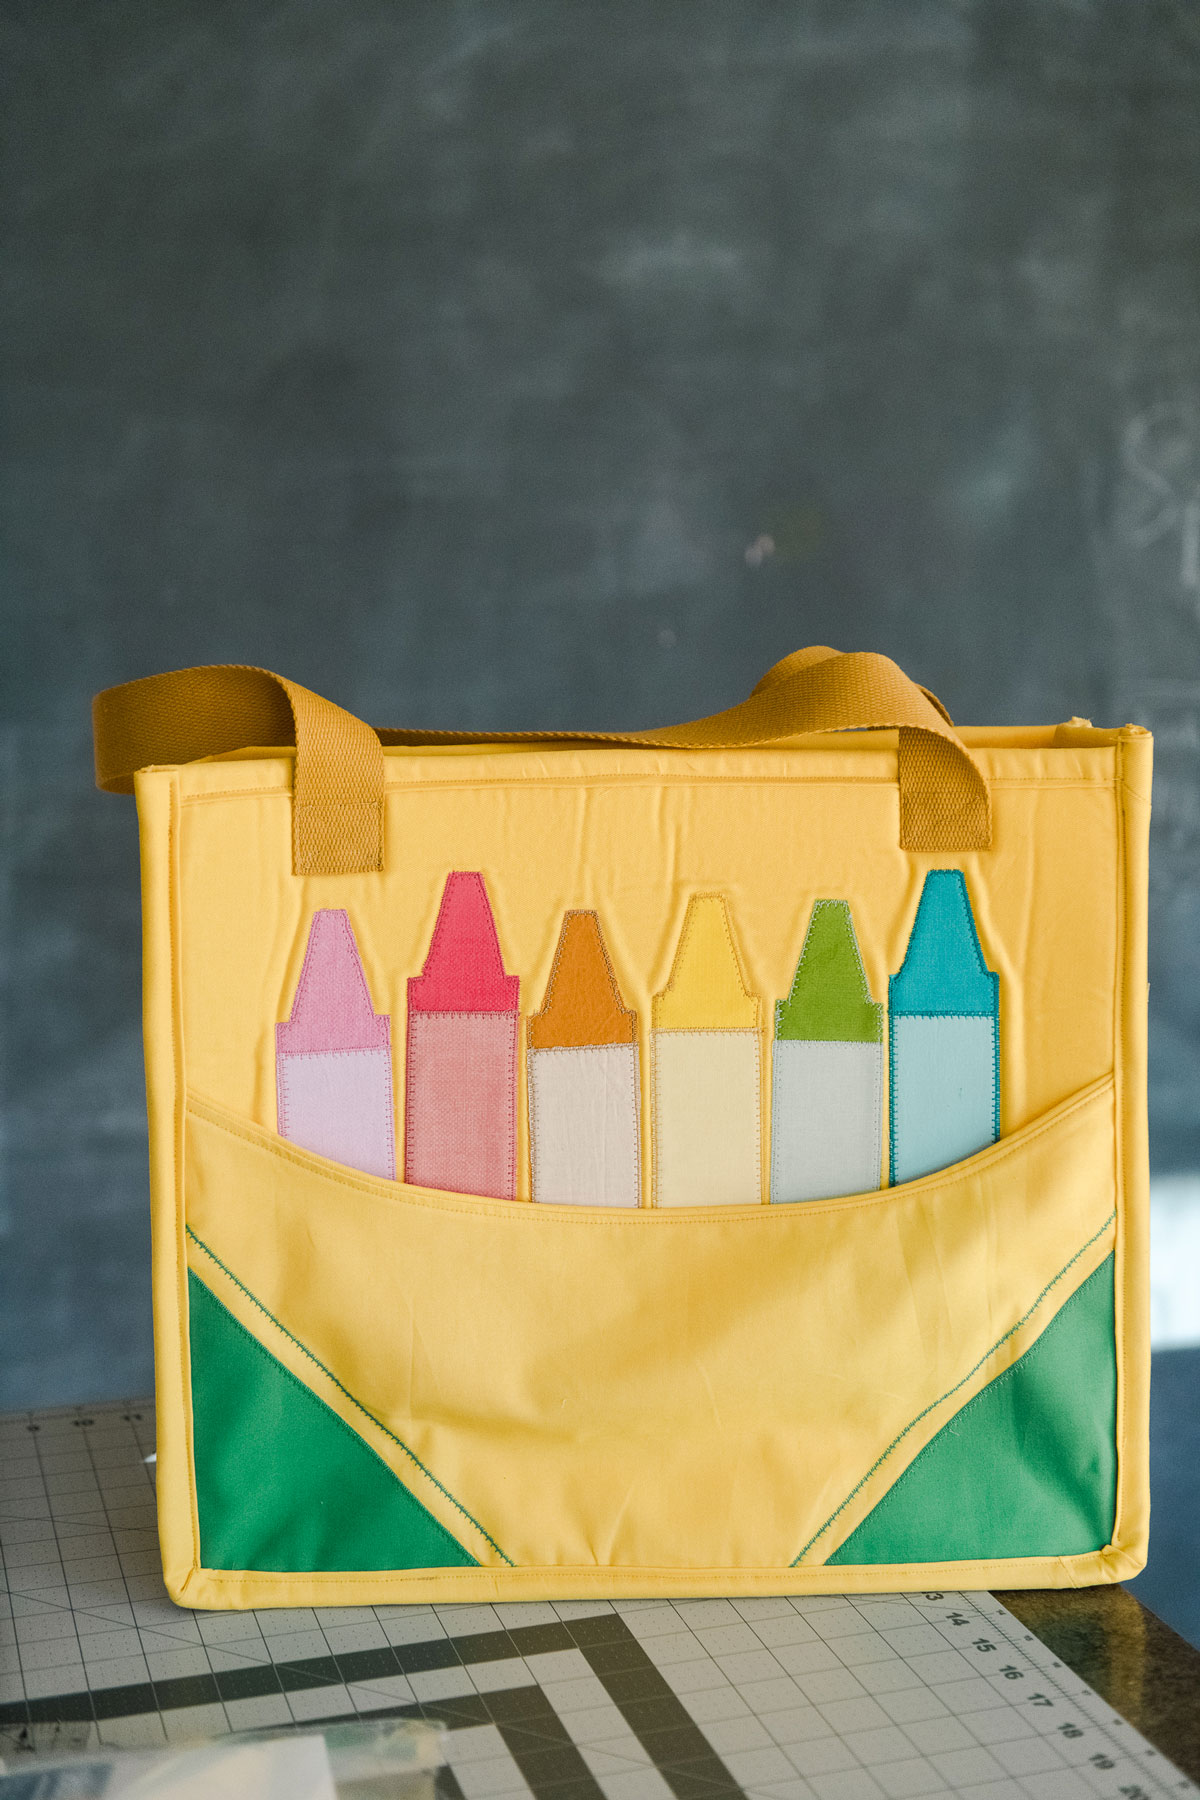
(aka: my new favorite tote/purse/bag EVER)!
Because, well, duh! 🙂 It’s a crayon box bag that is SURE to put a smile on the face of everyone you walk by while toting it around your school, work or town! 🙂 This is an “intermediate” sewing project (meaning, it’s not super hard but does require some careful attention to just a few steps)! You can find all of my tips, tricks and instructions below AND I can surely promise that you will love this colorful crayon tote when you’re done!
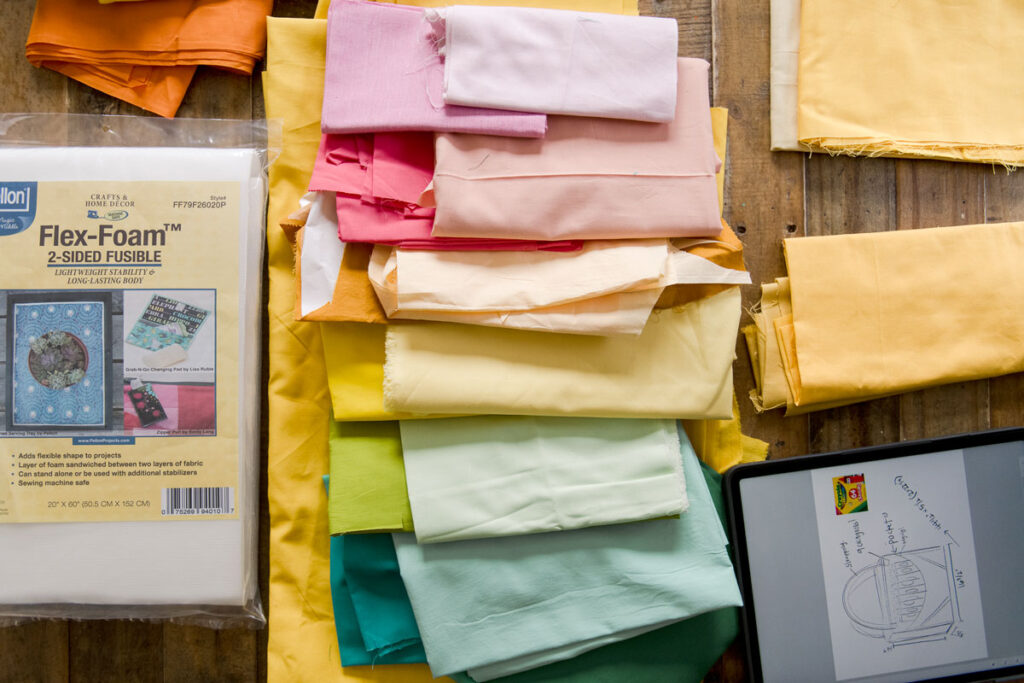
MATERIALS:
- Yellow cotton fabric – about 1 yard of fabric (you will ends up using less that the full yard amount, but you may want your sides to be one long piece)
- Green cotton – less than 1/4 yard
- Lining fabric – 1/2 yard
- Double sided fusible interfacing (for helping pieces stay in place while appliqué)
- Cotton fabric in your desired crayon colors (you can for sure use scraps) – Choose 1 darker and lighter of each color (for the crayon and the wrapper)
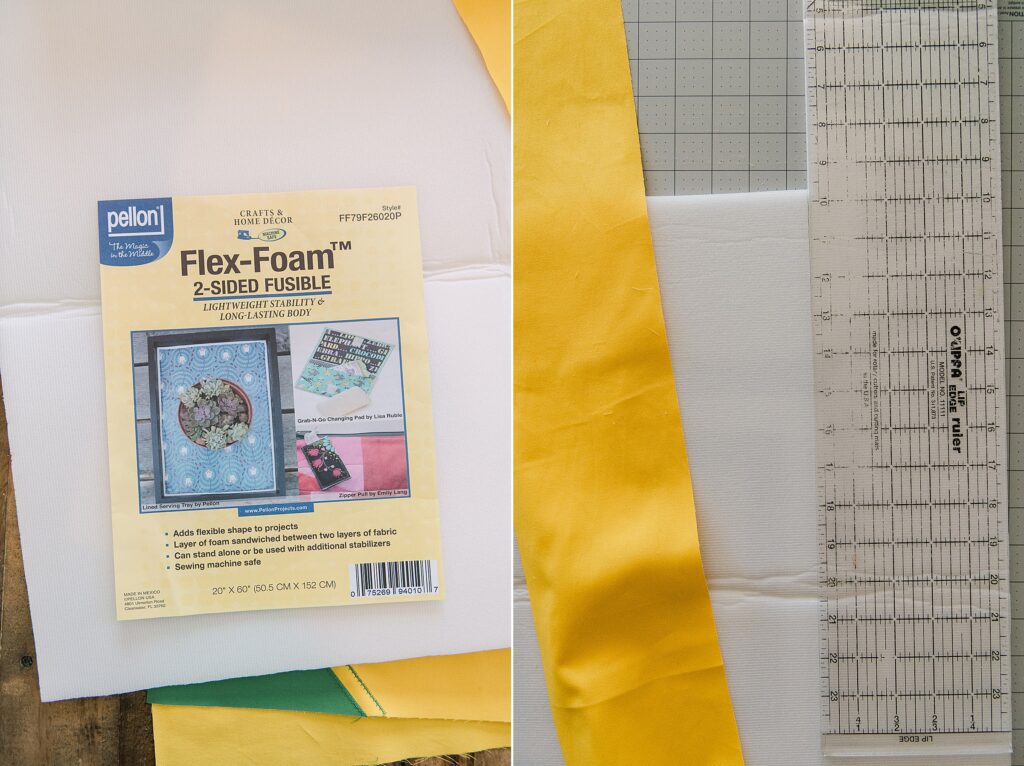
- Flex-foam for adding stability to the bag 🙂
- Nylon or Cotton strapping (or fabric to make your handles) about 60” in length (2 – 30” over the shoulder handles)
- Your fave Janome sewing machine
- Coordinating thread and bobbins for matching the crayons, lining and other colors of your crayon box as desired
- Claw clips or straight sewing pins
- The Crayon PDF for cutting out your crayons 🙂
INSTRUCTIONS:
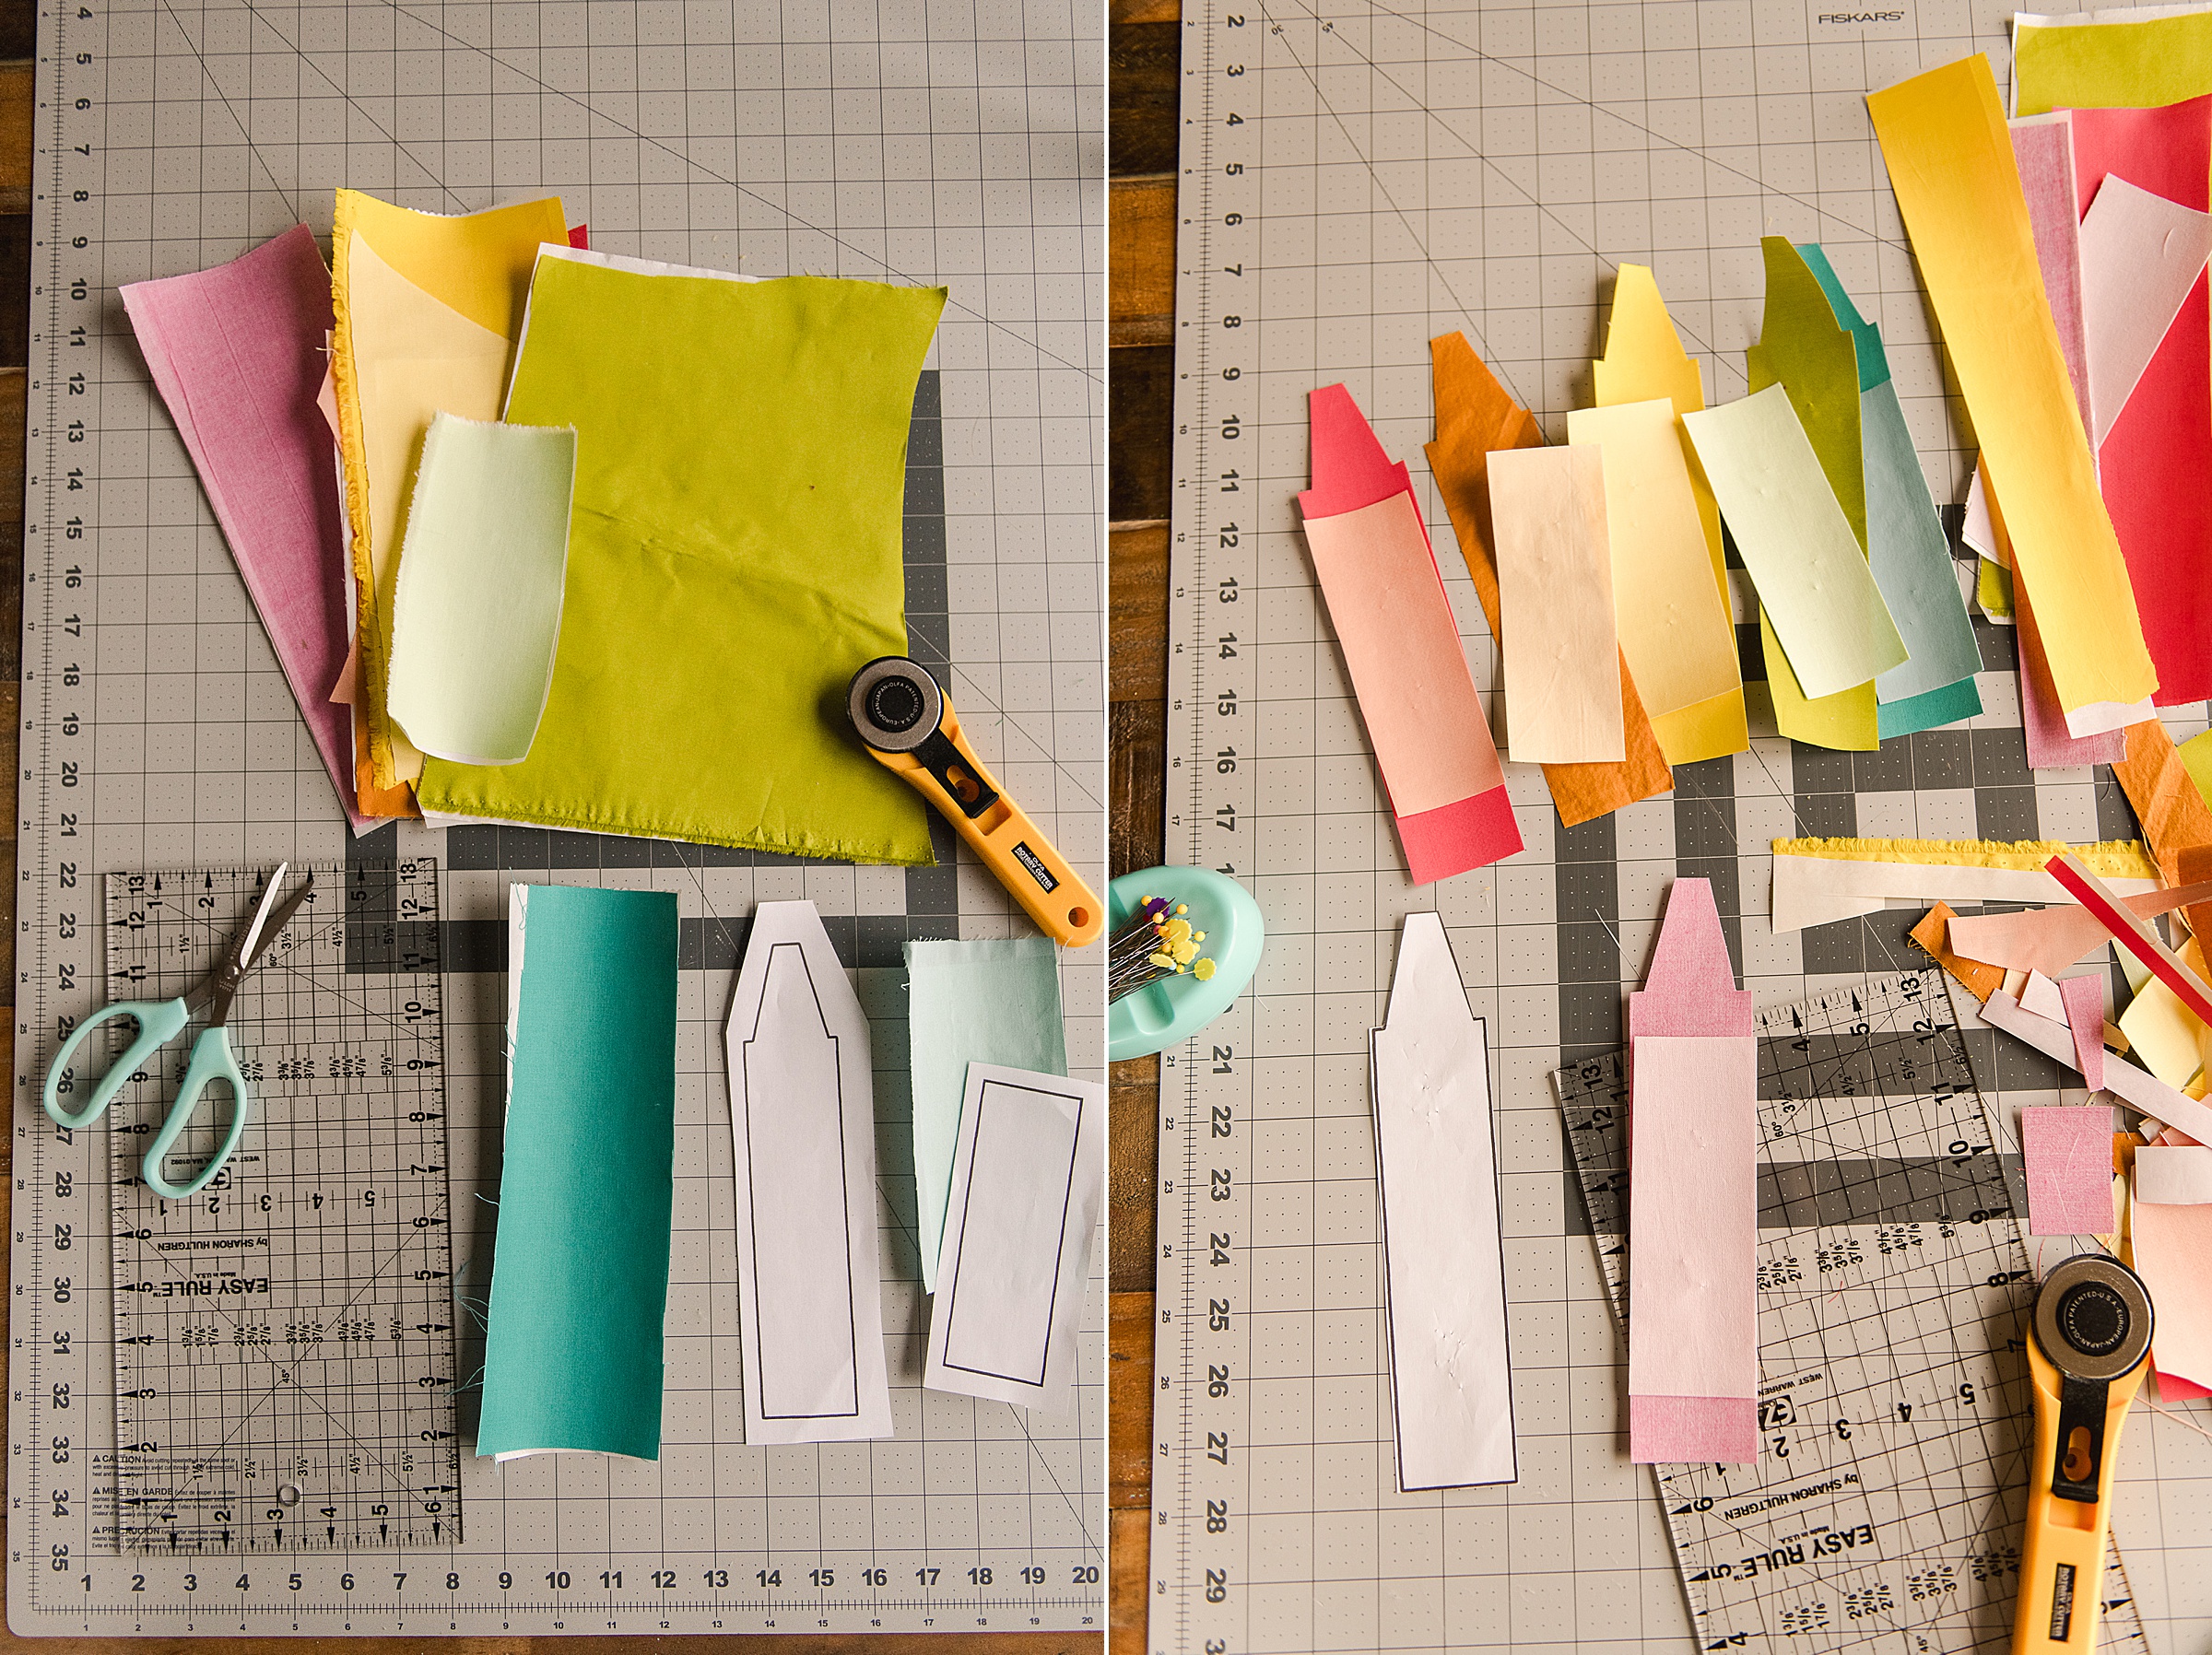
1. Cut the following:
(note: I used the same yellow fabric for the outside box and all inside lining pieces, but use whatever you have on hand or whatever sparks your creativity for this project 🙂
- a. From yellow fabric, cut a front and a back, sized 17 1/2” x 15” – this is the front and back outside box
- b. From your lining fabric, cut a front and back, sized 17 1/2 x 15” – this is the front and back inside lining
- c. From your yellow fabric, cut the outside side, sized 5” x 50” – this is the outside side piece (and can be pieced to get the length if necessary)
- d. From your lining fabric, cut the inside side lining, sized 5” x 50” – this is the inside side lining (and can be pieced to get the length if necessary)
- e. From yellow fabric, cut a rectangle front pocked, sized 17 1/2” x 13” – this is the front pocket
- f. From yellow fabric, cut a strip about 1 1/2” x 21” – this is the edging along the front pocket
- g. From yellow fabric, cut 2 strips 3” x 17 1/2” and 2 strips 3” x 5” – this is the top edging for the front, back and sides of the outside box
- h. From your flexi-foam, cut out a front and back sized 17 1/2” x 15”, and a side piece 5” x 50” (
- tip: cut your length side piece length first so that you can get it all in one piece to add the most stability to the box)
- i. From your yellow fabric, cut two 3” x 51” strips for the outside finished edging (used in step 7)
**before cutting these next pieces, iron some double sided light fusible interfacing to these fabrics so that after cutting, you can iron before appliquéing for added support and easy sewing 🙂
- j. From your green fabric, cut 2 triangles about 7” x 5” (along the right angle size) – this is for the side front box decor along the front pocket
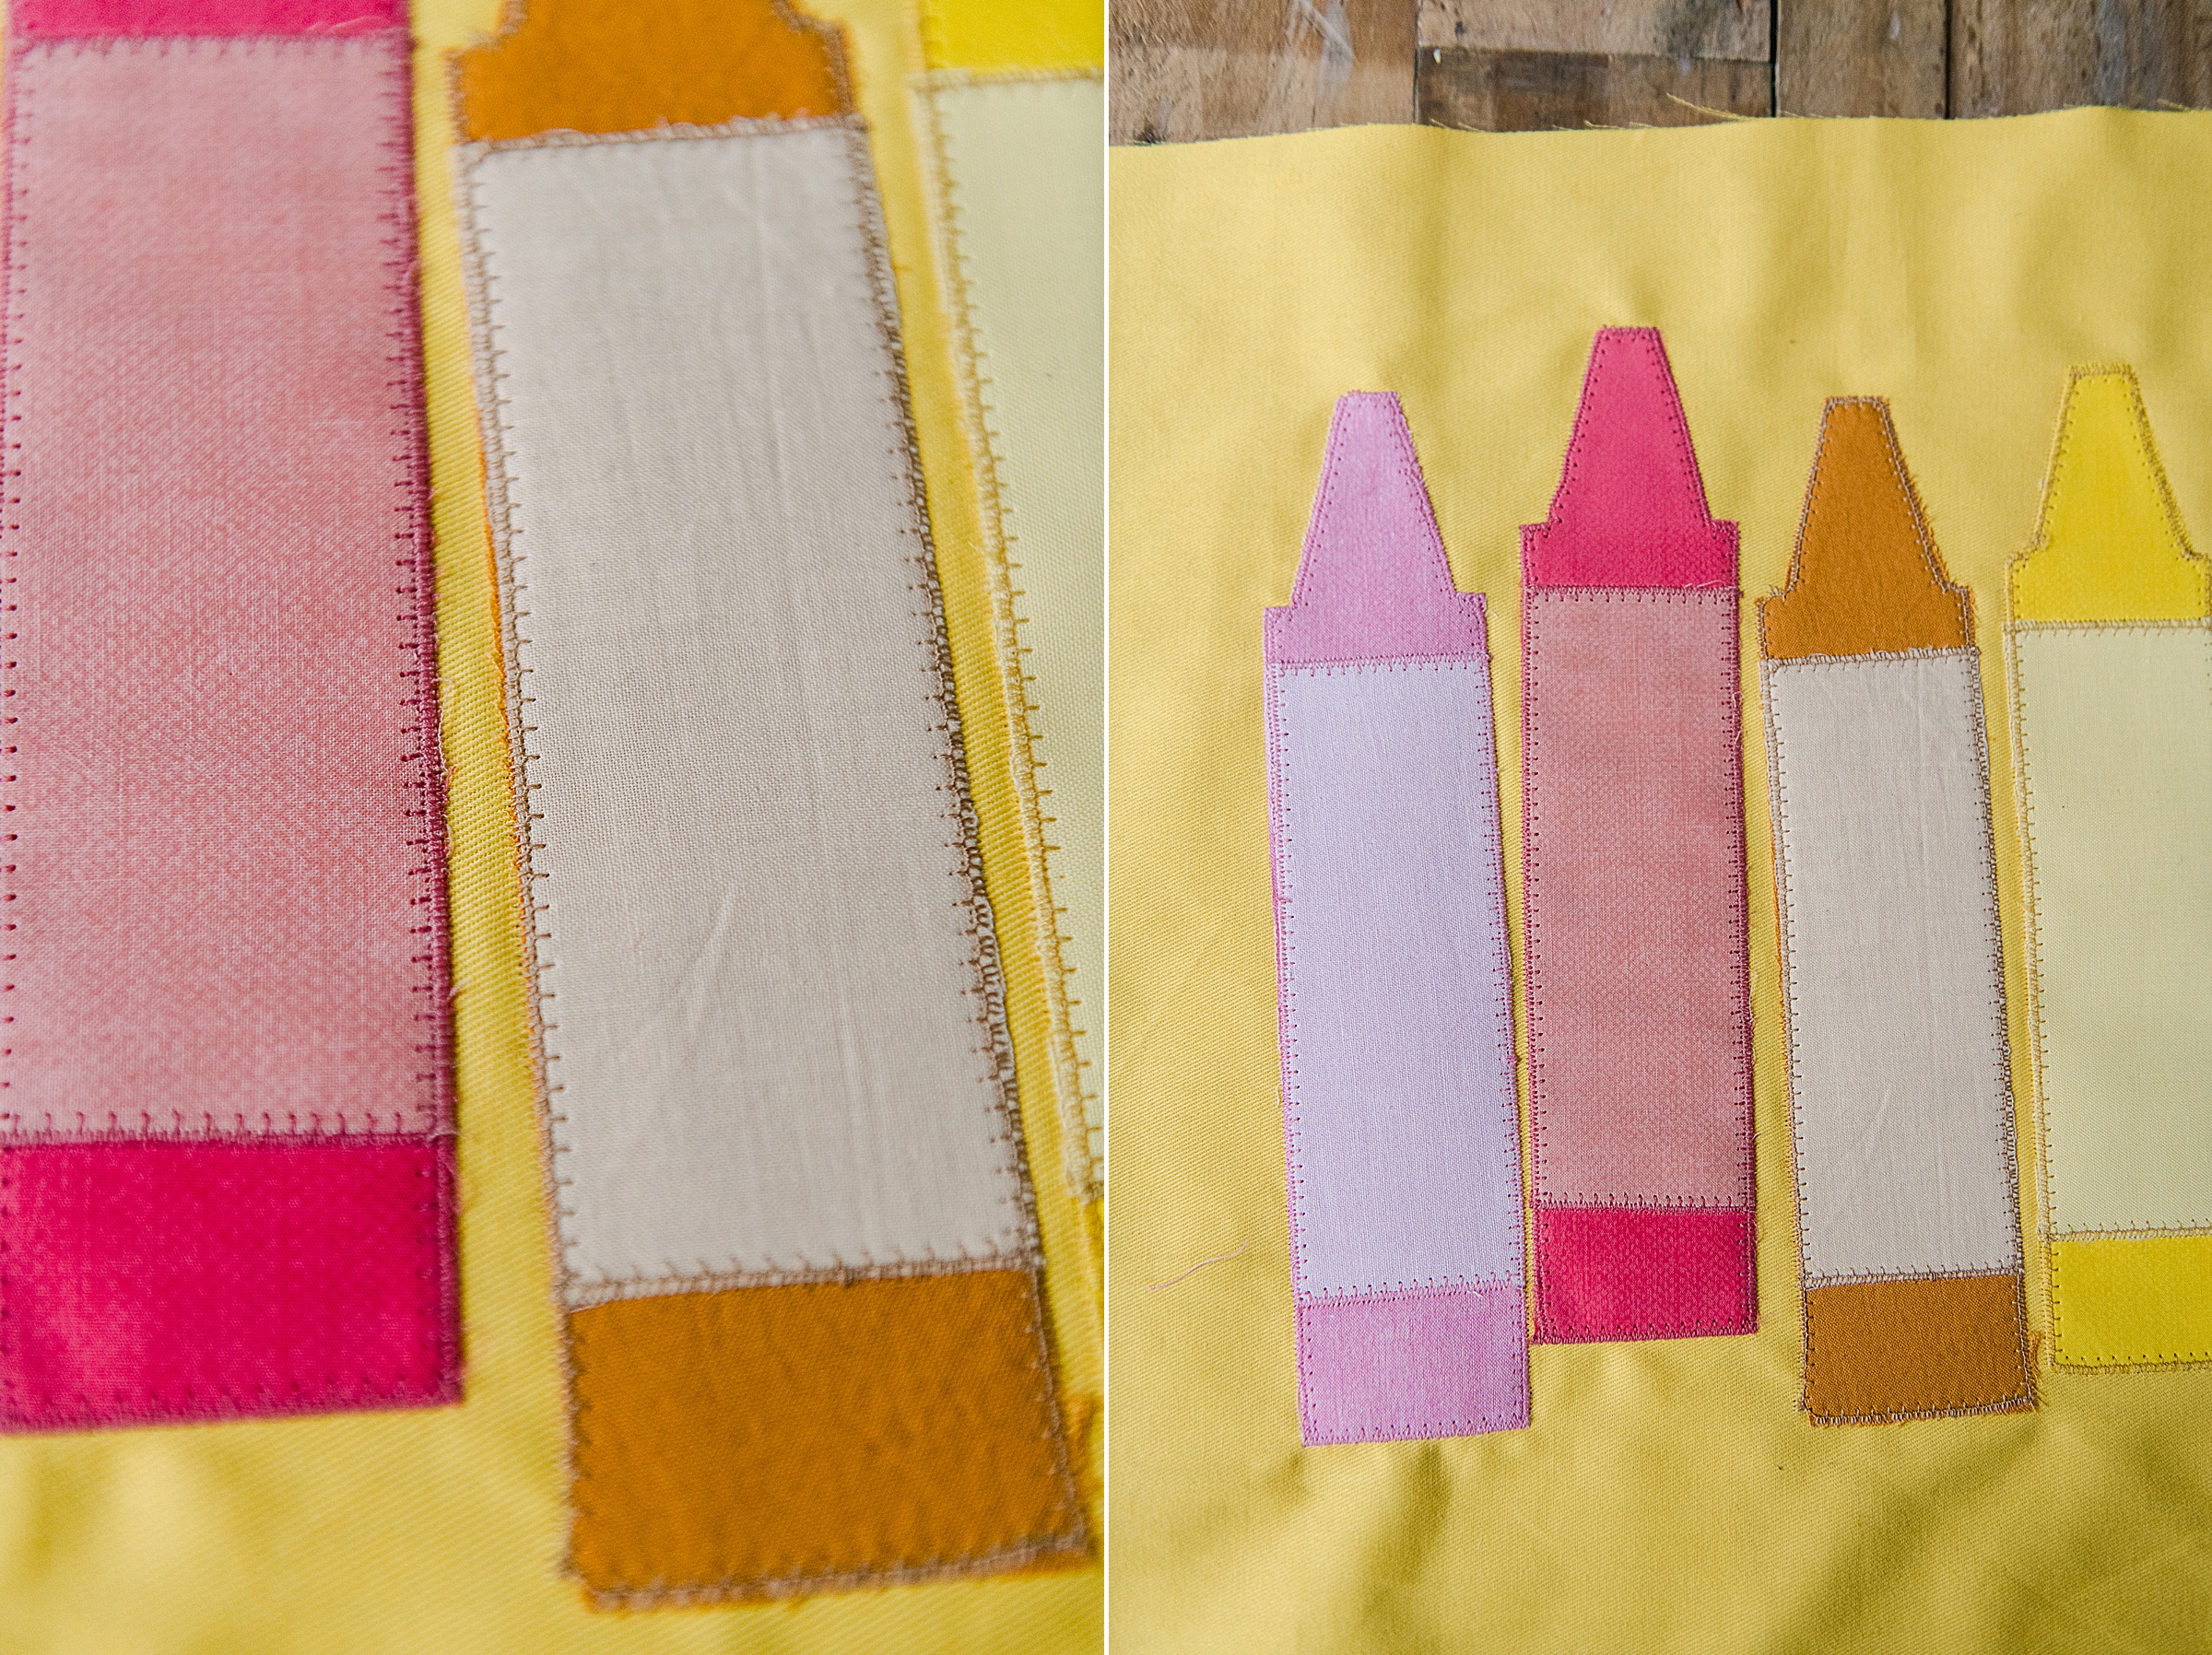
- k. Using the crayon PDF pattern, cut your crayons out of your desired fabric – I chose the darker color for the crayon and the lighter color for the rectangle wrapper
(note: if you want to your crayons up or down to adjust the sizing, simply do this on your printer screen before printing the PDF)
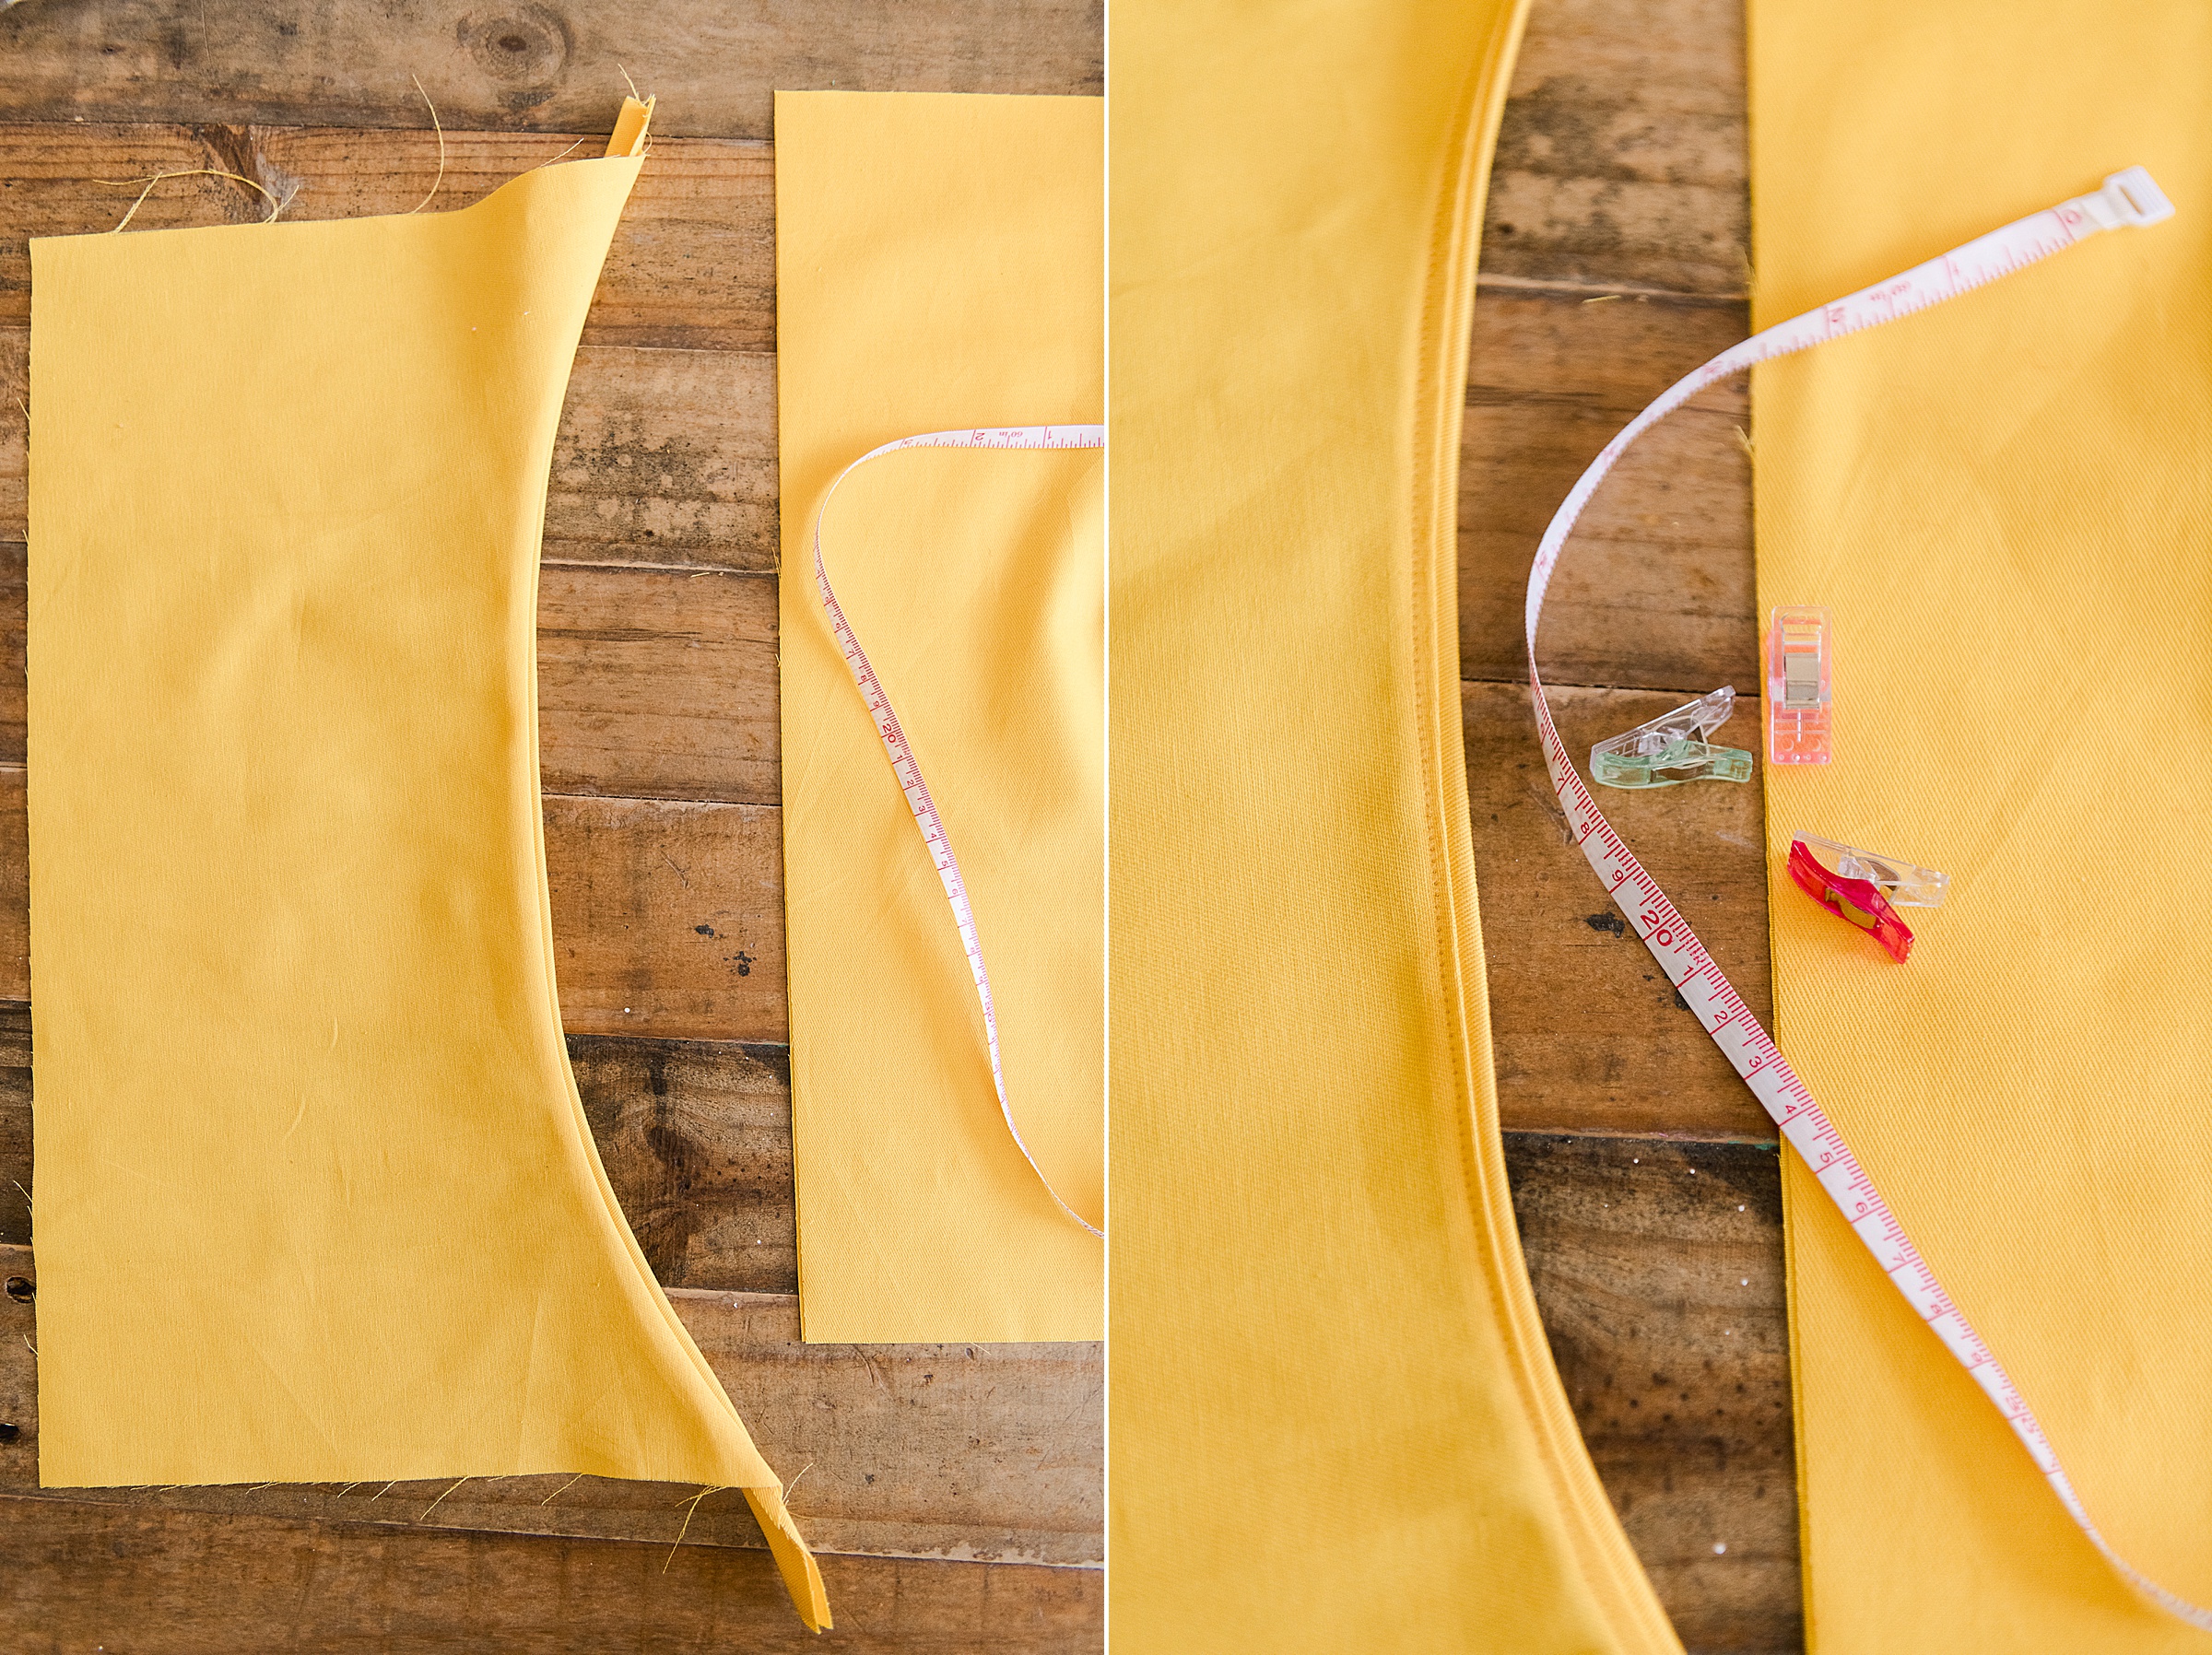
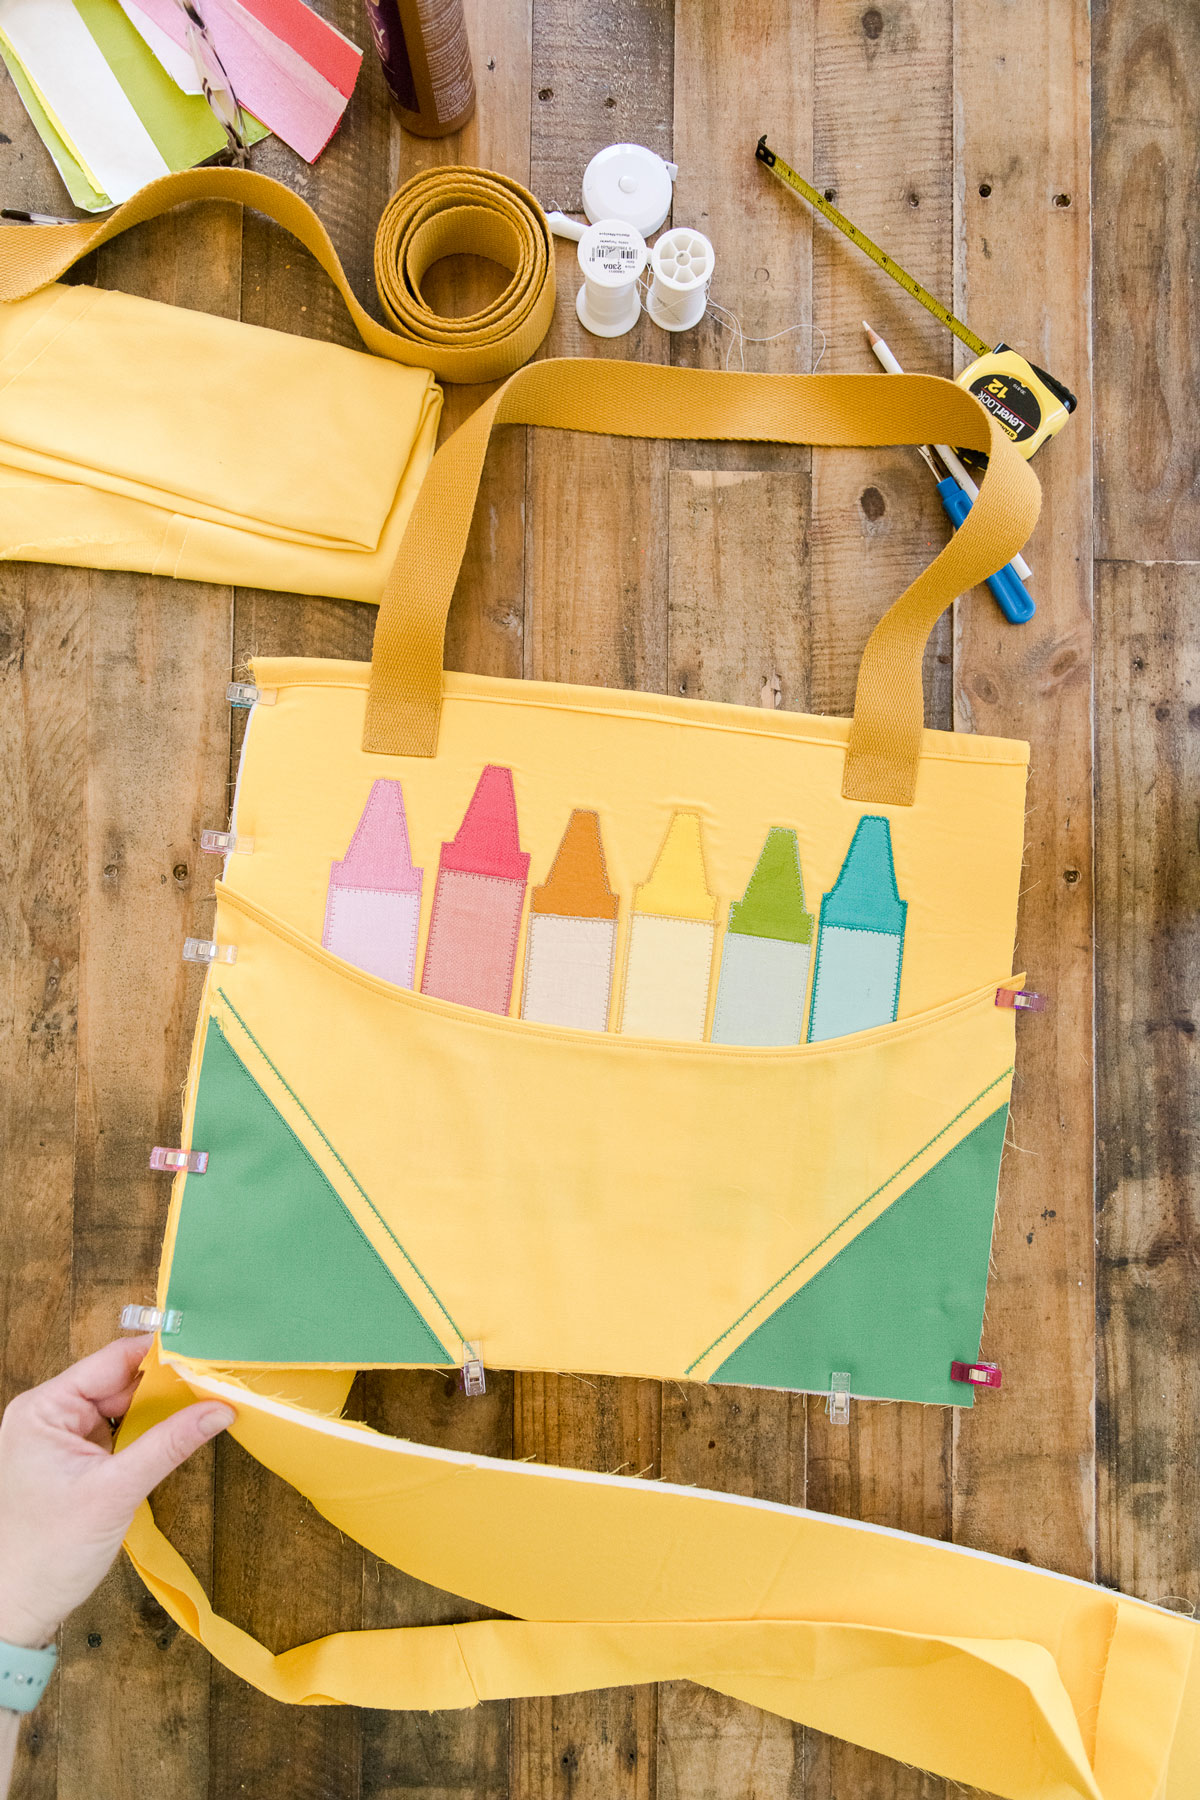
2. Make your front pocket
Start by cutting a curve along the 17 1/2” side of the front pocket yellow fabric. This is the curved opening for the crayons similar to the crayon box, so cut this as deep as you’d like to show off your colorful crayons later on.
Then iron your 1 1/2” x 21” yellow strip lengthwise so that you have a long folded tube for your edging.
Pin or clip this ironed editing along the front side of your curved pocket, lining up your raw edges of both your edging and the pocket. Sew in place. Then fold and iron towards the wrong side (or inside) of the pocket and topstitch in place.
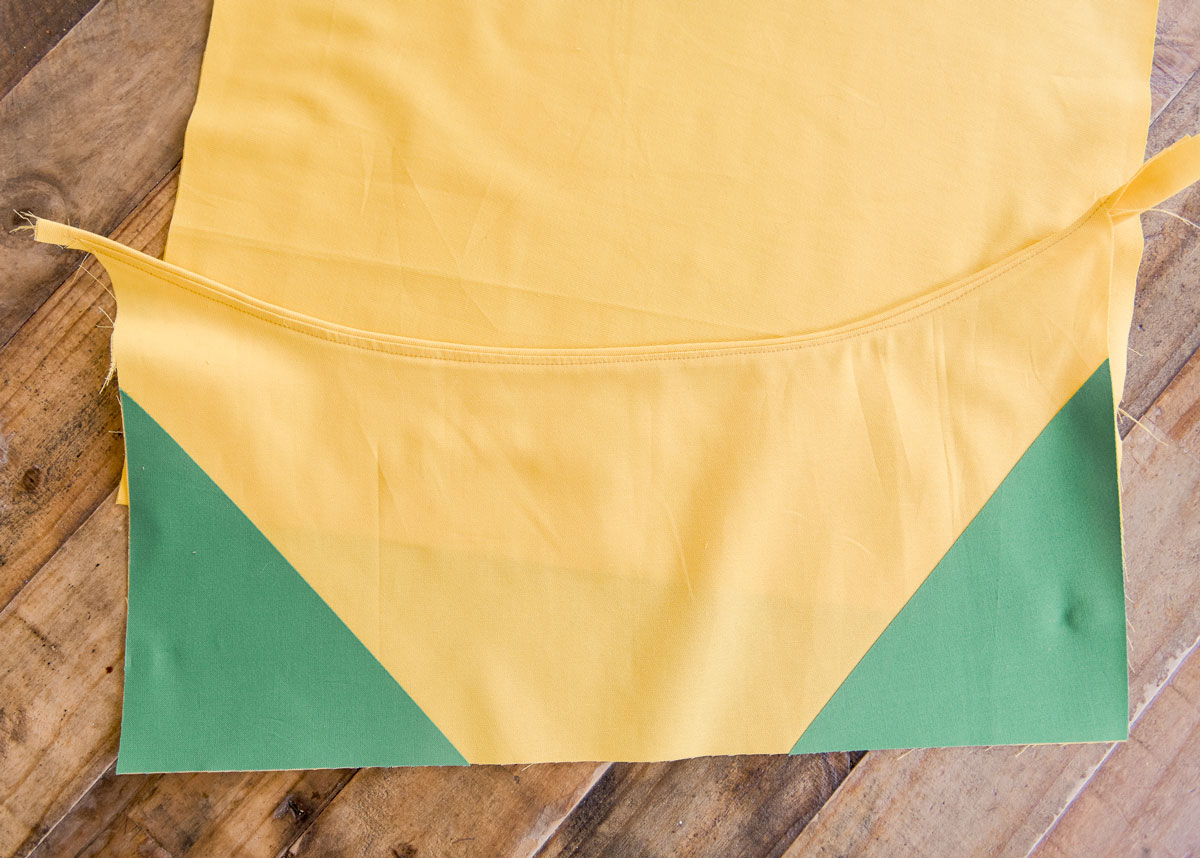
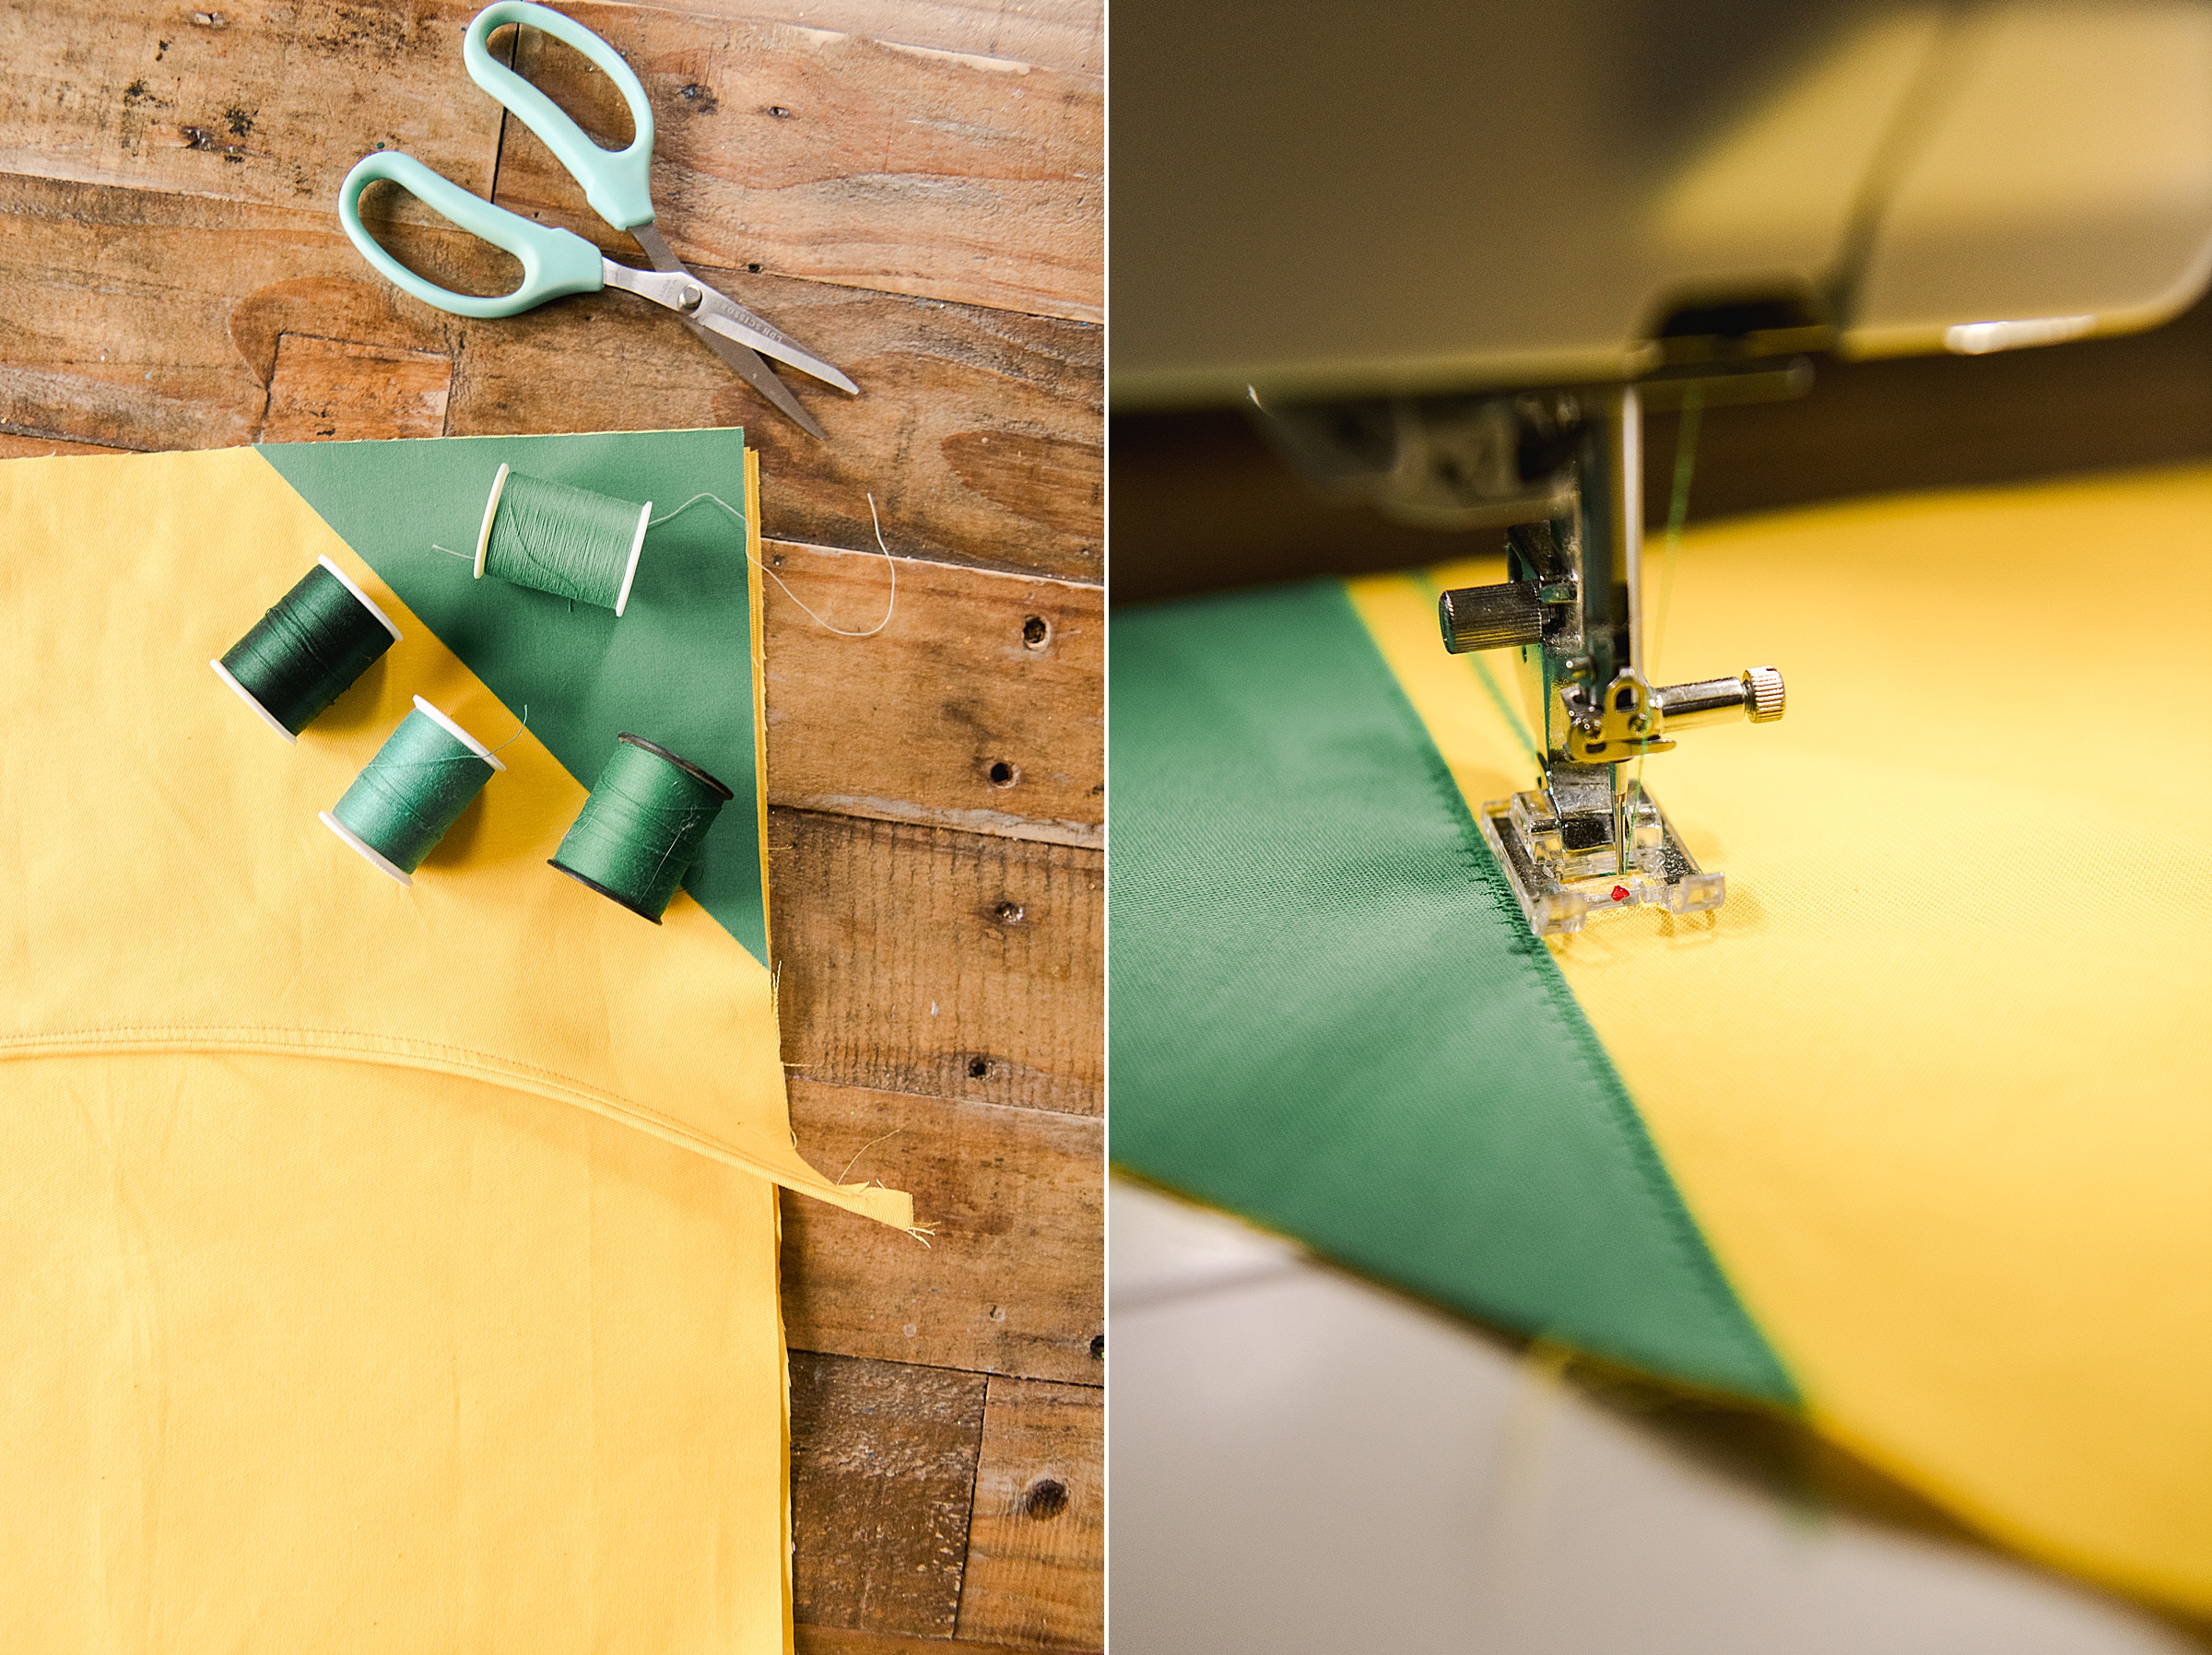
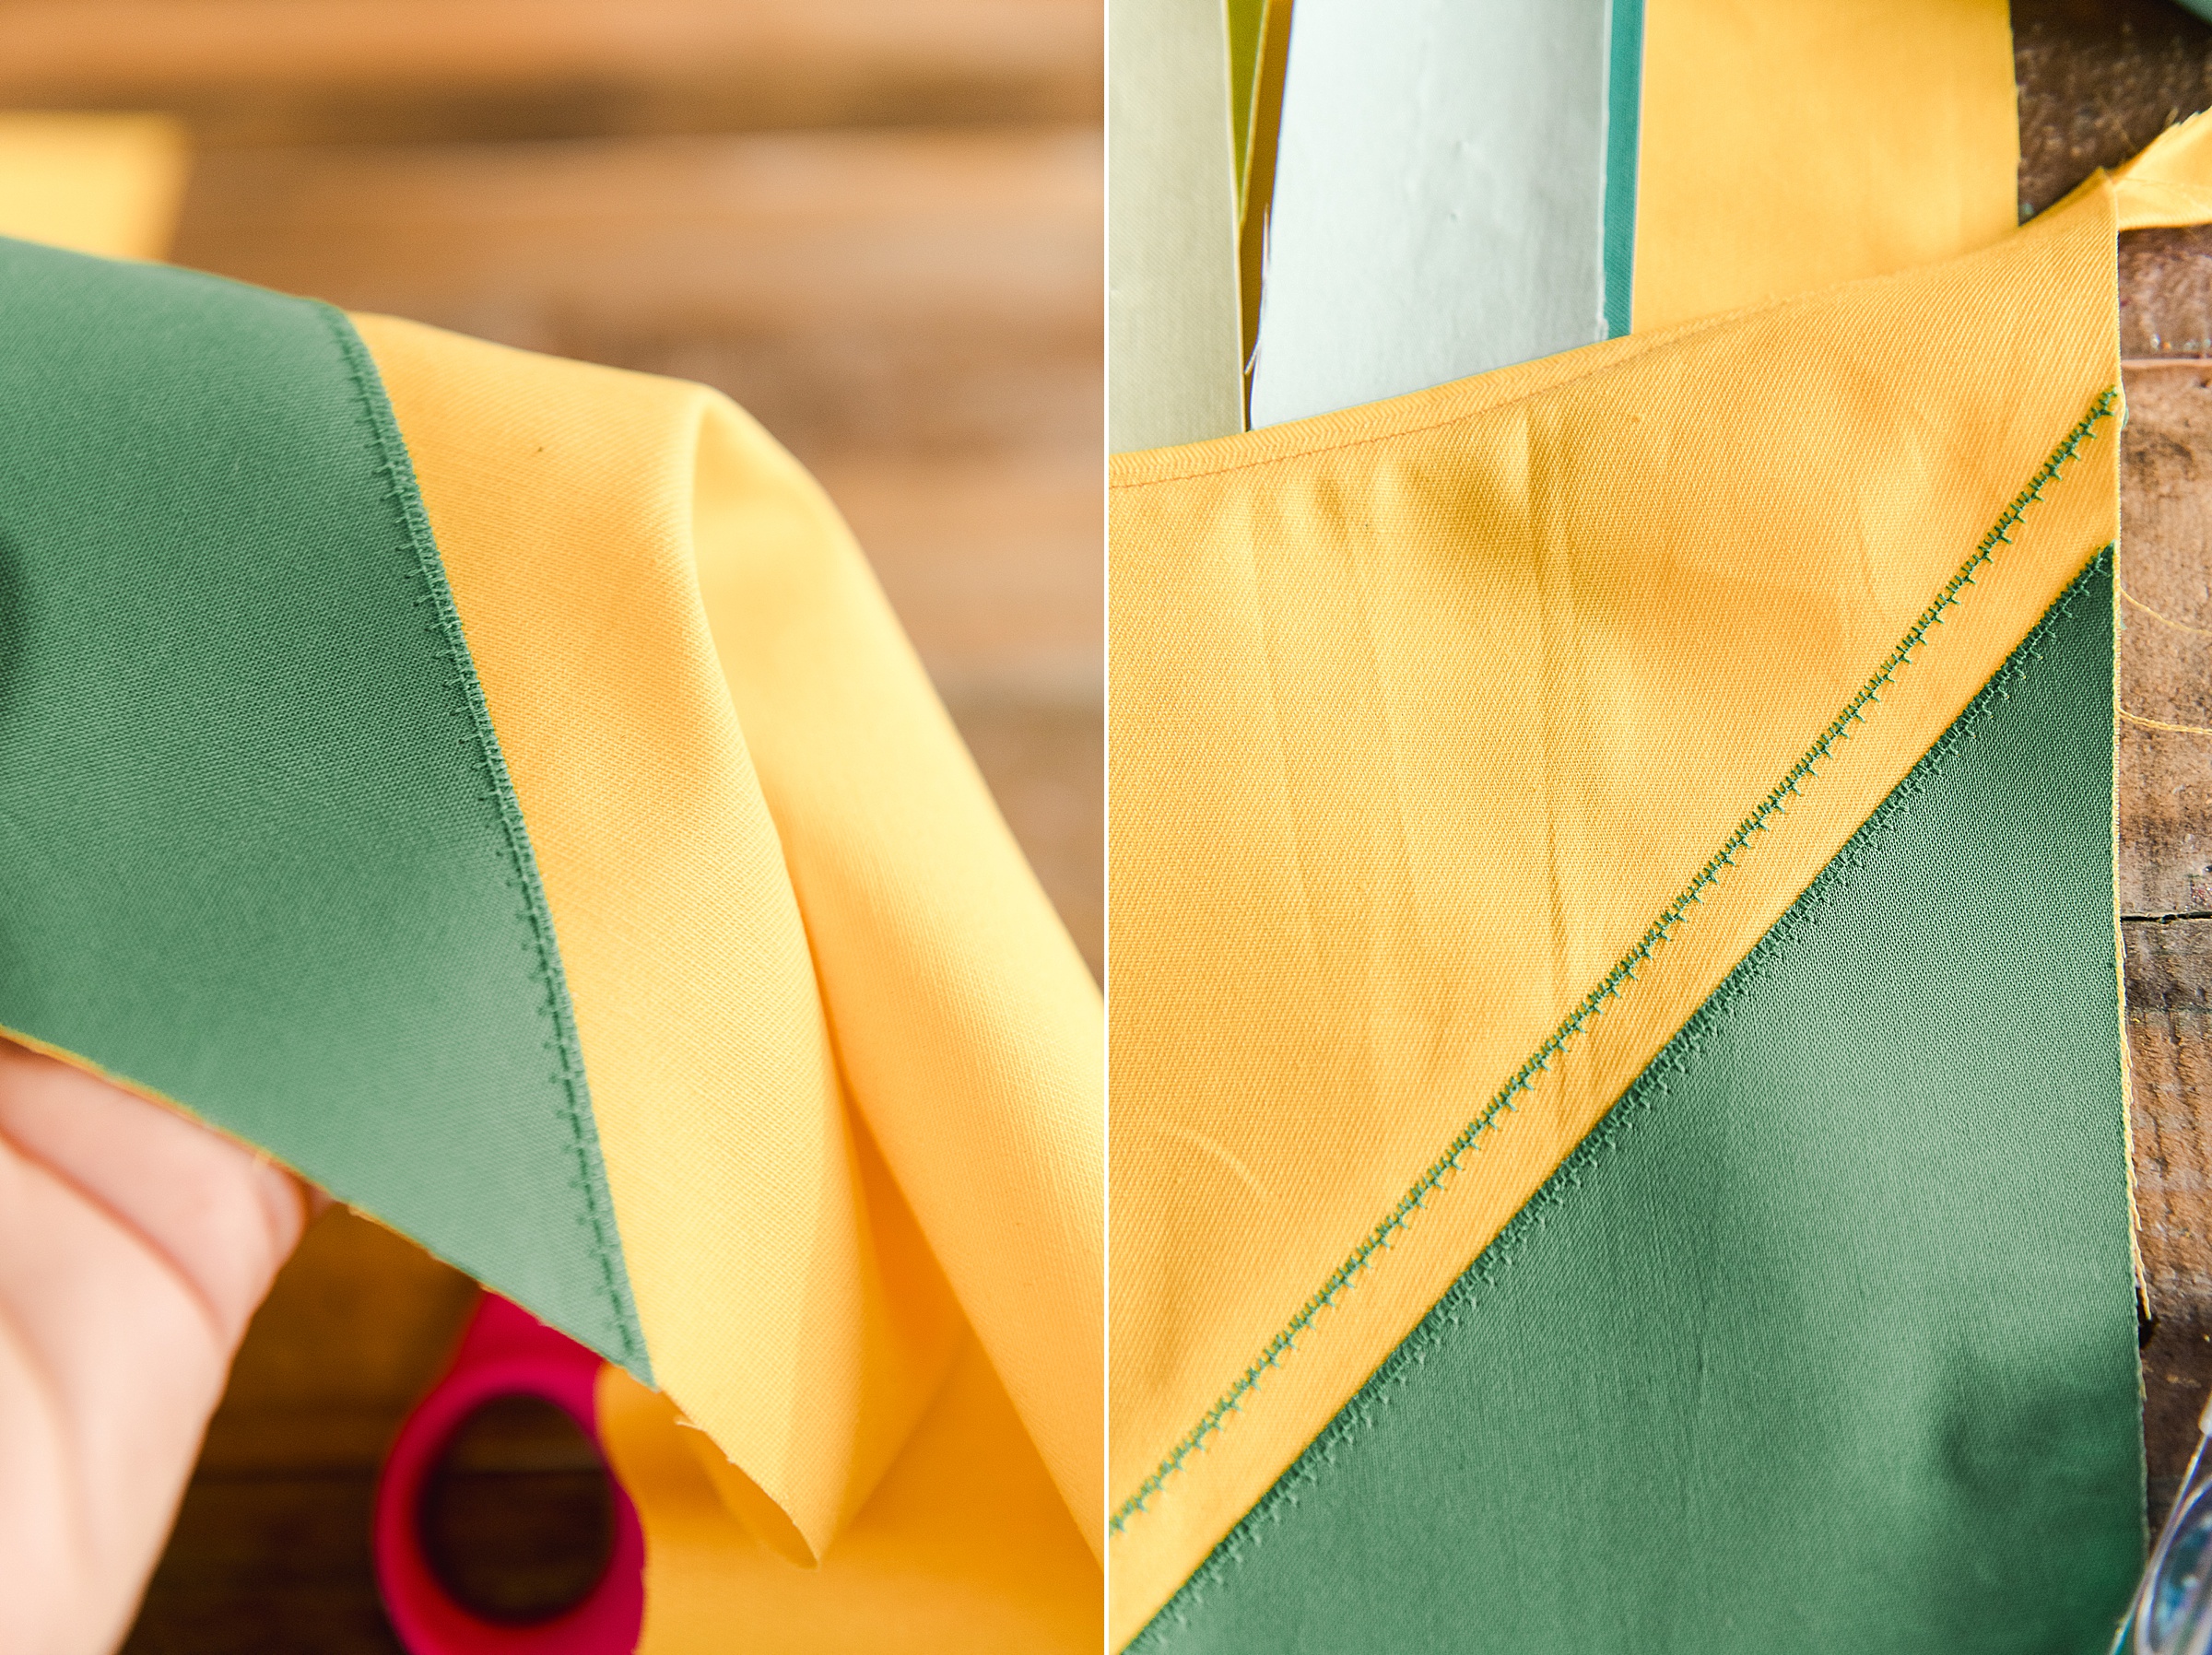
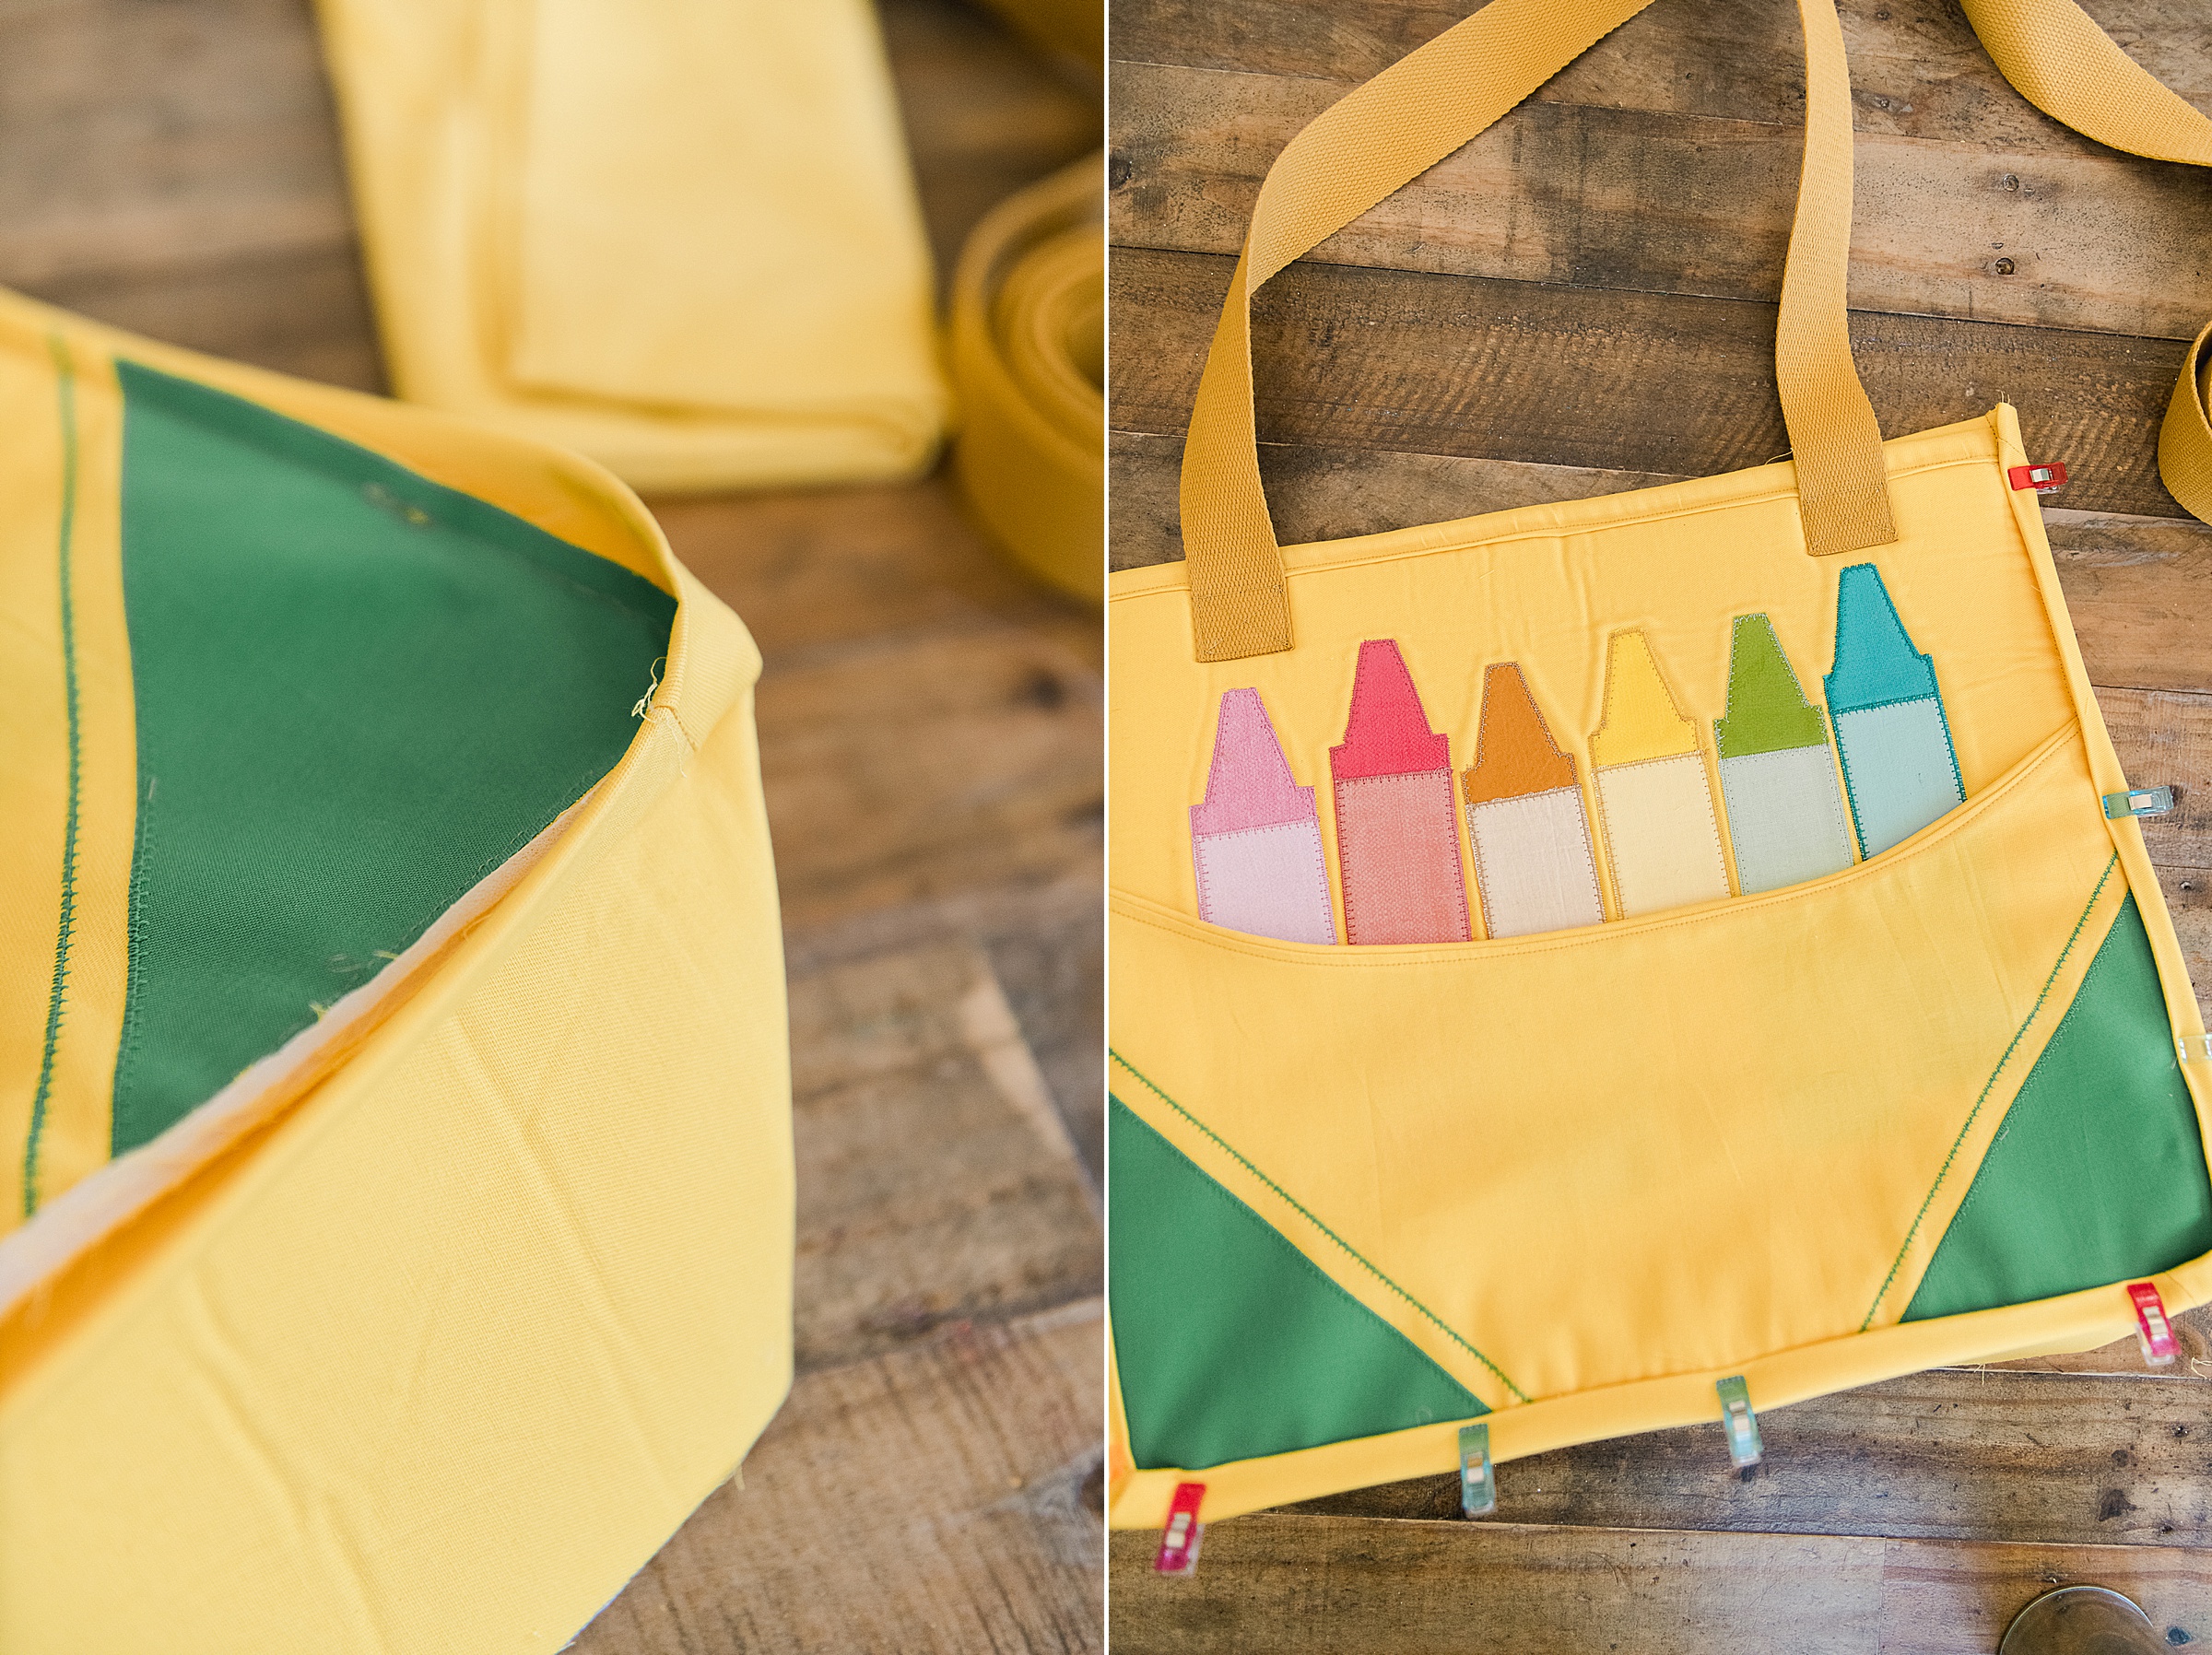
Then iron your green triangles to the bottom left and right sides of the front of your pocket. Choose an appliqué stitch on your Janome sewing machine and stitch in place along the angled side of the triangle.
Add an additional appliqué “line” about 1” away from the previously stitched triangle to add the last pocket front detail of the crayon box.
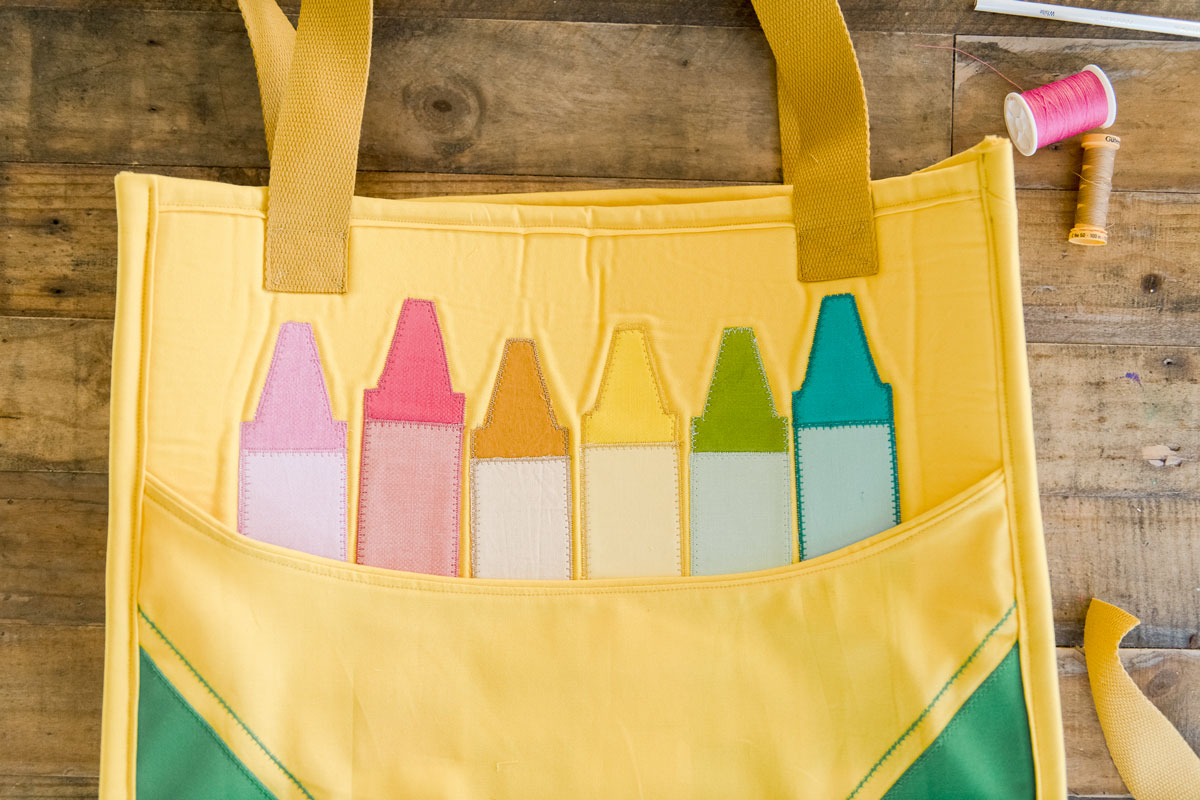
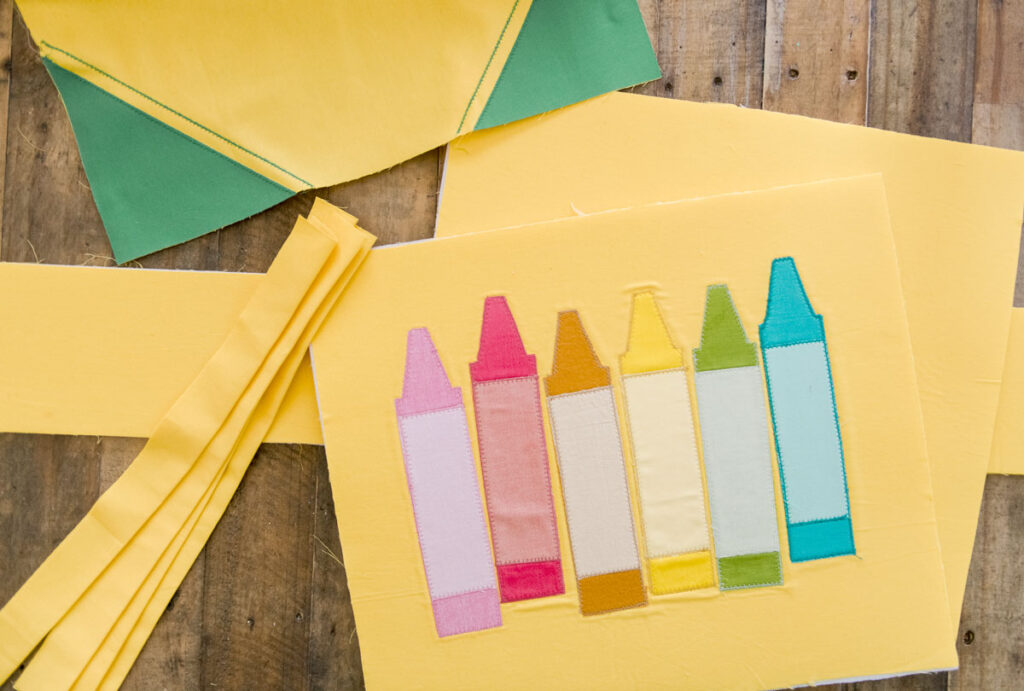
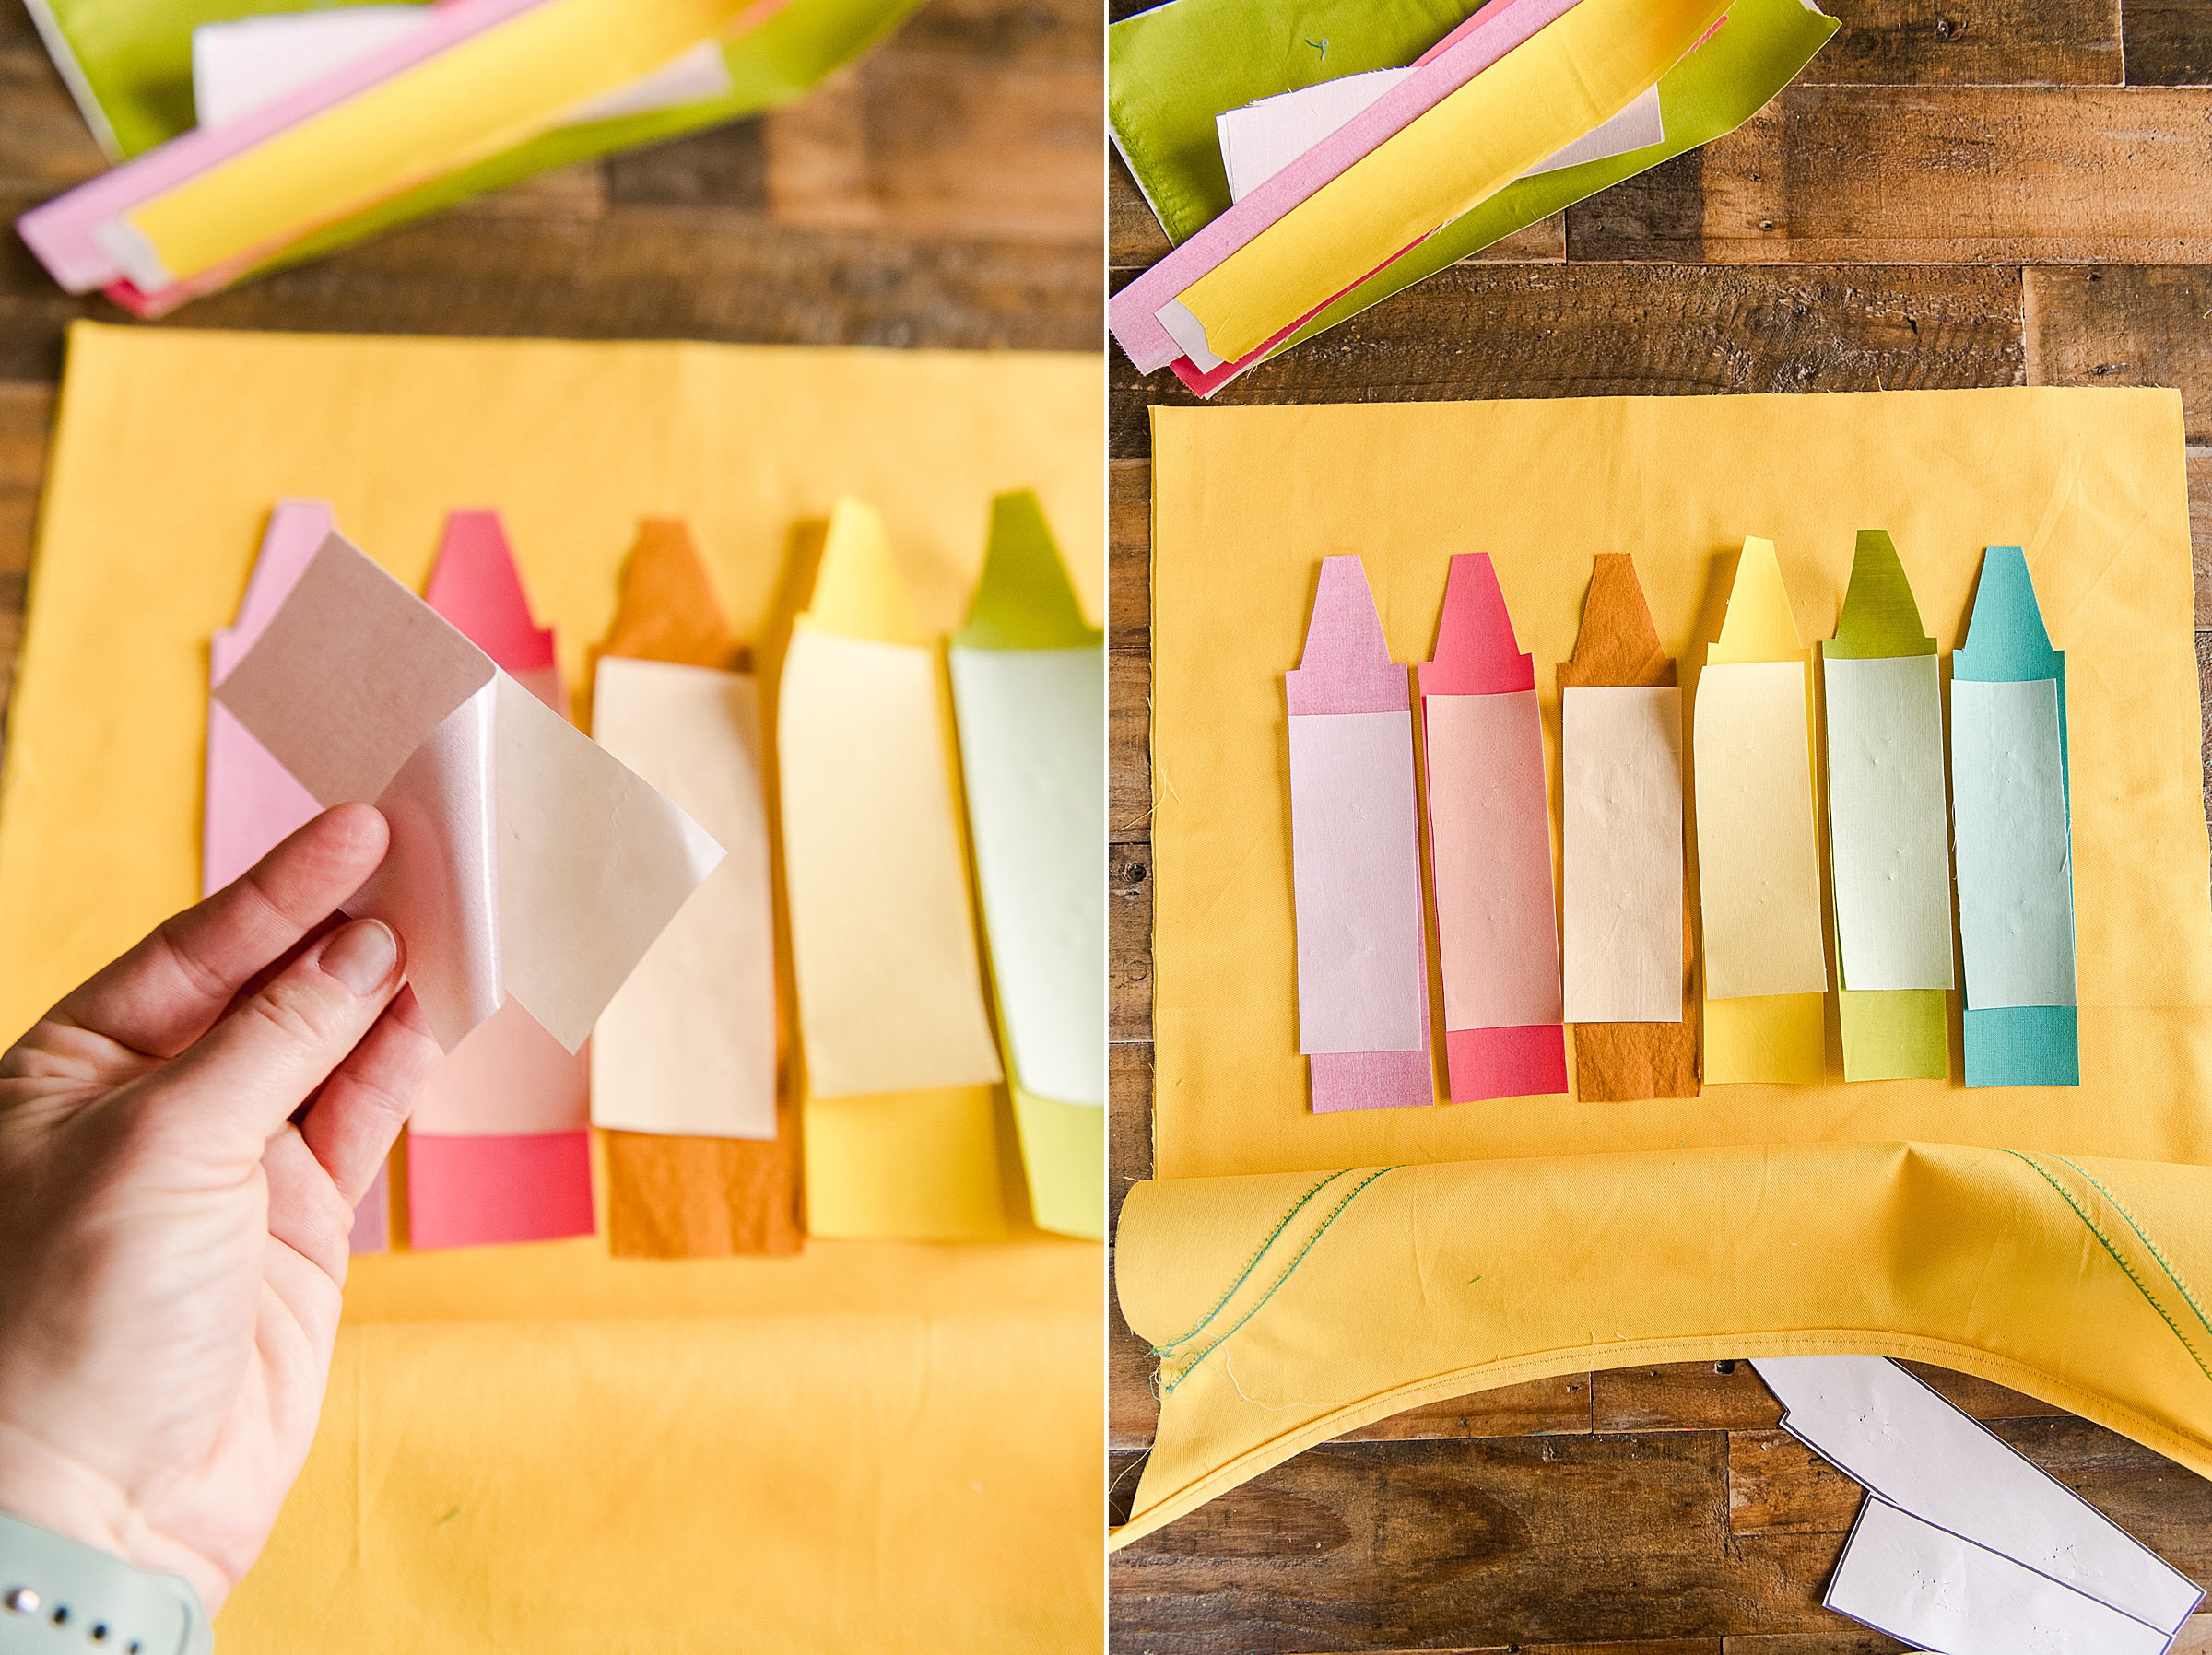
3. Appliqué your crayons
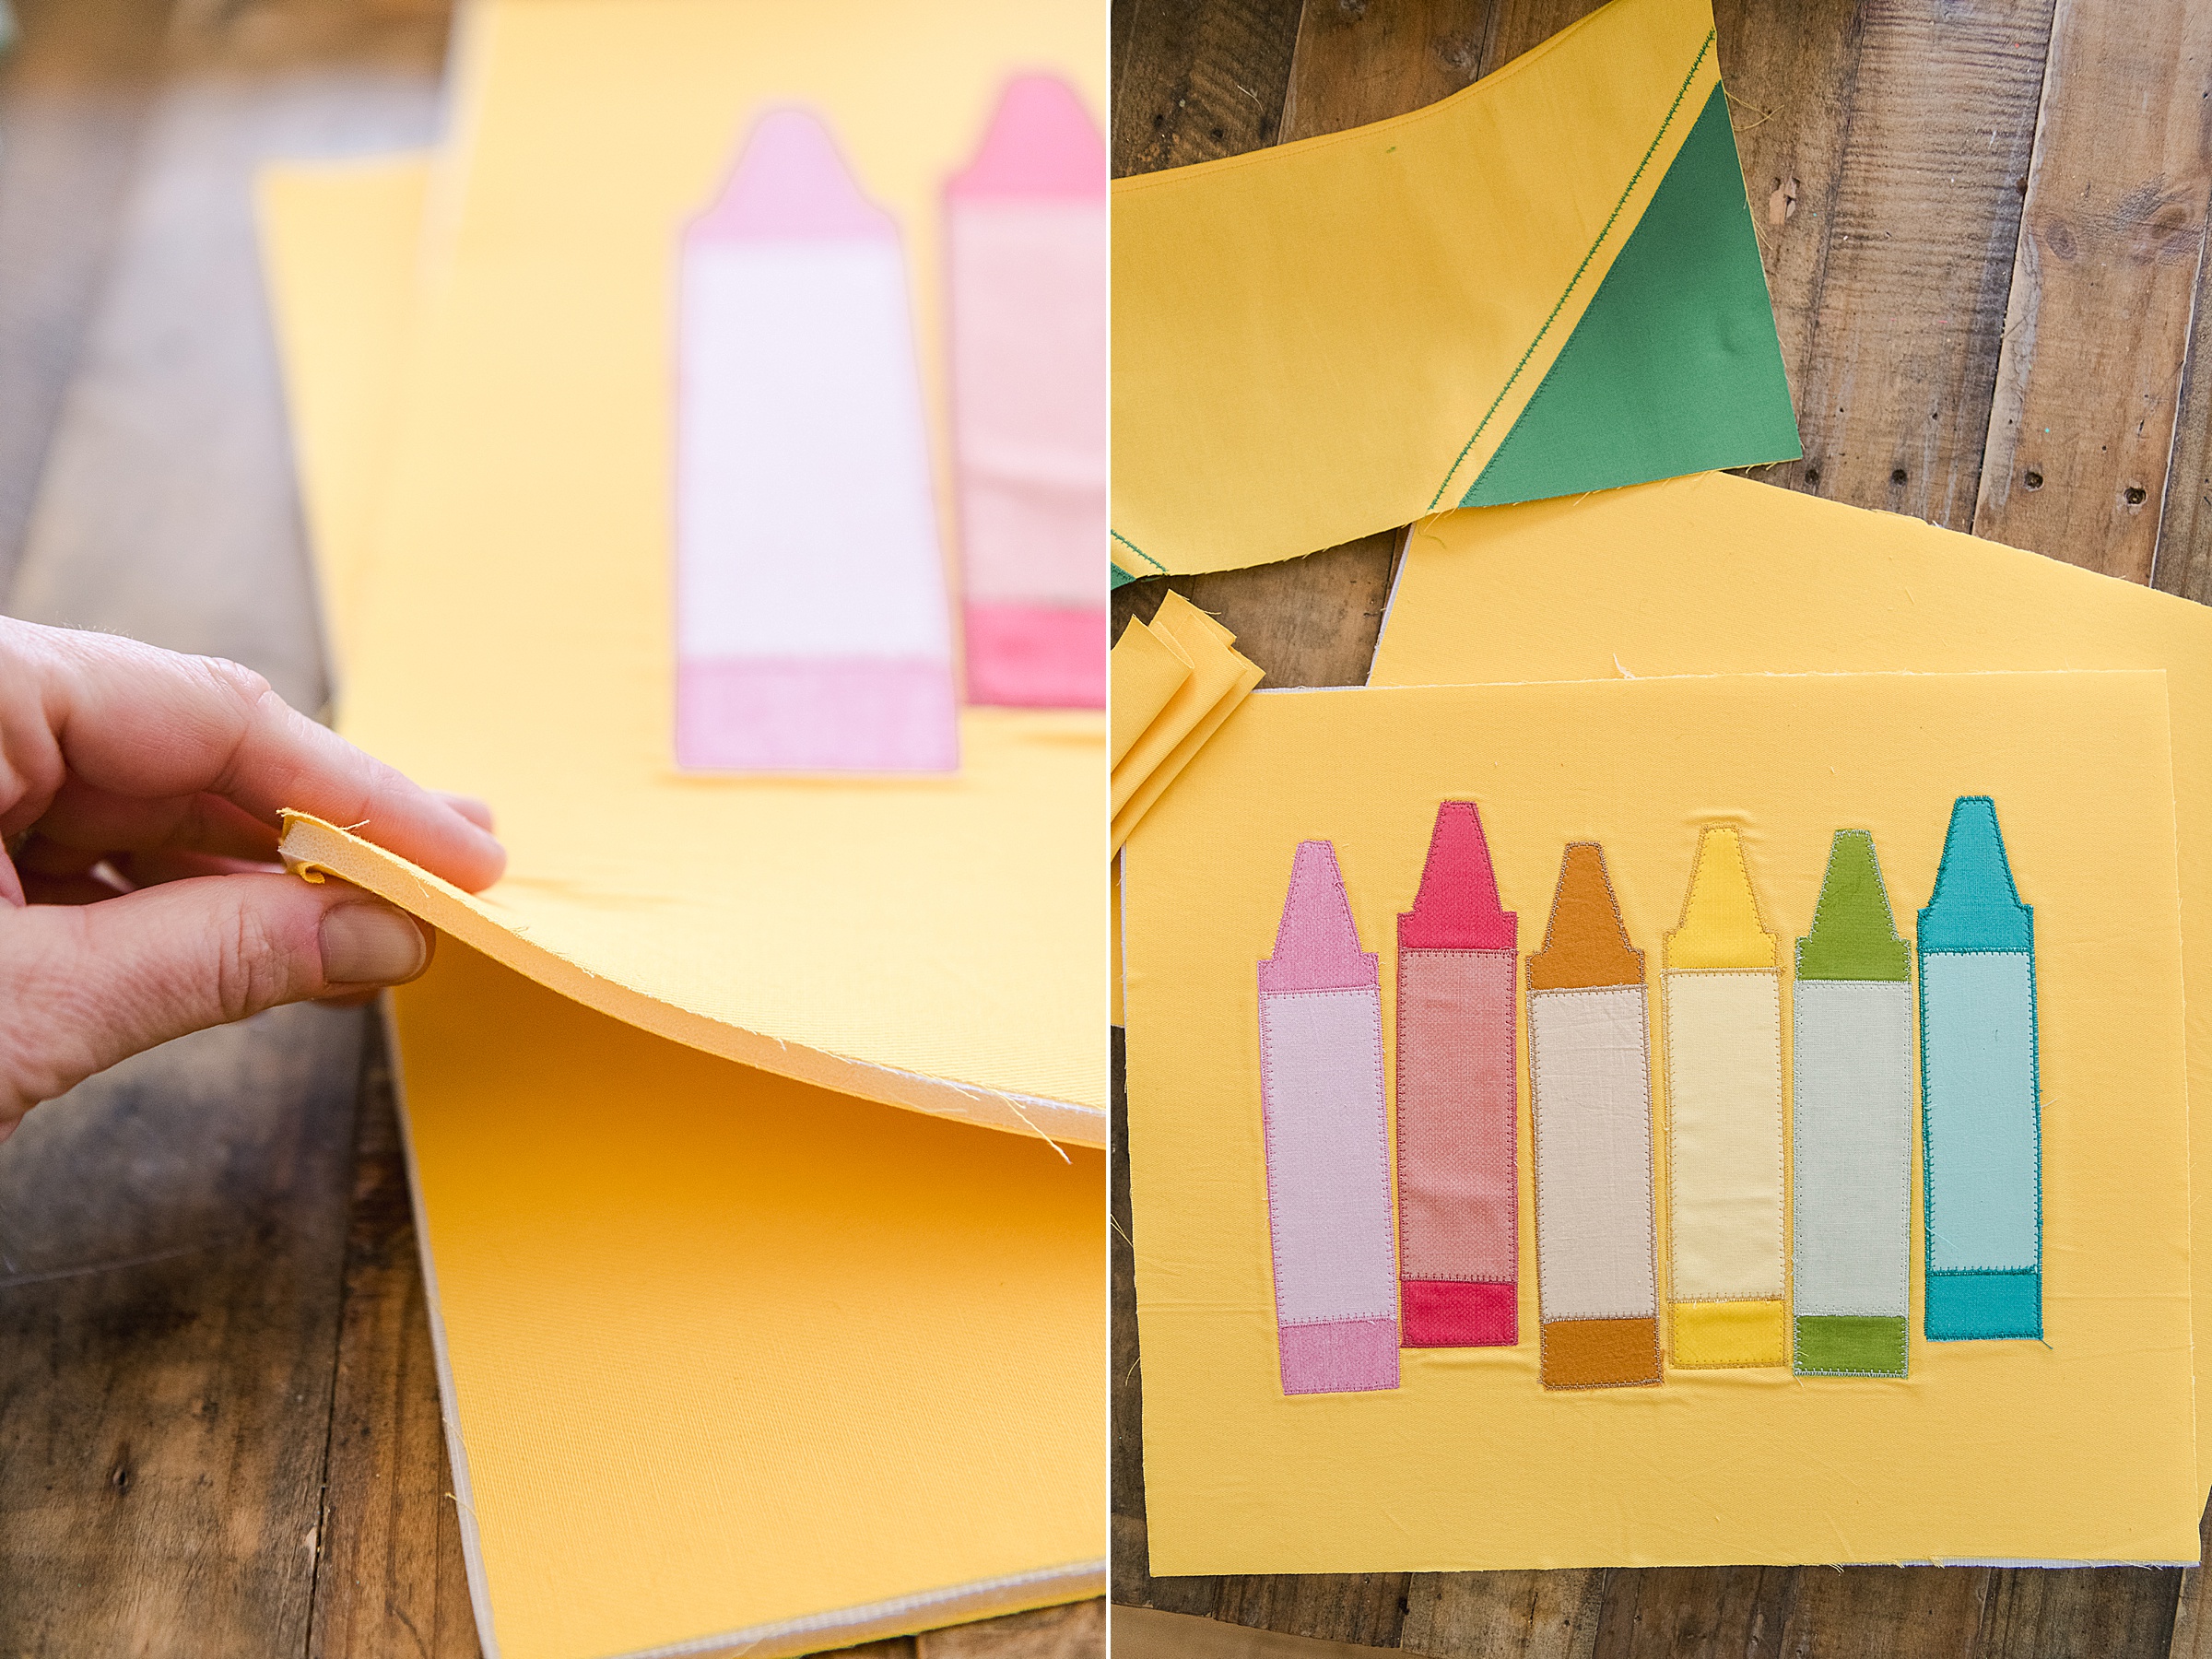
With your crayon pieces that you’ve already cut out, place them “inside” the pocket of the front of your bag. I chose to lay everything out on top of my yellow bag front without the pocket to see if I like the placement before ironing and stitching in place. Be sure to peel off your interfacing backing and iron in place before stitching 🙂
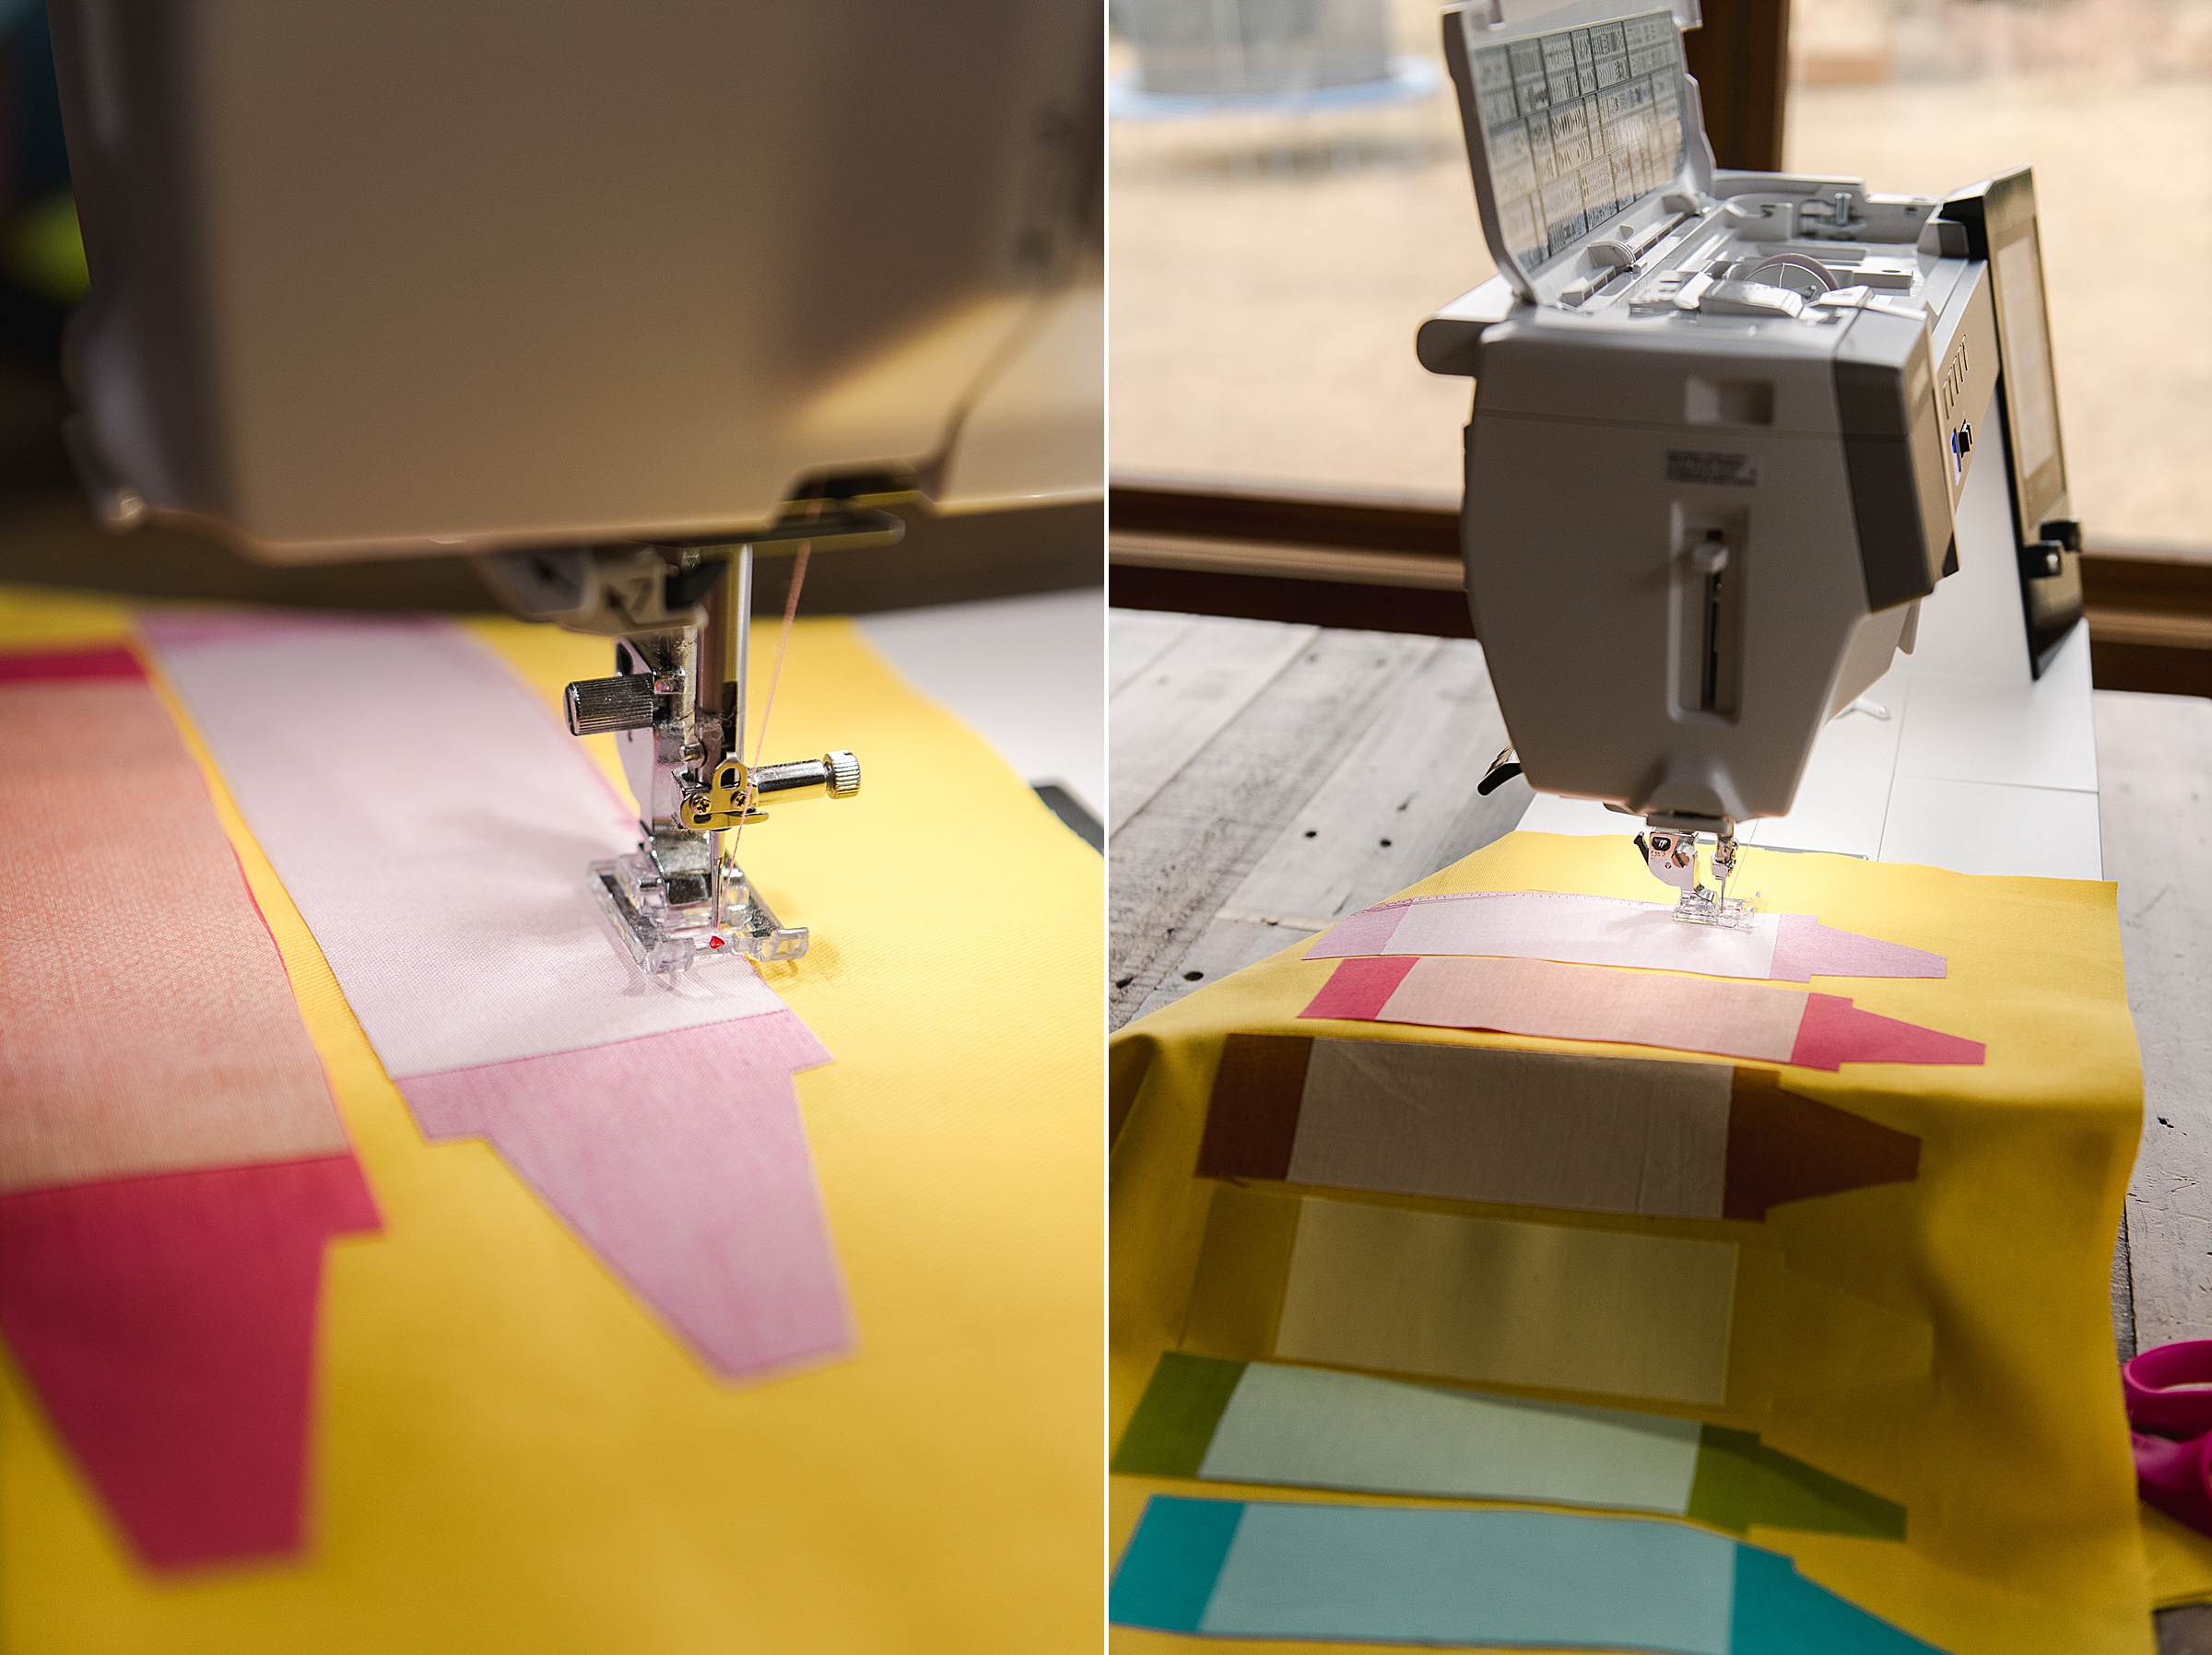
Choose an appliqué stitch on your Janome sewing machine and begin to stitch in place using your favorite thread colors. You can get creative with this part if you wish by playing around with stitches choices, adding details to your crayons or even crayon names if you want! 🙂
4. Iron your pieces with your flexi-foam
Follow the instructions on the packaging of the specific flexi-foam that you purchased to secure your lining to each fabric “section”. You will sandwich each piece of foam between the wrong sides of the lining and outside piece of 3 sections – the front, the back and the sides (your front pocket won’t be used quite yet, so keep that set aside).
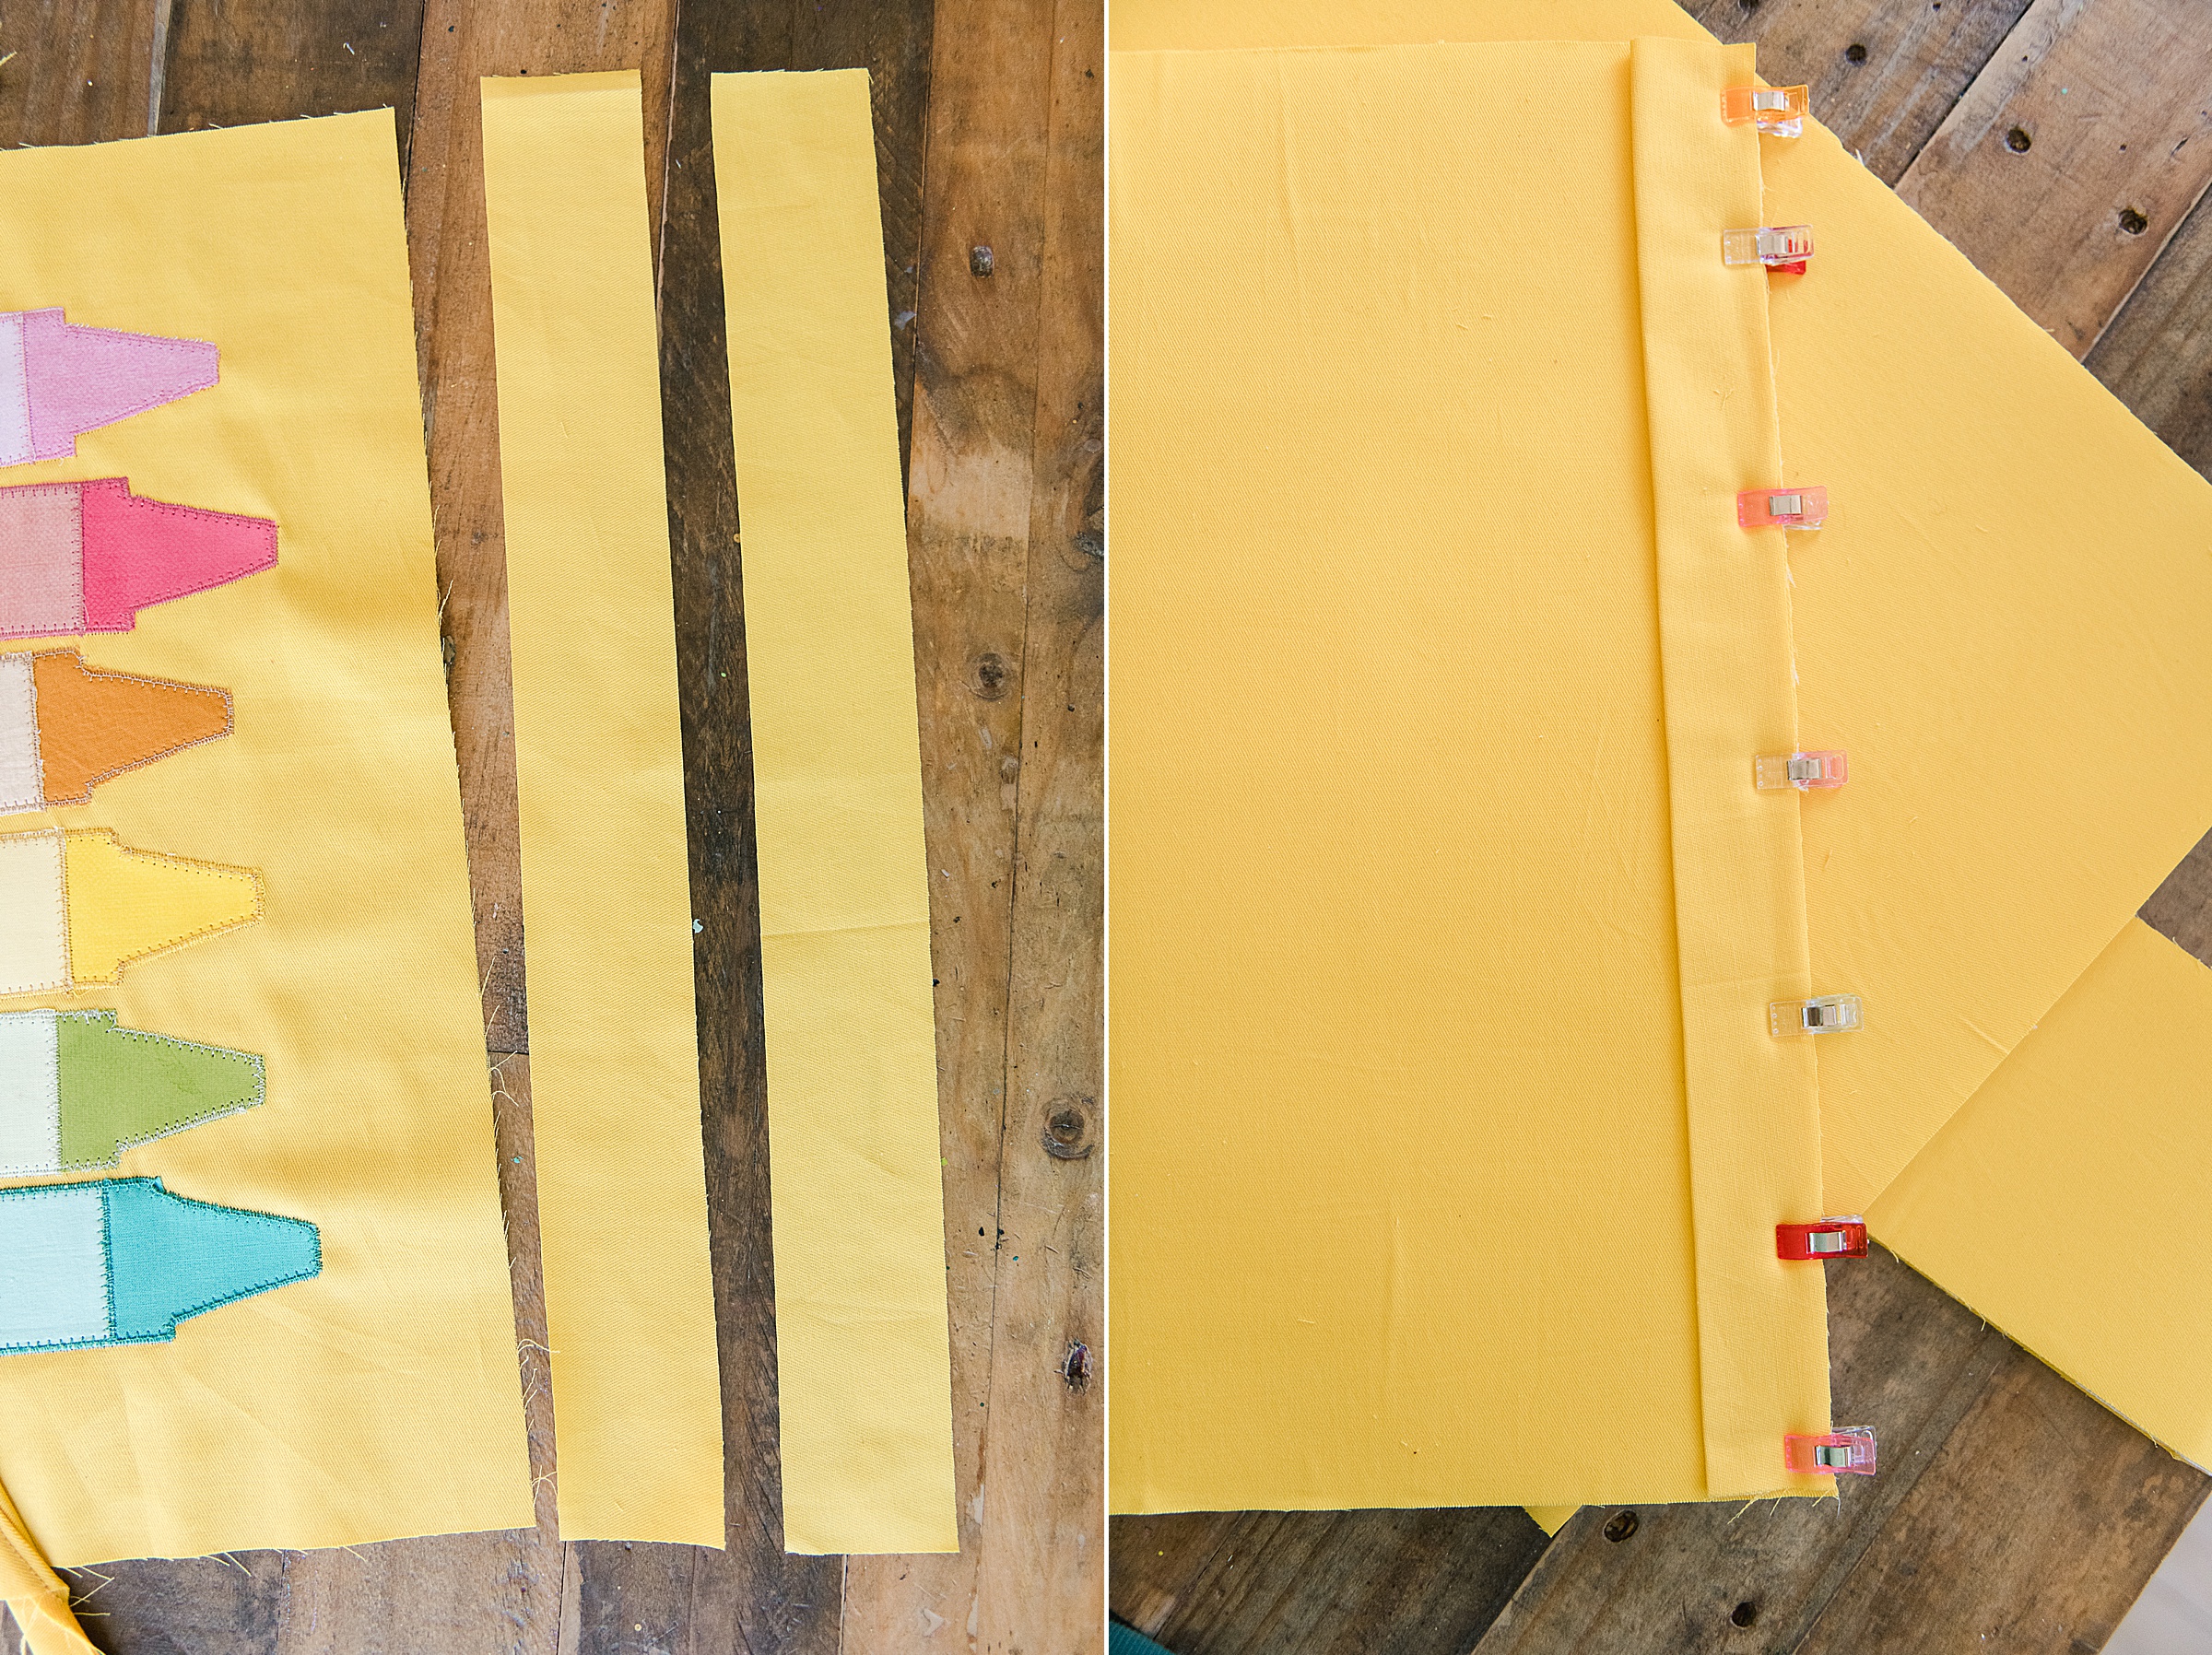
5. Prep and sew your top edging
Iron all 4 of your 3” top edging strips in half lengthwise.
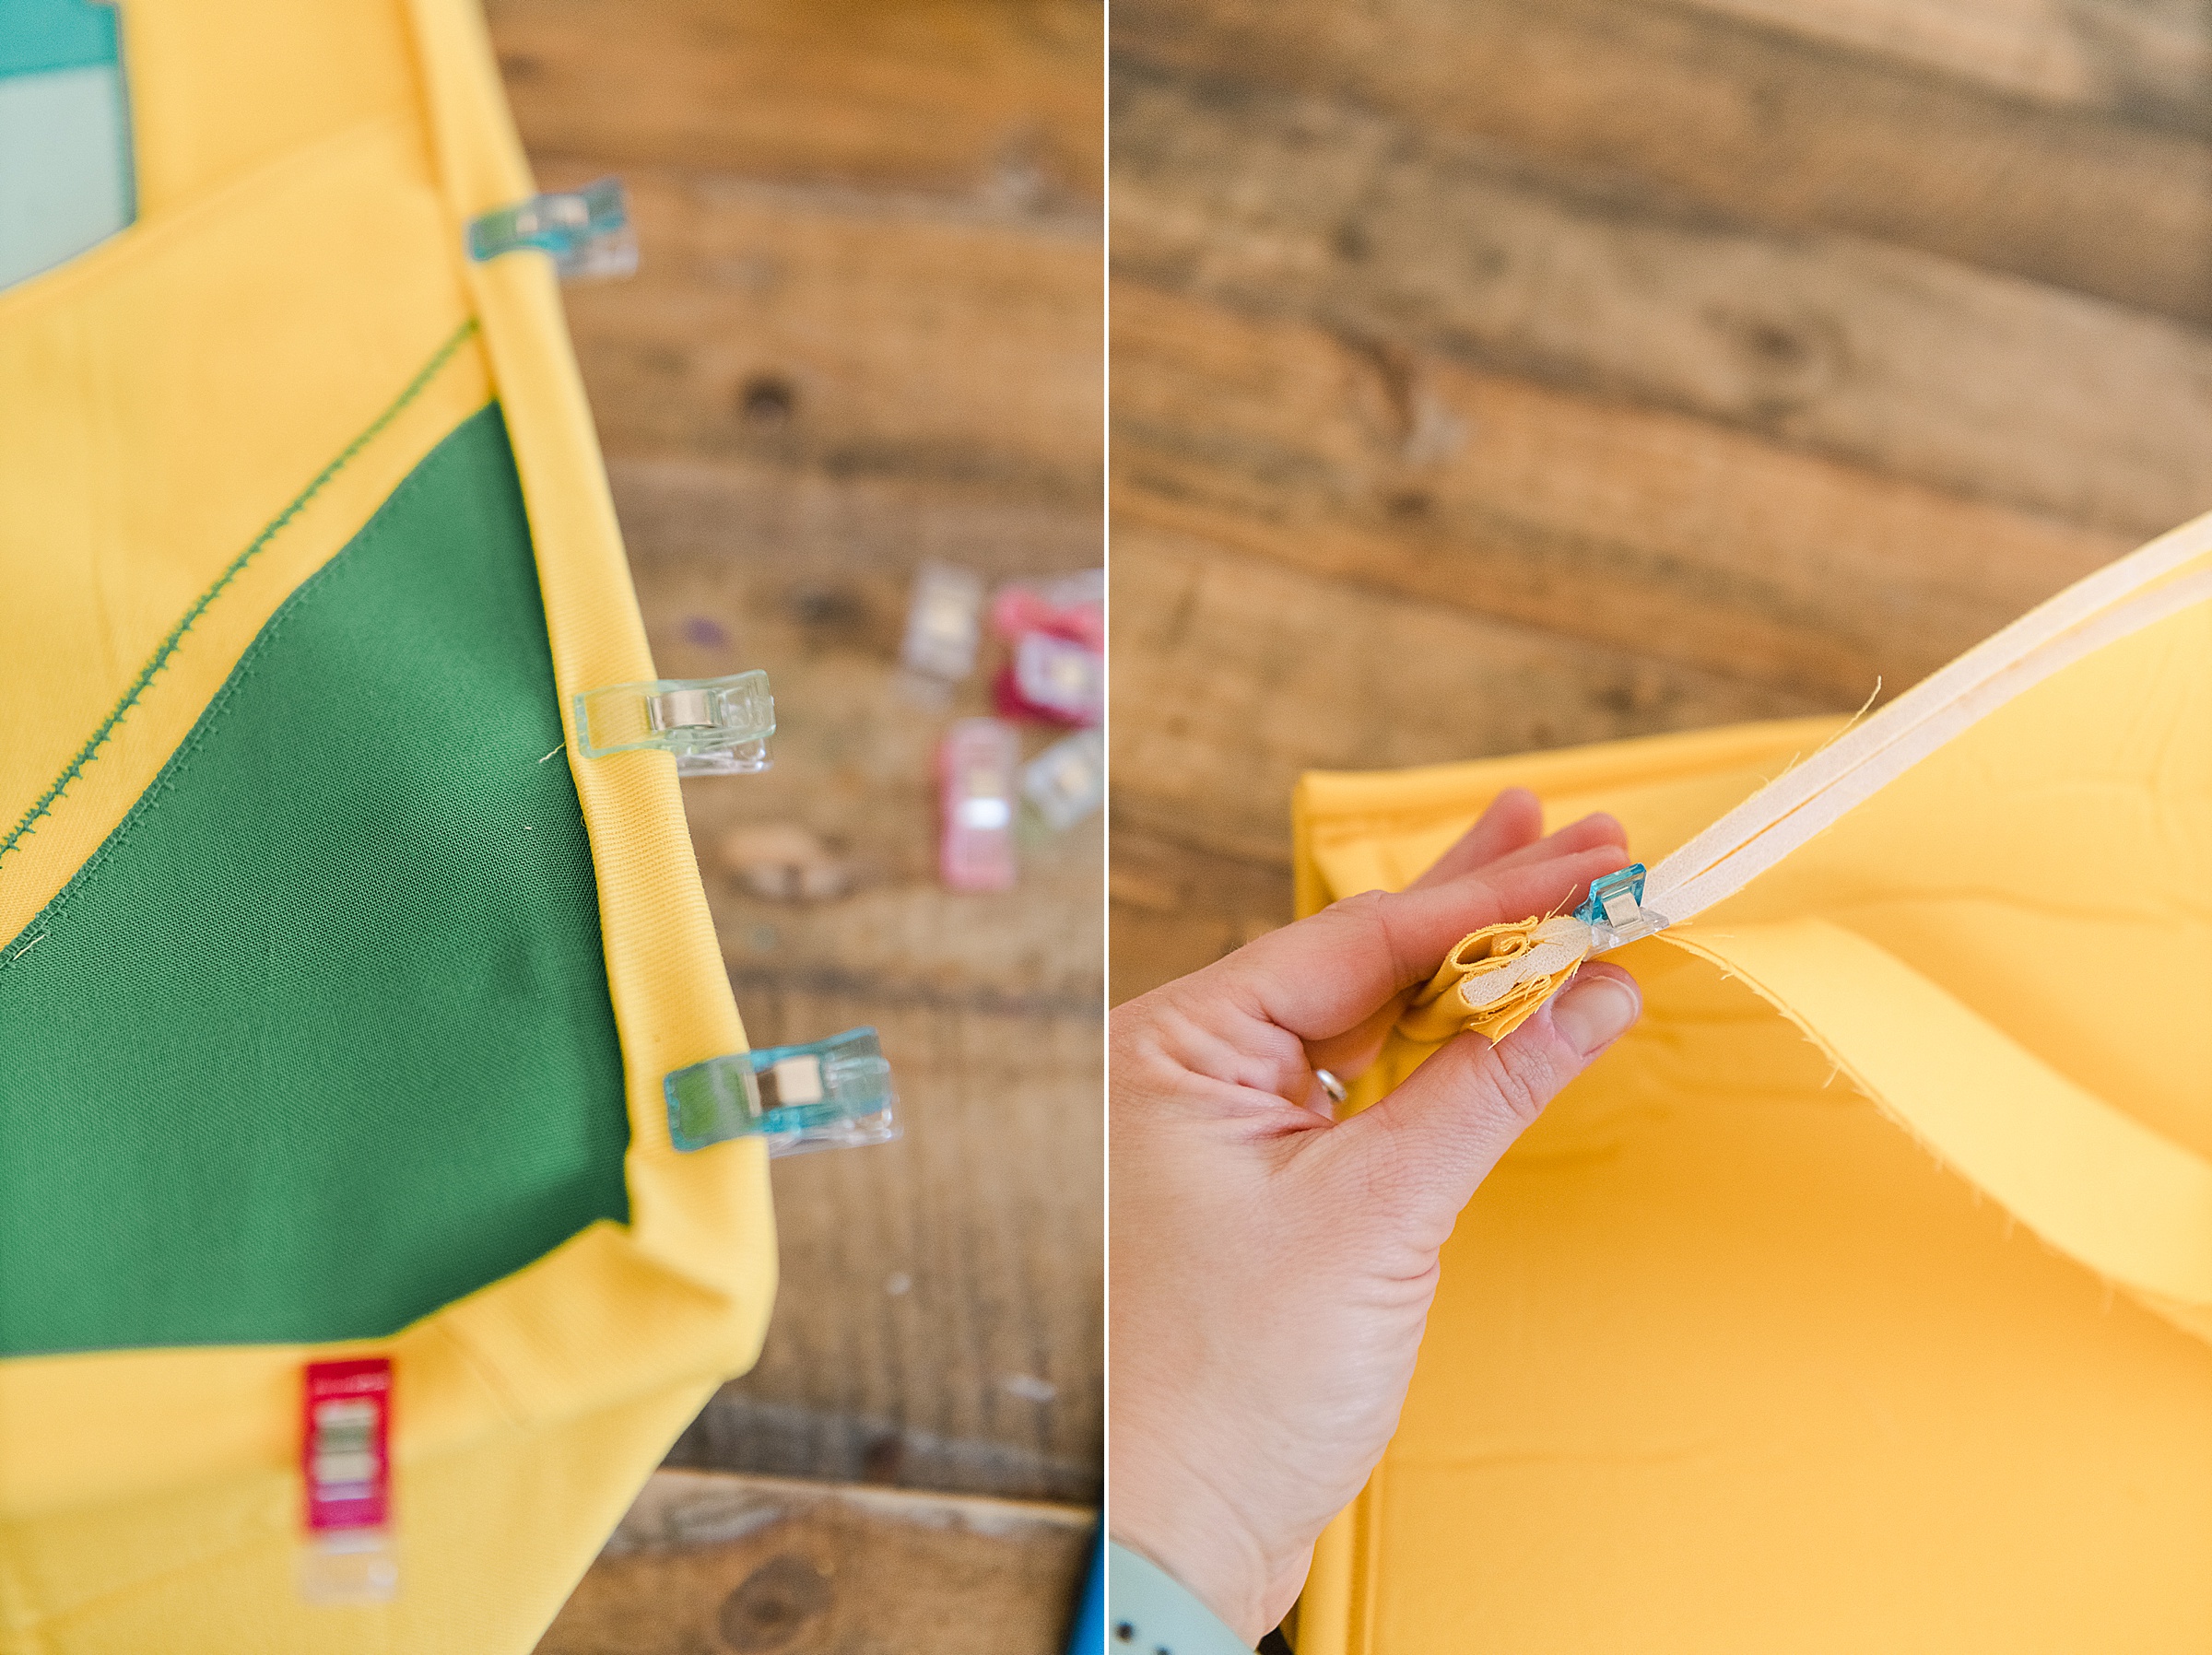
You will then match up the raw edges of your ironed strips to the top edge of the inside (lining side) of your front, your back and both “ends” of the side piece. Use claw clips or pins to keep in place through the foam.
Stitch these in place, then iron them to the front side and top stitch to finish off.

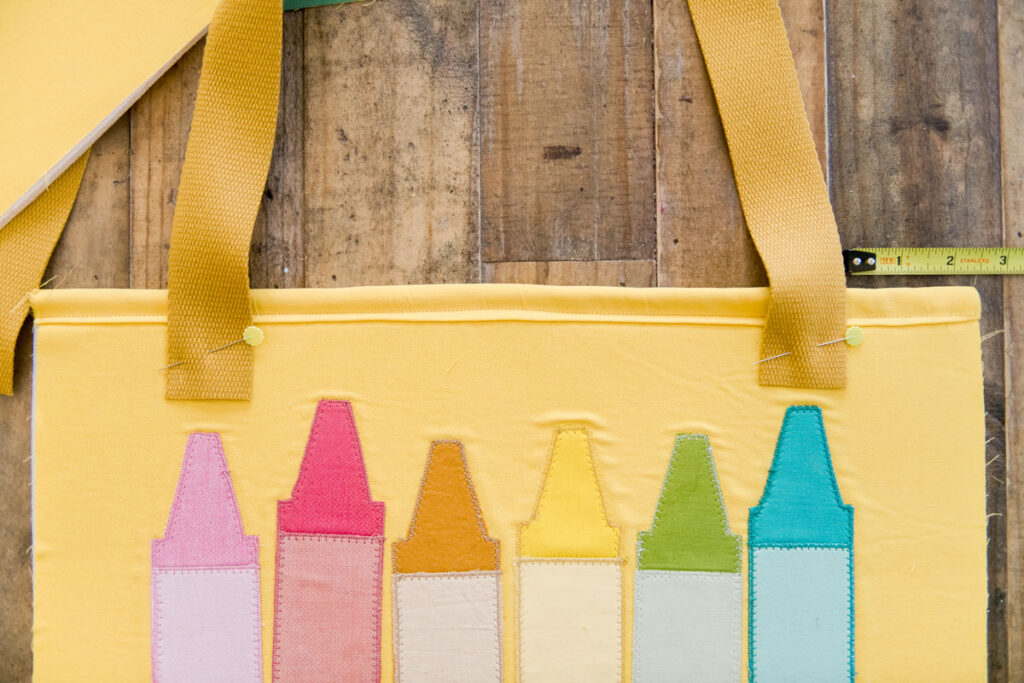
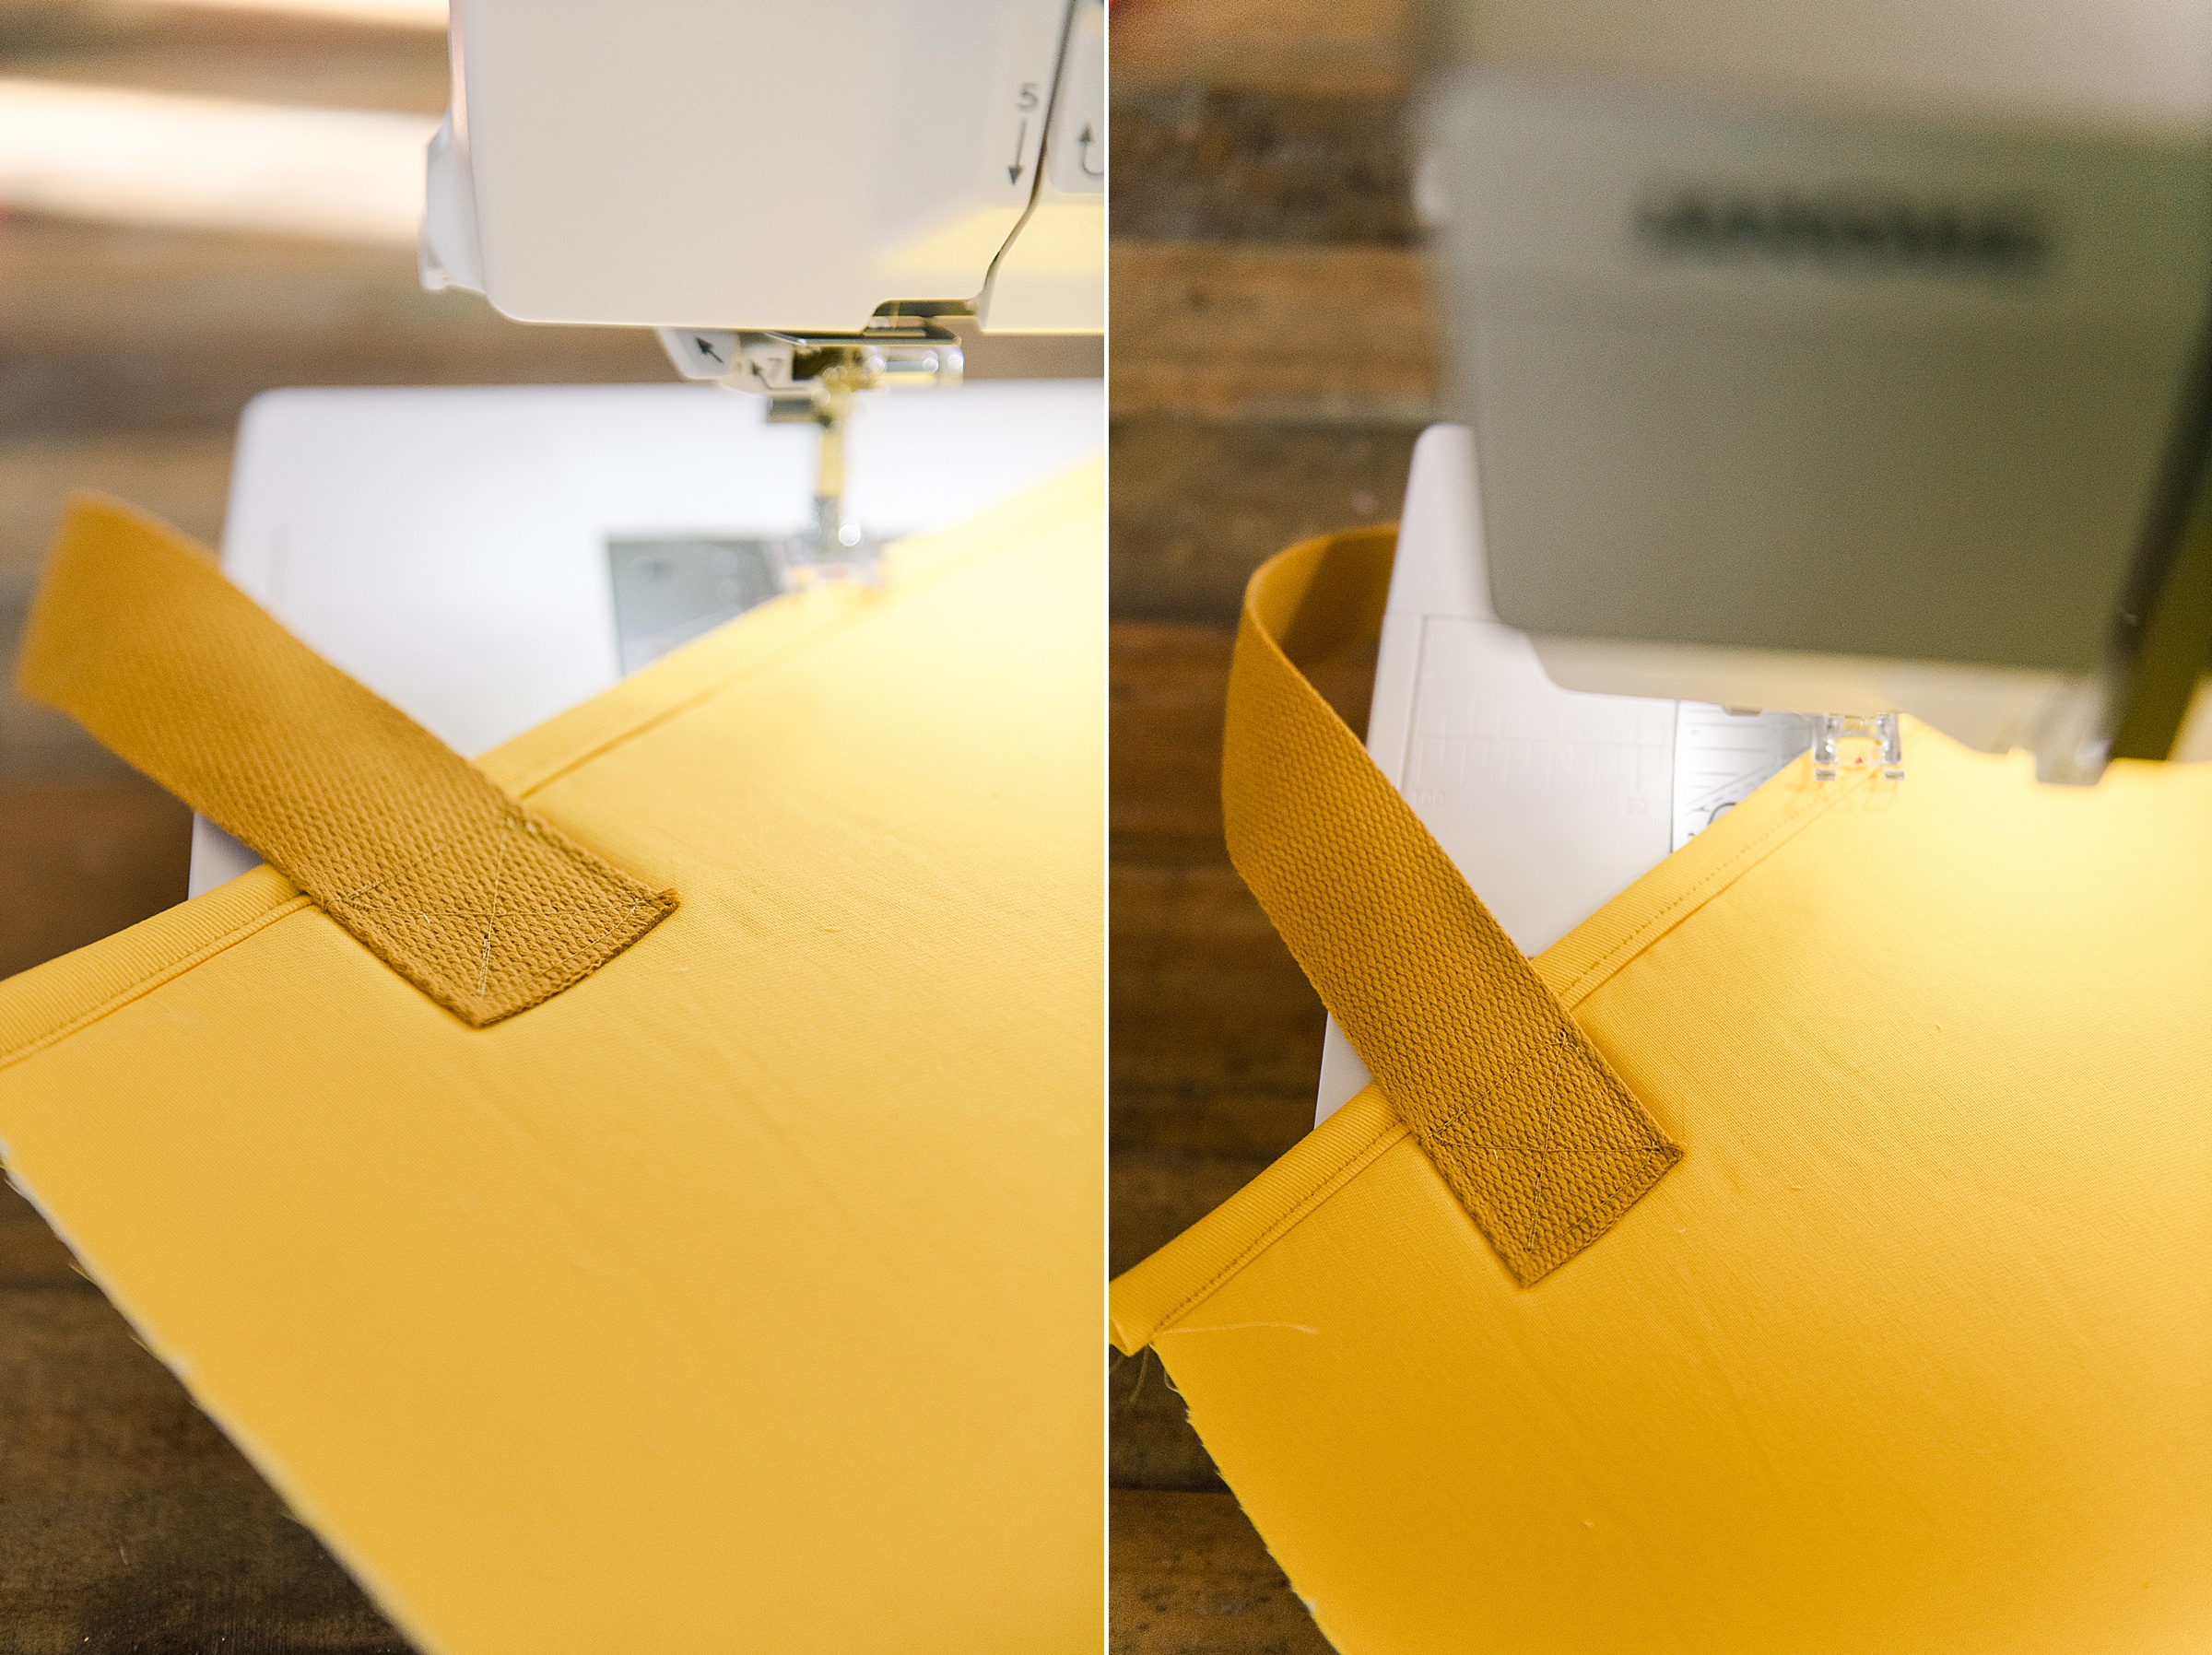
6. Attach your handles.
If needed, trim your strapping to two 30” handles that will be long enough to comfortably wrap over your shoulder (or cut to desired length).
Then pin each strap in place abut 2 1/2” from the edge of each side and 2” from the top of the bag. Do this for the front outside and back outside. Then stitch in place by making a “box” and an “x” inside the box to secure each handle nicely.
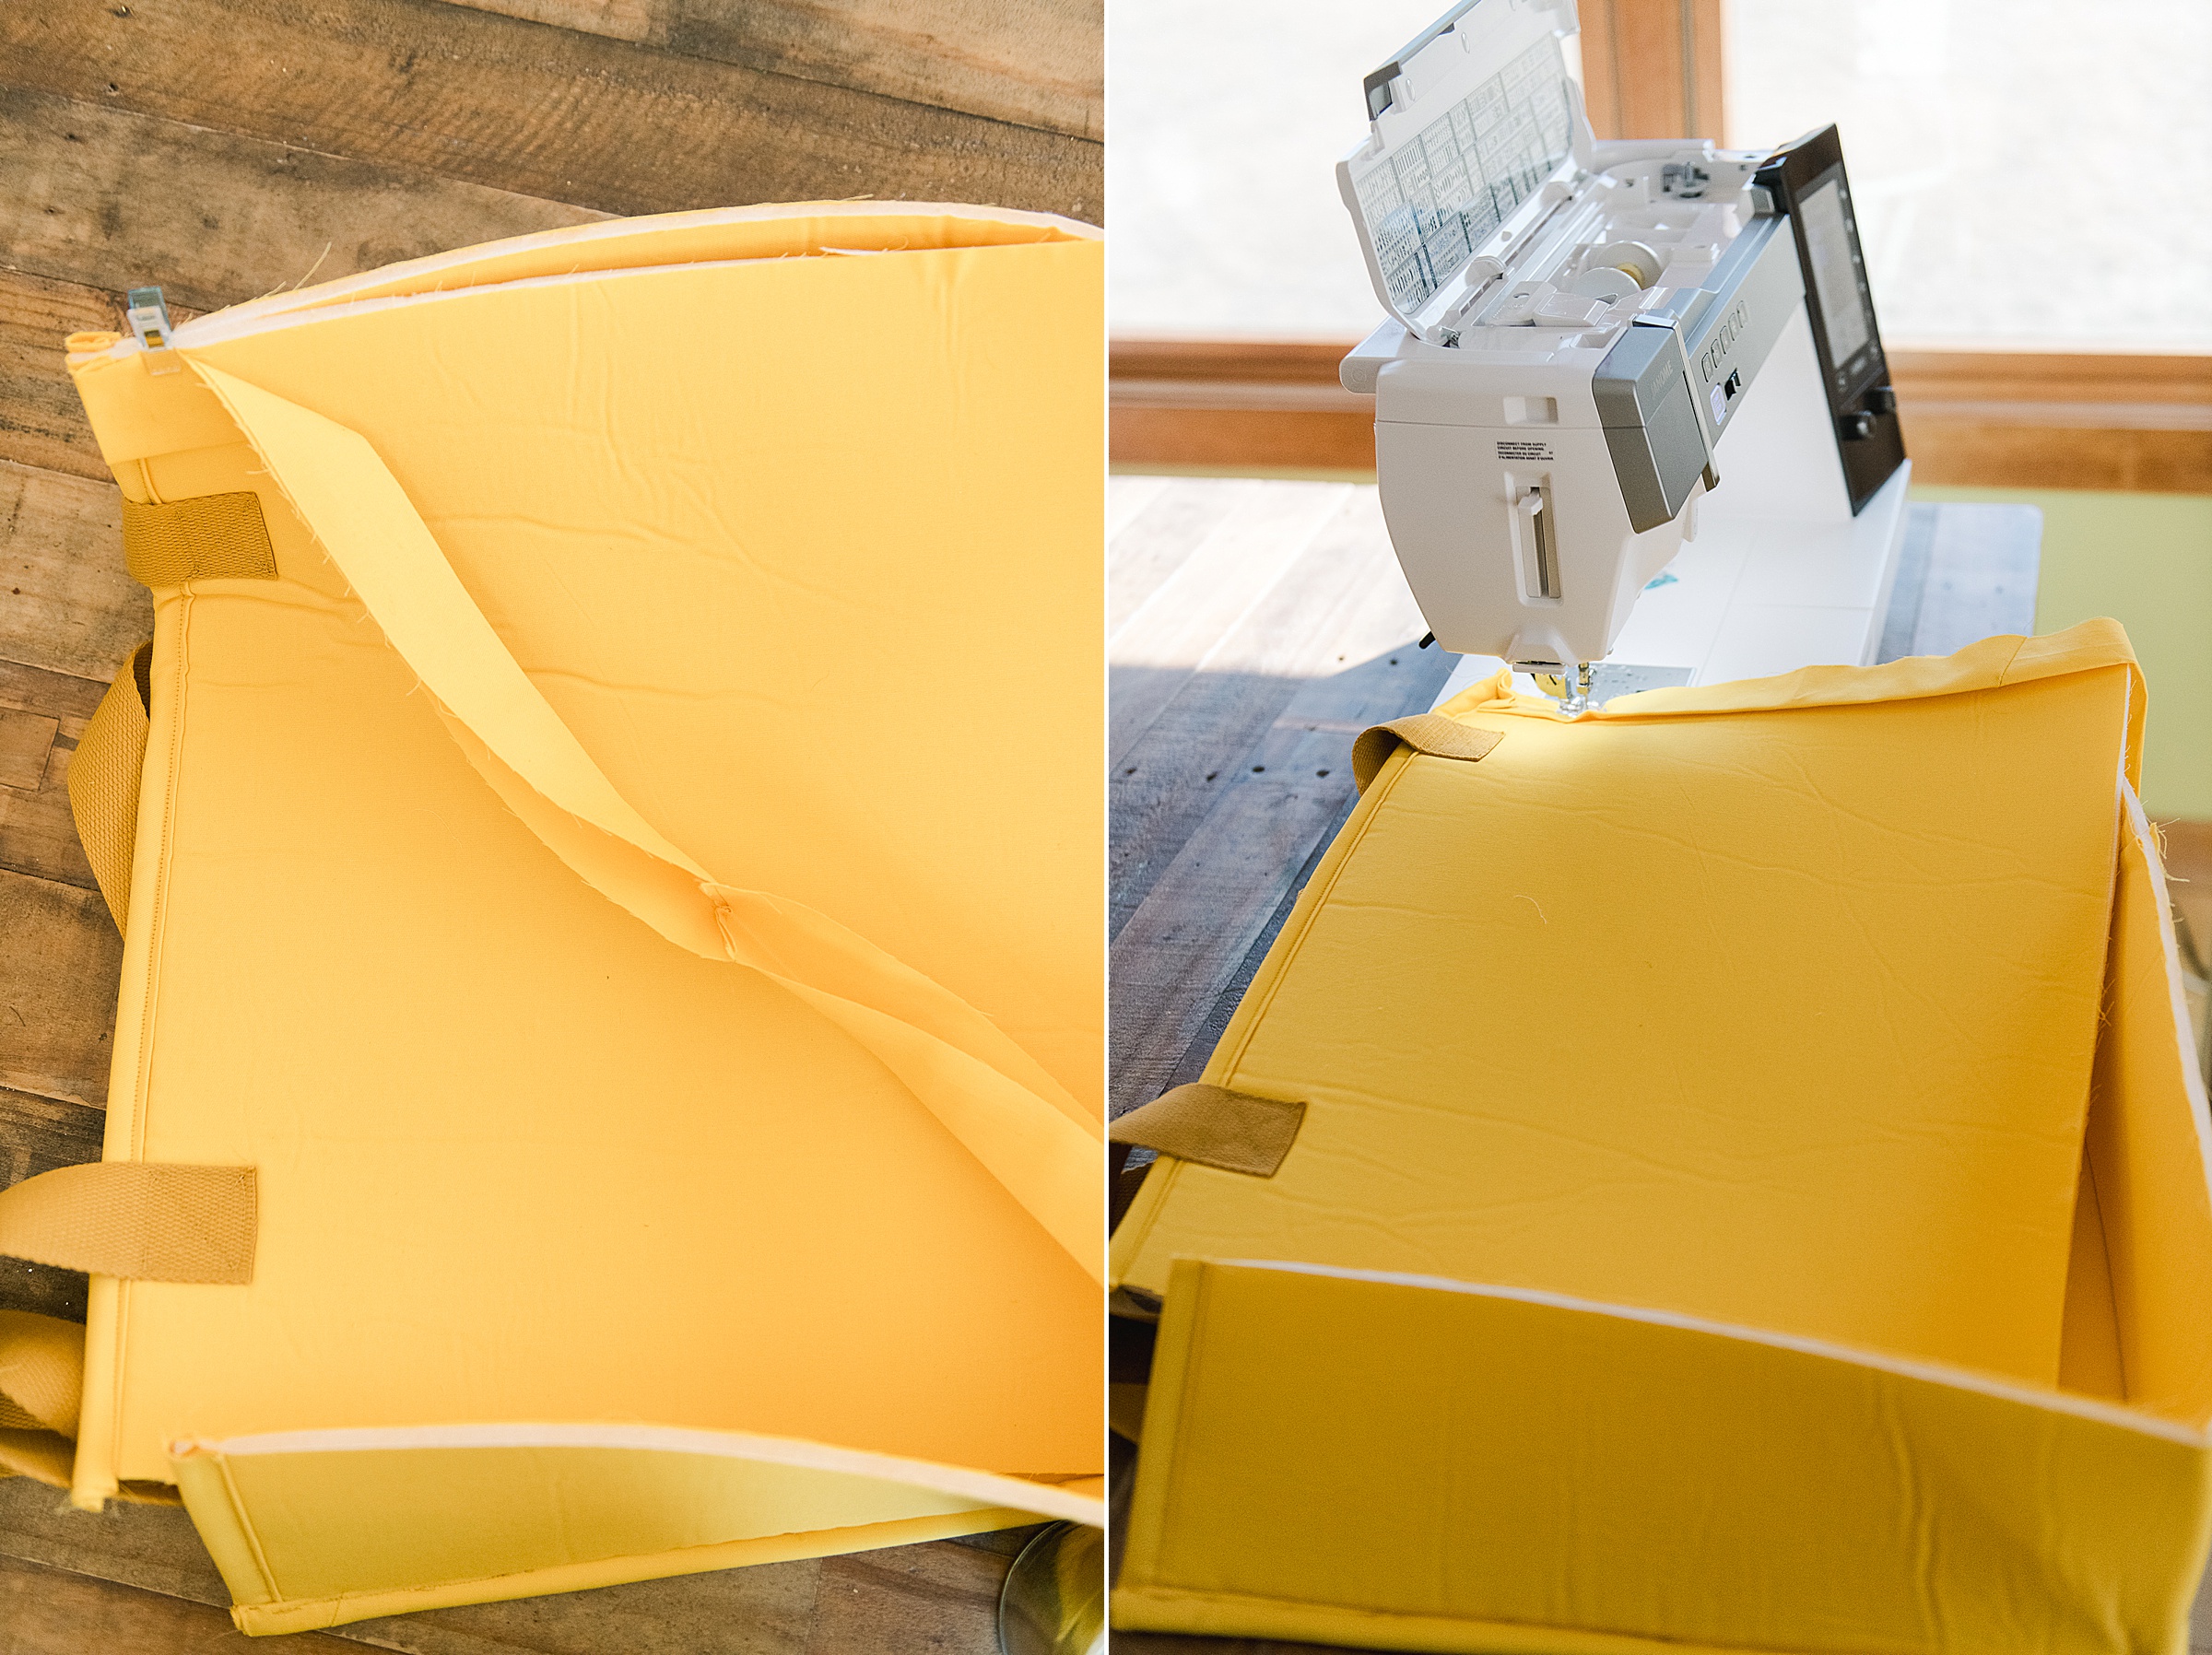
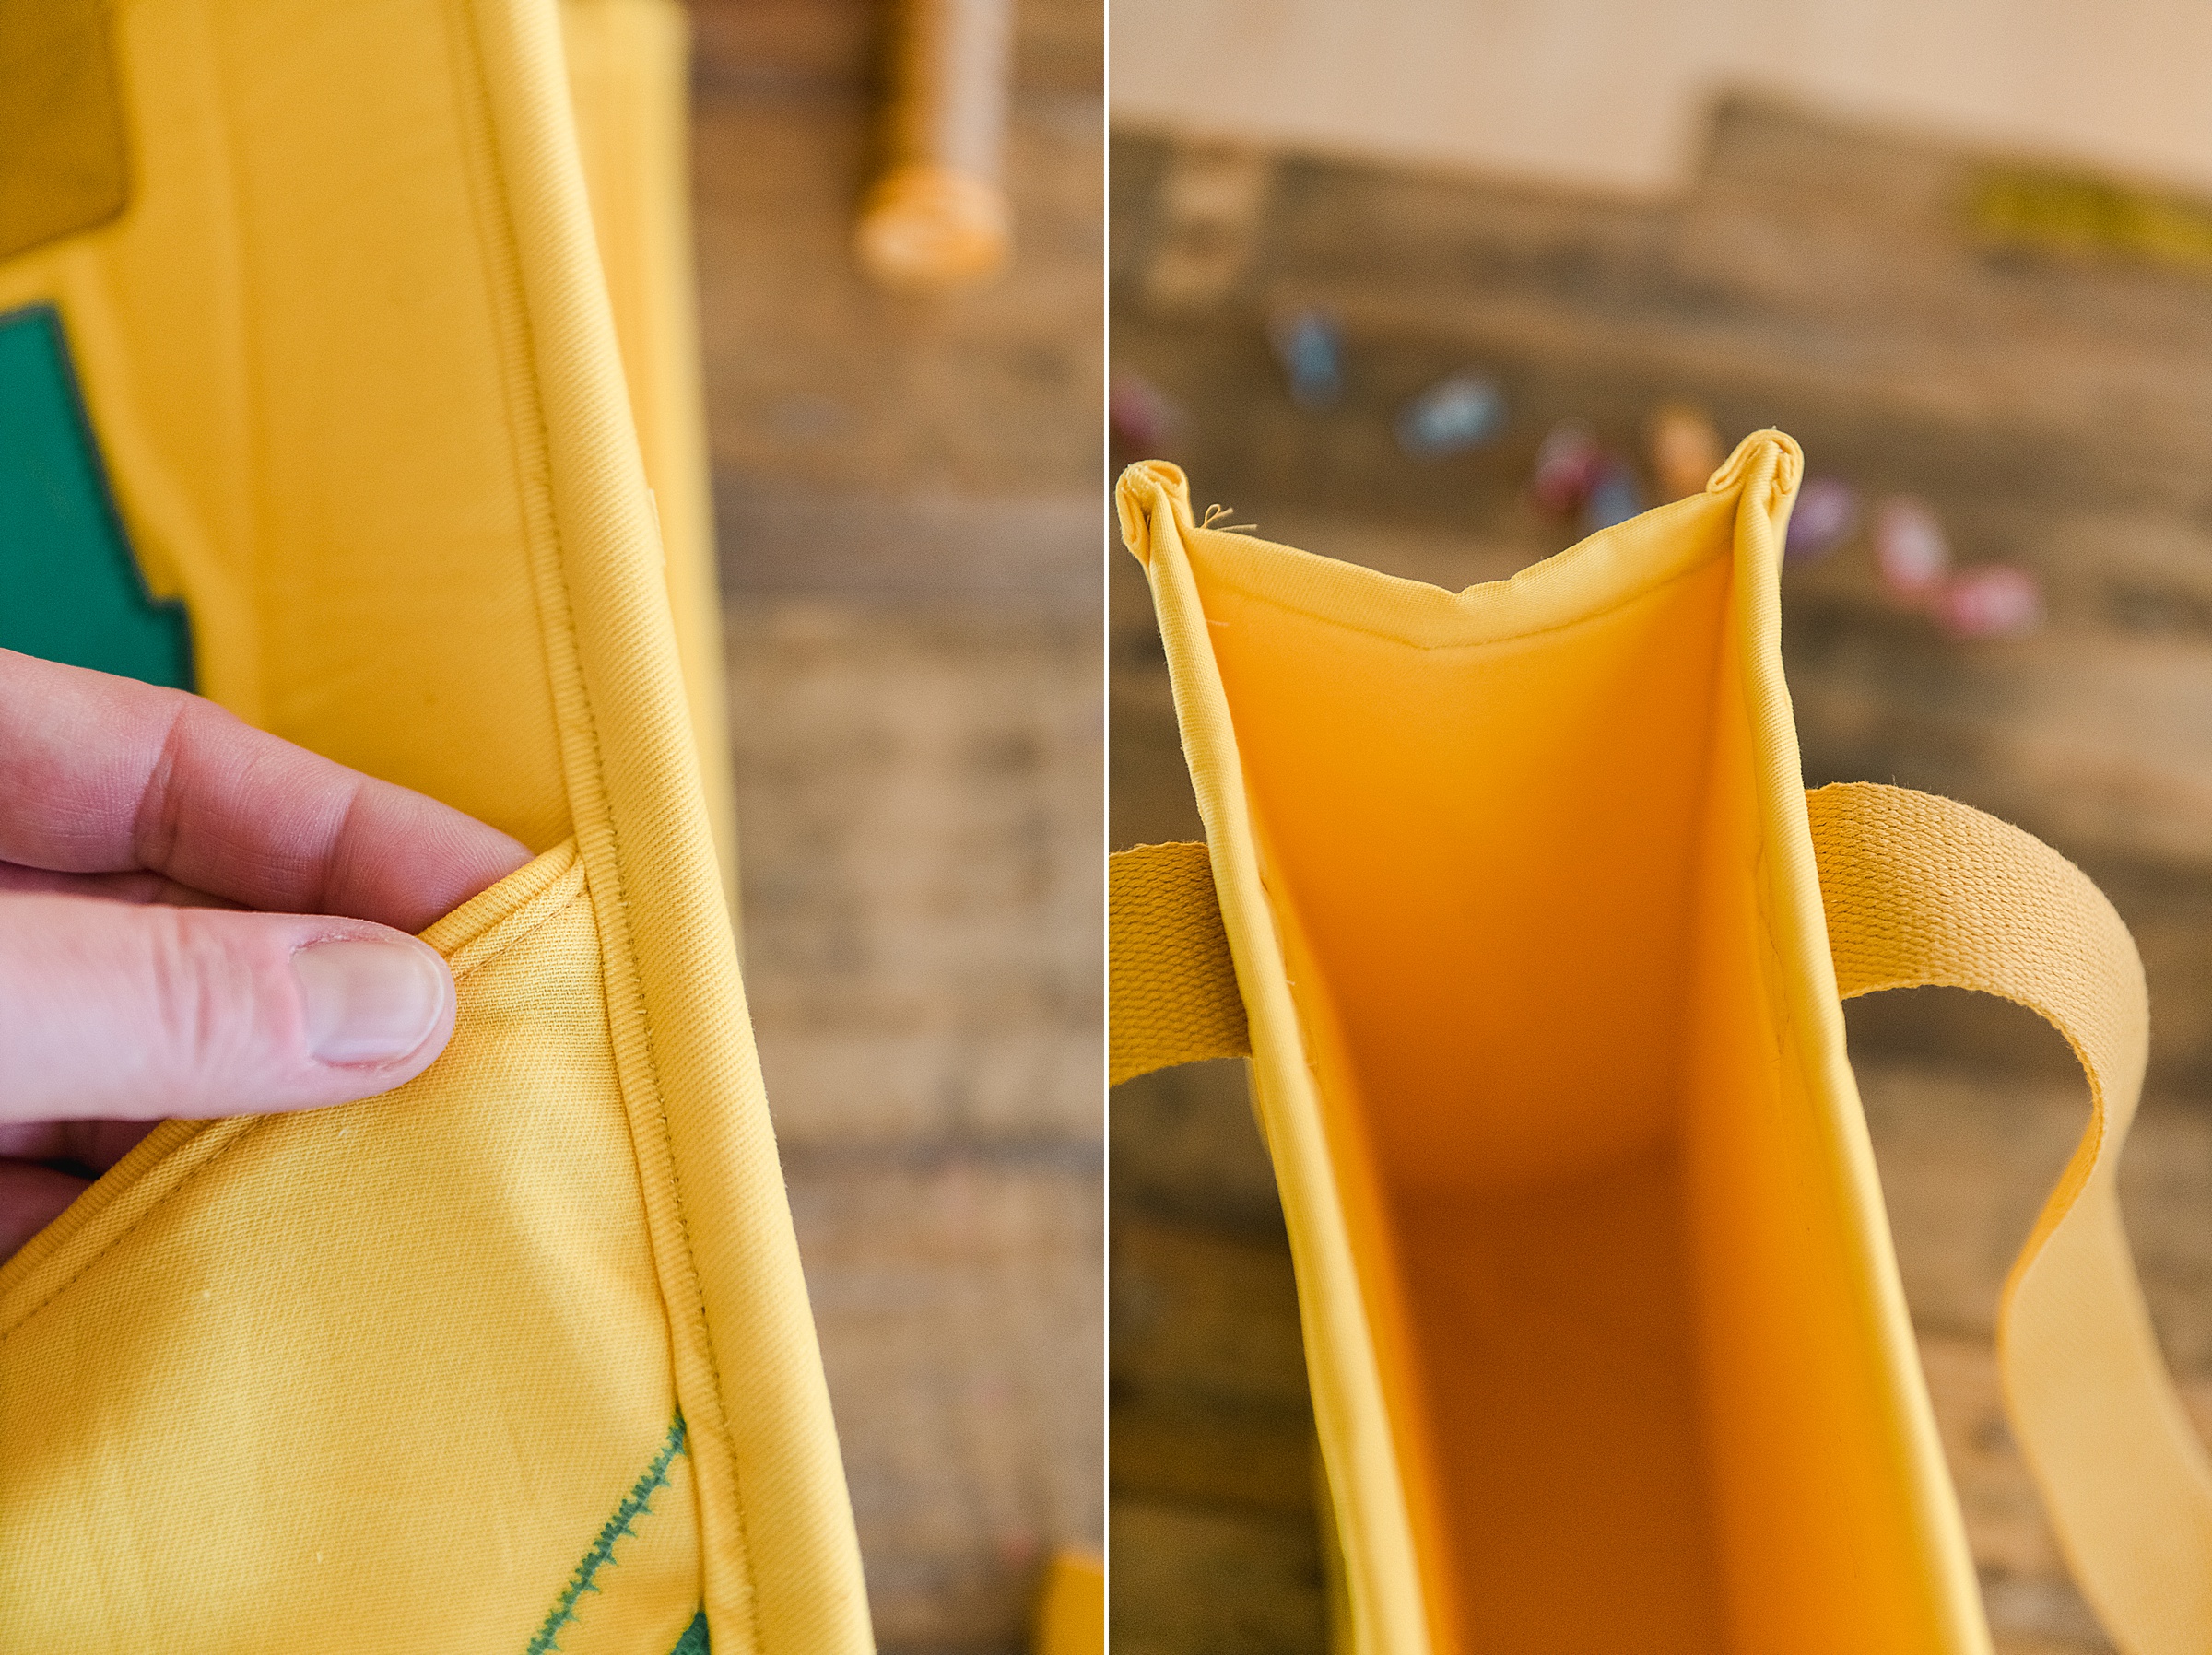
7. Sew everything together 🙂
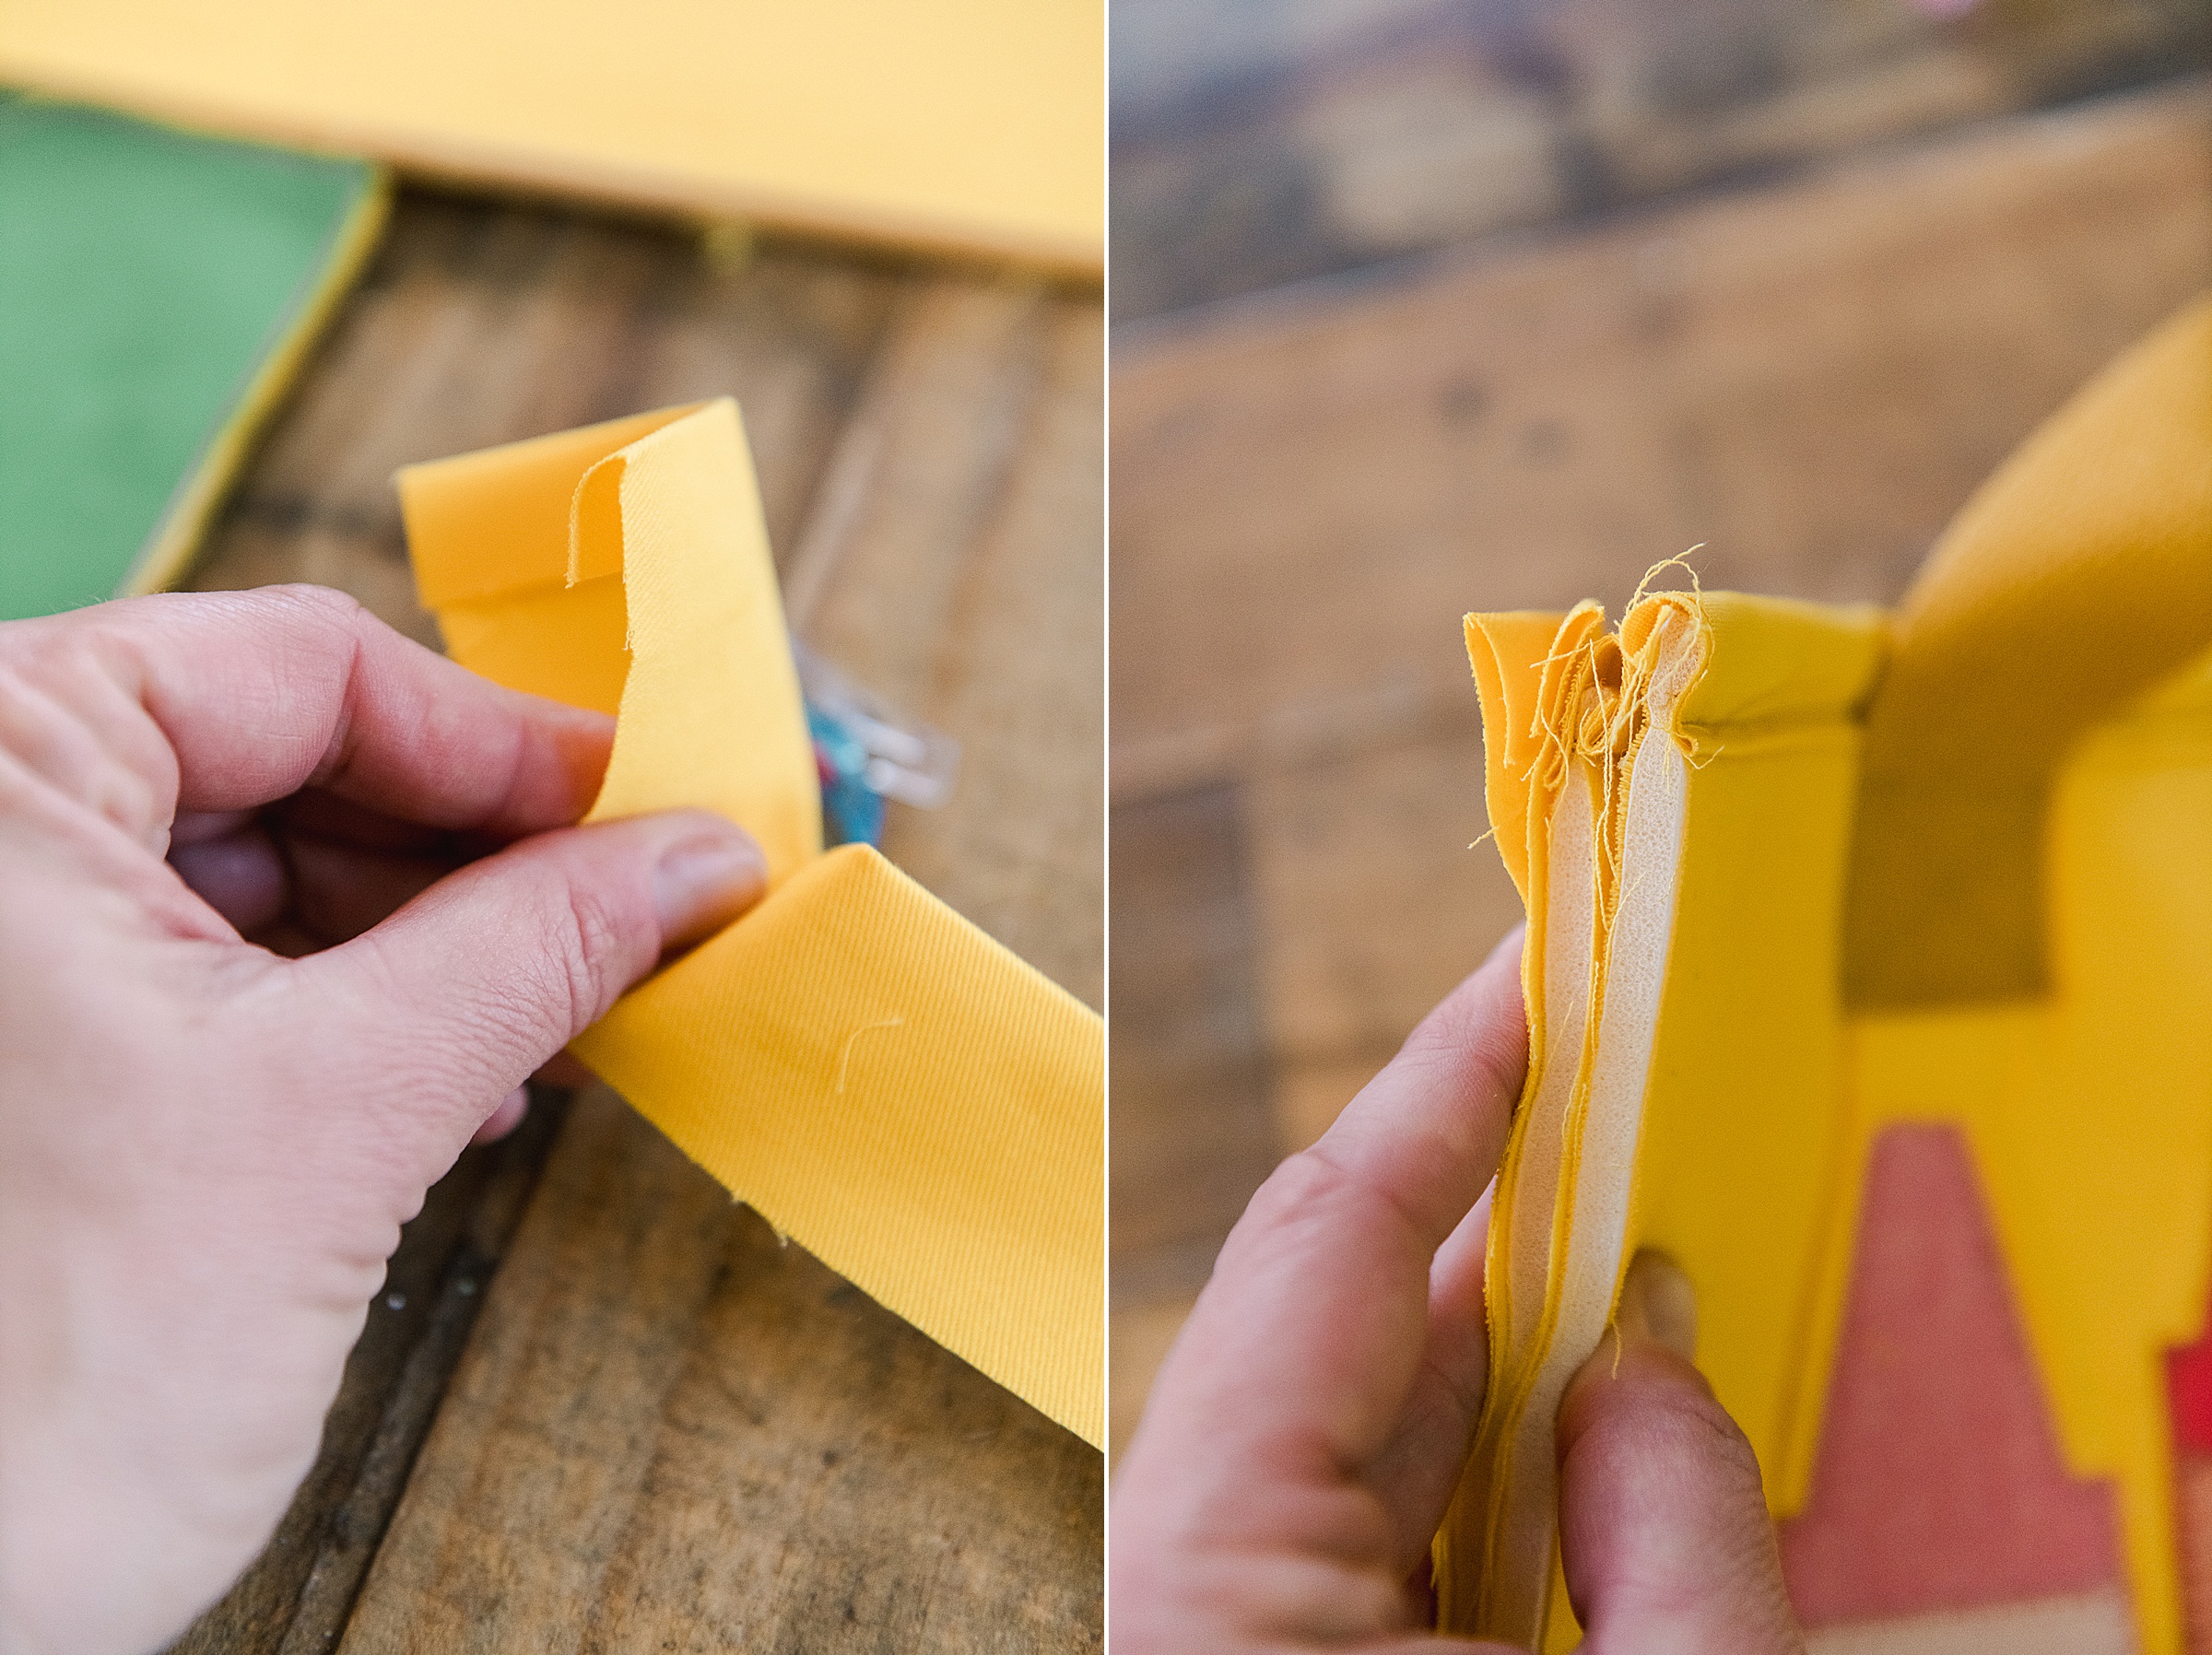
The last step is to take your last 3” x 51” strips and iron each end (short edge) inward towards the wrong side of the fabric about 1/2” on each end (this gives your edges a “finished edge” that will line up to the top of your bag). Then iron them in half lengthwise. You should be left with a long tube with ironed in long edges.
Do this with both of your 51” strips.
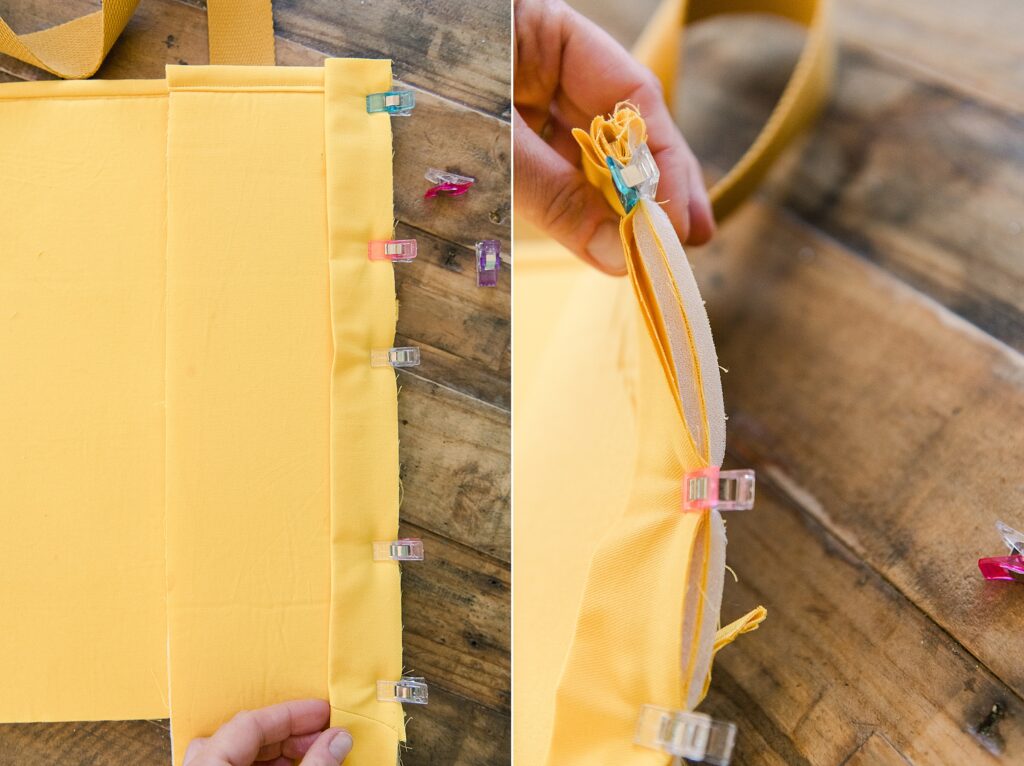
Next you will sandwich the front of your bag, the side panel and the raw edge of the folded edging, lining up all of the raw edges together. Clip together, then sew this in place beginning at the top of one side of the bag, working around to the top of the other side of the bag.
Then pull over the ironed side (or folded) side of the edging and top stitch in place working around from the top of one side of the bag to the top of the other side.
Repeat this with the backside and 2nd folded edging to finish off your bag!
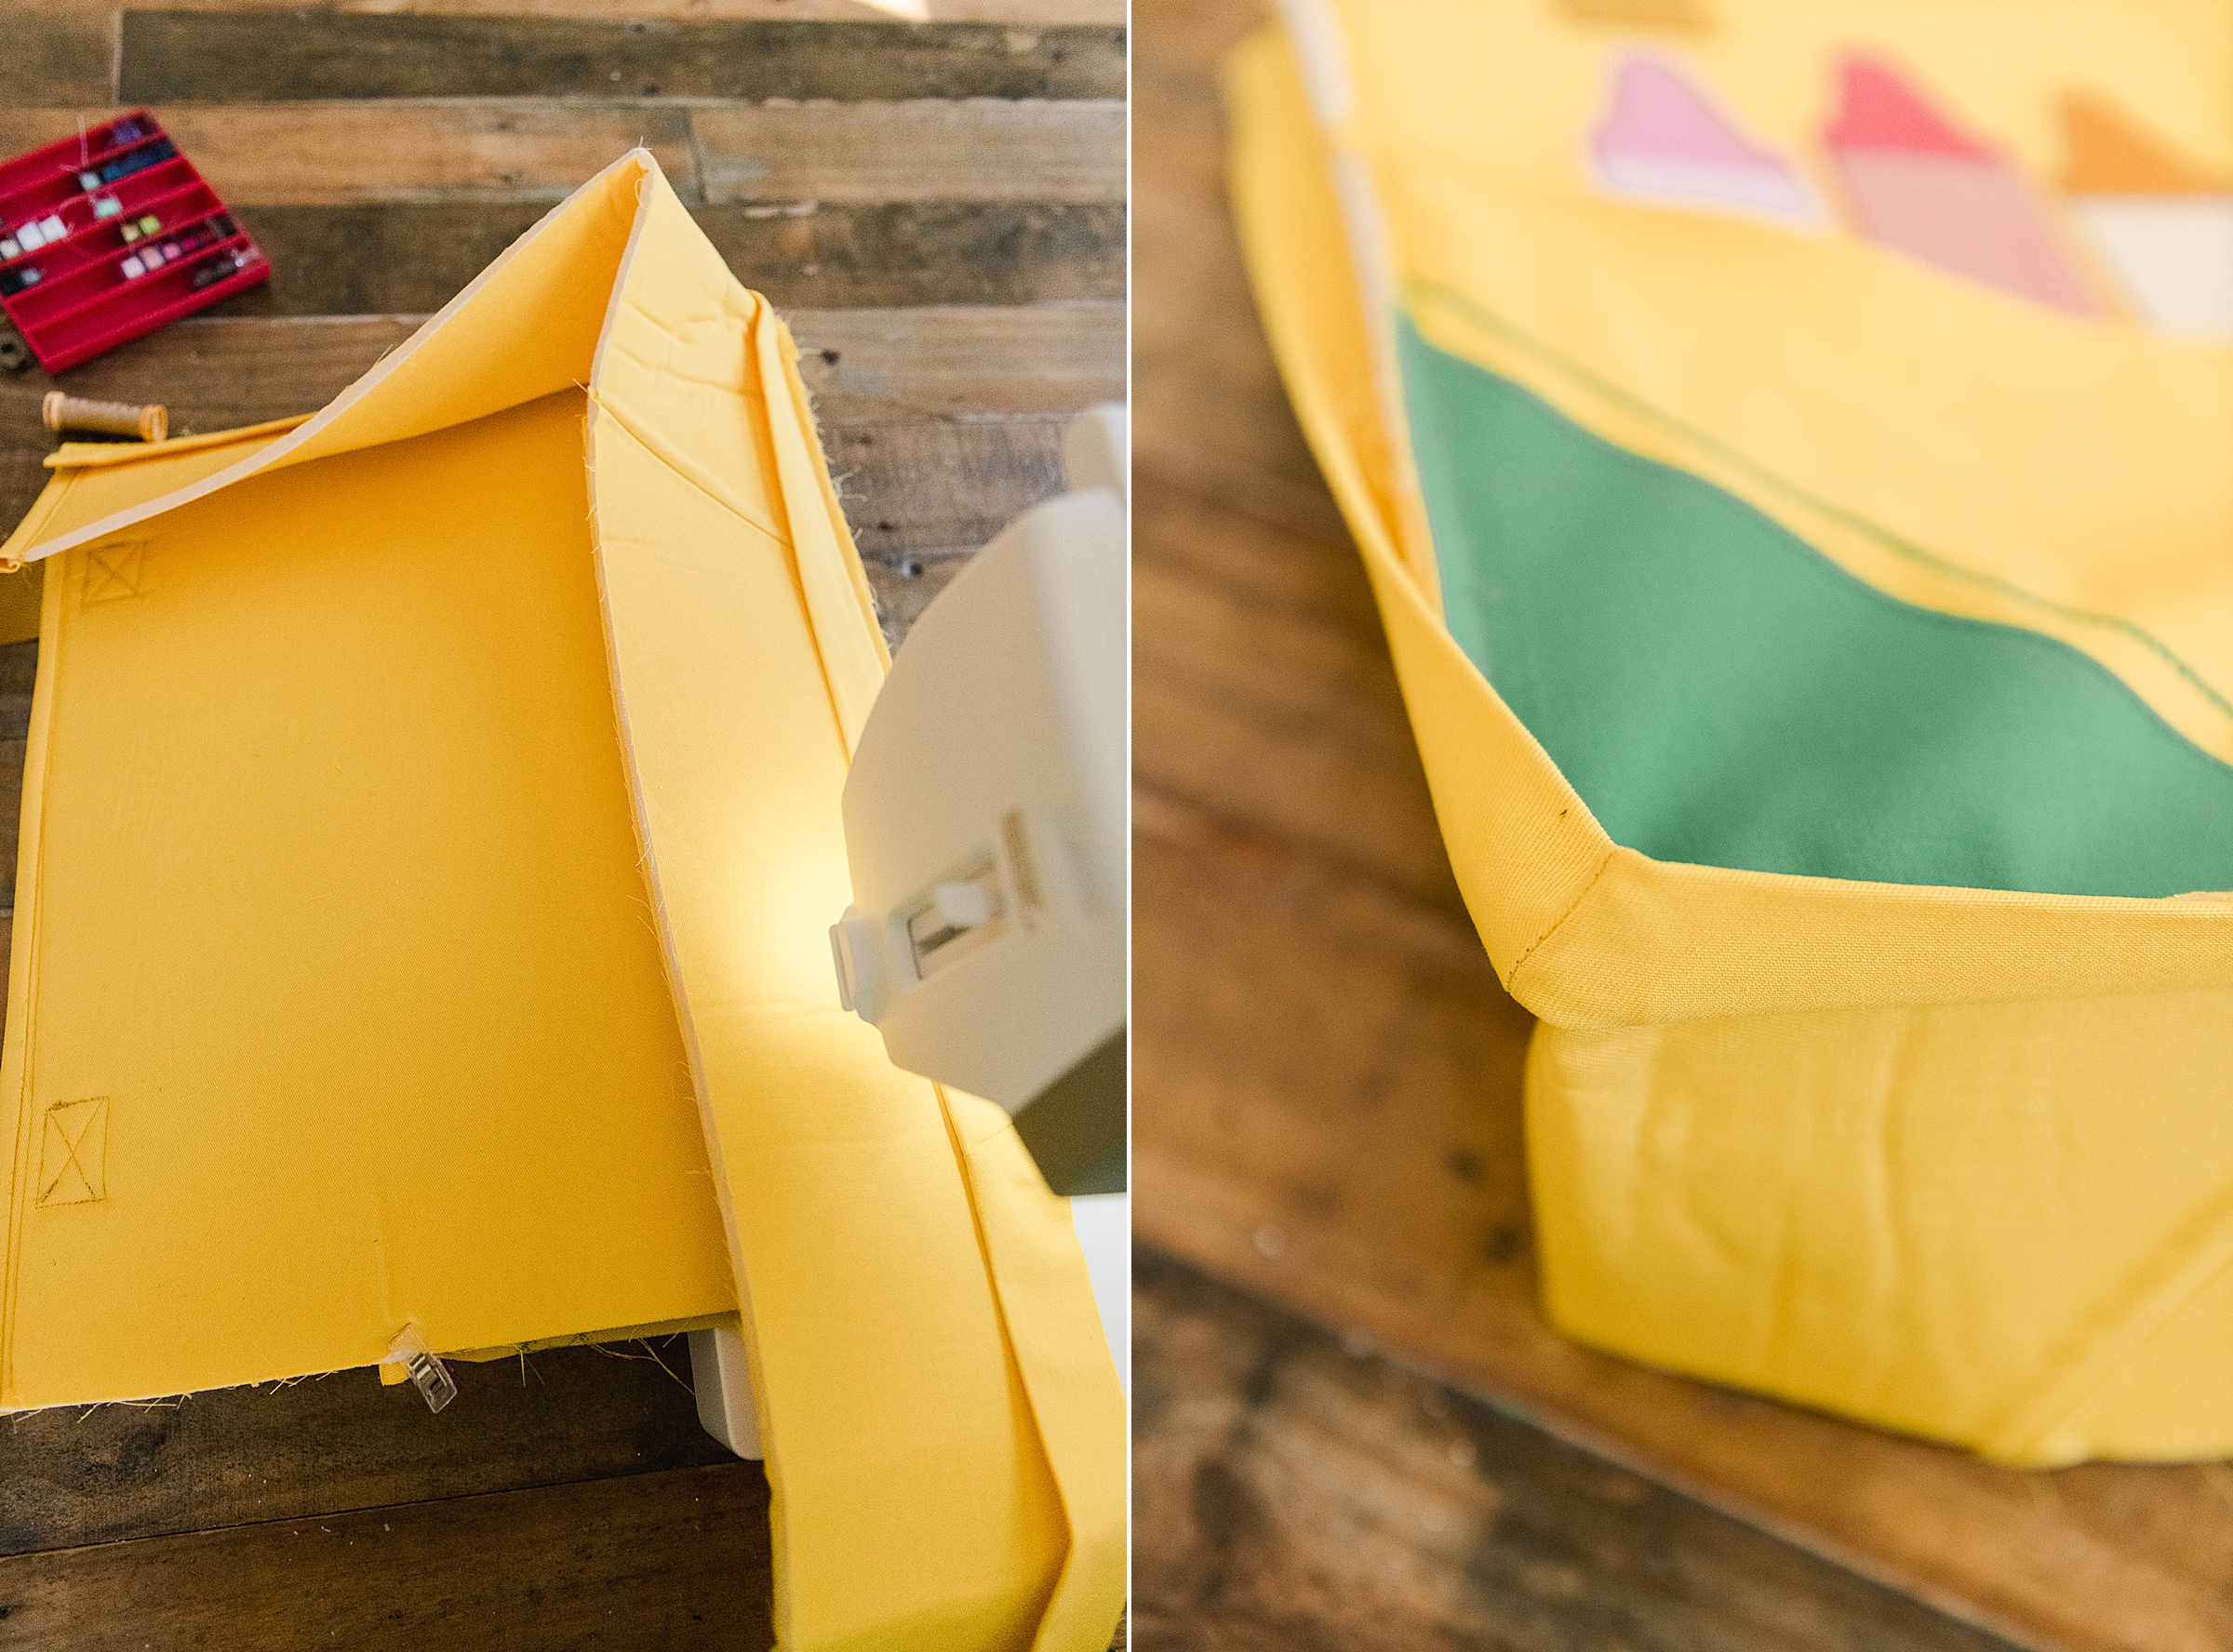
Clip all of your loose threads and then admire your amazing, crayon box bag handiwork to show off to you all of your creative and crafty friends! 🙂
Where can I find the pdf for the crayons? Thanks.
OHMYSTARS Cheryl! Thank you for asking! I forgot to link the PDF to the blog post – just did it so you will see in both in the supply list and in the cut list instructions (step 1)! 🙂 Hope this helps!