A no-sew cheeseburger dog costume!
this project is in partnership with Aleene’s amazing tacky glue
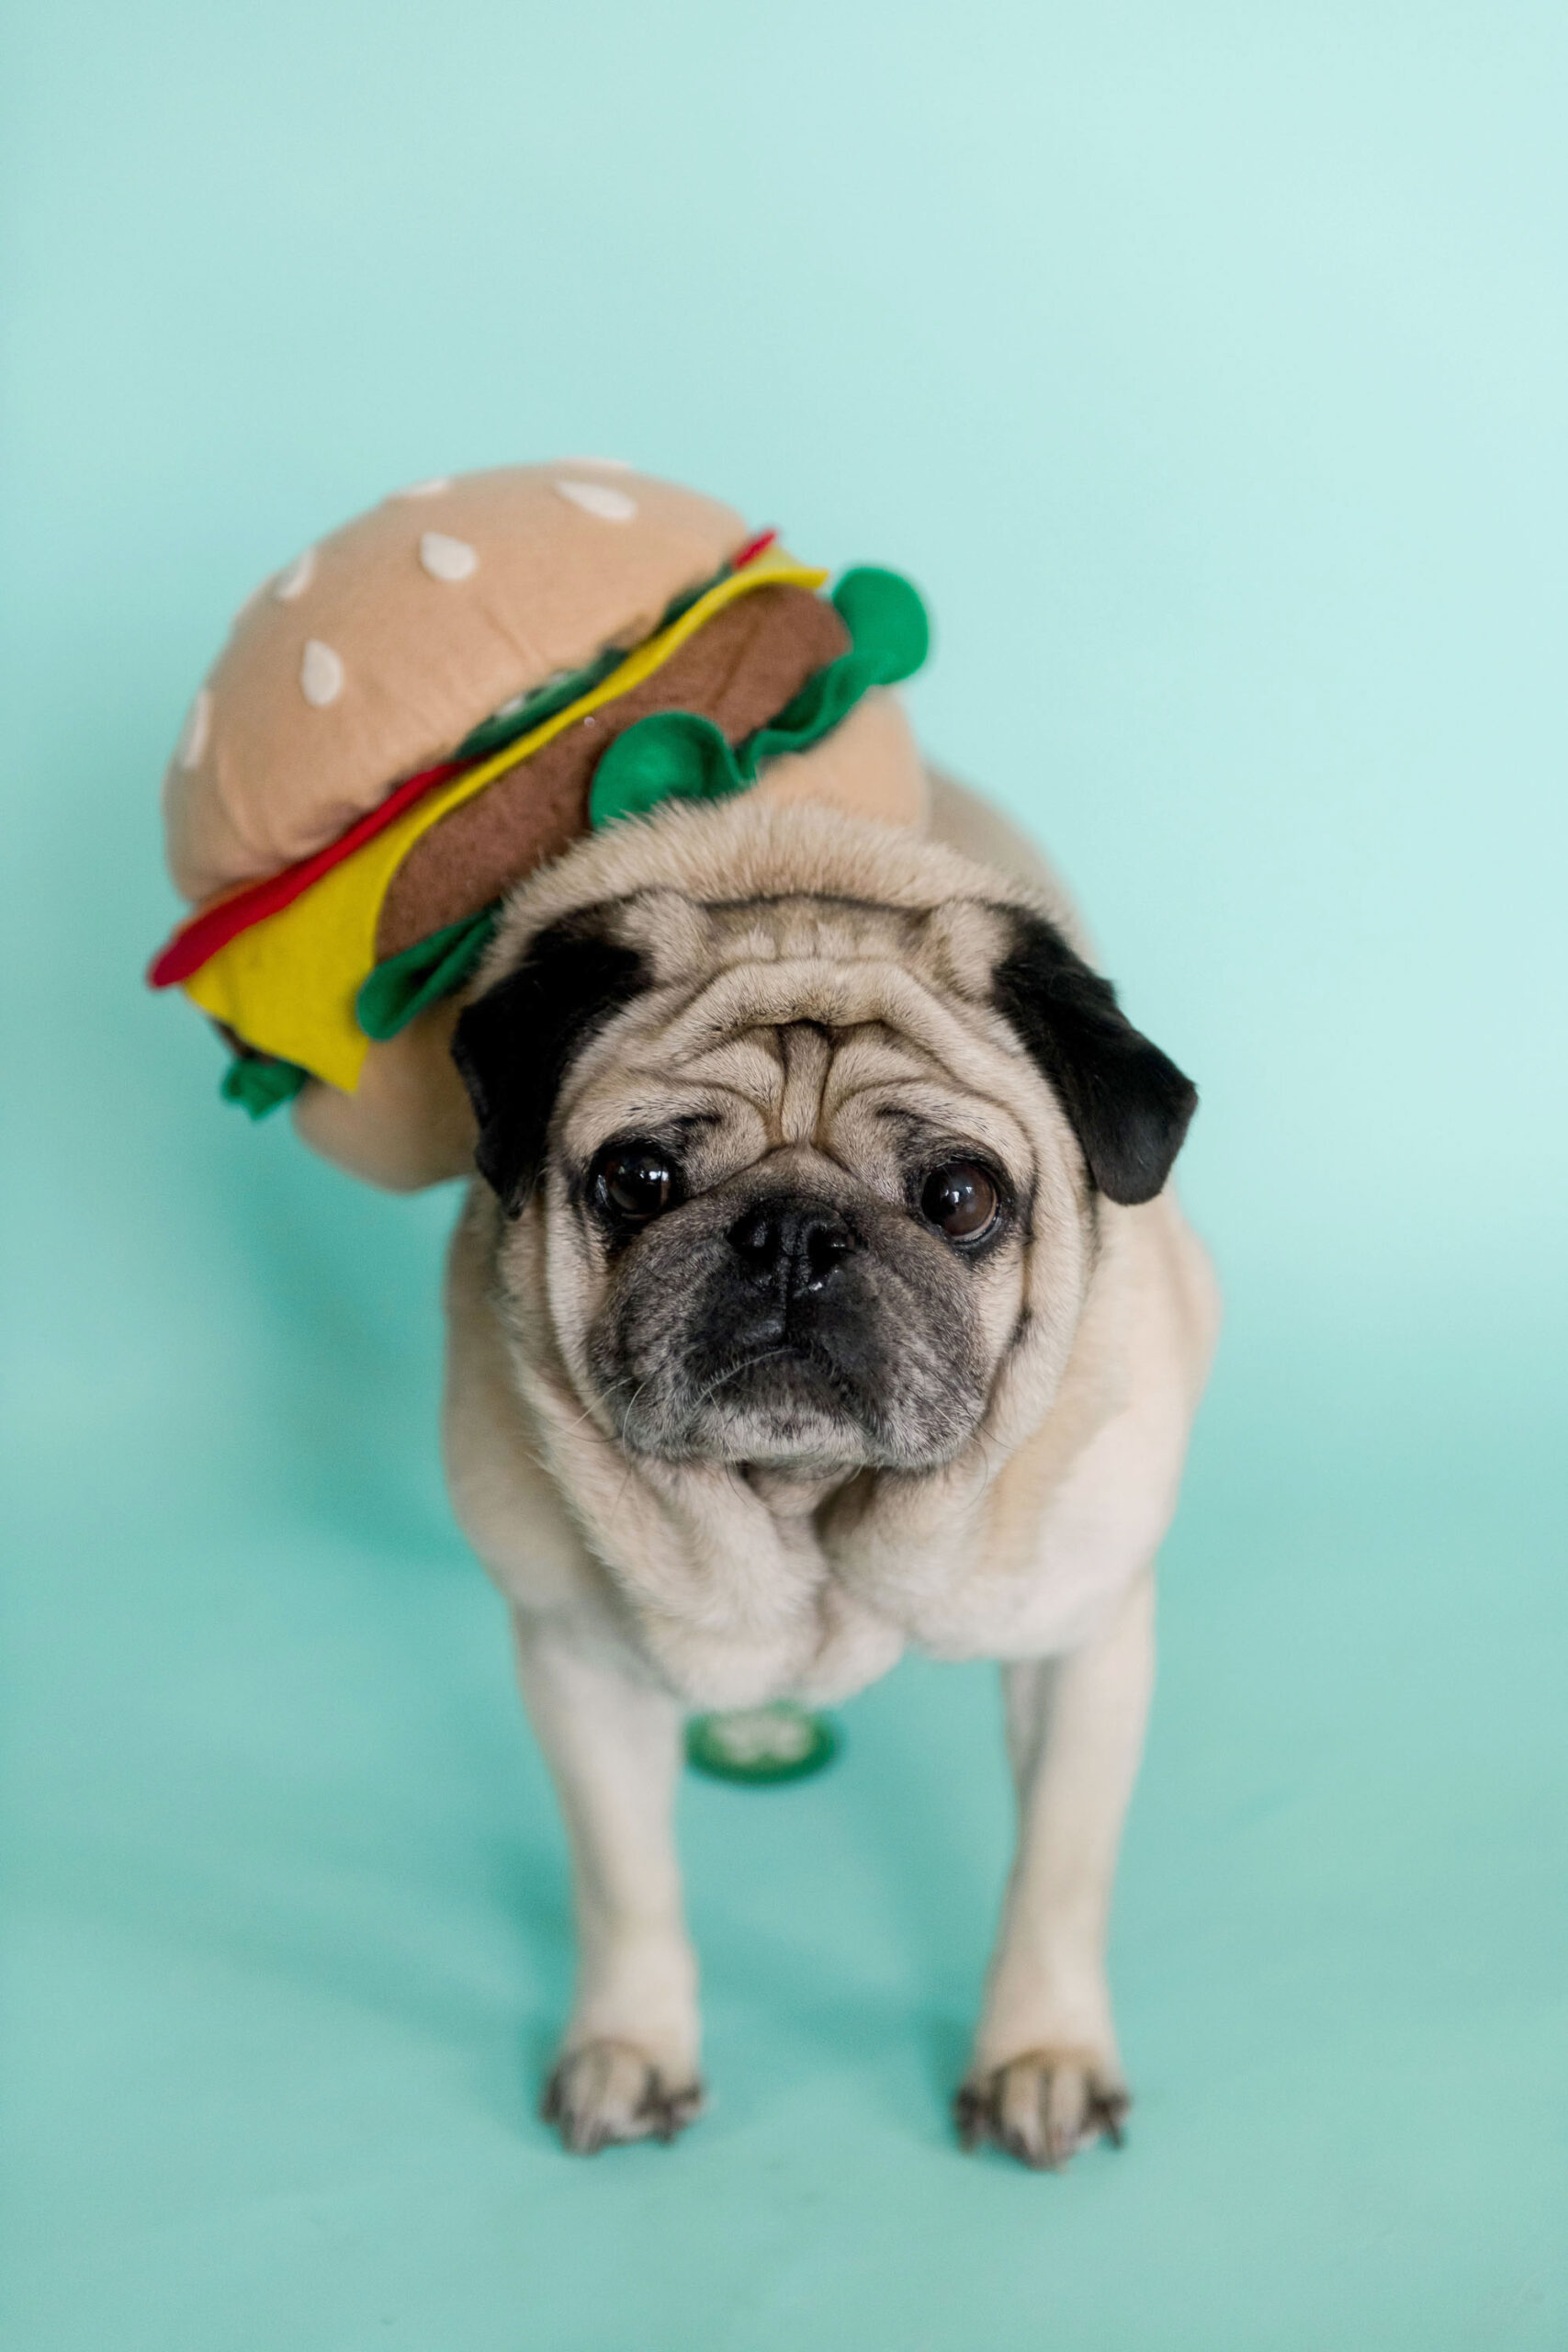
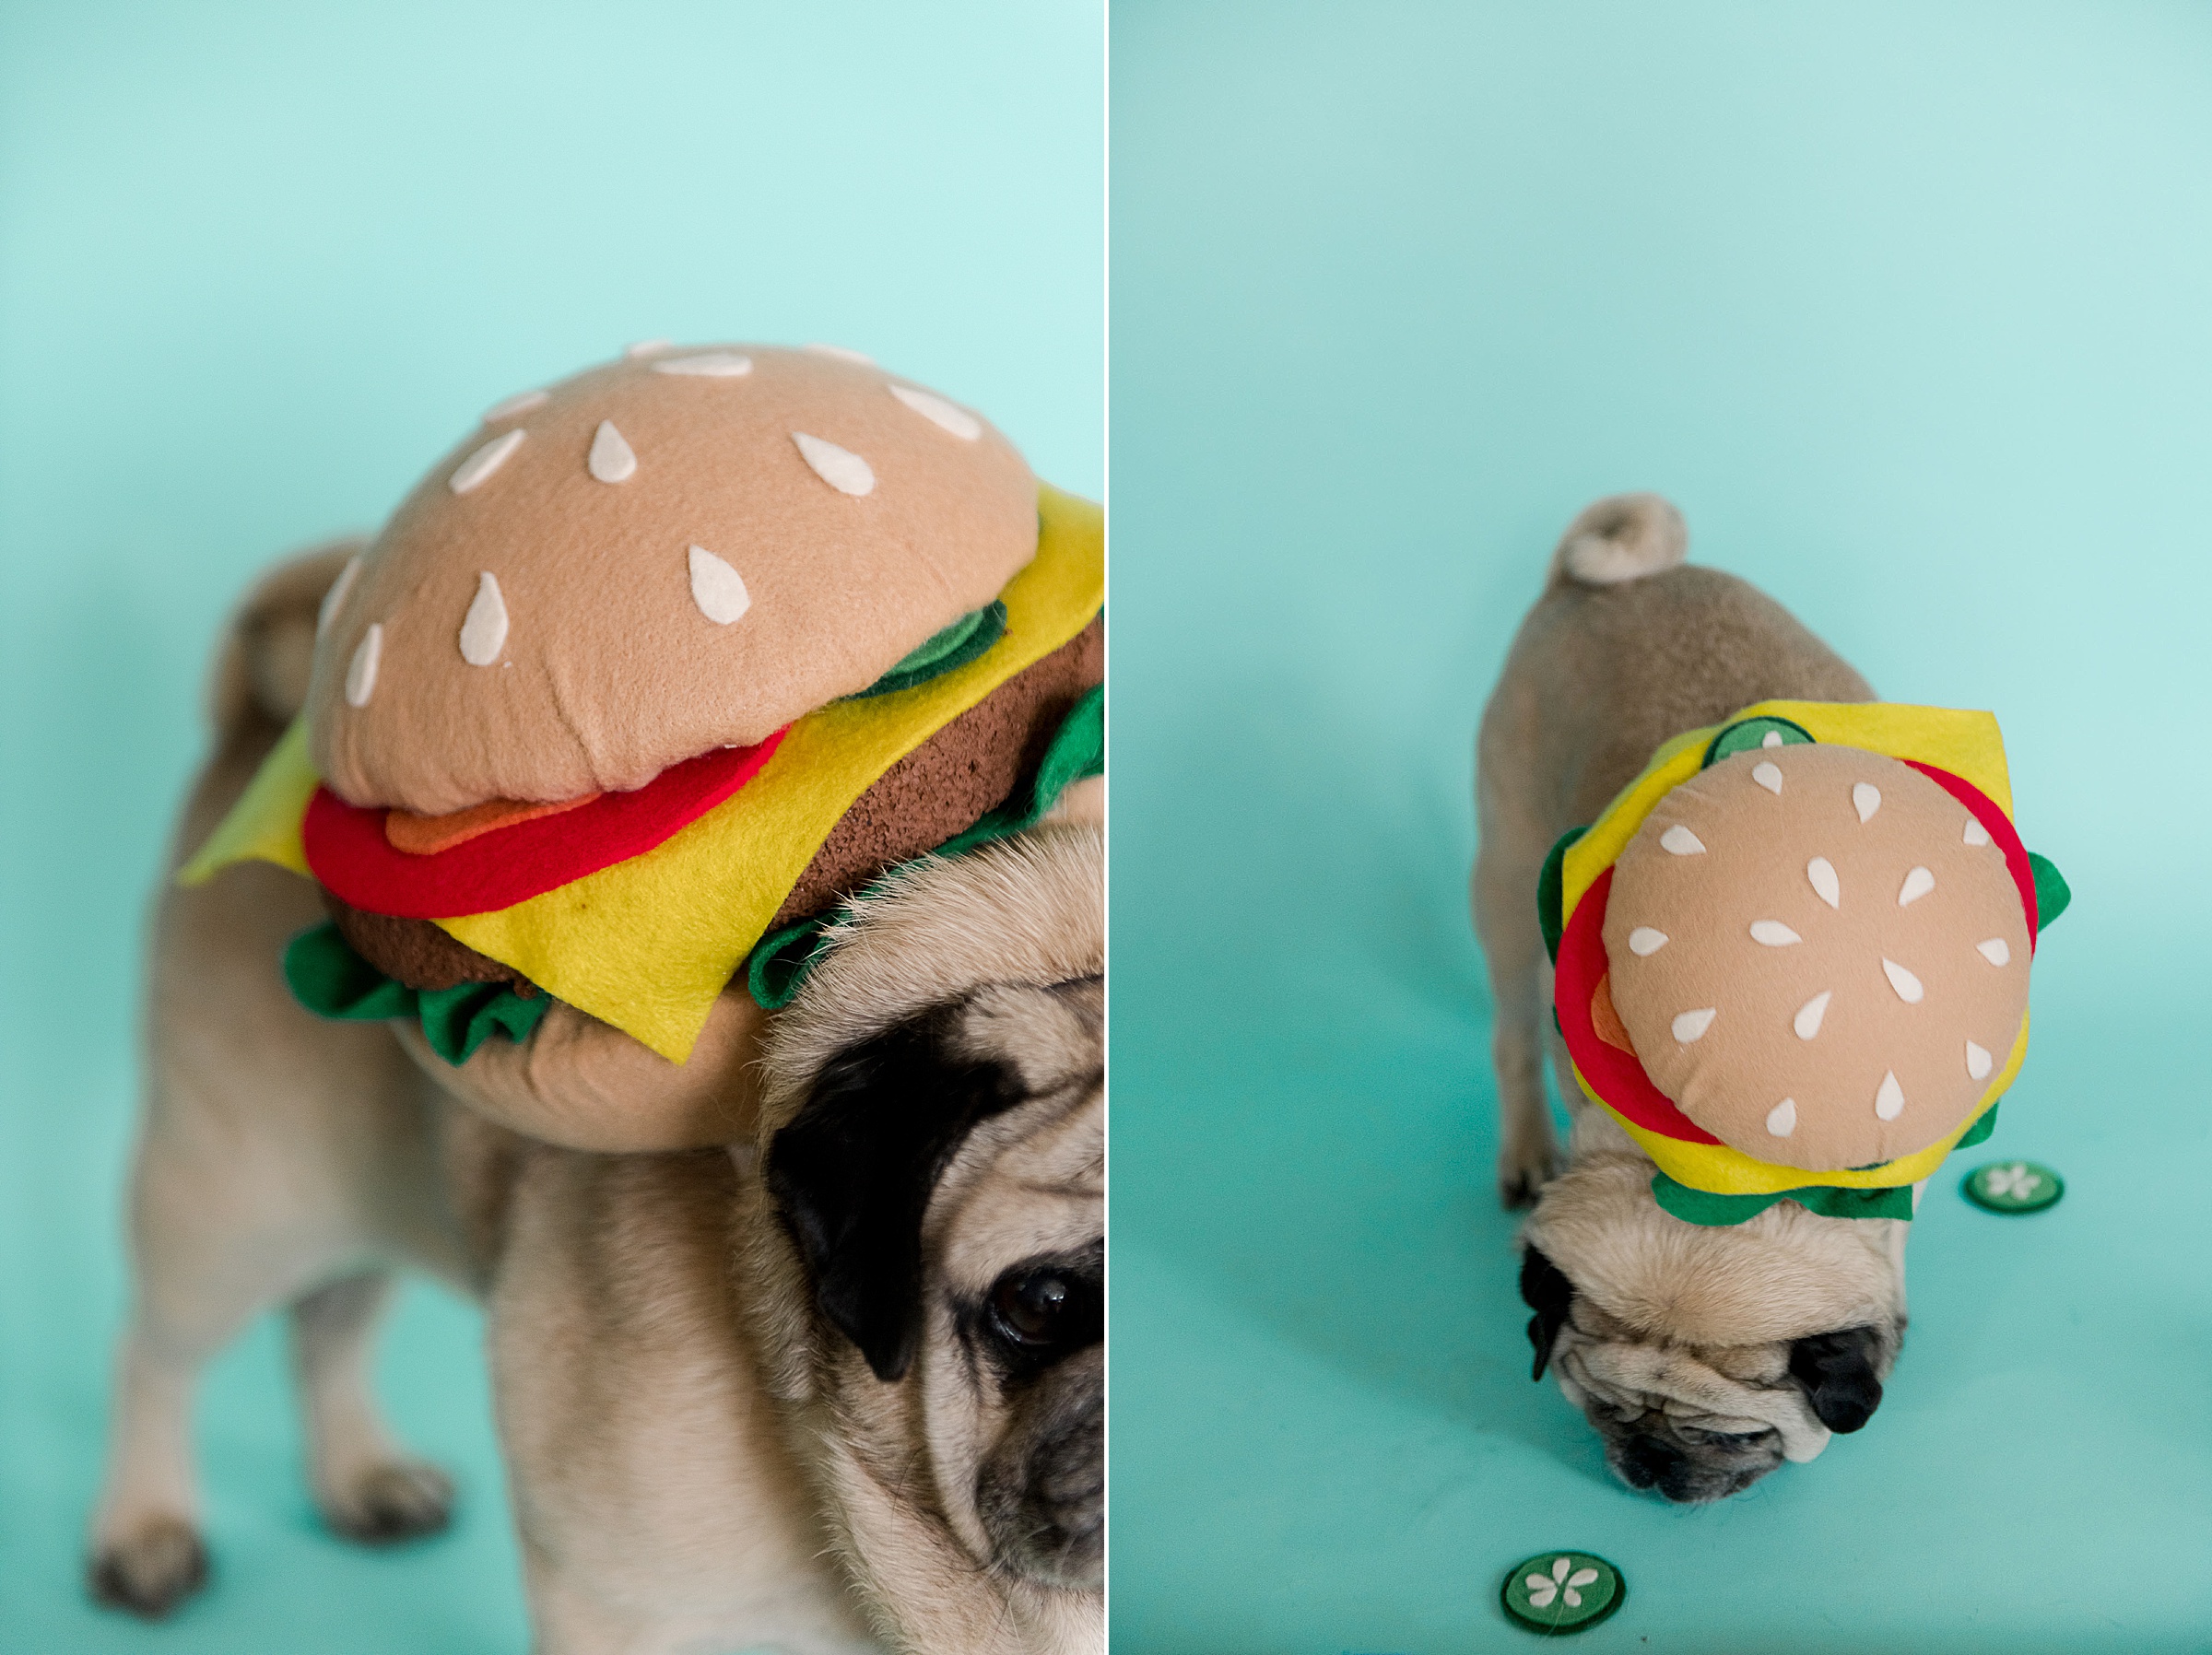
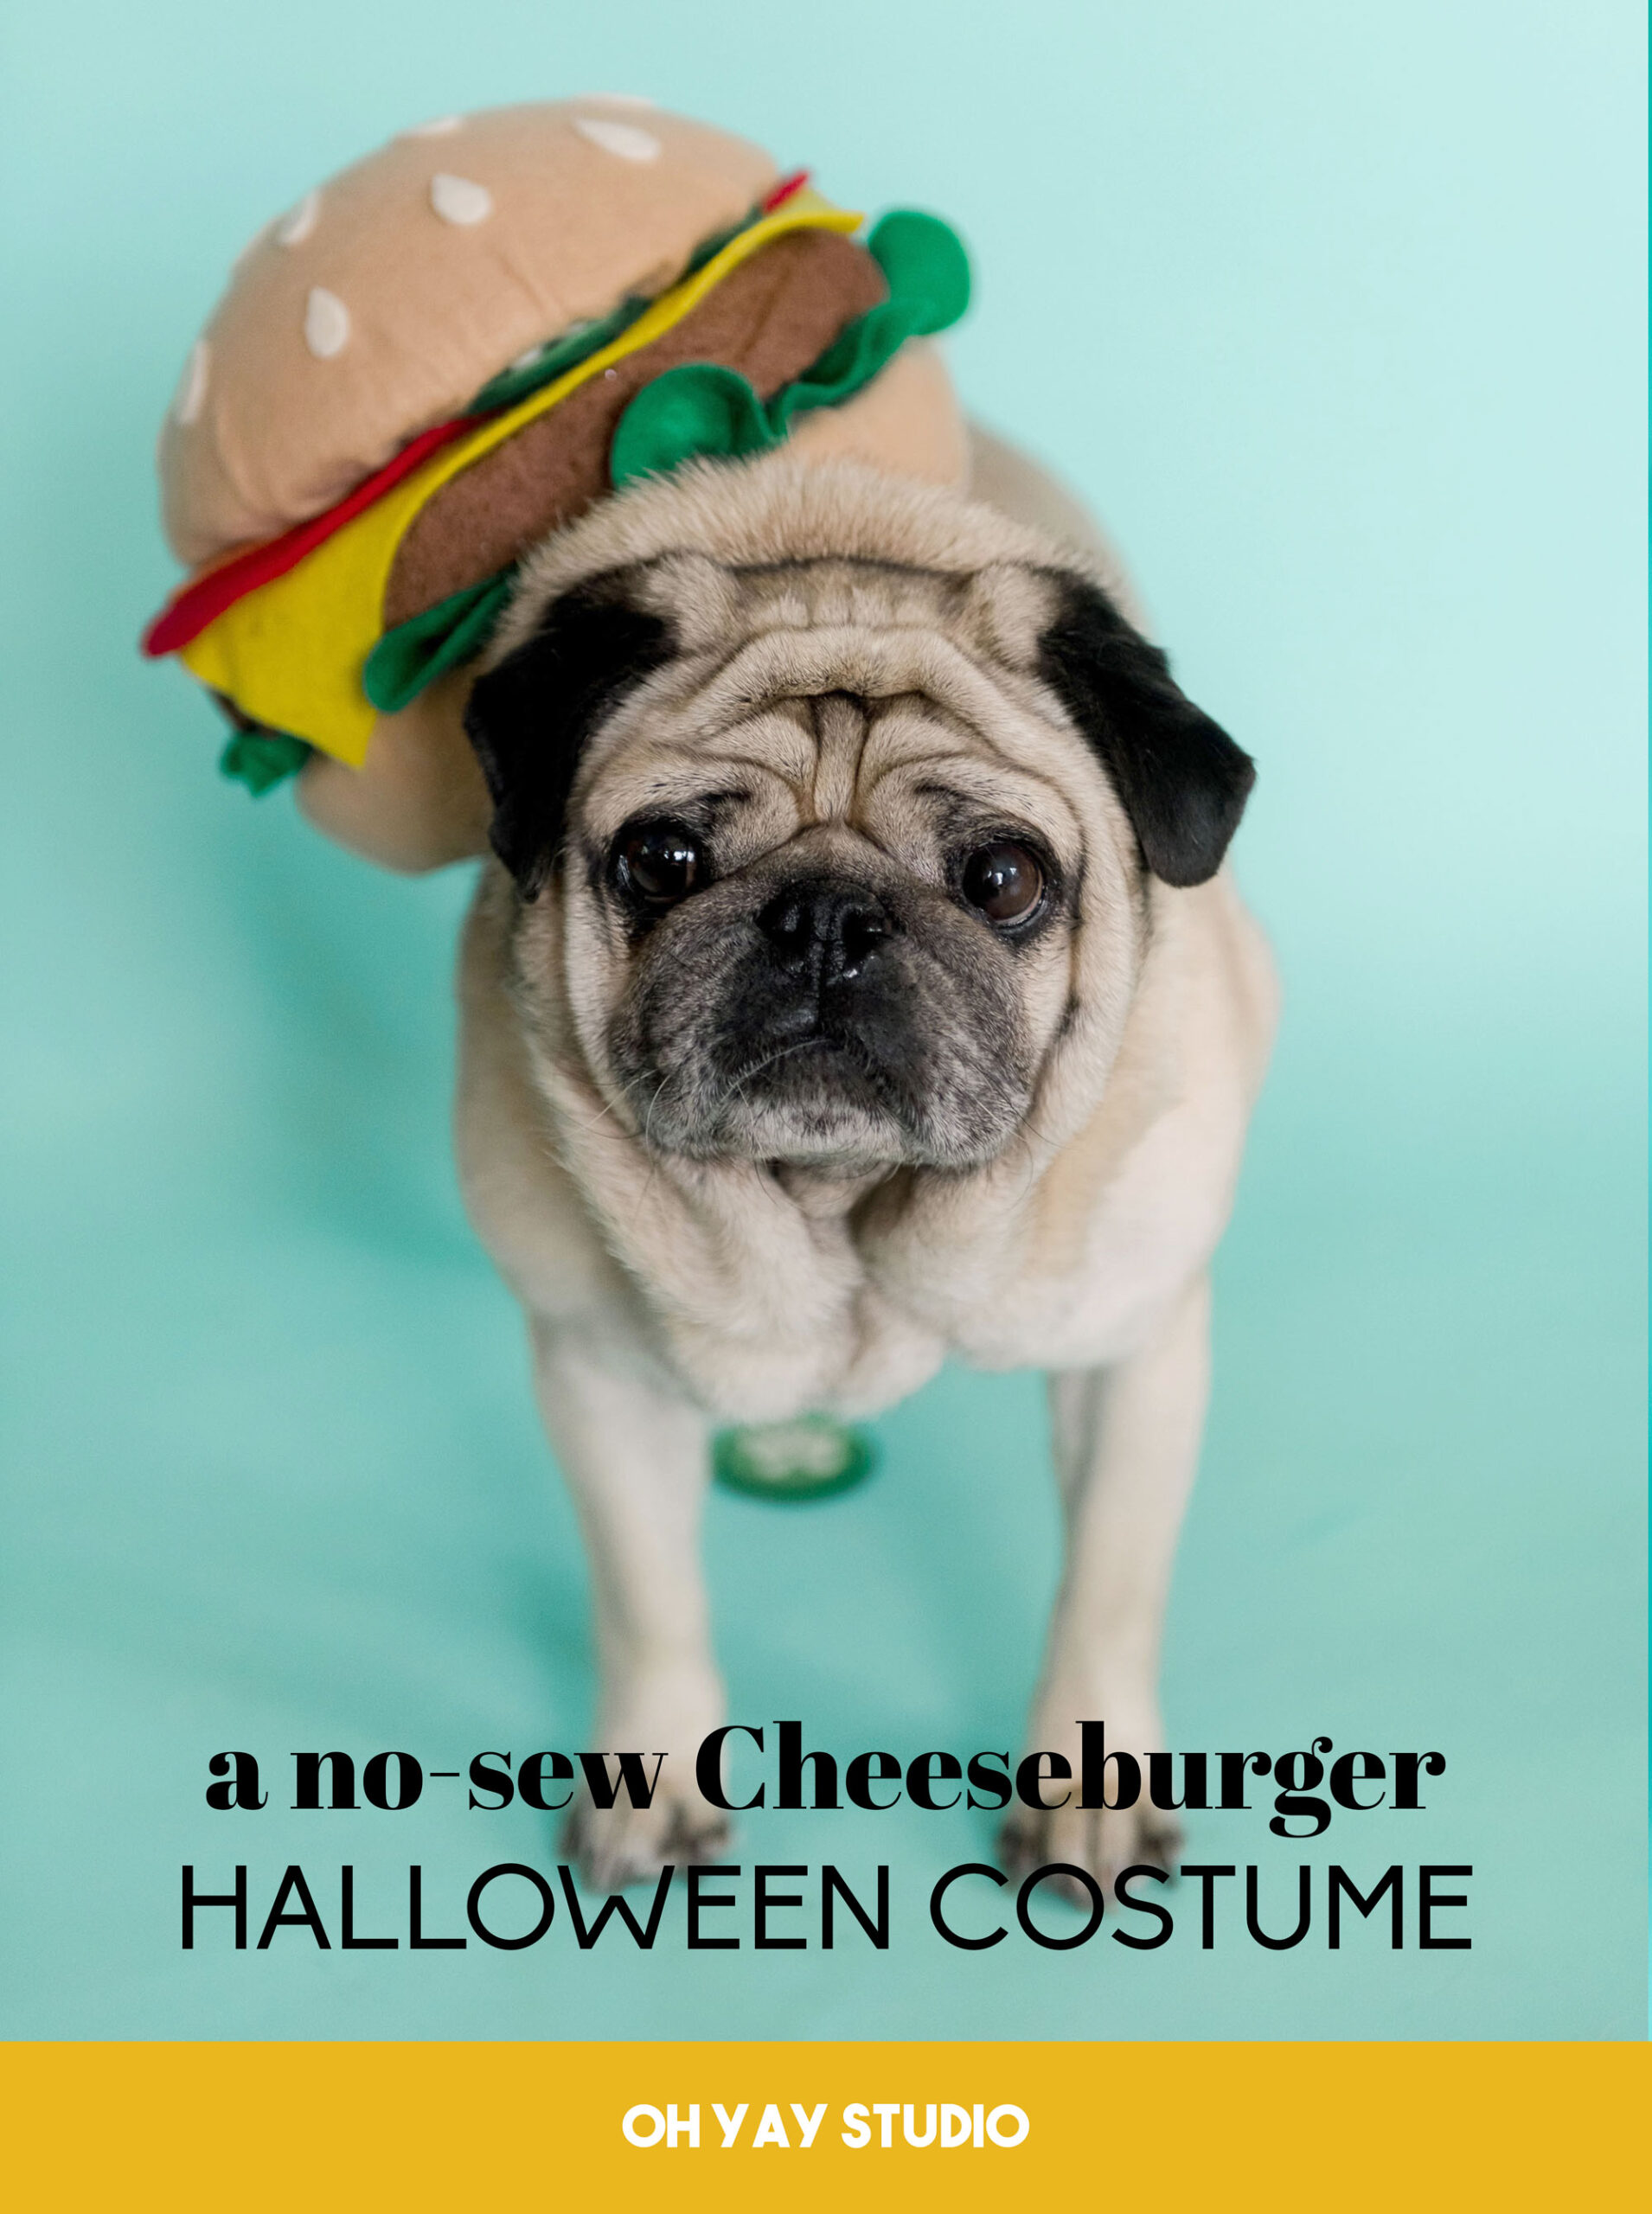
OKOKOKOK! If this doesn’t get you excited for Halloween, I don’t know what will – today I am sharing one of THE CUTESSST no sew Halloween costumes for your furry friend (I made this for our pug, Norman, but honestly you could even make this for any pet that you love dearly…just change up the sizing for whatever size animal you want)! ANNNND this cheeseburger is a little peek into our bigger family Halloween costume that I will be working on through the next few weeks – hint hint! 🙂
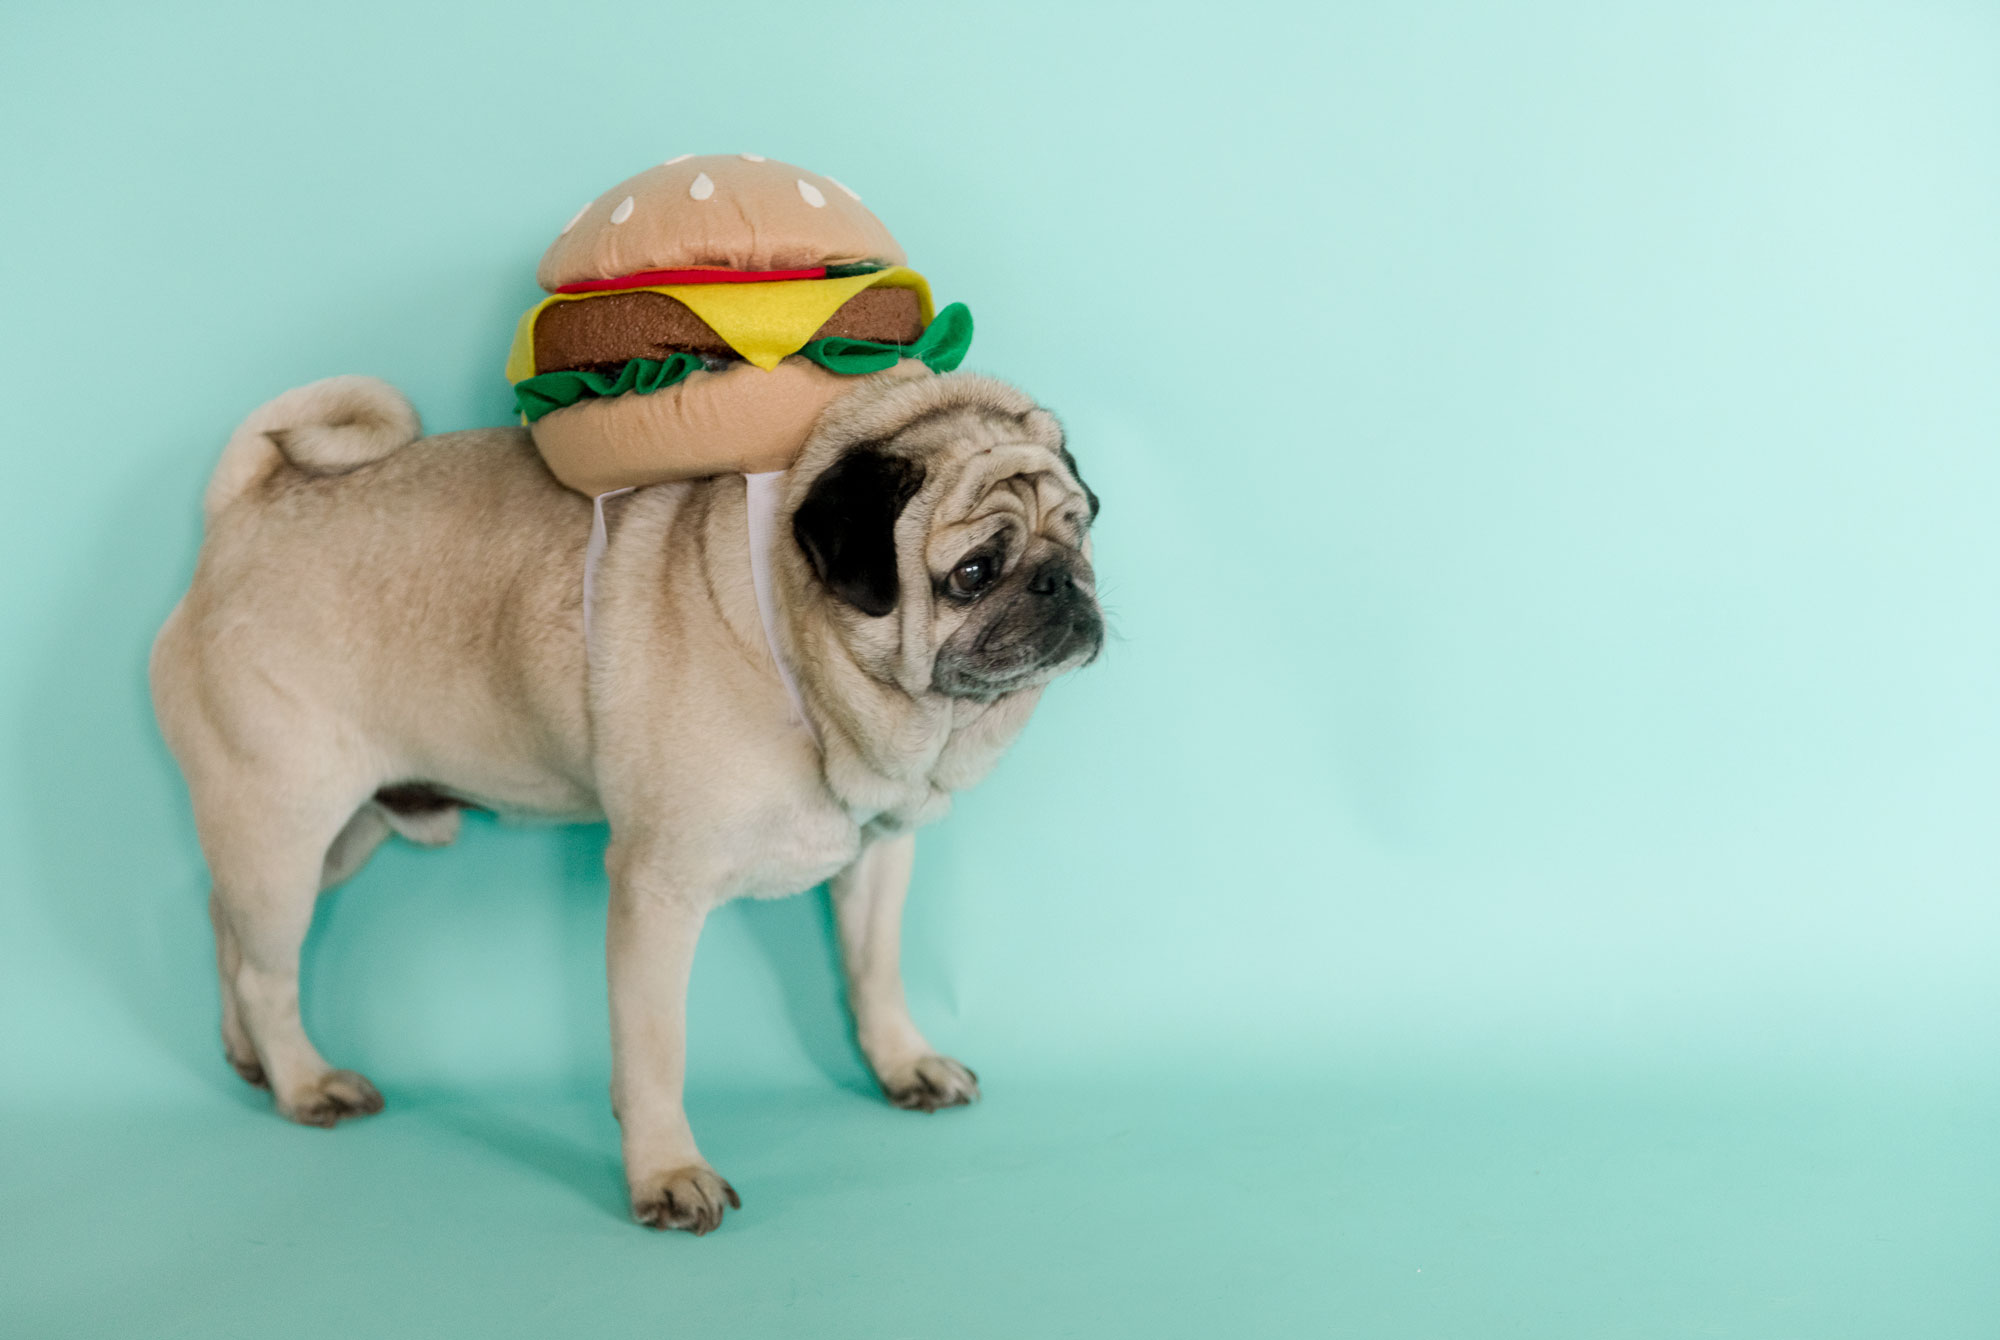
OK! So the main question here is “GLUE……WHY THIS GLUE”? 🙂 Welllllll, lemme tell you why I chose to use this amazing Felt and Foam tacky glue to do this project!
If you know me, then you know that we are a HUUUUUGE happy, fun, costume family at Halloween. So I have some parameters for making costumes:
1. My costumes HAVE to be lightweight – honestly, everyone (including pugs) would hate schlepping around in something complicated and heavy….that takes the fun out of it! – So with this project I chose a lightweight foam ball to make the shapes of the cheeseburger….which meant……
2. Hot Glue and foam DO NOT MIX! If you’ve ever tried to hot glue anything to foam (and sometimes felt) it MELTS the foam! Yup….we’d have ended up with a saggy, cheeseburger without the right forms as the hot glue dried and melted parts of the burger if we would have used hot glue. YUCK!
SOOOOOO this thick, gooey, tacky glue is my GO TO for situations like this! Honestly, it’s just as strong as any other glue ANNNNND it’s perfect for felt and foam because of how ultra sticky it is (like the felt won’t move much once you get it in place, it’s THAT thick……BOOM)! 🙂
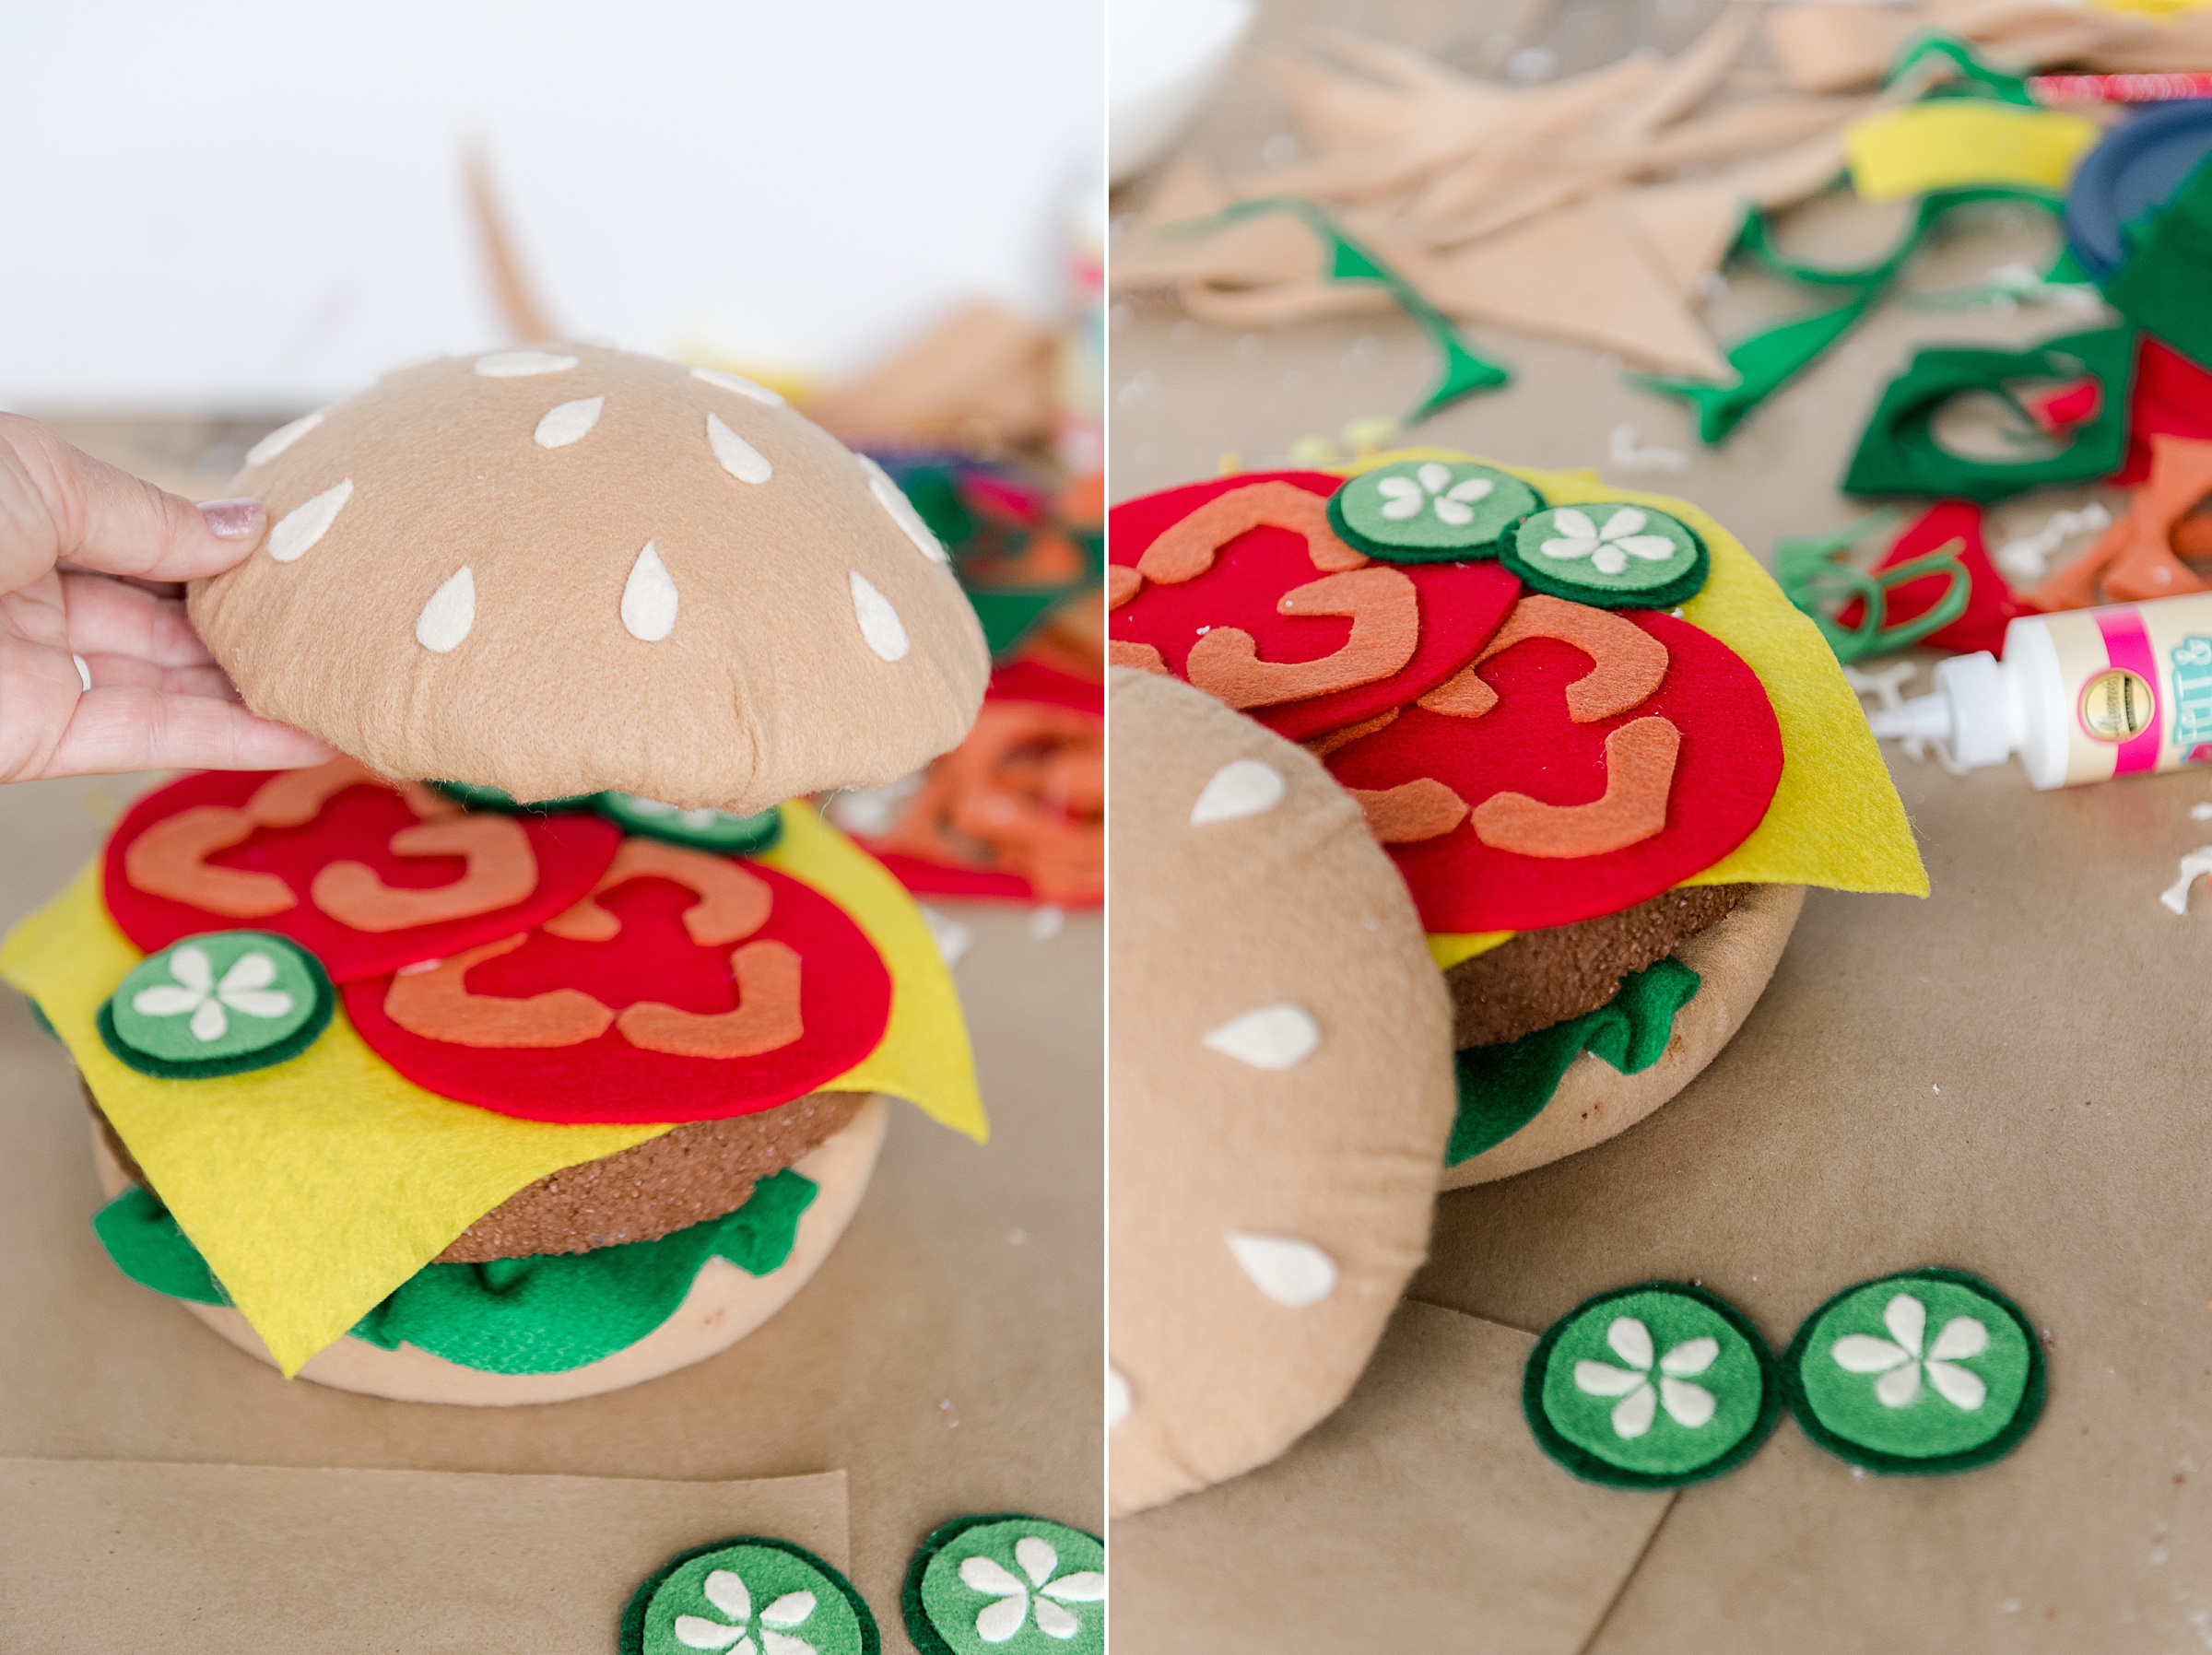
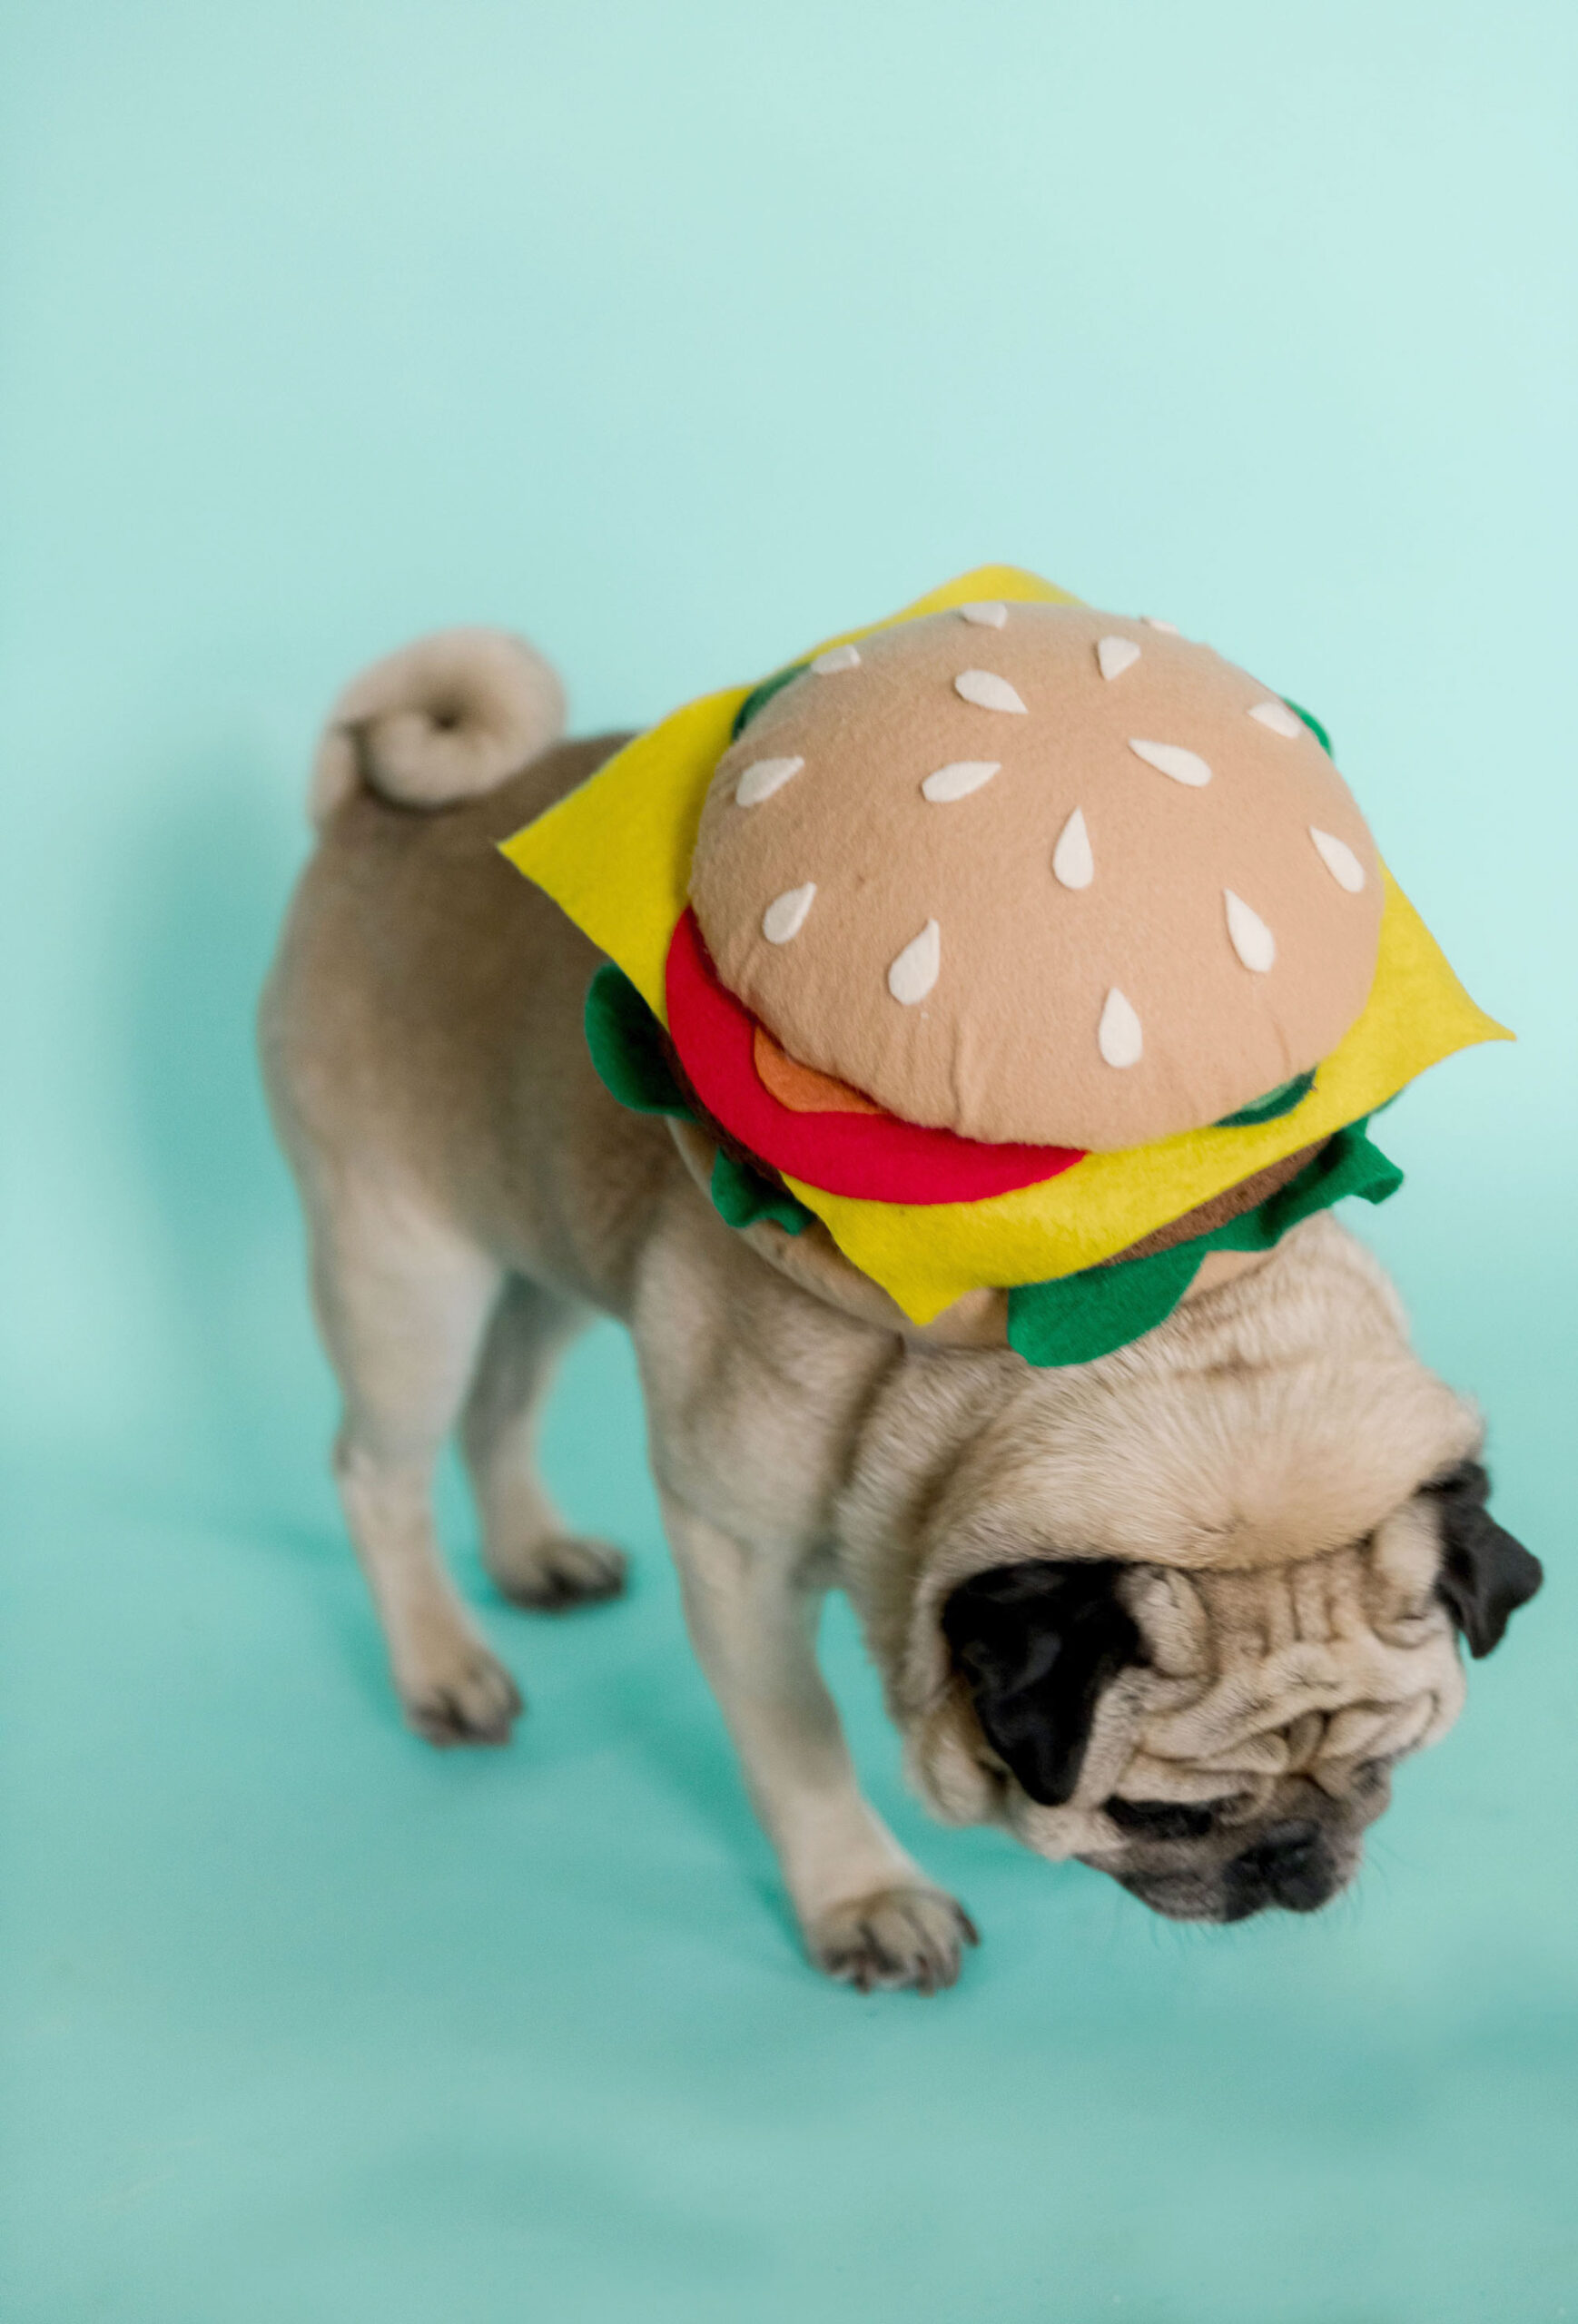
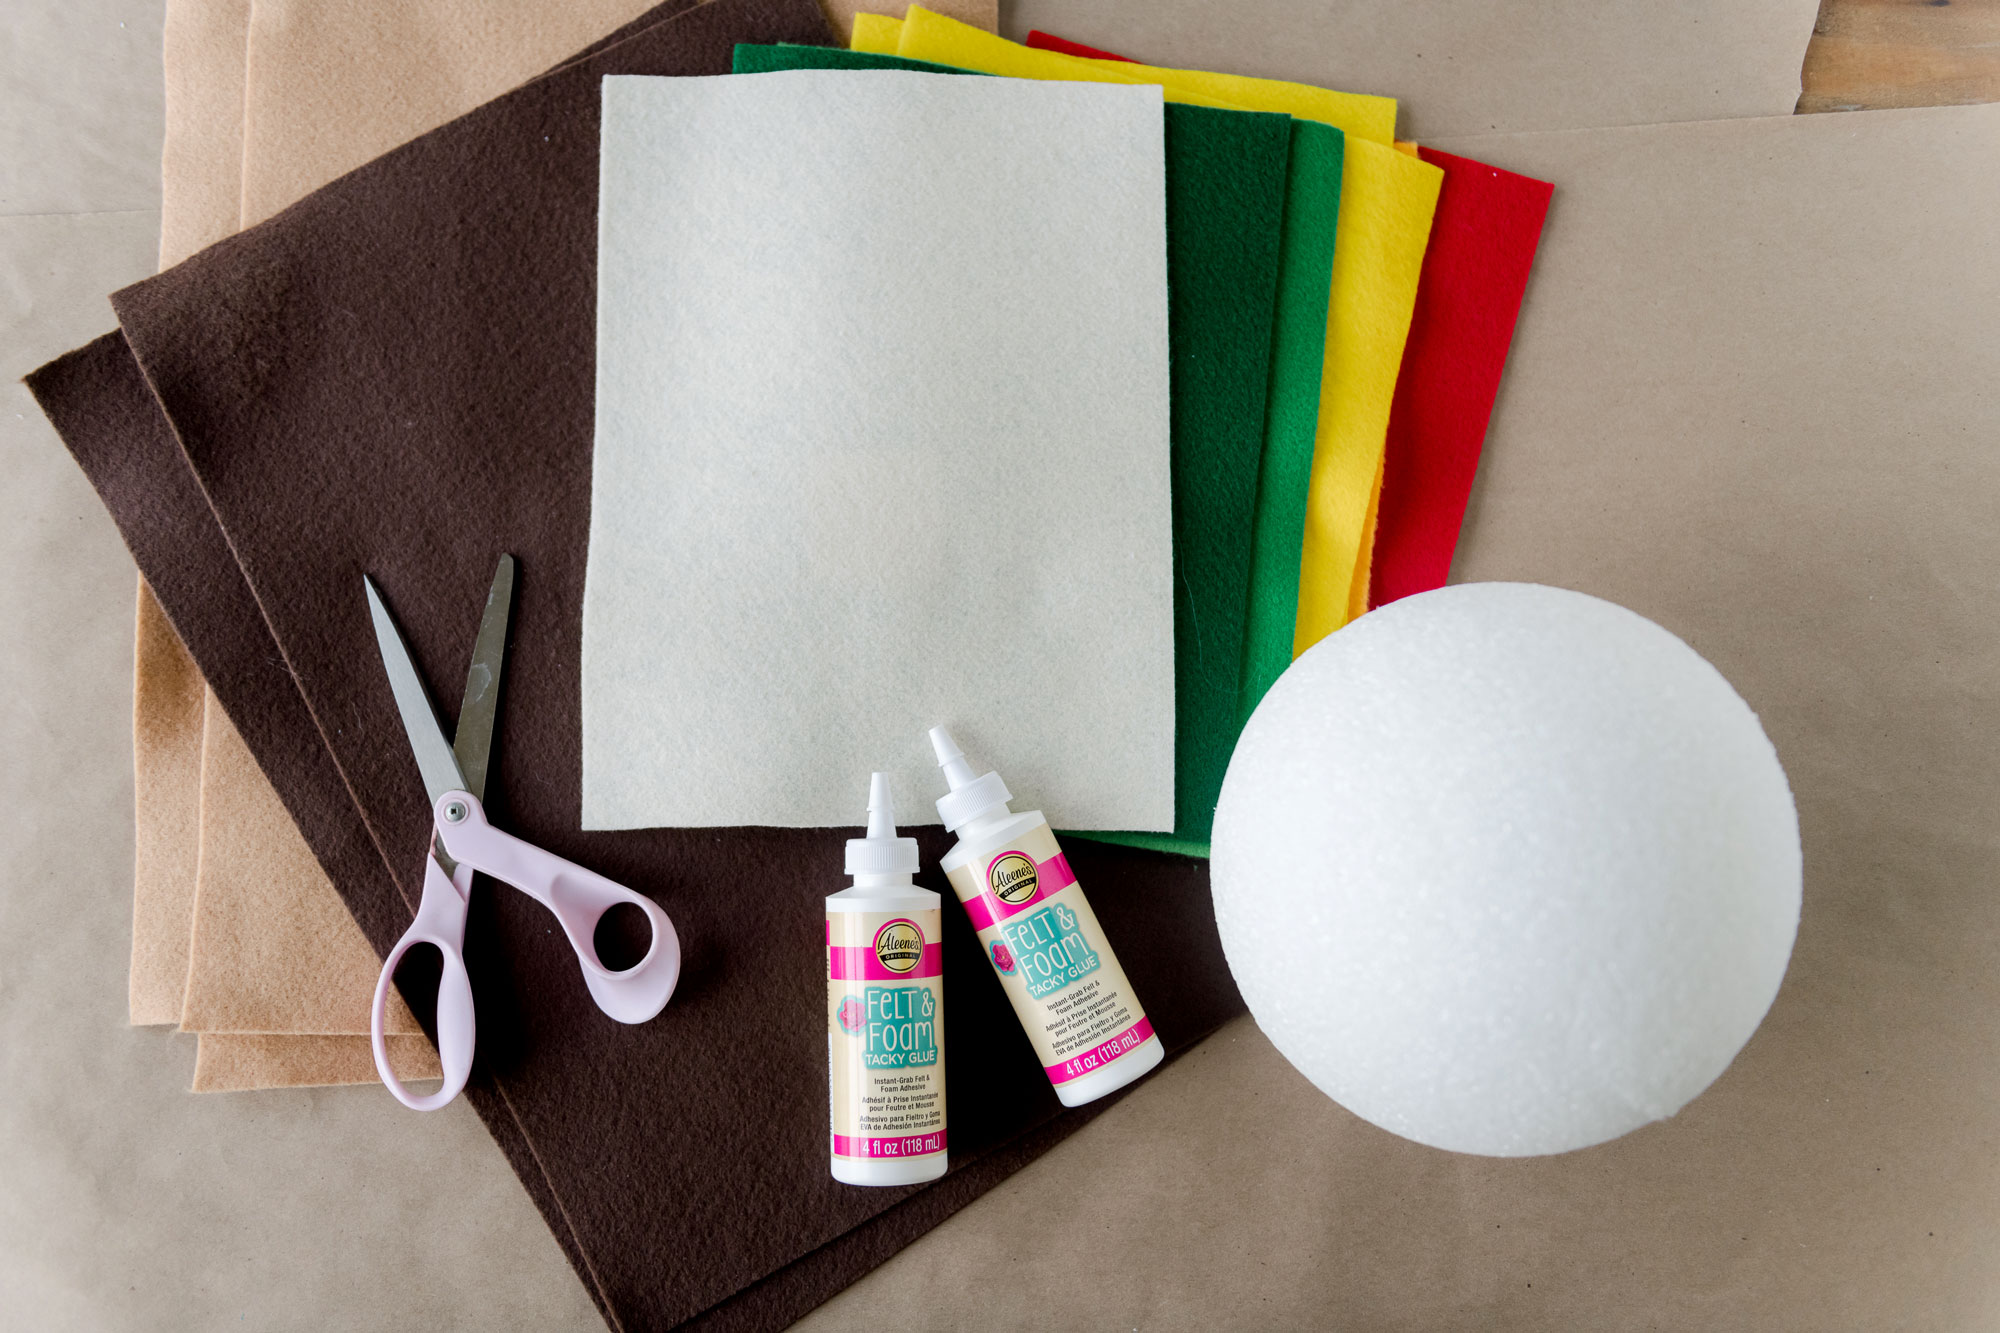
MATERIALS:
- 1 round foam ball (bought at any craft store….I used a 7.5” ball for our pug)
- Felt in “cheeseburger colors” – tan, red, greens, white/off white, red, a reddish brown (or any other colors you want to use) 🙂
- Scissors
- A bottle of Aleene’s Felt and Foam Tacky Glue (read above as to why this is essential to this project) 🙂
- Brown paint for the burger paddy 🙂
- Some elastic or ribbon for making this a “costume” to stay on your doggie
- optional straight pins (like sewing straight pins to help keep things in place while drying)
INSTRUCTIONS:
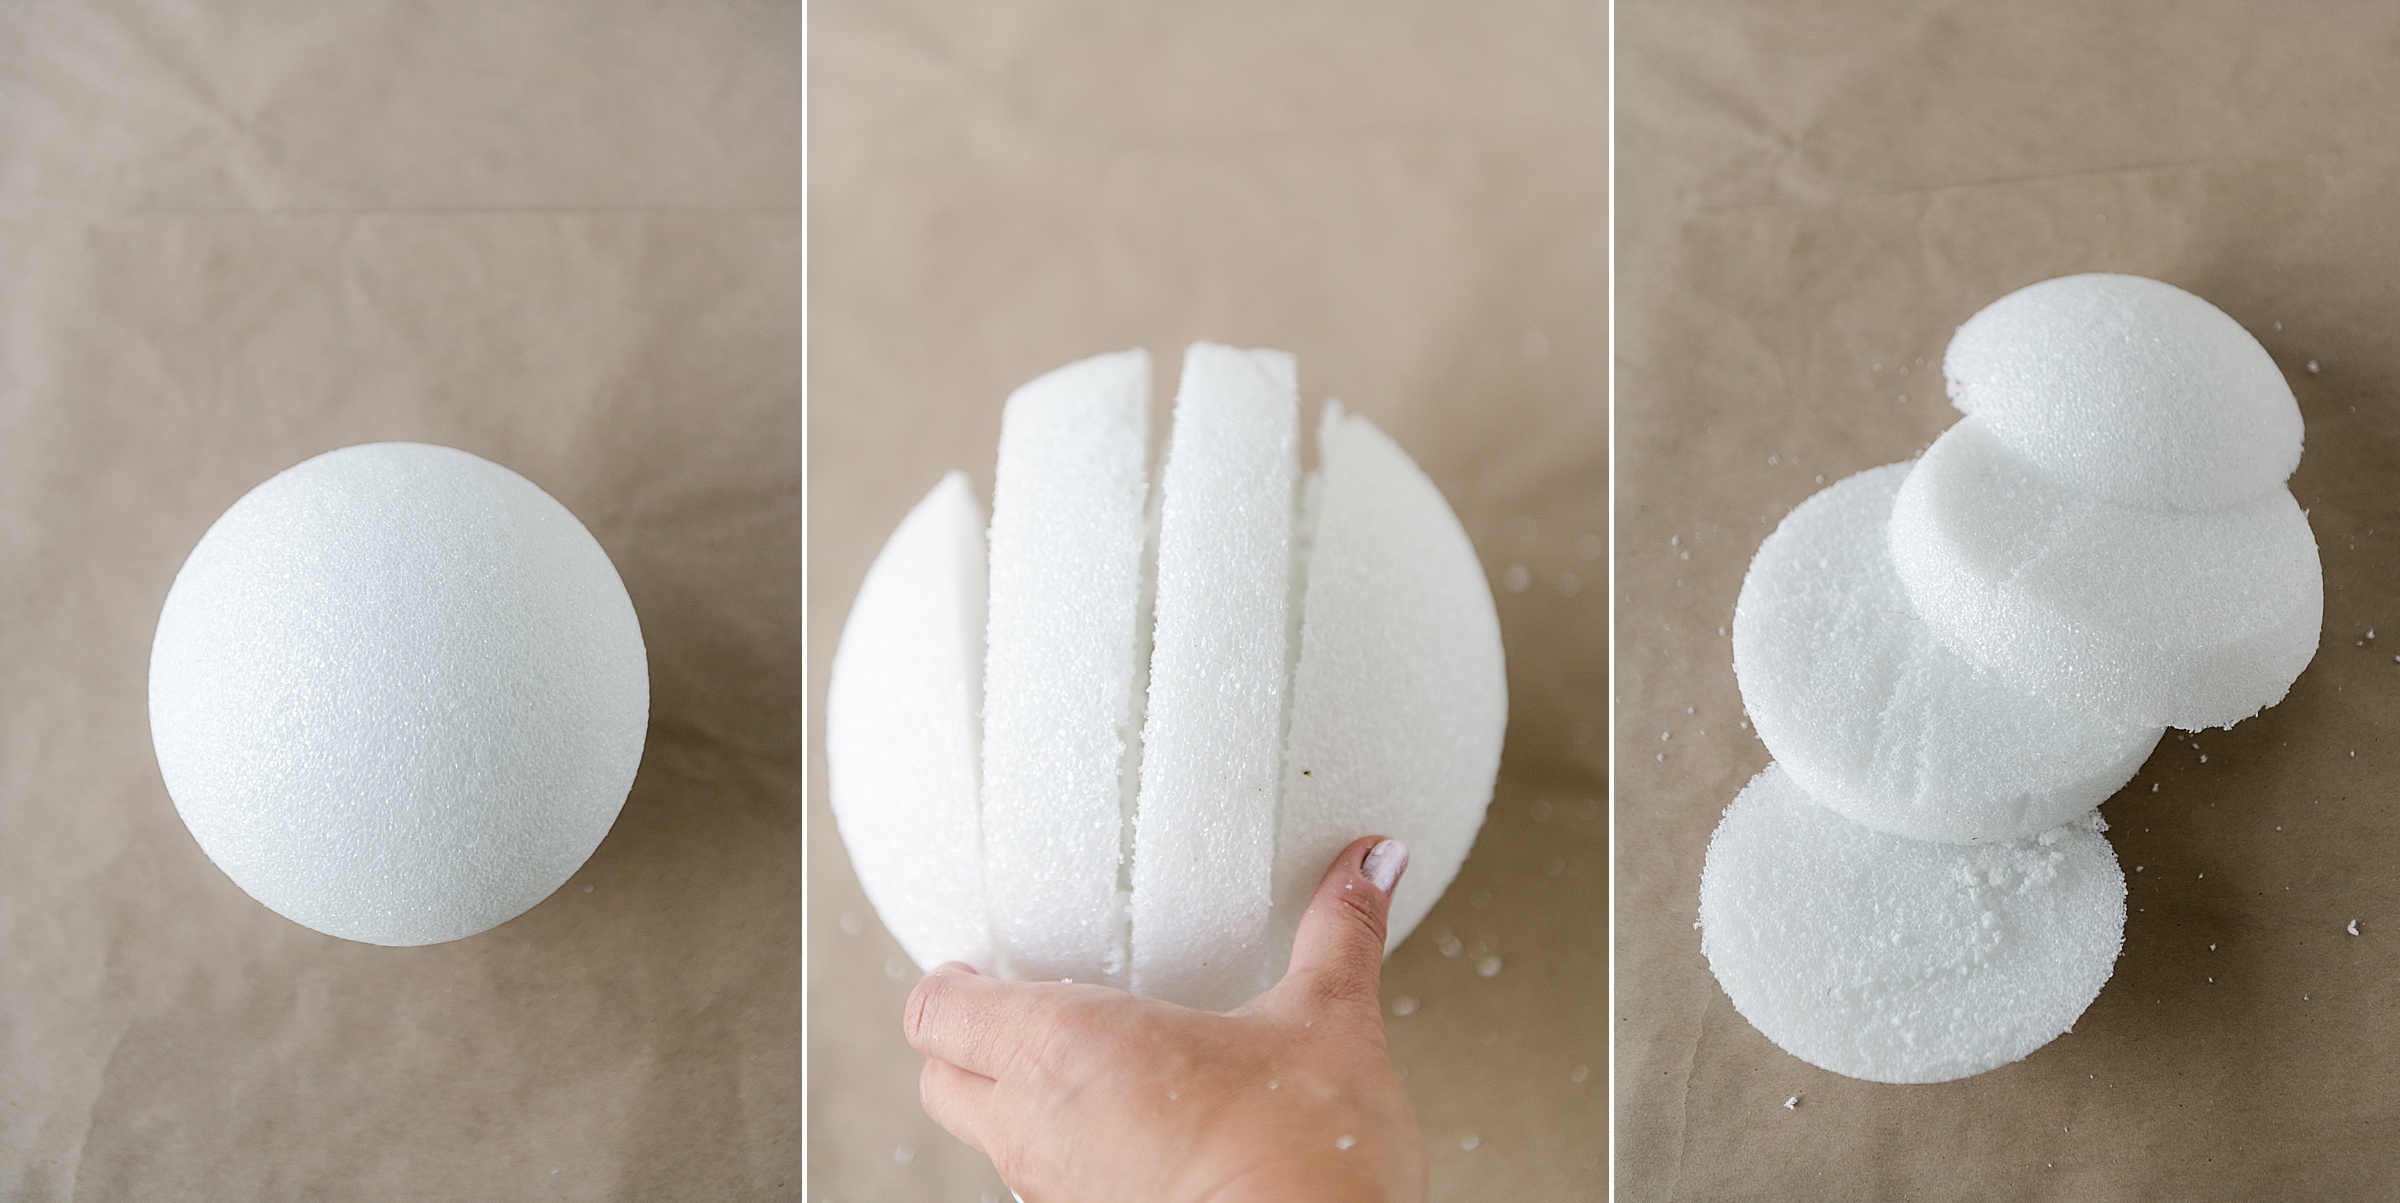
1. Cut your foam ball into 4 pieces – the top more circle part will be the top bun, the middle, the burger and the bottom is the bottom bun, leaving one more circular shape to put to the side and save for another project 🙂
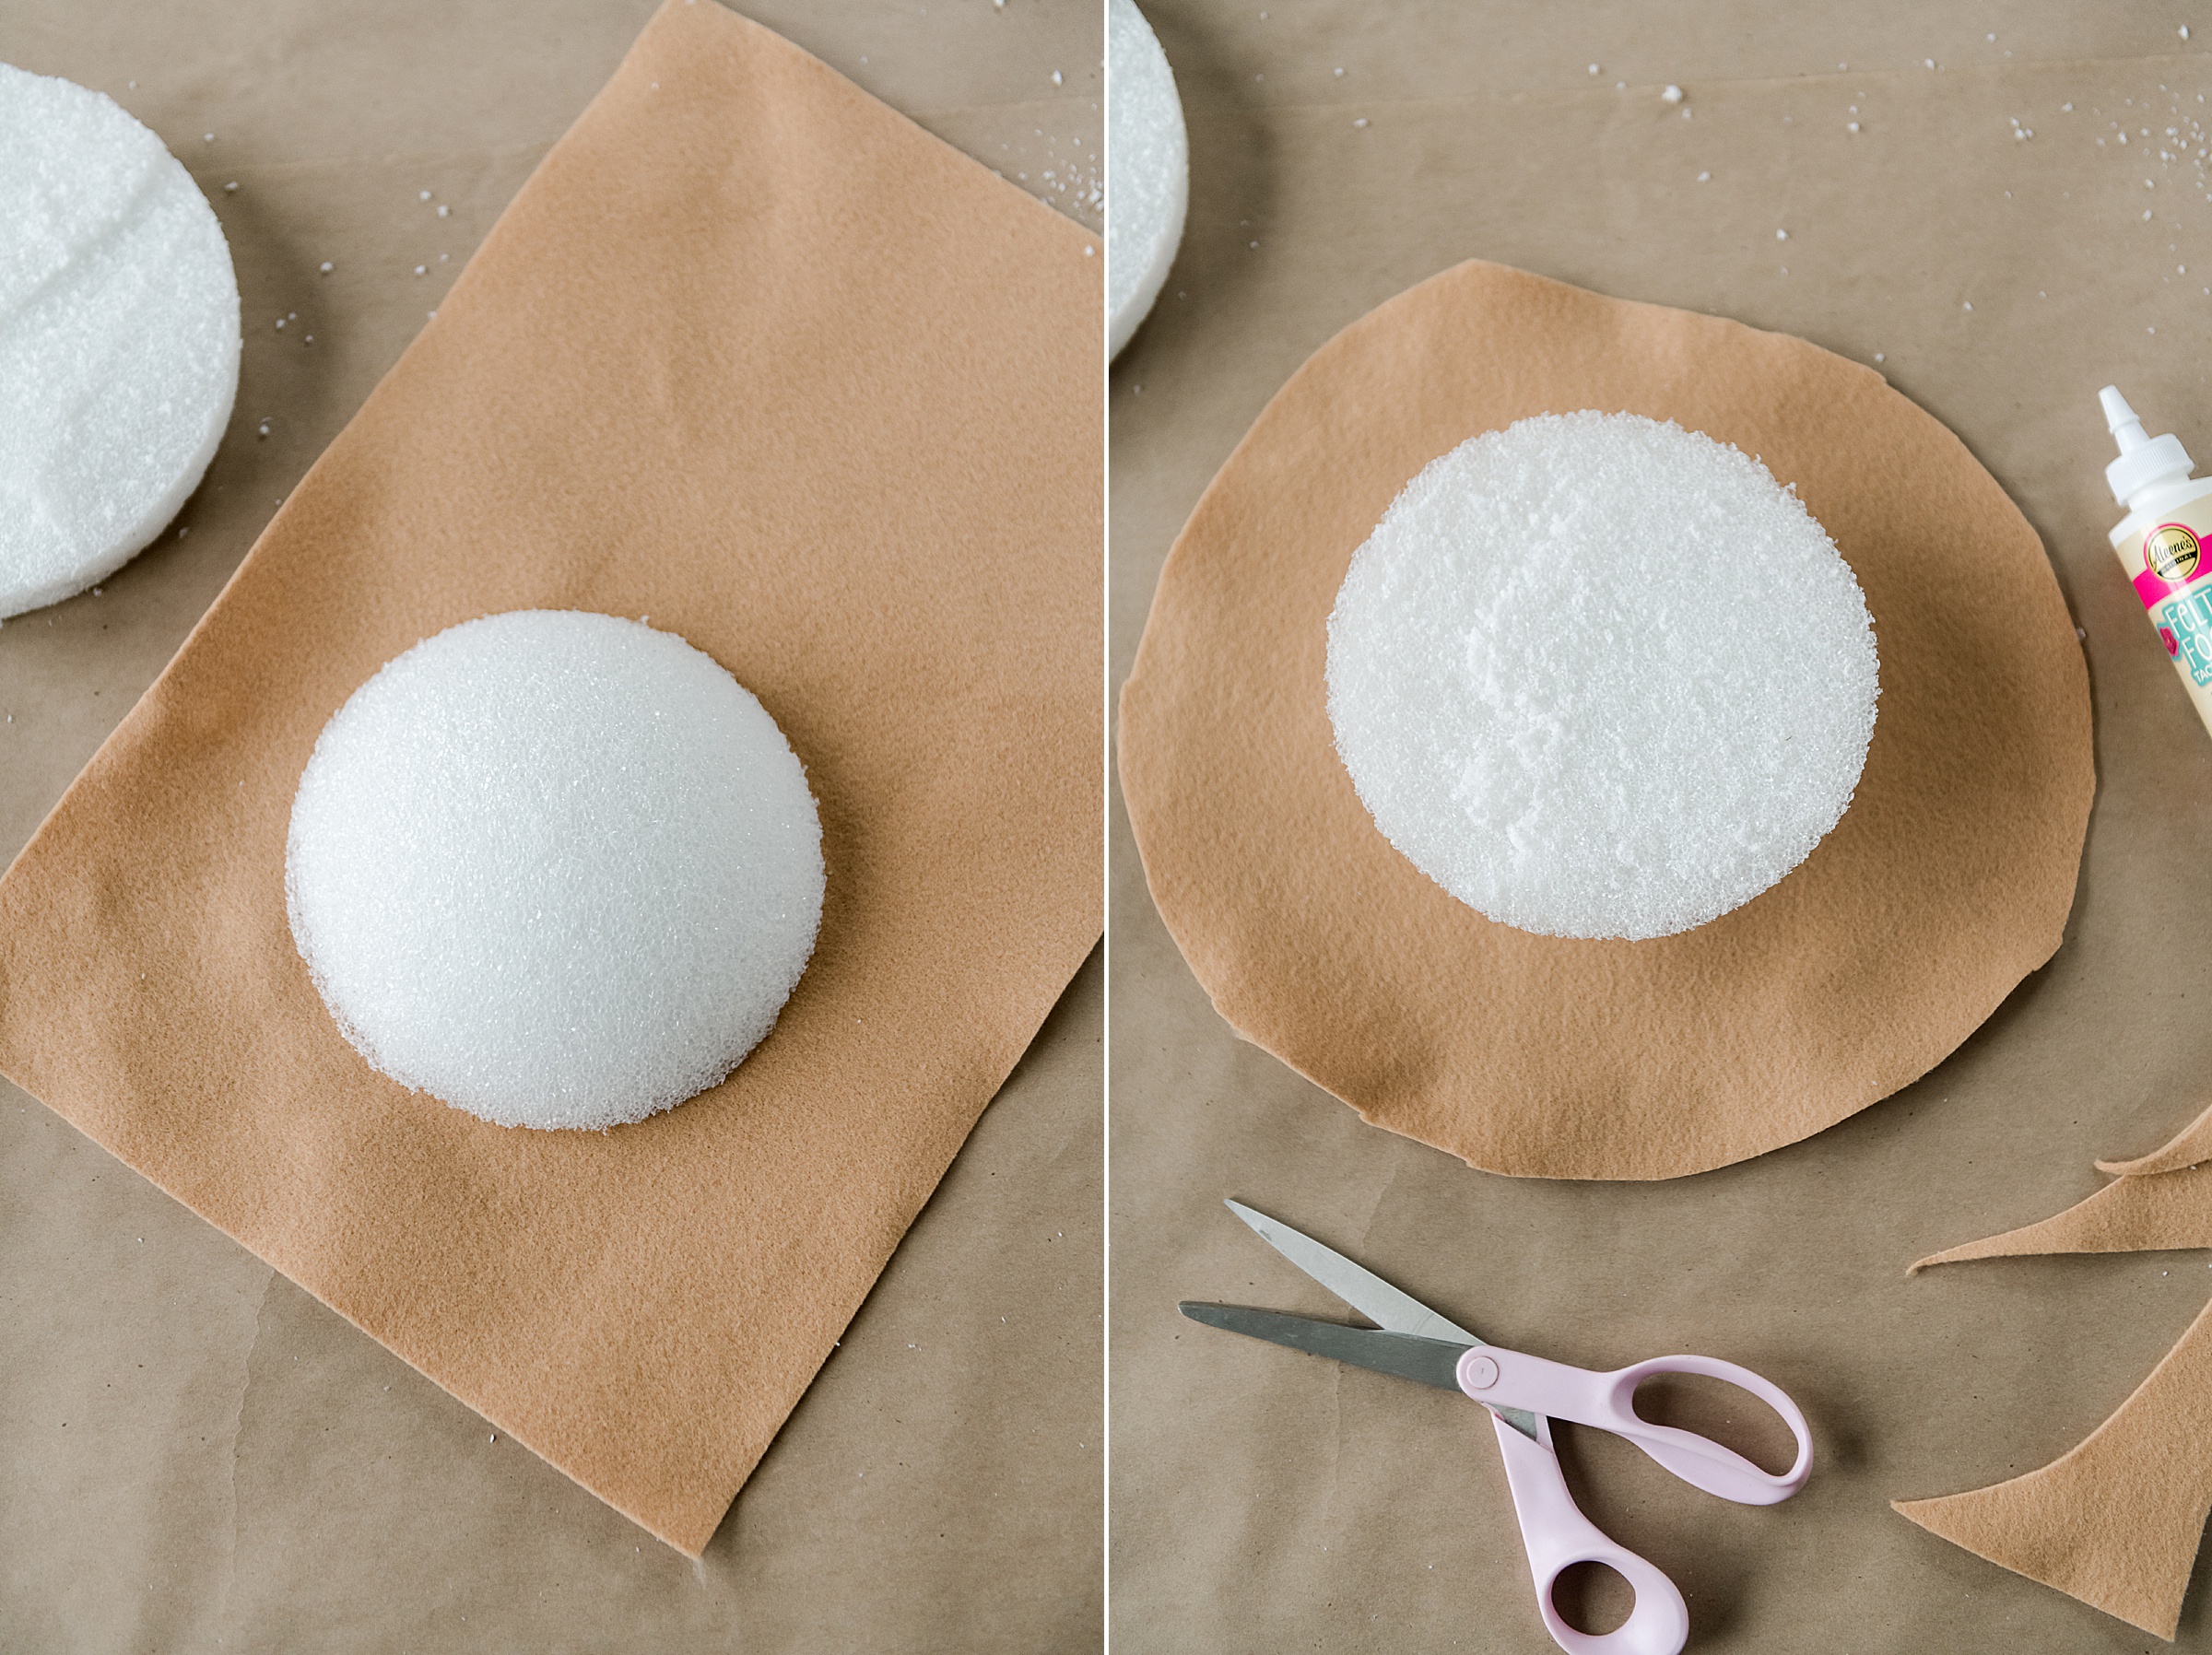
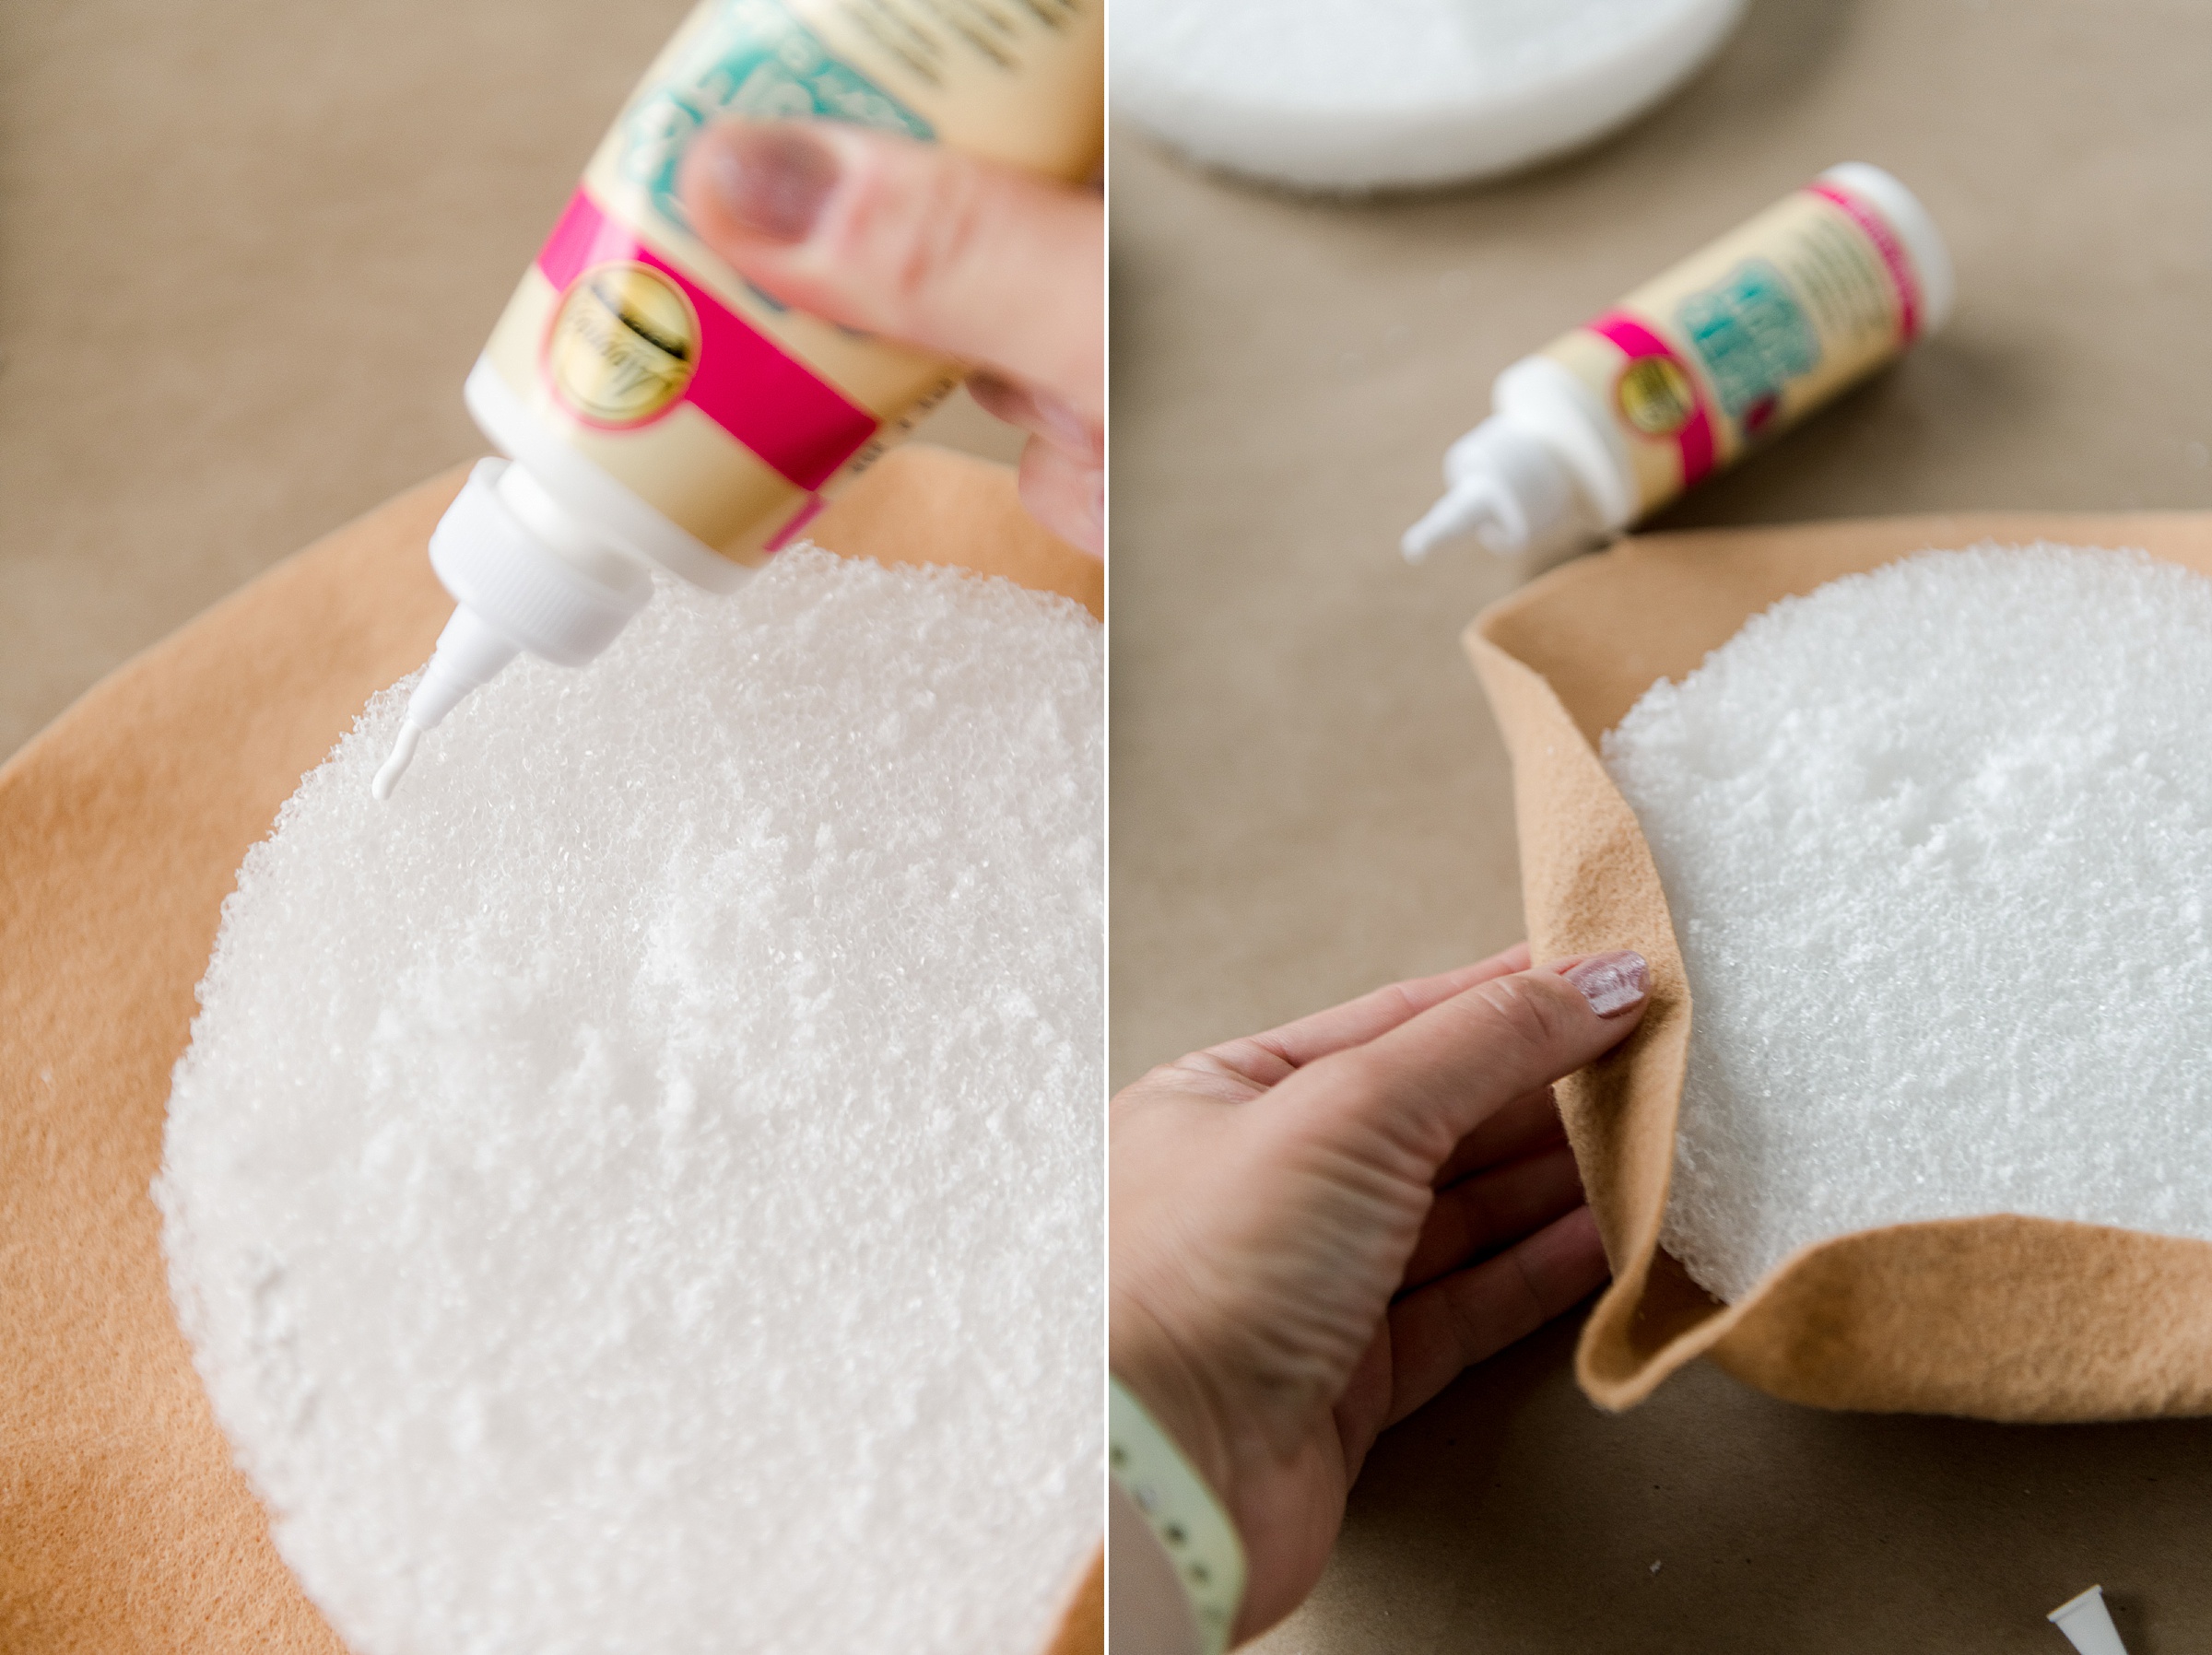
2. Then with the top “bun” part, begin to cover with your felt – start by cutting a circle around the foam ball, leaving 3ish inches to fold to the underside. Use your Aleene’s felt and foam tacky glue to glue this in place. Start along one side and just keep working across from one another so that the felt “pulls” even as you cover the bun – be sure to give a slight tug to the felt as you cover it to eliminate any “creases” in the felt as you tack it down!
The Felt and Foam glue is amazing and don’t be afraid to use a generous amount – the glue is thick and sticks SO NICELY as you are making this cheeseburger! 🙂 I also chose to use some straight pins to stick in the foam to hold the glued down felt so that it could dry in place when I set it aside to keep working. You certainly don’t HAVVVVE to do this step, but I highly recommend it! It will just hold everything into place as it dries which is amazing so that you can keep working without having to hold pieces as they dry! 🙂
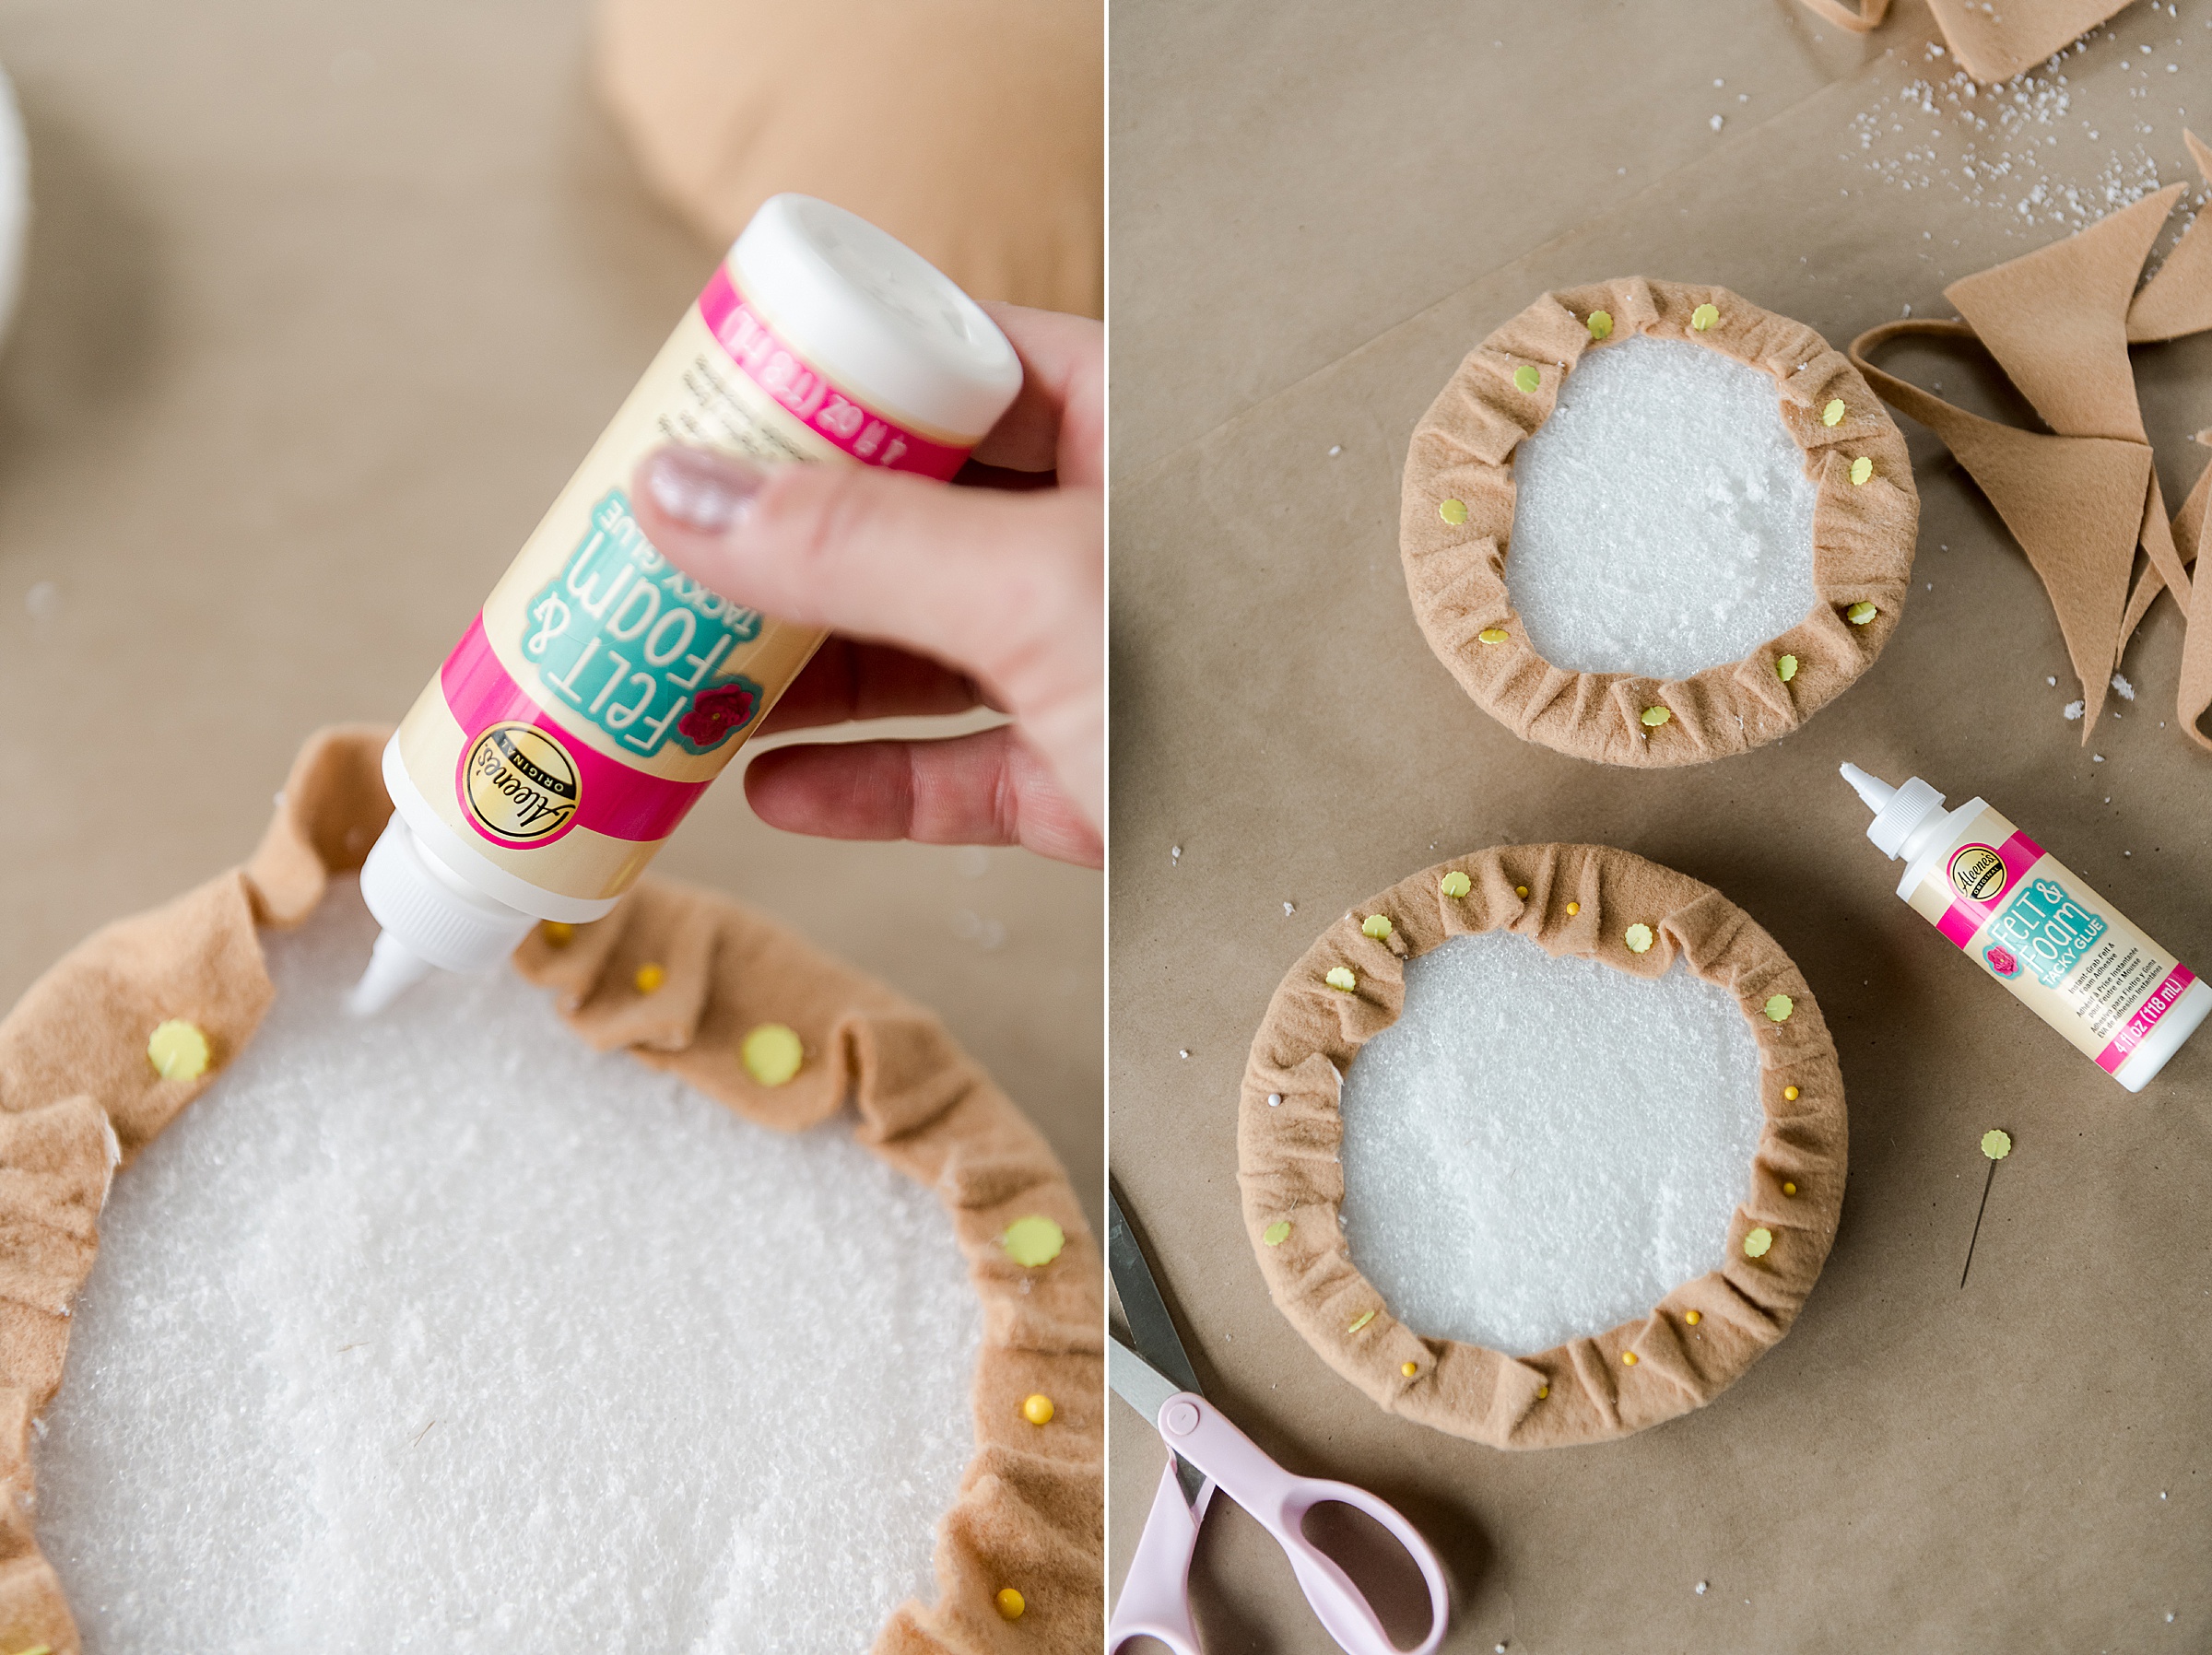
3. Repeat step 2 with the bottom bun part (the 3rd part of the 4 part cut foam ball)! 🙂
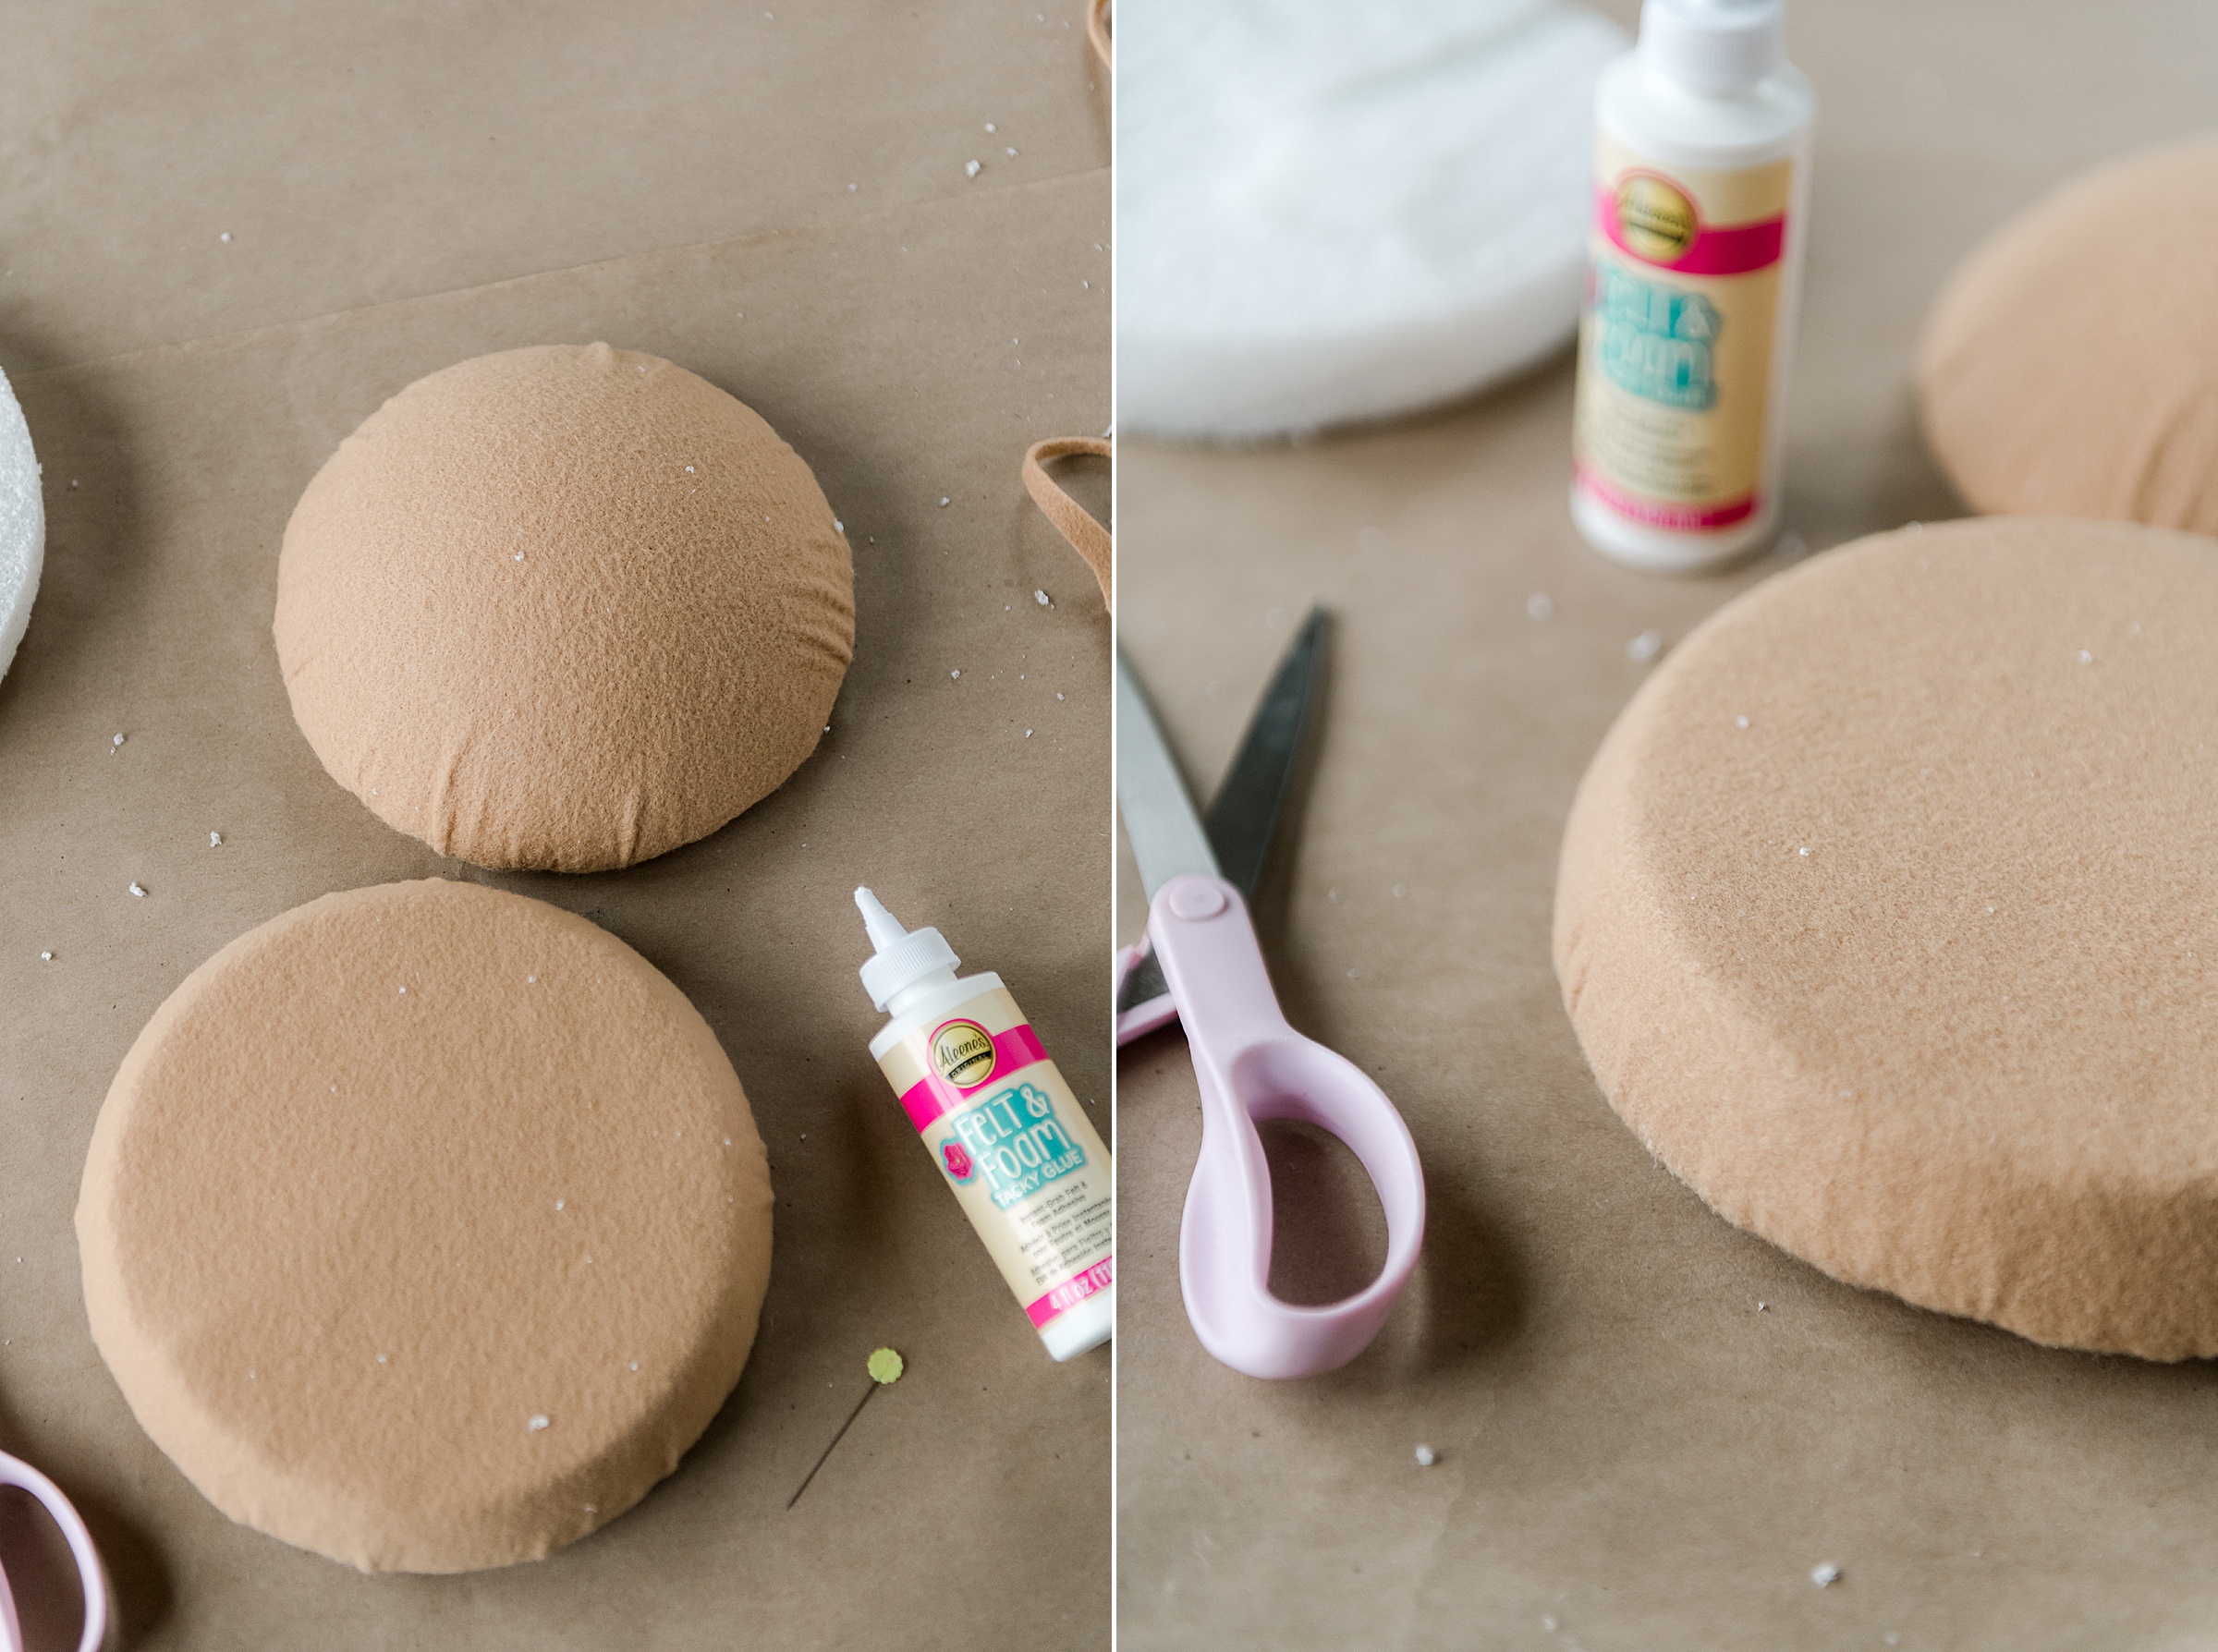
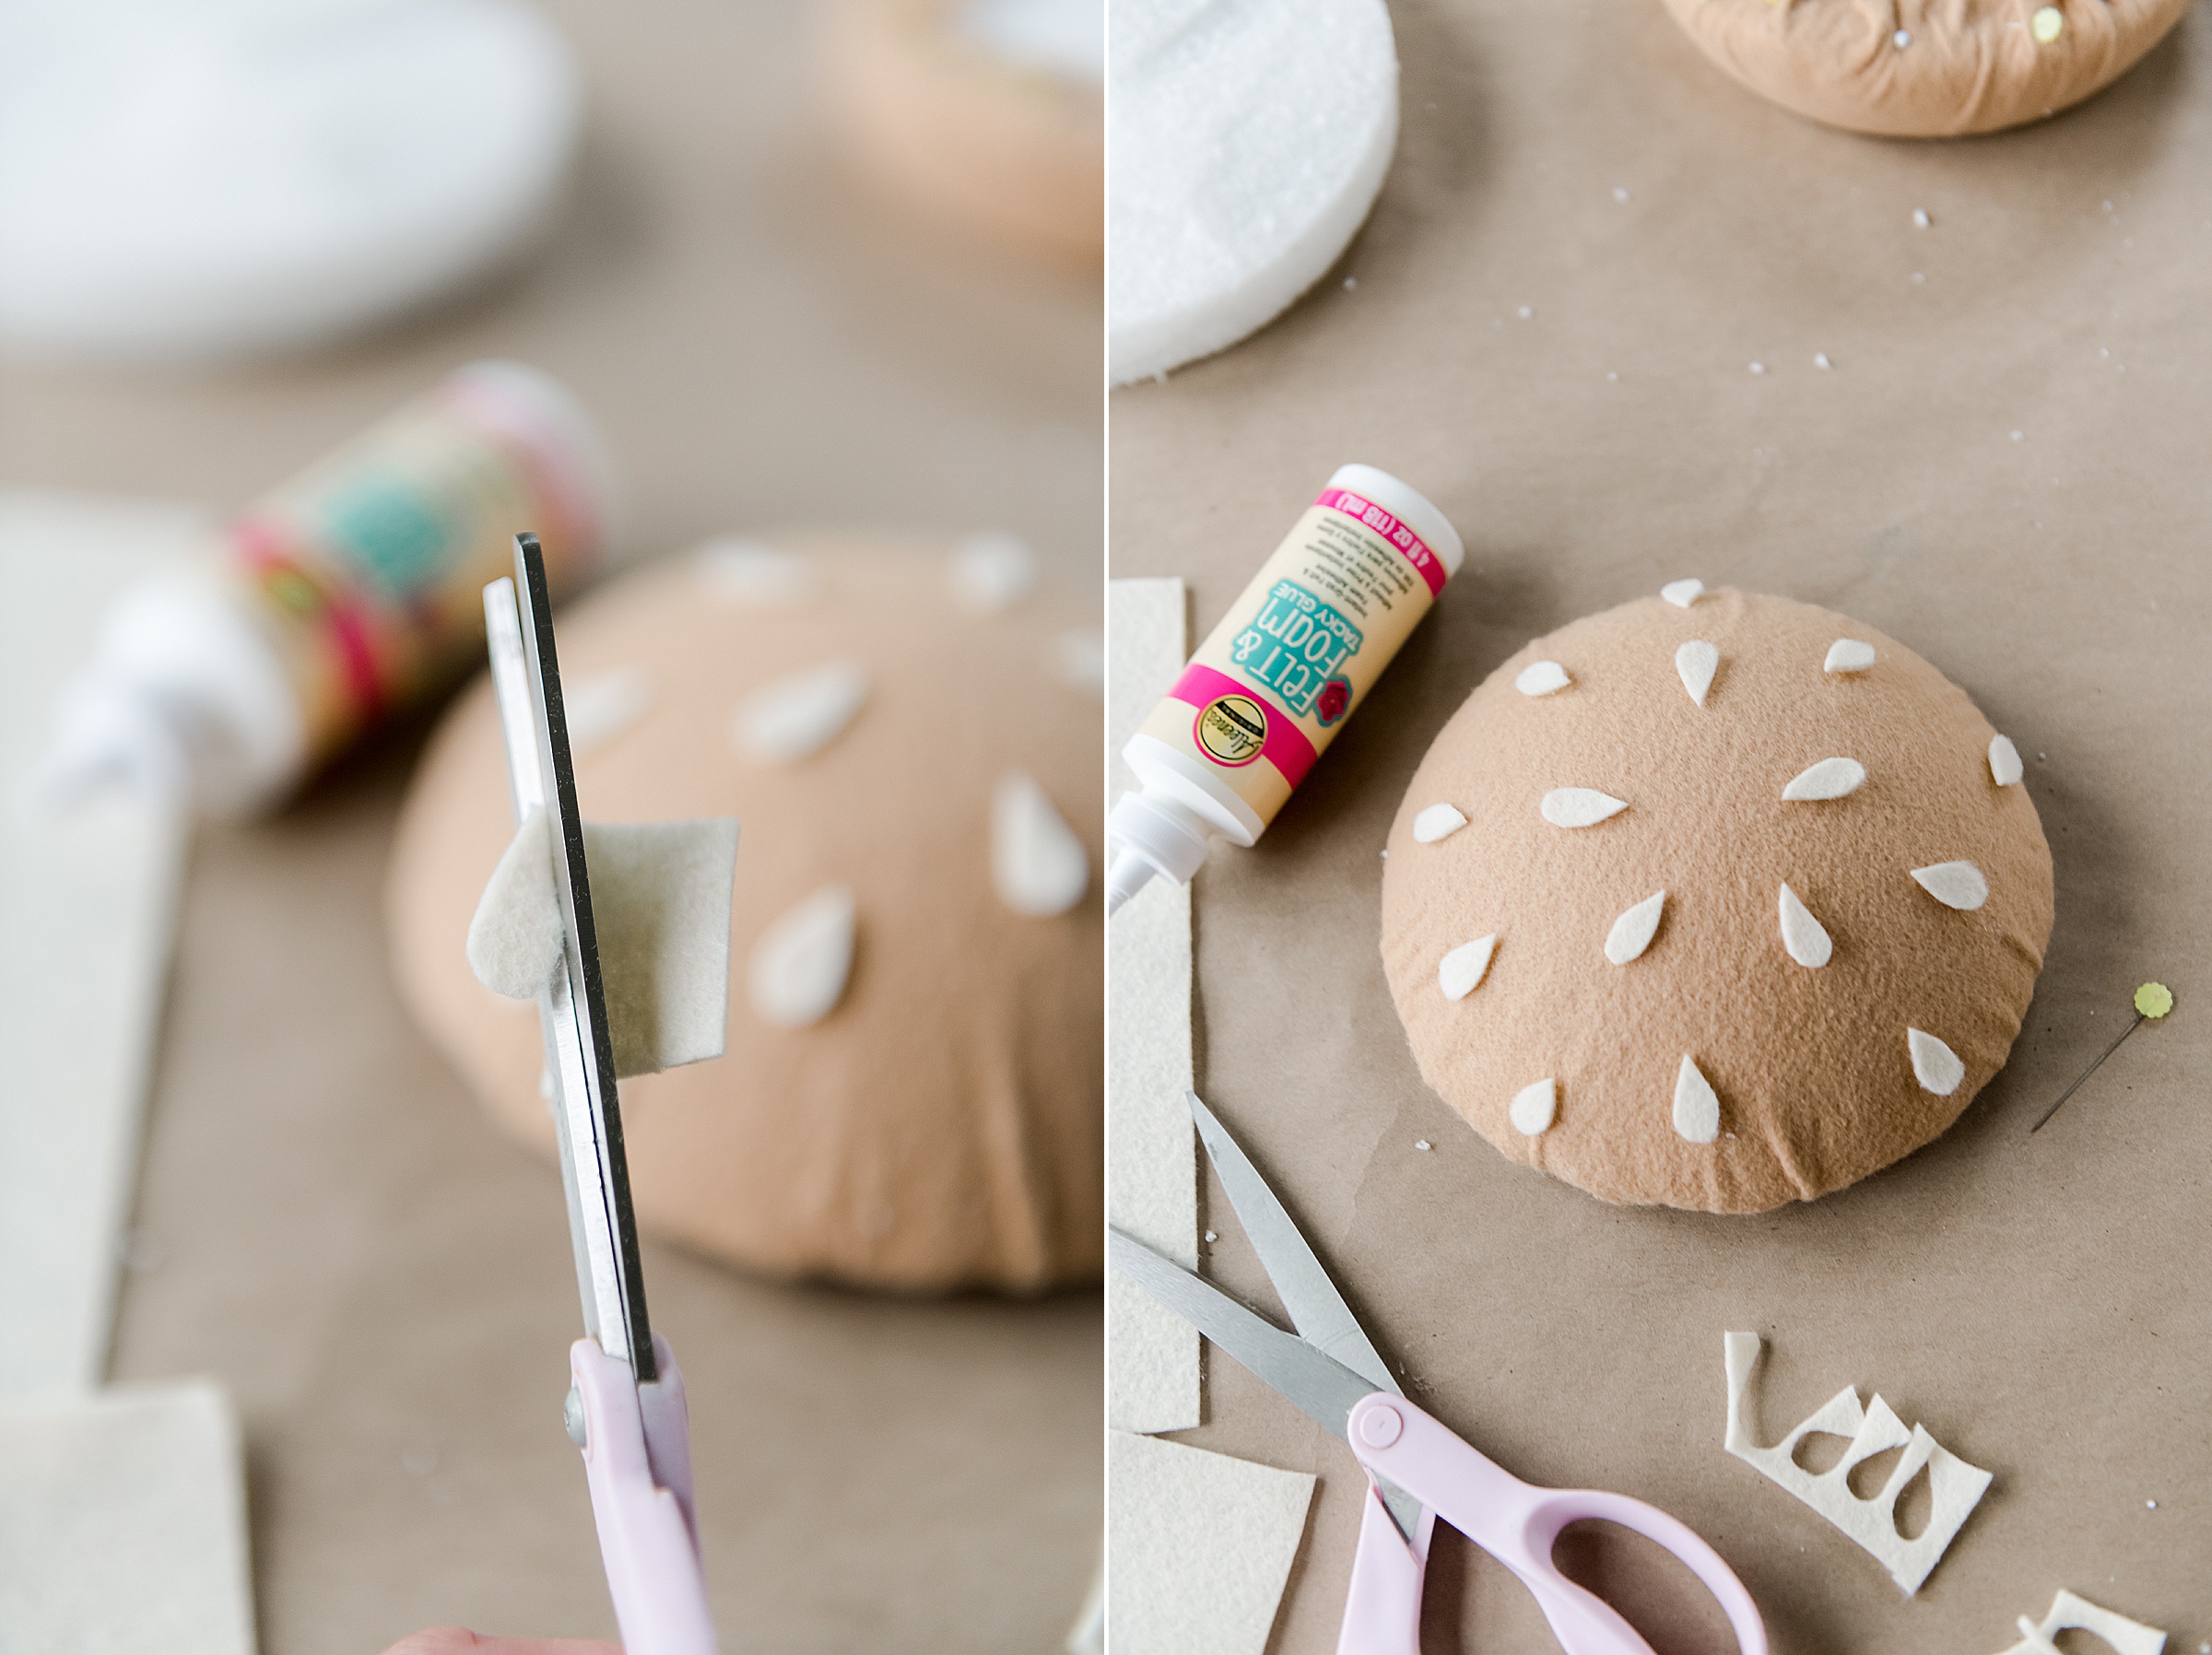
4. Cut out some seeds for the top part of your bun from your white or off white felt. Use your Felt and Foam Tacky glue to glue them on! Then set both the top and bottom buns aside to dry 🙂
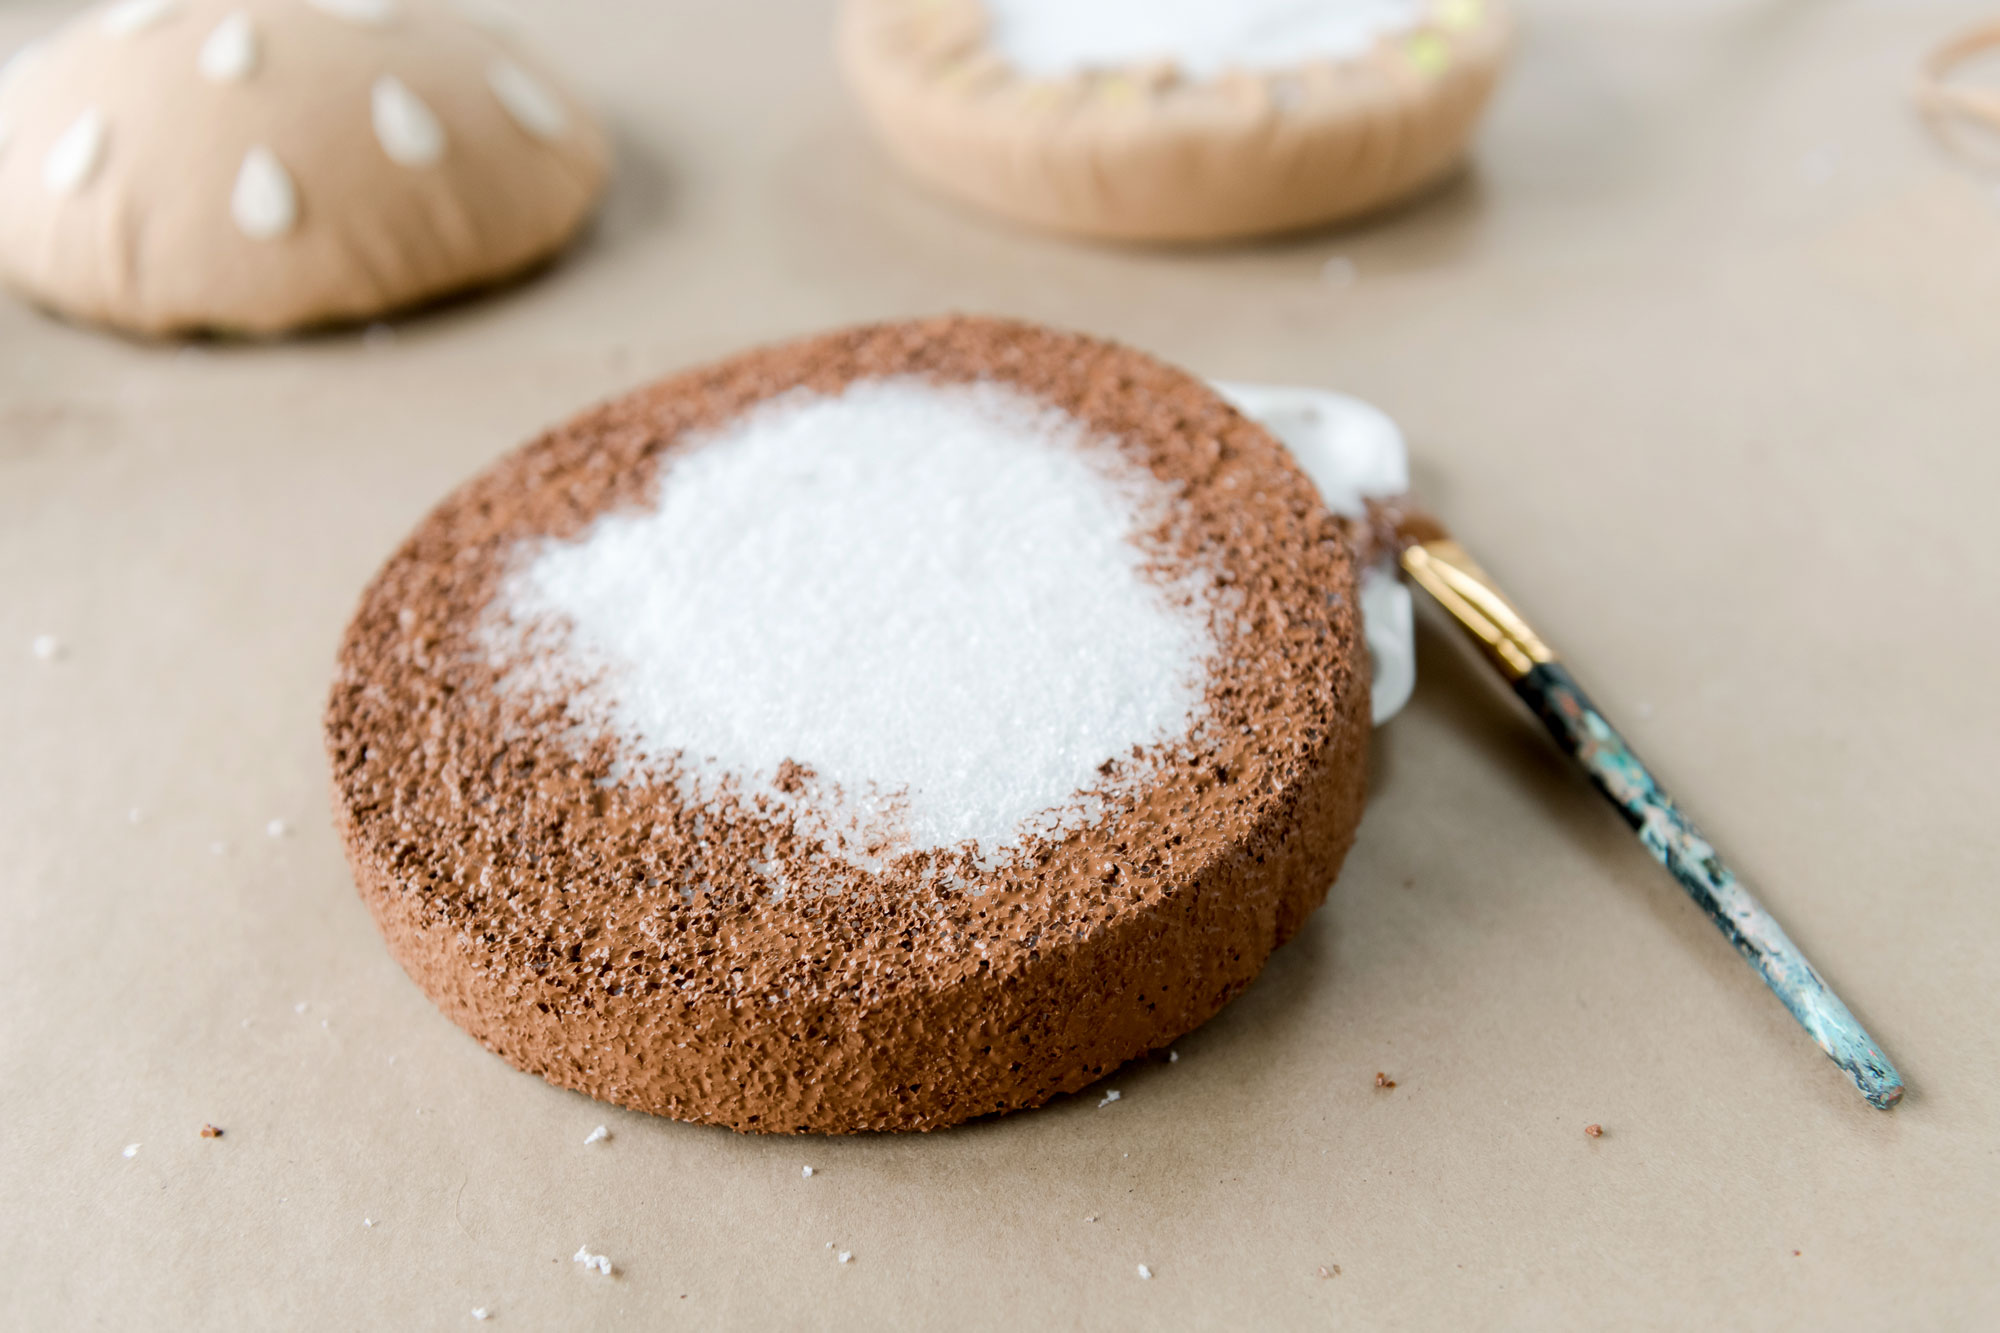
5. Next it’s time to paint the burger. I mixed up some brown paint and just painted the burger part of the foam circle (the biggest, inner part that we cut) 🙂 Paint all sides, add any detail that you want (like grill marks or or shading or anything to make it as realistic) then set aside to fully dry!
Note: another option if you don’t want to paint the burger is to cover the burger patty in brown felt just like we did the buns – tug to get the felt tight as you go and cover all edges as you glue in place! 🙂
6. While your burger is drying, it’s time to make the other toppings or condiments – lettuce, pickles, cheese and tomato (or whatever you want to put on your burger)!
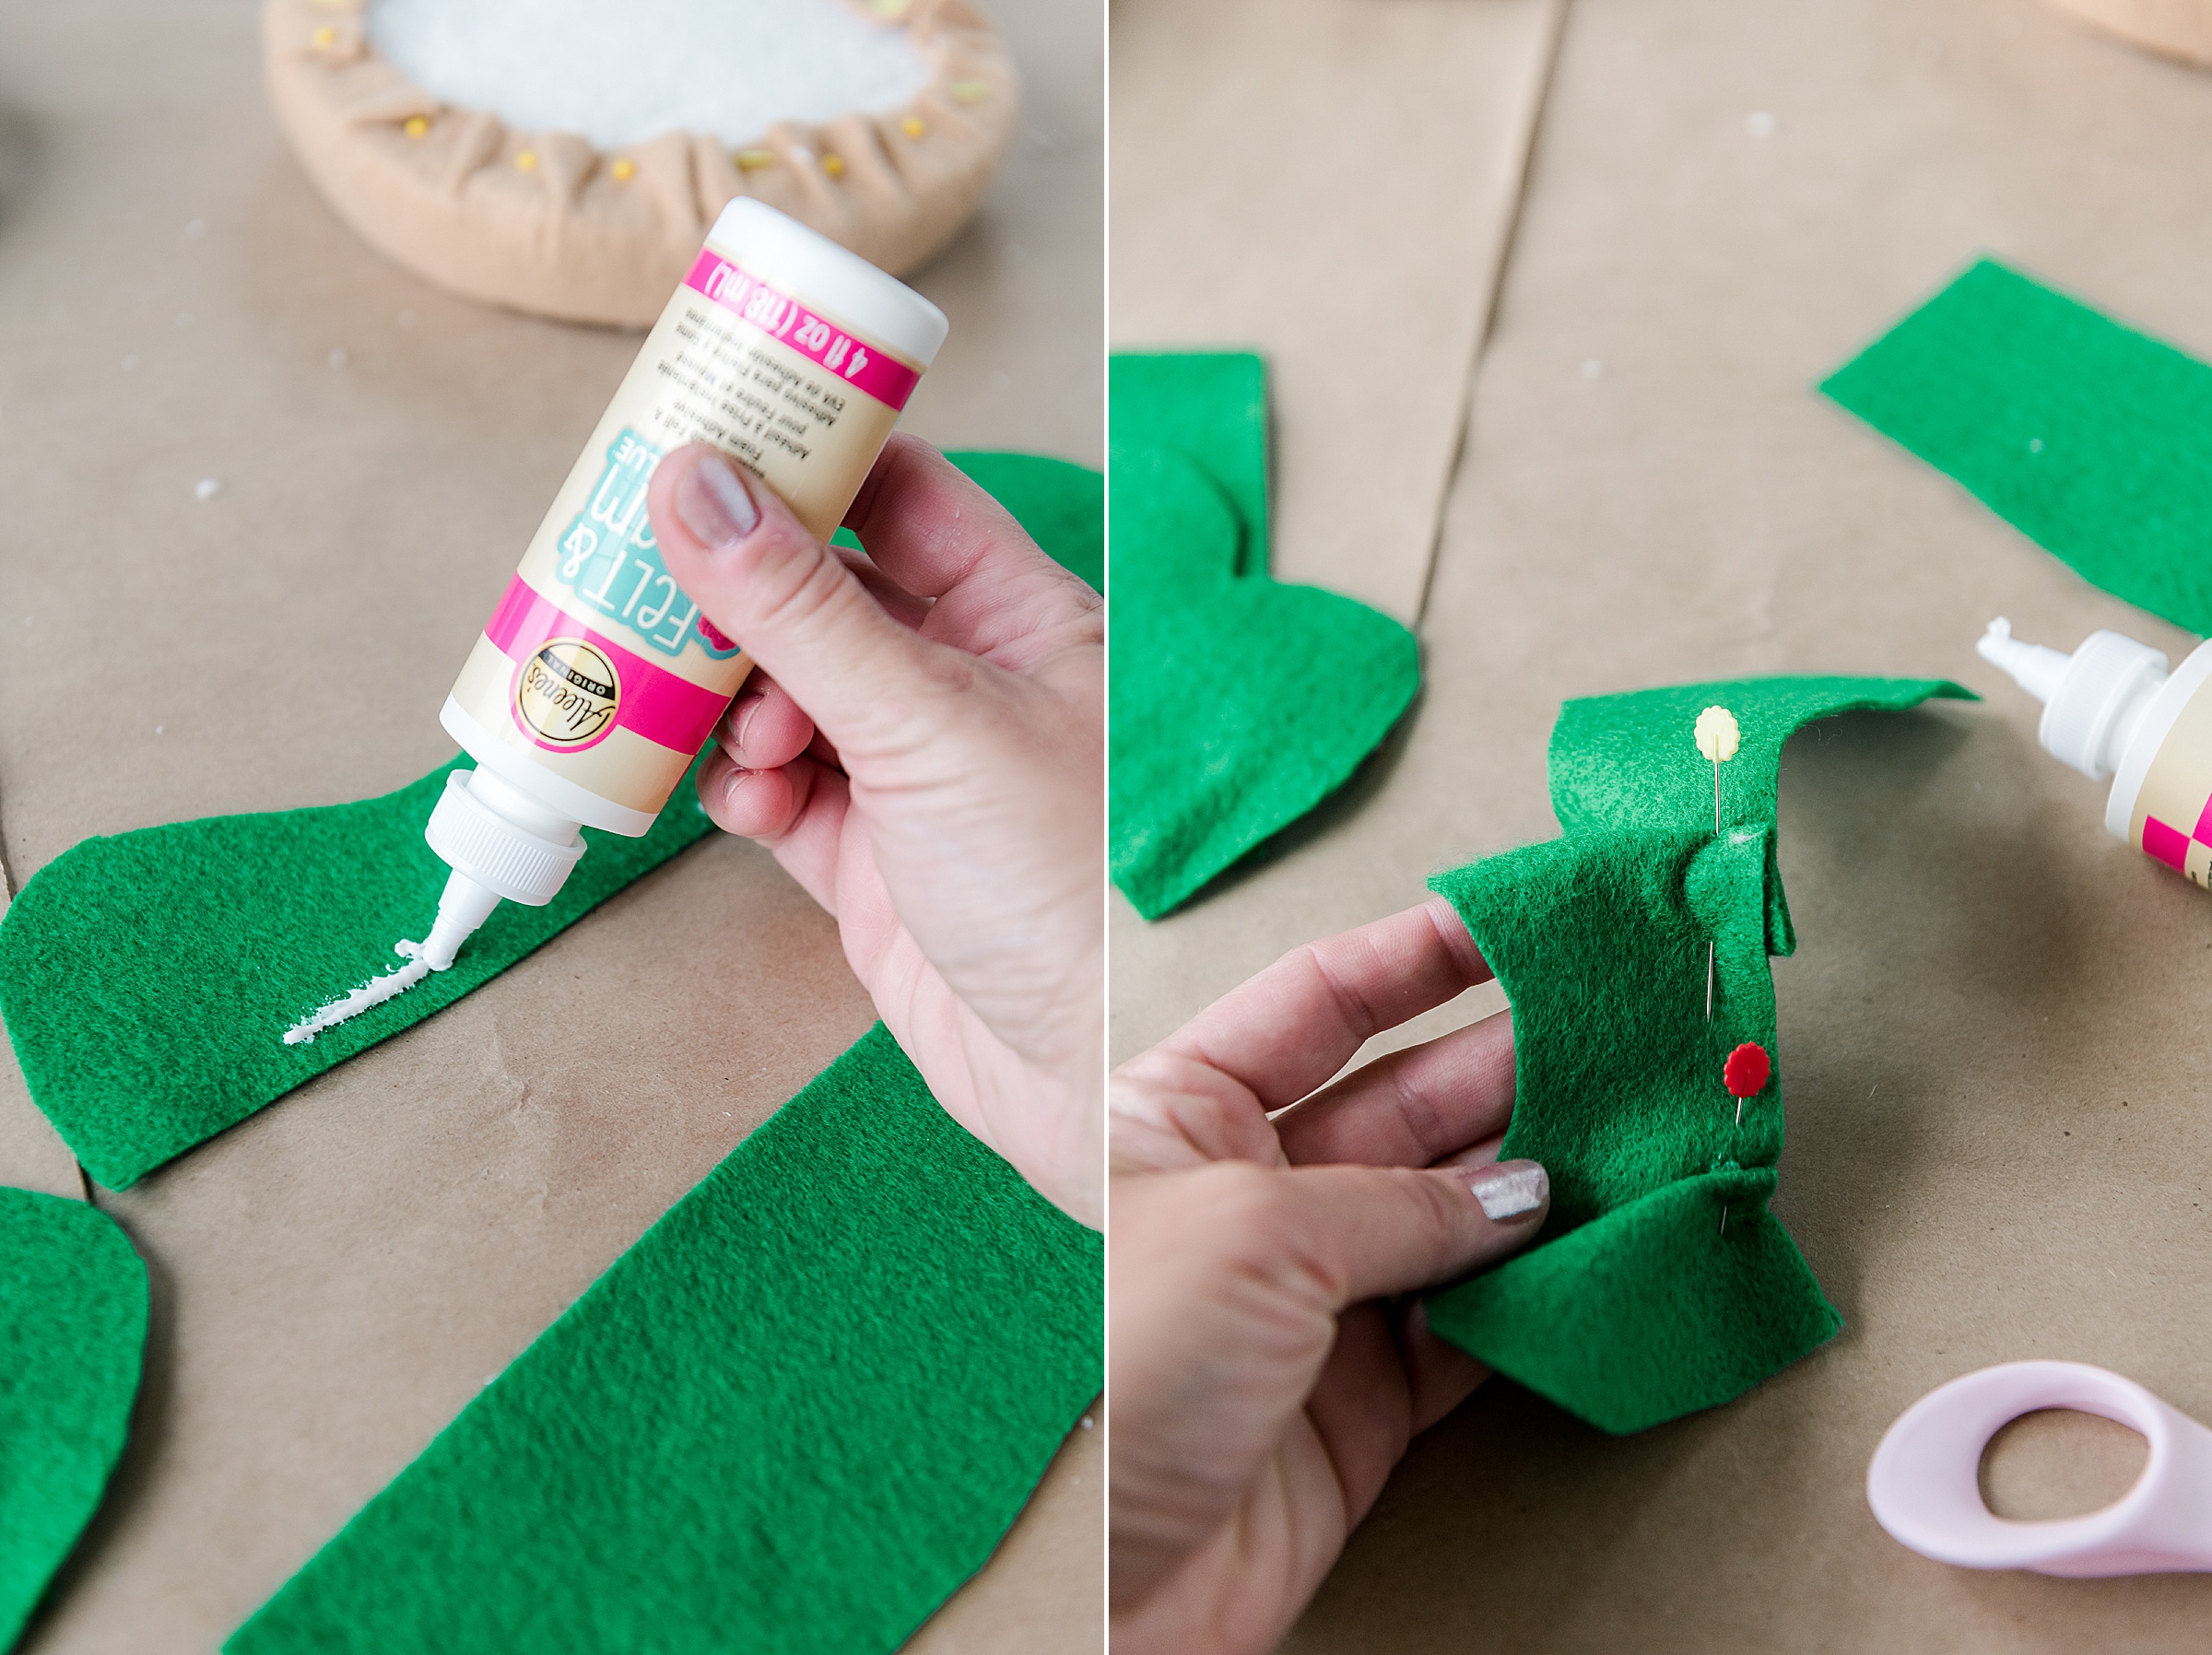
To make the lettuce – Cut a few strips of green felt (about 2-3” wide) and then cut one of the long sides of each strip wavy. In 2-3 sections on your straight edge of the strip, add a generous amount of Aleene’s felt and foam tacky glue – then scrunch up the area so that it has some movement. Pin in place to allow to dry. Do this for each of your lettuce strips until they look wavy and “lettucey” 🙂
To make the cheese – Cut a square from your yellow felt the size of the cheese – make sure that you leave it large enough for the triangle edges to drape over the burger like the cheese is melting 🙂
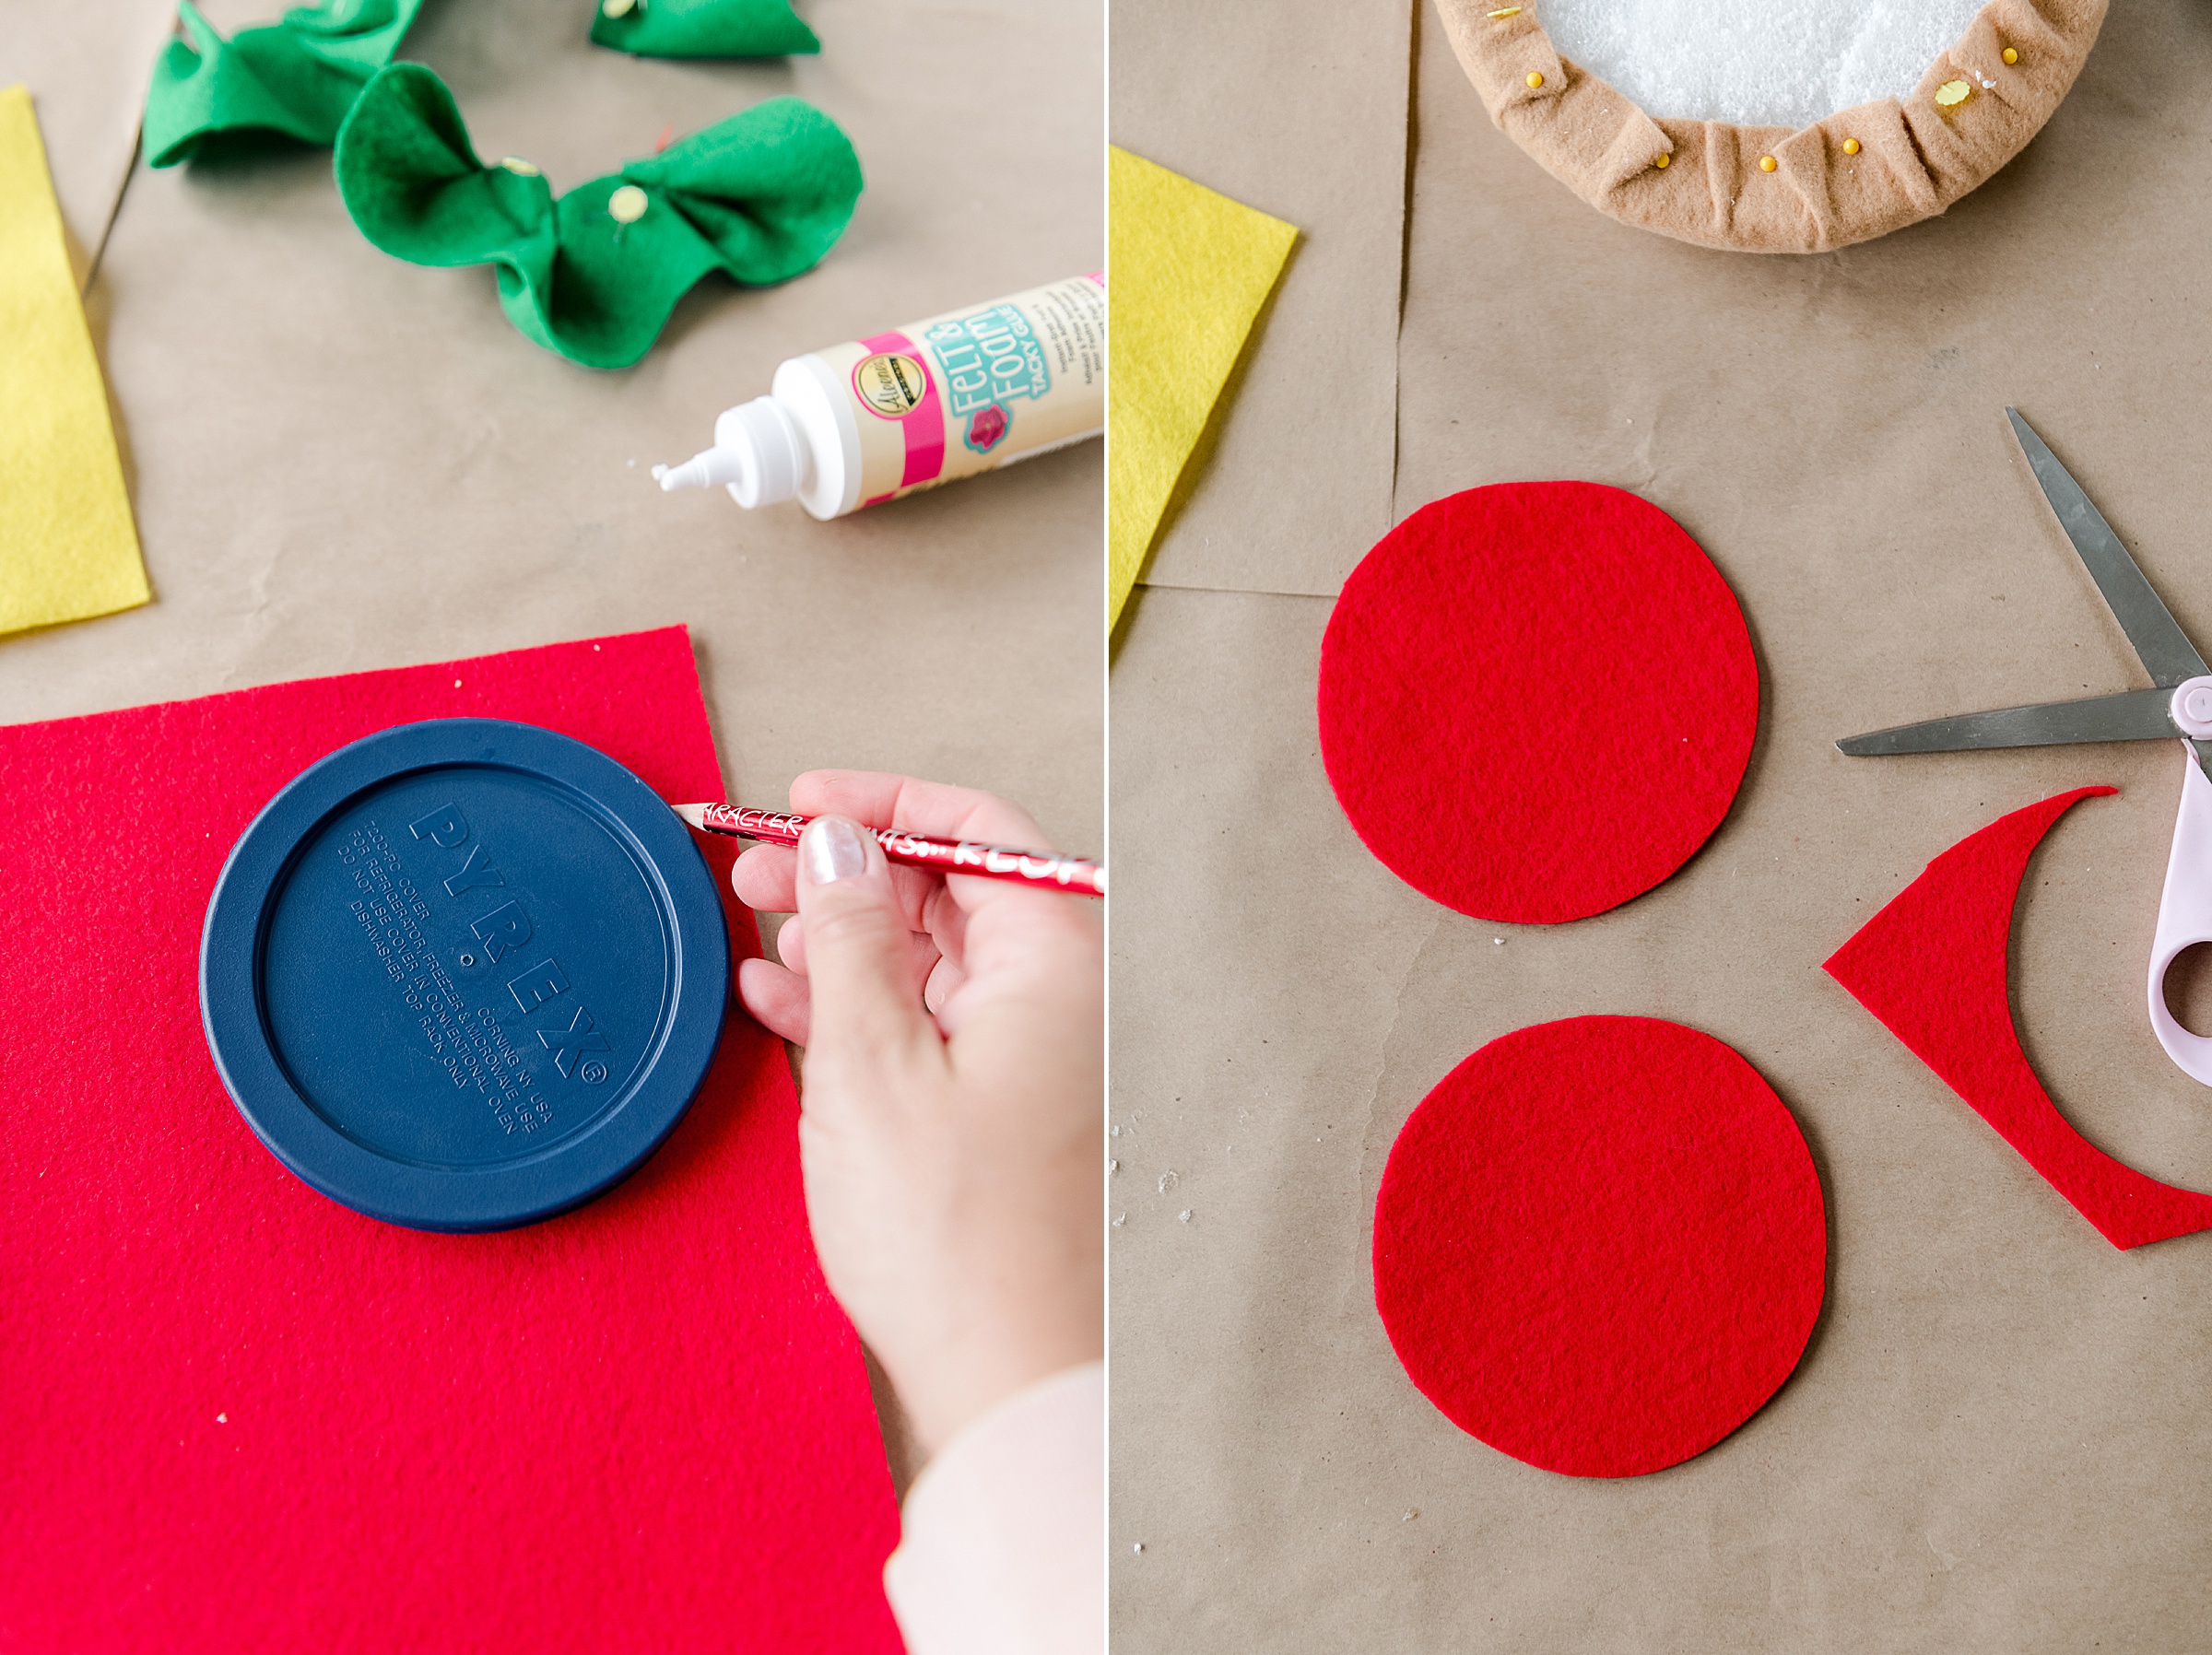
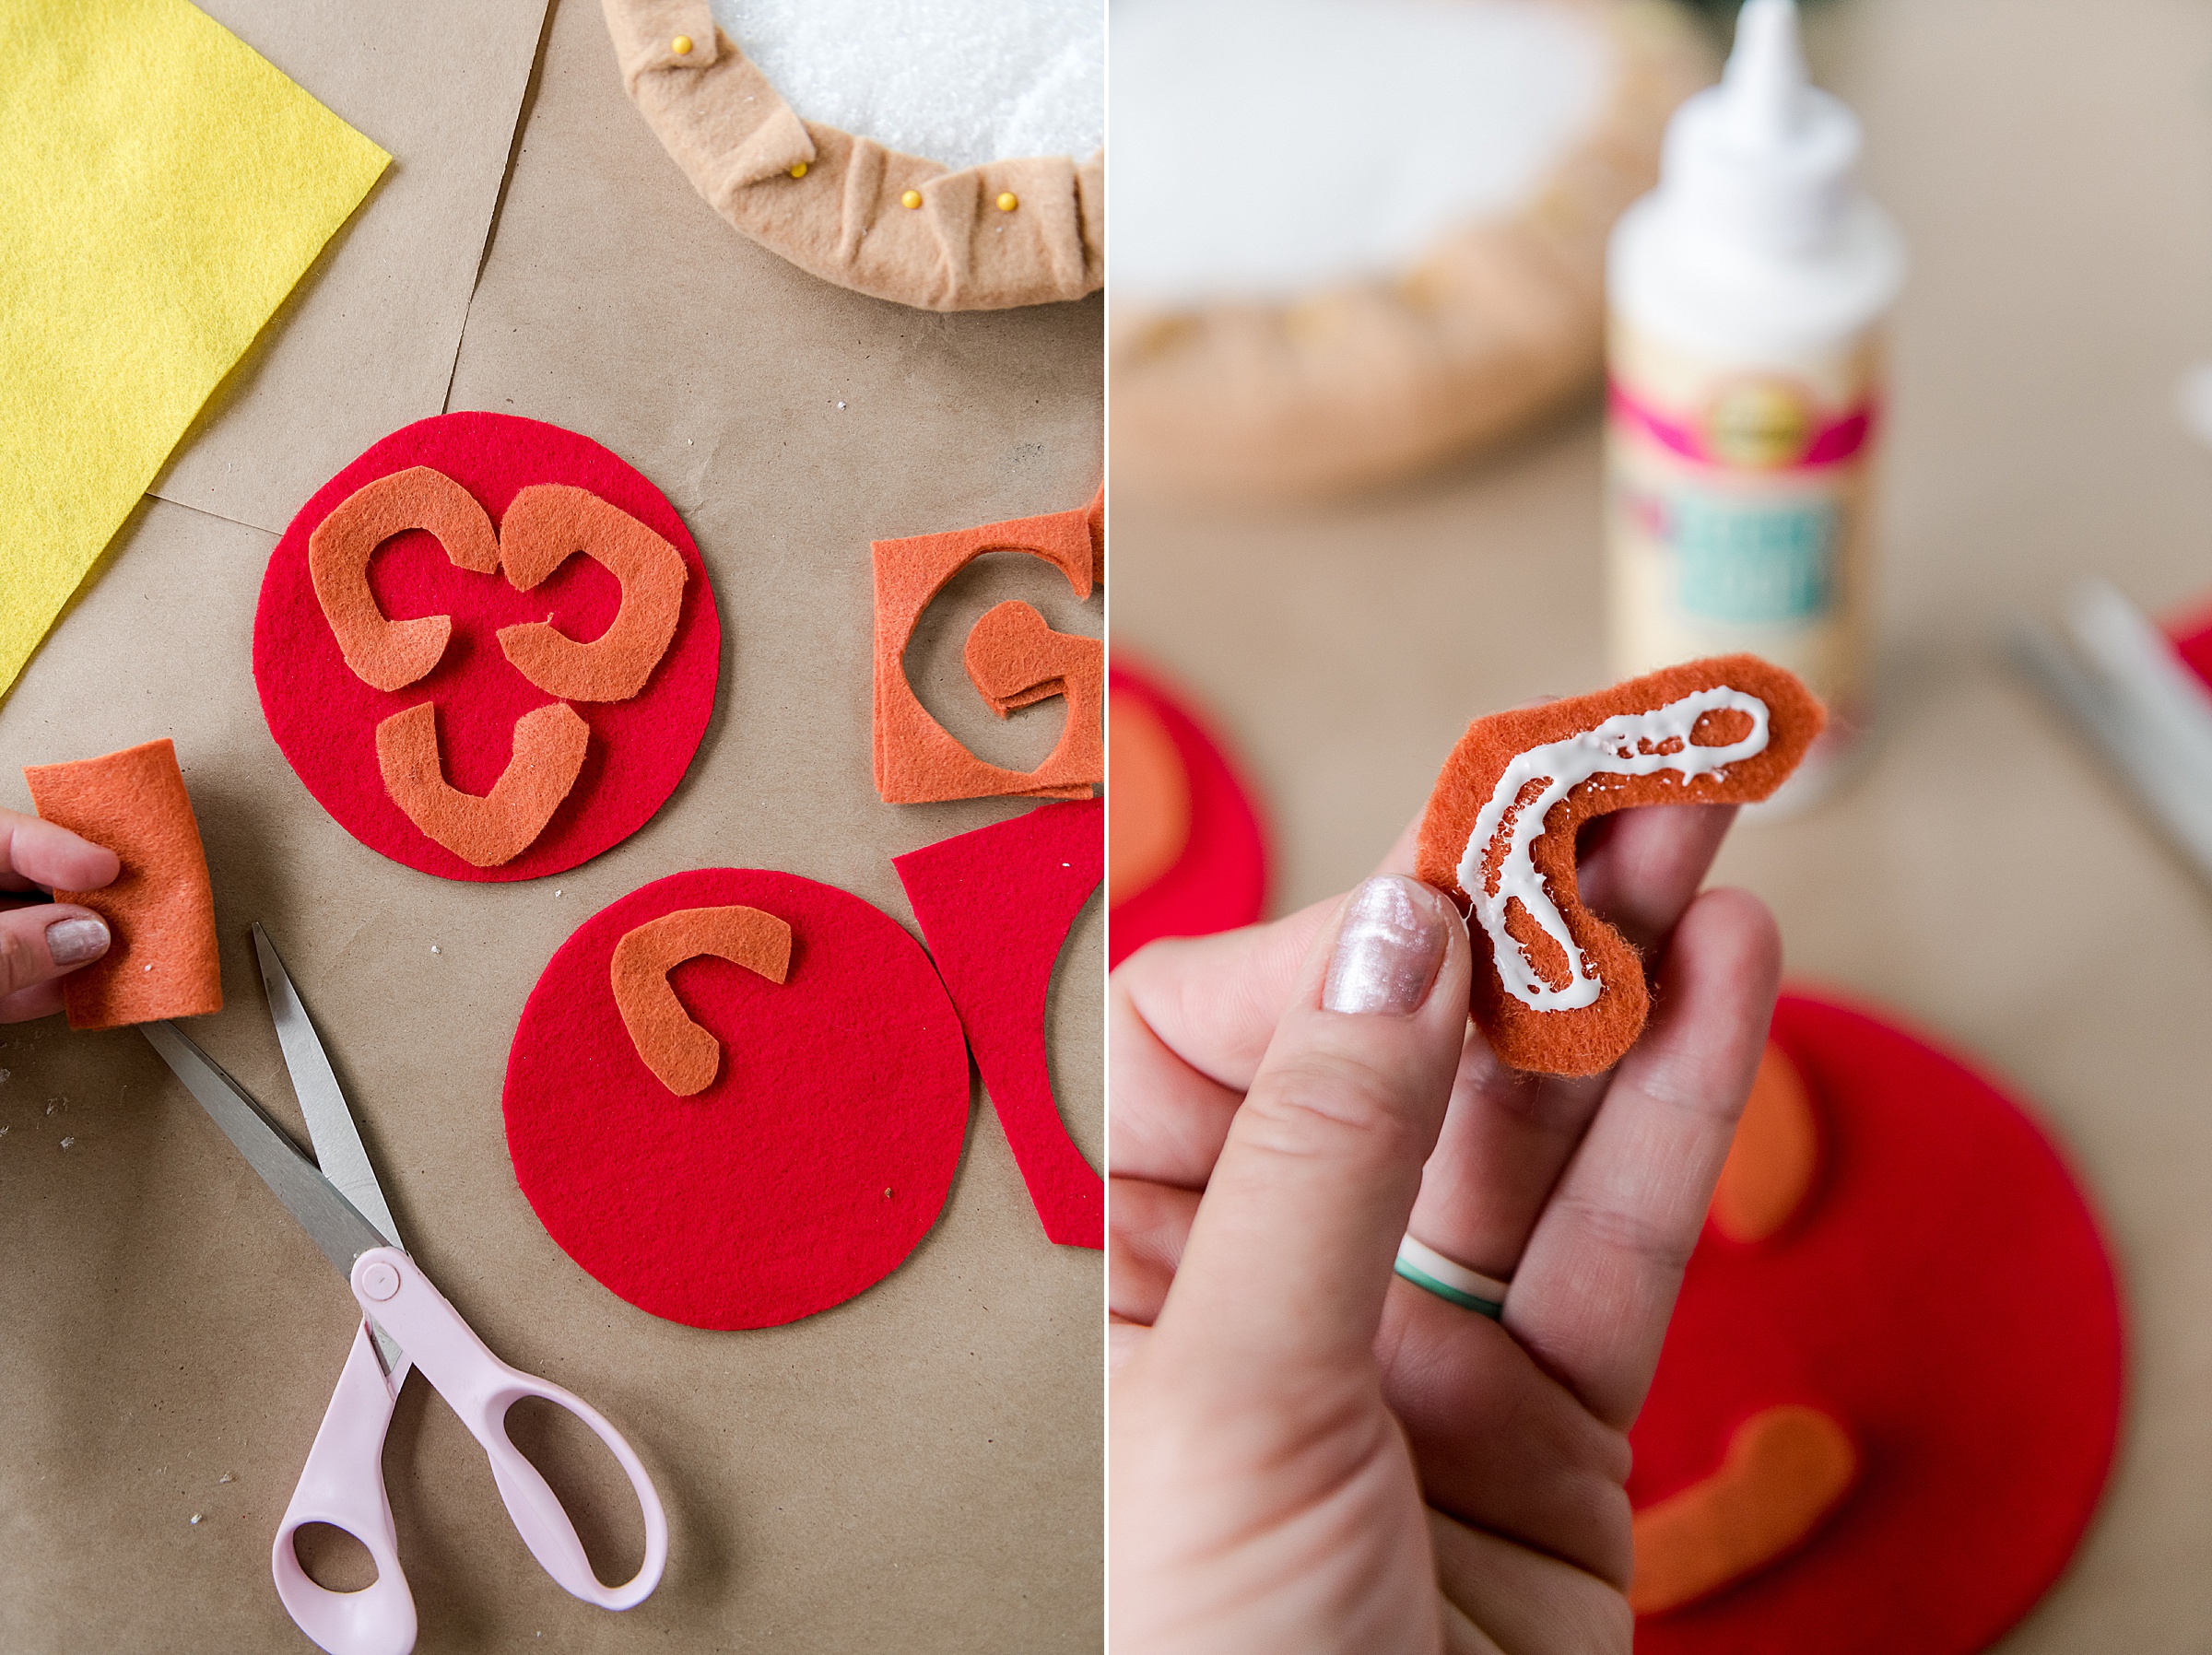
To make the tomato – Use a lid from a Tupperware (or something round) to mark out 2 circles from your red felt. Then cut out these 2 circles. Create the insides of the tomato by cutting a slightly smaller circle and then cutting out some rough “c” shapes for the inside of the tomato texture. You can add seeds or anything else to make this realistic if you want (but keep in mind you won’t see a TON of the tomato so don’t do tooooo much! 🙂
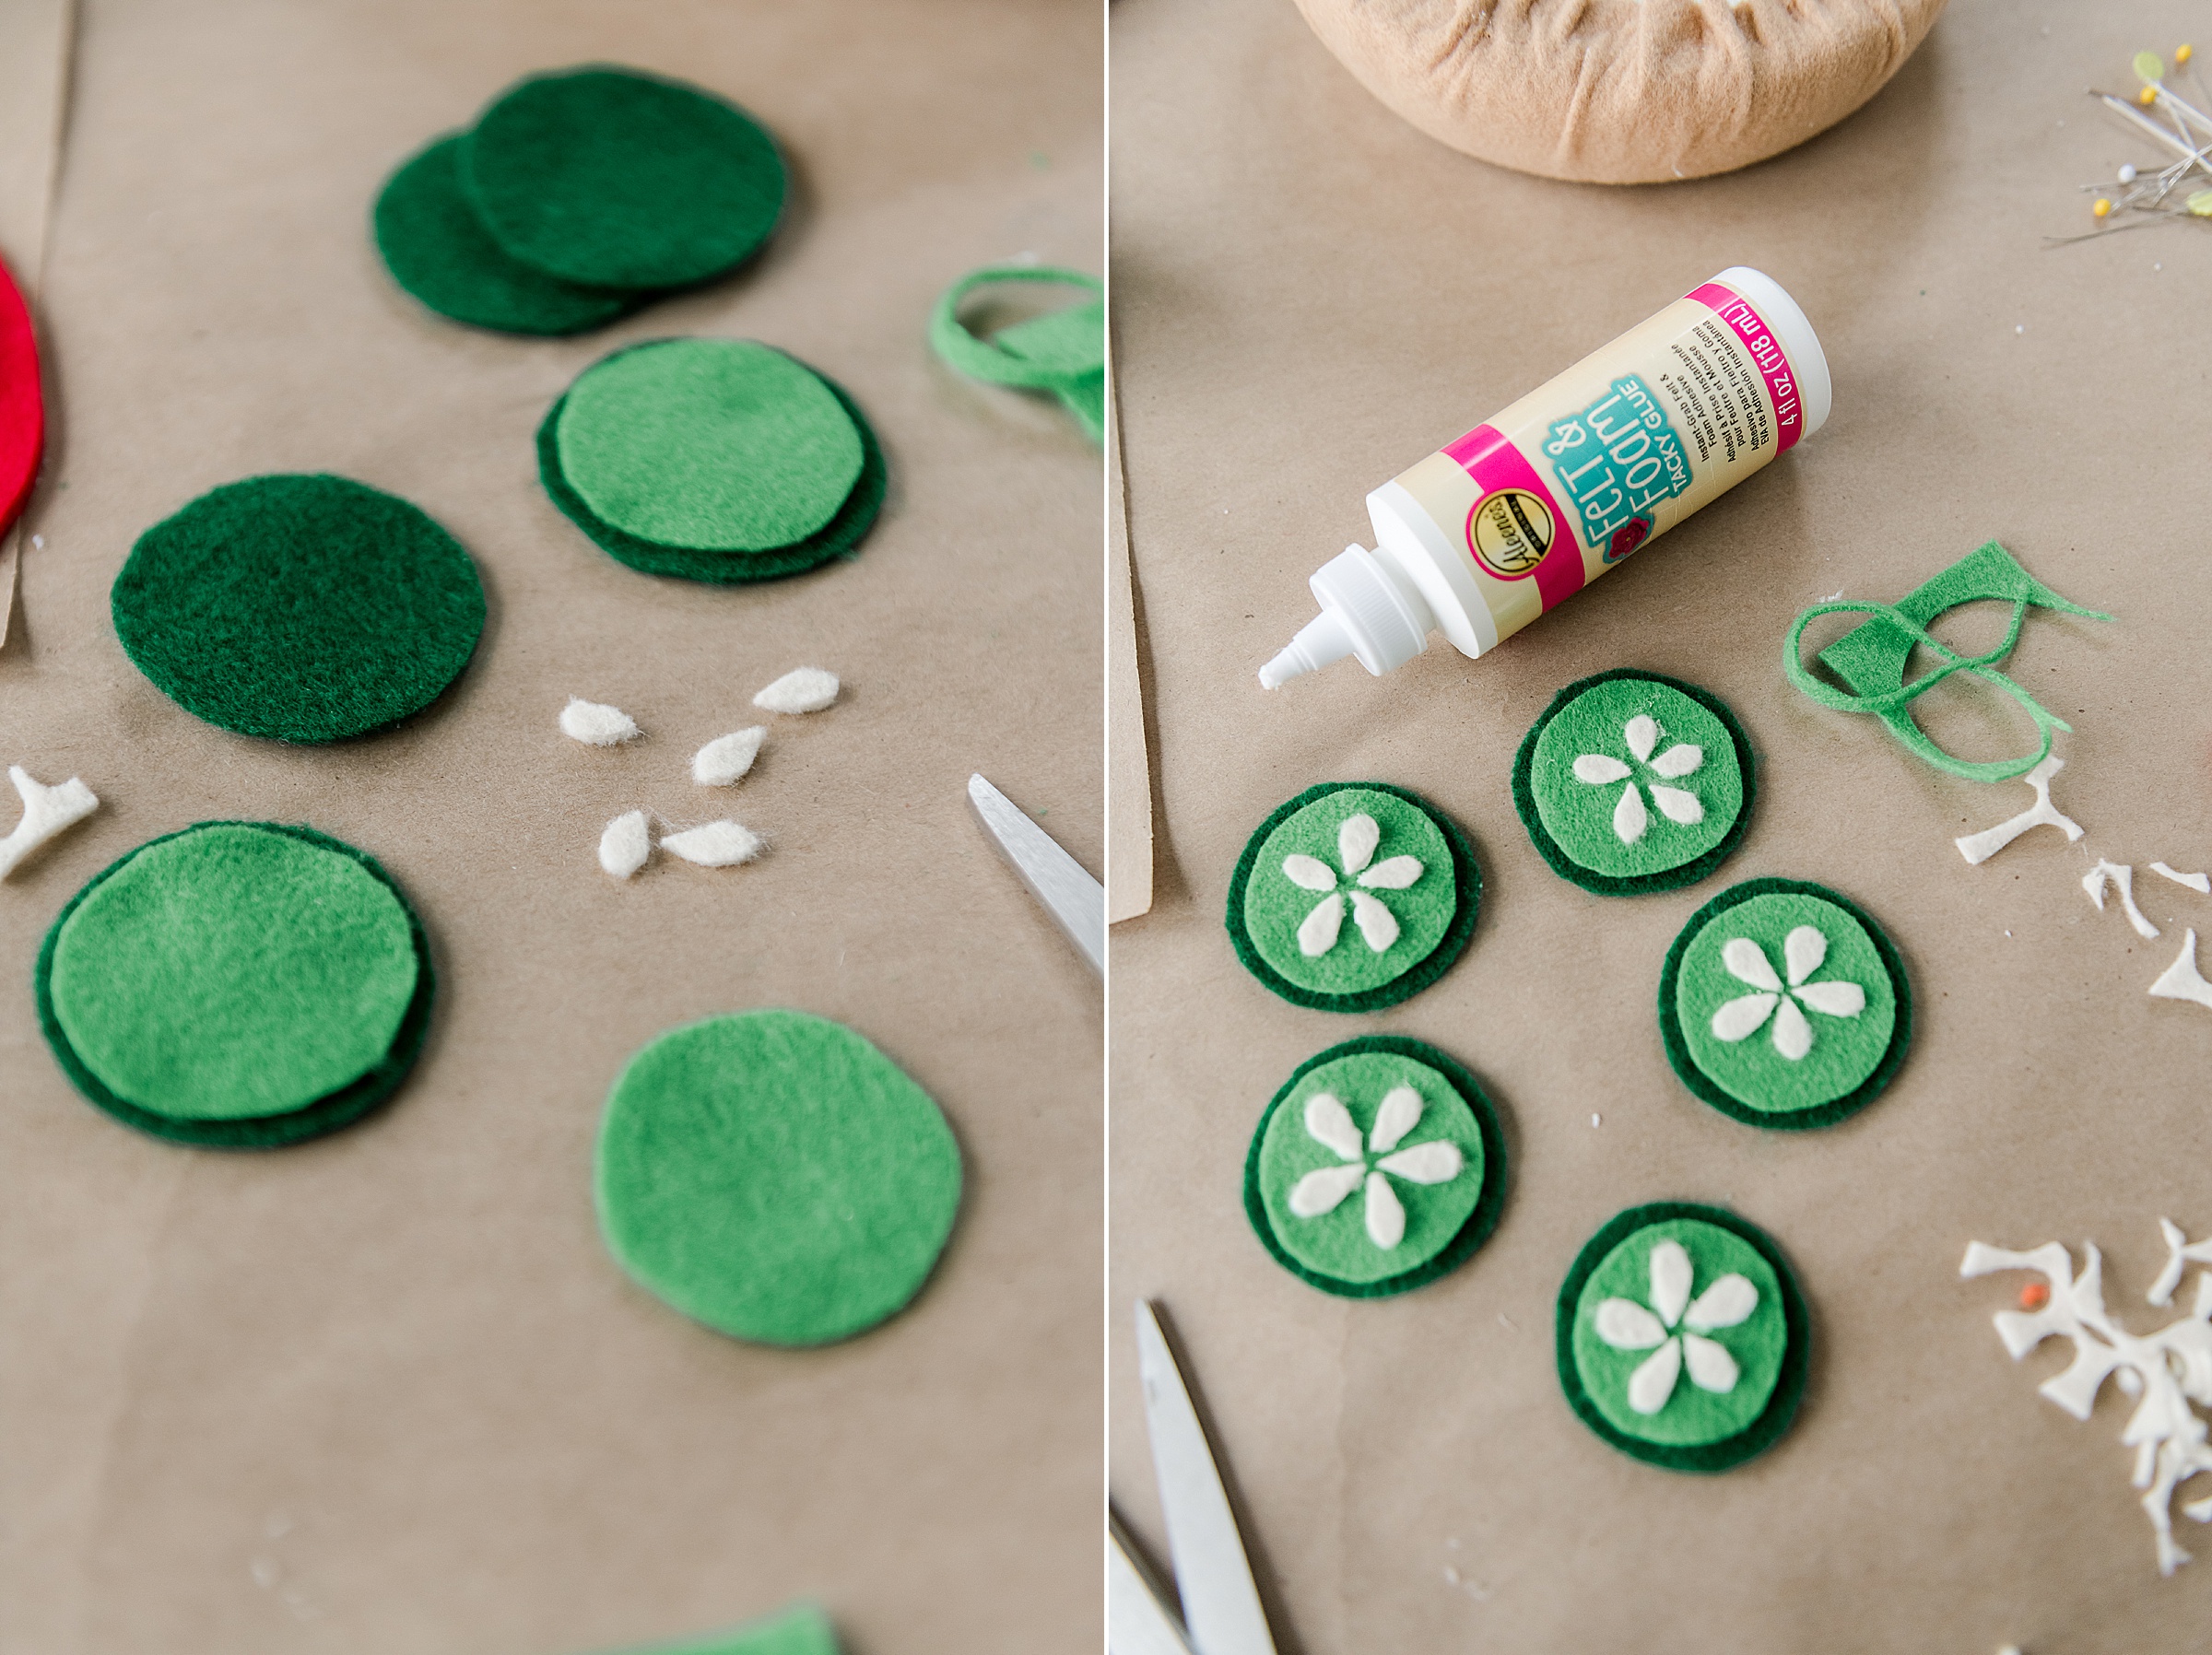
To make the pickles – Cut out 2 different colored green circles with the darker green circle being a bit bigger than the lighter green. Then cut some small seeds from your white or off white felt. Glue all together 🙂
7. Once your burger patty is dry, now it is time to start assembling your Cheeseburger!
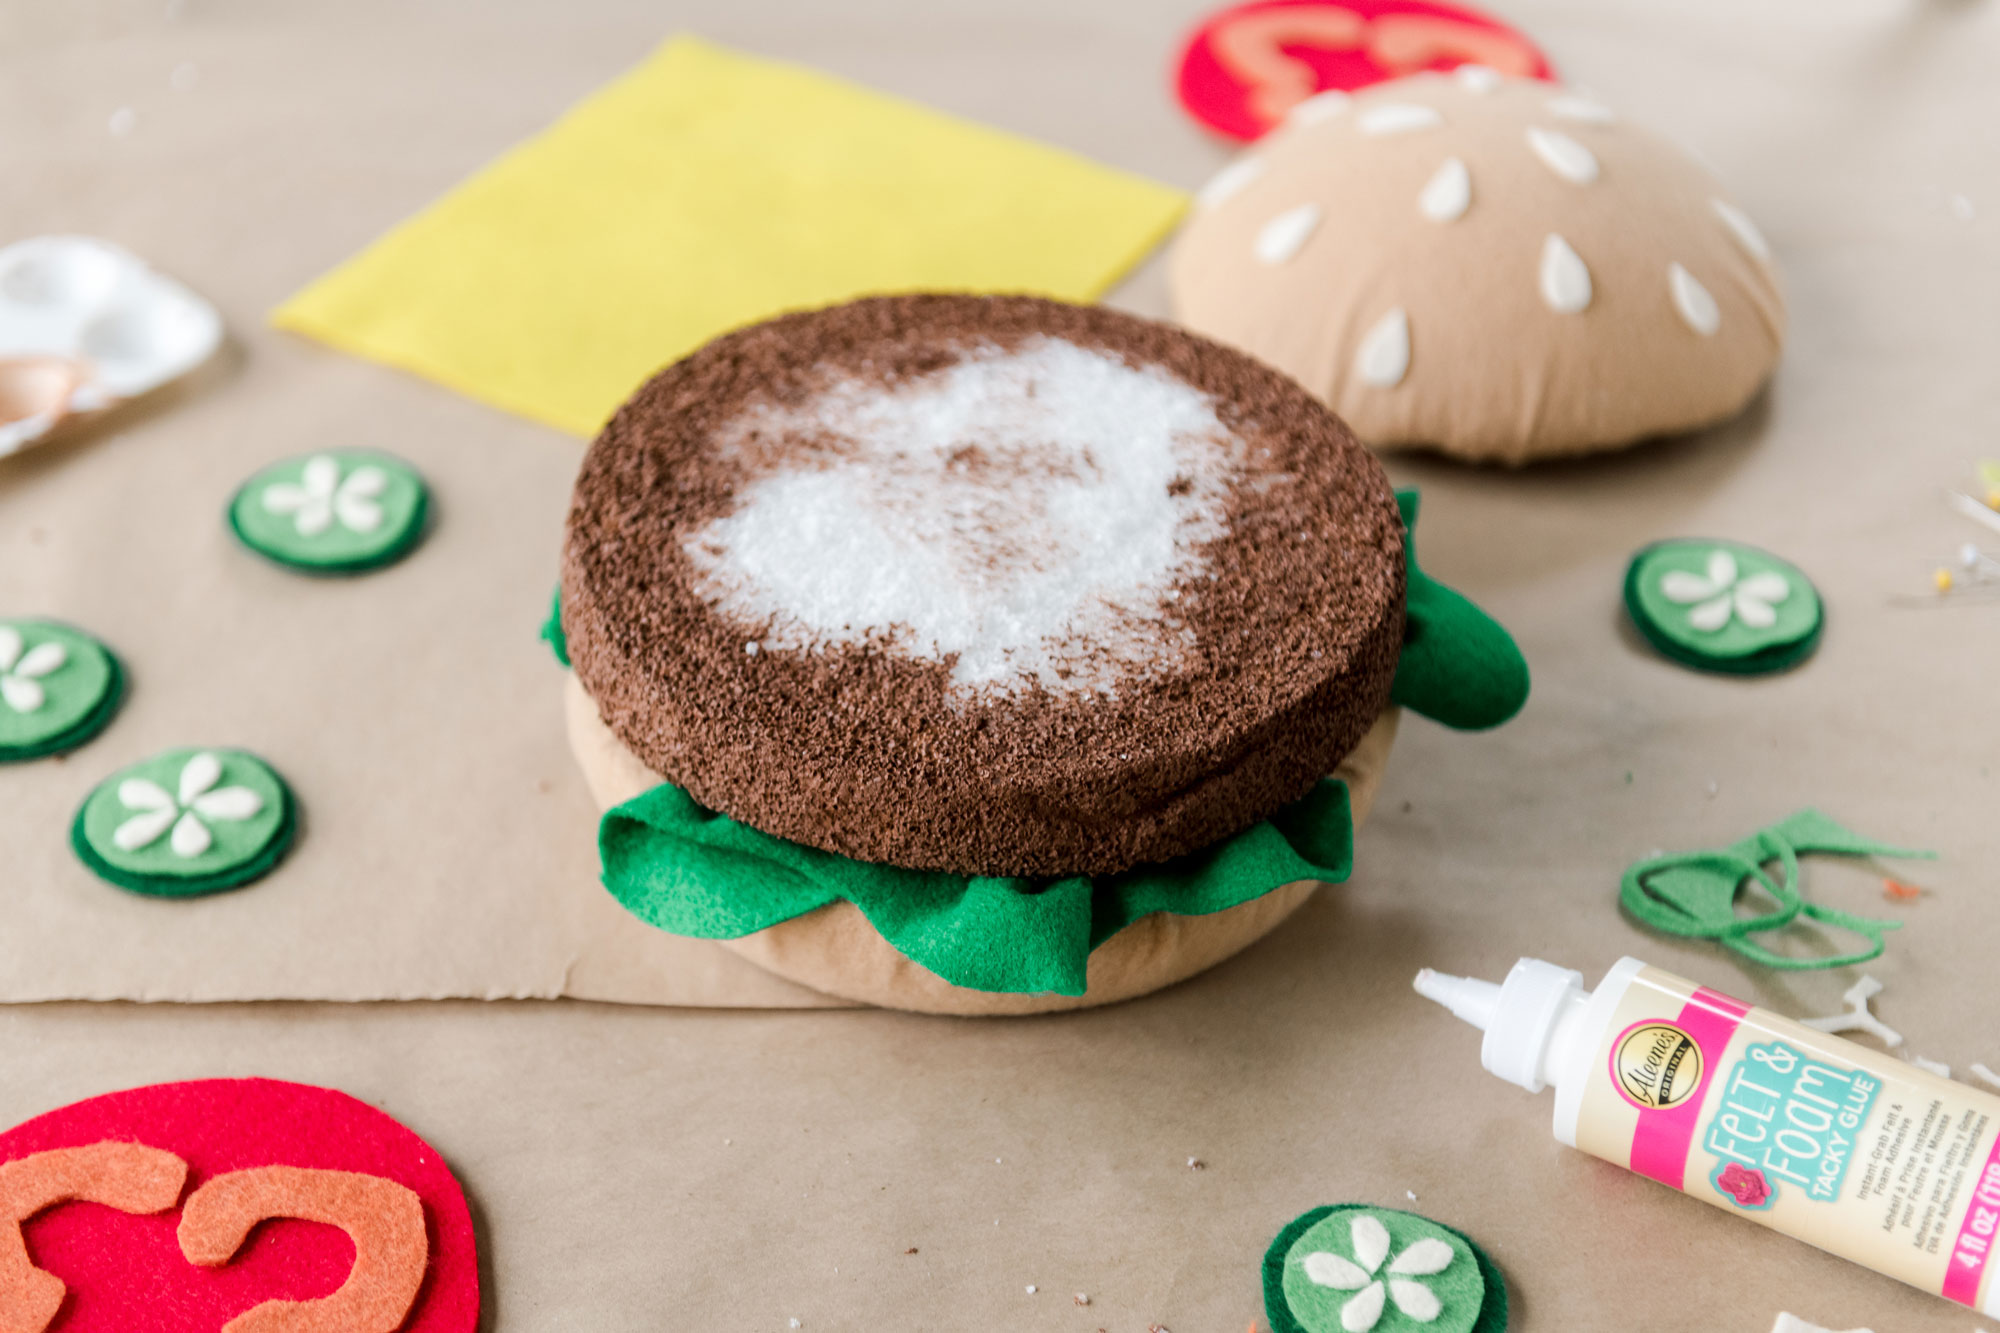
First remove any pins that are left in the toppings or buns – these pins were just to hold the fabric in place while the glue dried (and that should only take about 1 hours or less)! Set the pins aside and then begin layering your cheeseburger! start with your bottom bun and add the lettuce around the edges (be sure to use a big squeeze of your Felt and Foam Tacky Glue). Then add your burger paddy – you will want to add a big ring of glue and then press down really hard around the outer edge – this will help press everything together so that there isn’t much of a gap between the paddy and the bun 🙂
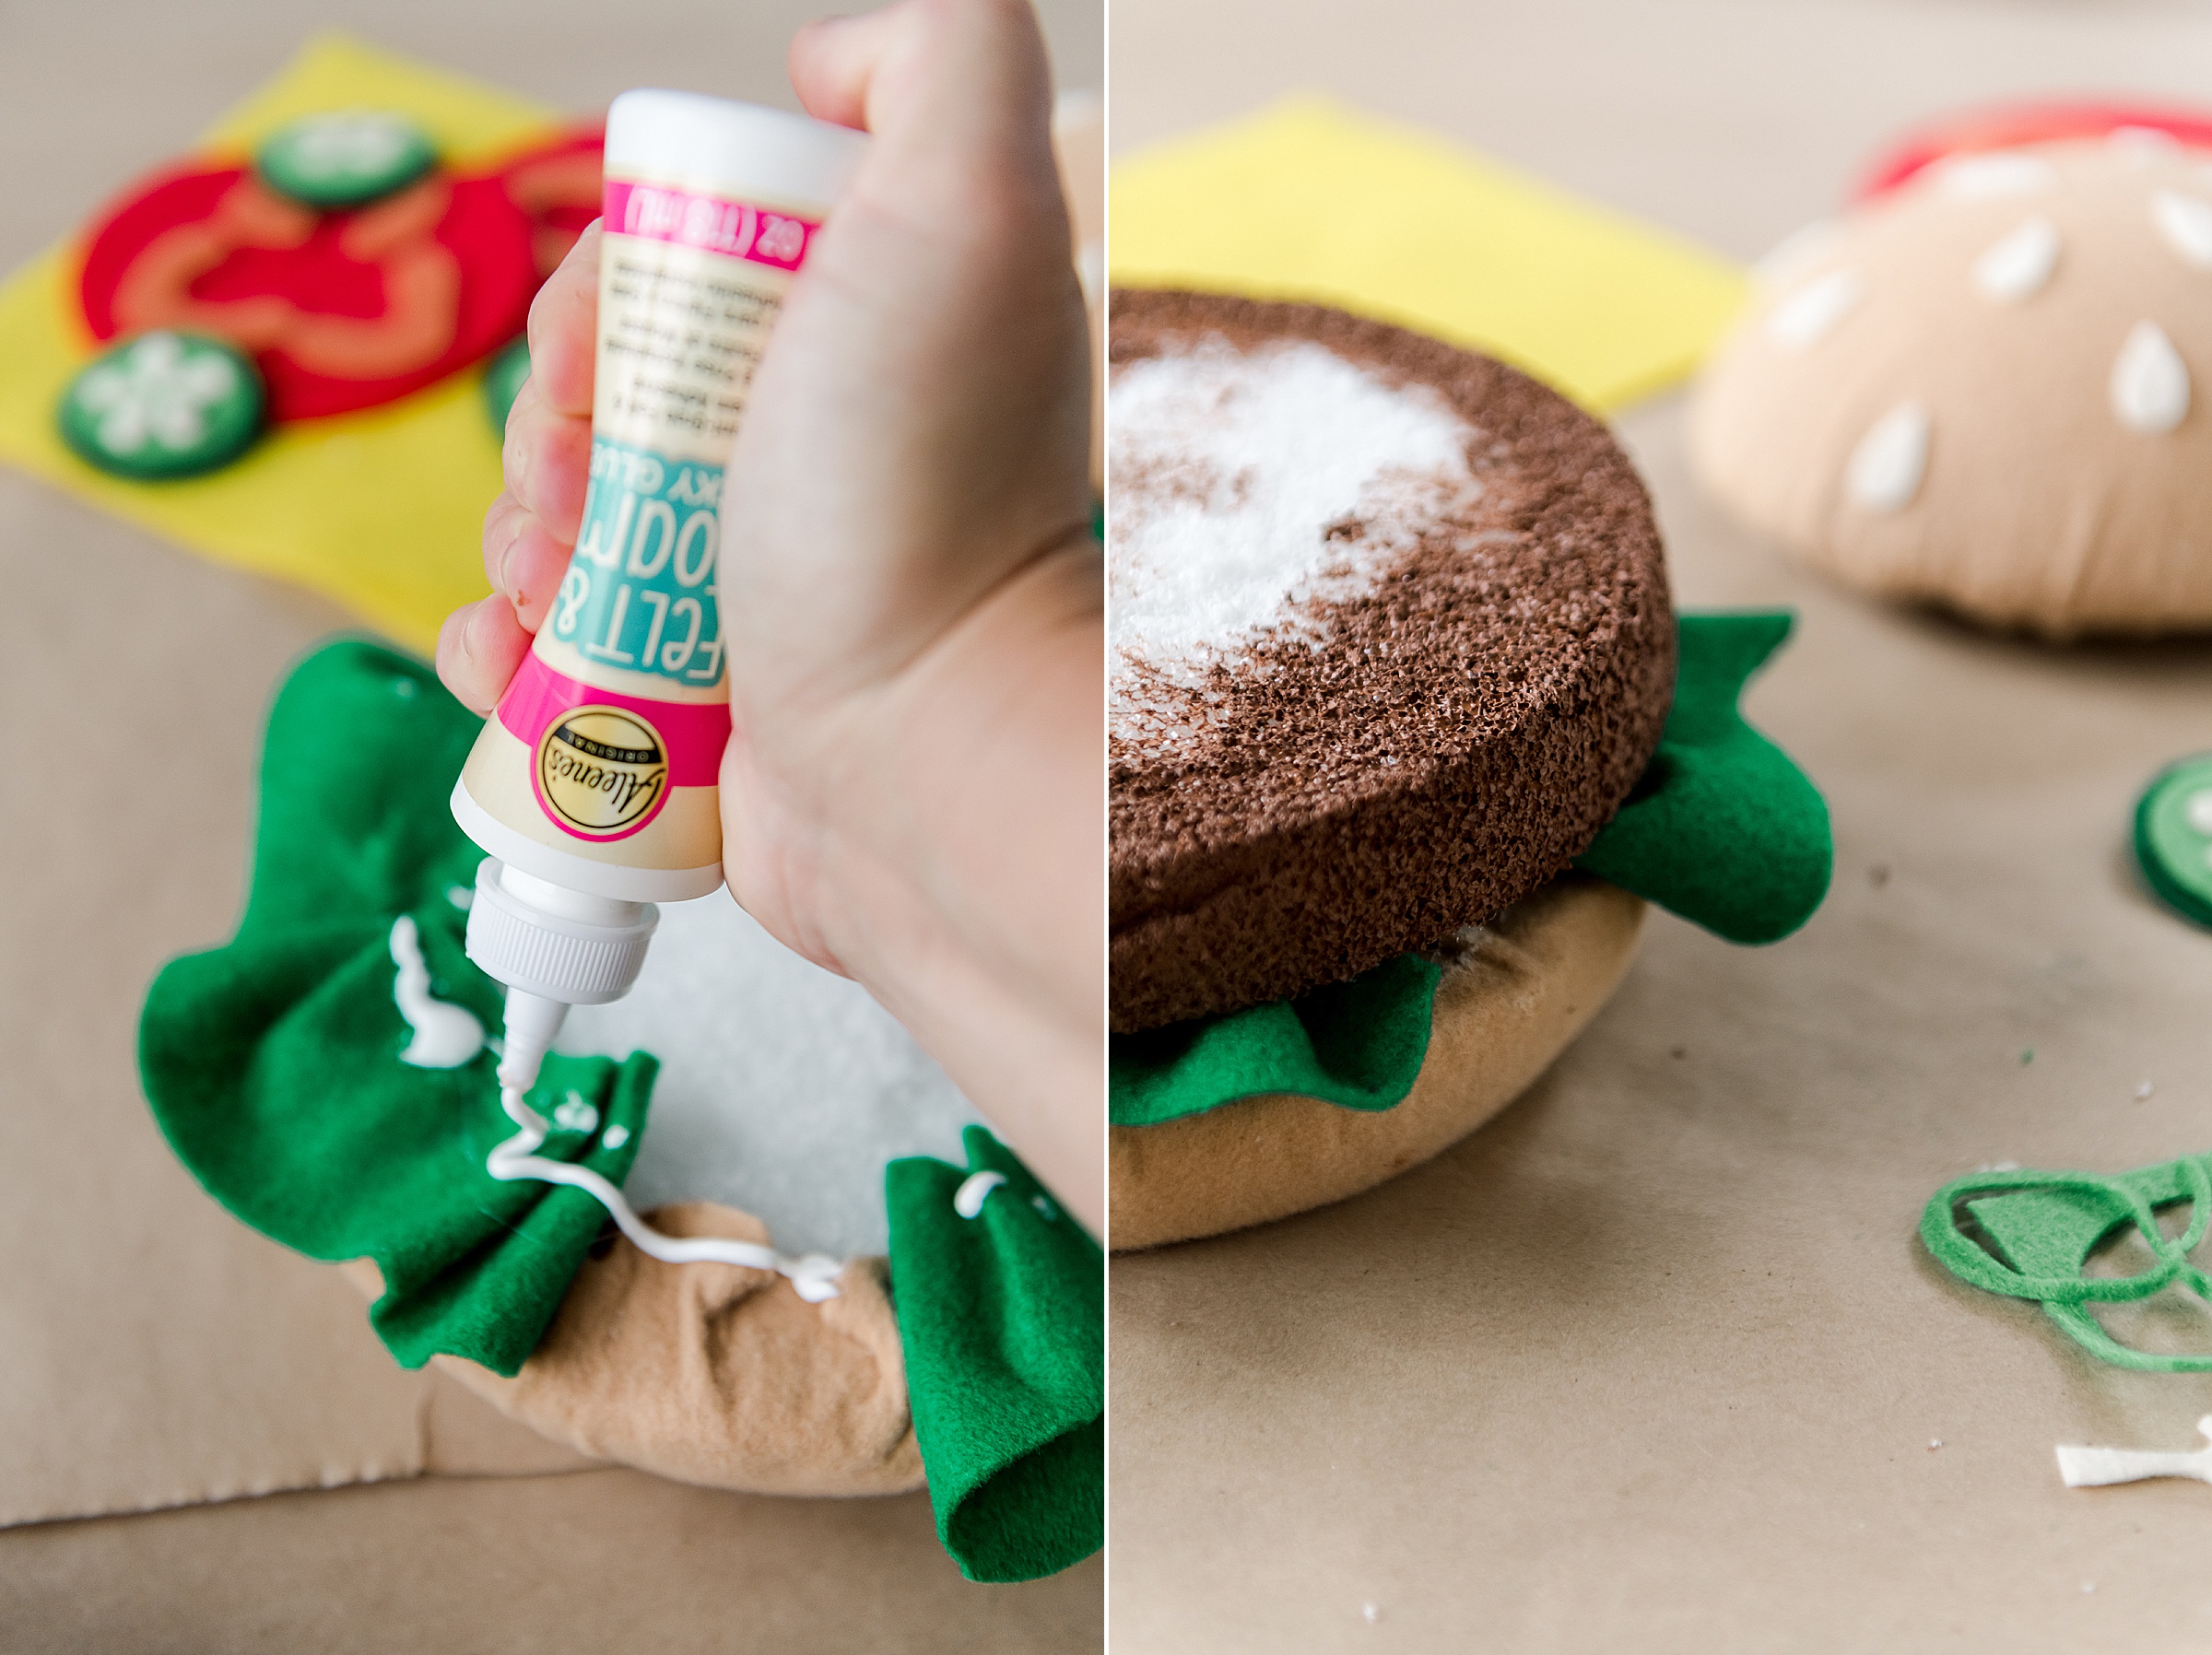
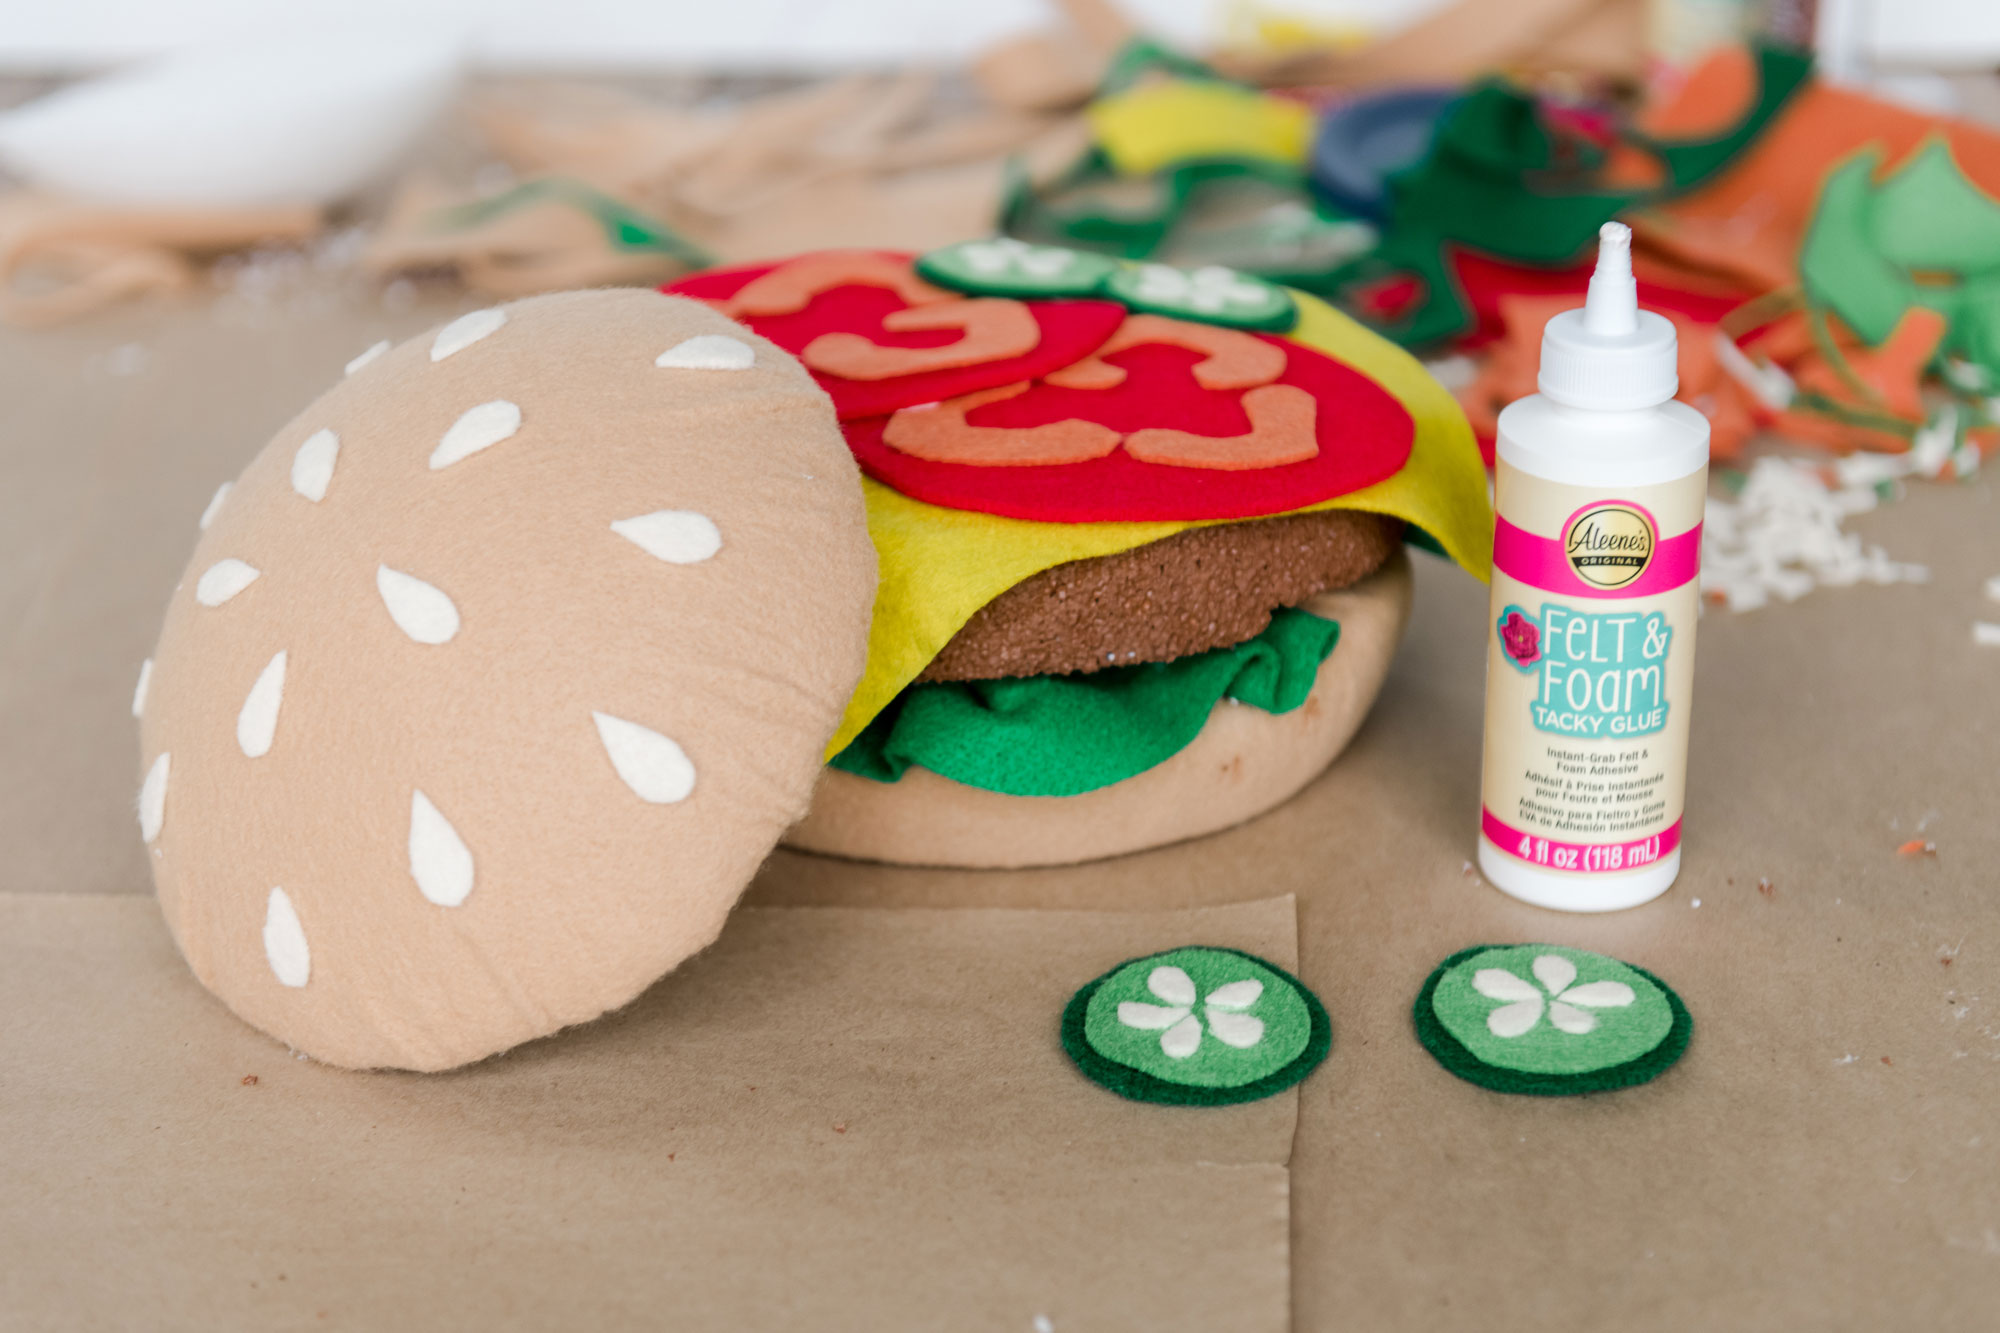
Then add your cheese, tomato and pickles (or whatever other veggie you made)! 🙂
Add your top bun and press together SUPERRRRRRR well! (I squeezed together the whole burger for a solid minute so that it tacked together before it finished drying).
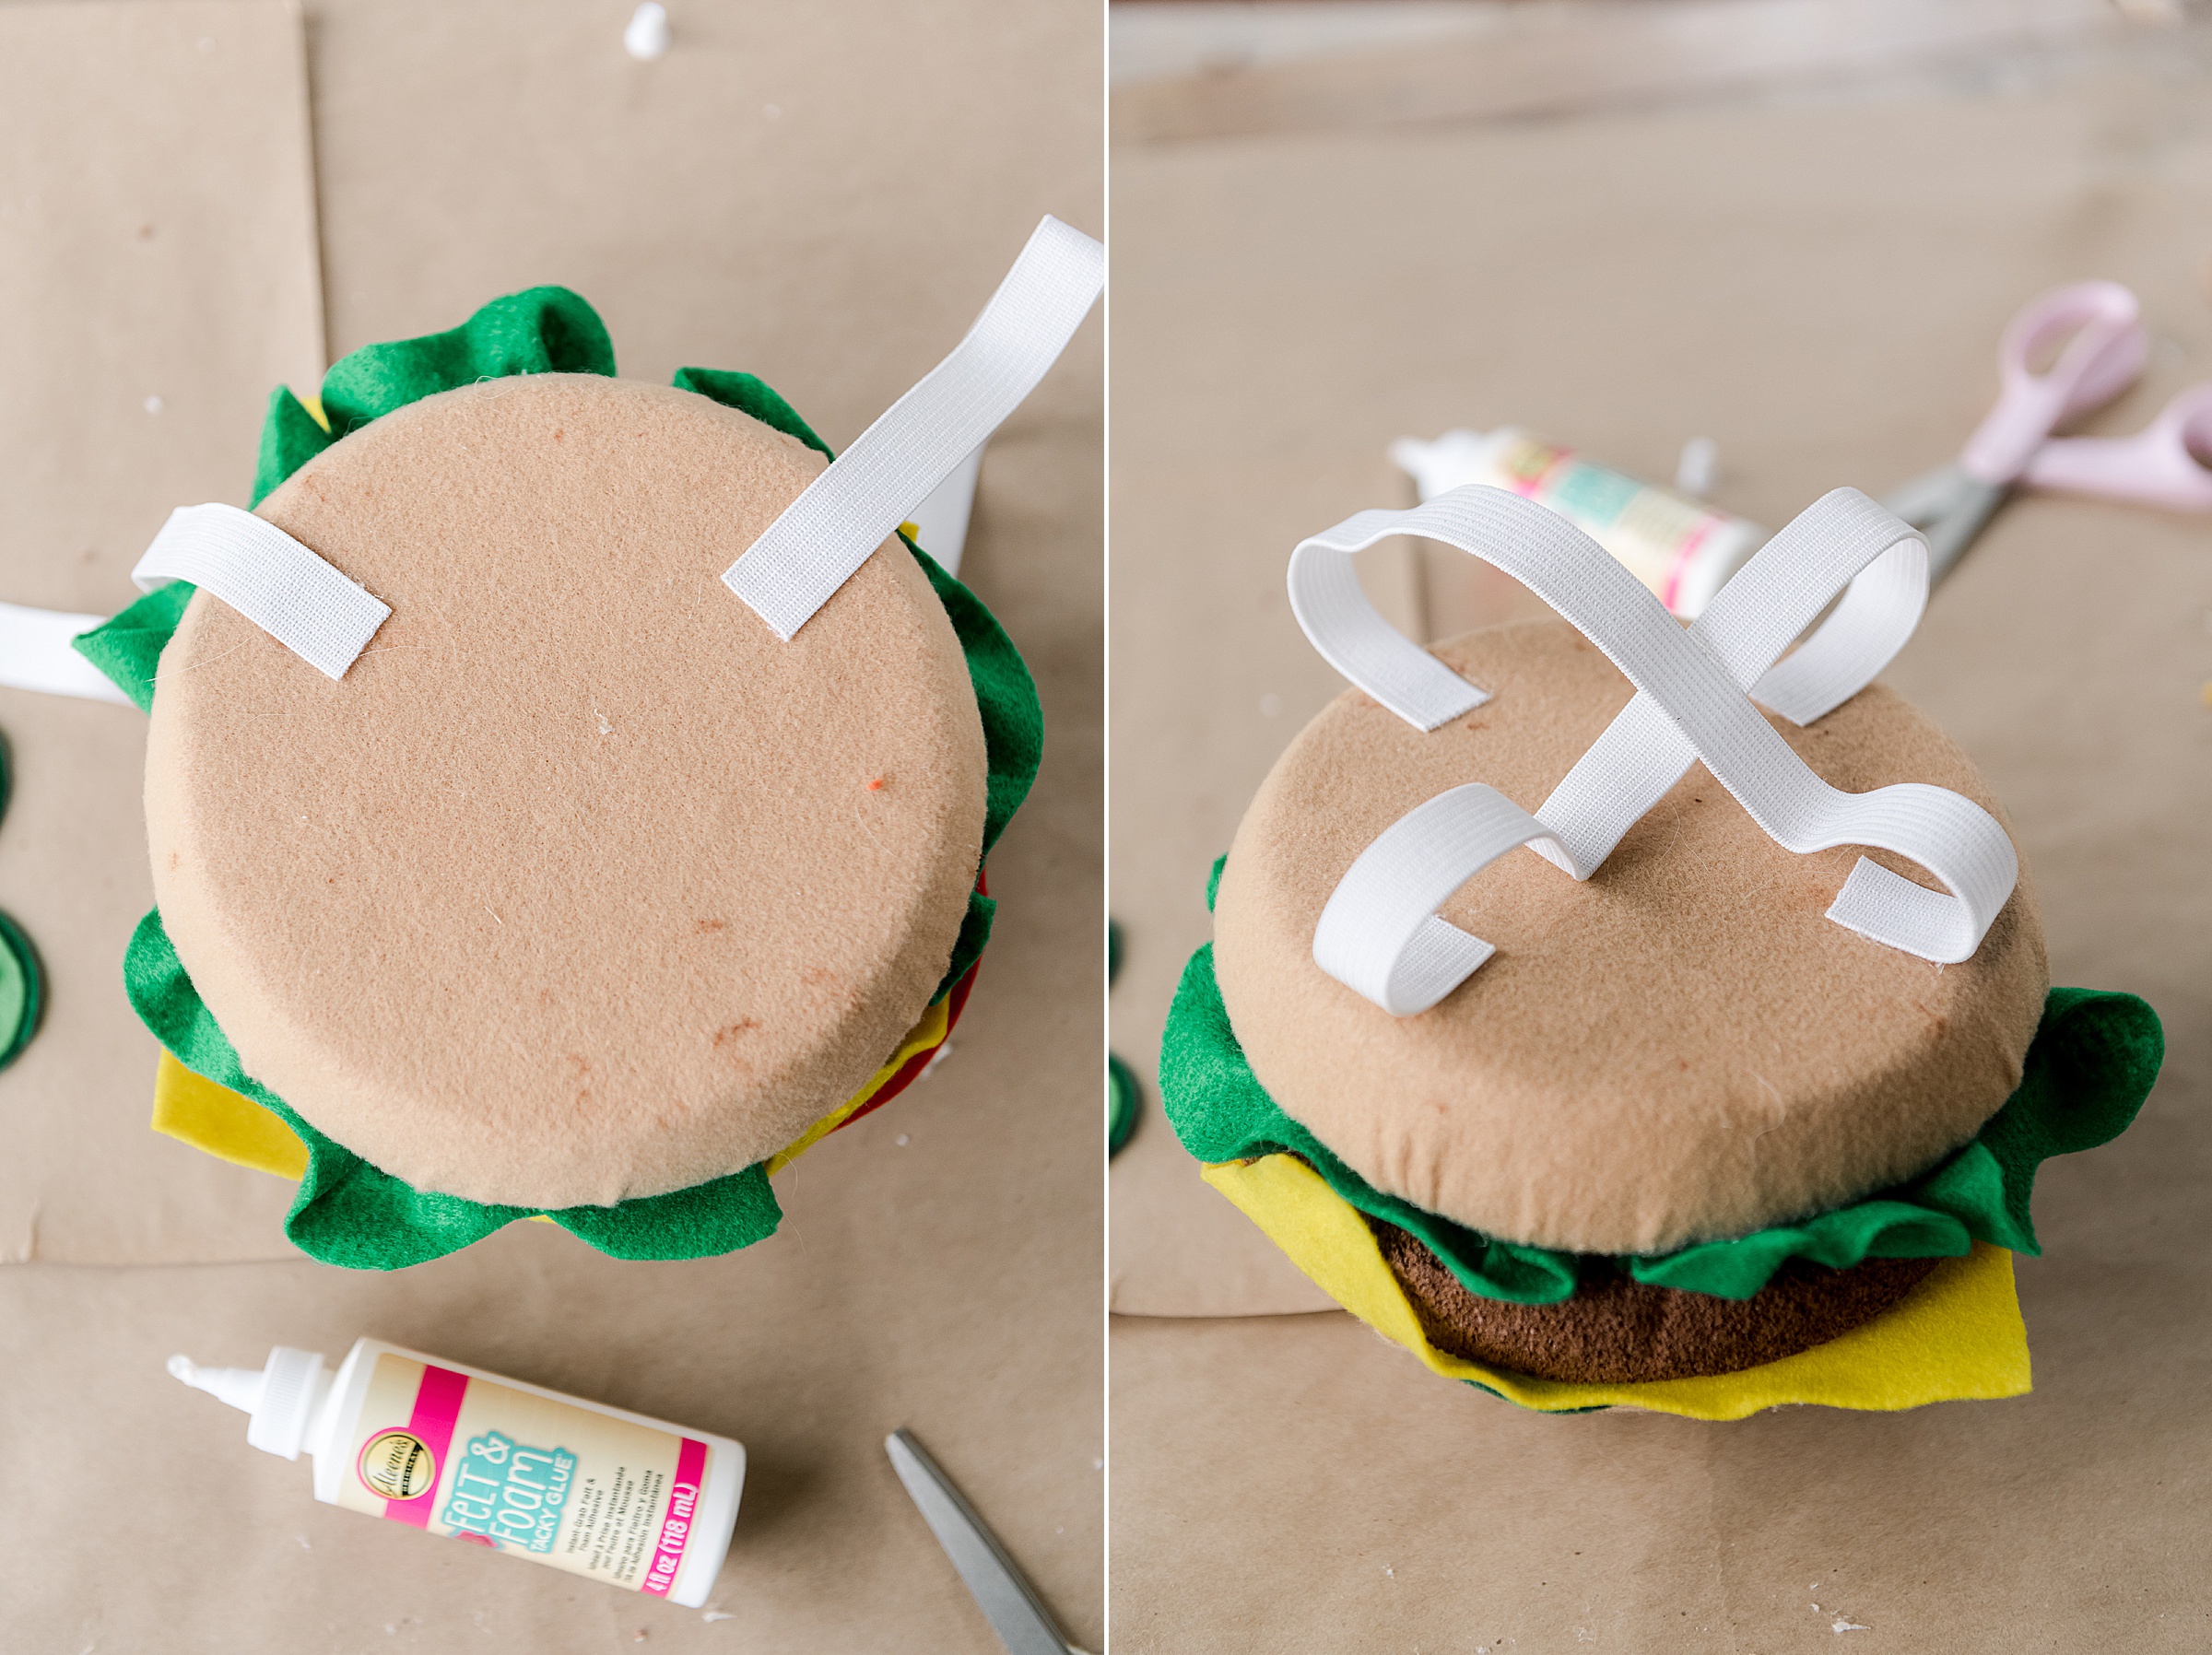
8. Now add your elastic or ribbon for your dogs body! A pug is a small breed, so I cut 2 pieces of elastic about 7-8” long and attached them in a criss cross along the underside of the bottom bun! Pin the elastic in place until it’s completely drying if you want to!
Then once dry, put your costume on your furry friend and snap some adorable pics 🙂
