A DIY Valentine costume: a heart shaped box of chocolate truffles
I have embarked on this creative journey for 2019: to create one costume a month. The goal is simple: put a smile on MY face and YOUR face and in the process, challenge myself creatively by using new materials, new techniques and pushing my abilities in making. Sounds fun, eh?! 🙂
You can check out January’s planner costume here!!
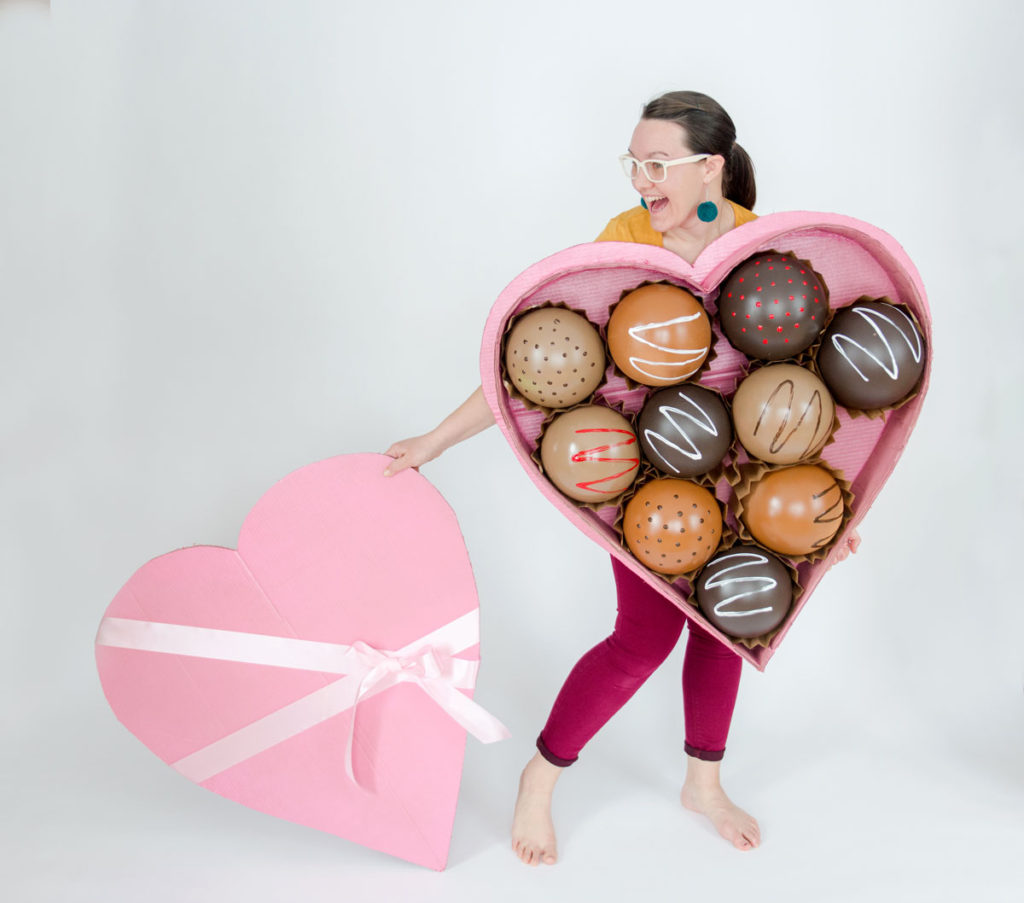
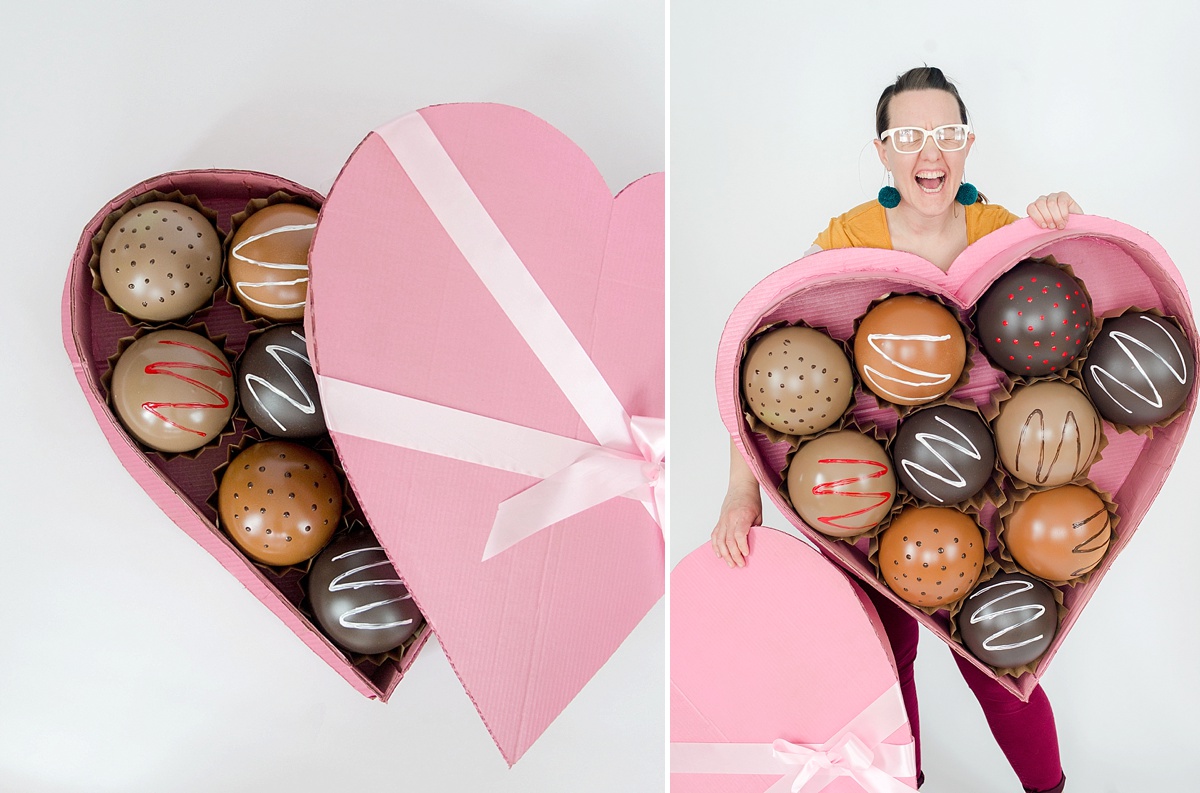
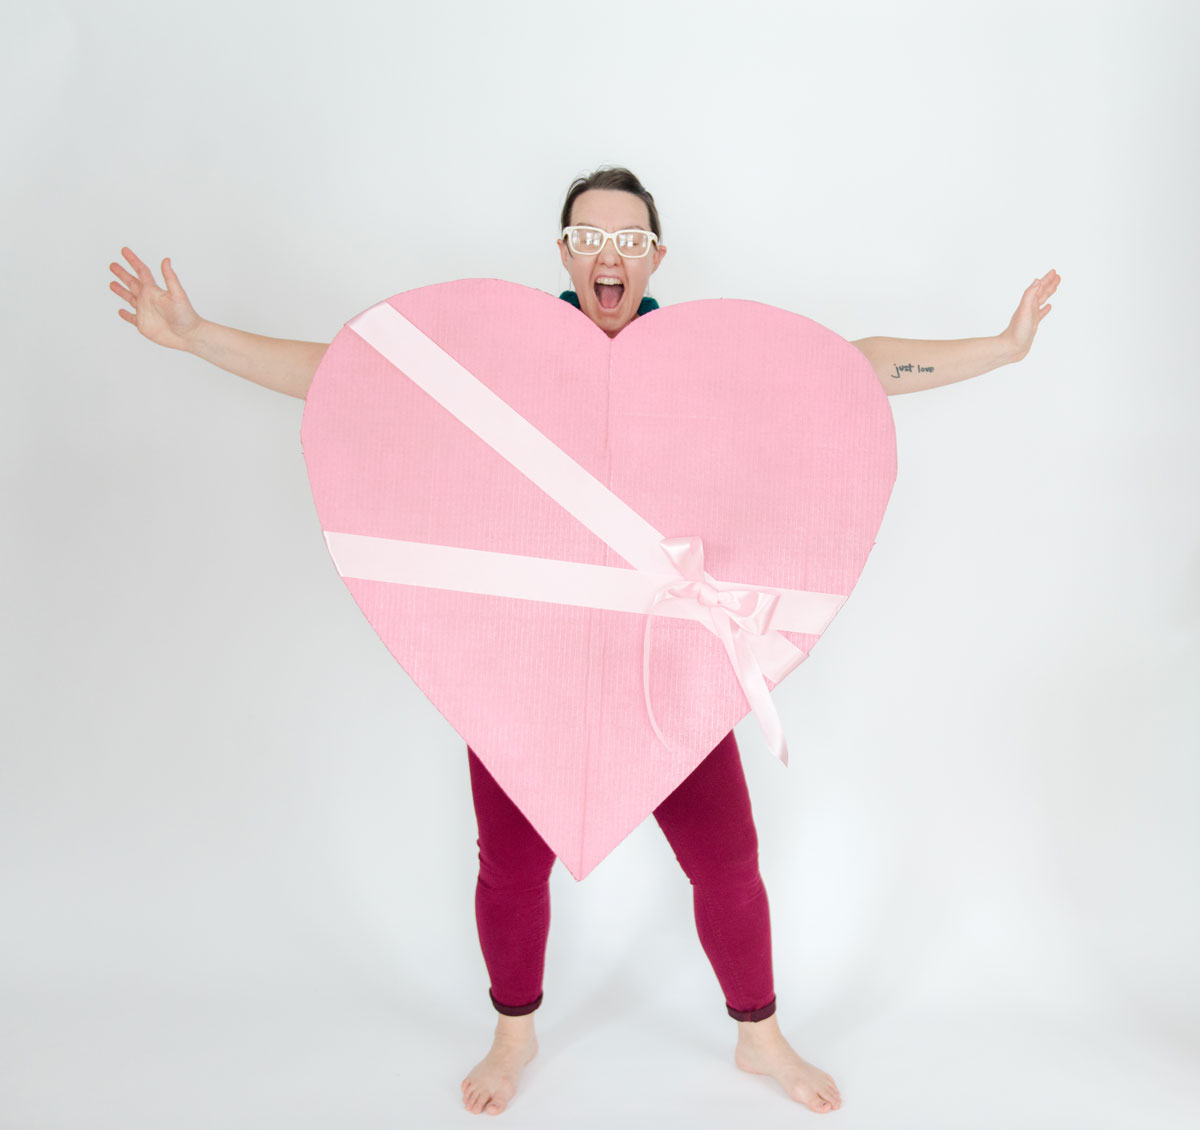
And this month, I give you a DIY box of chocolate truffles (for Valentine’s day of course)! I surely hope that I’ve succeeded in my goals because who doesn’t love creating or staring at a yummy-looking, heart-shaped box of chocolates (welp, I guess if you’re on a diet, then maybe this isn’t the costume for you)! 🙂
SOOOOO! Today I am sharing my process on how to make this box of chocolate truffles (ya know, in case you ever need one for your kids Valentine party at school) AND my challenges along the way!
The idea of this costume is easy: make a heart shaped box and fill it will truffles. Sounds simple, right? Well, the shape of the box wasn’t/isn’t difficult (cardboard and some hot glue, boom) BUUUUUT the truffles and the “wearing” were my challenges for this month’s idea. I knew that I wanted the traditional box of chocolate look BUT I knew that if I had 8-10 truffles inside the box, that they had to be light (like VERY light) in weight in order to stay IF I wanted to wear it on the front of me (ie, not have a “backside” over my shoulders type costume like last month’s planner costume).
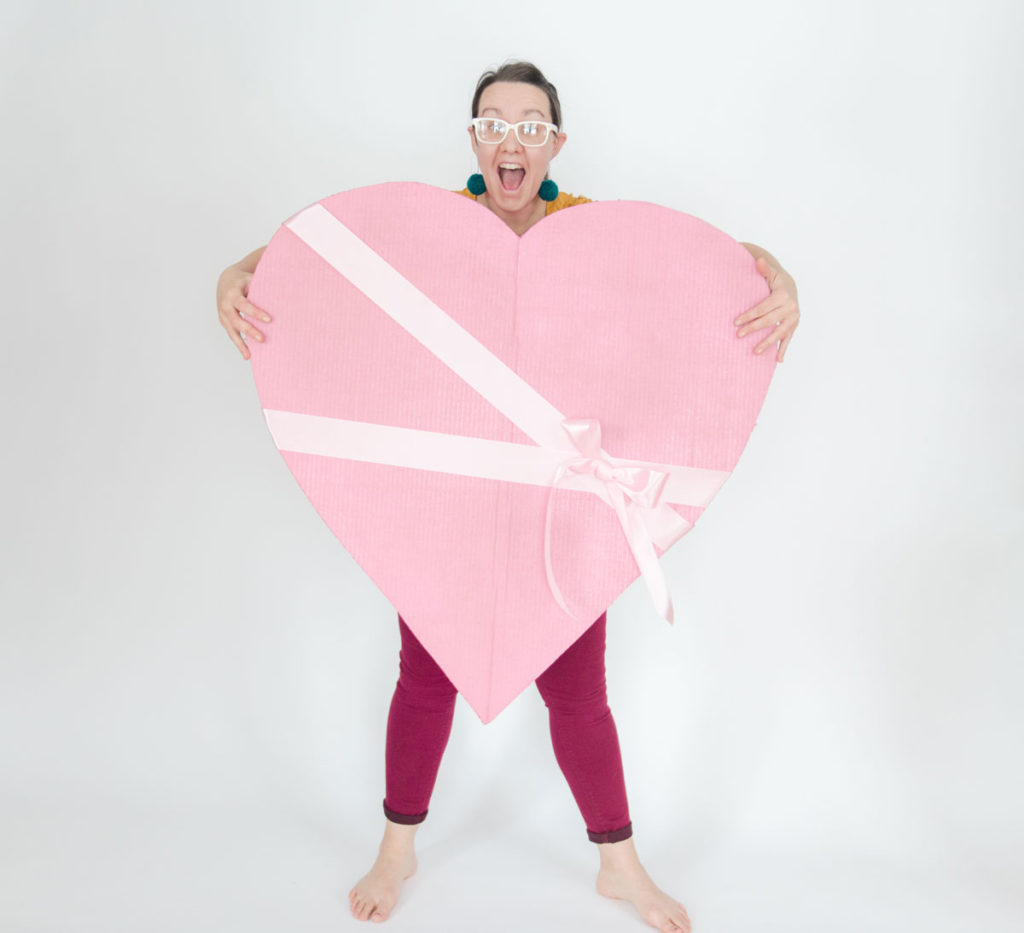
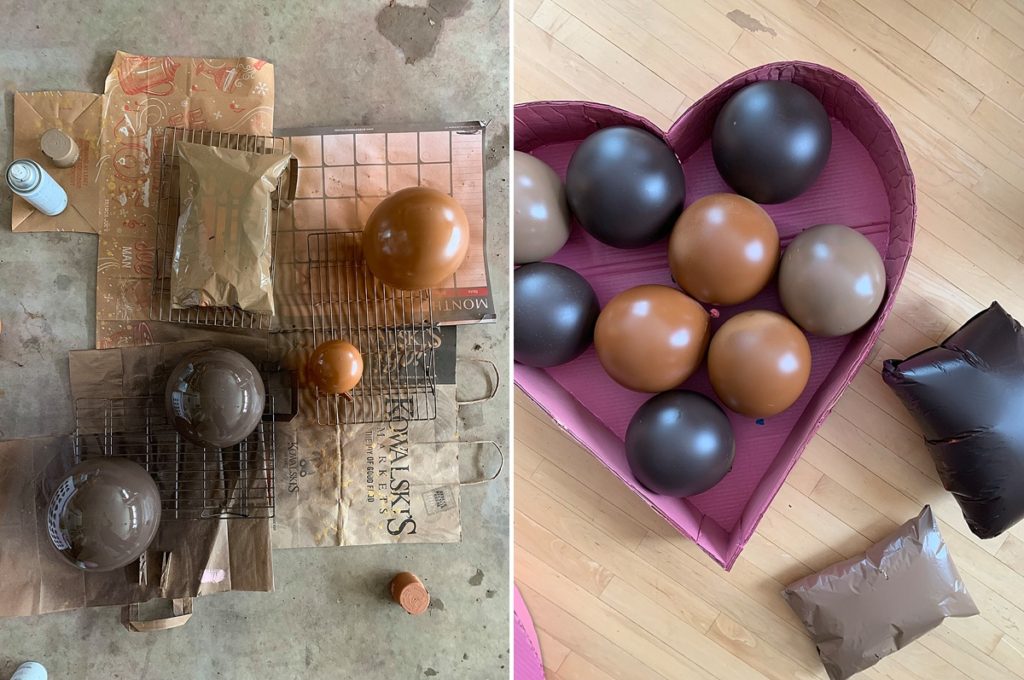
I attempted a few things for the chocolates. First up was spray foam (which I had used in the Pumpkin Pie piñata and was SUPPPPER successful. I was surprised at how lightweight it was when dry). But spray foam was no where NEAR the texture that we wanted for that smooth, beautiful, poured chocolate truffle look. Scratch that idea. Next up was mylar balloons (as you can see in some of the how-to photos below). My initial idea was to have a variety box of chocolates (truffles, caramels, etc) but that required different shapes. I tried taping mylar balloons or glueing them and spraying them. Turns out that spray paint DOES NOT love mylar…..it peels, flakes and is tricky to get a thick enough coat to cover the wording without peeling off. Scratch that idea. BUUUUUUUT when I had used the normal round balloons, I saw how *incredibly easy* they were to paint and how cute they ended up…BINGO, truffles. All truffles! 🙂
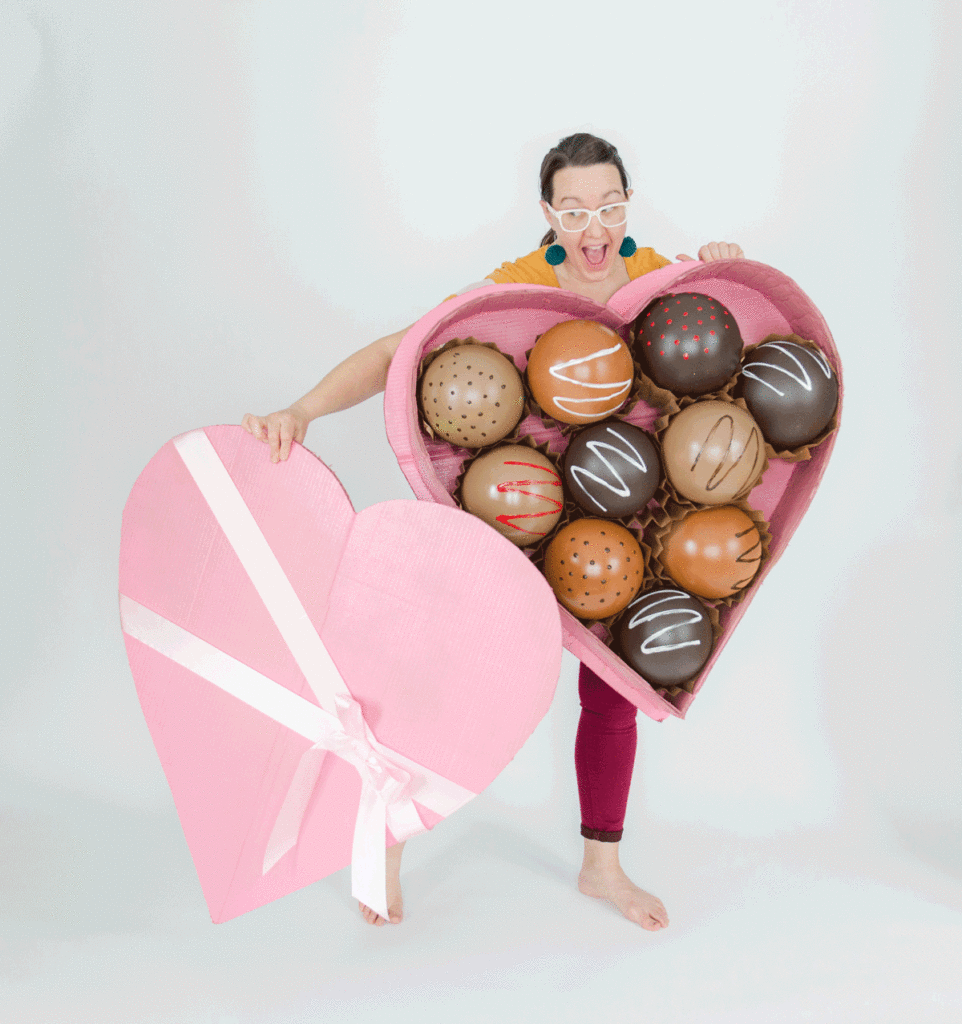
Using simple, round balloons made the costume easier AND solved my problem of weight ANNNNND because it was so light weight, it solved my problem with wearing the costume. I realized that I could easily just hot glue “shoulder straps” to the back of the heart to wear like a backwards backpack….easy peasy! 🙂 I call this costume a win and I have already told Zeke that I *mayyyyyyy* just wear this through the halls of school on Valentines morning to drop him off (he’s unsure about how he feels about that idea)! 🙂
But taaaa-daaaaa, here you have it: A heart shaped box of Valentine chocolate truffles costume! HAPPY VALENTINE’S (and GALENTINE’S) DAY EVERYONE!
Supplies:
- 2 GIANT pieces of cardboard (I asked a friend that works at a body shop for some “car part” boxes and they were perfectly huge)
- Pink or red spray paint for the heart
- Hot glue + a hot glue gun
- Pencil
- Xacto knife (or box cutter)
- 1 package of balloons
- Brown spray paint (I chose 3 different shades of brown for the various chocolate flavors)
- puff paint
- 1 roll ribbon 2″ wide (I chose light pink for decorating outside of box)
- brown or white or kraft roll of wrapping paper
Cost: $26
Time: 2-3 hours (depending on painting dry time)
Instructions:
Measure + Draw + Cut heart shape
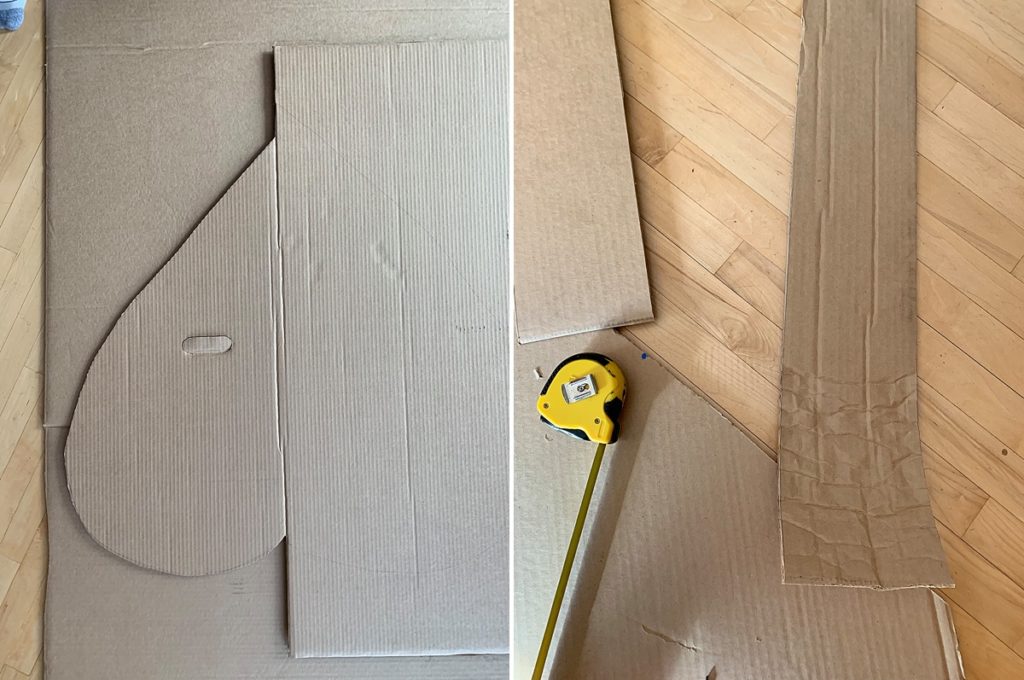
Measure approx. how wide you want your heart (I just took a tape measure to my chest and figured I wanted the finished product approx 32” wide at the widest). Drawn 1/2 of a big heart shape onto one piece of cardboard (making the width of it 1/2 of your ideal width, in my case about 18”). Cut out the 1/2 heart from the cardboard. Then trace this 1/2 heart onto the other piece of cardboard (trace once then flip over and trace the 2nd half to make a complete heart). This will give you the same, hopefully, perfectly symmetrical heart. Cut out this FULL 2nd heart. Then back to the first piece of cardboard, trace the other 2nd half of the heart (aligning with the first 1/2 you already cut) and cut out the 2nd half. You will have 2 symmetrical, large hearts! 🙂
Cut strips + prep strips
Cut 2 sets of strips for the “inside sides” of the hearts. One set will be slightly larger (I chose 6” for the bottom heart) and the other smaller (I chose 4 1/2” for the top heart) so that they fit together well without rubbing and with the chocolates on the inside.
Roll the cardboard strips as best as you can. (this will allow the cardboard to fold easy around the heart curves).
TIP: The closer you crease or roll your cardboard, the easier it will be to mold into the heart shape. This takes muscle to work if you have thick cardboard, like I used. When rolling, you really only have to “break” the cardboard so that it is sturdy enough to still stand on it’s own, but pliable enough to curve.
Adhere the insides + finish the heart shape
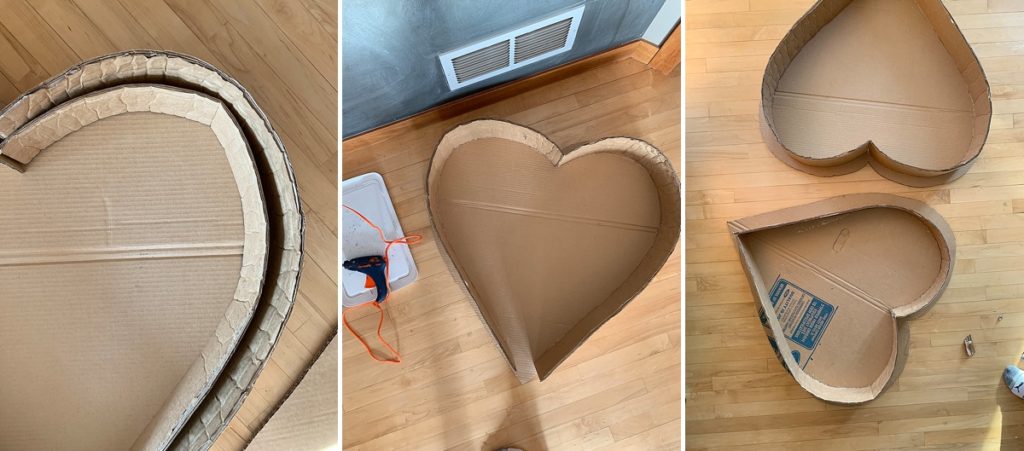
With a hot glue gun, run a bead of glue along the inside of the back heart panel about 1” – 1 1/2” from the edge. Acting quickly before the glue dries, lay down one of the large inside sides and hold in place until the glue dries. Add more glue/reinforce in areas where needed (I ran a bead of glue along the whole inside portion of the wall to add extra strength) Do the same to finish the back inside walls.
With the shorter strips of cardboard, follow the same steps as above for the front inside of the heart.
TIP: When you are gluing the inside of the front, you will want it to fit fairly snug against the back side (so that it doesn’t jiggle or slide around too much when walking). So I laid the shorter inside pieces inside the back to get a basic idea of how far from the edge they would need to be glued. Measure a few spots and then mark those same measurements to the inside of the front. This will give you a fairly good idea of the line that the inside front needs to be glued to! 🙂
Paint your heart!
With your favorite color of spray paint, spray ALL sides of the heart so that it is evenly and generously coated. I did 2 coats on all sides so that all the lettering and graphics were covered completely on the cardboard.
Blow up balloons and decorate as truffles
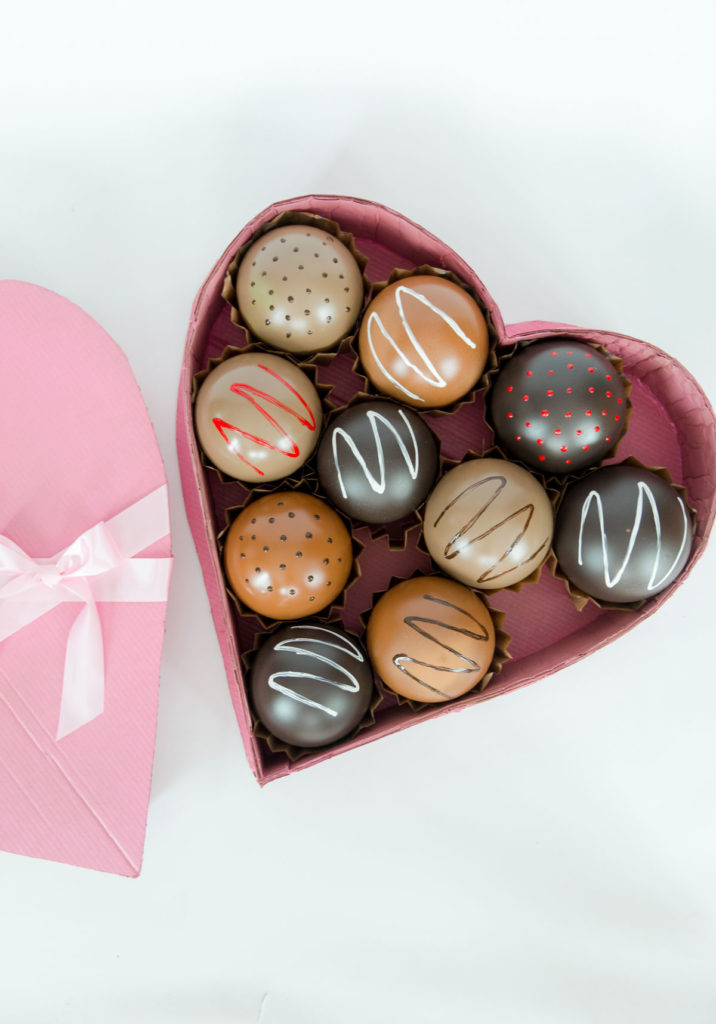
Blow up as many balloons as you want in the heart (I did 10). Spray paint them various shades of brown in thin, even coats (if the coats of paint are too thick on the balloons, it will flake off and run down the balloon). Once dry, use your puff paint to decorate the truffles.
TIP: When blowing up the balloons, make sure that they aren’t too “high” to fit into the heart with the cover on. This meant that I didn’t blow the balloons up to full capacity, but rather just blew them up to make a circle and then tied them off, which ended up being about 4 inches in height.
Make Paper inserts + fill heart
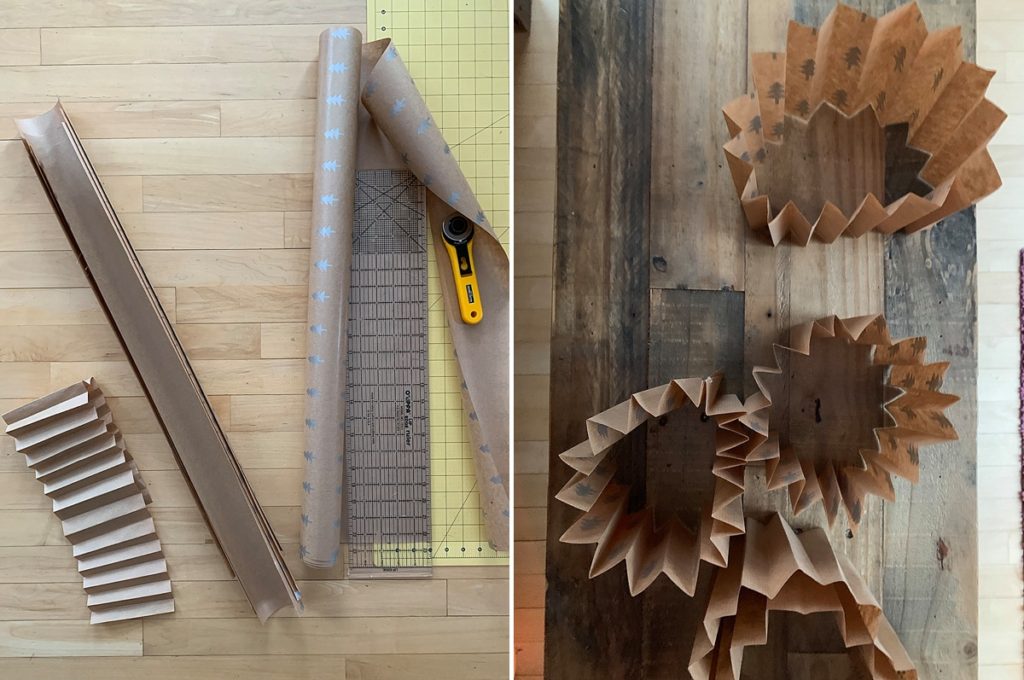
Cut your wrapping paper into 5 inch long strips (or shorter depending on how “deep” the heart box is). Zig Zag fold them and glue them into a circle so that they can fit around the balloon truffles. Stuff the paper inserts and the truffles into the box and arrange however you’d like. Tape or glue down the truffles and paper (I chose to tape, since they were in my box pretty tight and didn’t move much).
Decorate box + finishing details
With your 2 inch ribbon, decorate the cover of the box with a ribbon wrap + bow. Glue down the decor and then add any other decoration detail you’d like. Cut 2 18” strips out of the ribbon and hot glue these as “shoulder straps” to the backside of the back of the heart (essentially you will wear this like a backwards backpack).

What an awesome costume!! Love , love , love it. You are so talented,so much like your mom🥰
Loves ya Aunt Karen
This is so adorable! New to your site and love the content!
This is amazing, I wish i had the energy to make this!
Hi! This costume is so creative and adorable! I was wondering:
1) What balloons did you use and how long did they stay up for
𝕒𝕟𝕕
2) Would you mind giving links like for the rib ion and balloon please?!?
Thank you!
Oh my gosh! Love this!
~mary~
My daughter is going to be in a Vocabulary parade on Valentine’s Day, and her word is ‘bighearted.’ This will be perfect. Getting started on it today!