Tips and Tricks for using your free motion couching foot on your sewing machine!
Have you seen my latest sewing love???? It’s my free motion couching foot for my Janome 9450 (and don’t worry if you don’t have a Janome sewing machine, many other sewing brands have their own version of this same foot or something similar…..although if I can talk you into anything it is that Janome is HANDS DOWN the best sewing machine I’ve used EVER and I’m in love with the 9450)! 🙂
I recently made adorned a smiling face on the back of a store-bought corduroy jacket for Esther and today I am sharing ALLLL of my tips and tricks for using this couching foot! 🙂
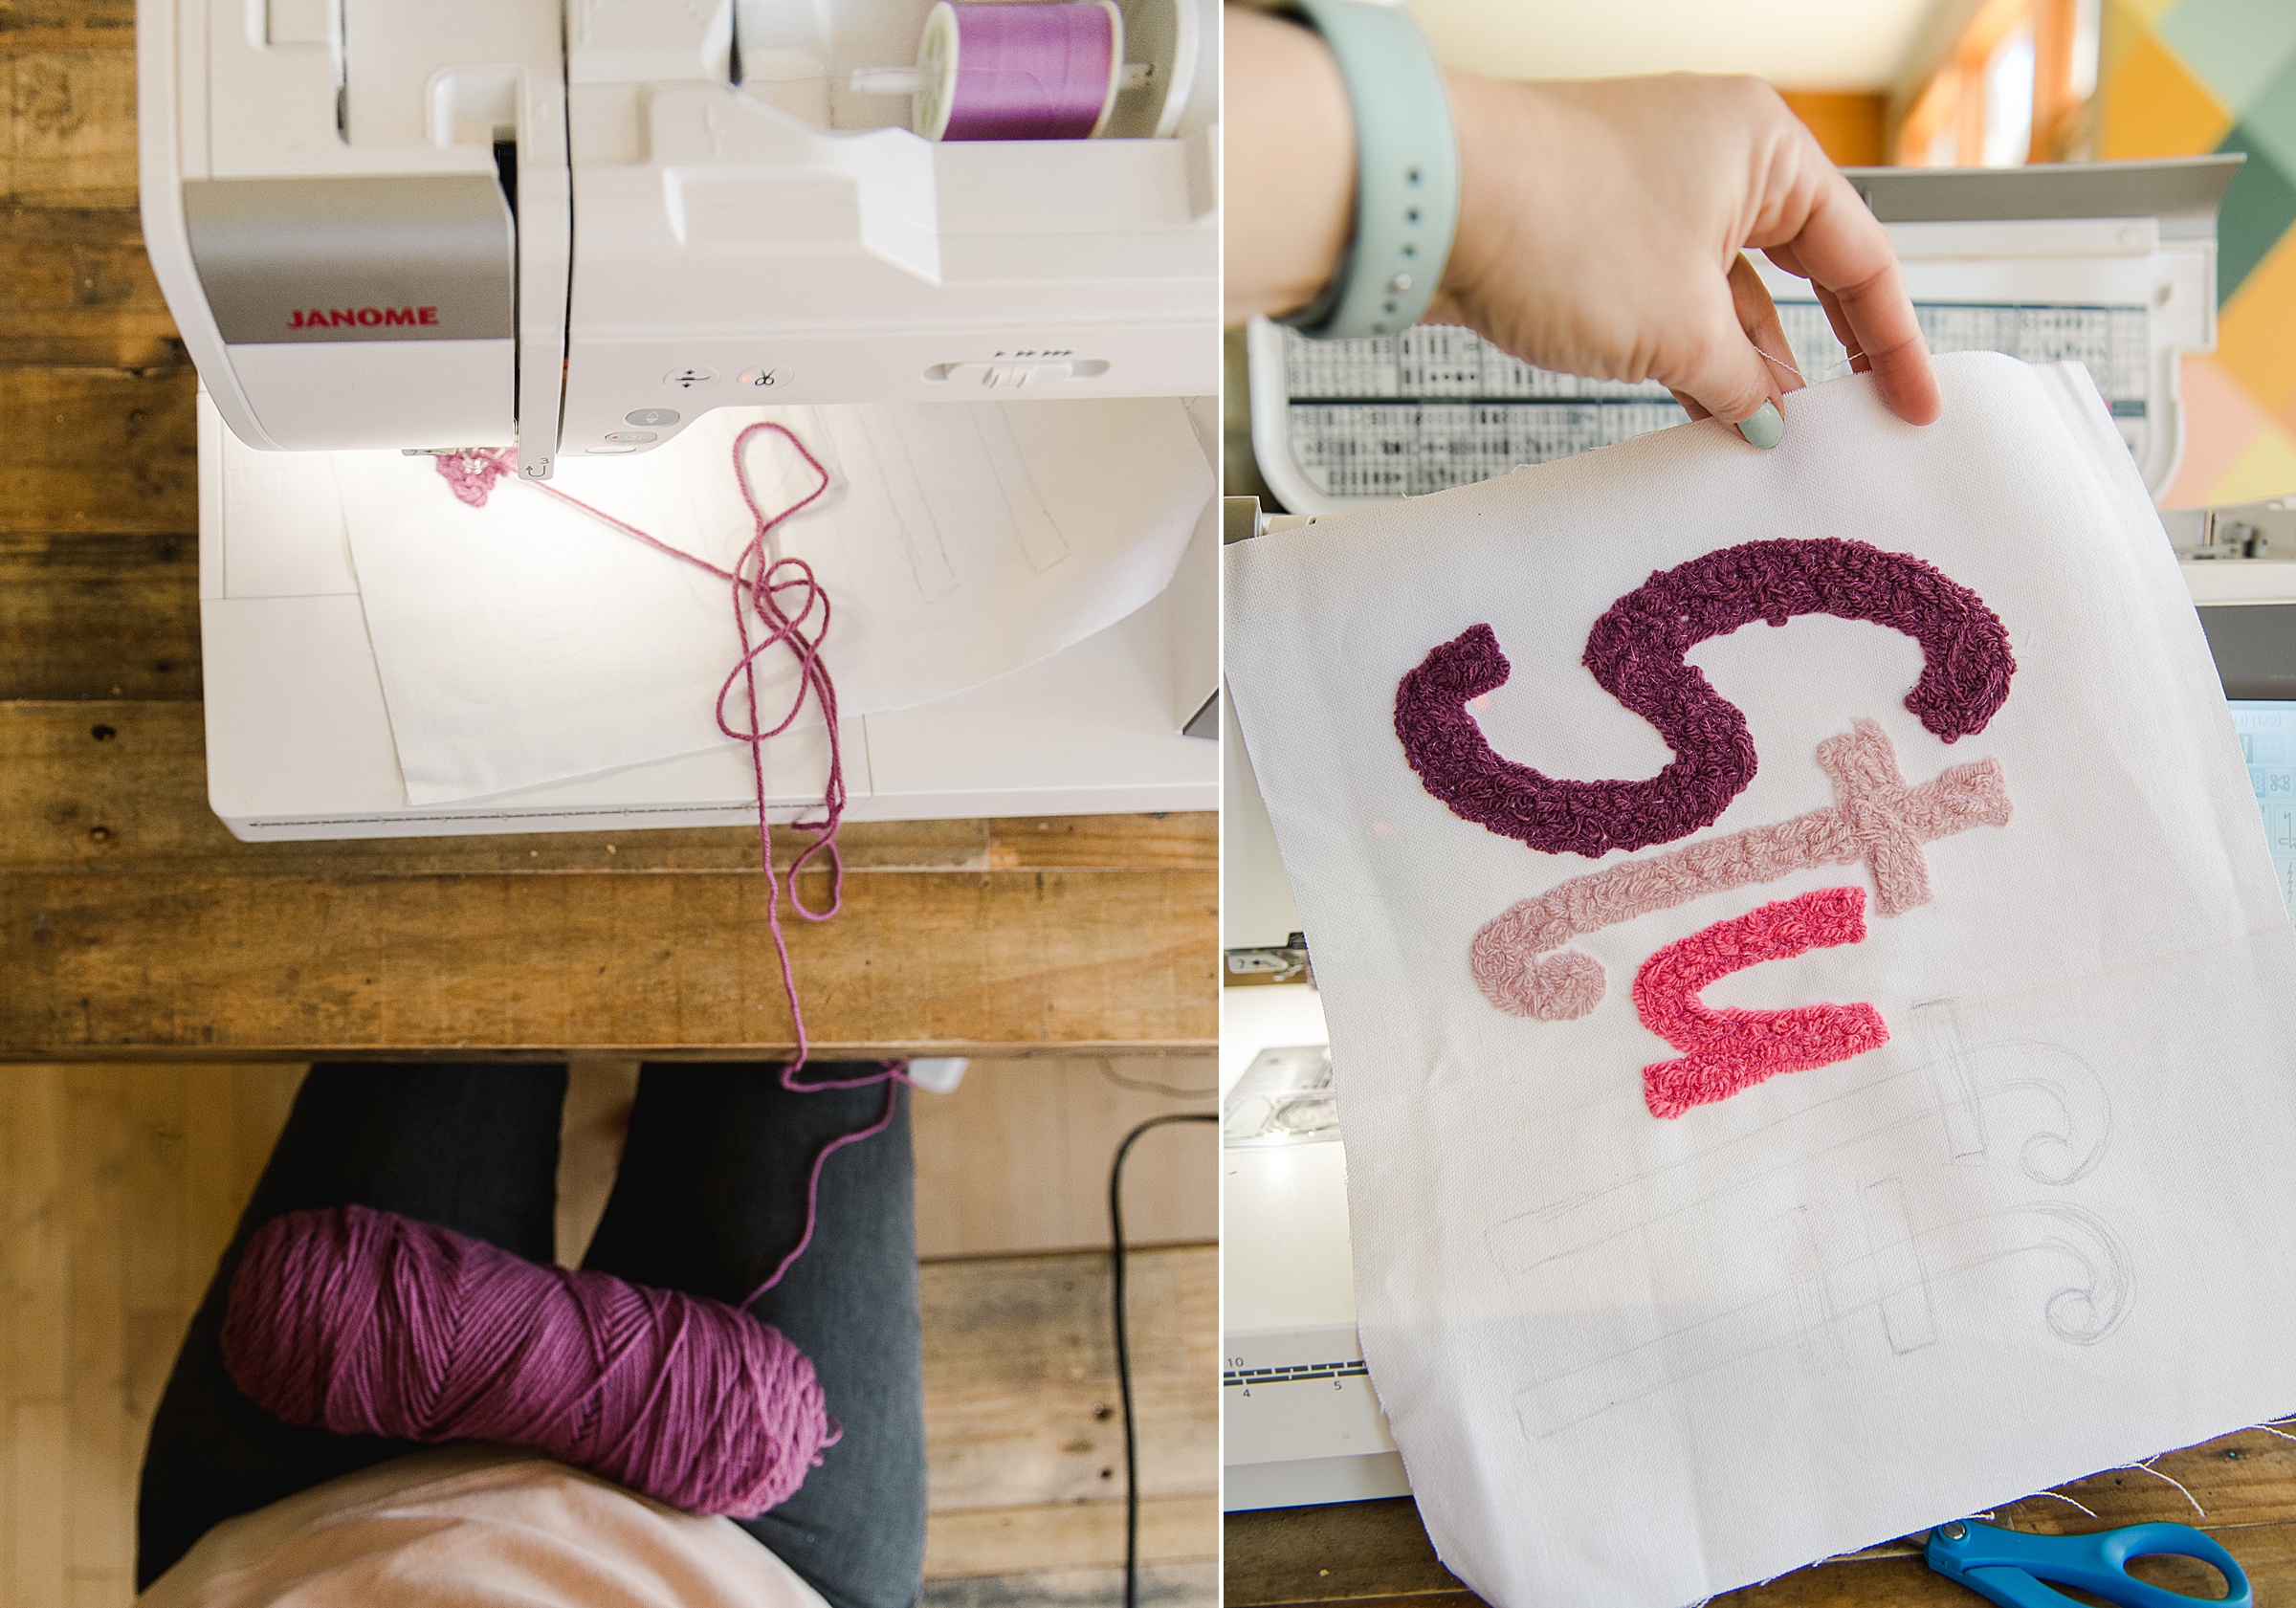
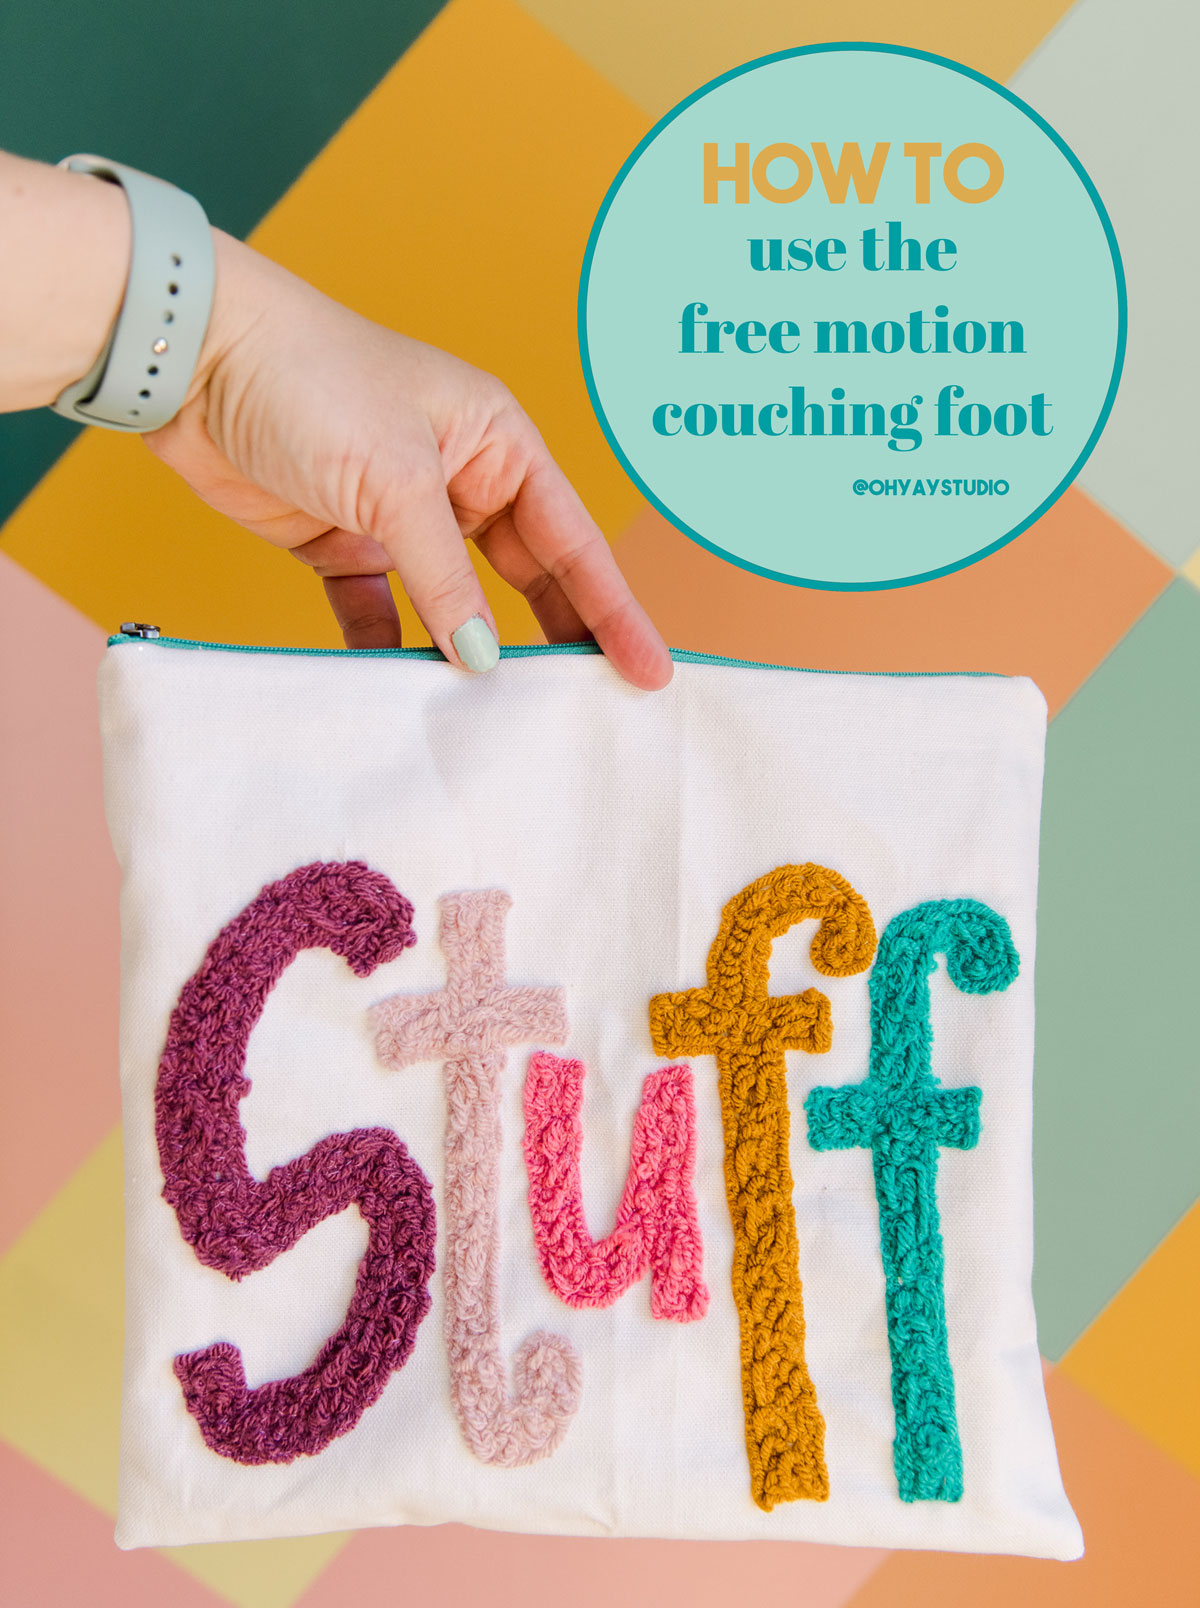
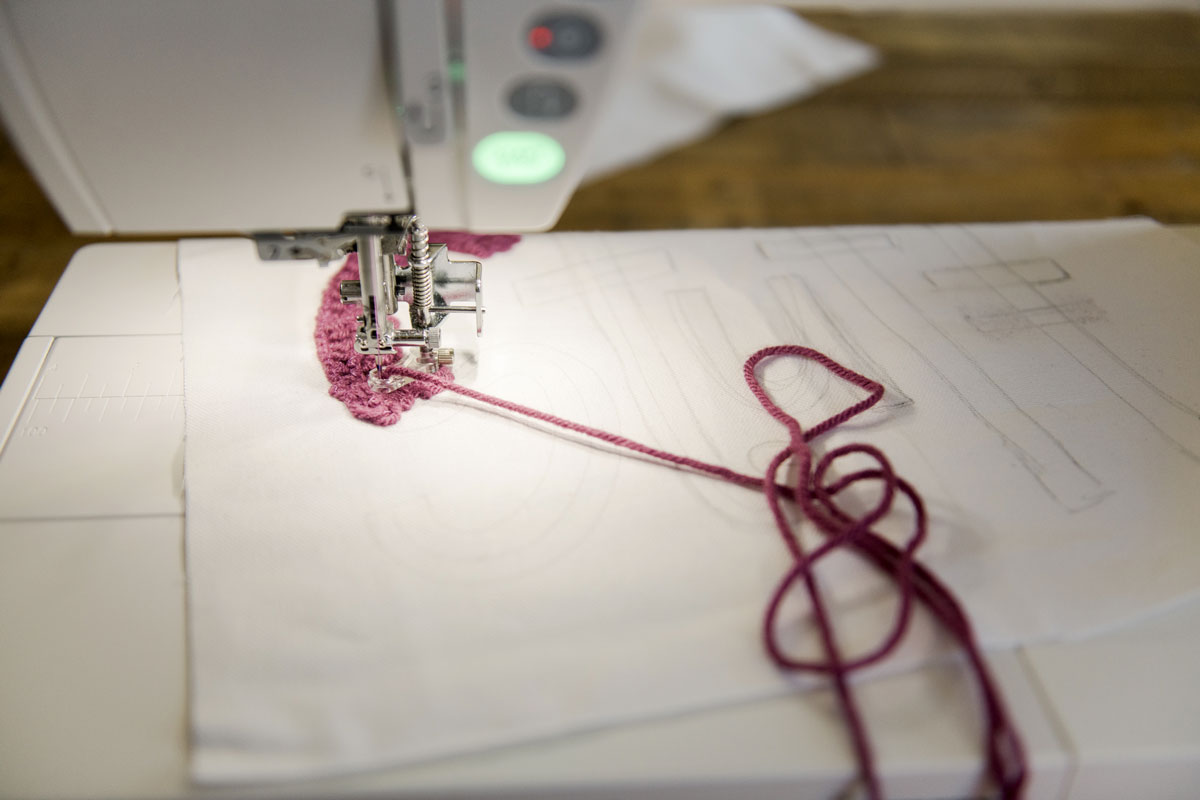
The free motion couching foot is basically a foot that you attach to your sewing machine that allows cord, yarn or thicker thread to be “attached” or adhered to the fabric using the zig zag stitch (with normal thread) over top of the yarn!
There are 2 different “sizes” that come with the Janome foot:
The #1 is for fine couching (like sock yarn, thick thread or thin string)
The #2 is for thicker couching (like worsted weight yarn, thicker string, etc)
**I use the #2 mostly for what I have been doing….most yearn you buy in the store or have lying around will be close to worsted weight yarn
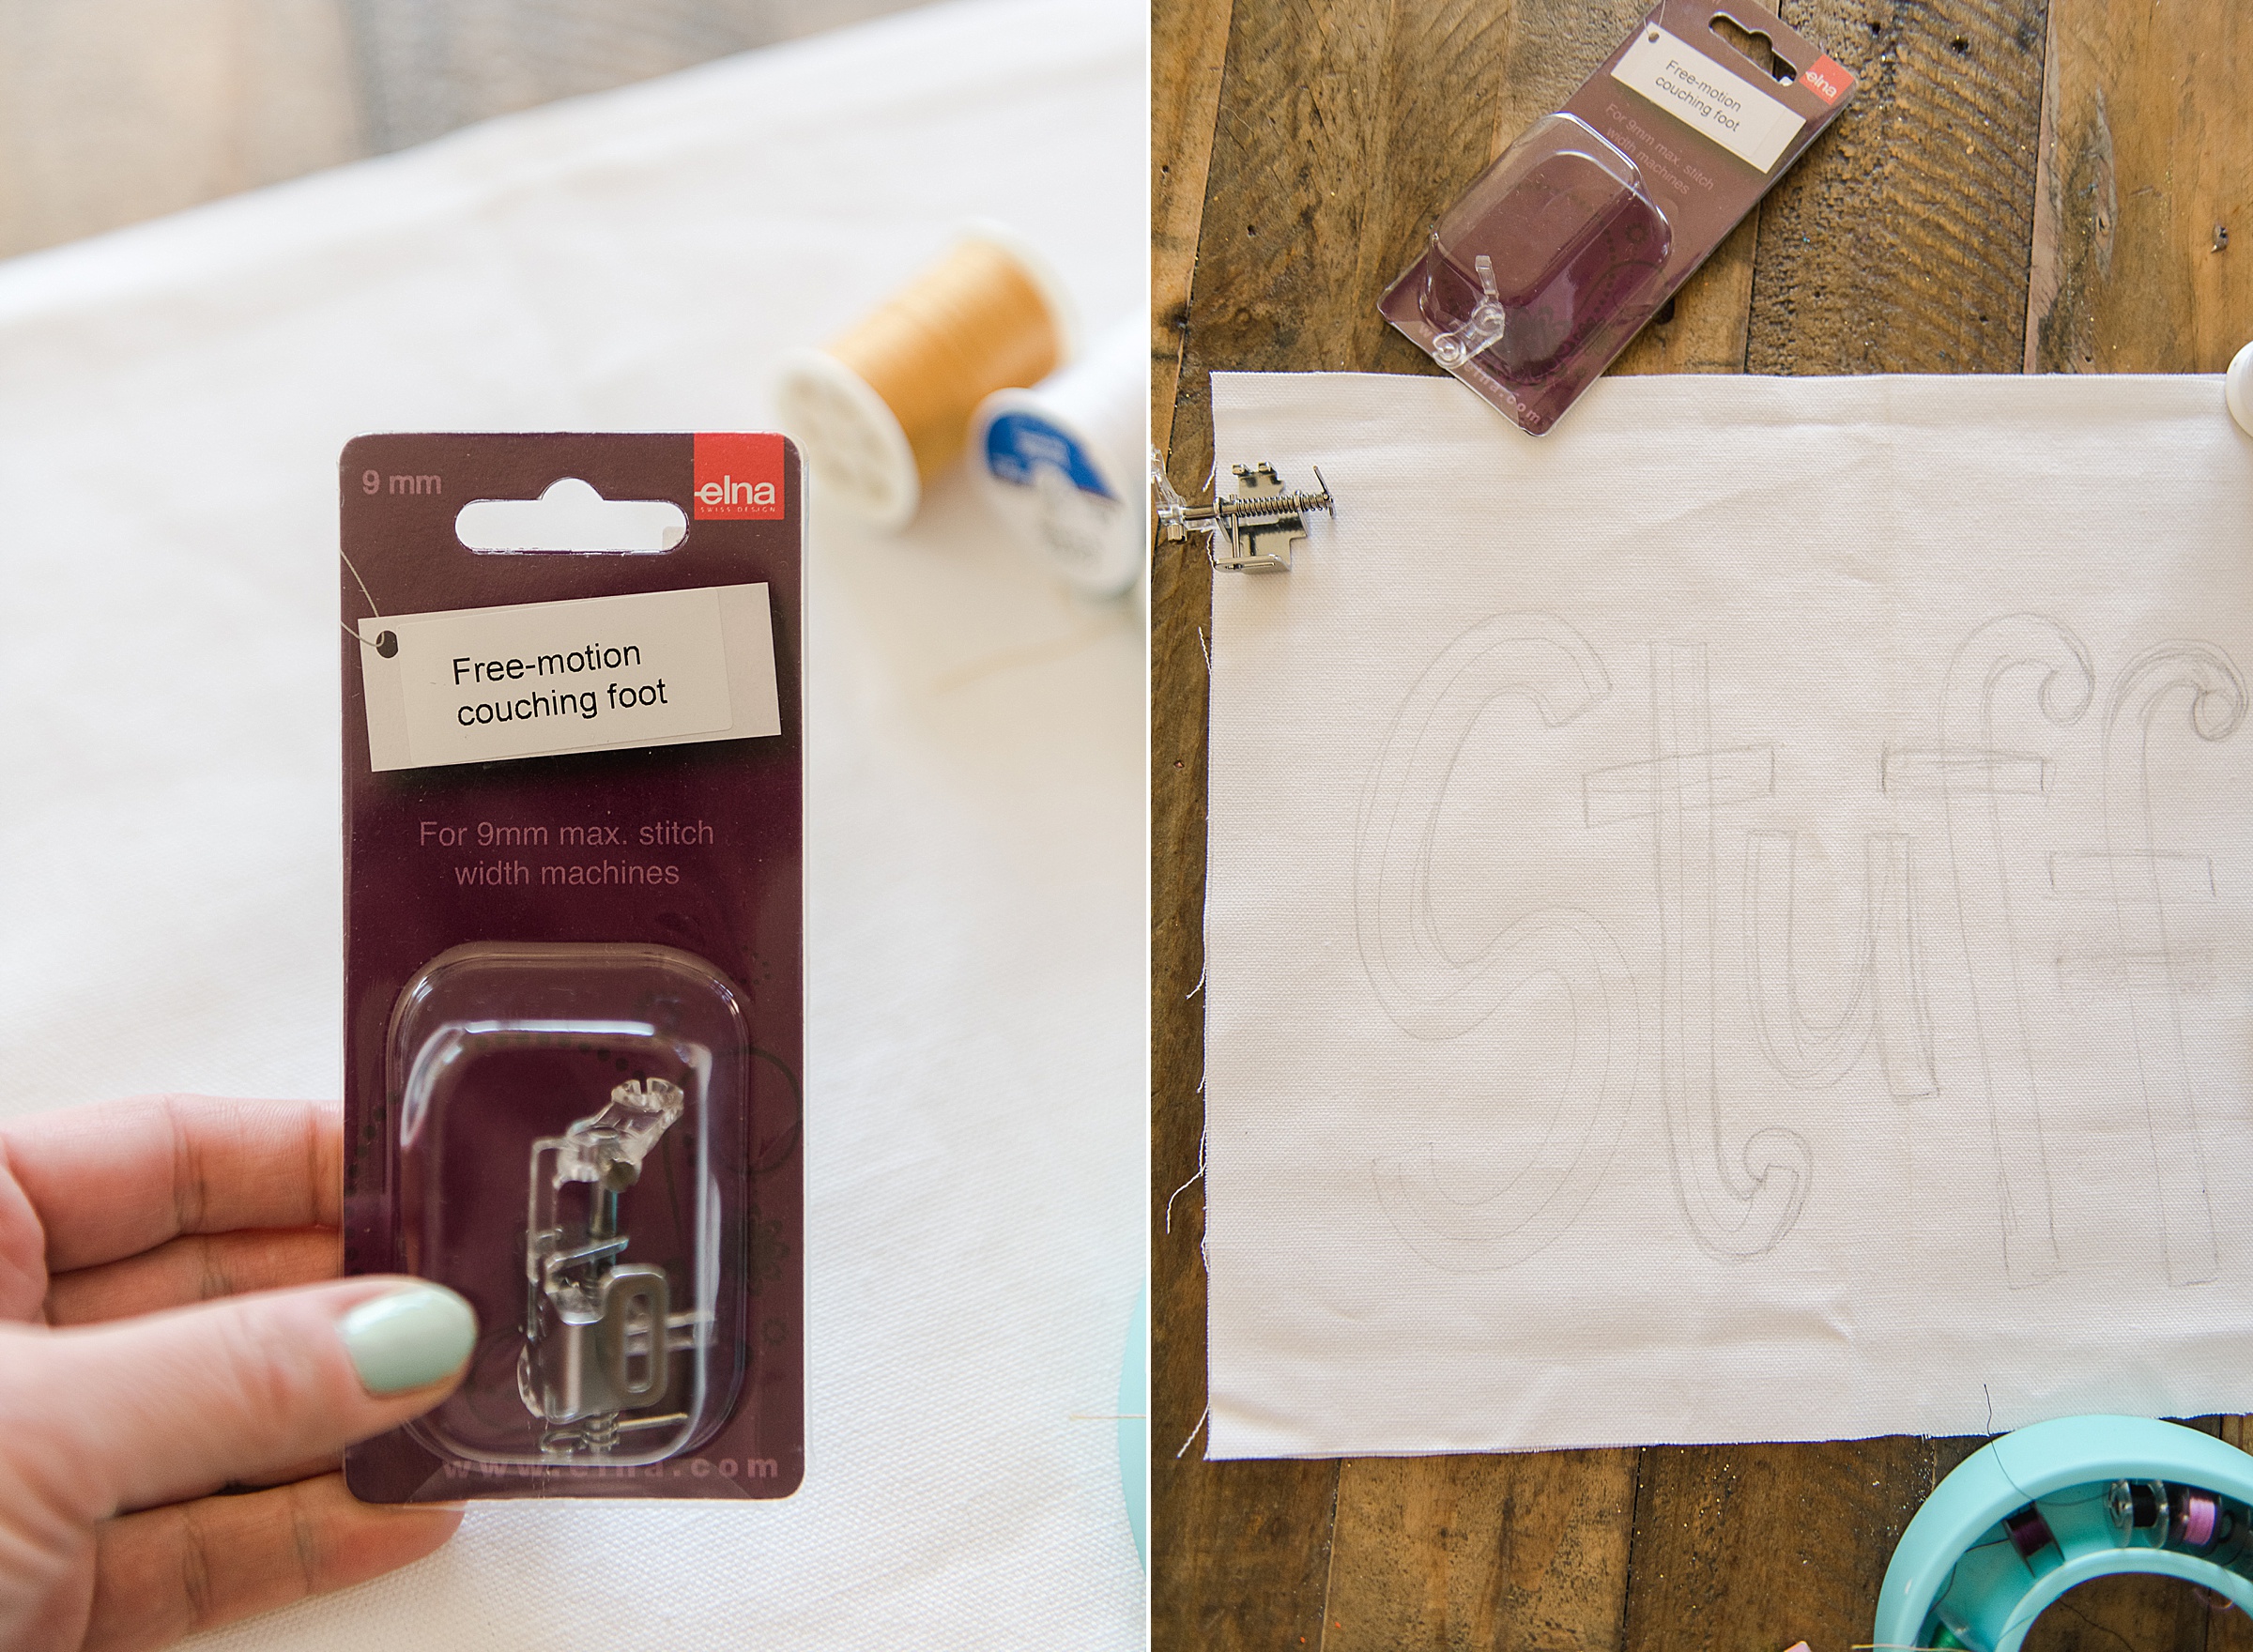
The first step is to attach your couching foot by removing your foot and foot holder currently on your machine (the couching foot kinda has the foot holder all in one)! 🙂 Then you will slide the foot onto the back of the foot area and tighten the screw in place.
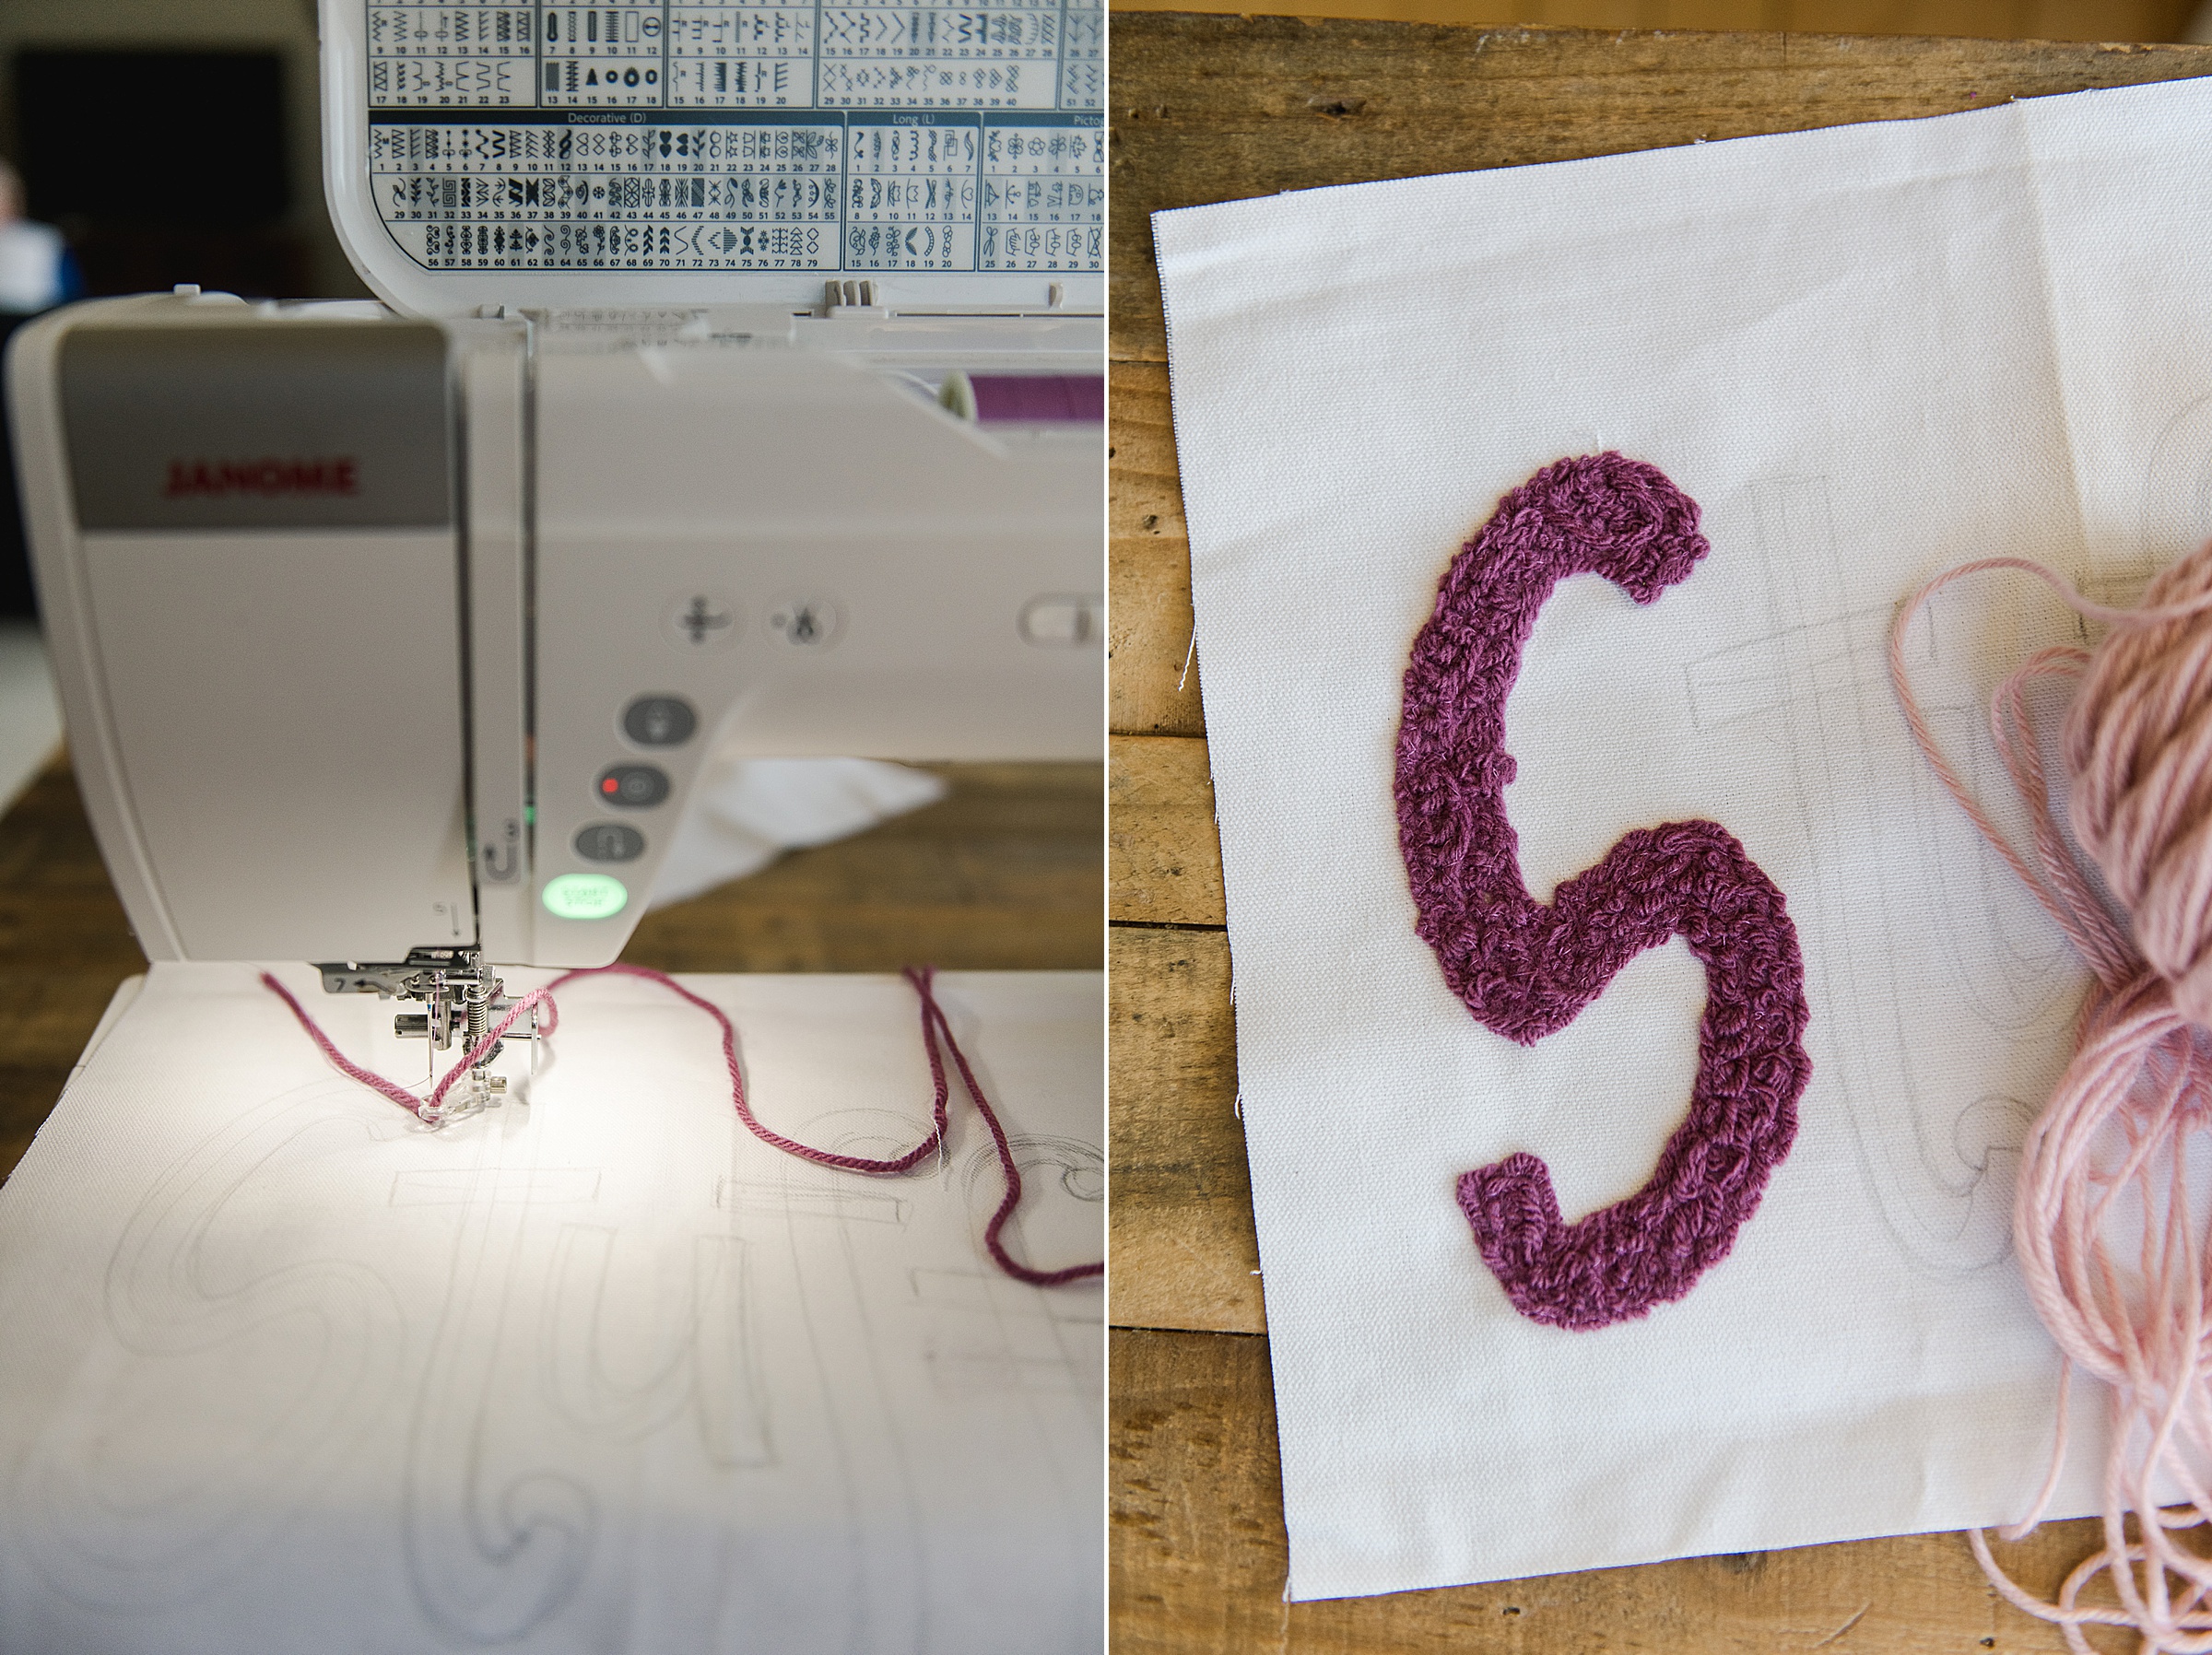
Then thread your needle with your thread AND then get your yarn ready by placing it into the hole to start stitching! 🙂
Here are a few of my fave tips:
- Match your machine thread with your yarn – this makes it looks seamless and sort of “tufted” when you are drawing or doodling.
- Outline your shapes or spaces first before “filling in” – I outline my shapes and then go in circular motion or back and forth to fill in the space!
- Don’t be afraid to overlap the yarn – I use MUUUUCH yarn when using my free motion couching foot…you want your shapes to fill “filled in” and “full” so don’t be afraid of overlapping…..think if this as coloring, you wouldn’t want space shown through that isn’t filled with beautiful yarn! 🙂
- Allow lots of slack in your yarn when drawing – if the yarn gets stuck or snagged when it’s trying to be pulled through, it seems like it doesn’t adhere well. Be loose with the yarn for the best results! (I am constantly checking it’s tension and making sure that the yarn isn’t pulling away).
- Have a scrap piece of fabric handy for testing if needed while your stitching – don’t be afraid to cut your thread and test and then re-thread to begin again on your drawing! 🙂
- Don’t go too fast – slow and steady (but not too slow)….just slow enough to allow the zig zag stitches to tack down the yarn is ideal 🙂
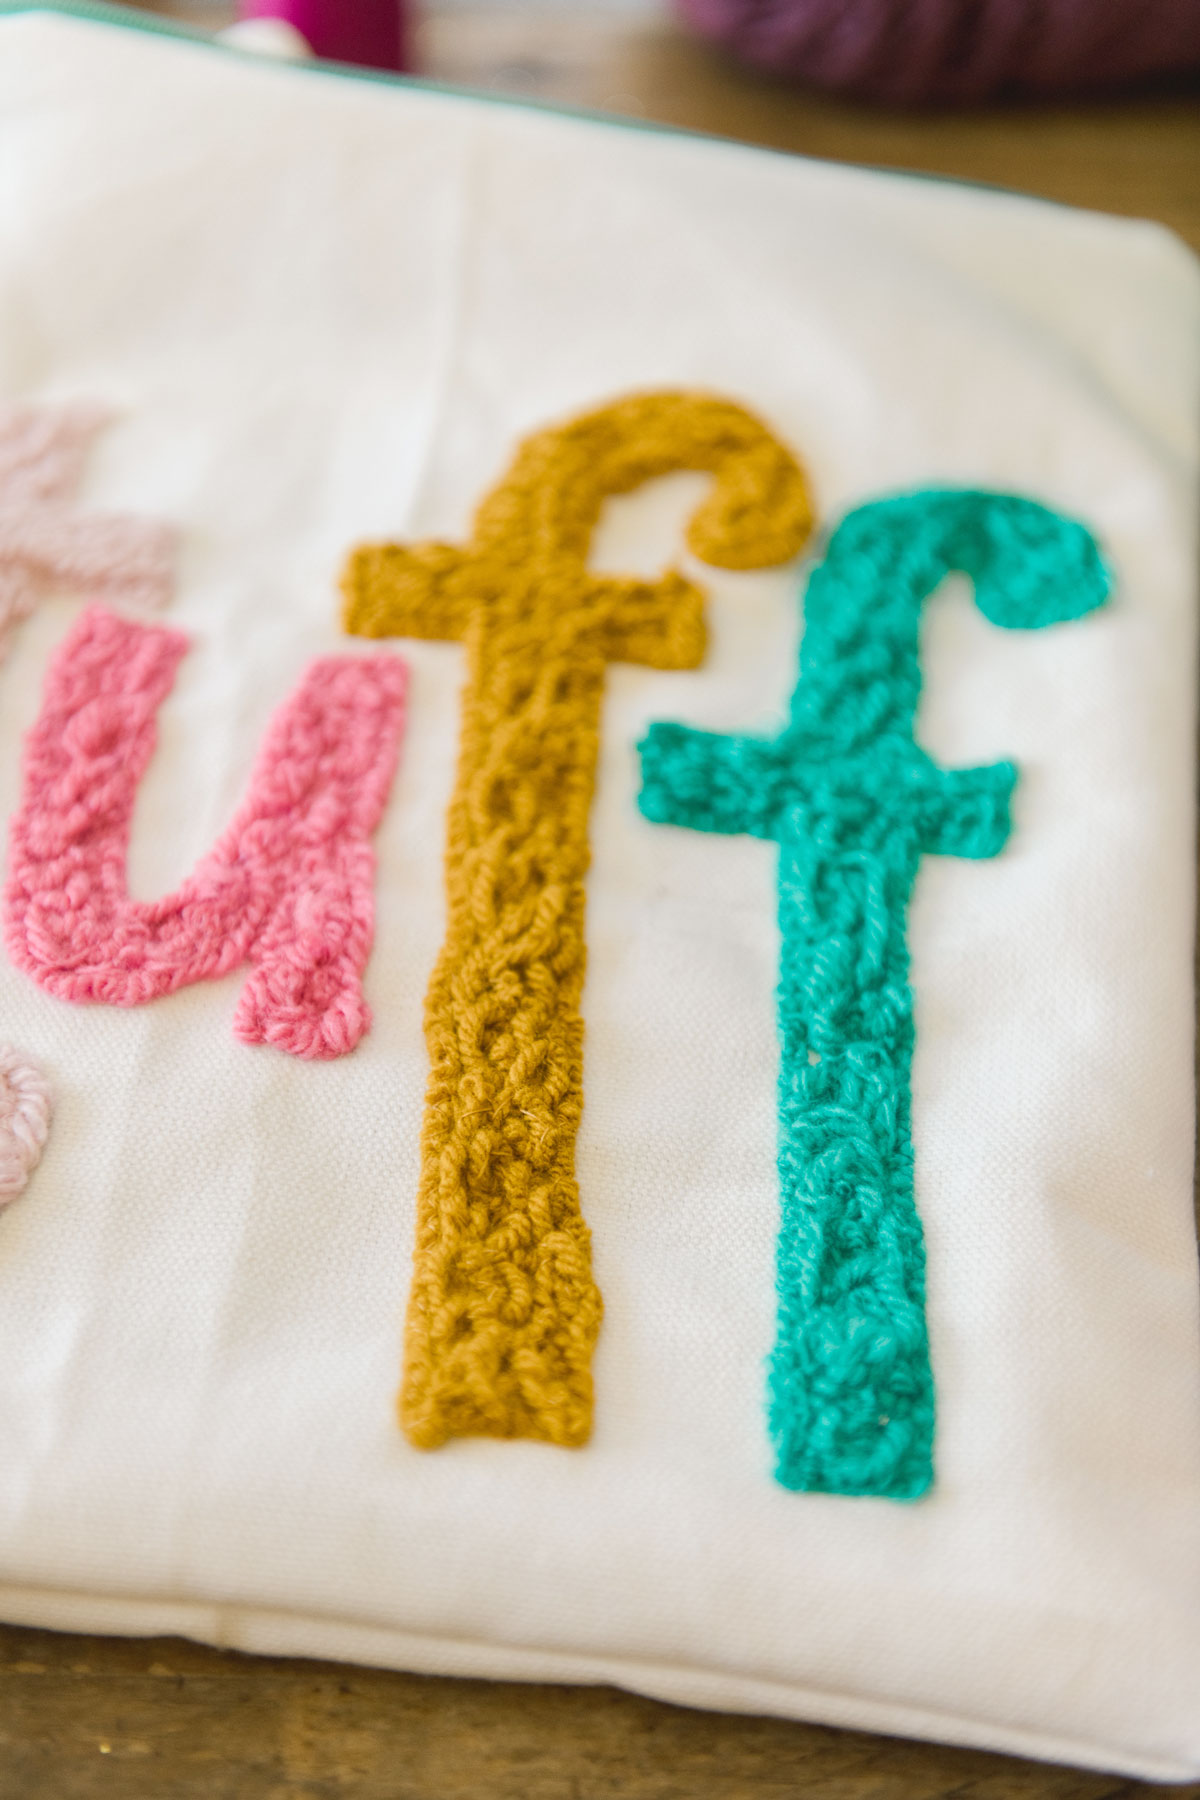
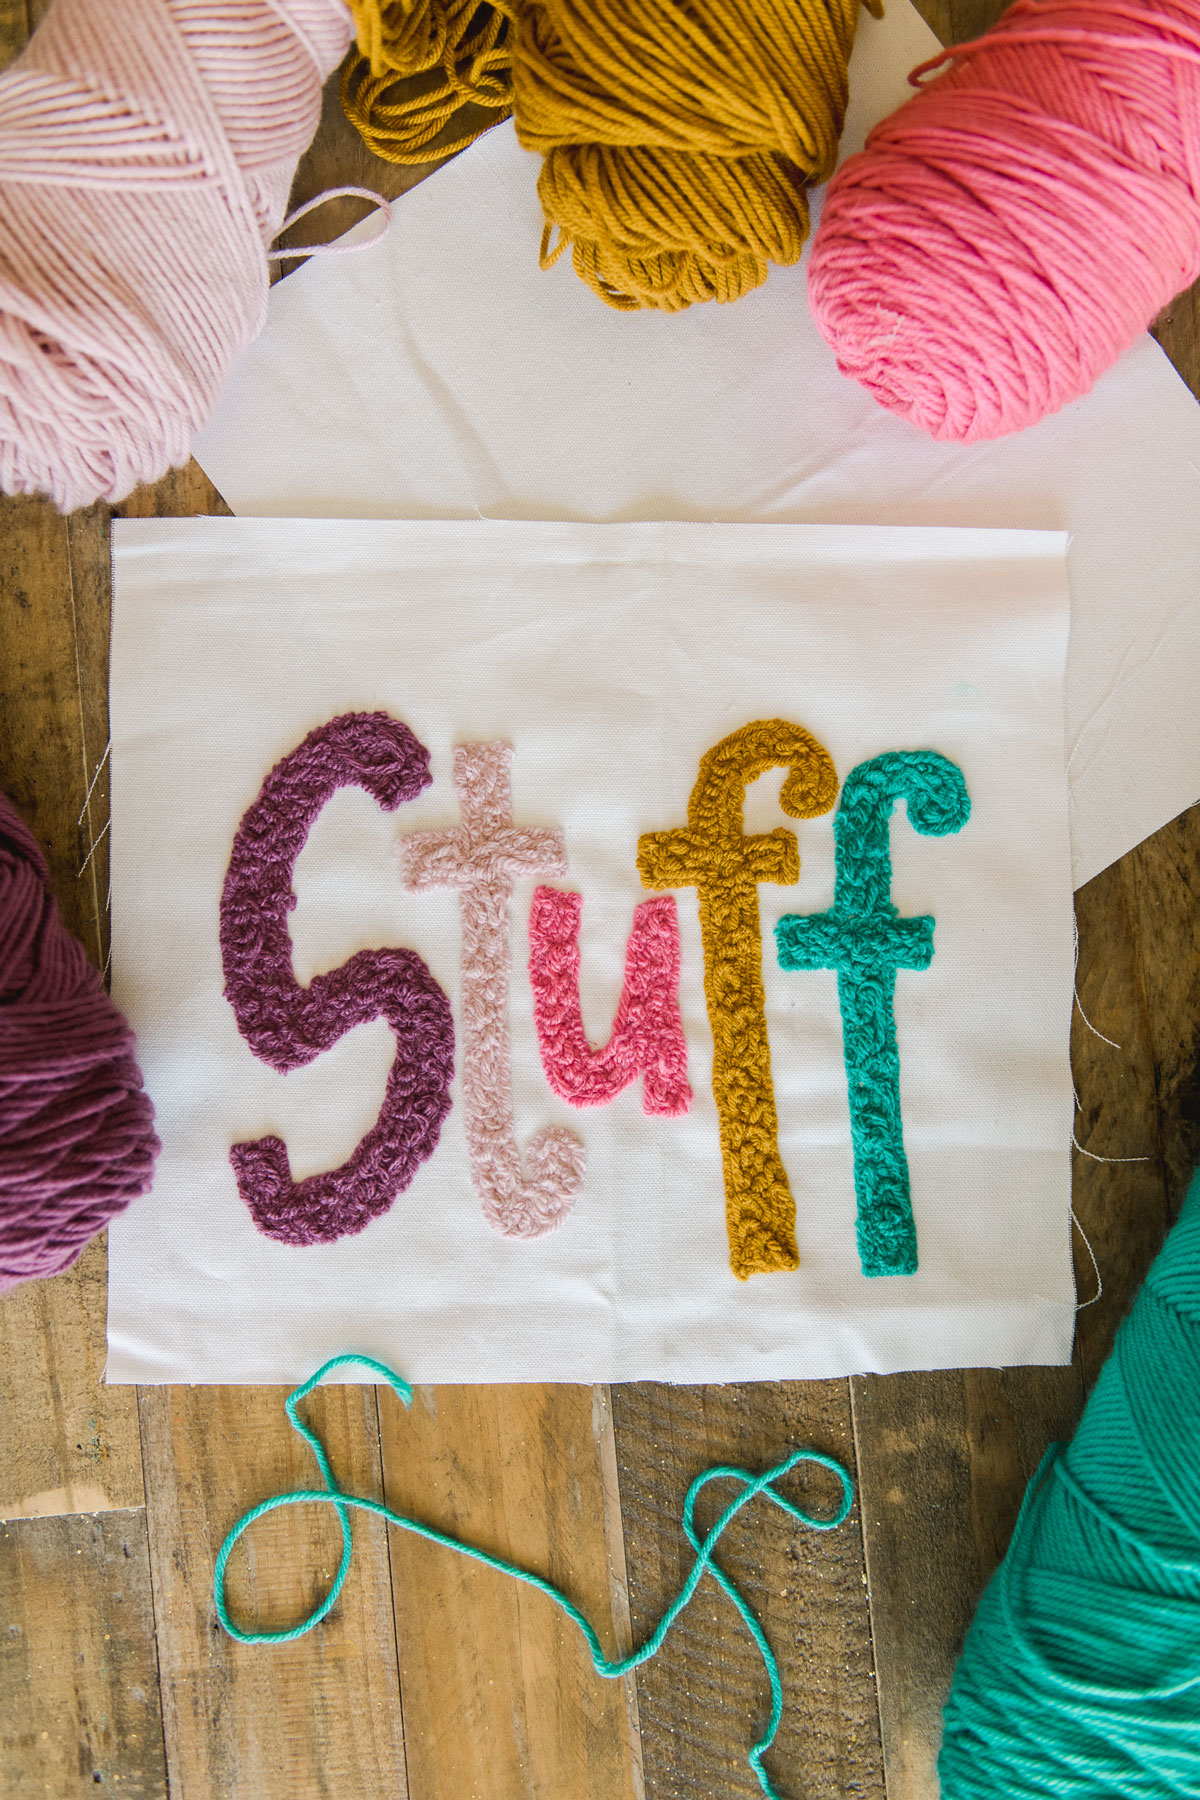
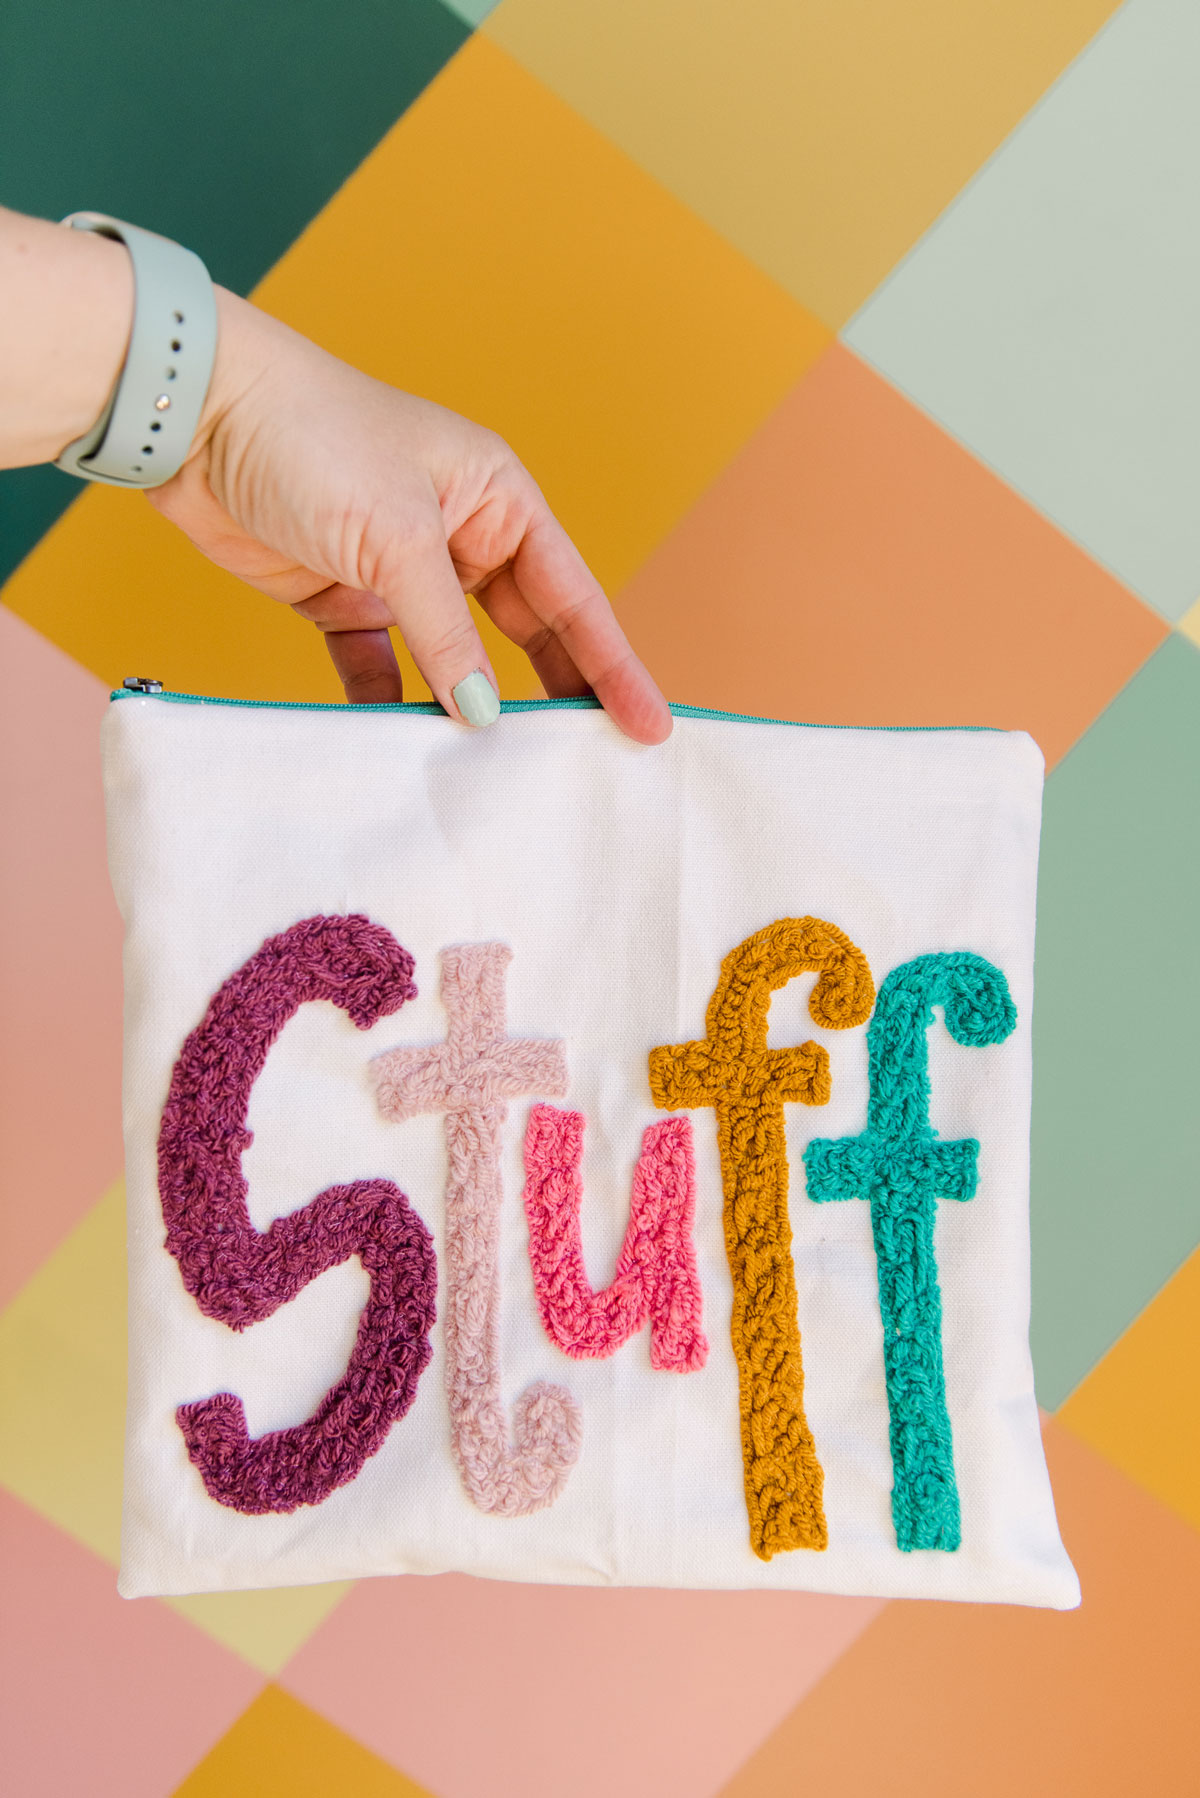
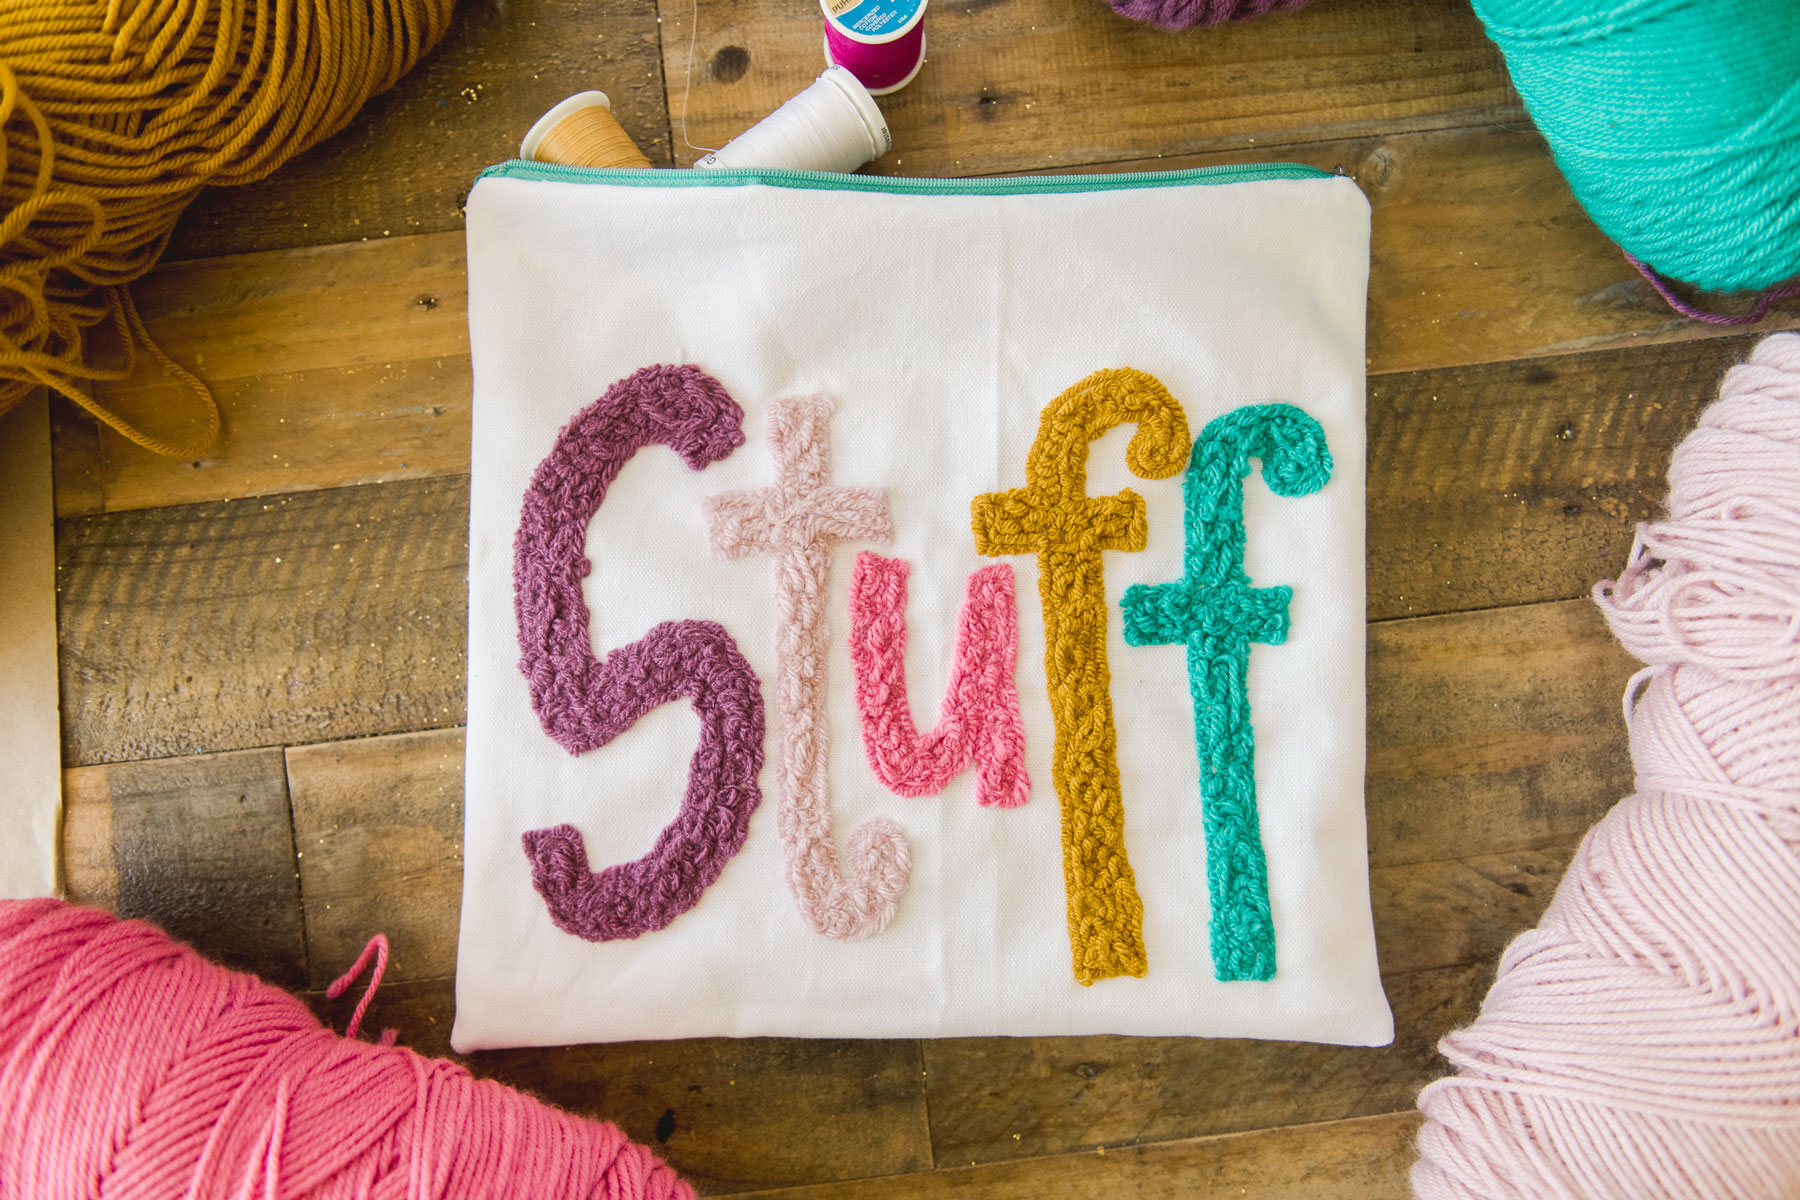
In this case for this project I chose to turn this “stuff” drawing into a stuff pouch to hold all of my…well….stuff! 🙂 HA! So I added a simple zipper and liner and VOILA! 🙂
Let me know if you have any specific questions, I’m always happy to try and help answer!!! 🙂
