BRUNCH family Halloween costumes!
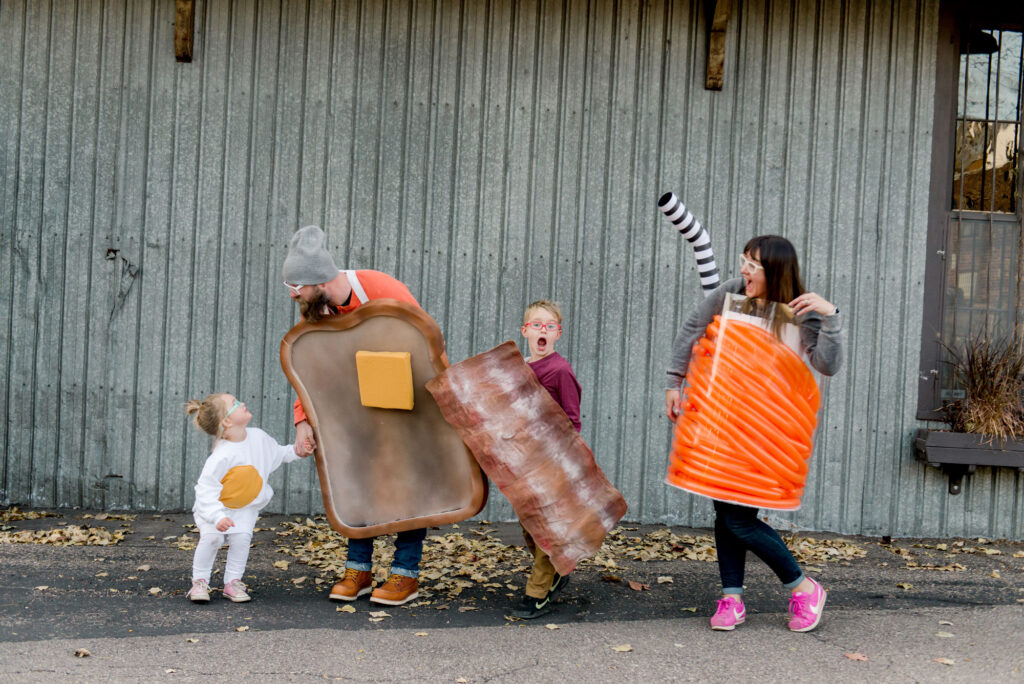
If you love breakfast food and love Halloween then SIT RIGHT DOWN because I have ALLLLLL of the DIY’s for our family Halloween costumes from last year to share: the bacon costume, the sunny side up egg costume, the toast costume AND the glass of Orange Juice costume! 🙂
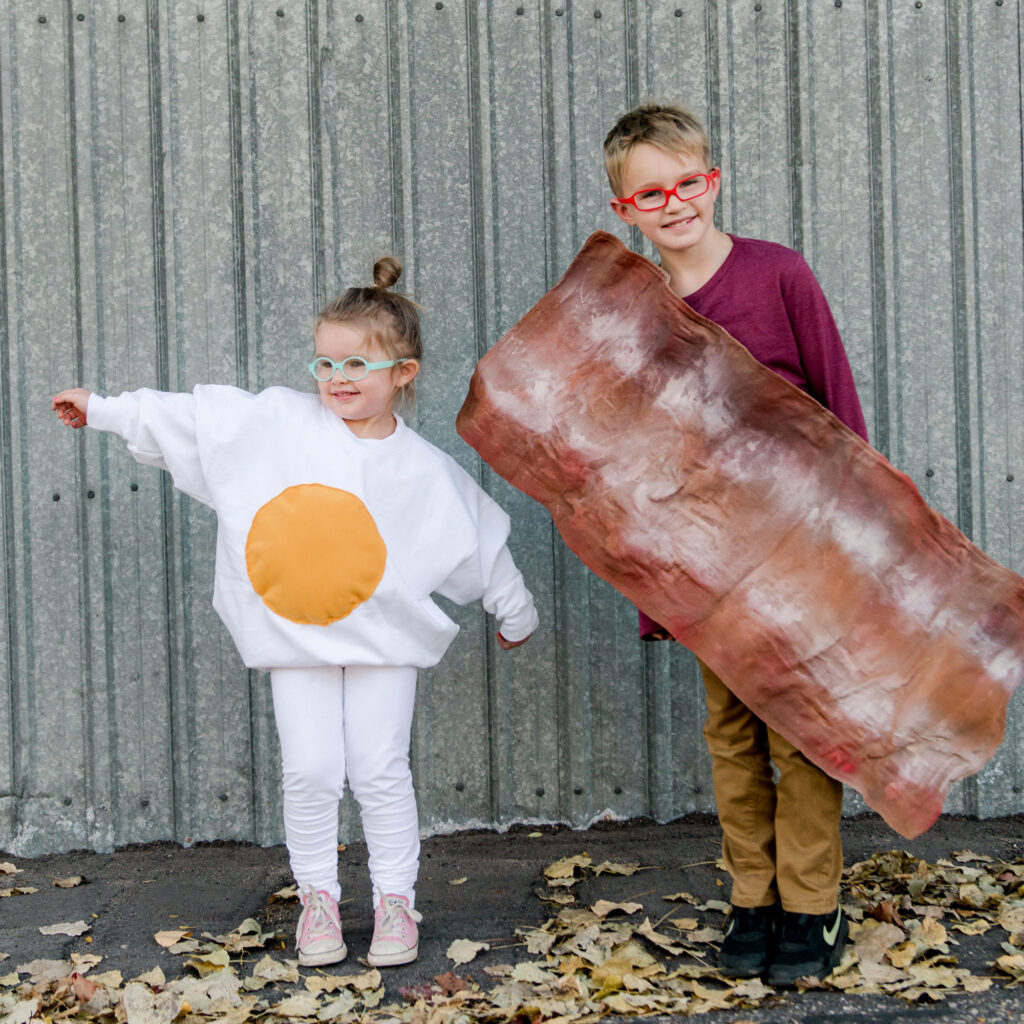
Every year I let my kids pick out our costume ideas (they are only young for so long) and Esther kept asking to be an egg! So, of course the rest of our costumes came together after that idea (and heck, who wouldn’t be excited about being a bacon 🙂
How to make the EGG Costume!
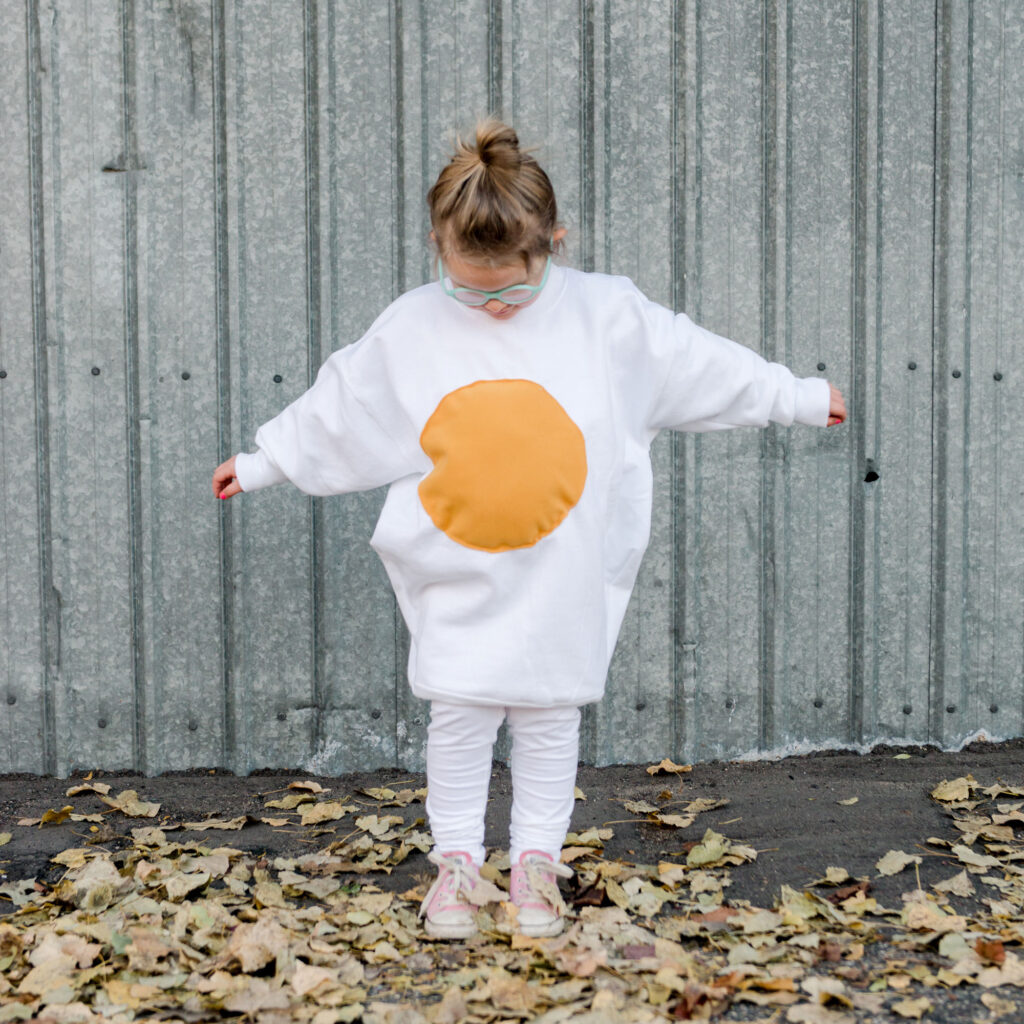
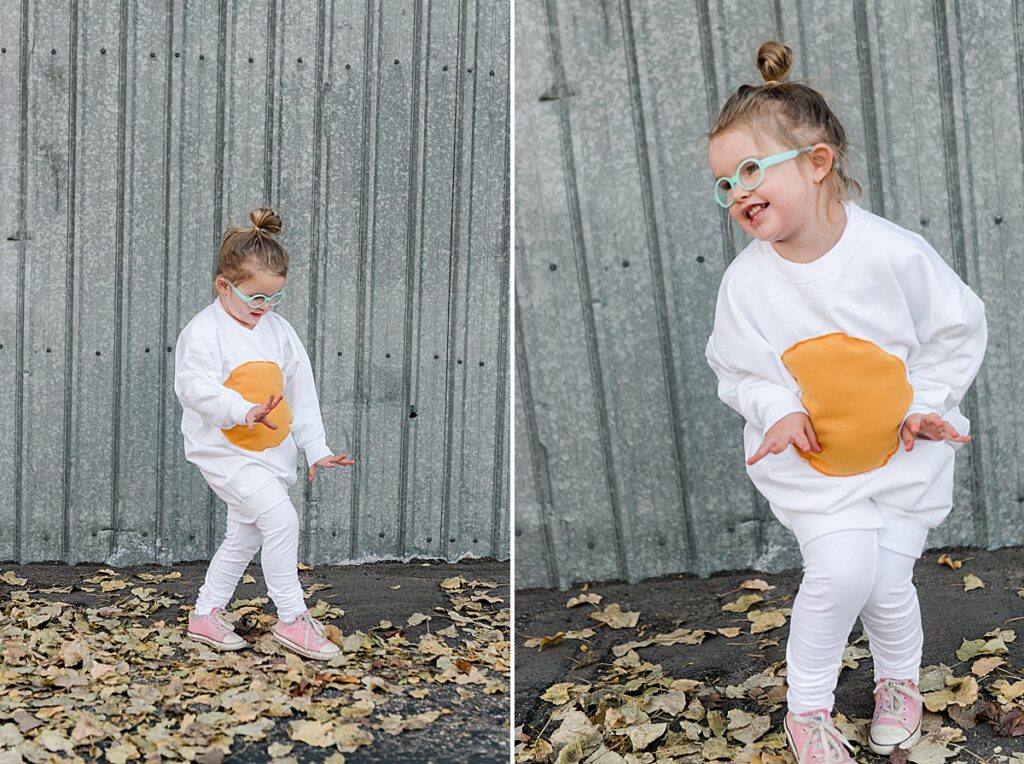
- 1 large white sweatshirt (I did an adult small for Esther)
- a piece of yellow felt or fleece for the yolk
- sewing machine + coordinating thread
- small amount of poly-fil or batting
- leggings and any under layers for trick-or-treating
Cut sweatshirt + yolk
1. With a shirt that already fits your kiddo, loosely measure ABOUT how long you need the arms (add a few inches so that it’s bunchy and cute). Cut the cuff off + below the shoulder seam (down the arm). Then taper the lines of the sleeves so that it loosely matches up with the cuff that you will match it too. Repeat on the opposite sleeve.
2. Again, loosely measure how wide your kiddos shirt is and taper the outside seams so that they can approx measure with the width.
3. Trace around a large bowl and cut a circle yolk out of your yellow felt/fleece
Sew together
1. Pin the yolk in place on the sweatshirt where you want it (I placed it off center a bit, because who really cracks a perfect egg into the pan?)
2. Stitch around the edge of your yolk BUT before closing it, stuff some poly fill or batting into the center of the yolk to lift from the egg white sweatshirt.
3. Flip the shirt inside out, then with right sides together stitch up the 2 side seams of the sweatshirt. Then stitch up the 2 sleeve side seams with right sides together.
4. With right sides together, pin the cuff to the end of the sleeve (you will essentially put the cuff inside the sleeve so that the right sides are together) and pin the two together (begin pinning the 2 “seams” together and then match up and pin the rest of the raw edges). Carefully stitch around the pinned edge without sewing the sleeve to itself! 🙂
5. Turn right side out and clip any threads! VOILA!
How to make the BACON costume!
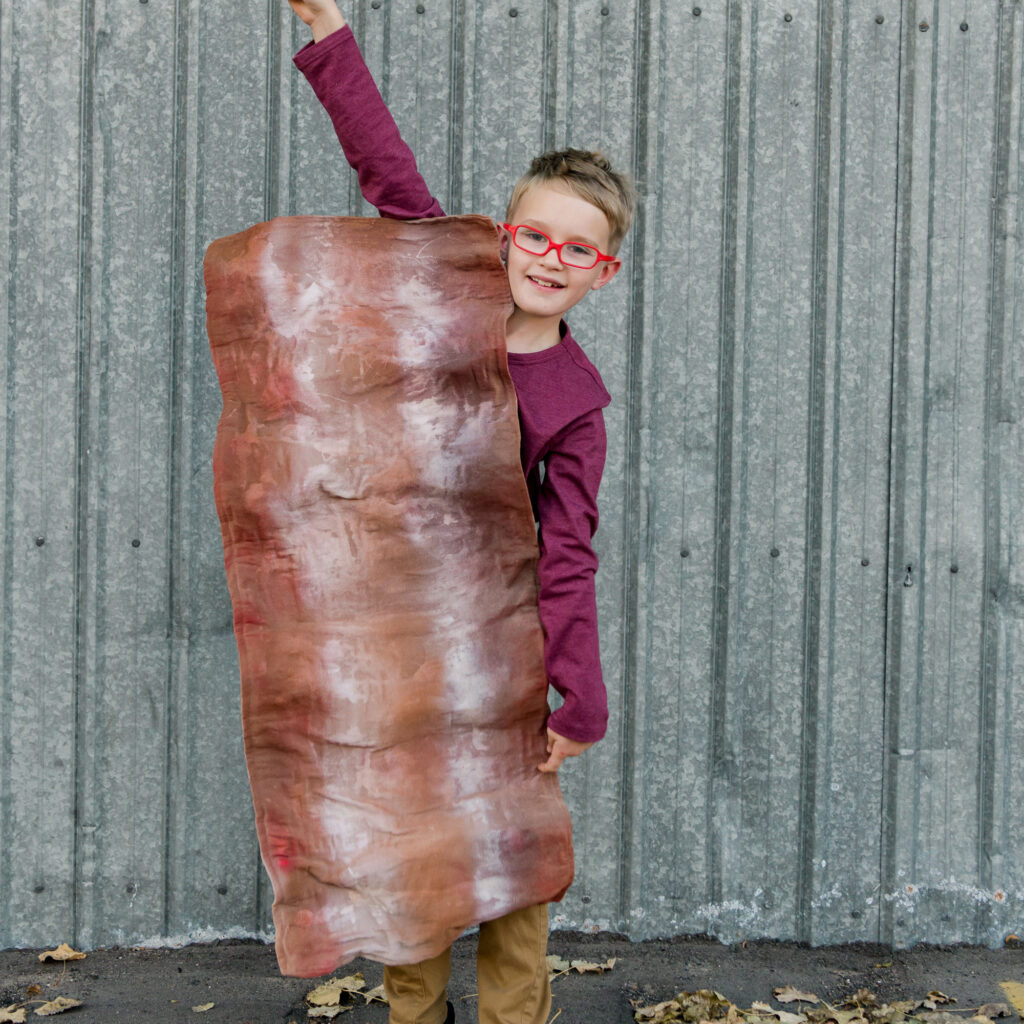
- 1-2 yards of canvas fabric
- sewing machine + Coordinating thread
- 3 colors of brown spray paint or acrylic fabric paint
- 1 yard 1/2” elastic
- 2 small bottles or 1 large bottle of Elmers glue
- newspaper
- hot glue + hot glue gun
Measure + sew bacon
1. Measure the size of bacon you will want for your finished piece. Cut 2 pieces of your finished size and then sew them wrong sides together (leaving an opening to flip). Flip it right sides out and then edge stitch/top stitch about 1/4” away from the edge all the way around (and sew the opening closed).
Mix glue + form
1. Wrinkle up newspaper for the folds in the bacon.
2. Mix up the glue solution: about 1 part water to 2 parts glue (you don’t want it too thick that it won’t absorb, but not too loose because you want the finished bacon to be stiff enough). Mix well.
3. Fully submerge the fabric into the glue solution so that it’s absorbs ALL of the glue. Make sure the fabric is fully coated, so swish around and move about in the bucket.
4. Remove the fabric and ring out any large excess (but don’t ring it out too much so that it looses it’s glue). Smooth flat with your hand and then begin to place the rolled up newspaper under the fabric to mold the bacon shape.
5. Let dry for 48-72 hours (or until completely stiff and dry(
**optional: When fully dry, you can see if the fabric is stiff enough. If it isn’t, then brush more glue (not mixed with water) onto the fabric and allow to dry.
Paint + finish
1. With 3 different colors of spray paint, begin painting the bacon. Cover the canvas with a “medium” brown color and let dry. Now add in the light and dark colors around the edges and in the middle of the bacon for the fat and the more “charred” parts. Google and reference a piece of fried bacon for color placement (I always reference the “real life” object when making a costume”! 🙂
2. Measure and cut your elastic to make a criss-cross around the back of yourself beginning at the shoulders and measuring to the back. Hot glue in place and allow to dry!
3. Layer any amount of clothing under it for appropriate trick-or-treating weather (we live in Wisconsin, so it’s always MANY layers for our cold fall nights)! 🙂
How to make the TOAST Costume!
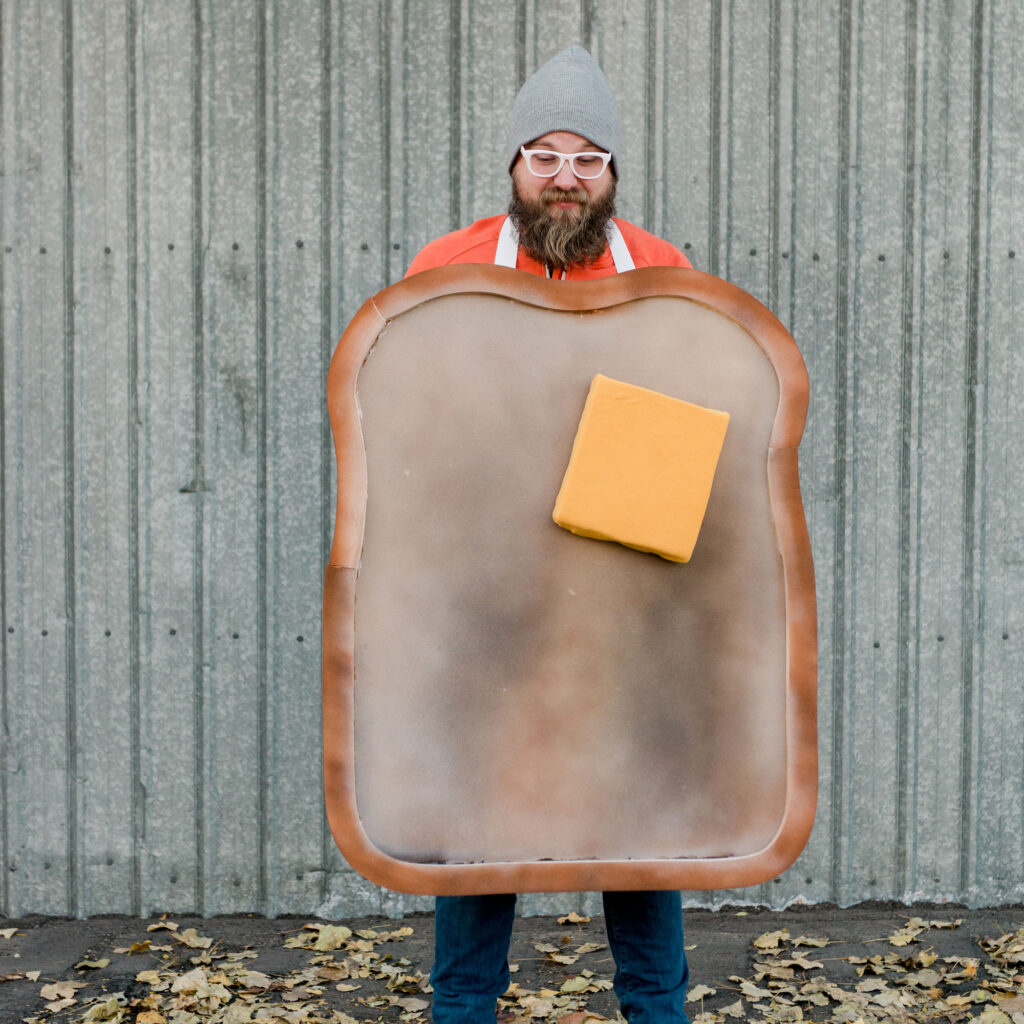
- 2 inch thick foam (we bought ours from Amazon, linked HERE)
- Xacto knife + straight edge
- Tape measure
- Sharpie marker
- hot glue gun + hot glue
- brown + tan spray paint or acrylic paint
- 1 yard of 1/2” elastic
- 1/8 – 1/4 yard of yellow fabric for butter
Cut foam + shape bread
1. Our foam was 2” thick, and I wanted the crust of the toast to “stand up” away from the bread portion. So I measured a 2.5” strip down the length of the foam and cut with a straight edge.
2. Use the remaining foam to cut the size of the bread square/rectangle. Trim away and smooth the edges/shape of the rectangle to a bread piece (round edges and shape).
Paint bread + crust
1. Paint the bread and the crust with 3 (or 4) different kinds of spray paint. Spray paint works best because you want to gradate the colors across the foam and this is awesome to do with spray paint. It allows you to layer and “work” the foam to get the achieved results. Google and reference a picture of toast if you need to (I always reference the“real life” things when making a costume).
2. I first covered the crust with the darker color and layered a bit of a lighter on top (for a 2 toned look). Then I covered the whole bread with the lightest color (to take away the stark white of the foam). The begin layering other colors on top for the perfect “toasted” look.
Make butter pad
1. With any extra foam, cut a square for your butter. Then with your yellow fabric, being to wrap your butter pad like you are wrapping a present with fabric to get seamless corners square corners. Tack down with your hot glue gun. Set aside.
Assemble + add straps
1. With the hot glue gun begin assembling the toast by gluing the crust to the outer edges of the toast. Remember that I cut the crust “higher” than the toast, so play with the depth as you glue it on to make it the most realistic. Then add your butter pad to the top where desired.
2. Hold the toast up to your body and measure the approximate length of the elastic needed. Attach the elastic across your shoulders and back in a criss-cross pattern from one shoulder to the opposite side of the back of the toast. Secure with hot glue and allow to fully cool before wearing the costume!
How to make the JUICE costume!
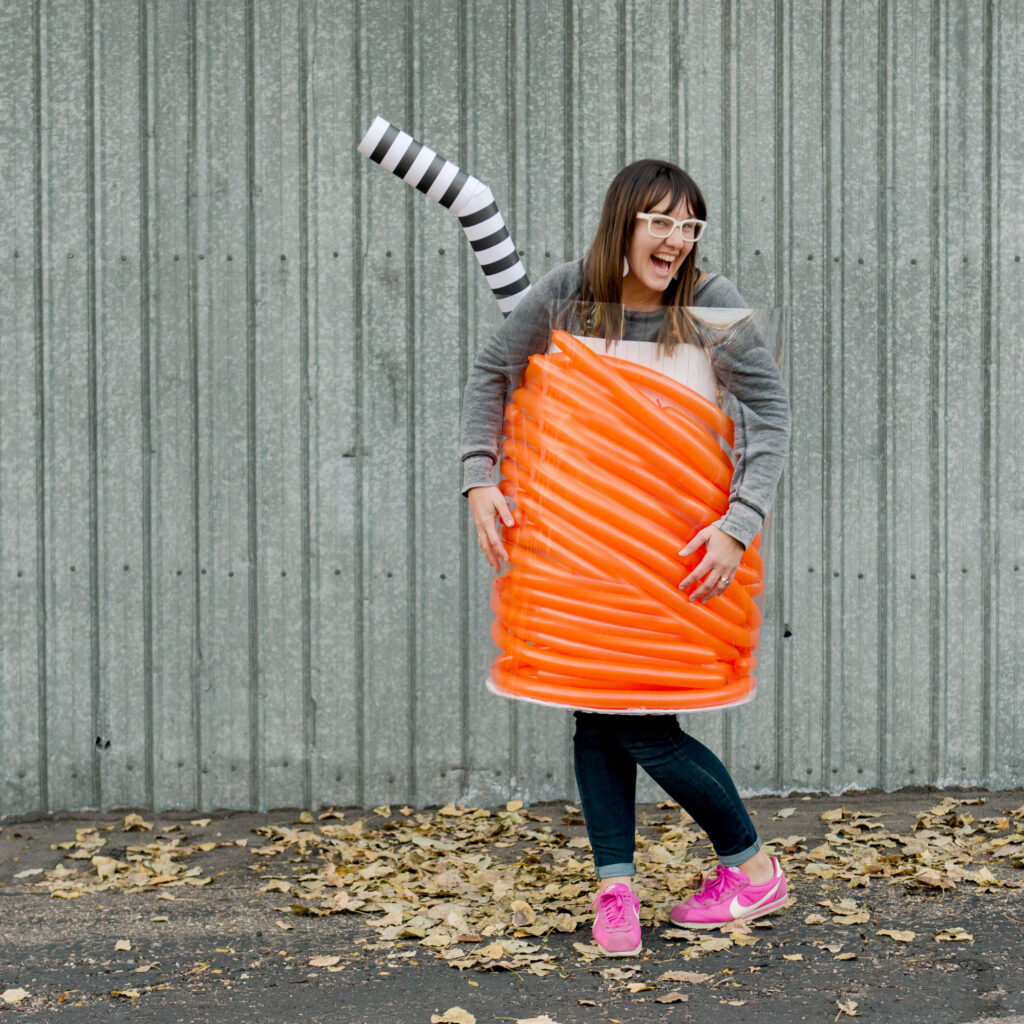
*Based roughly on the boboa costume tutorial from ohhappyday
- 1 piece of GIANT foam core or cardboard (at least 50” across)
- 3 “regular” size (20”x30”) pieces of foam core or cardboard
- plastic sheeting (similar to this raining guard bought from Amazon)
- (optional) 2 sheets of striped or colored tag board for straw
- ruler + x-acto knife
- piece of string + pencil
- Hot glue gun + glue
- orange balloons
- balloon pump
Cut Pieces
1. With a piece of string tied to a pencil, draw a circle onto your foam core (or cardboard) And then draw another larger circle (about 3.5” larger) around that to form the bottom of the glass. Cut out with an x-acto knife. This will become the bottom of the juice that your body will go through.
2. With your “regular” sizes of foam core, begin by marking off 1 inch sections. Line the marks up with a straight edge and cut through the top part of the foam core with your x-acto knife. This will allow you to bend the board around the bottom circle. Repeat this process with the 2nd and 3rd piece of foam core. Then start folding the creases to make the foam core rounded
Hot glue together
1. Wrap the foam core to the inside of the inner circle bottom. Hot glue carefully in place
2. Cut your plastic sheet to width (wrap around the outside of the bottom circle and trim to place. Then carefully and slowly glue into place being careful it’s fully dry before moving on. This takes mucho patience.
3. With an x-acto knife and scissors, carefully cut out arm holes from the plastic AND foamcore inside based on where you want the costume to land on your body.
Option straw + fill cup
1. Trim the width of your tag board in 1/2 (to 11”). Then trim one of the 11” in 1/2 length wise (to 14”). Roll each of these pieces and hot glue. Then hot glue the 3 together: the long piece attached to one of the smaller pieces, then trim one of the smaller pieces to a 45 degree angle and attach as the top of the straw).
2. Blow up your orange balloons and fill the cup to desired height.

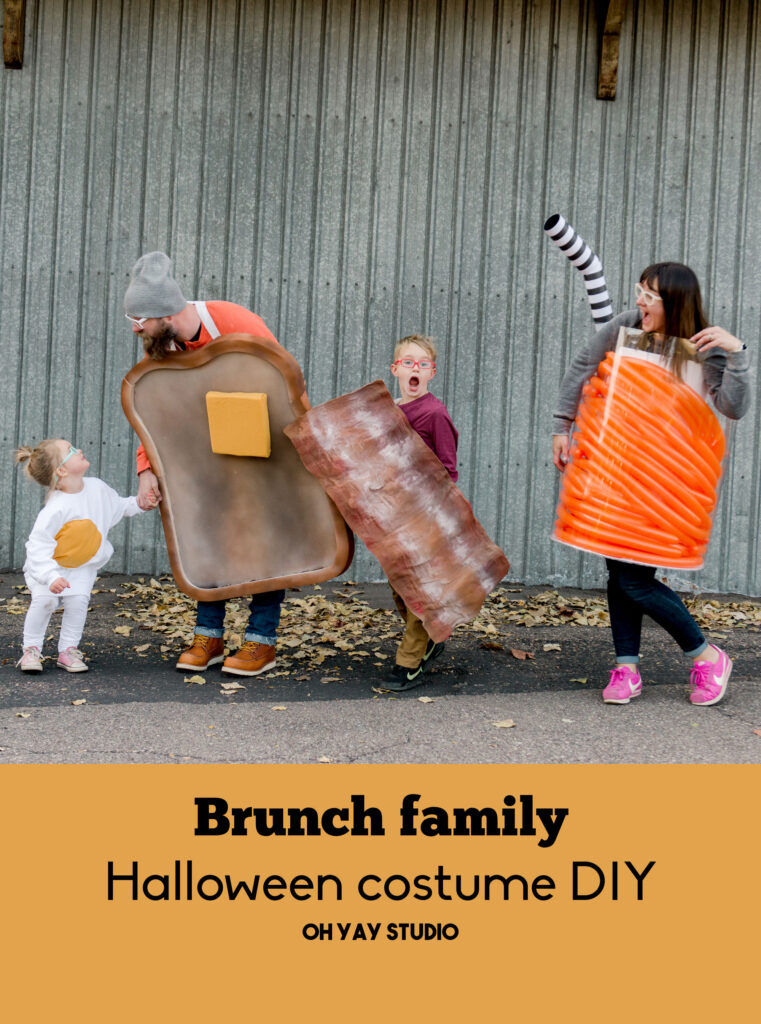


I’m absolutely in love with this family costume set, and your smile!