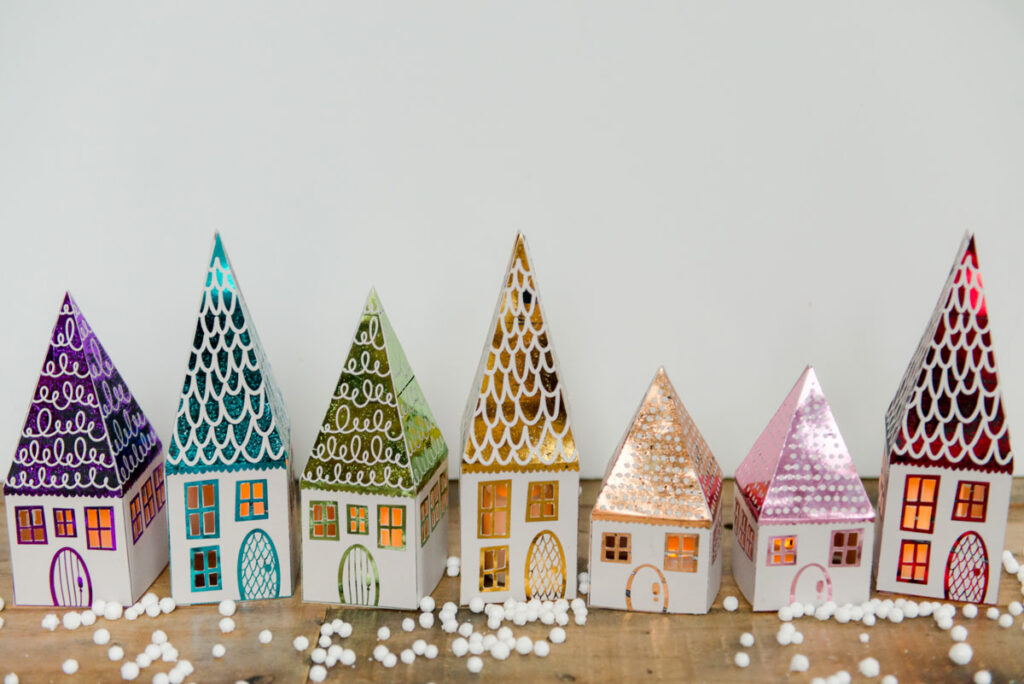
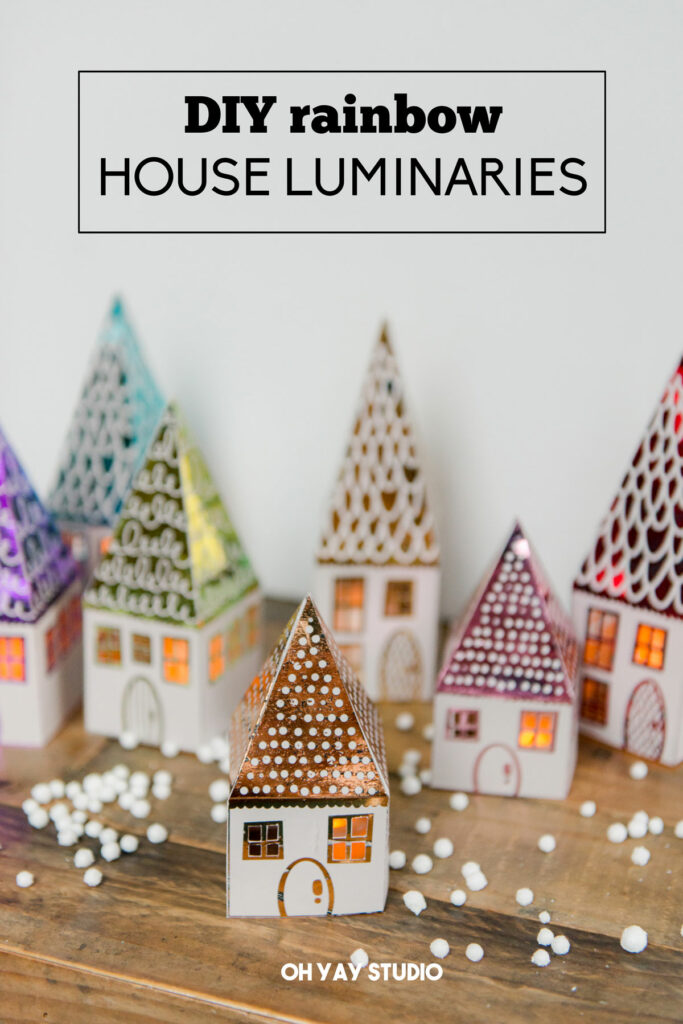
Rainbow DIY printable paper house luminaries
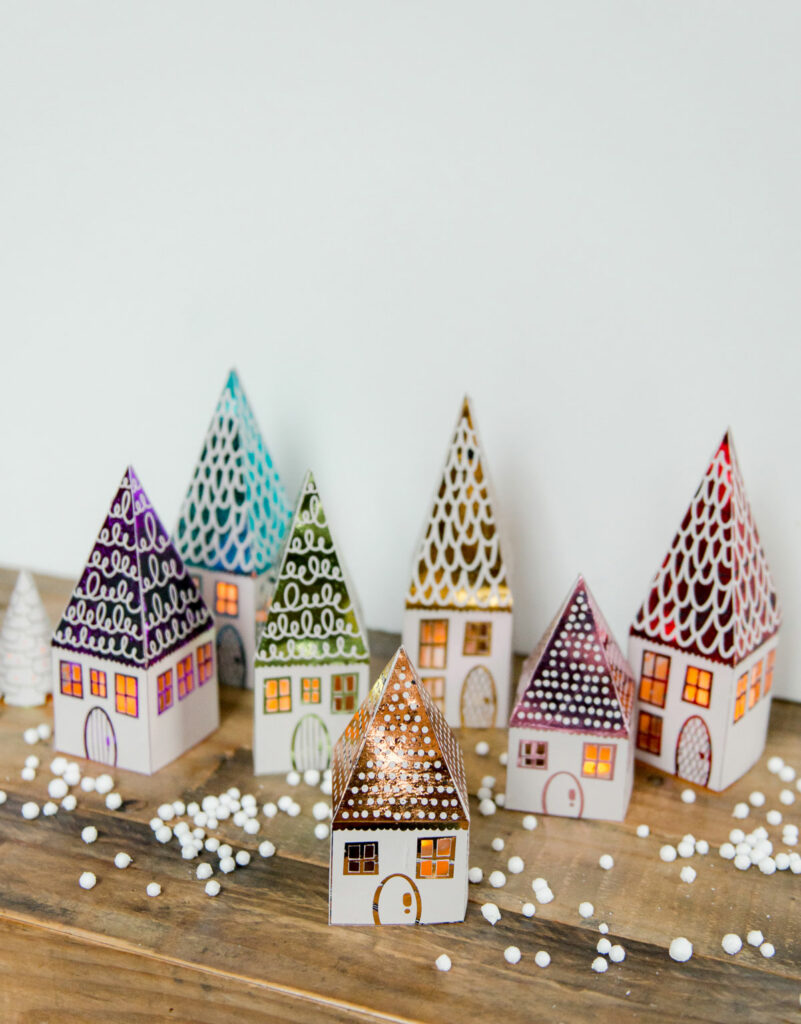
I have always been in love with various Christmas houses and villages and the idea of these little “worlds” of homes and shops and things…..maybe it’s because I imagine Hallmark movies taking place in them! 🙂
Soooooo when Glaminator contacted me to be a part of their 12 days of Glaminator giveaway (check it out on IG and win one for yourself) I knew I just HADDDD to make some paper luminaries for the project. Snag the full tutorial on how to make these DIY printable paper house luminaries for your mantle, holiday table decor OR just to make your house a touch more festive! 🙂
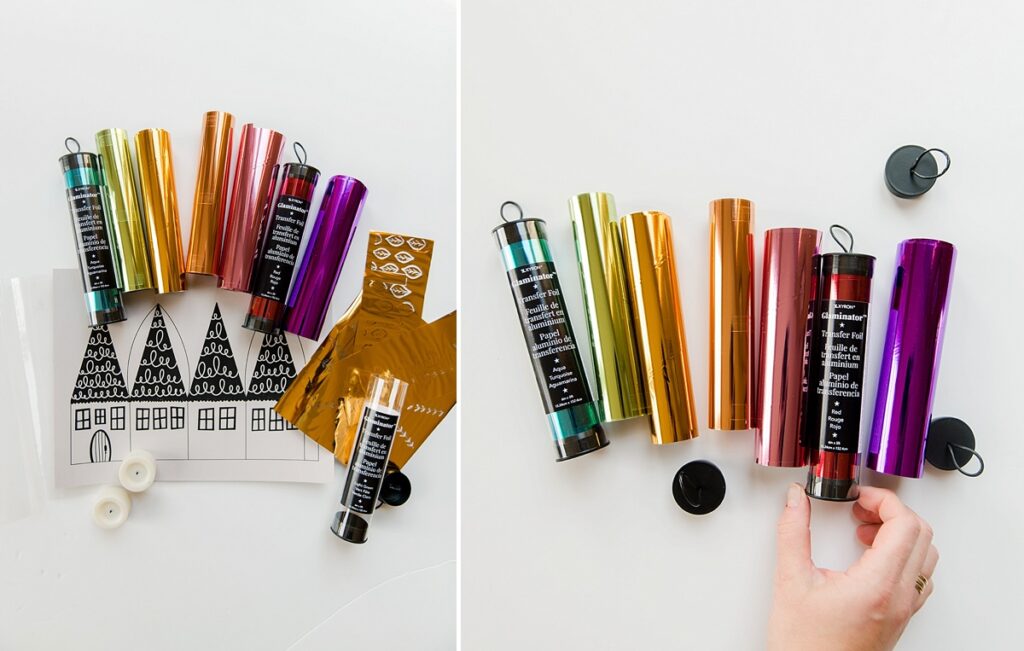
The Glaminator is a brand new product that works on the idea that when you print out your image or design on a laser printer, the glaminator foil adheres to the ink from the printer and glaminates or foils your project. Easy Peasy! Right?
And the best part, is that the many colors of foil available are right up my ally!!! 🙂
SUPPLIES:
- Paper (I used 8.5×11 65lb grey paper)
- X-acto knife + cutting surface
- Laser printer
- Xyron Glaminator
- Glaminator transfer carrier
- Glaminator foils of choice
- Templates for house (below)
- hot glue gun + glue
- Scoring tool (or pen cap for scoring creases)
- flameless tea lights
INSTRUCTIONS:
CUT PAPER + PRINT:
1. Cut your card stock to 8.5×11 if necessary
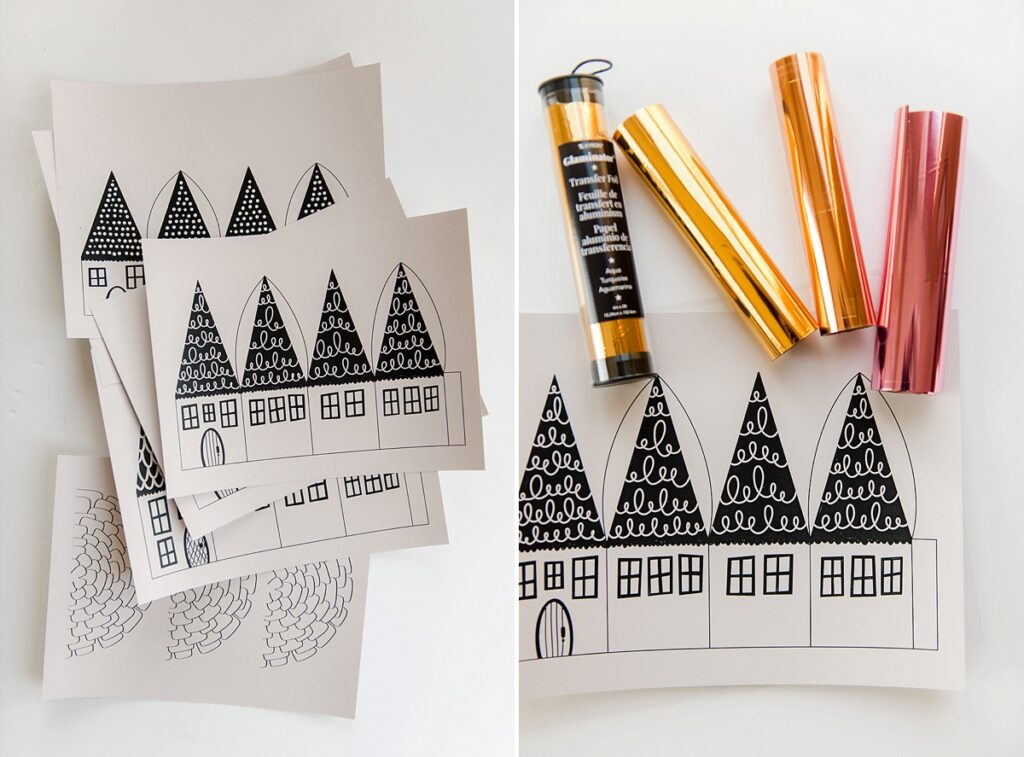
2. Print any of the following templates on your paper
HOUSE LUMINARY TALL
HOUSE LUMINARY MEDIUM
HOUSE LUMINARY SHORT
SCALLOPED CHRISTMAS TREES
notes on paper choice:
**If you are using card stock with texture be sure your texture side is DOWN in your printer so that the design prints on the smooth side. The Glaminator doesn’t adhere well to textured paper.
**Be sure to choose “thick paper” in the settings menu on your computer before printing. On a mac this is in a dropdown labeled preview > printer features.
**Thick card stock is trickier to get to work with printer settings. The Glaminator works off of the laser printed ink, and I found that the ink didn’t print pure black on the thickest card stock. But, test it out and see what works on your specific printer.
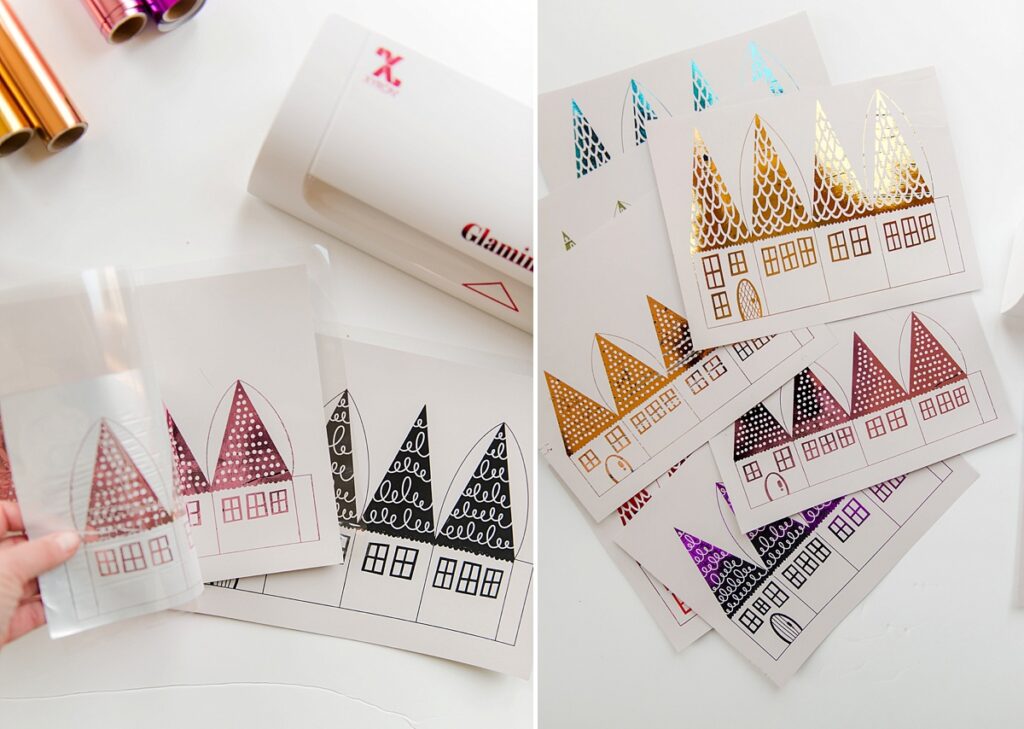
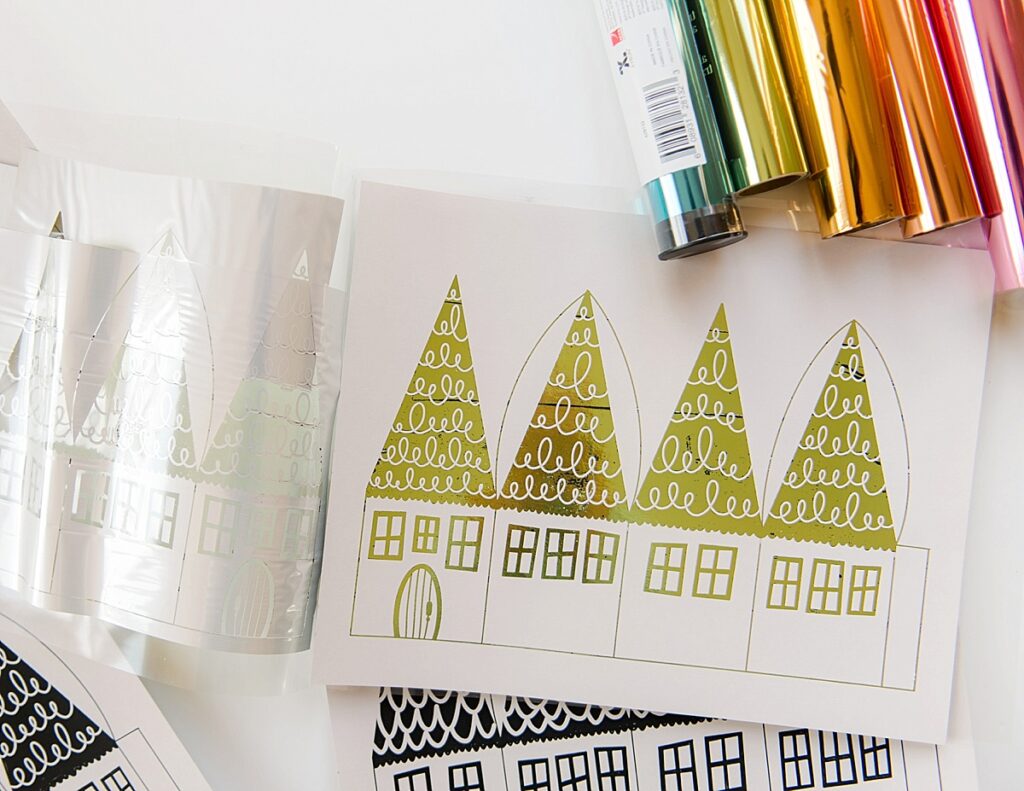
GLAMINATE!
1. Turn your Glaminator on (set to the star icon) and allow it to heat up (this should take about a minute for the green light to turn on, indicating it’s ready to use)
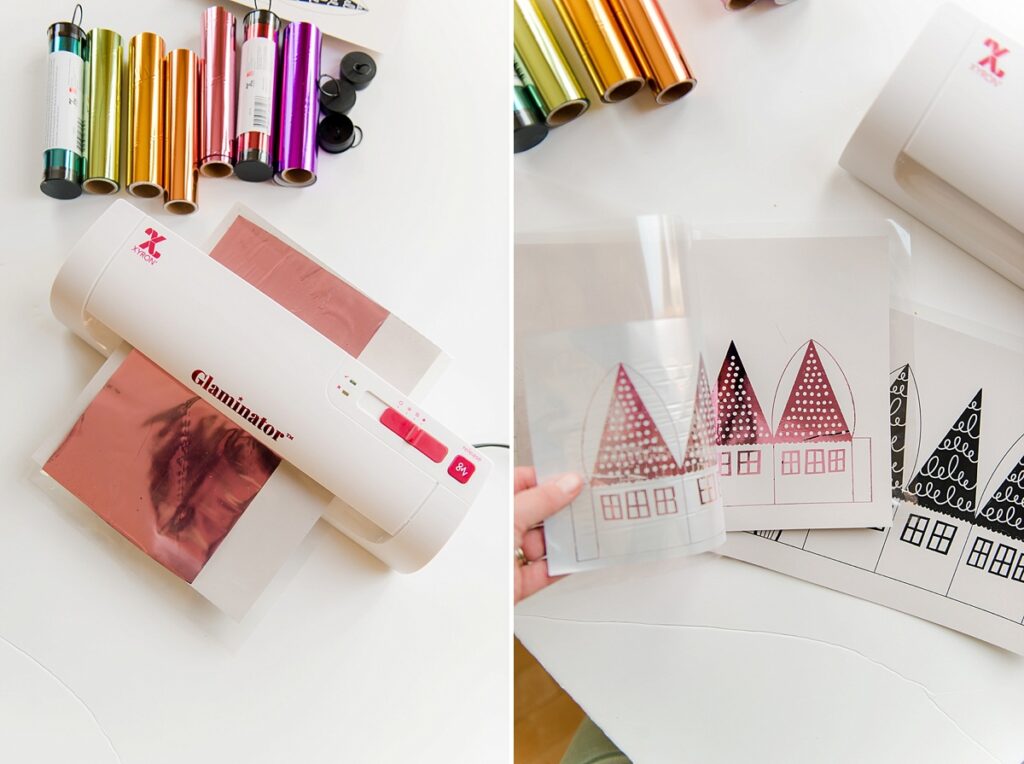
2. Open your transfer carrier, place your house print side up, and roll your foil onto a clean, smooth surface. Trim your foil to fit around the house print (leave about 1/4 inch). Place the foil over the house with the color side up, then close the transfer carrier carefully as not to crease, bend or move your foil. Feed the carrier, print and foil together into the Glaminator.
3. Allow the house cool when it’s completely, then peel off the foil and reveal your gorgeous design! 🙂
4. Repeat this process for the rest of the houses and the trees.
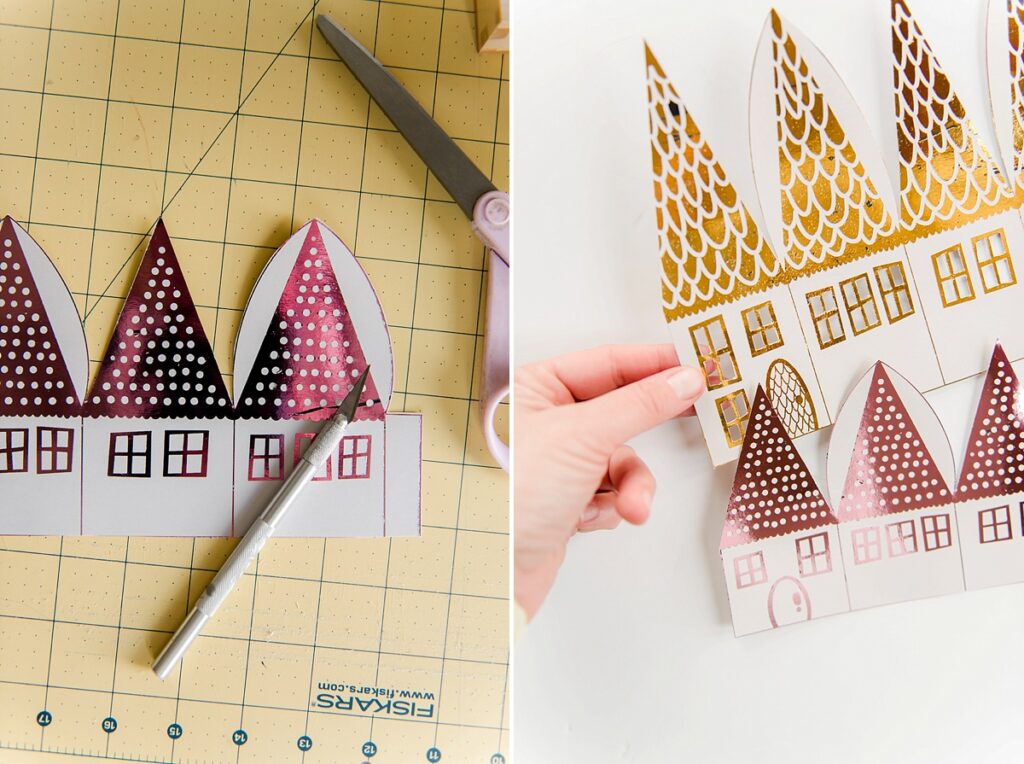
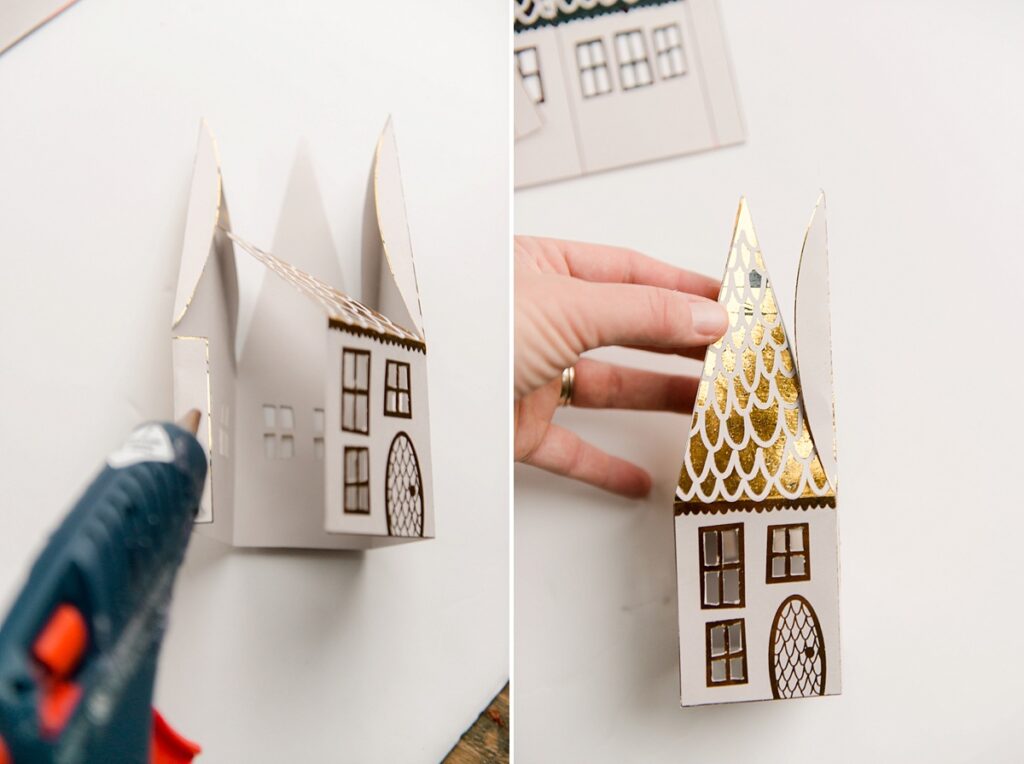
CUT, ASSEMBLE + GLUE THE HOUSES
1. With a scissors or x-acto knife, cut around the outside of the house. Then with an x-acto knife, trim out the centers of the each of the windows.
**note, you may need to trim the tab that connects the house together to make sure it doesn’t show through the window.
2. With your scoring tool (or the top of a pen cap or other sharp object that won’t puncture the paper) score the roof sides, vertical sides of the house, and the long, horizontal top of where the roof meets the side of the house.
3. Place small dabs of glue on the “tabs” of the house and start to glue together. Be sure not to use too much glue and also hold until the glue is dry so that the seams stay matched up perfectly.
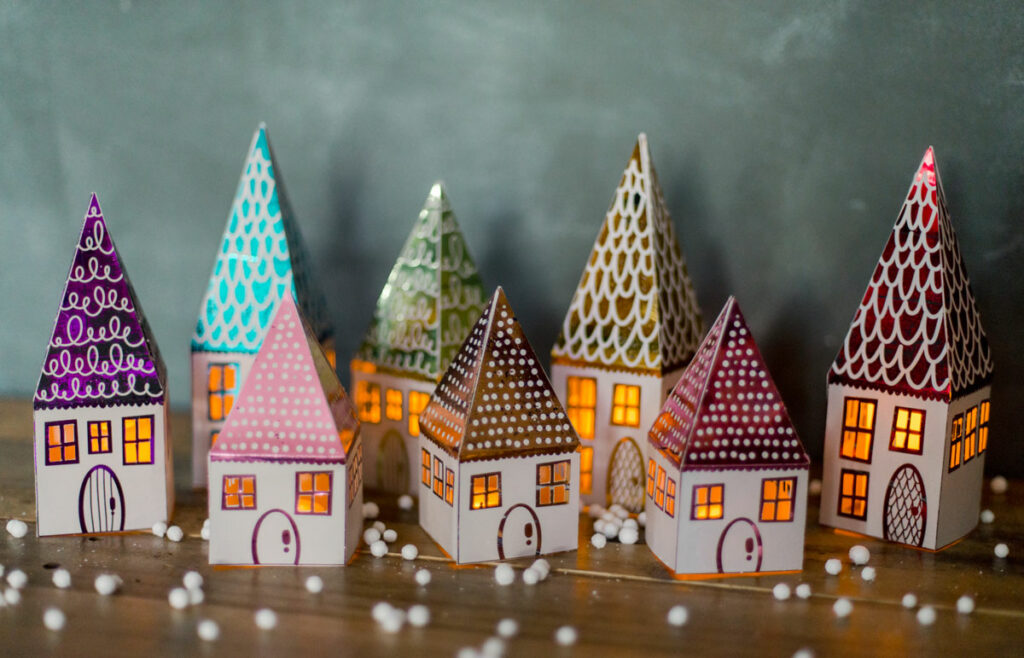
4. Place a flameless tea light under your house and watch it bring on the magic of Christmas! 🙂

CUT, ASSEMBLE + GLUE THE TREES
1. With an x-acto knife, cut around the scallops of the bottoms of the trees and cut out each tree from the larger piece of paper.
2. With a hole punch, punch some “light holes” around the tree branches.
3. Roll your tree into a cone shape, making sure you keep is large enough at the bottom of the tea light. And dab a small amount of glue in the overlapped area to adhere together. Allow to dry and display next to your house or village
This post was created in partnership with Xyron Glaminator. All content, opinions and excitement are genuine and are that of my own! Thank you for supporting the sponsors that keep oh yay studio full! 🙂


So pretty with foil and the rainbow of colors.
My favorite thing to make is little houses. When I saw these, I thought “Wow” that is so cool.
Thank you for coming up with the these adorable little houses that are so beautifully “glammed” up!
THANK YOU! This is the best when I hear that someone loves them! 🙂 HAPPY MAKING!