Pool noodle colored pencil garland!
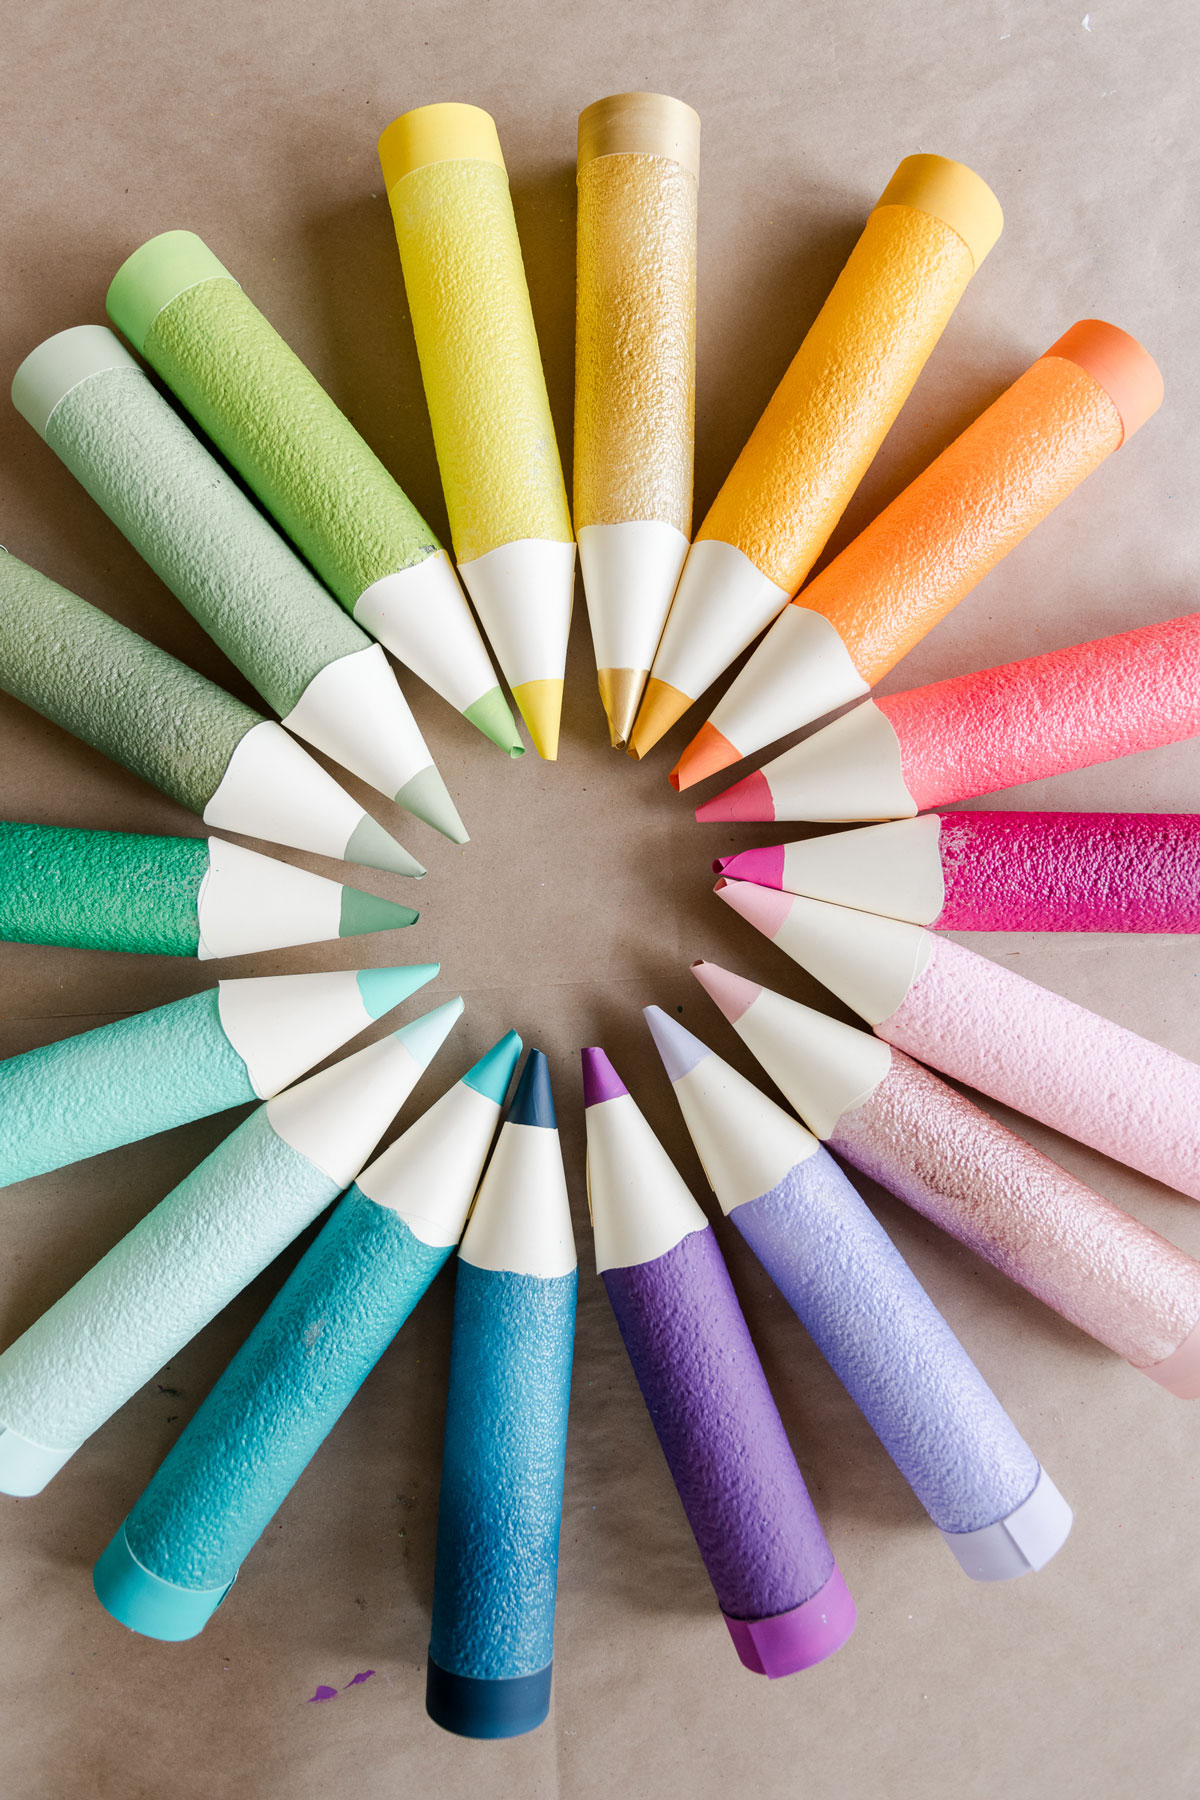
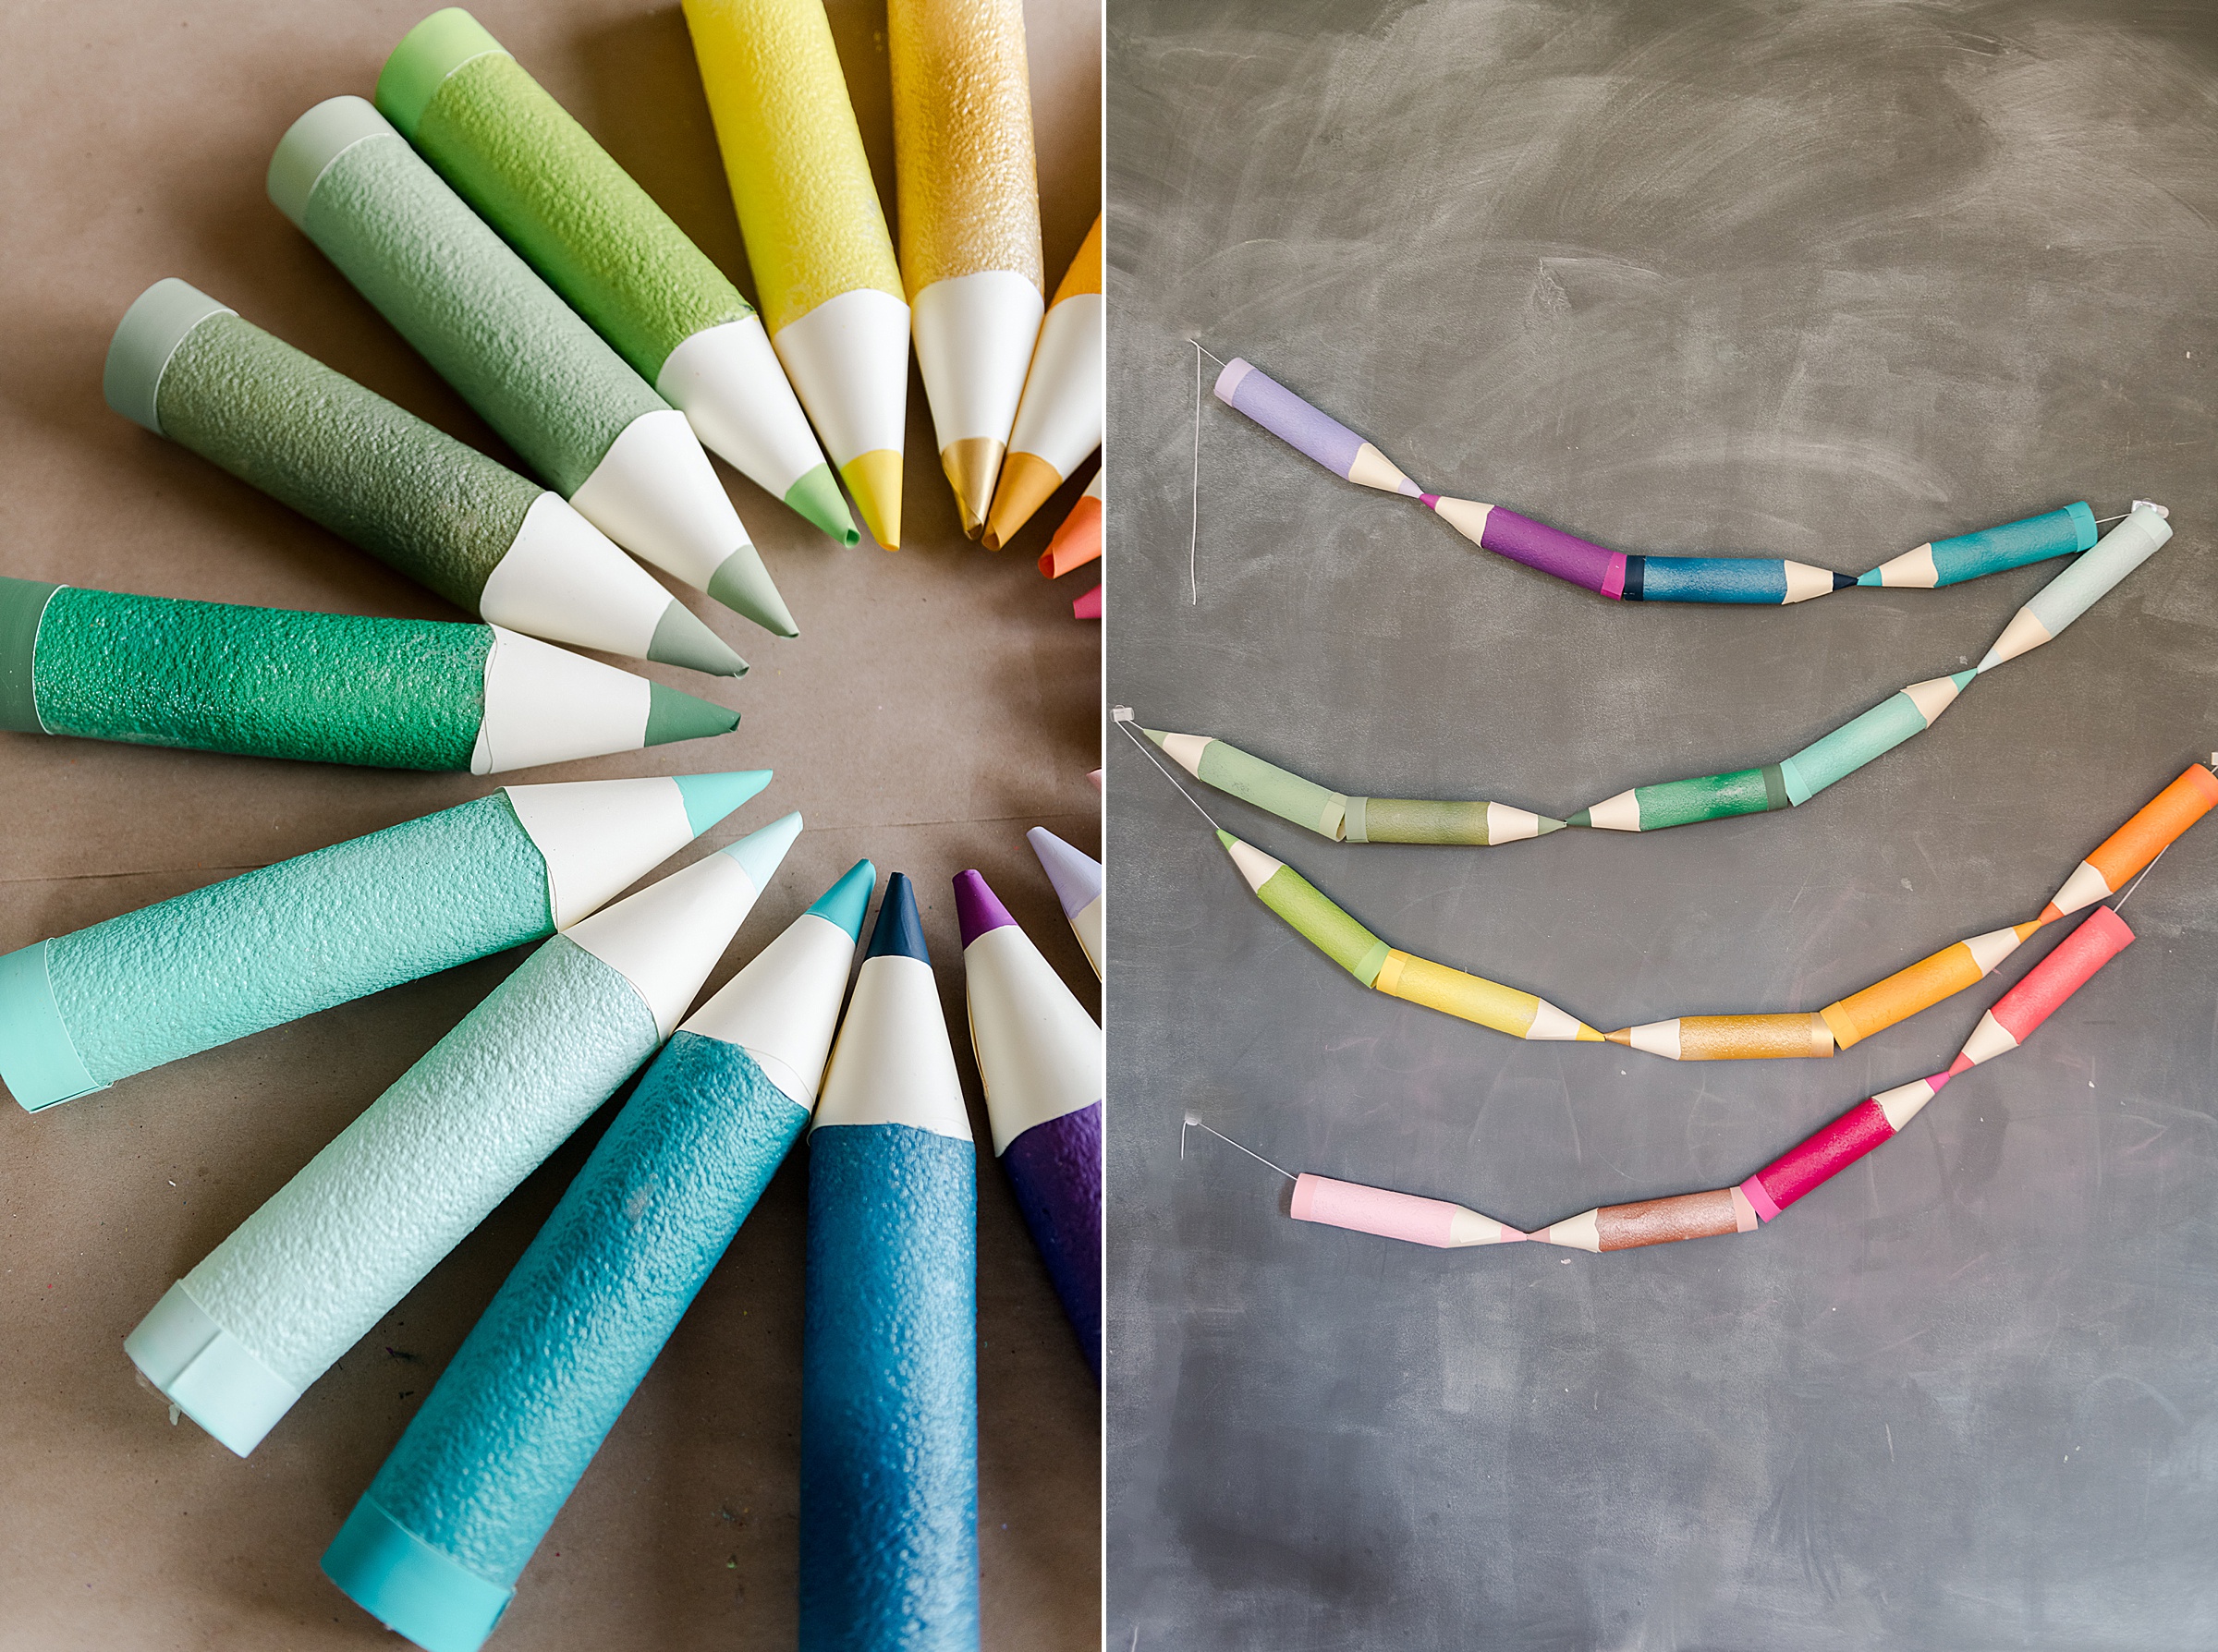
You may remember the pool noodle pencils that I made a few years ago! (The tutorial is HERE in case you wanted to make some awesome back-to-school prop)! BUUUUUUT I thought I would try my hand at making some colored pencils – and some small colored pencils for a big colorful colored pencil pool noodle garland for along the back wall of the art room that I teach in a few times a week! 🙂
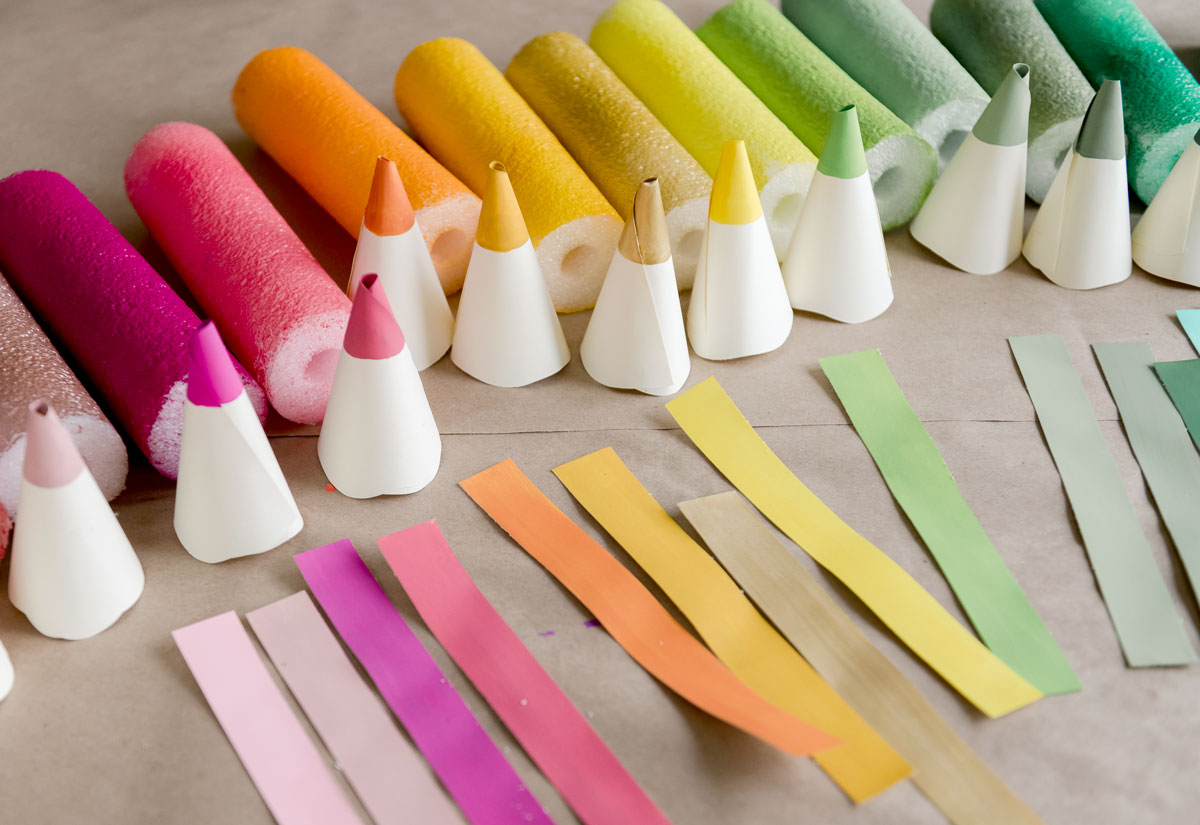
Similar to the pool noodle pencils, these are SOOOOO easy to make AND are quite light-weight so the ideas for using them are endless (bulletin boards, photo props, garland, room decor, glued to a wreath, and MOOOOOORE!) 🙂
You could even customize them with your kids name, teachers name, school colors or even make up awesome color names for them (perhaps a fun first day of school activity too)! 🙂
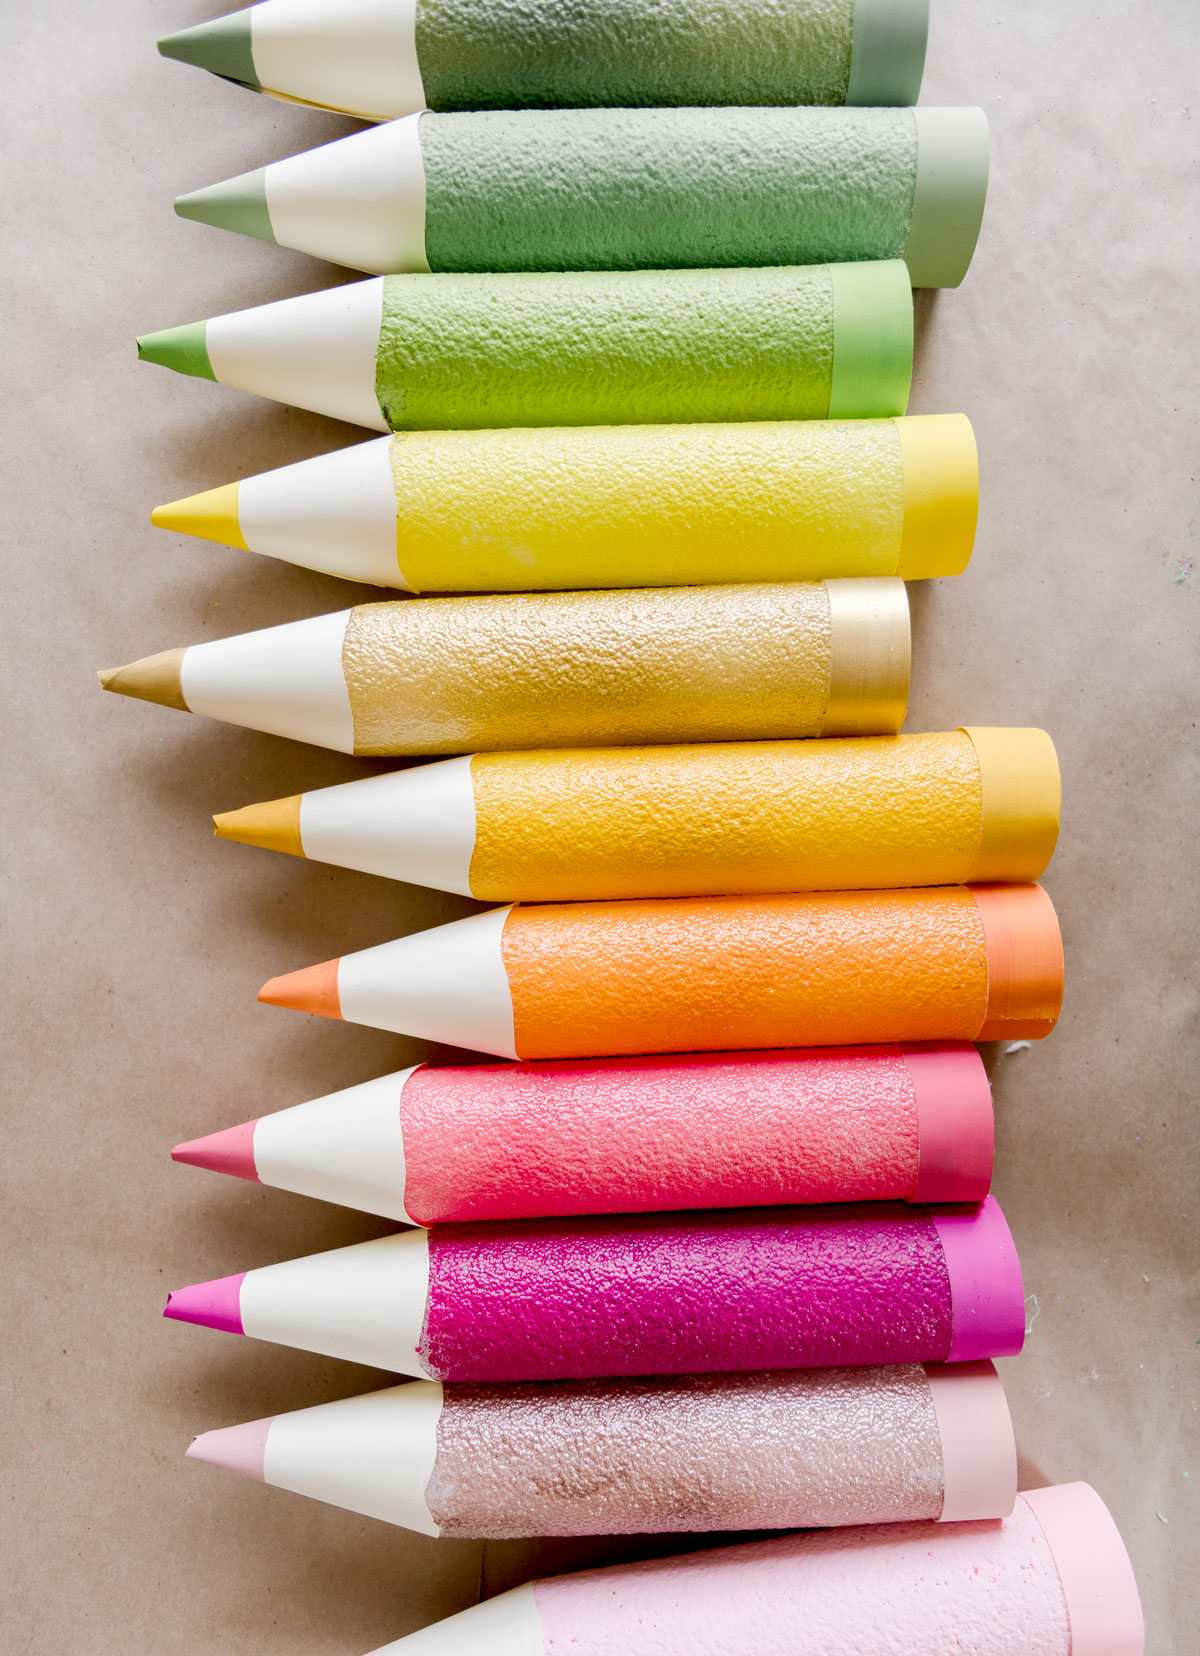
MATERIALS:
- Pool Noodles | 1 noodle makes 6 smaller pencils (in my original tutorial for full sized pencils, one noodle makes 2 pencils…..so size accordingly)
- Spray paint in the best colors you can find 🙂
- Kraft or light khaki colored construction paper
- Paint or colored pencils or markers that are coordinating with the spray paint colors you have
- Hot Glue gun 🙂
- Any string to make into a garland or a way to display these colored pencils
INSTRUCTIONS:
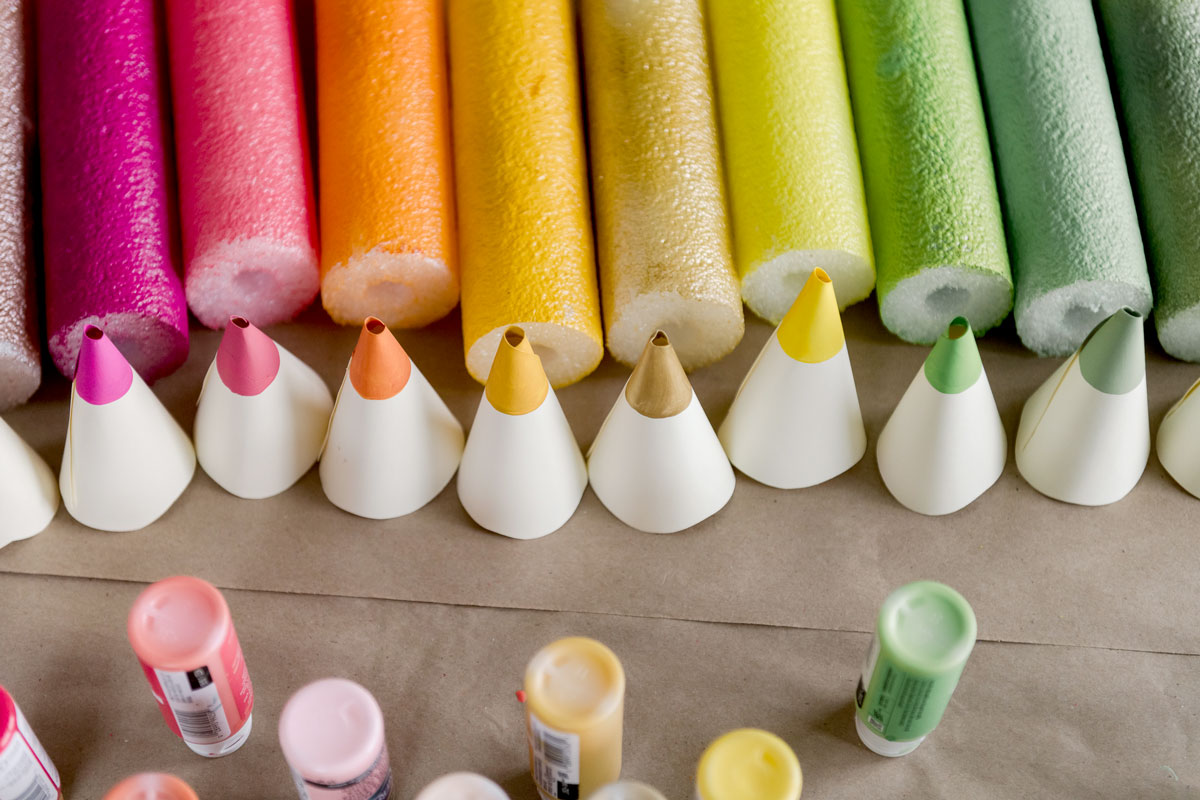
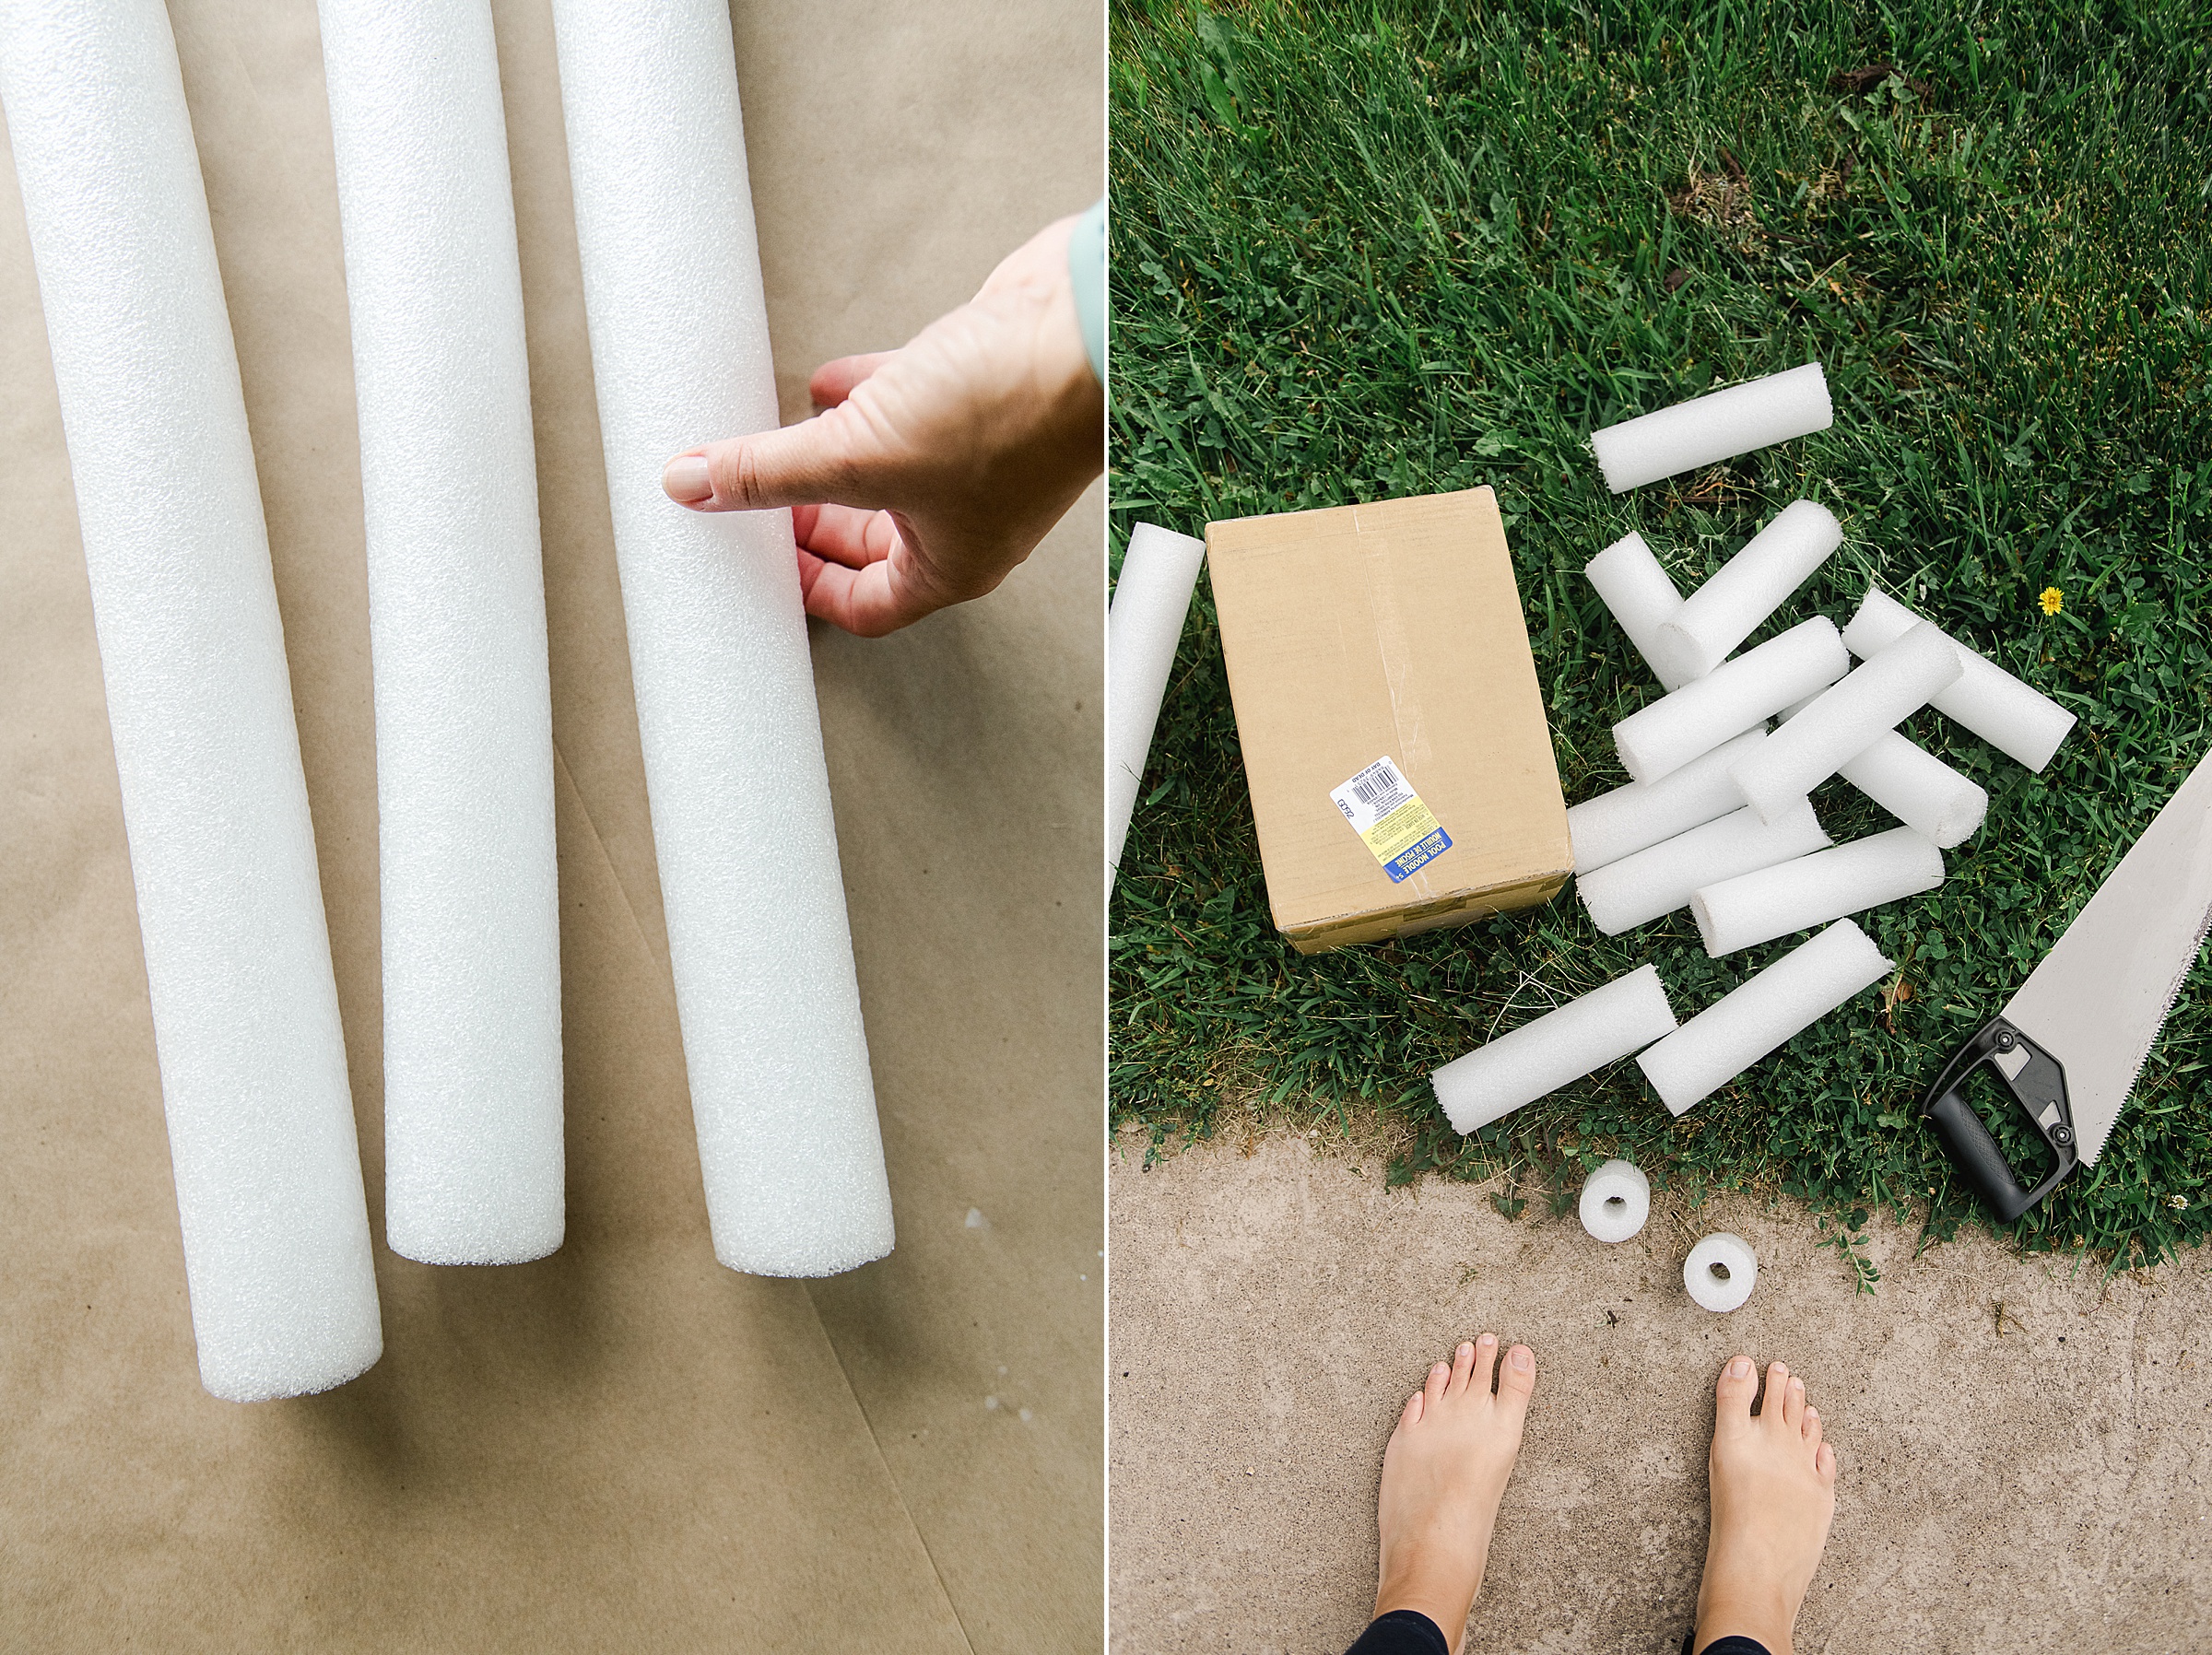
1. Cut the pool noodles
I cut mine to about 8” knowing that I wanted to keep them small but also kinda skinny and long to stick with the proportions of what a colored pencil is.
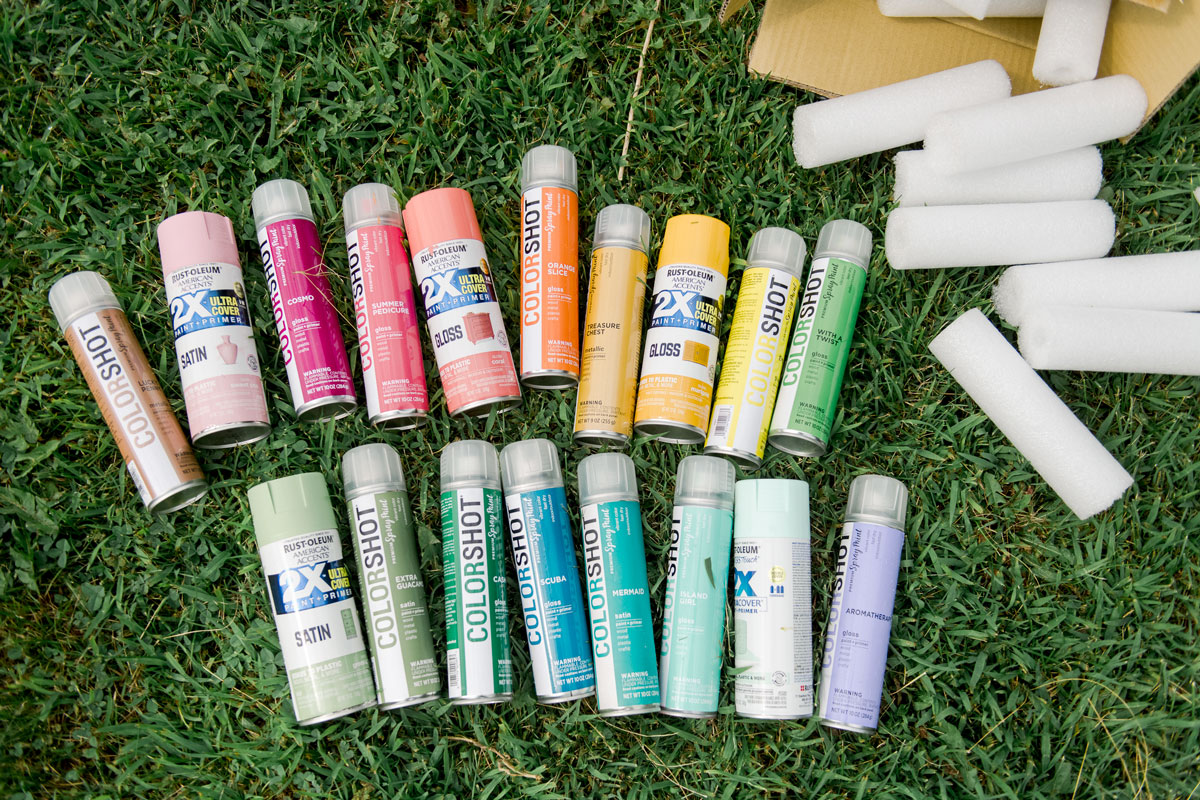
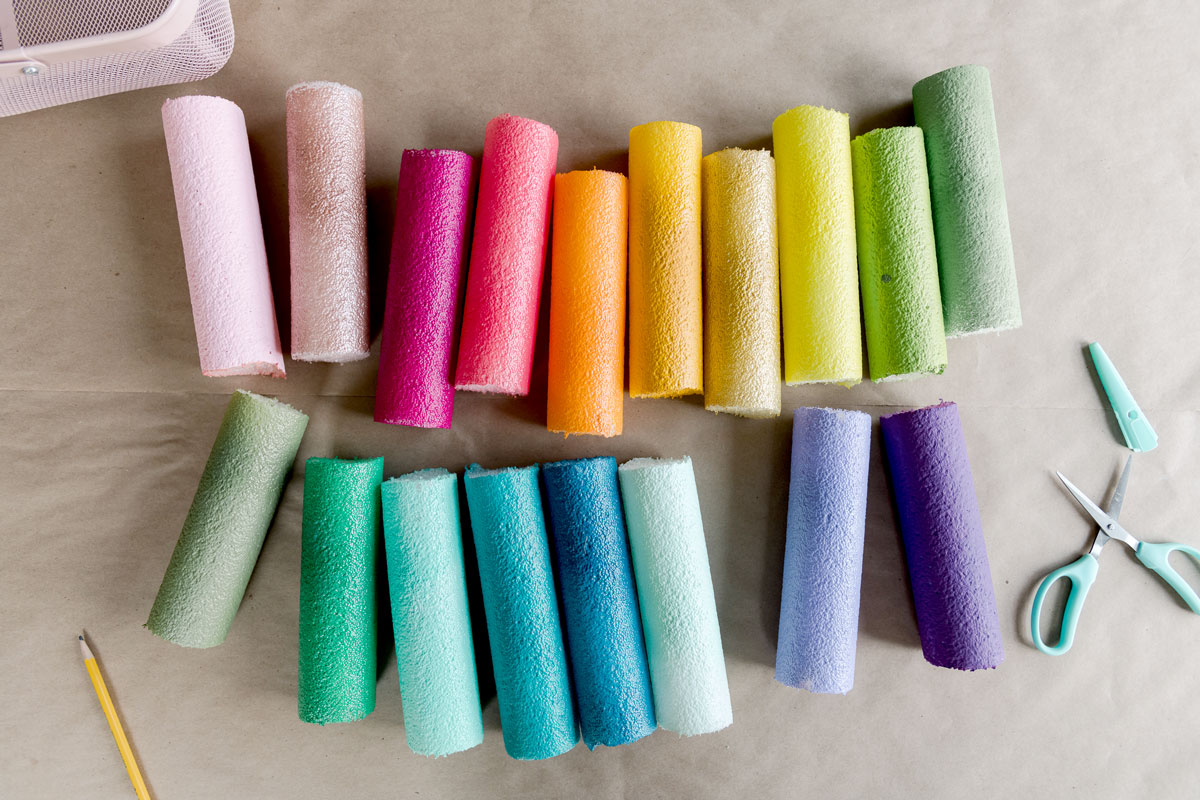
2. Paint the Pool Noodles with your selected colors!
I used a variety of colors and brands and just wanted to get a good range of colors and some shades/hues 🙂
You may want to spray some, let them dry, turn and spray again. It took me about 20-ish minutes to get this done with some additional dry time in between.
3. Cut out and prep your pencil tops
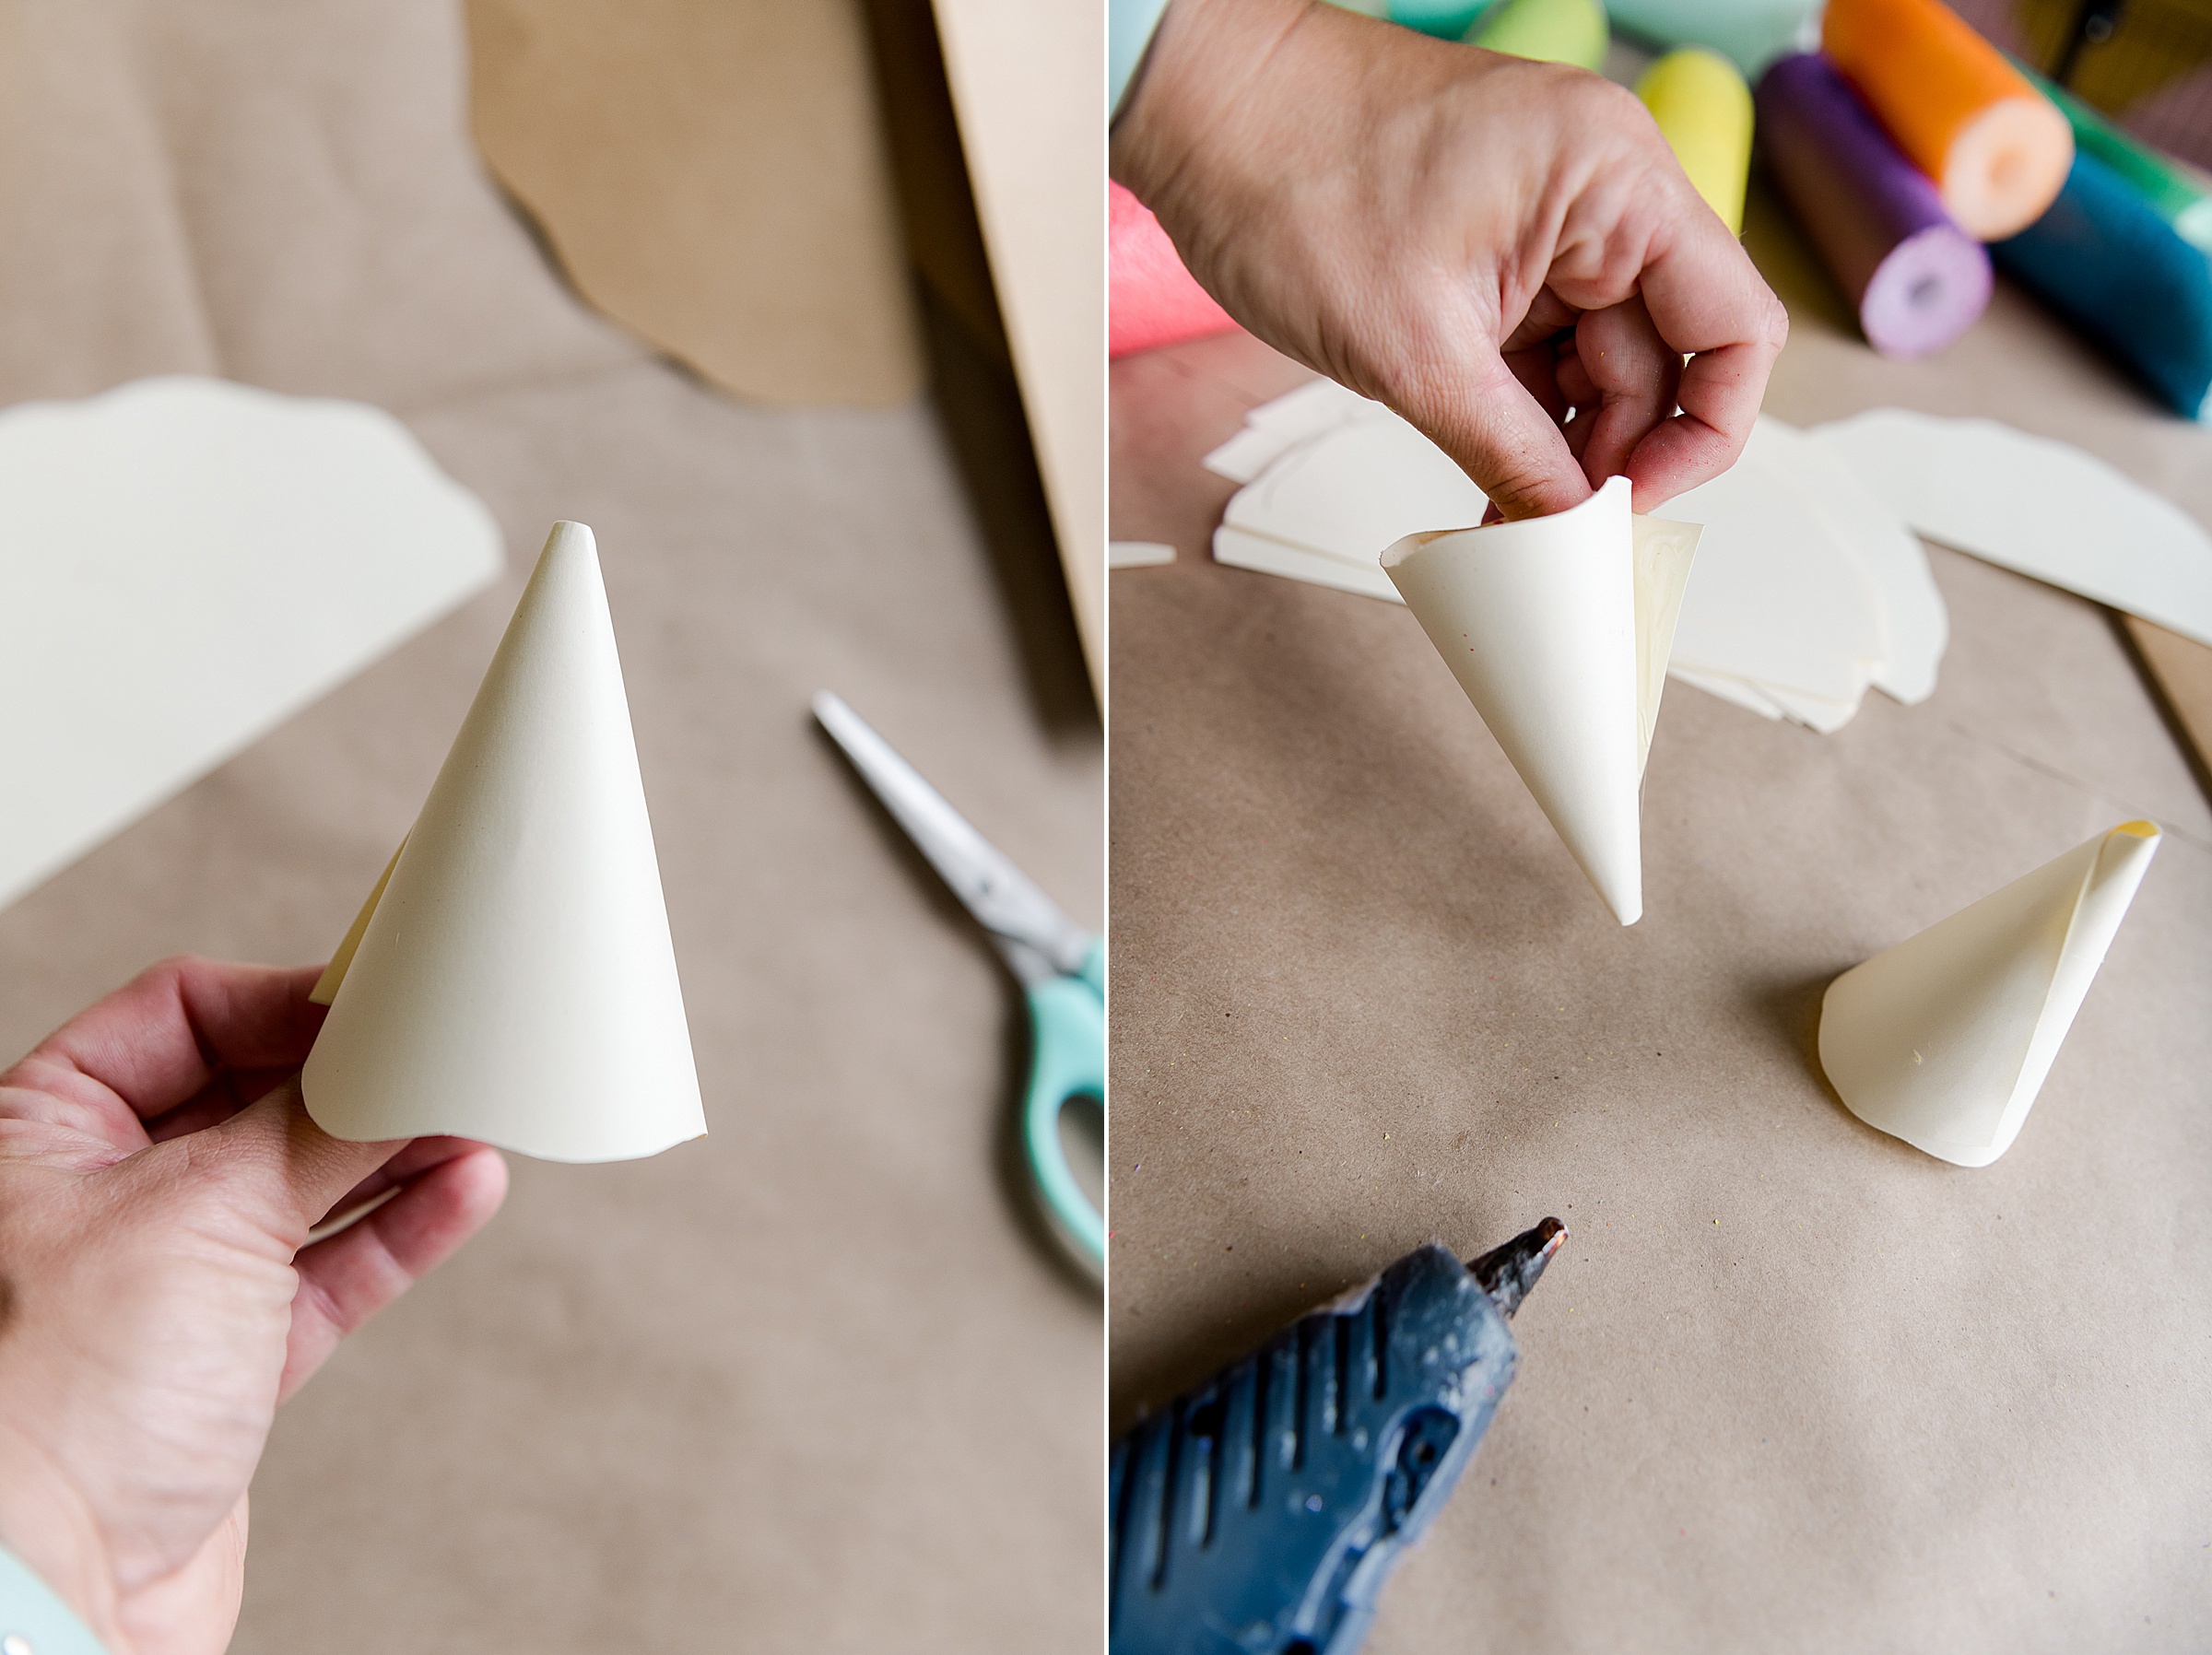
You will want to cut out a semi-circle type shape out of your card stock for the top (with one side straight). I decided to cut out a template (or a test) to give it a try to make sure that it was the correct size for the ratio of the length of the pool noodle. I curved and played around with the template first and then glued it to make sure that it was the size that I liked. You will want to make this top fit snugly onto the pool noddle so that it looks like it’s “one piece” without much gapping.
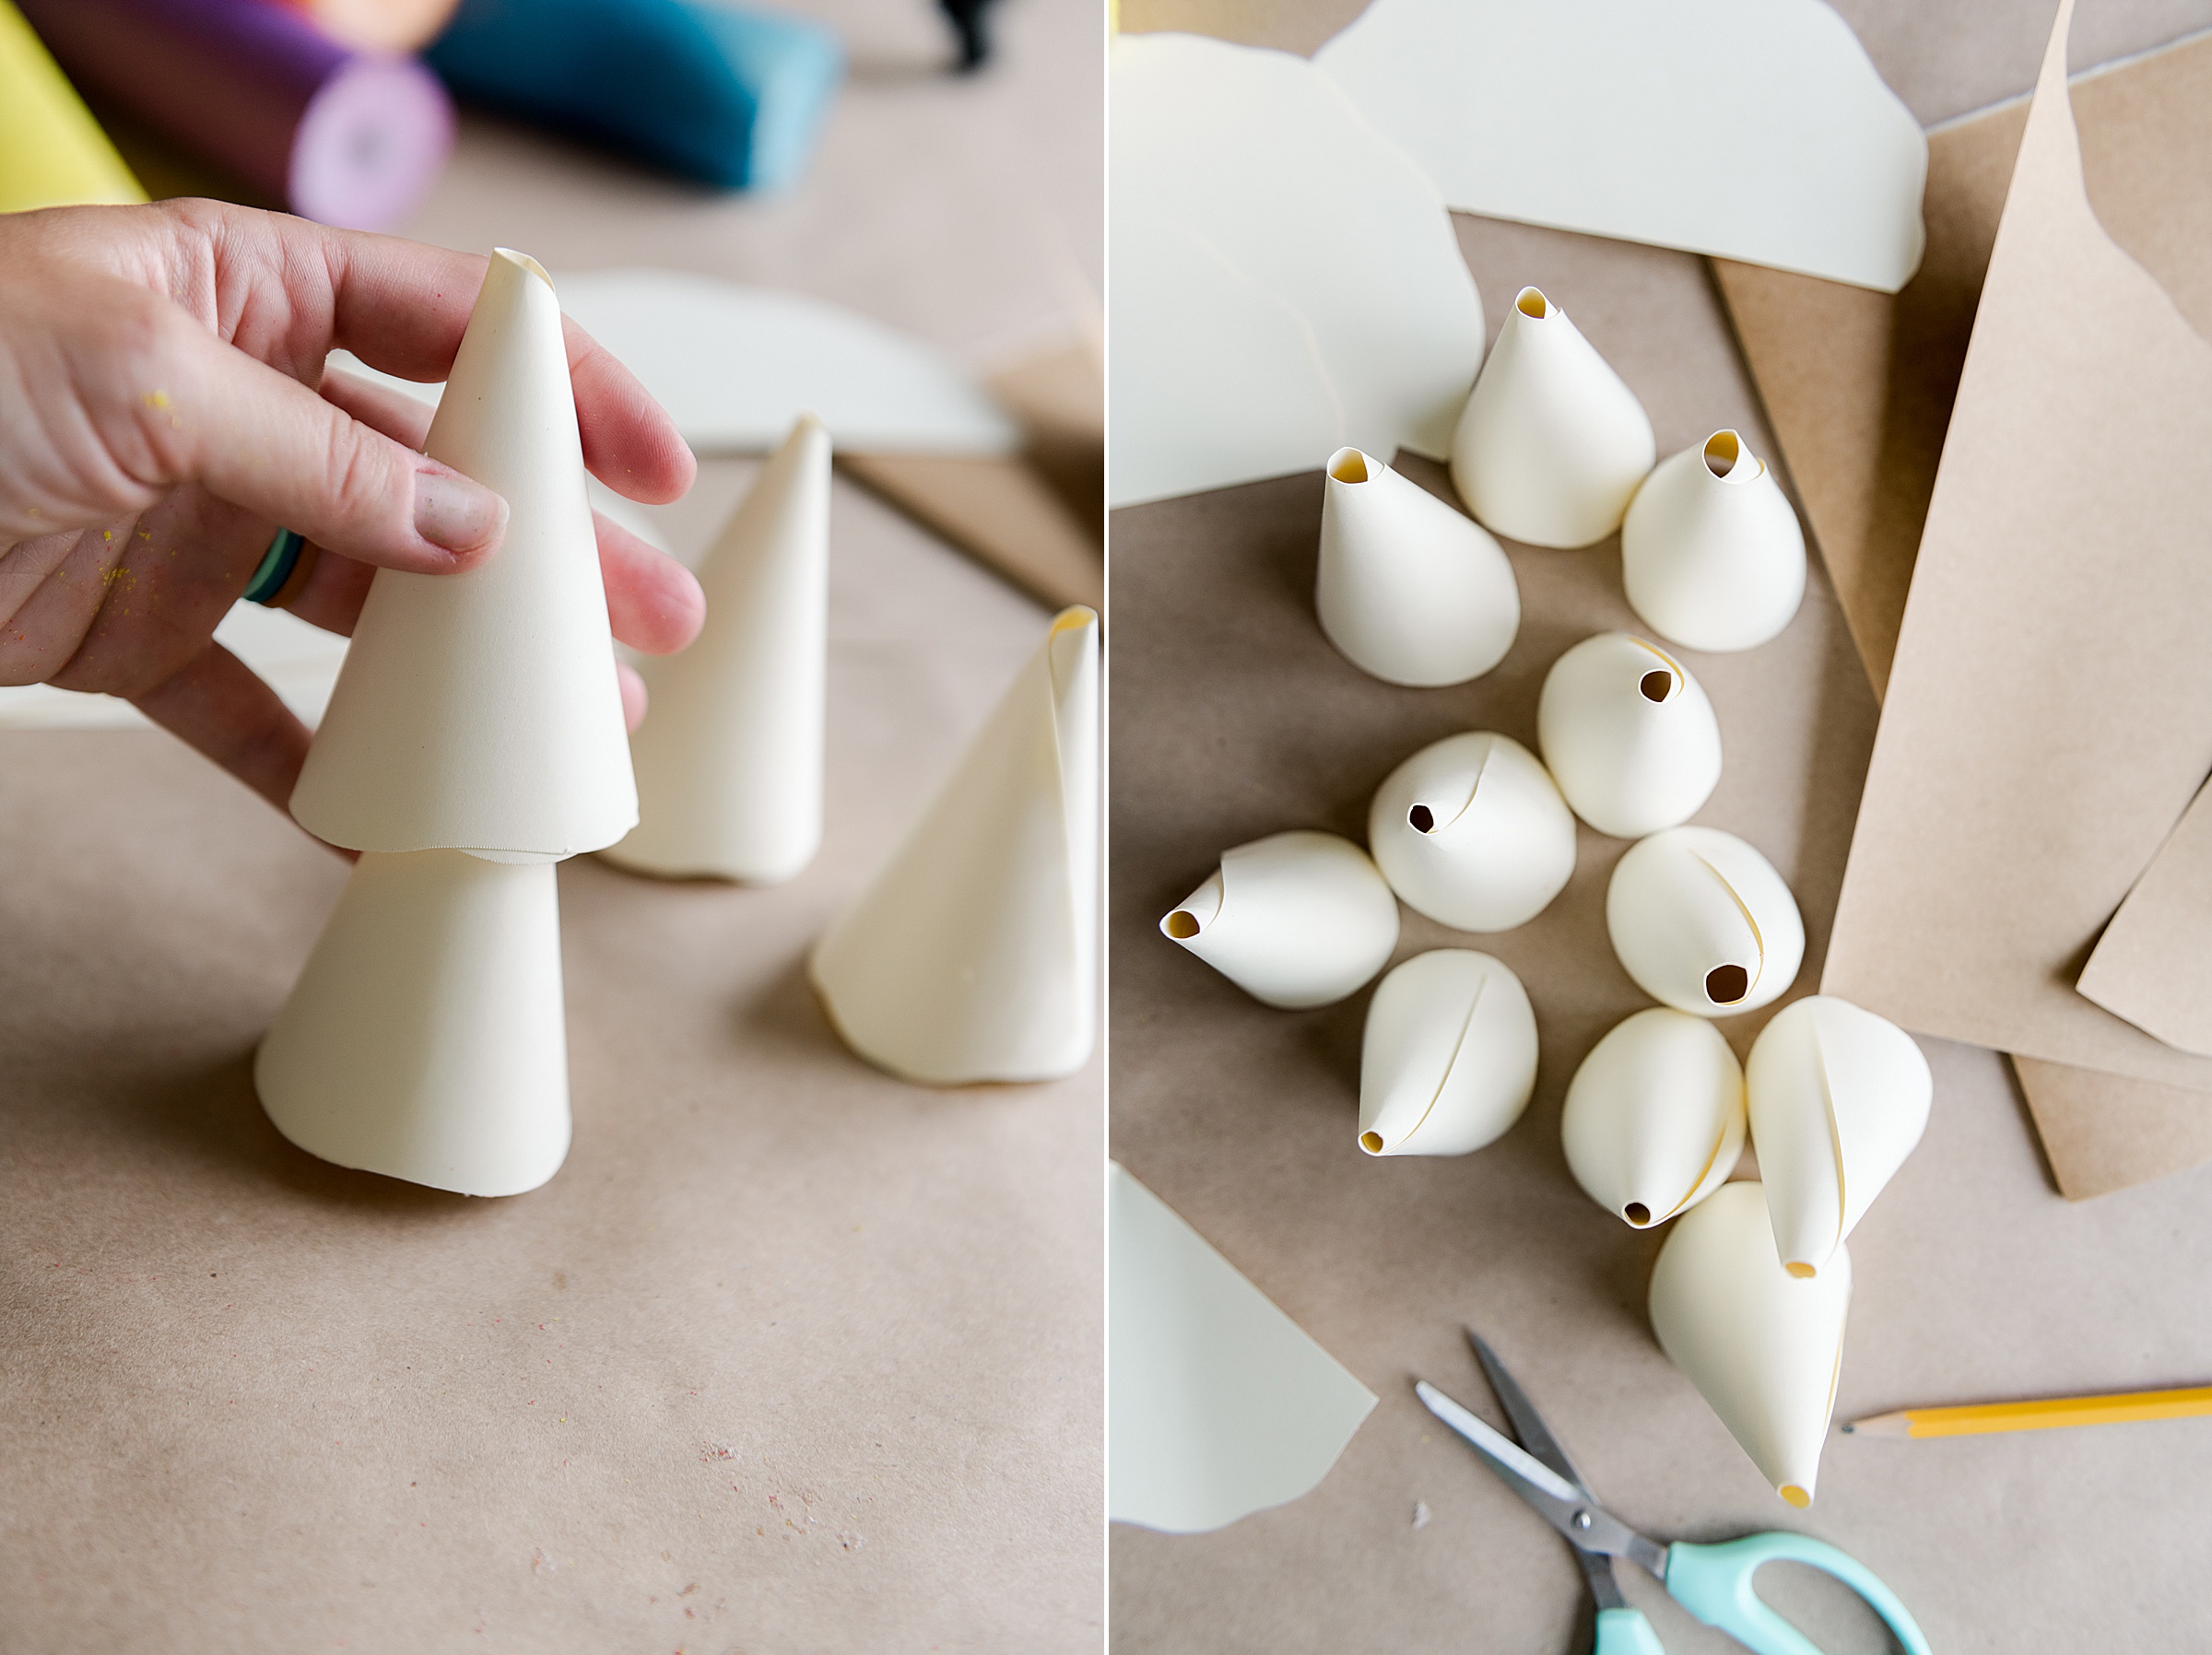
Cut out as many semi-circles as you have pencils so that each pencil has a top.
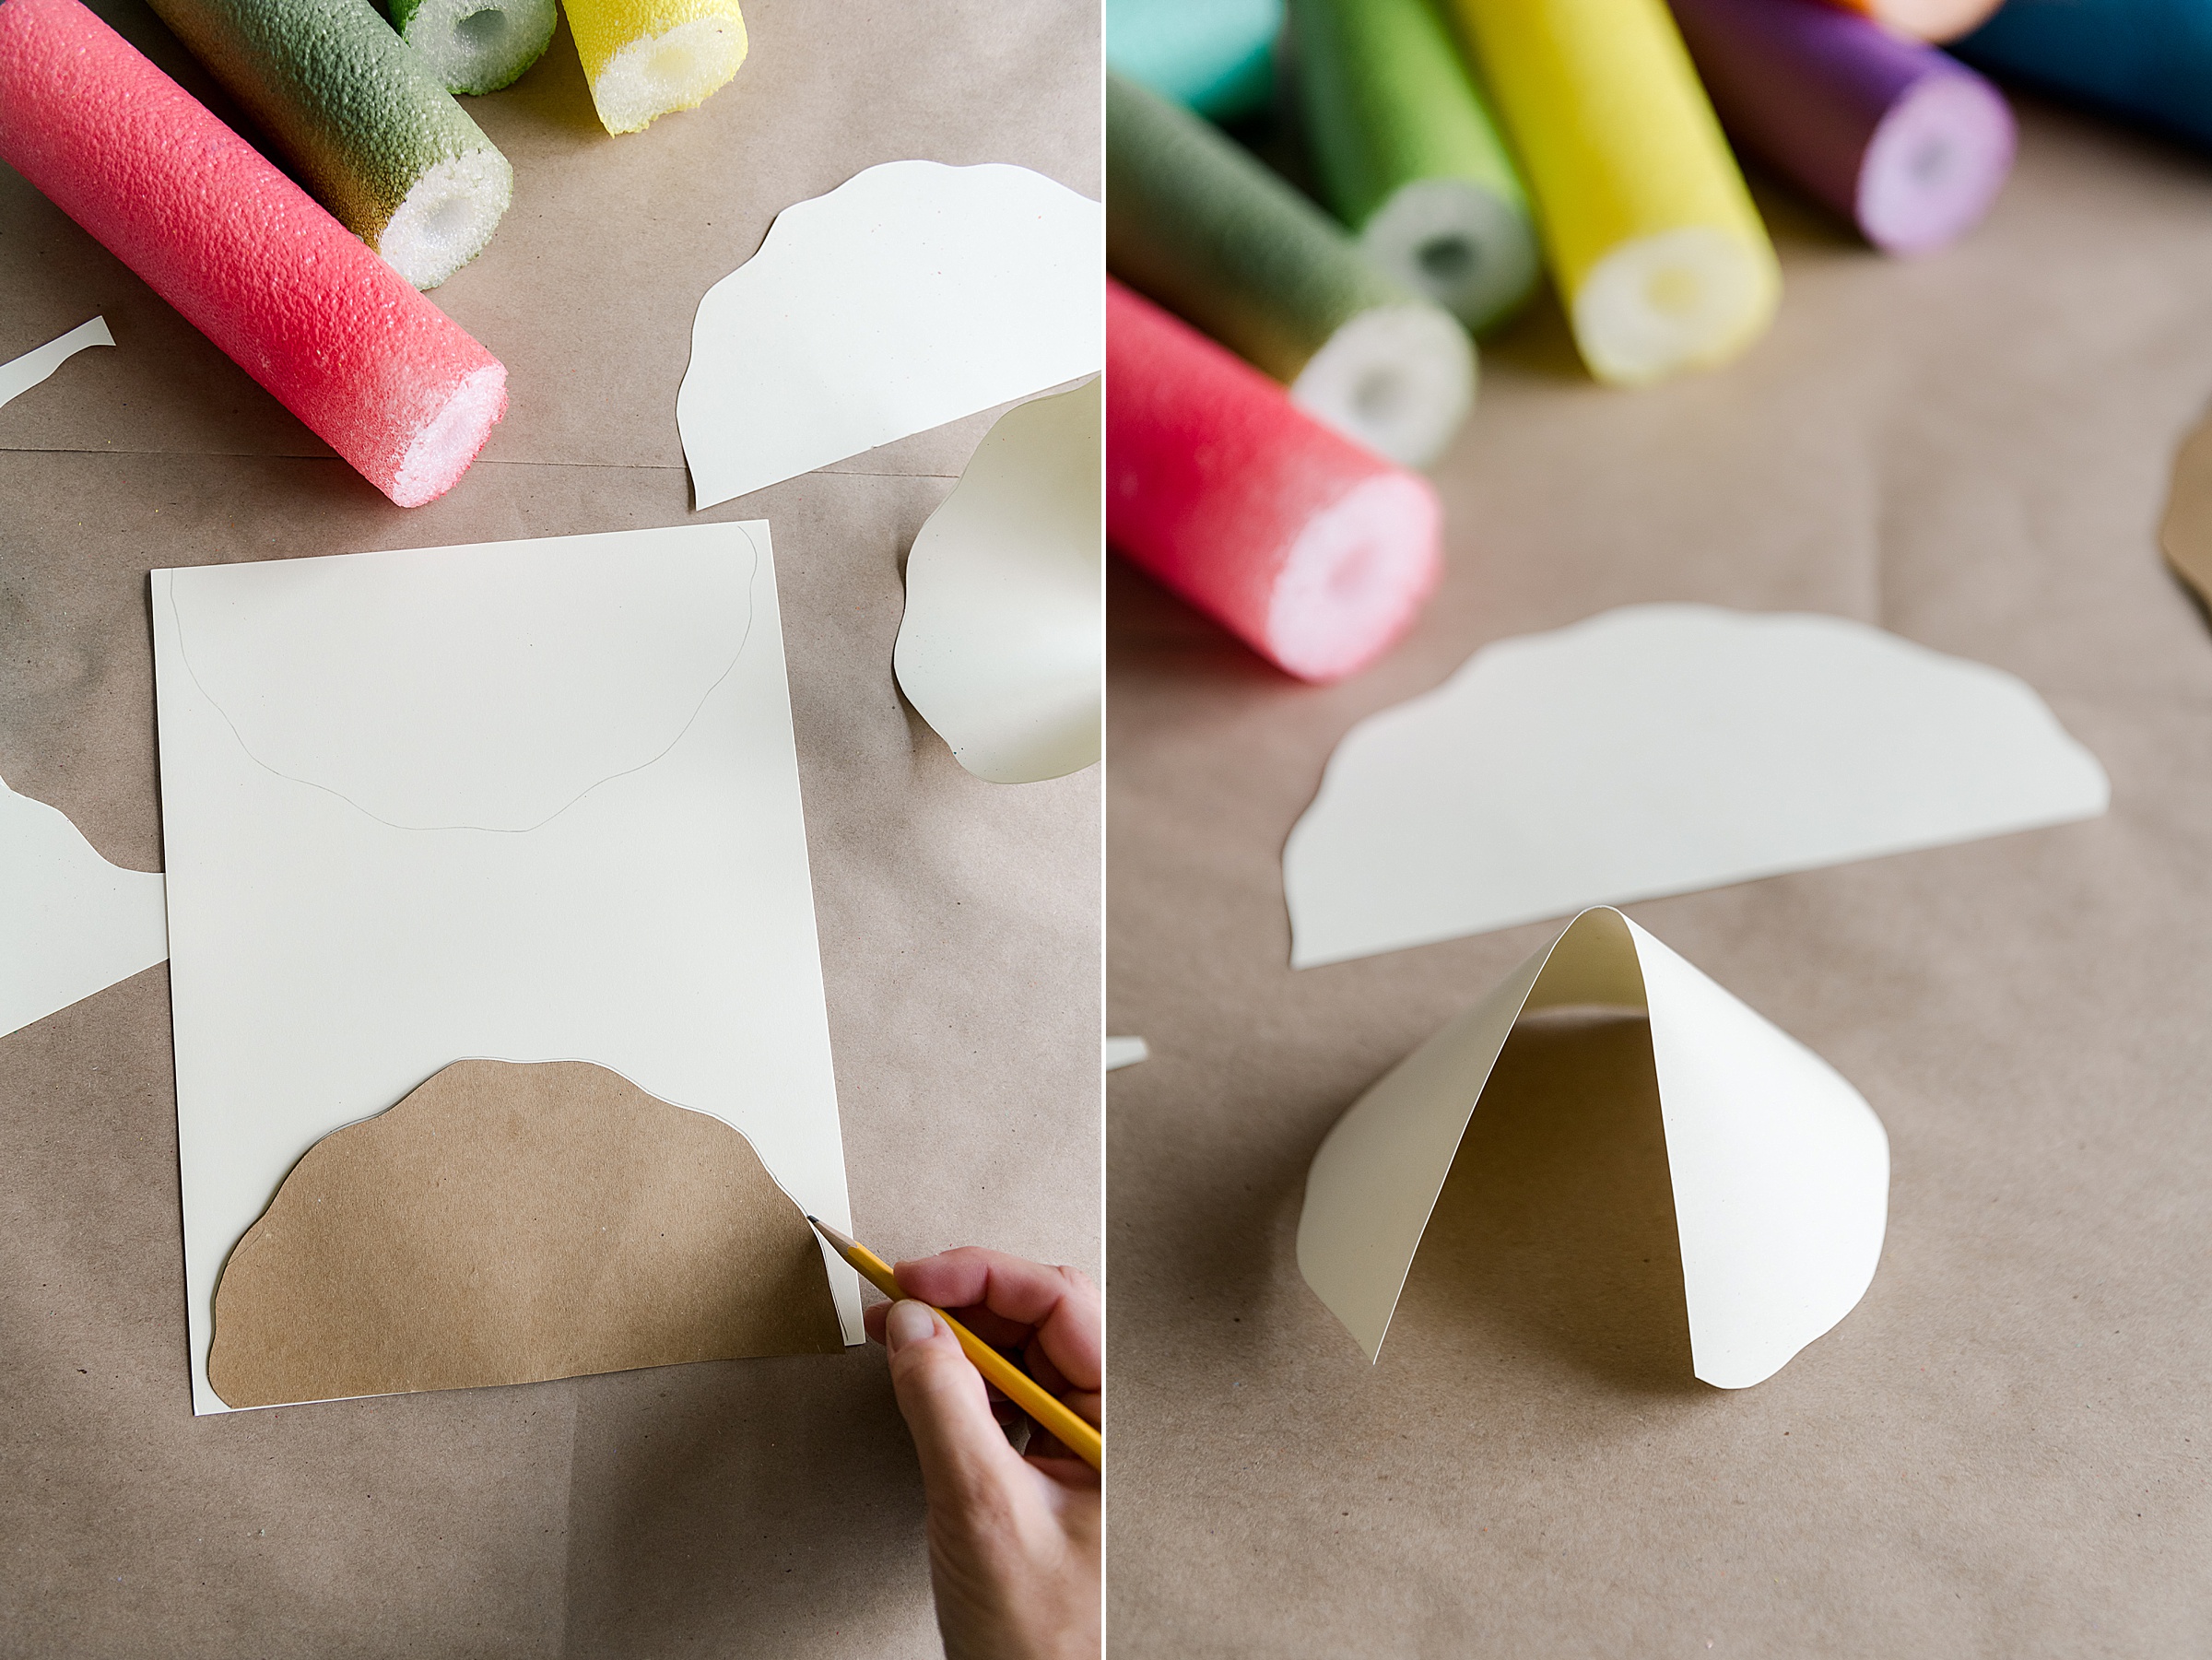
You will then circle the pencil tops around in a cone shape to make a point and glue the edges in place! 🙂
4. Paint the tops
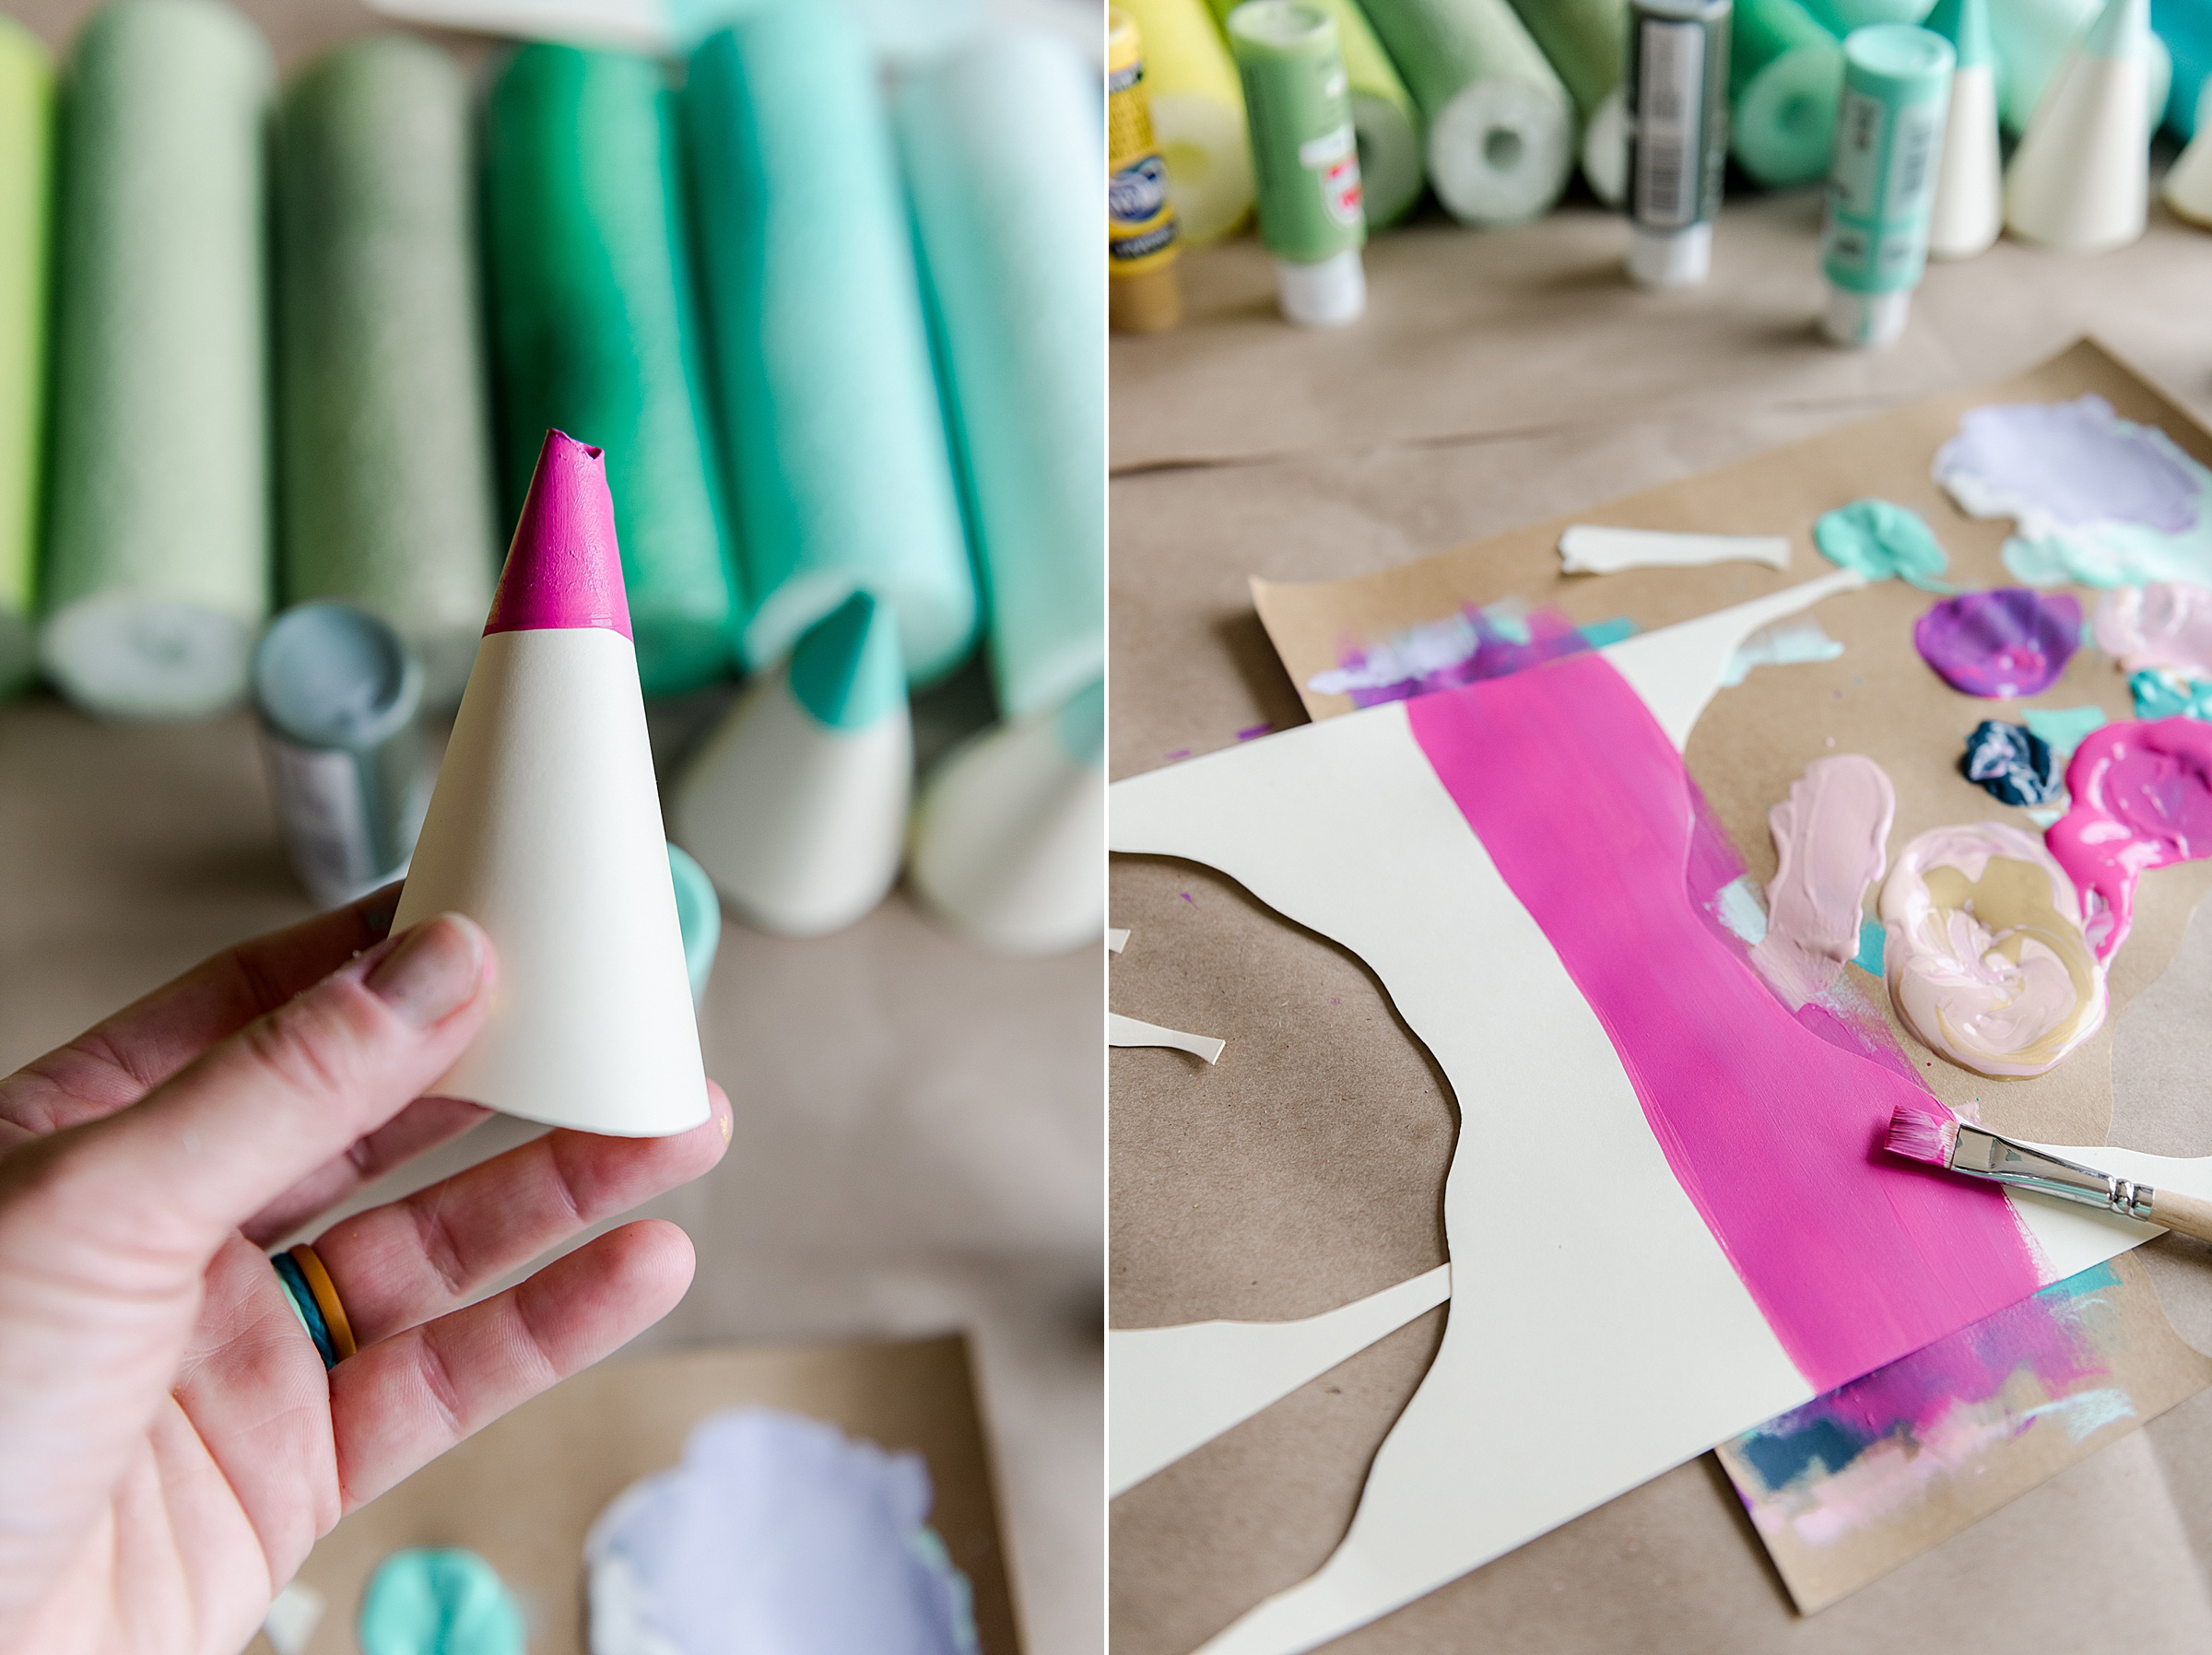
Mix up any paint needed to paint the top of the cylinders (I had to mix a few colors to match). Simply paint the top 1/4th or less of the top point of the cone to make the “lead” part of the pencil 🙂
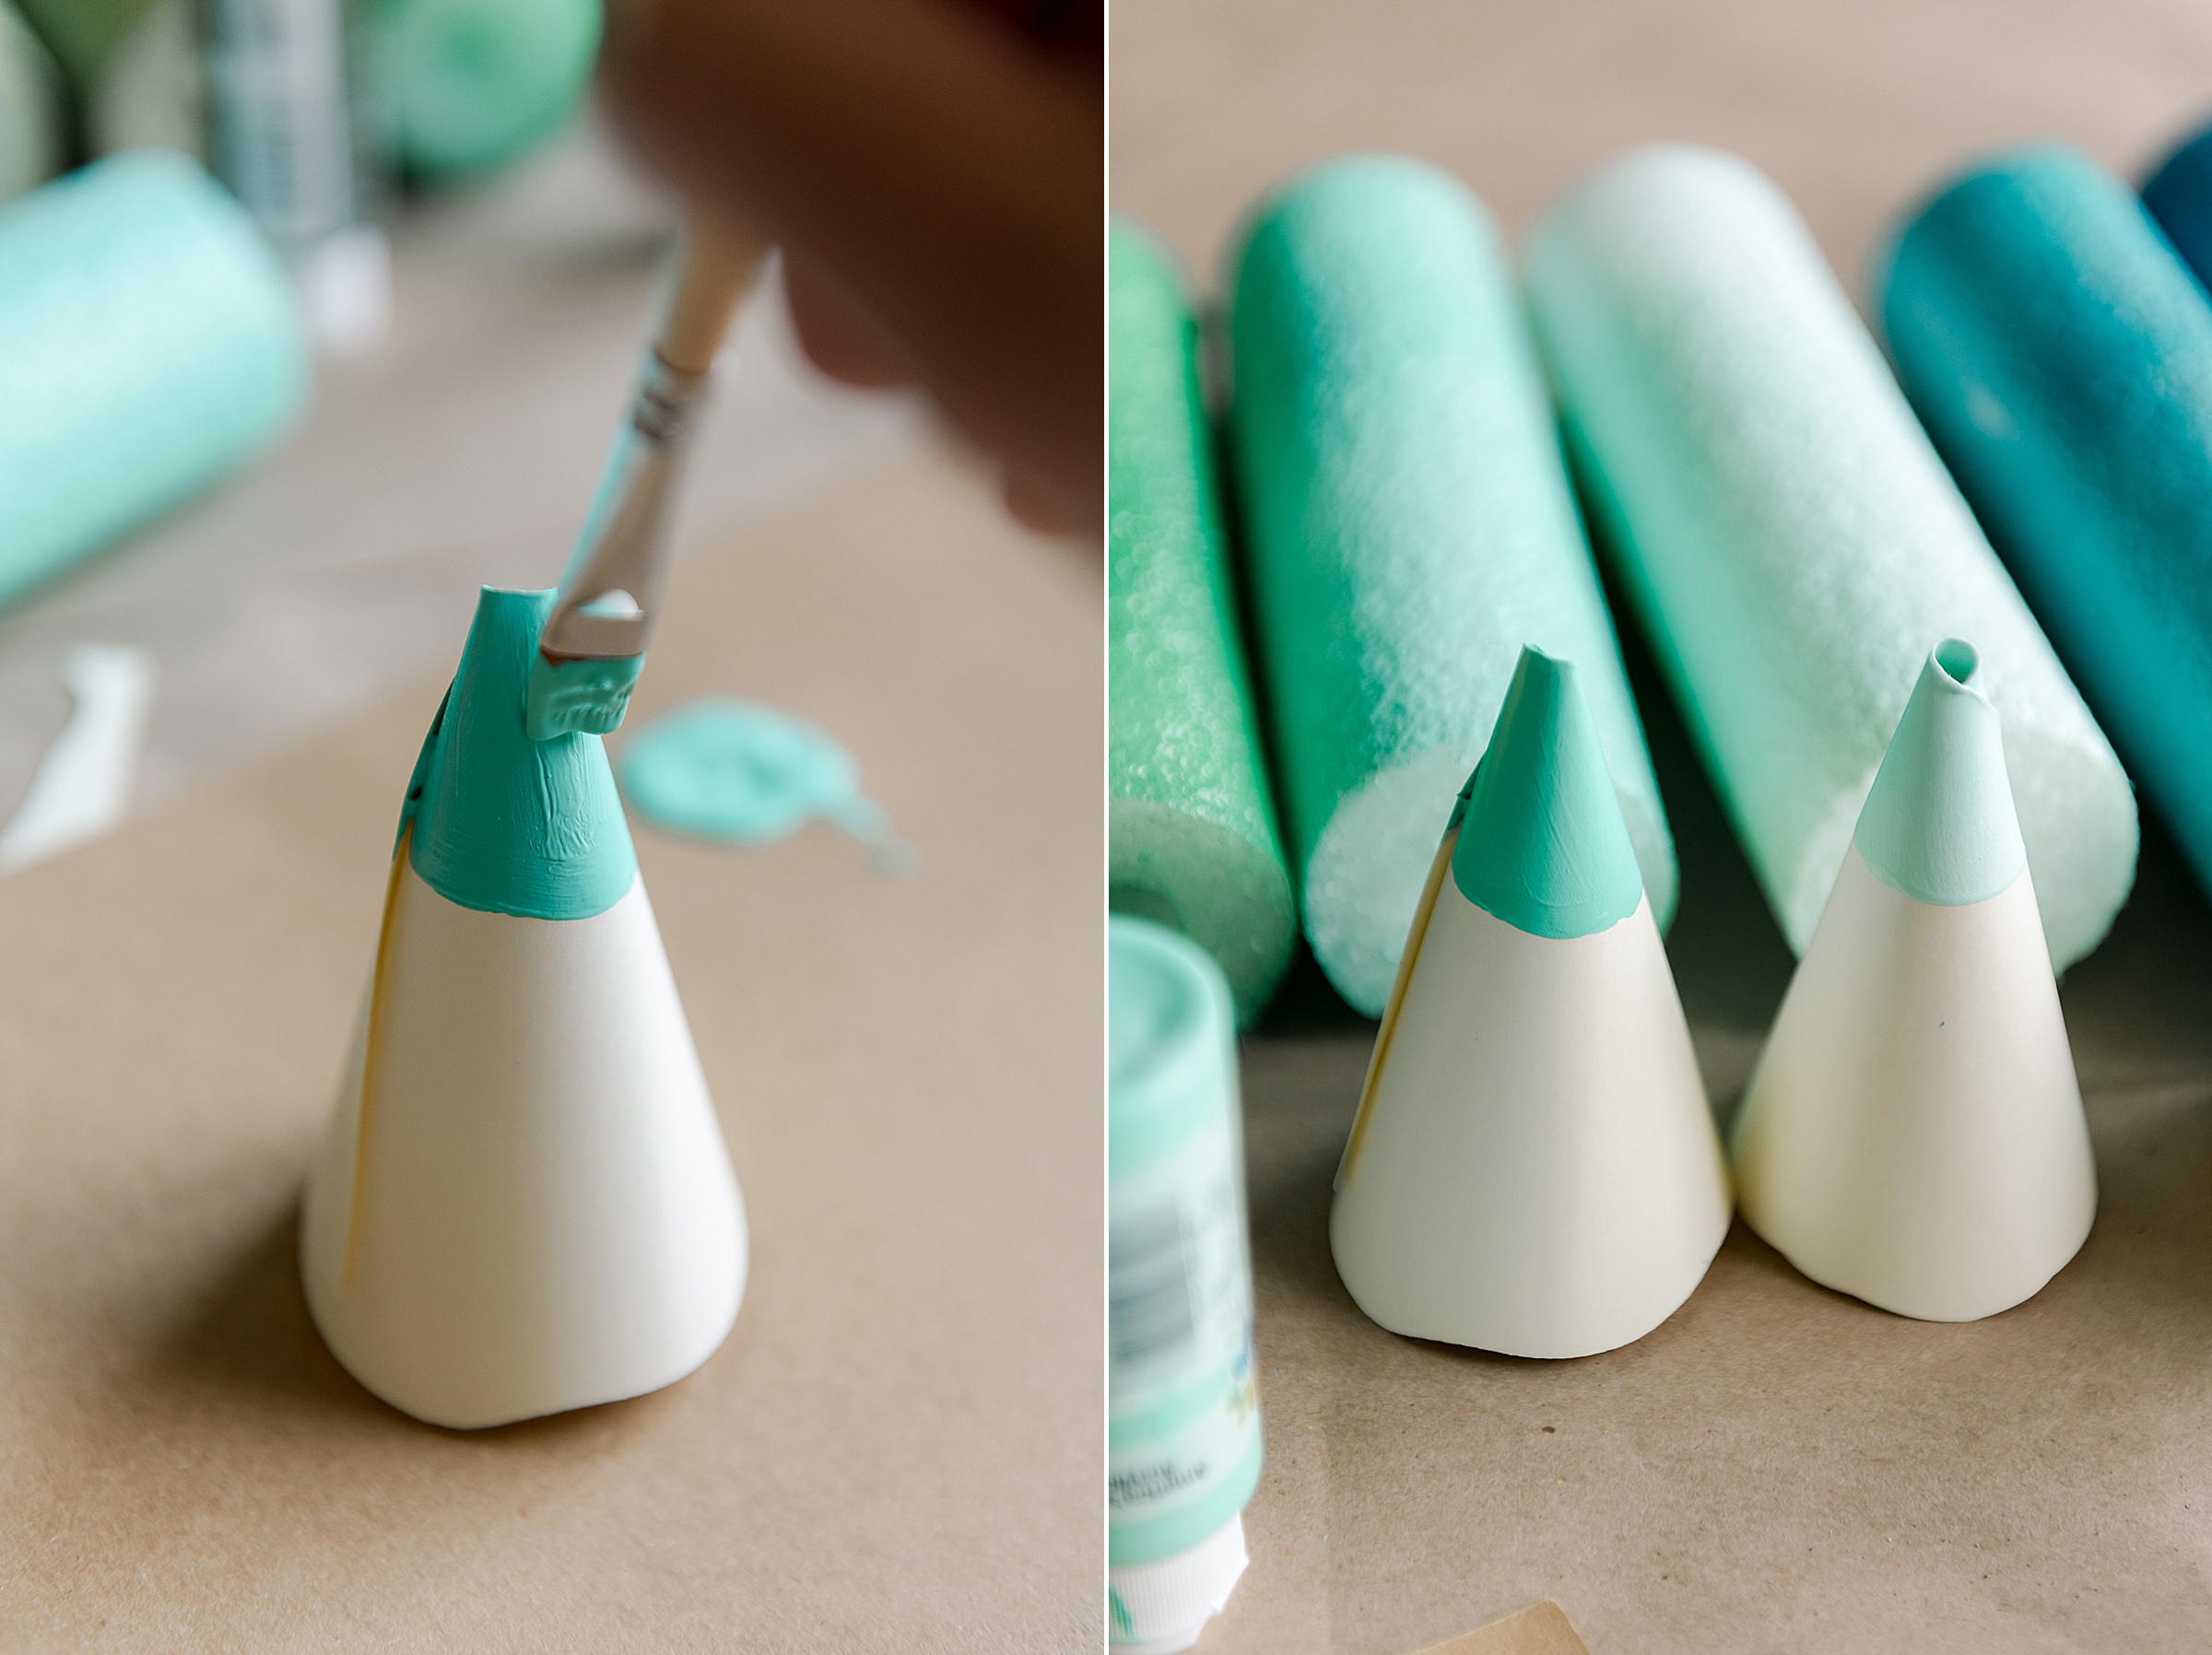
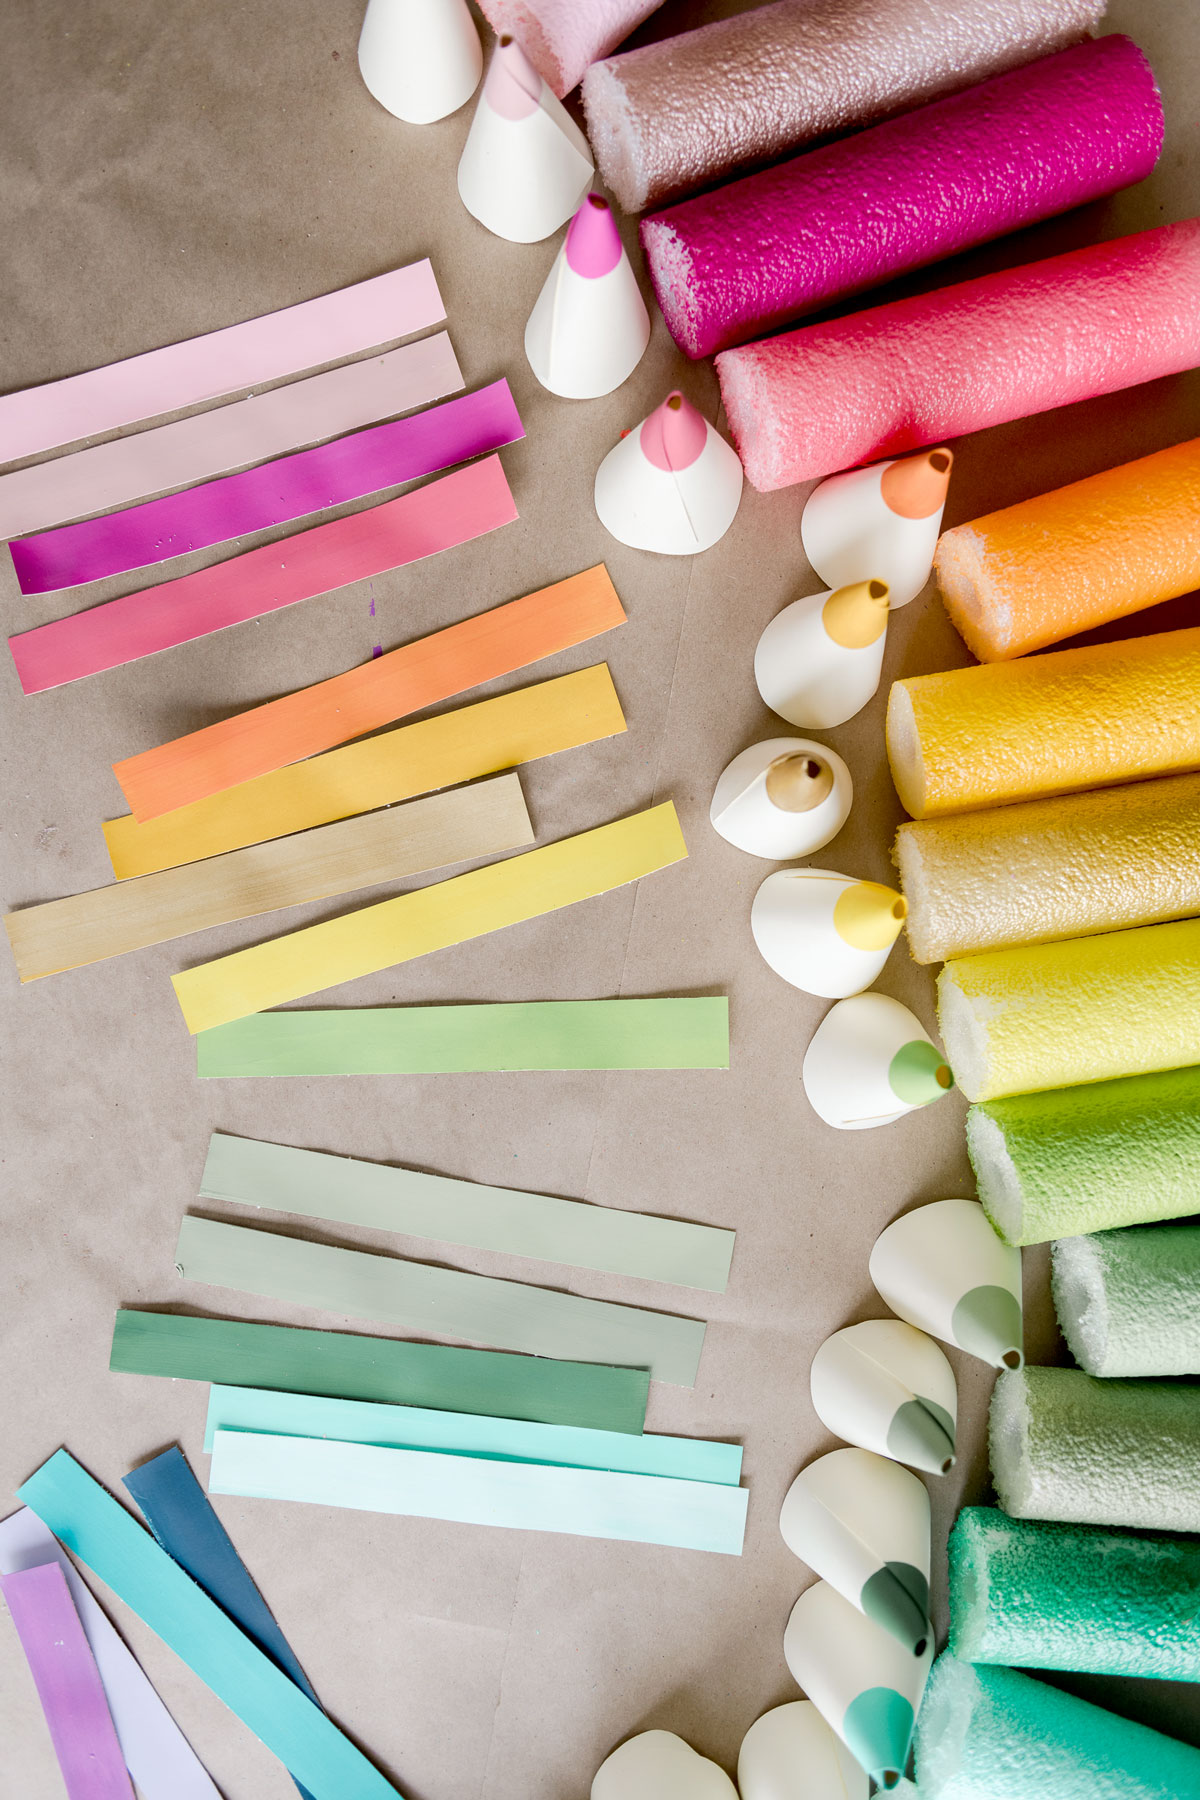
I also painted some of the extra paper from when I cut out the cones in step 3 in strips (these will become the bottoms” of the pencils). I was able to paint 2 strips on each piece of paper.
Set aside to dry!
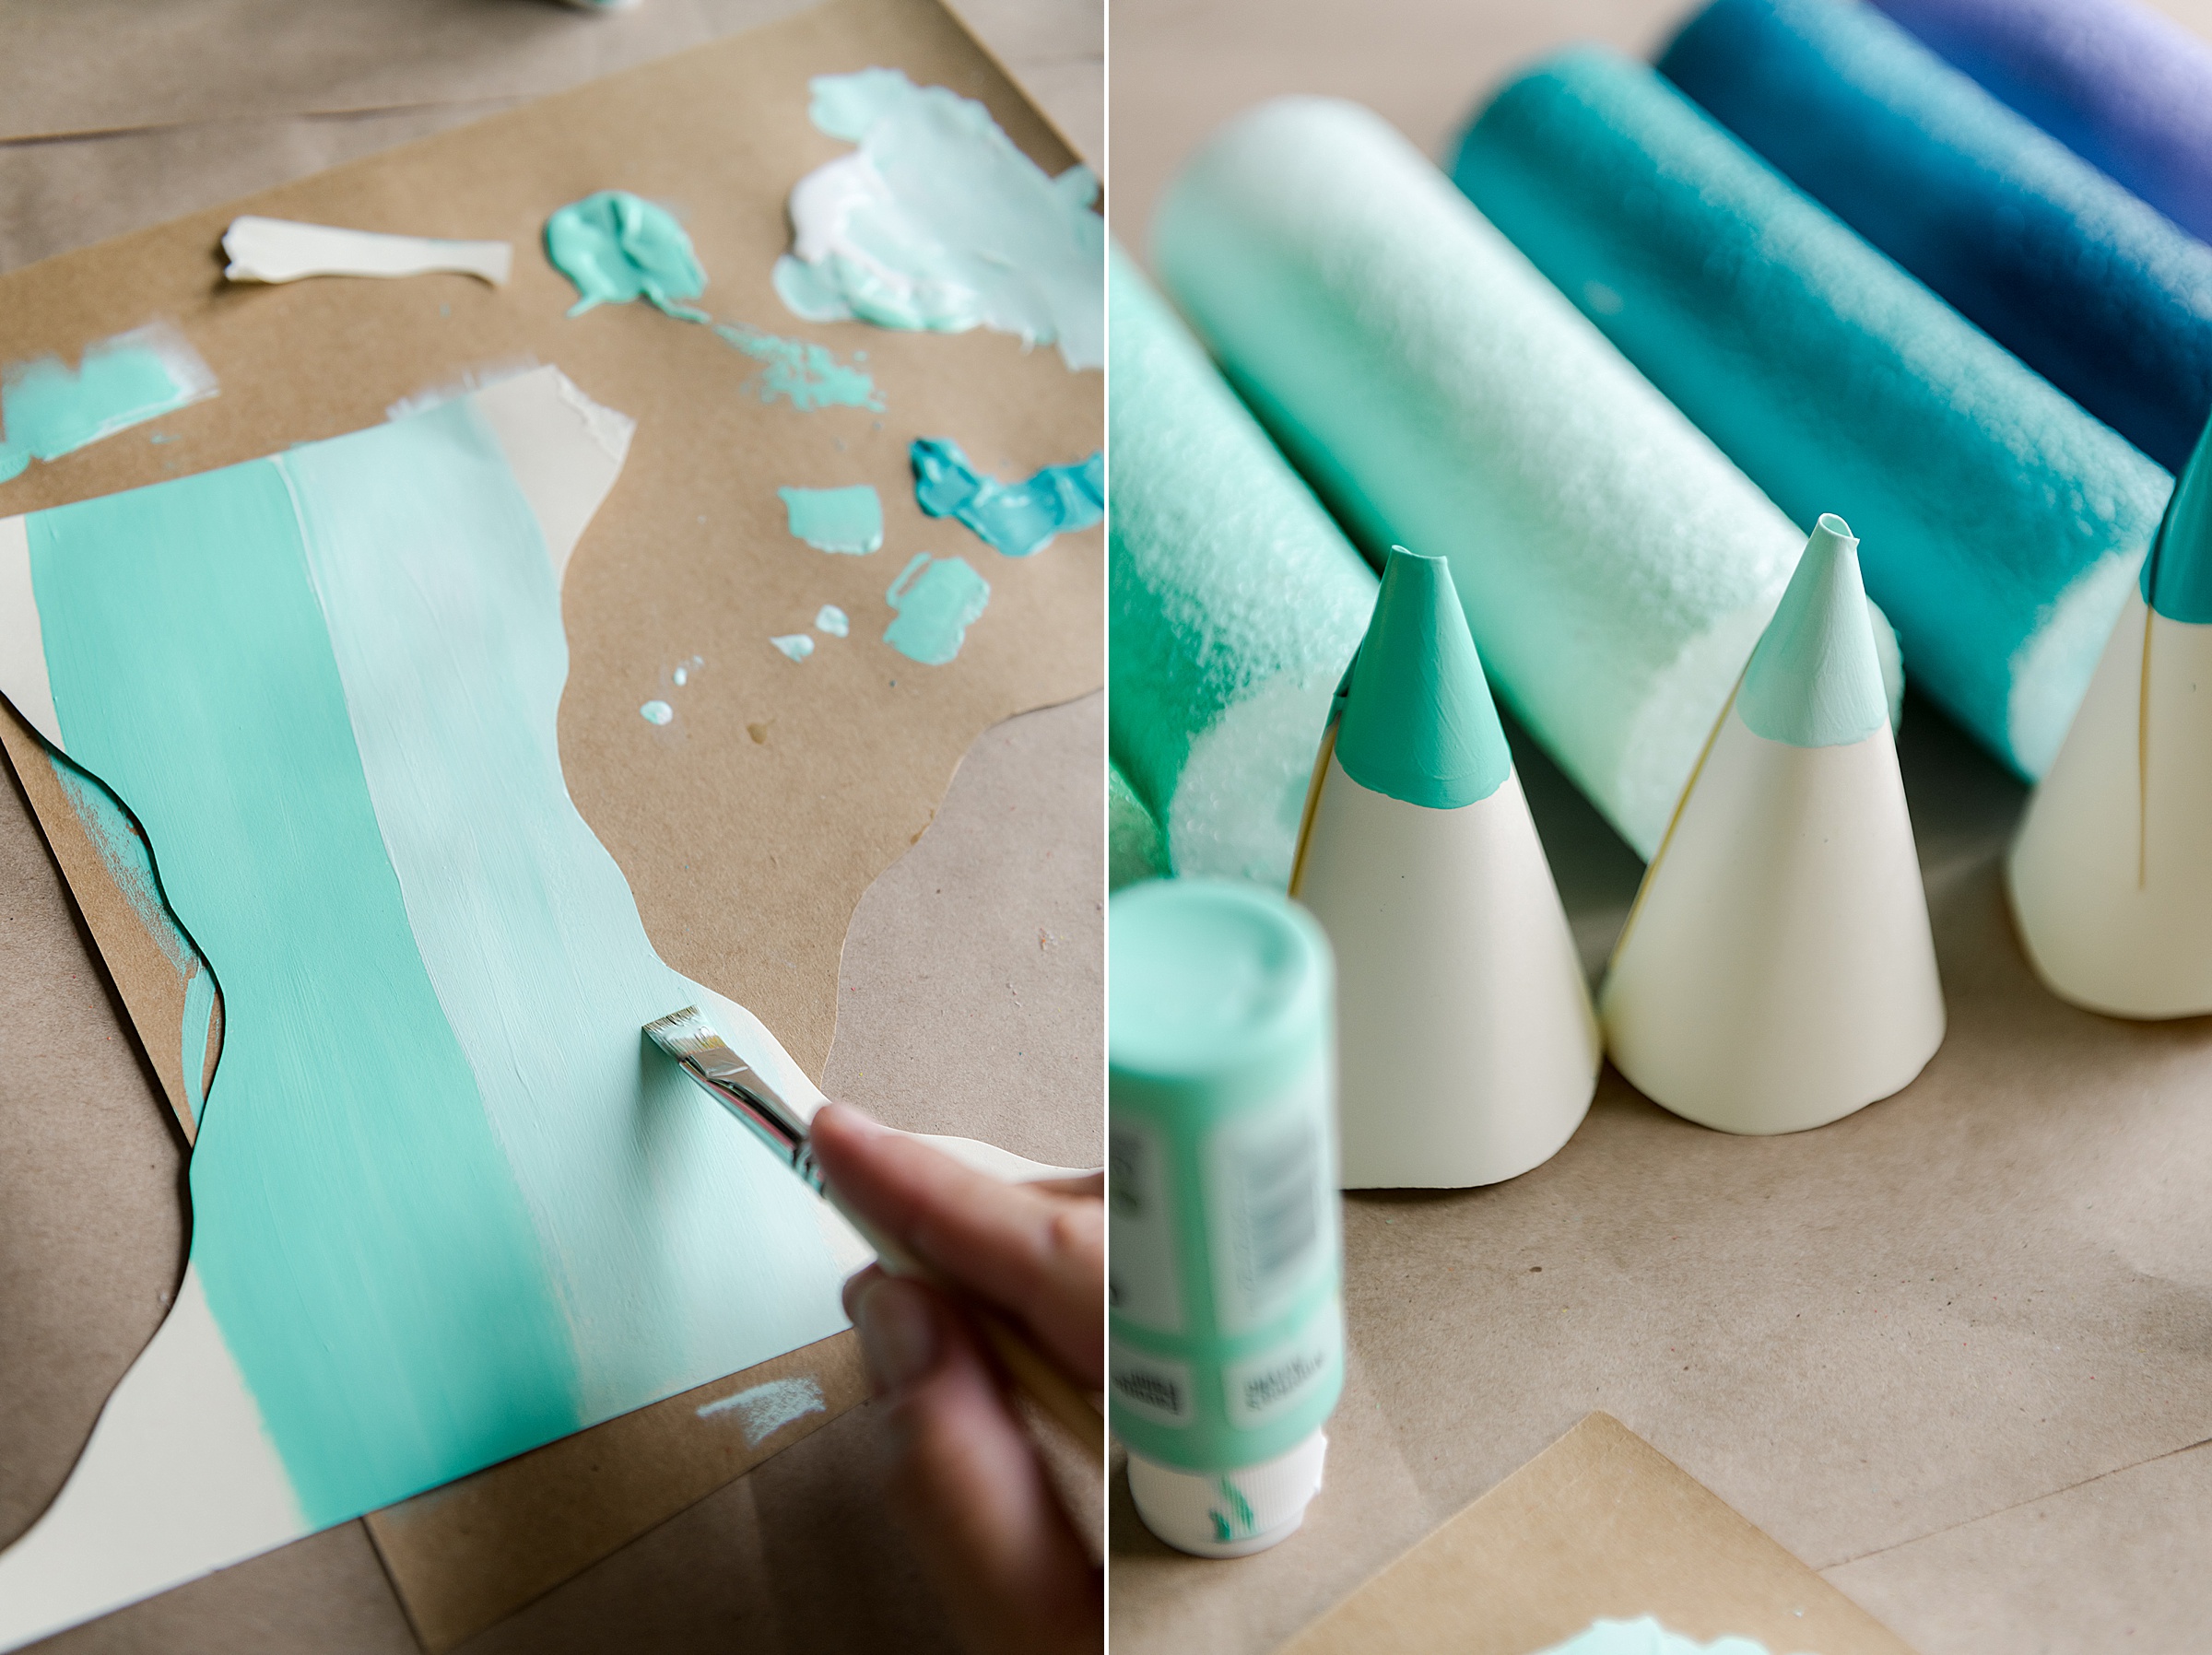
5. Cut out bottom strips
With your additional strips that you painted in step 4, you will cut 1 inch strips. This step isn’t necessary, but does give the bottom of the pencil a nice clean edge (maybe I am just not good at cutting pool noddles cleanly 🙂
6. Glue together!
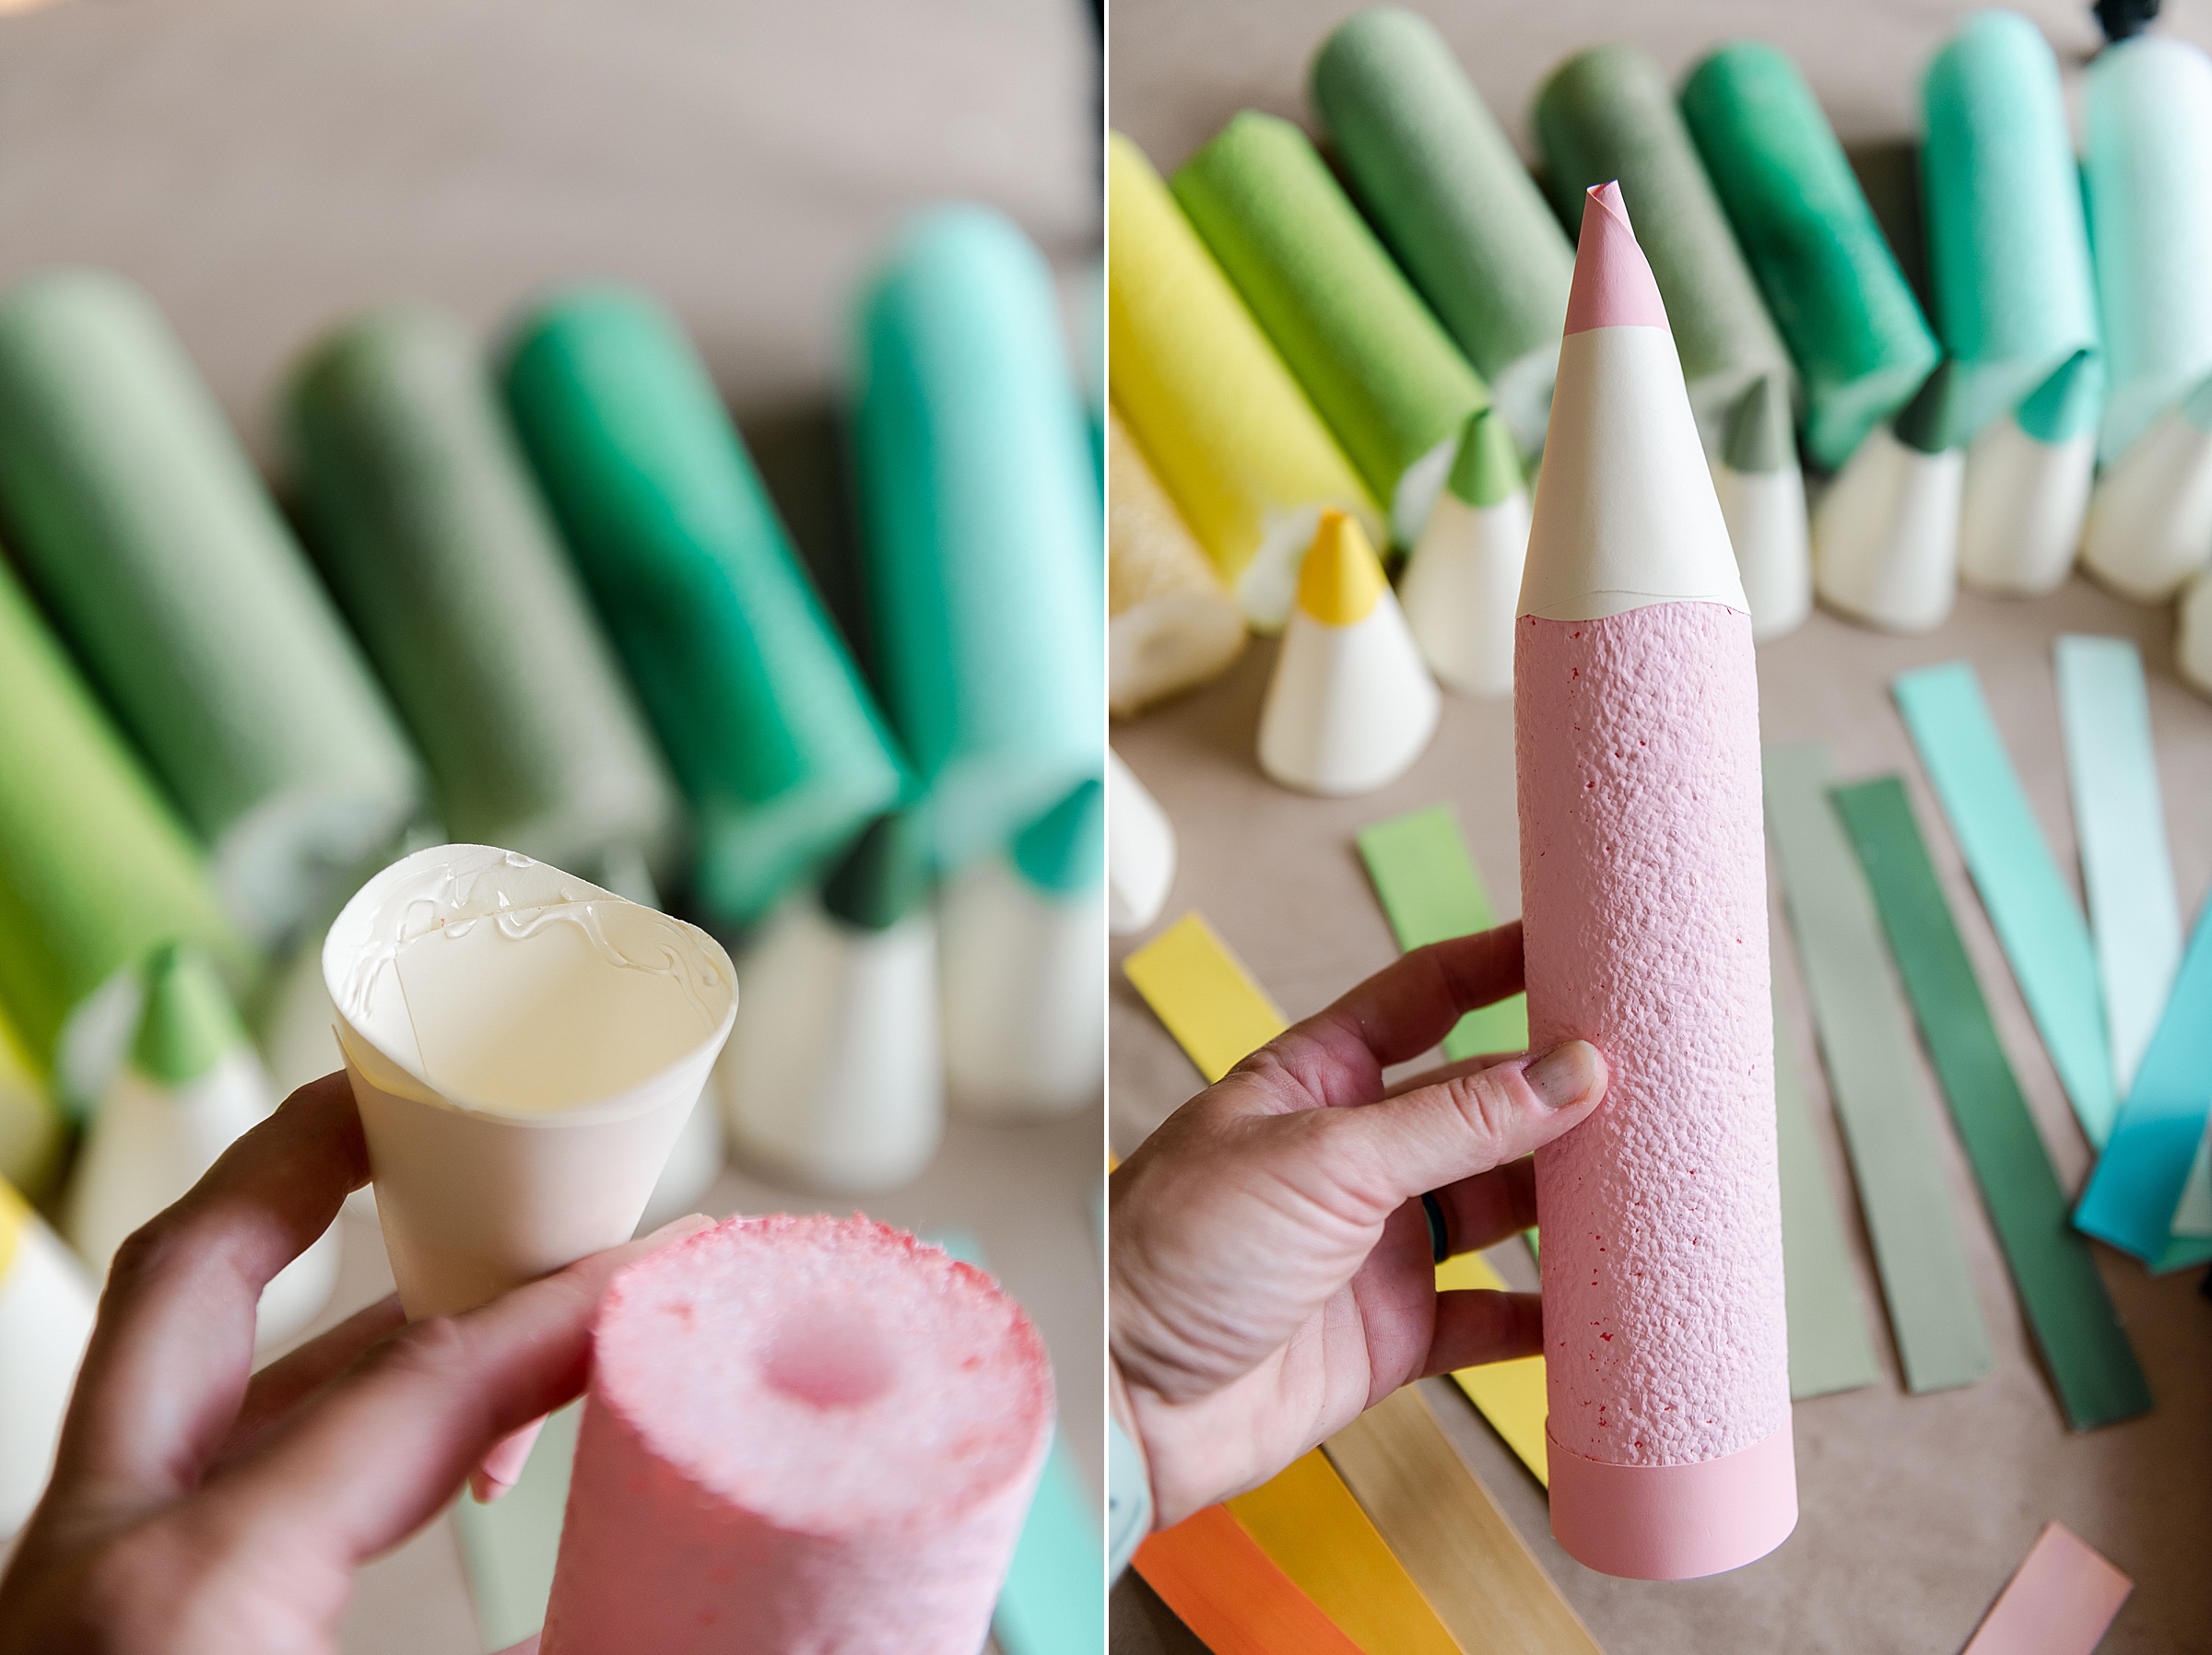
You are now going to warm up your trusty glue gun and start gluing everything together. Start with the bottom strip to cover the bottom of the pencil and then you will add the top cone as well.
Be warned that hot HOT glue can melt the plastic pool noodle so I found that it’s easy to put the glue onto the paper parts of the pencil and let it sit for 5-6 seconds before gluing onto the pool noodle.
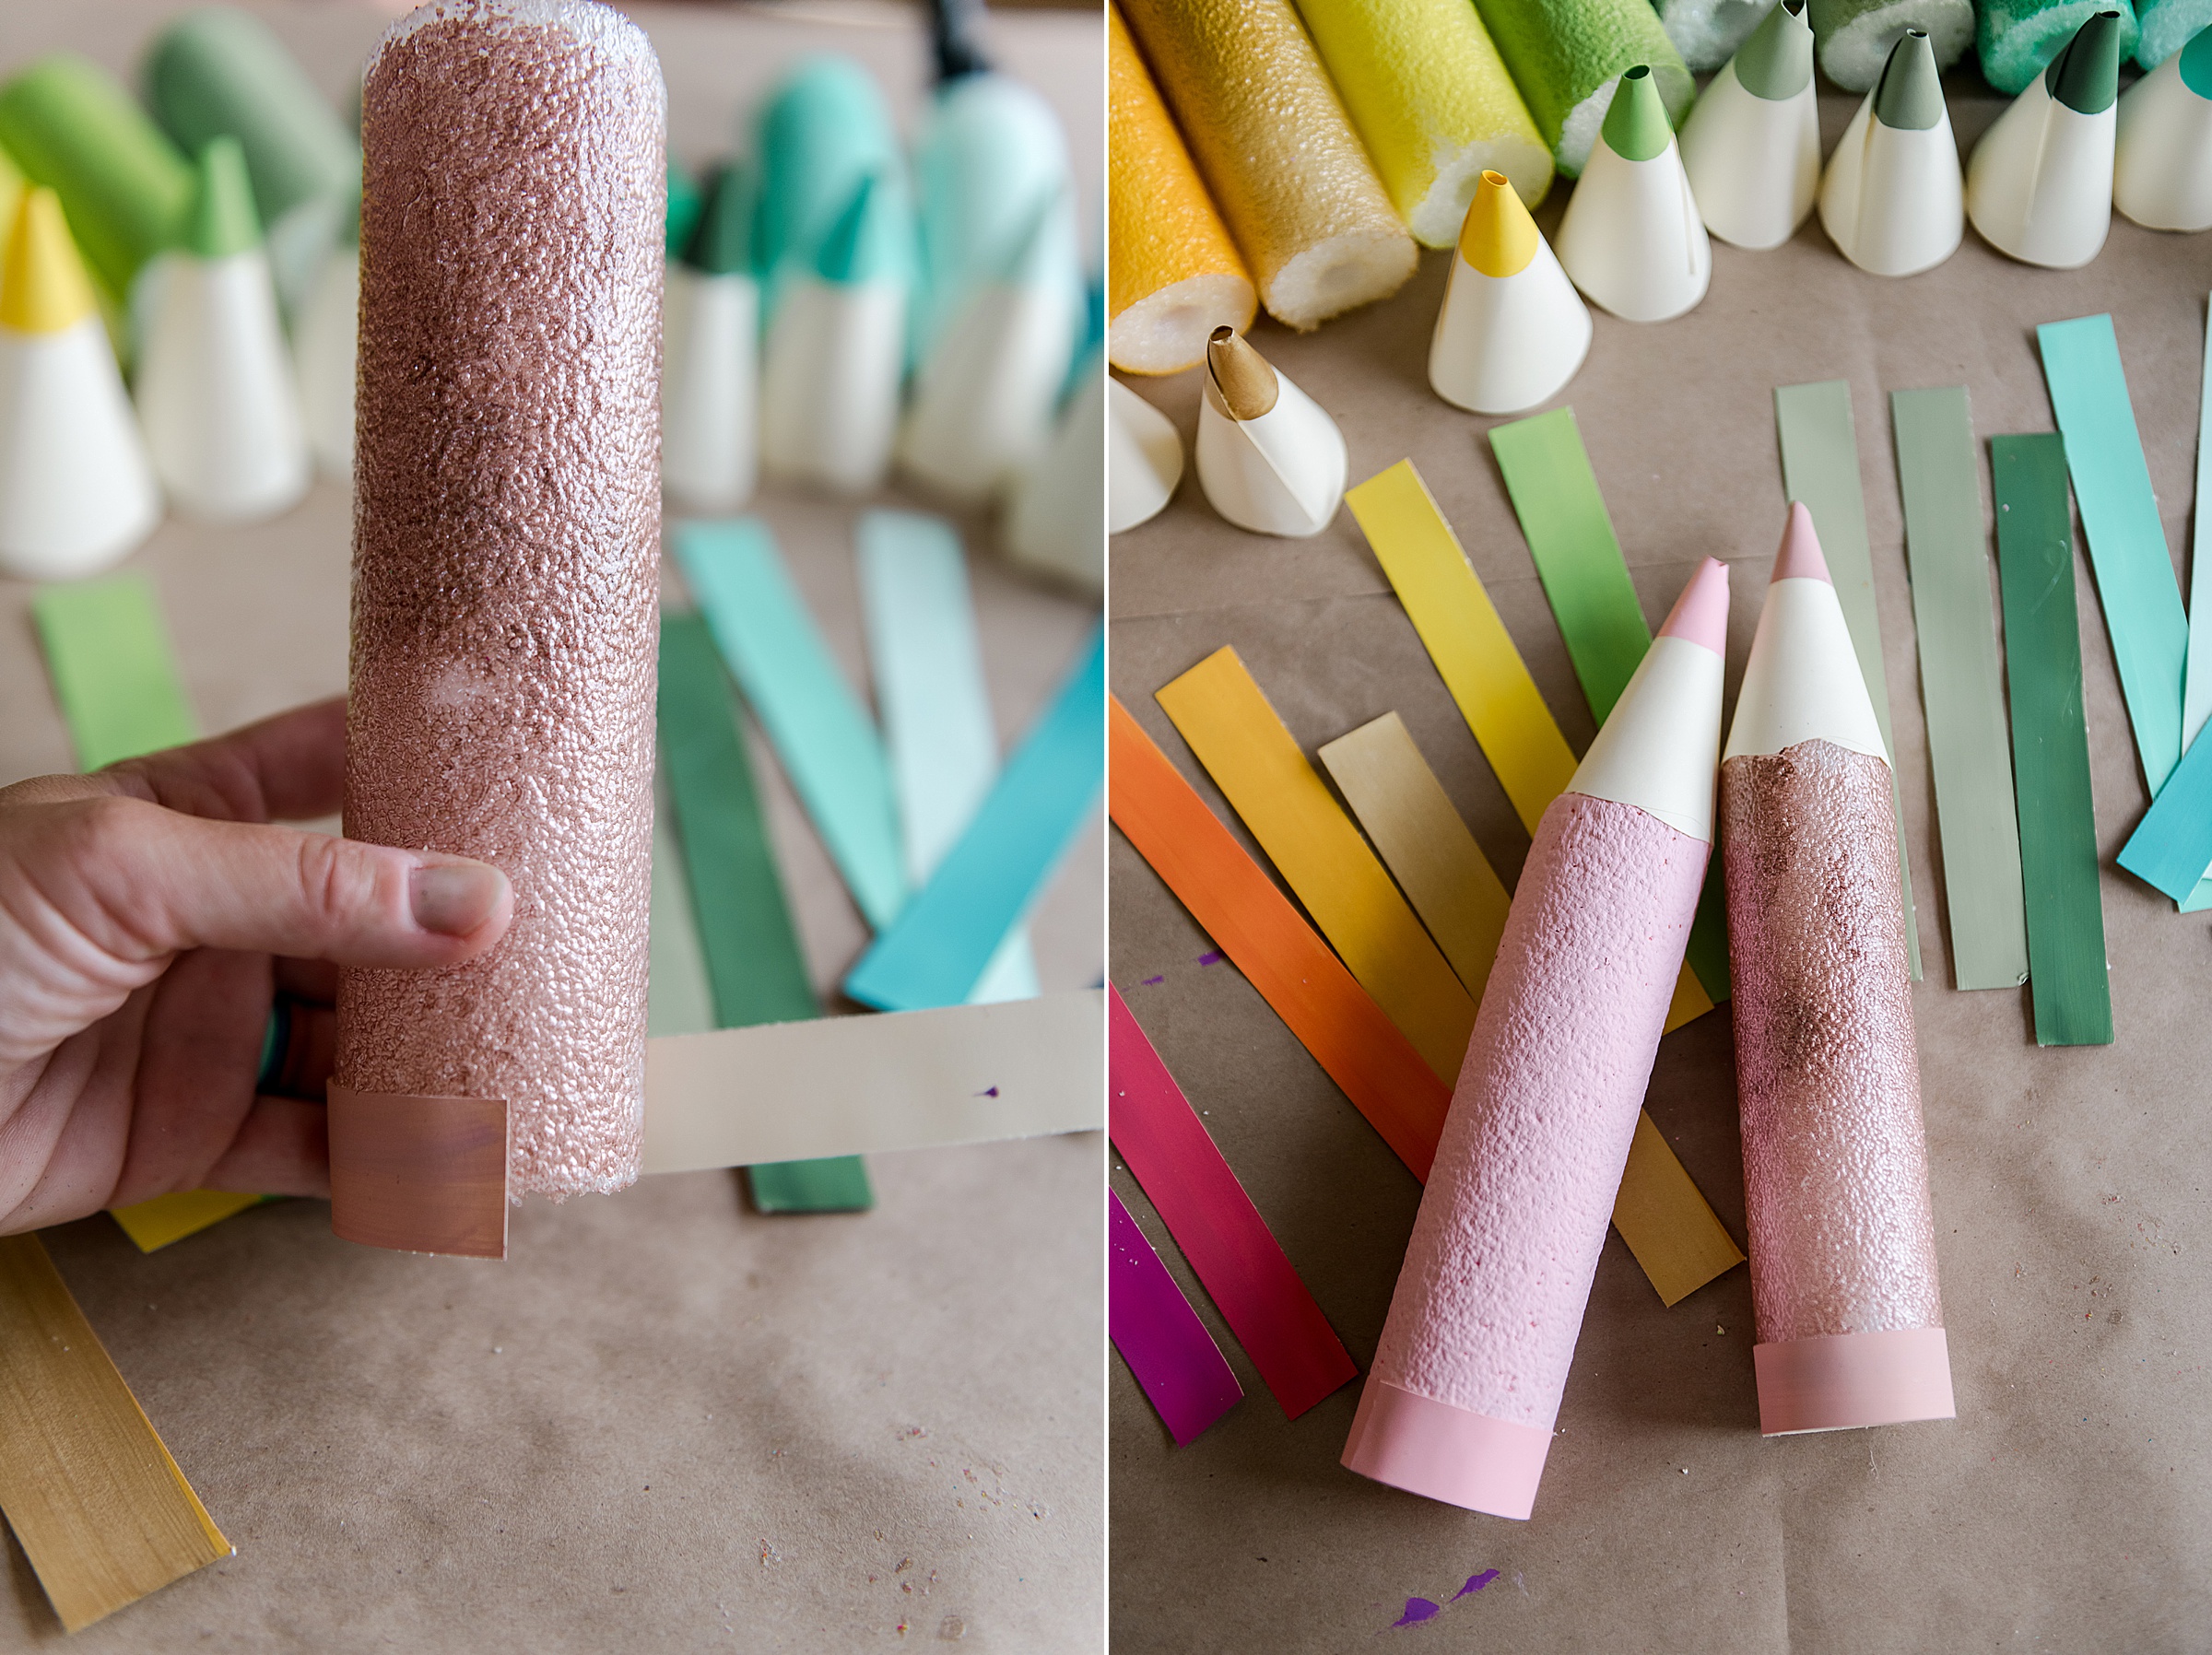
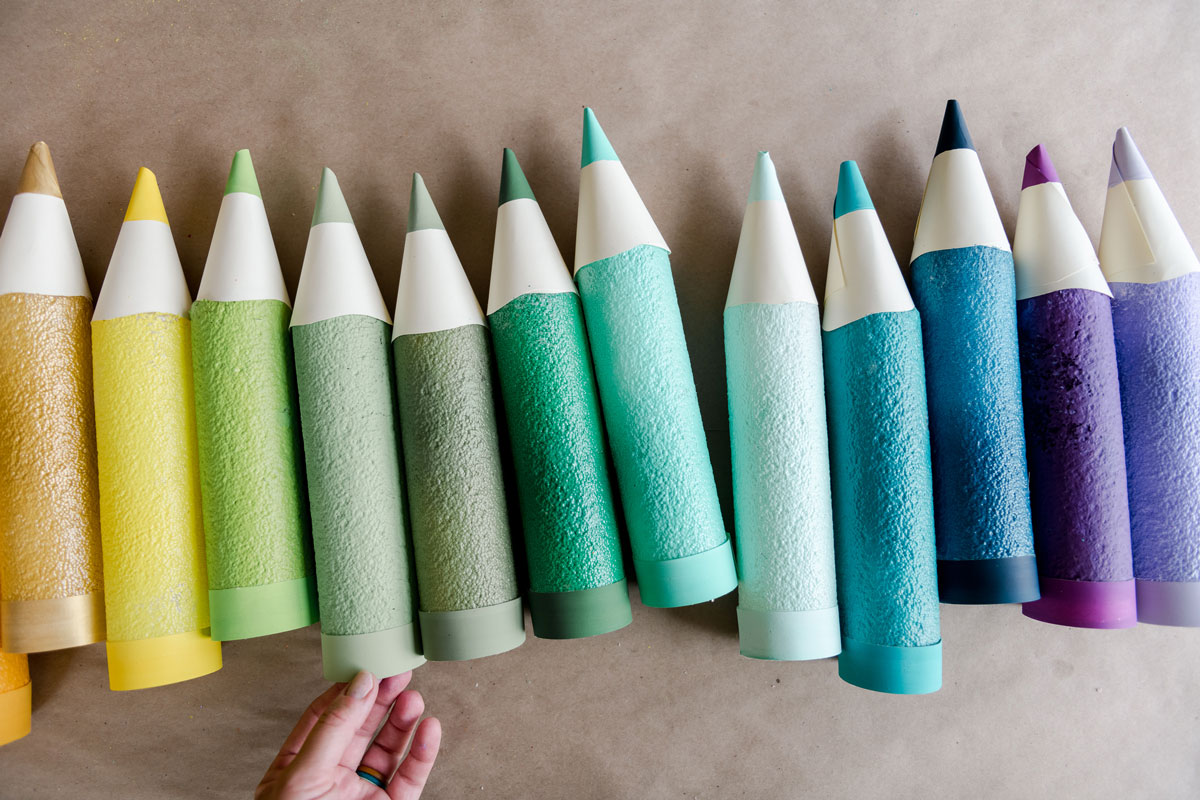
Now string your colored pencils together and make a garland or glue them to a wreath or ANYTHING that you want to make them super fun and happy for your newly decorated art space or back to school photos 🙂
