How to knit a t-shirt rug + my solution for our front entryway!
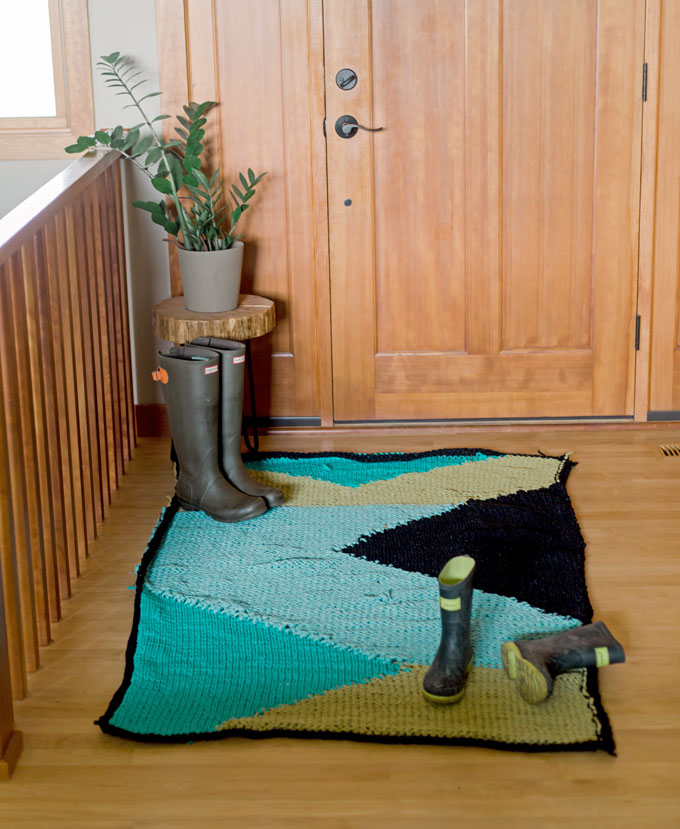
I have always wanted to try and weave a t-shirt rug. And try I did. Maybe you saw on Instagram….my frame making and attempts and epic failures that lead to my switch-a-roo to this project! 🙂 A no sew KNIT t-shirt rug! I LOVE KNITTING! Why didn’t I try this before?!?!?! I am *SO* pleased with how it turned out and actually how EASY it was!!! 🙂 My goal was to make something colorful and inviting and happy for our entryway….we don’t have a place to put hooks or do too much styling, so this was my solution for a welcoming space! 🙂 And I’ve labeled it a success! So, today I am sharing with you the knitting pattern and the general “how to” of this DIY knitted entryway t-shirt rug! 🙂
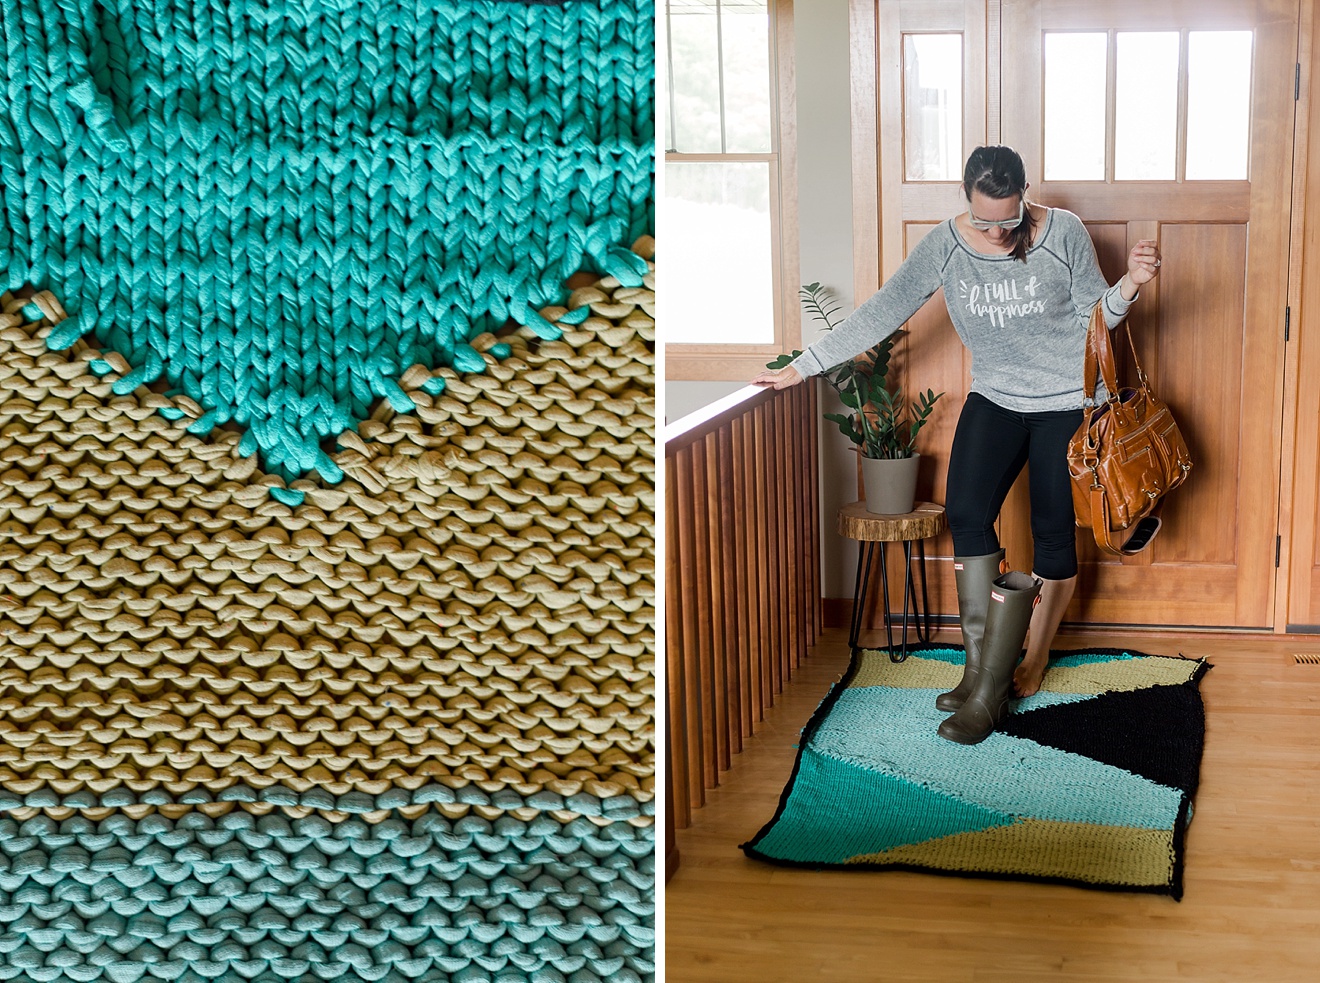
First of all, the supplies! I researched and researched the t-shirt rug “yarn” or fabric. I found tutorials on how to DIY it (by cutting up old t-shirts on the bias and using them). But I scratched that idea because I wanted to be able to control the colors a bit more, AND as it turns out, buying loads of t-shirts at a thrift store wouldn’t actually be much cheaper than the yarn I landed on! 🙂
I landed on this upcycled fabric yarn from Ice Yarns! It’s a company seems to have LOTS of options of colors, styles and weights. The only downside is that the colors change out often (I would assume because it’s upcycled so it would depend on the stock of each color)! 🙂 The colors that I chose were black, olive green, mint (which is more of a teal) and light emerald! 🙂 I now see that they have a dark yellow which I would have DYED to get before….maybe another order + project will be in store soon, eh???!!! 🙂
HERE is the link directly to their section of t-shirt yarn!
The yarn itself calls for a 17 sized needle, but I chose a size 19 circular. You easily could go up or down in needle size, depending on how loose or tight you want the weave of the rug to be.
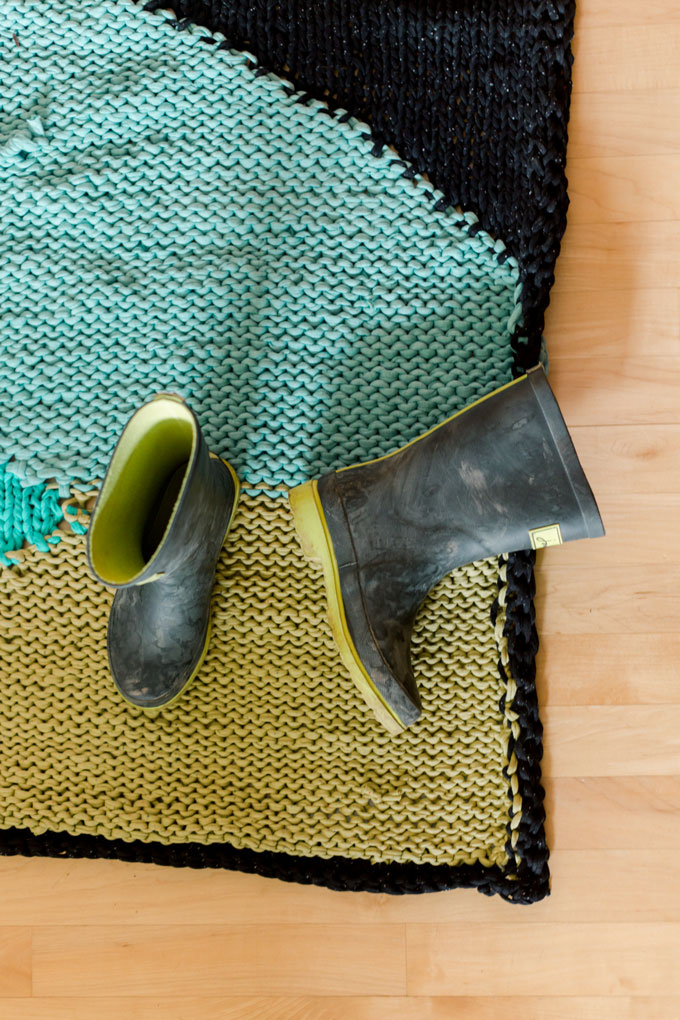
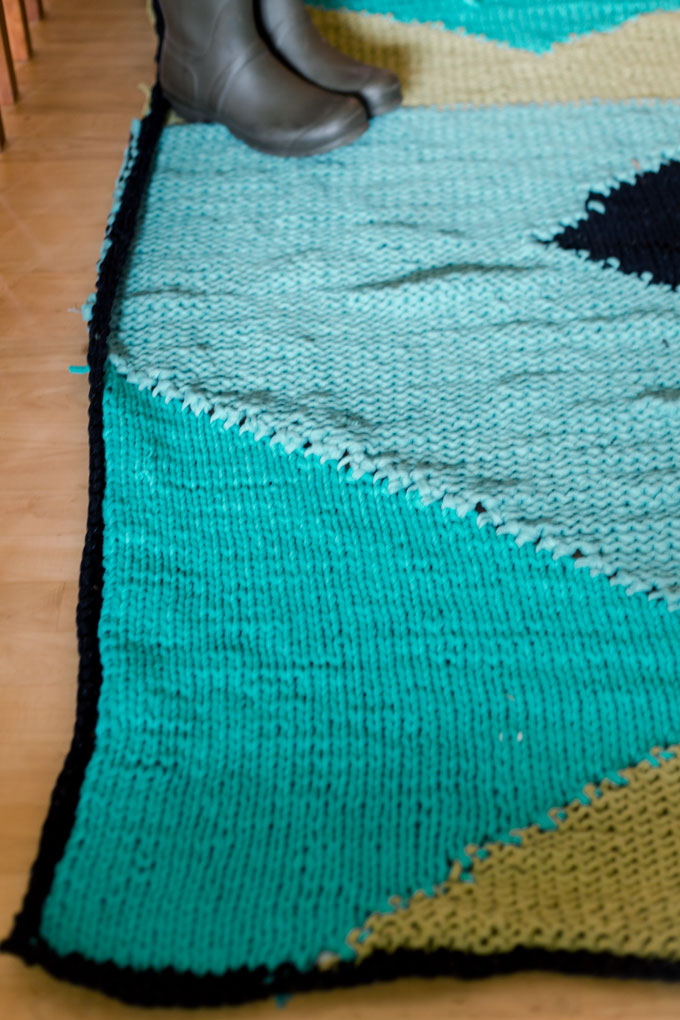
*NOTE* the t-shirt yarn that I used does vary in weight just like normal yarn would. So if you look closely, there are times that the rug is thinner and more “holy” and times that it’s chunkier and “thicker” when knitted up; for instance, if you look closely, the muted teal is a thicker and more “plush” yarn whereas the black is a thinner which leaves the dimensions varying and the sides and angles not always perfectly straight due to this weight difference. But I love this organic look though! 🙂
Now, onto the pattern.
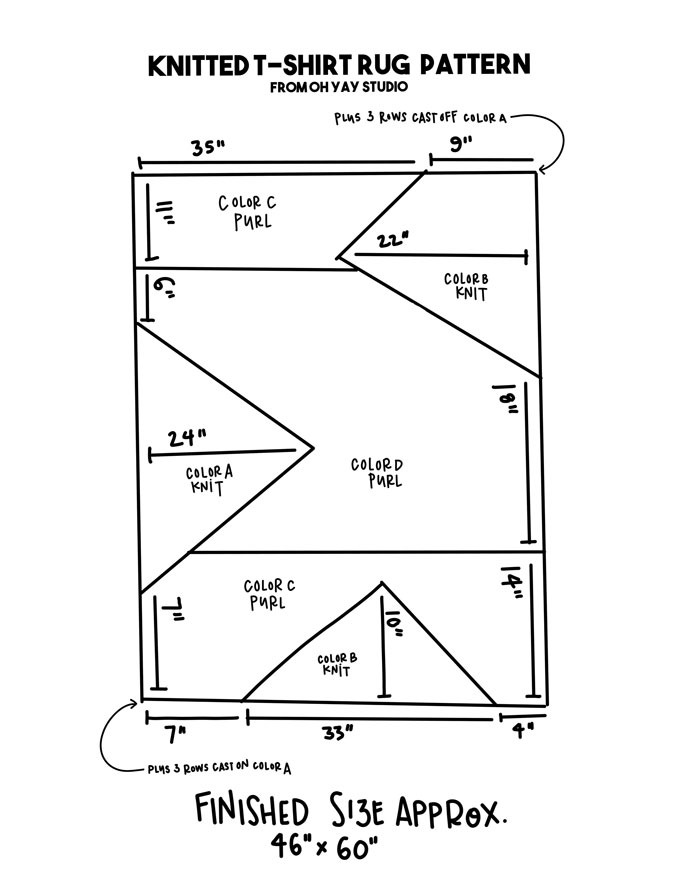
The general idea of this rug is to have 3 chunky stripes (colors C and D) purled in pattern and add 3 triangles (colors A and B) knitted in pattern. The whole pattern is worked in stockinette stitch BUT you will alternate the purl and knit depending on the colors. For instance, color B is a knitted triangle coming up from the bottom and color C is a purl background strip. Follow suit with these purl and knit “chunks” so that you have a cool variance to the texture of the rug! 🙂 Then you will finish off the rug bu picking up stitches along the sides in color A to add a finished border!
For me: color A is black, color B is darker teal, color C is moss green, and color D is muted teal.
1. Cast on 70 stitches in color A, work for 3 rows in stockinette stitch.
2. Follow the pattern chart below. Note that these are approximate inches, please don’t be married to these exactly. I really just guessed based on how I wanted the lines of the rug to fall and changed colors when I felt like it was right. Also note that I had leftover yarn to make a small camera strap out of the leftovers (more on that later)! 🙂
3. When the chart is complete, pick up stitches along the long edge of the rug and work in 3 stockinette rows. Bind off.
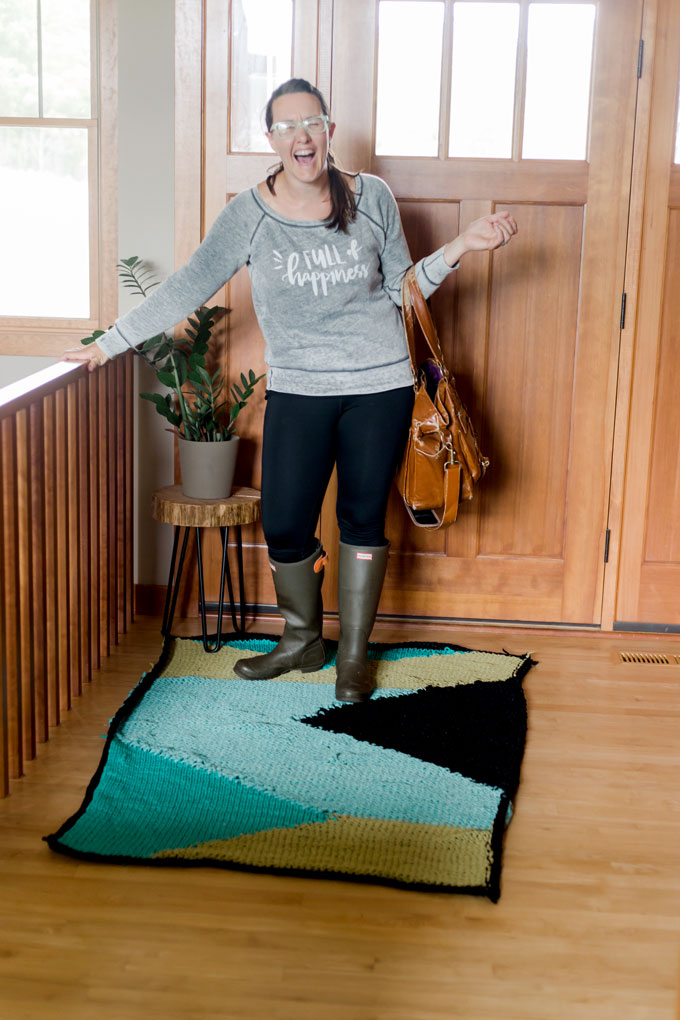
4.The finished size of the rug is approximately 46” x 60”, but may vary depending on exact weight of yarn, size of needles and gauge of stitches.
OH BOY! I can’t wait to hear how this goes for you guys! PLEASE send pics or ask questions while you’re in the process!
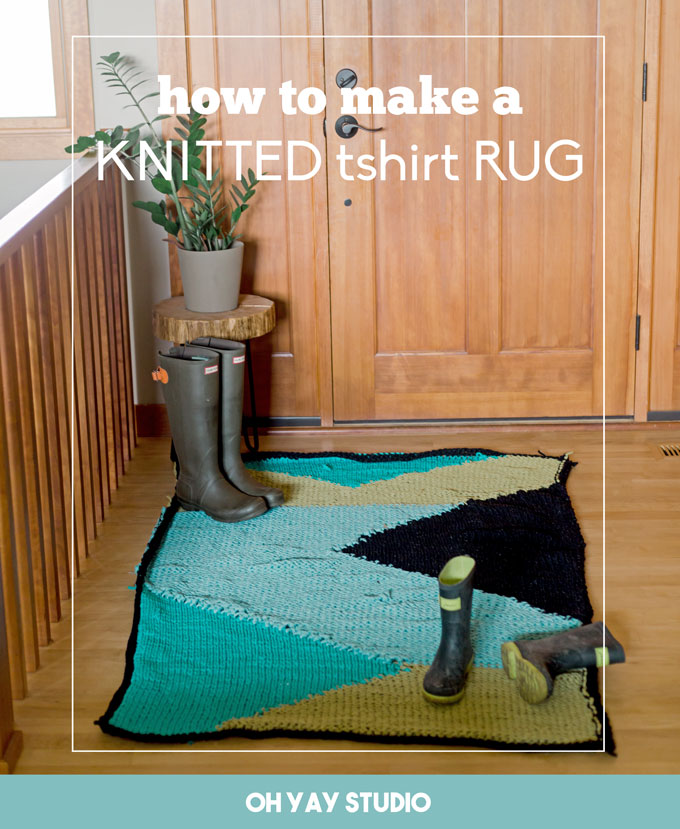
AND, as always, I’ve included a pinable image below so that you can always save this and come back to it when your supplies are ordered and you are ready to knit!!! 🙂




So cool! Love the rug! Definitely making one soon! Thanks for such a great idea!
Very cute! I love making something that is useful!
What a cute rug! This makes me wish I were craftier!
So cute! I love the design and the colors.
Awesome project! Perfect for personalize item and fit on DIY home accent too!
I see an Etsy shop in your future!
What a fun project! I love the color that it adds to your room.
So awesome! We need that by our back door for sure!
Wow…that would be a fun thing to make for sure. Nice post to show how to do it too. Cut colors.
This turned out sooo good! I love the idea of using old t-shirts for this!
Oh that looks so adorable!
Fabulous! How easy/hard was it to do it? We need something for our RV entryway. My girls (almost 11 years old) are both into crocheting and knitting. I’m wondering if this might be a great project for them. And thanks for the yarn store recommendation! We’ll be looking into them.
oh my stars, YES! I would say for sure this would be an awesome project for girls at this age! 🙂 Esp if they know how to knit. The *only* drawback is that it gets heavy the more you knit simply because of the material! 🙂 SO FUN! I would have LOVED to do this as a little girl, what an awesome idea!
Love it! Yours turned out so cute!!
What a fun project to do! Love the colors.
So many of us have a ton of old t-shirts just sitting around – what a great way to reuse!
These are so cute!
Cool rug! It’s nice that you provided the pattern, too. I love the colors!
I have seen these before. Yours turned out fabulous!
This is so awesome!
Beautiful! So interesting that you can buy t-shirt yarn! I never knew that existed!