Easy binding spring napkin pattern
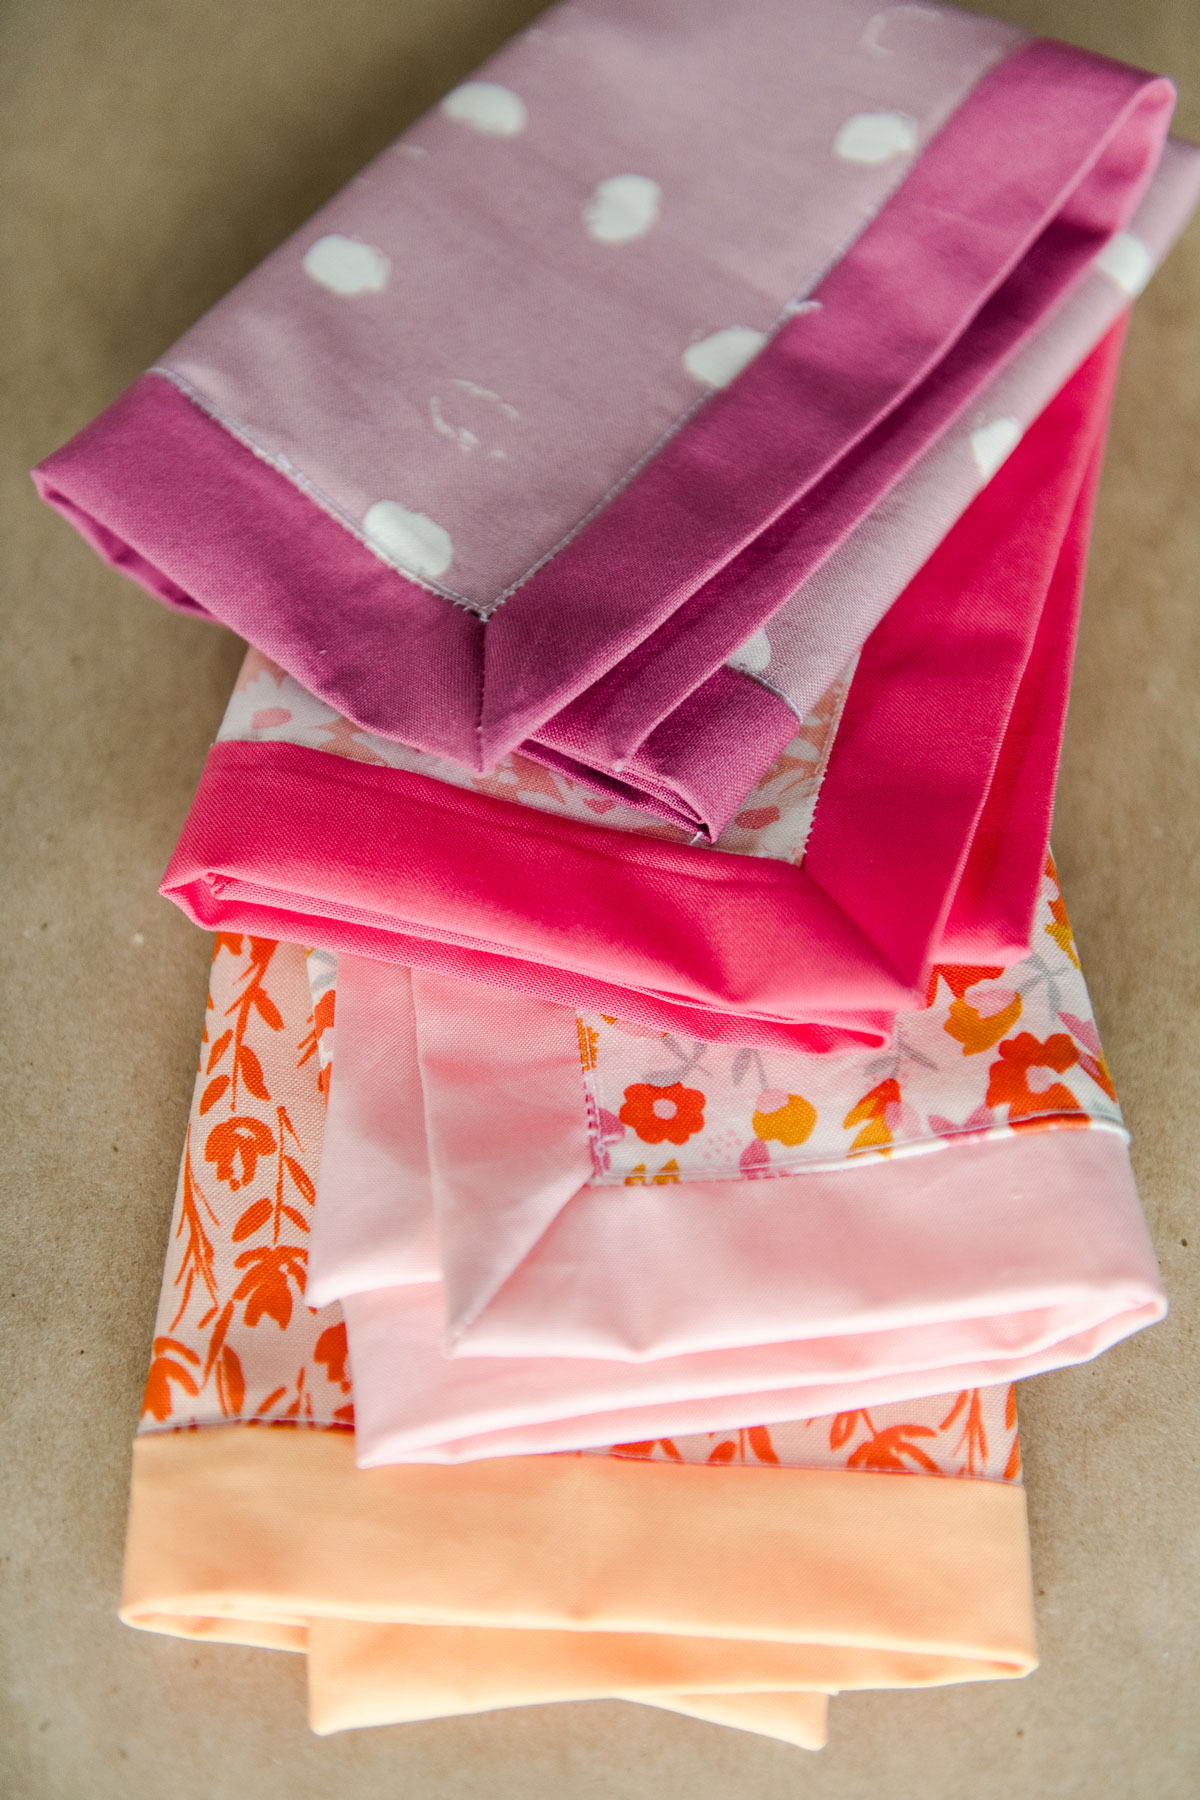
We use fabric napkins around our house and I LOVE IT!
It started when I was just trying to use up the scraps from random sewing projects (turned into small and mis-matched sized napkins at our table) and now it’s turned into a money saving, easy washing, still-scrap-using thing that we’ve done for YEARS (and ya know, not having to purchase one more thing at the store each month is great for my brain)! We have a system where we throw the napkins in a wire basket next to our kitchen sink when used, I grab whatever is in there when I do laundry and it’s a simple add-on to our daily routine that isn’t really much effort. It works for our fam and I love it.
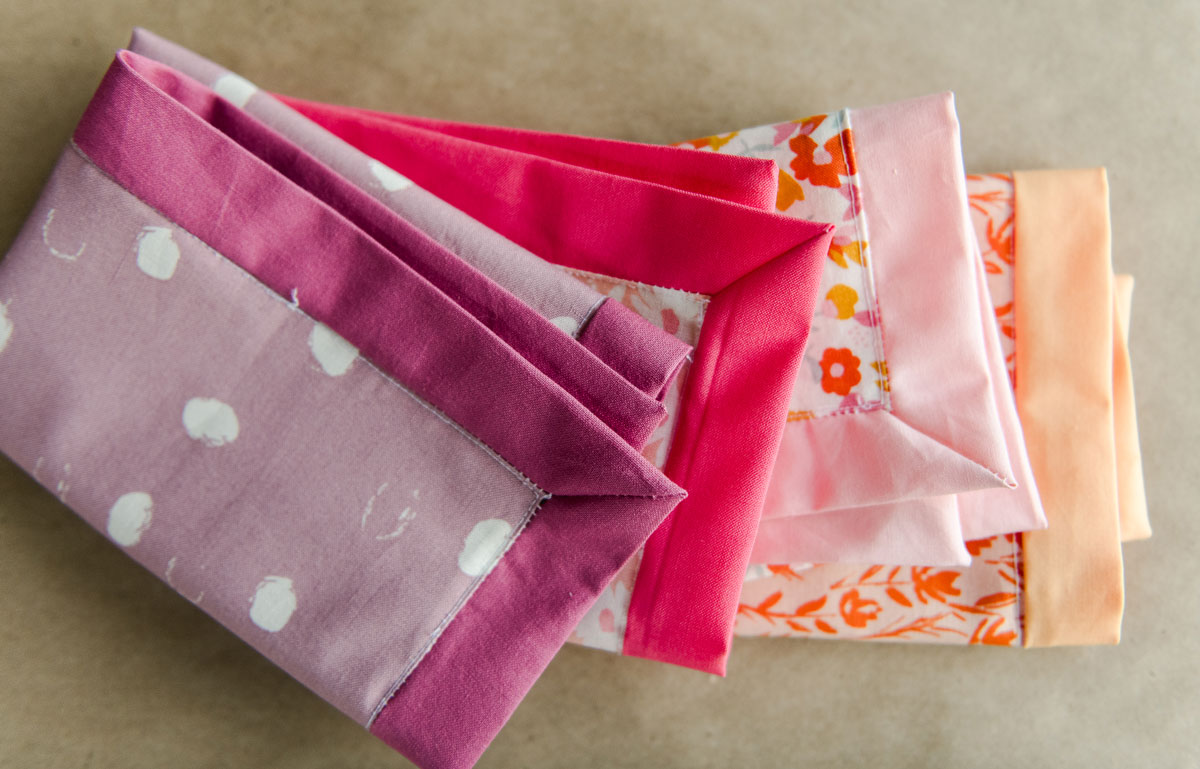
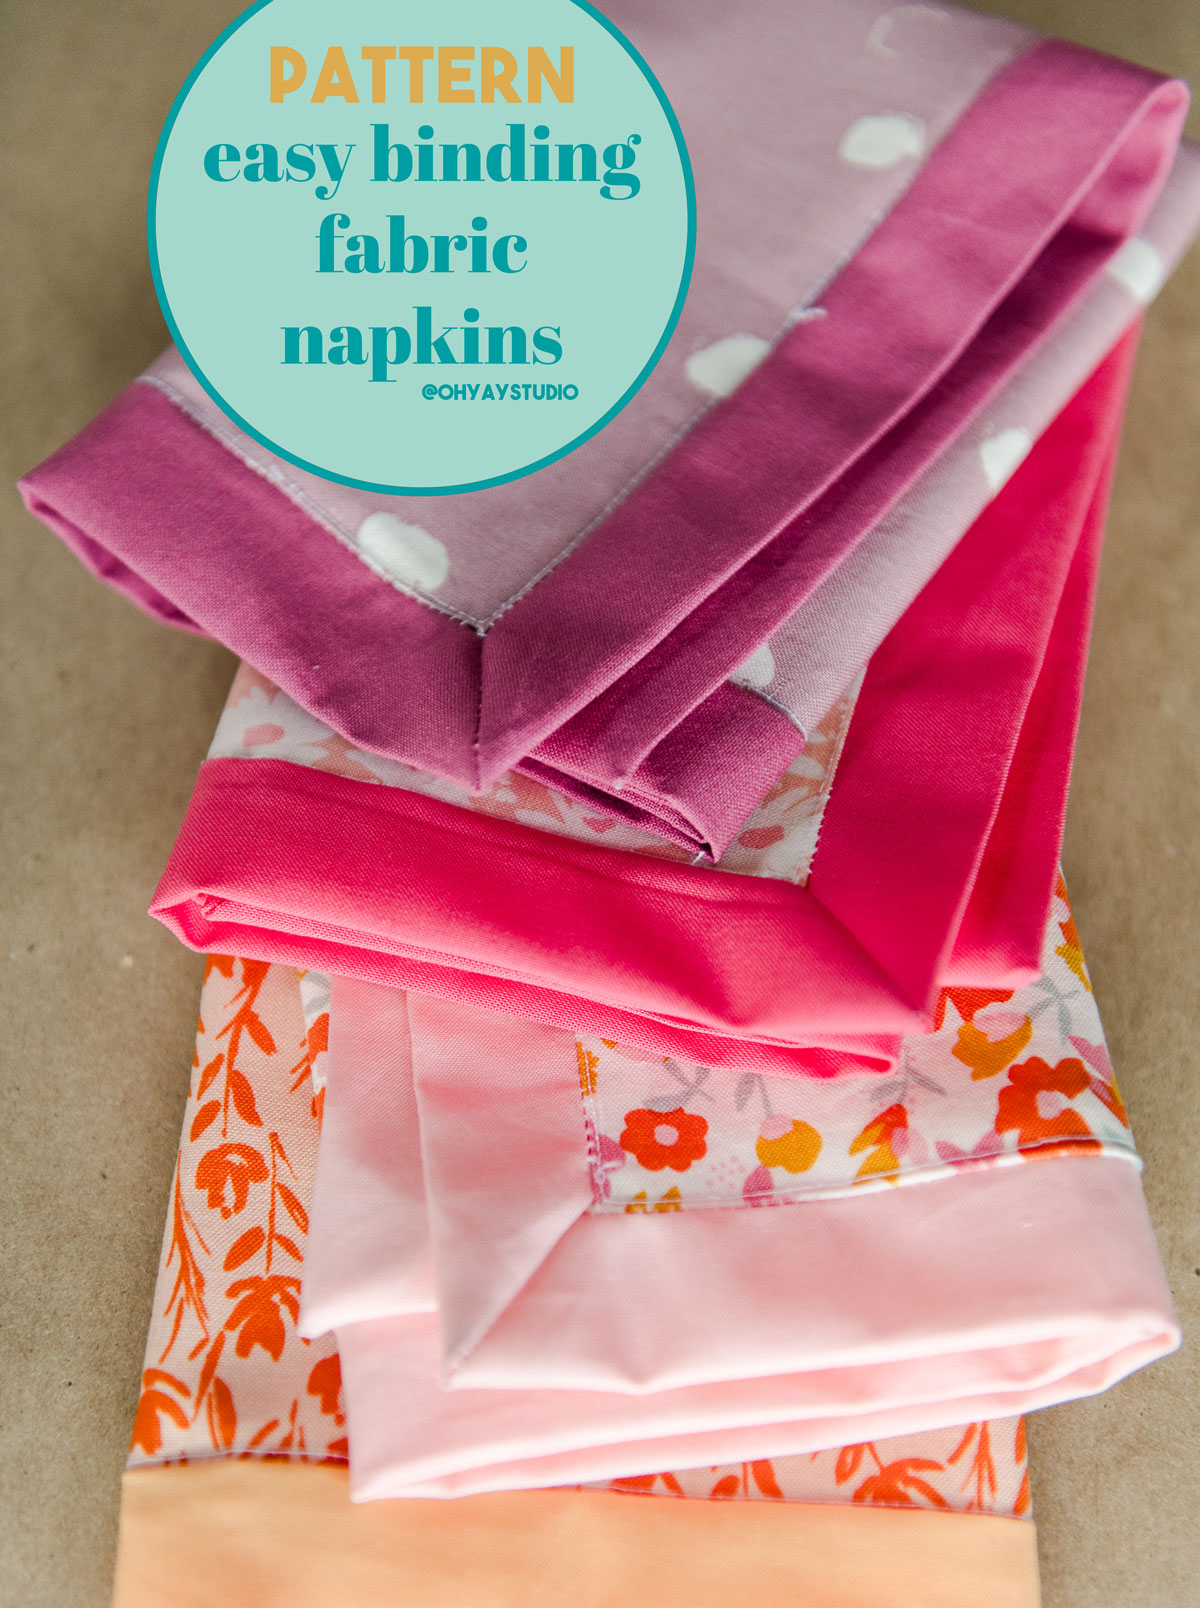
SO I am always on the hunt for easy napkin patterns that don’t take much effort or time to sew – and these easy binding (actually kinda self-binding) napkins are just the ticket! 🙂 Grab the free pattern below!
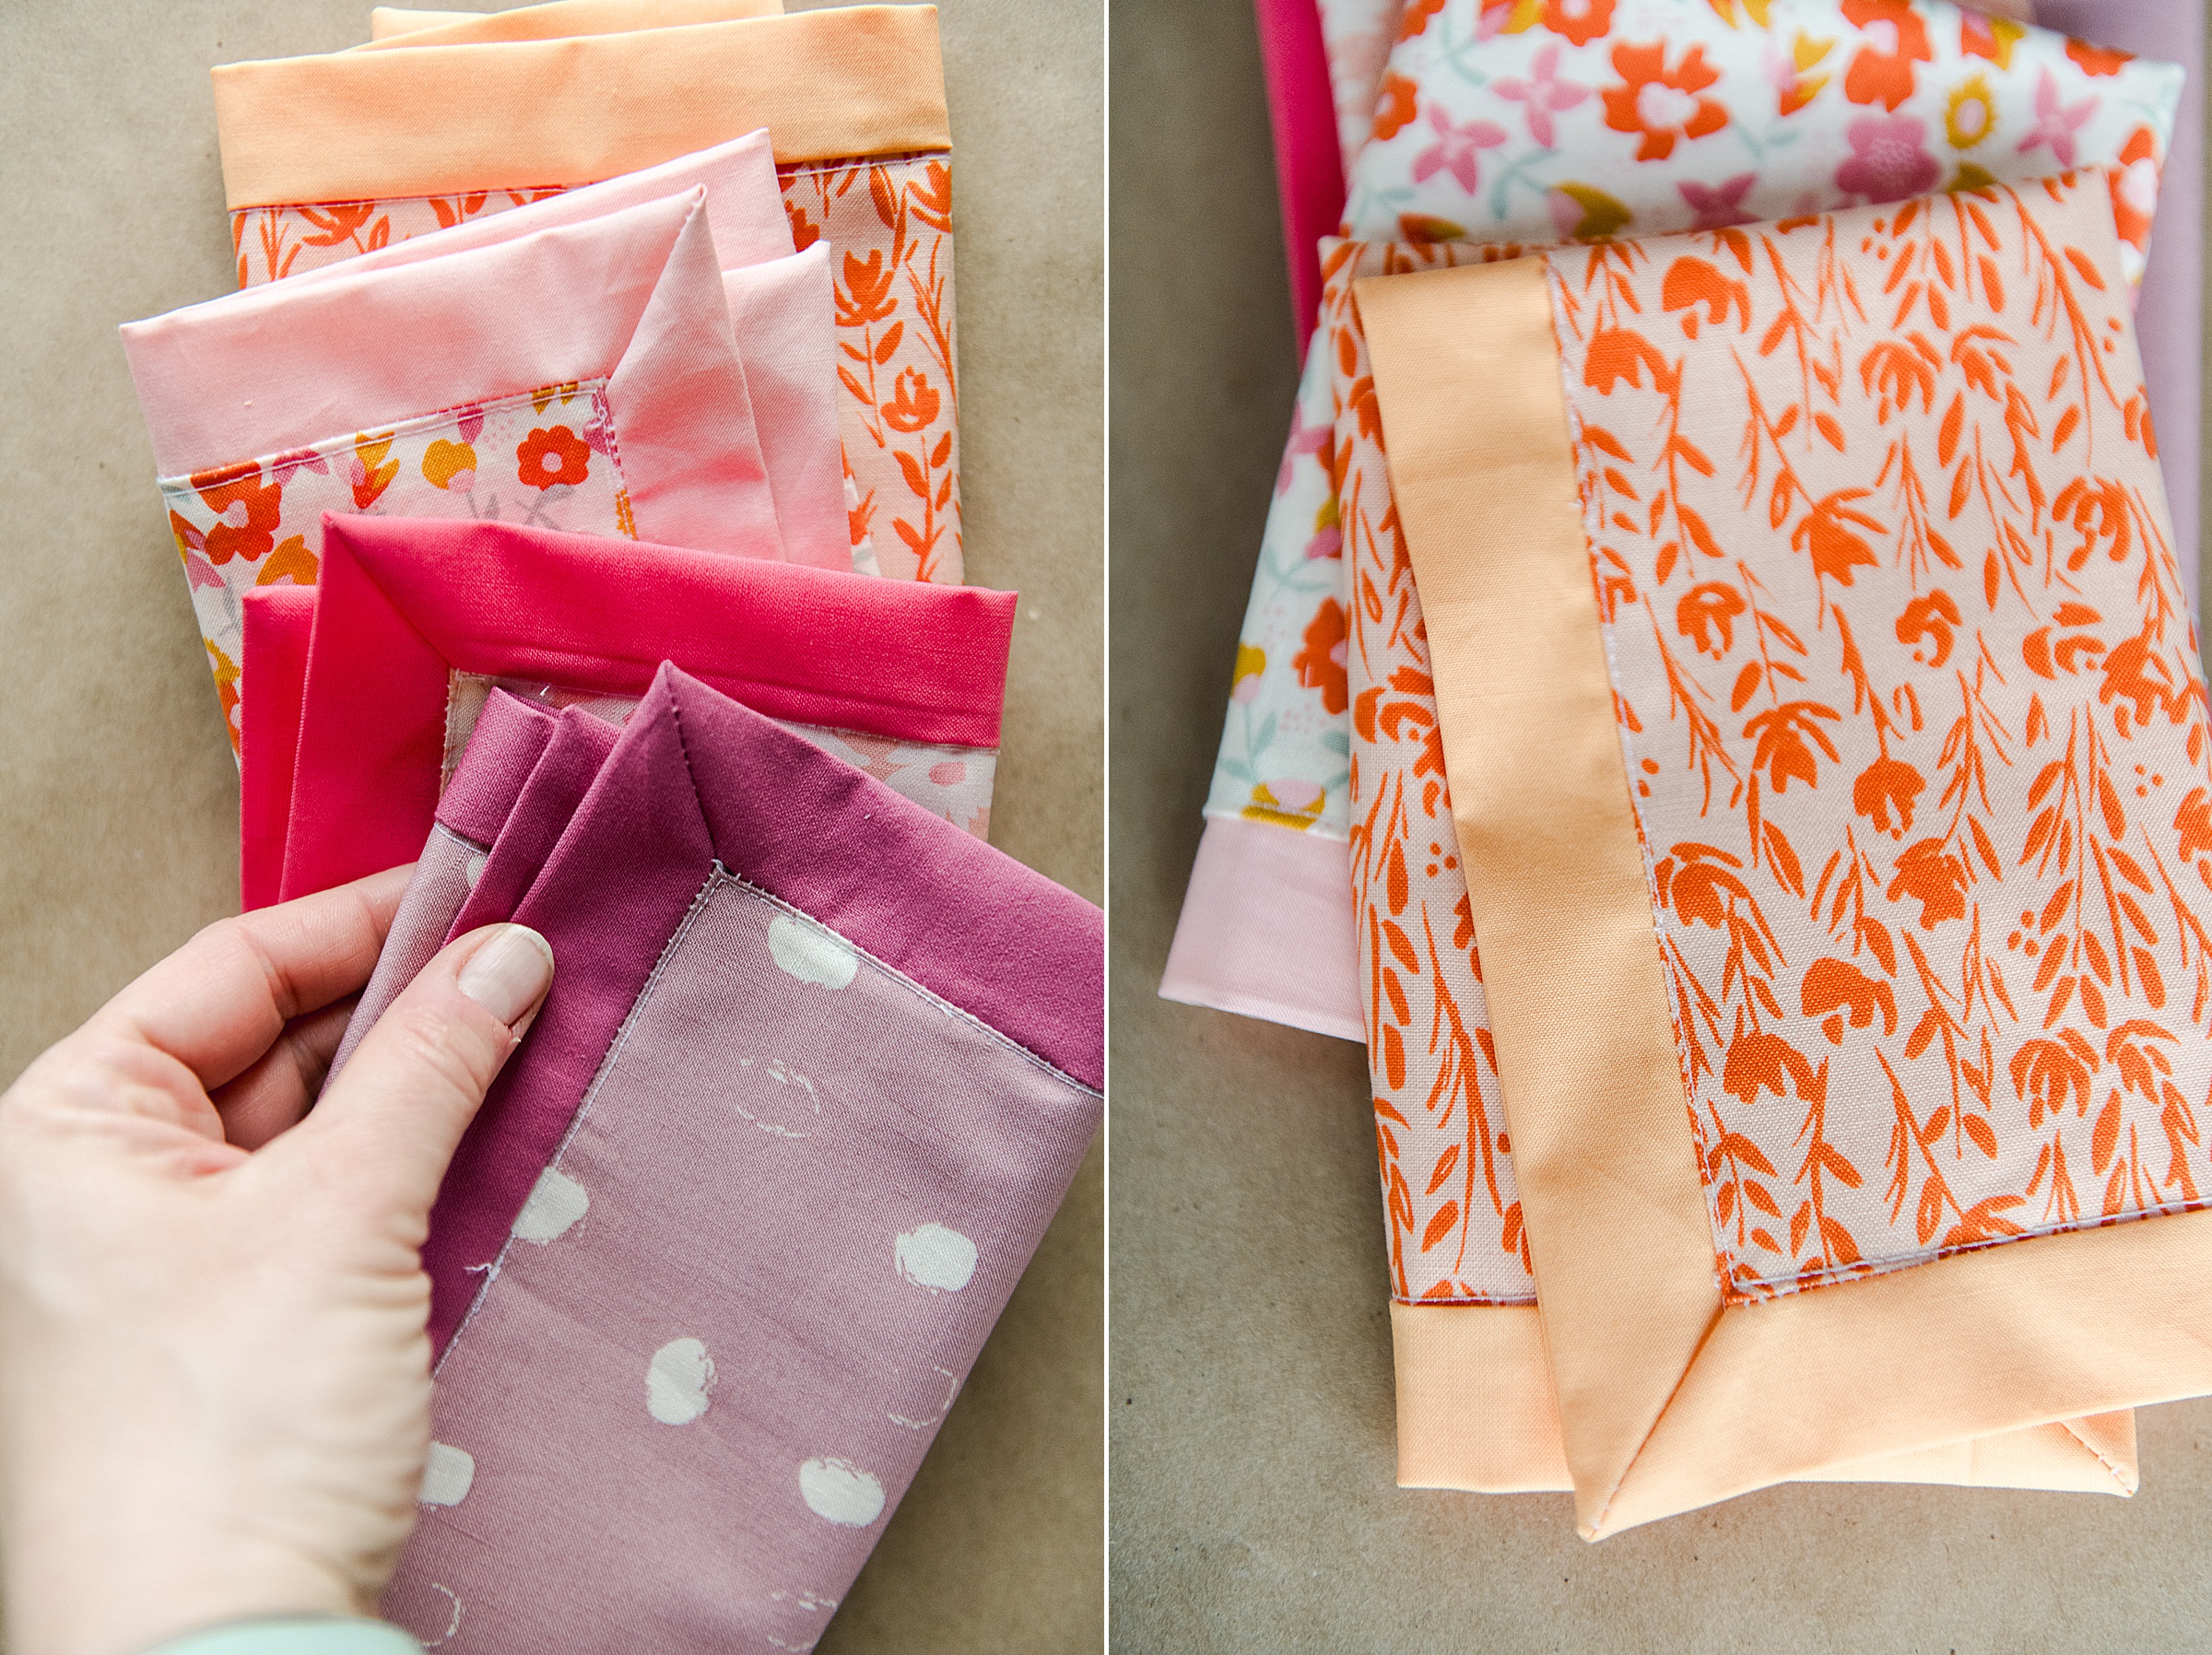
MATERIALS:
- Fabric of choice (fat quarters work amazing for this – you will need 12×12 inches for the front fabric and 16×16 for the binding/backing)
- Sewing machine and coordinating thread
- A rotary, cutting mat and straight edge
- A pencil or fabric marker
- Straight pins for sewing
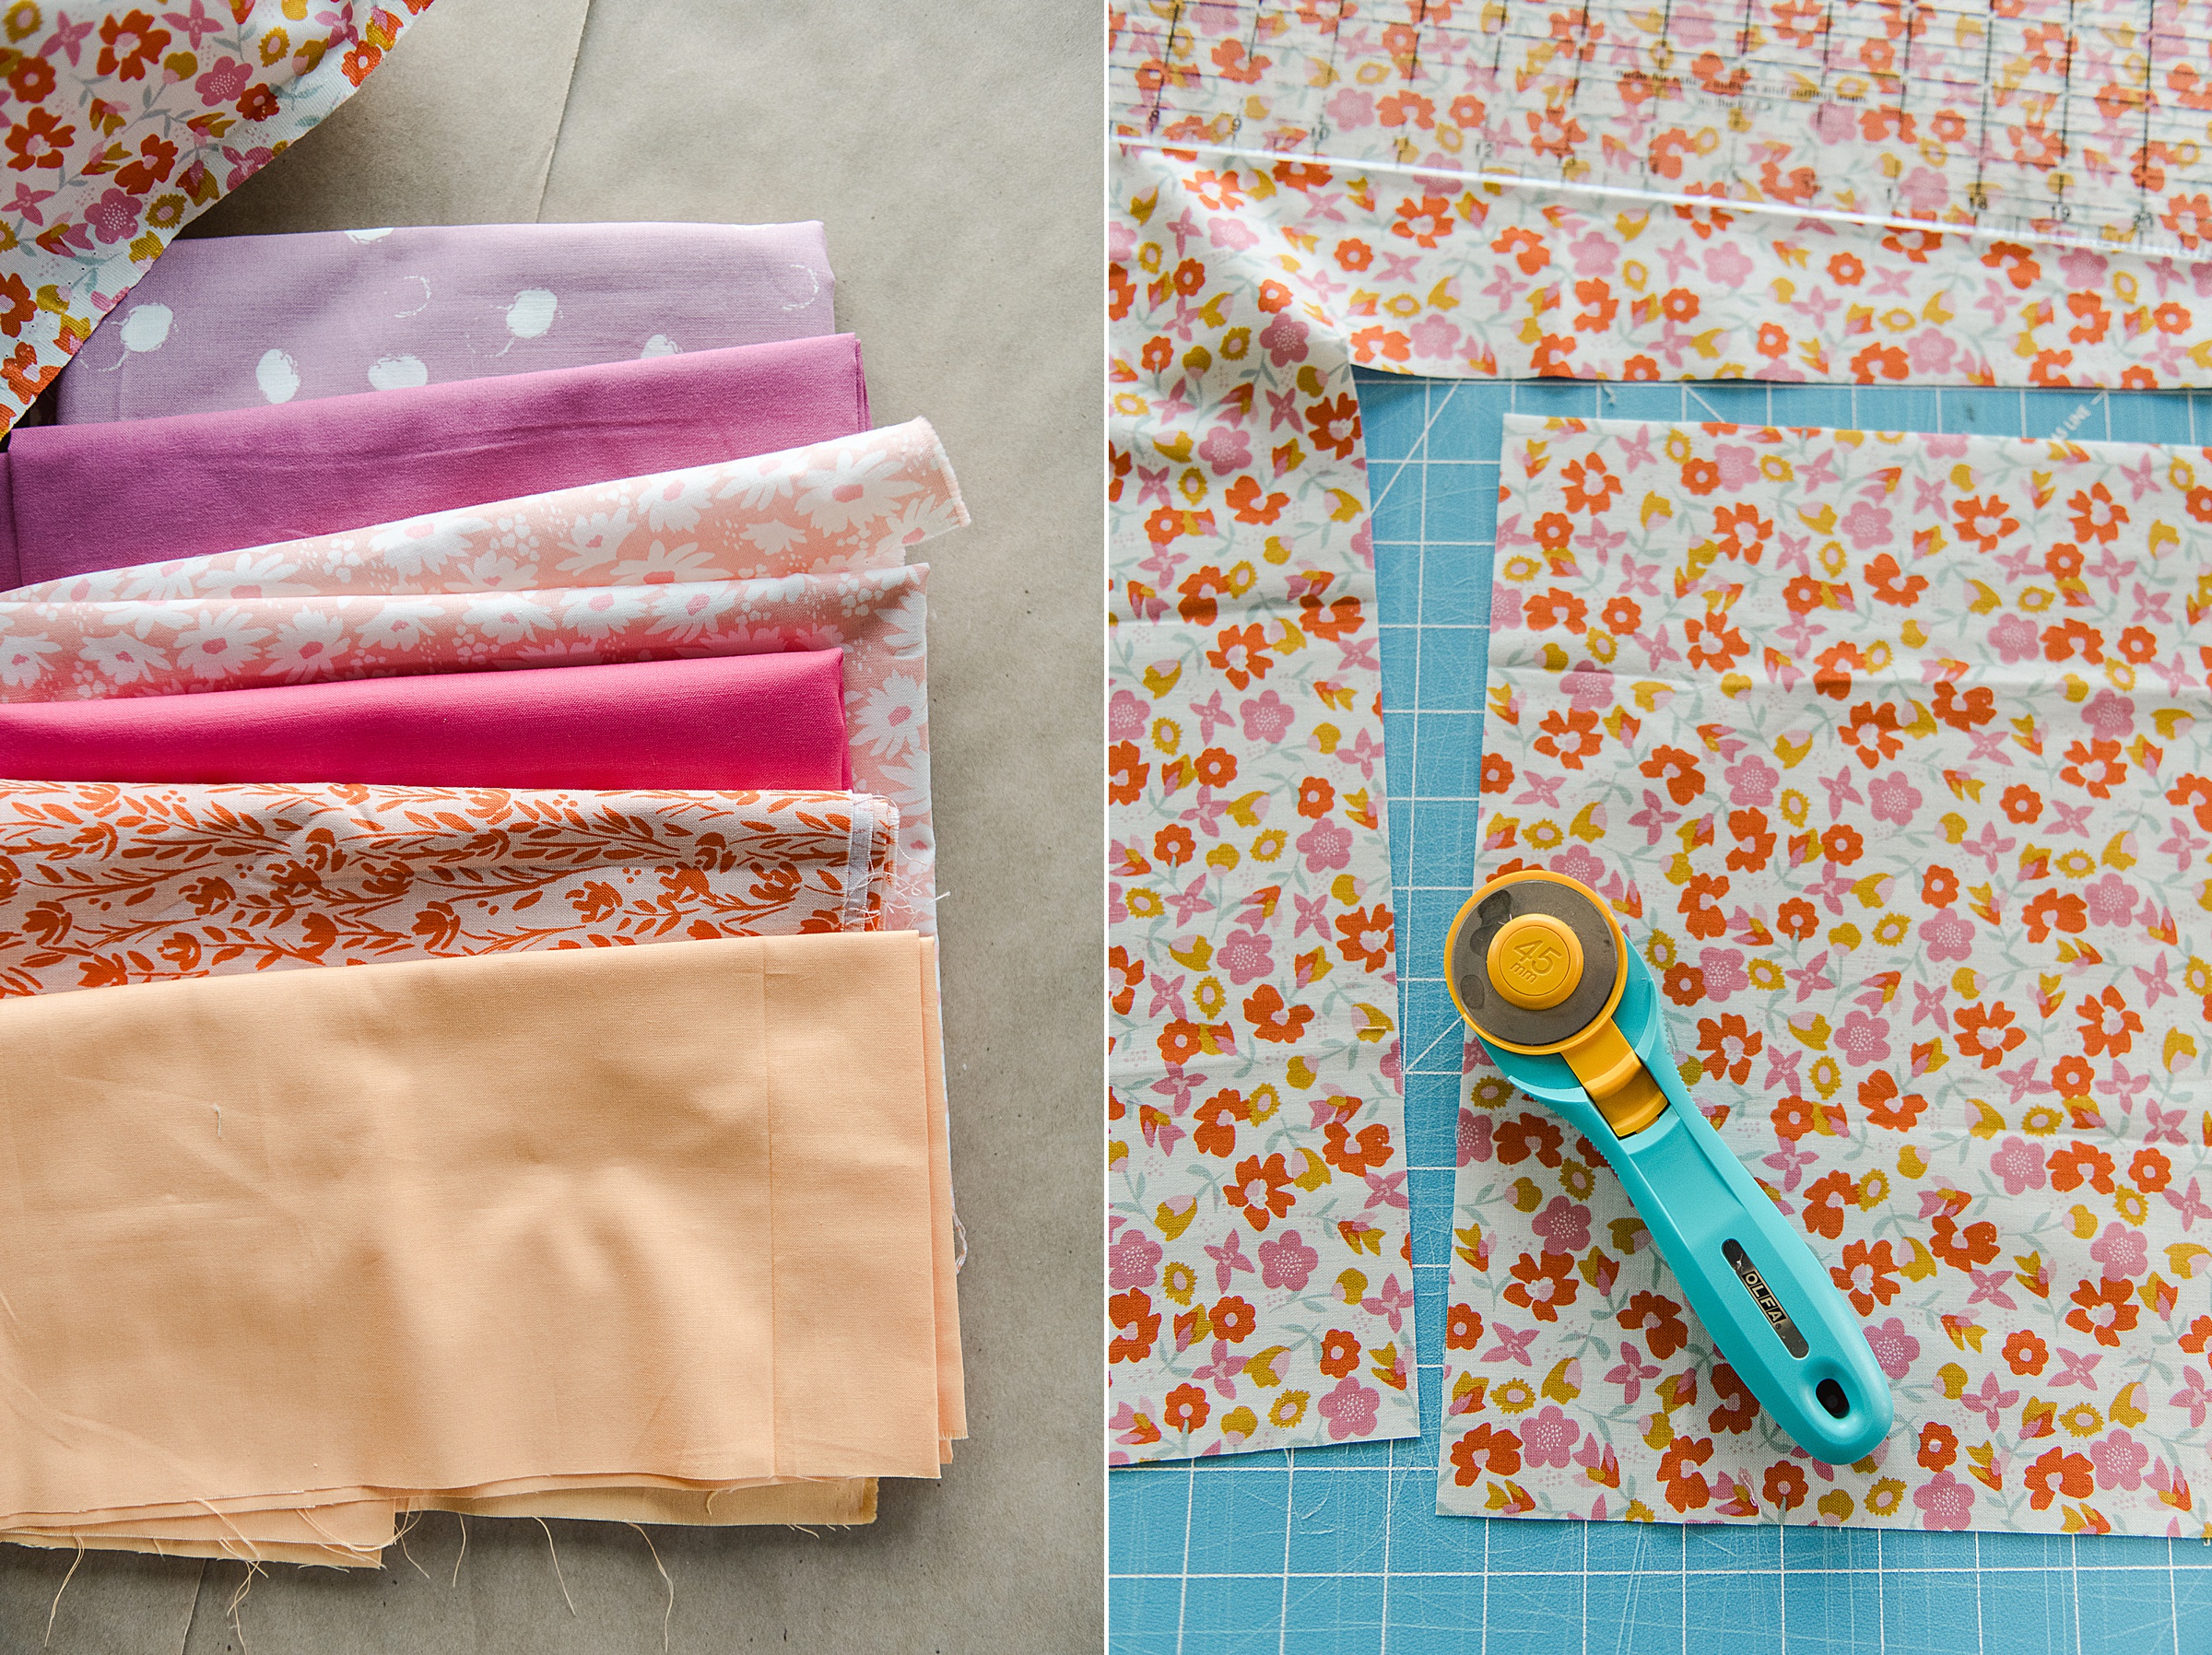
INSTRUCTIONS:
1. Iron your selected fabric and for each napkin cut:
- front fabric 12×12 inches
- back fabric 16×16 inches (the fabric that will become the binding too)
2. Finger fold (or crease) your fabric by folding in half width-wise and length-wise and creasing (with the heat of your finger or with the quick press of an iron) the middle for all 4 sides of your napkin pieces. Do this with both the outside and inside fabric.
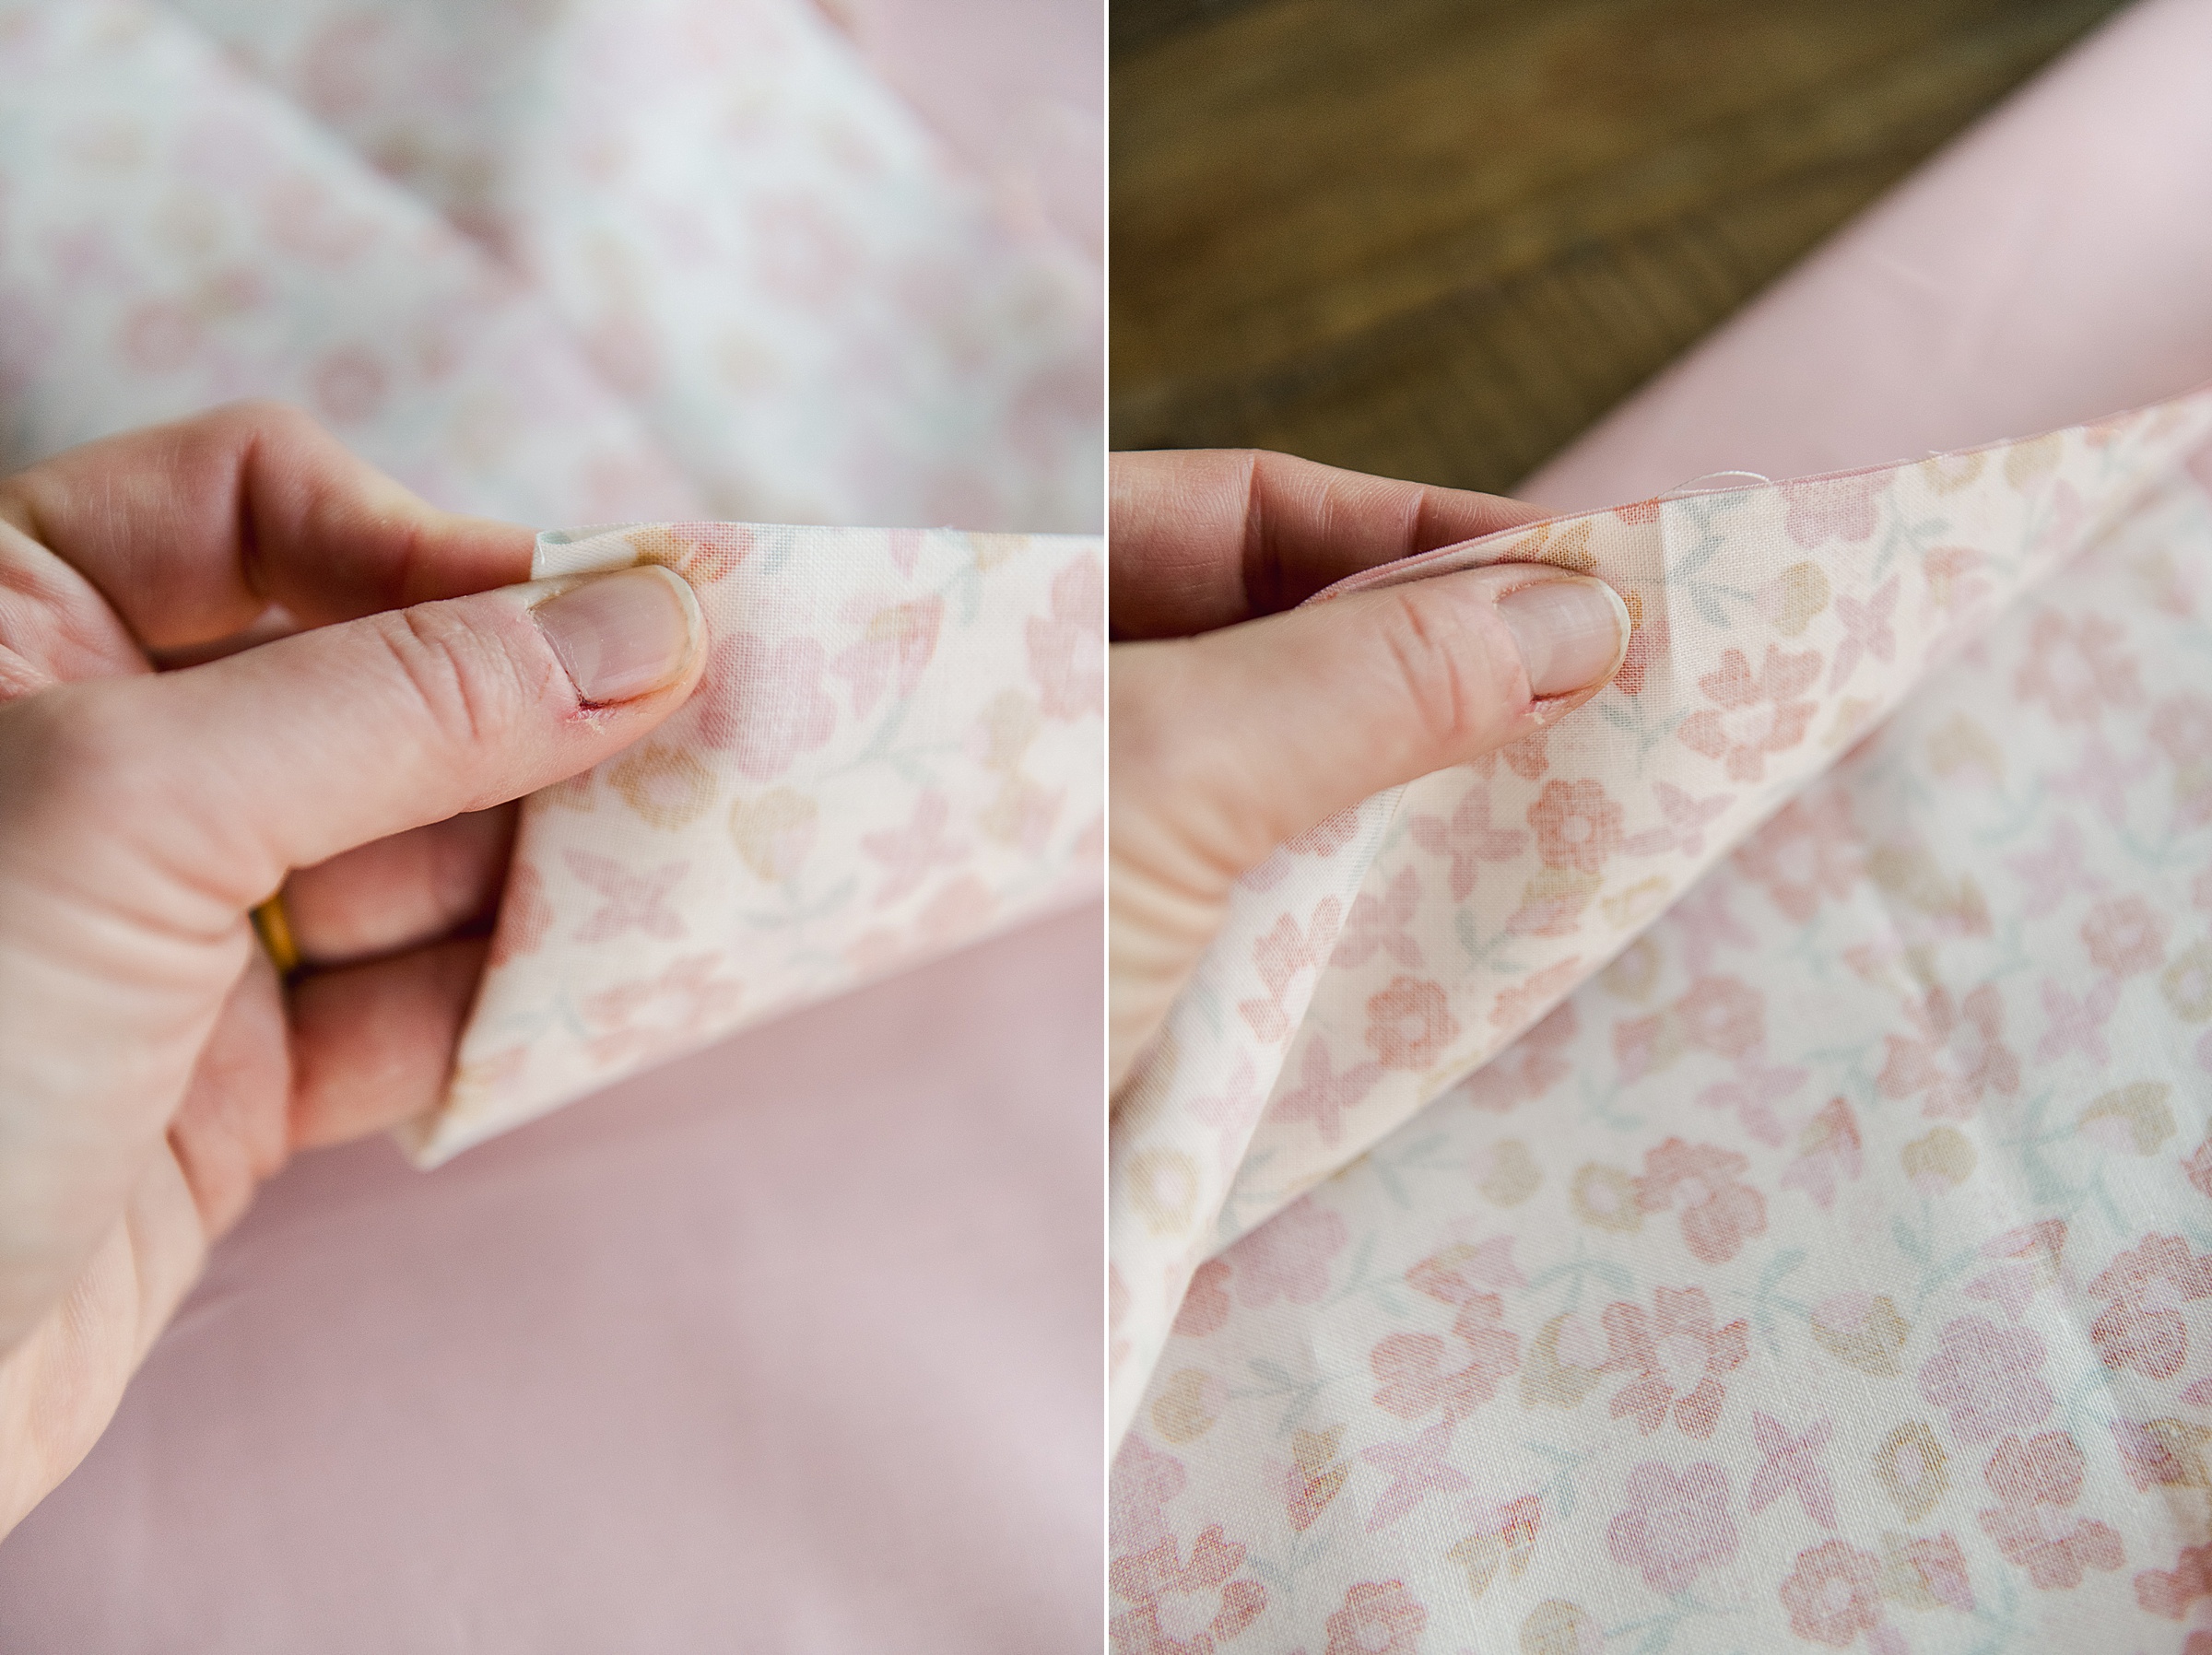
Then you will begin to pin in place by matching up your folded creases – lay your front piece right sides together with your back piece lining up your creases on the matching edge – Pin all 4 folded creases in place.
note: you will have MUCH more fabric for the backing piece so you will have to kind of “center” your front piece leaving all of the excess in the 4 corners (unpinned).
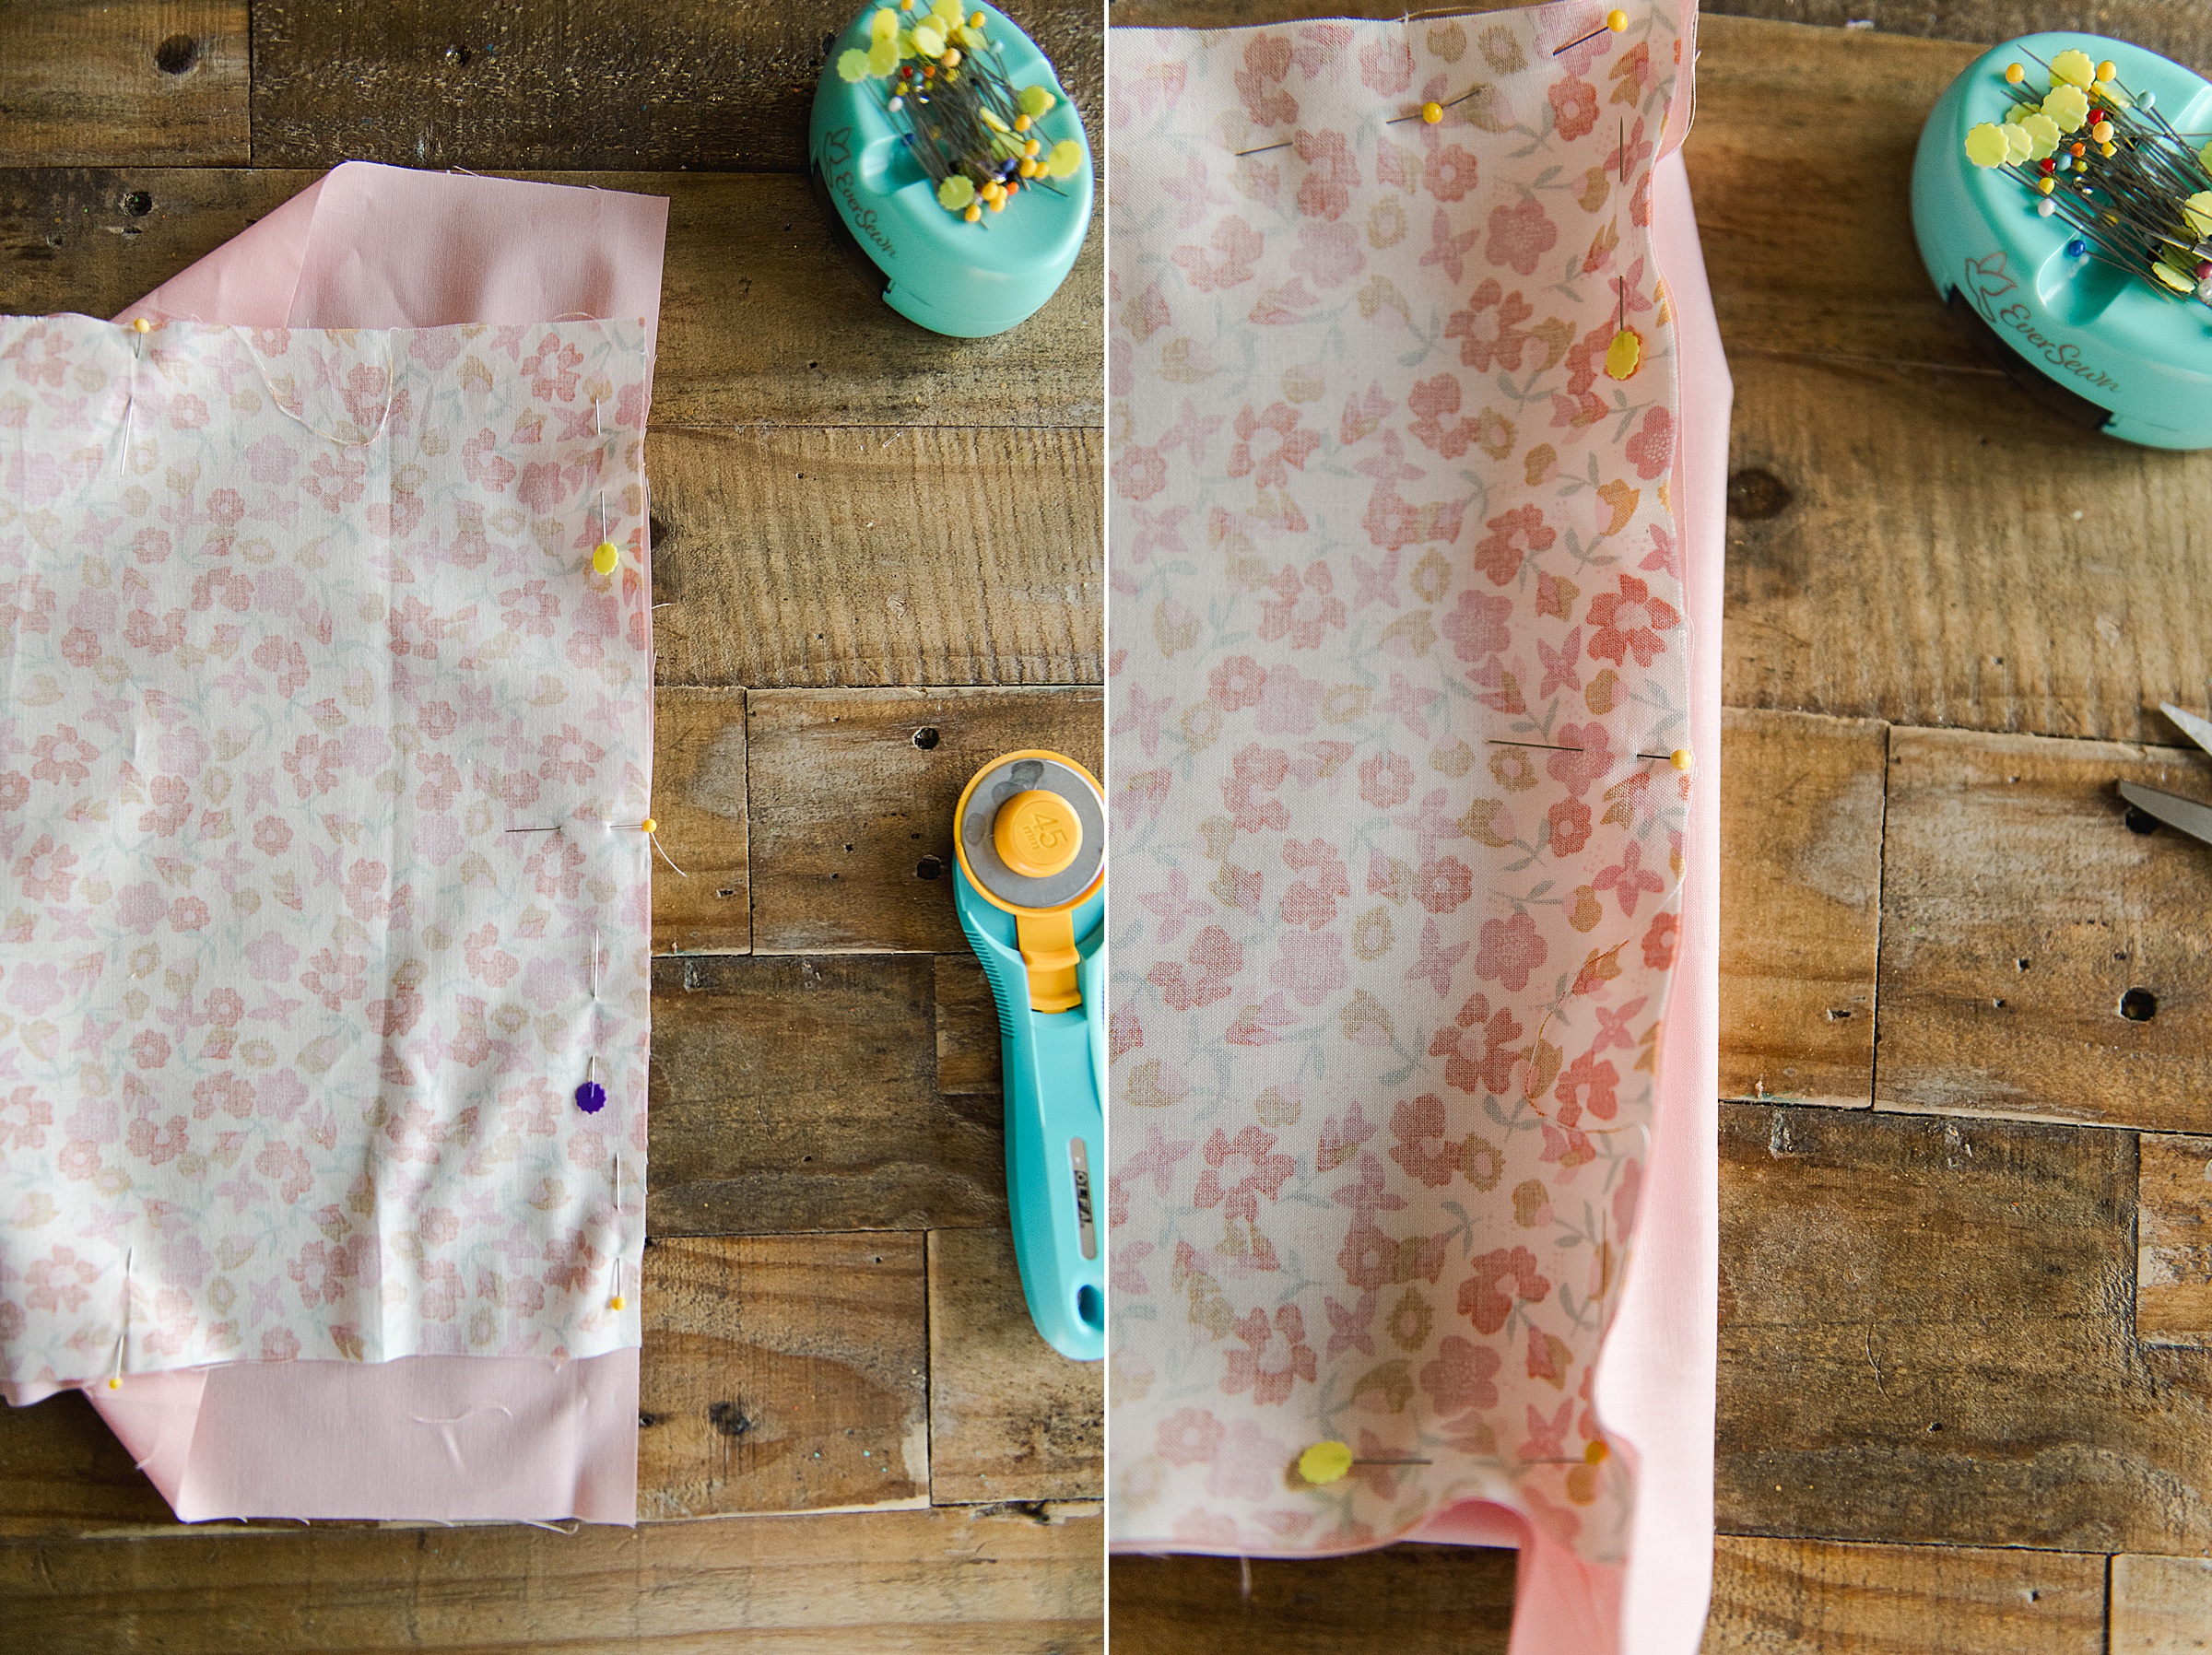
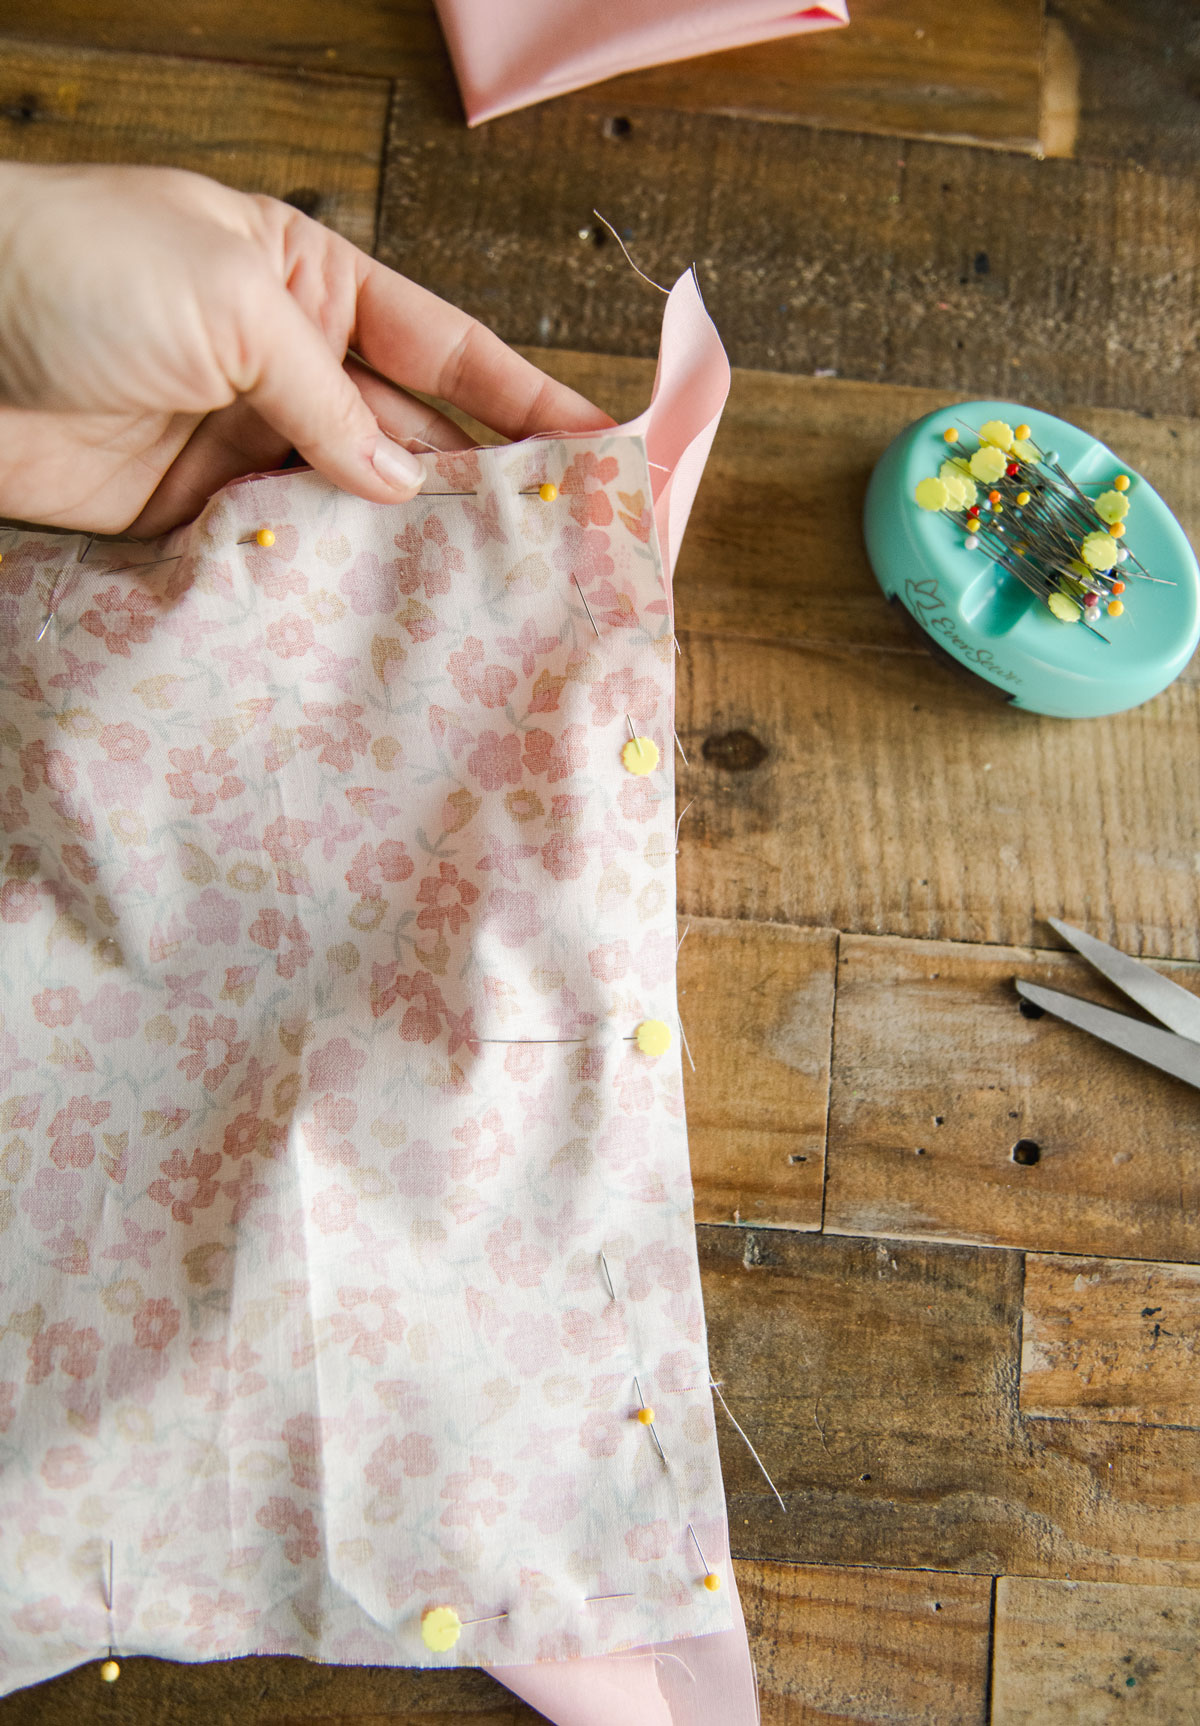
3. You will begin sewing with a 1/4” seam.
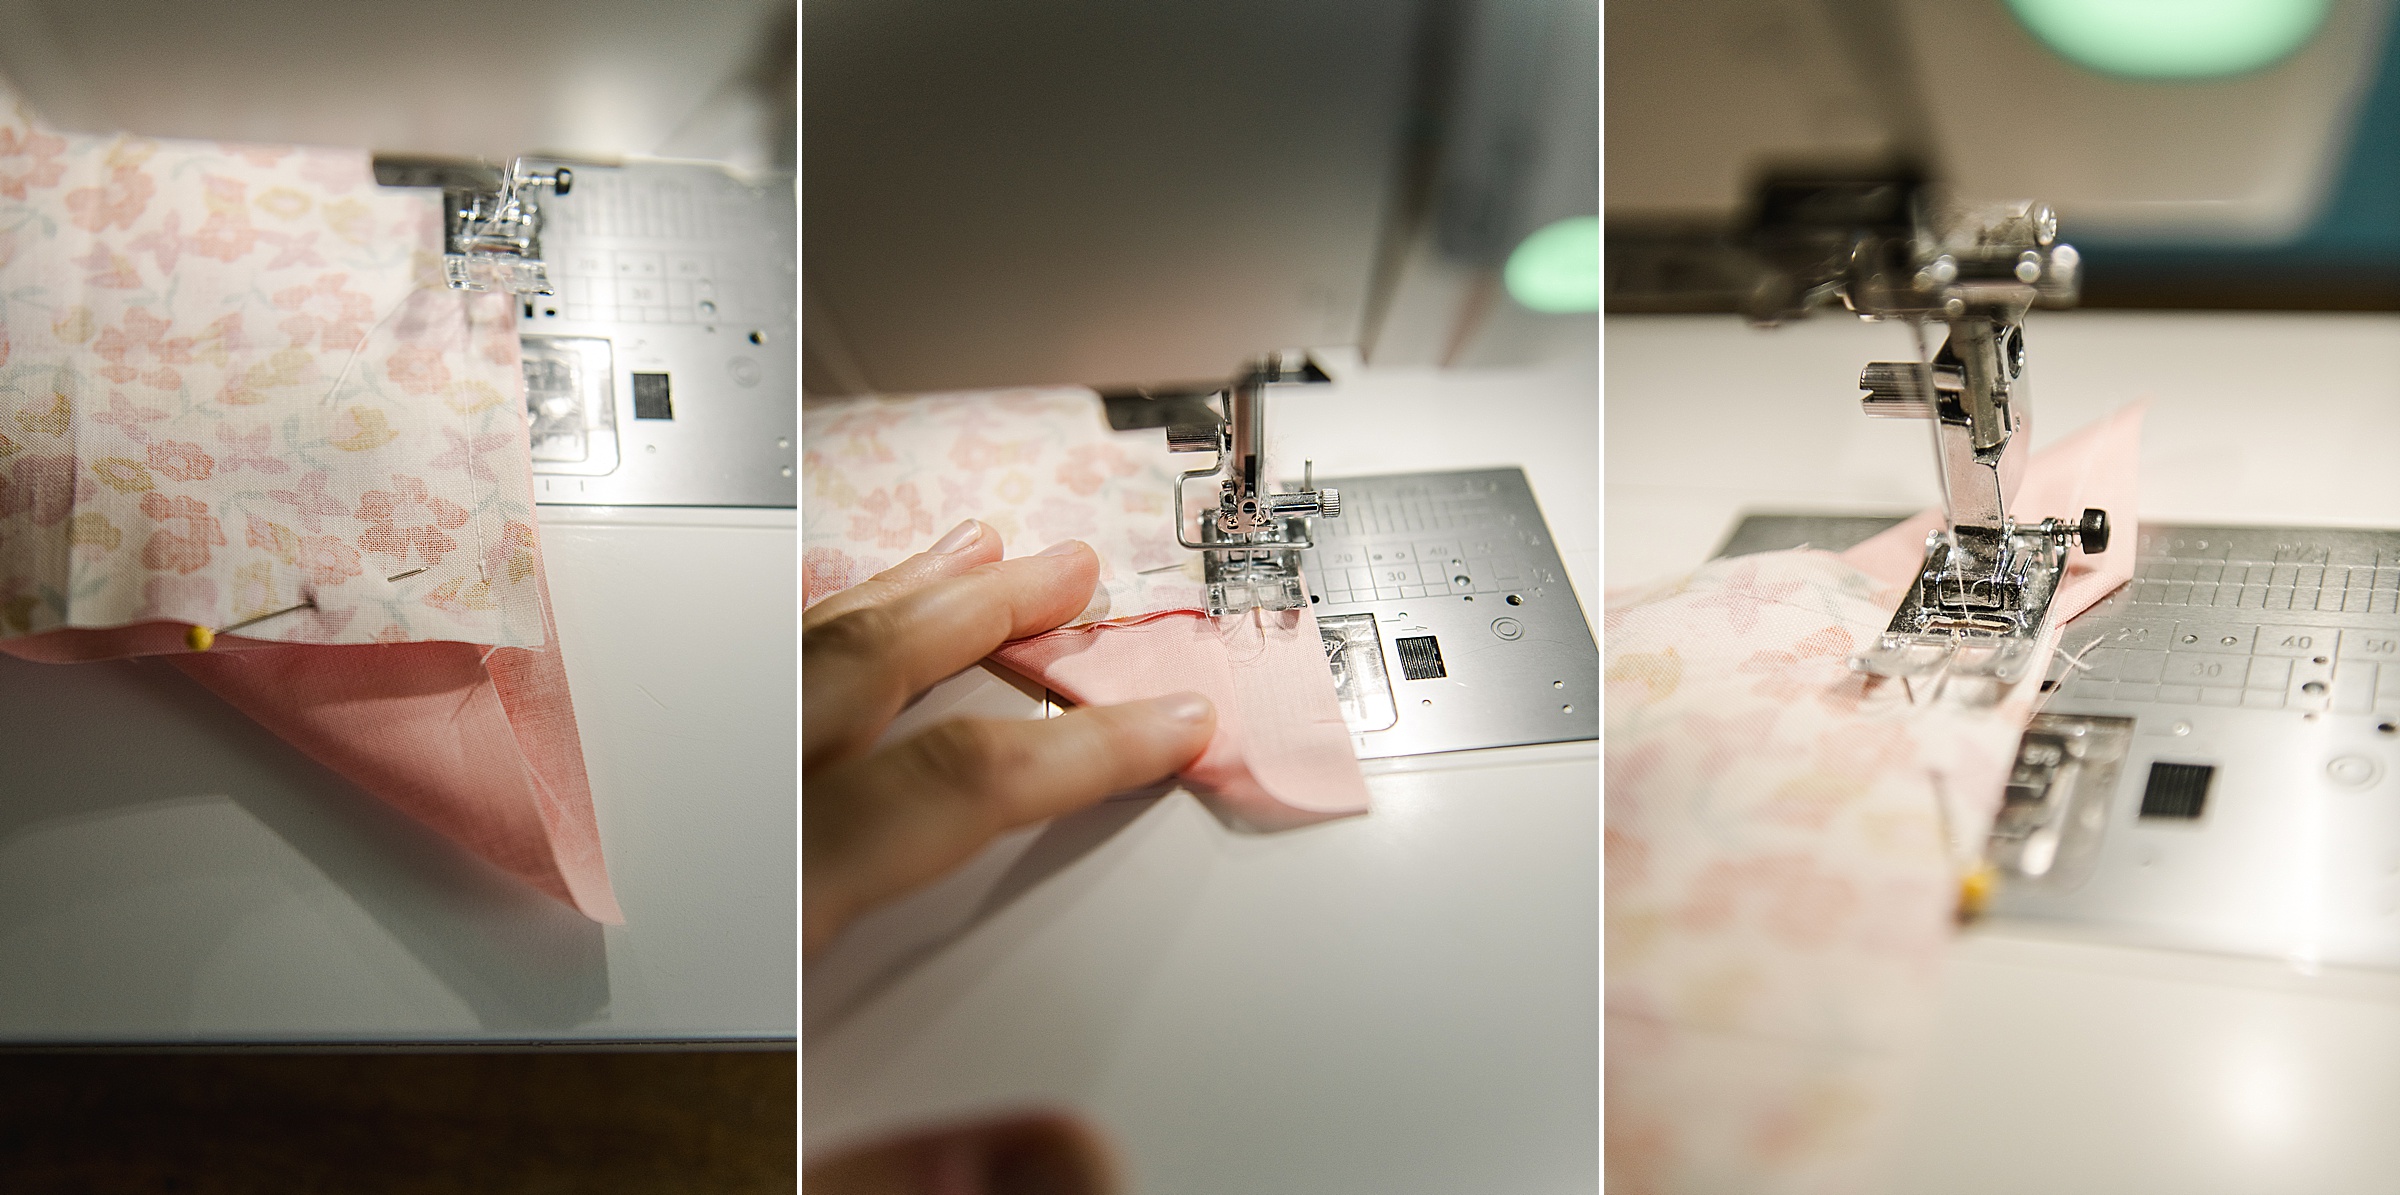
I did this by choosing to start along one edge and start sewing at the corner. It is IMPORTANT that you’ll start and stop each of your seams 1/4” inch away from the corners keeping the back/binding fabric out the “way” as to not get caught or pucker under your sewing machine foot.
Sew all the way around each of the 4 sides (make sure to leave a 3-4” opening along one side to be able to turn your napkin right sides out later) starting and stopping 1/4” away from the corners.
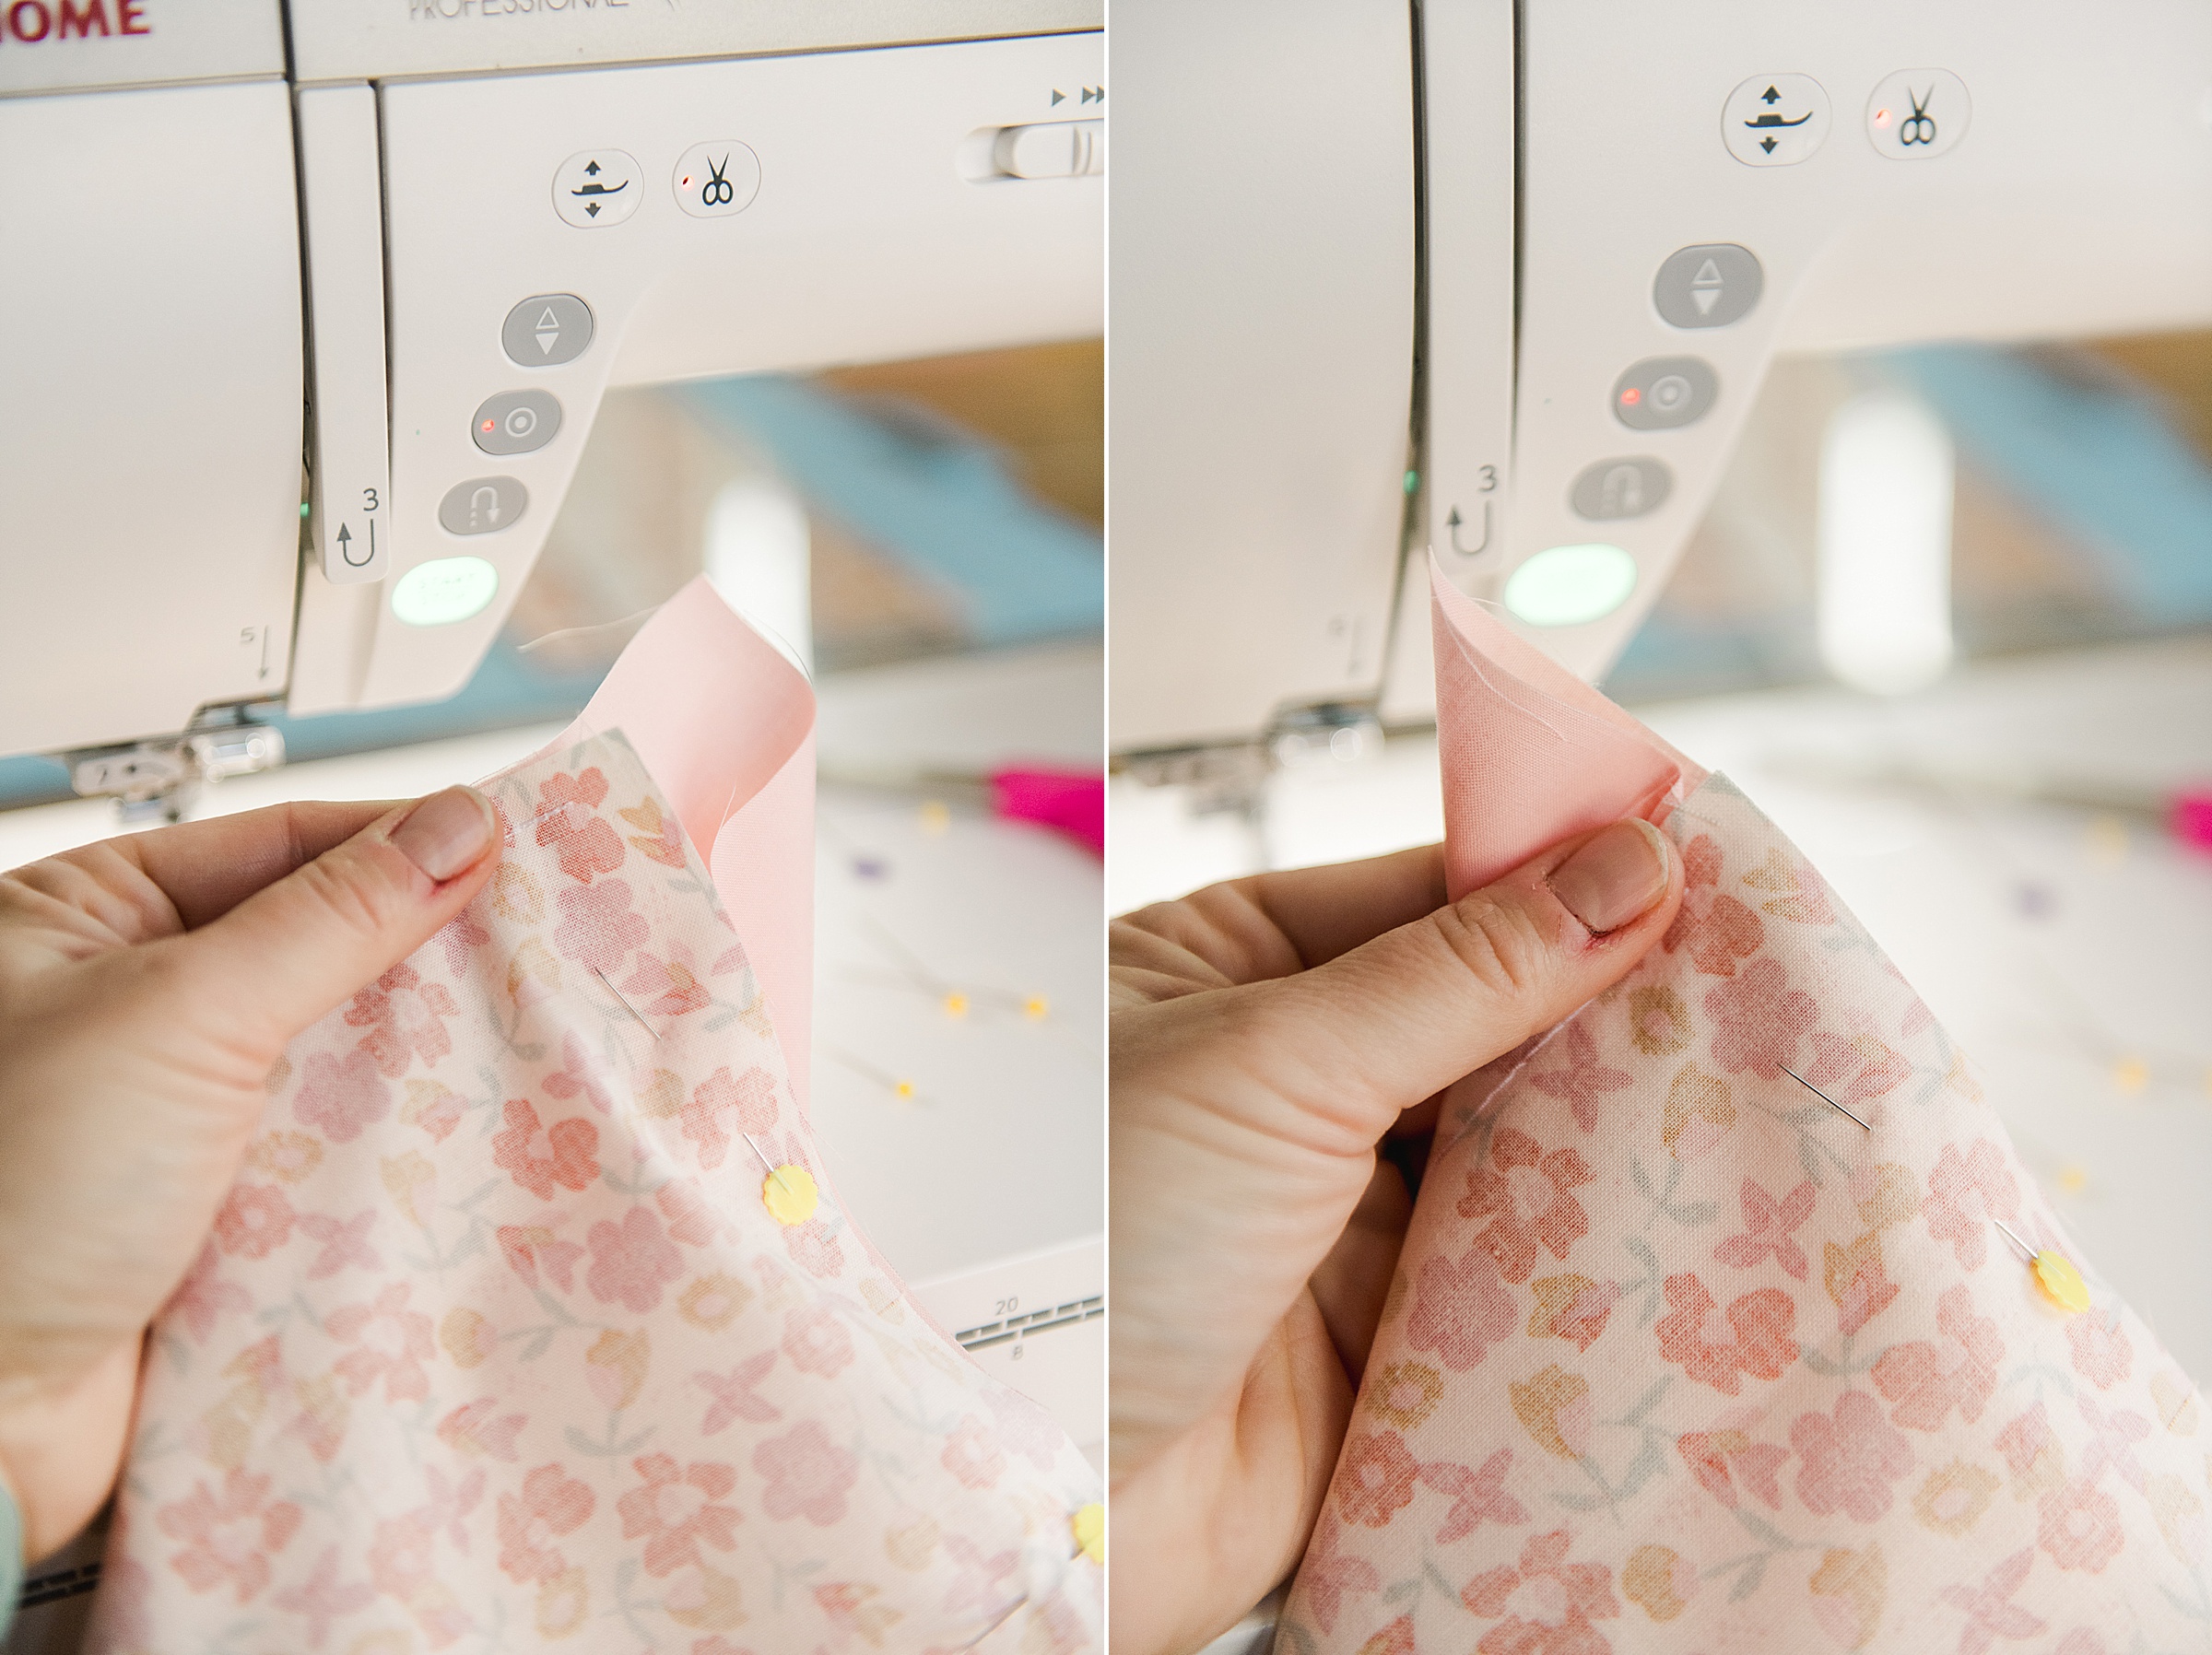
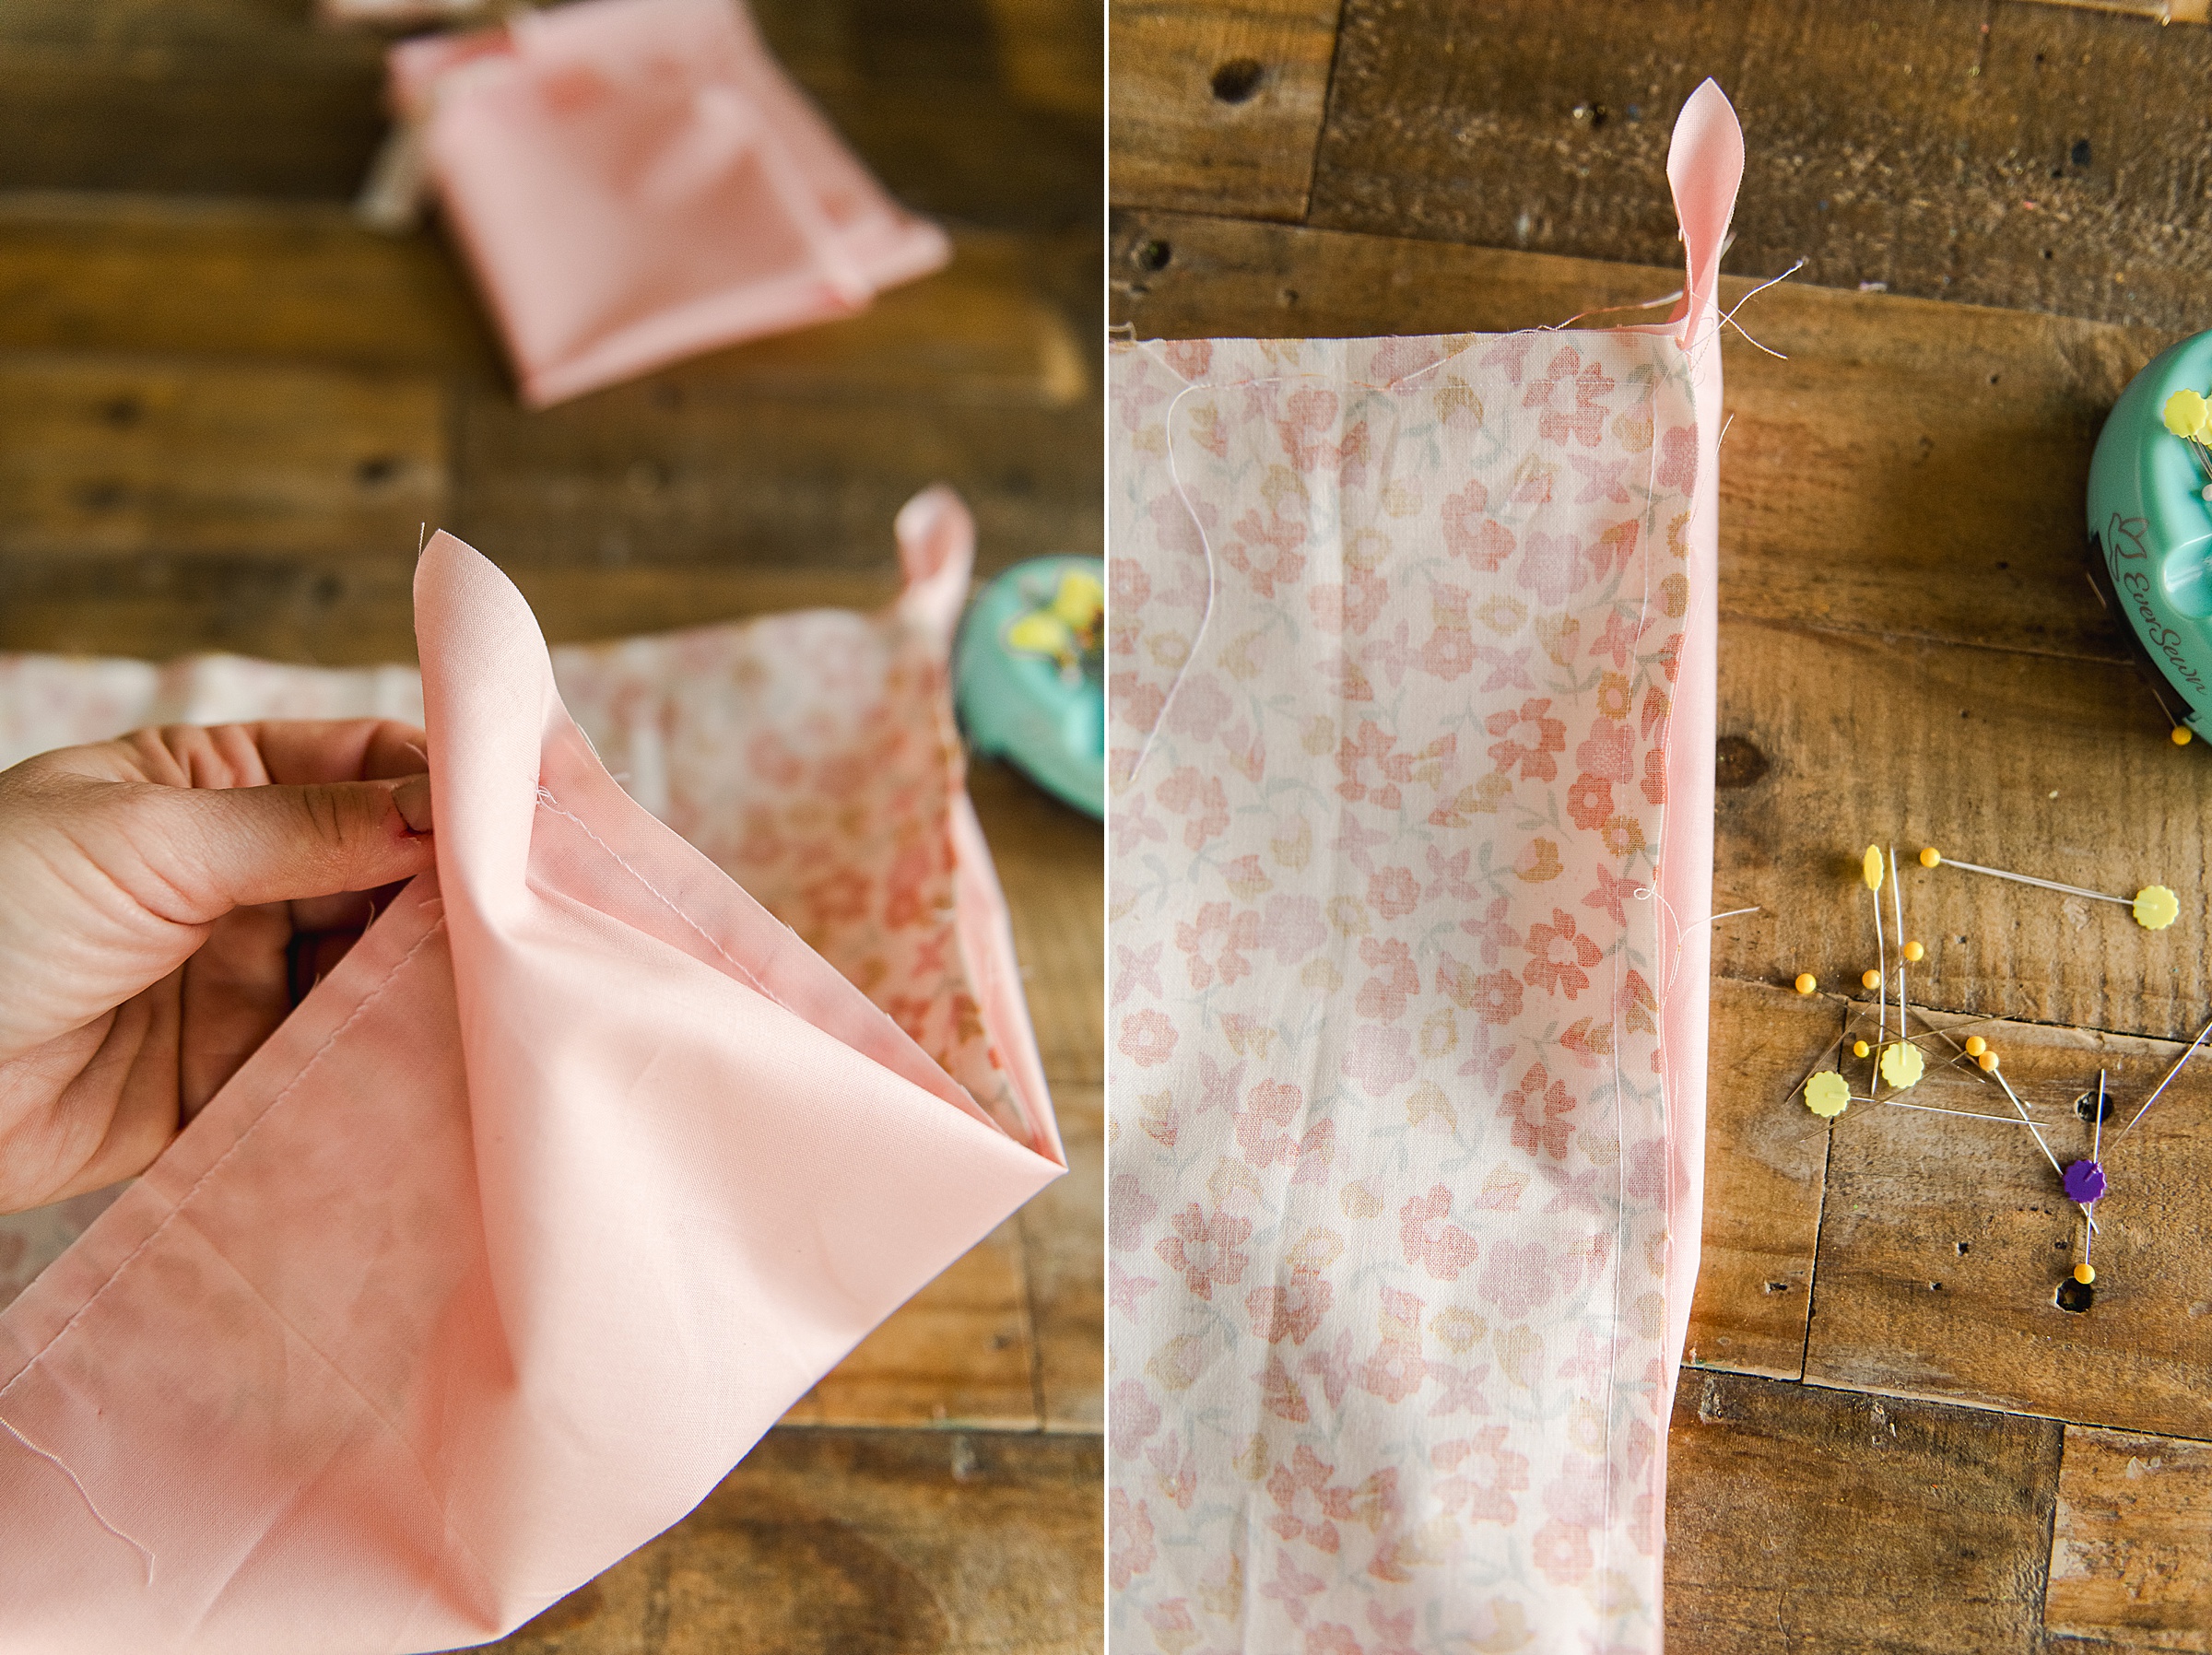
4. Draw your mitered corners with a pencil by using your ruler to line up a 90* angle from the FOLDED part of your backing fabric to the straight seam along each side.
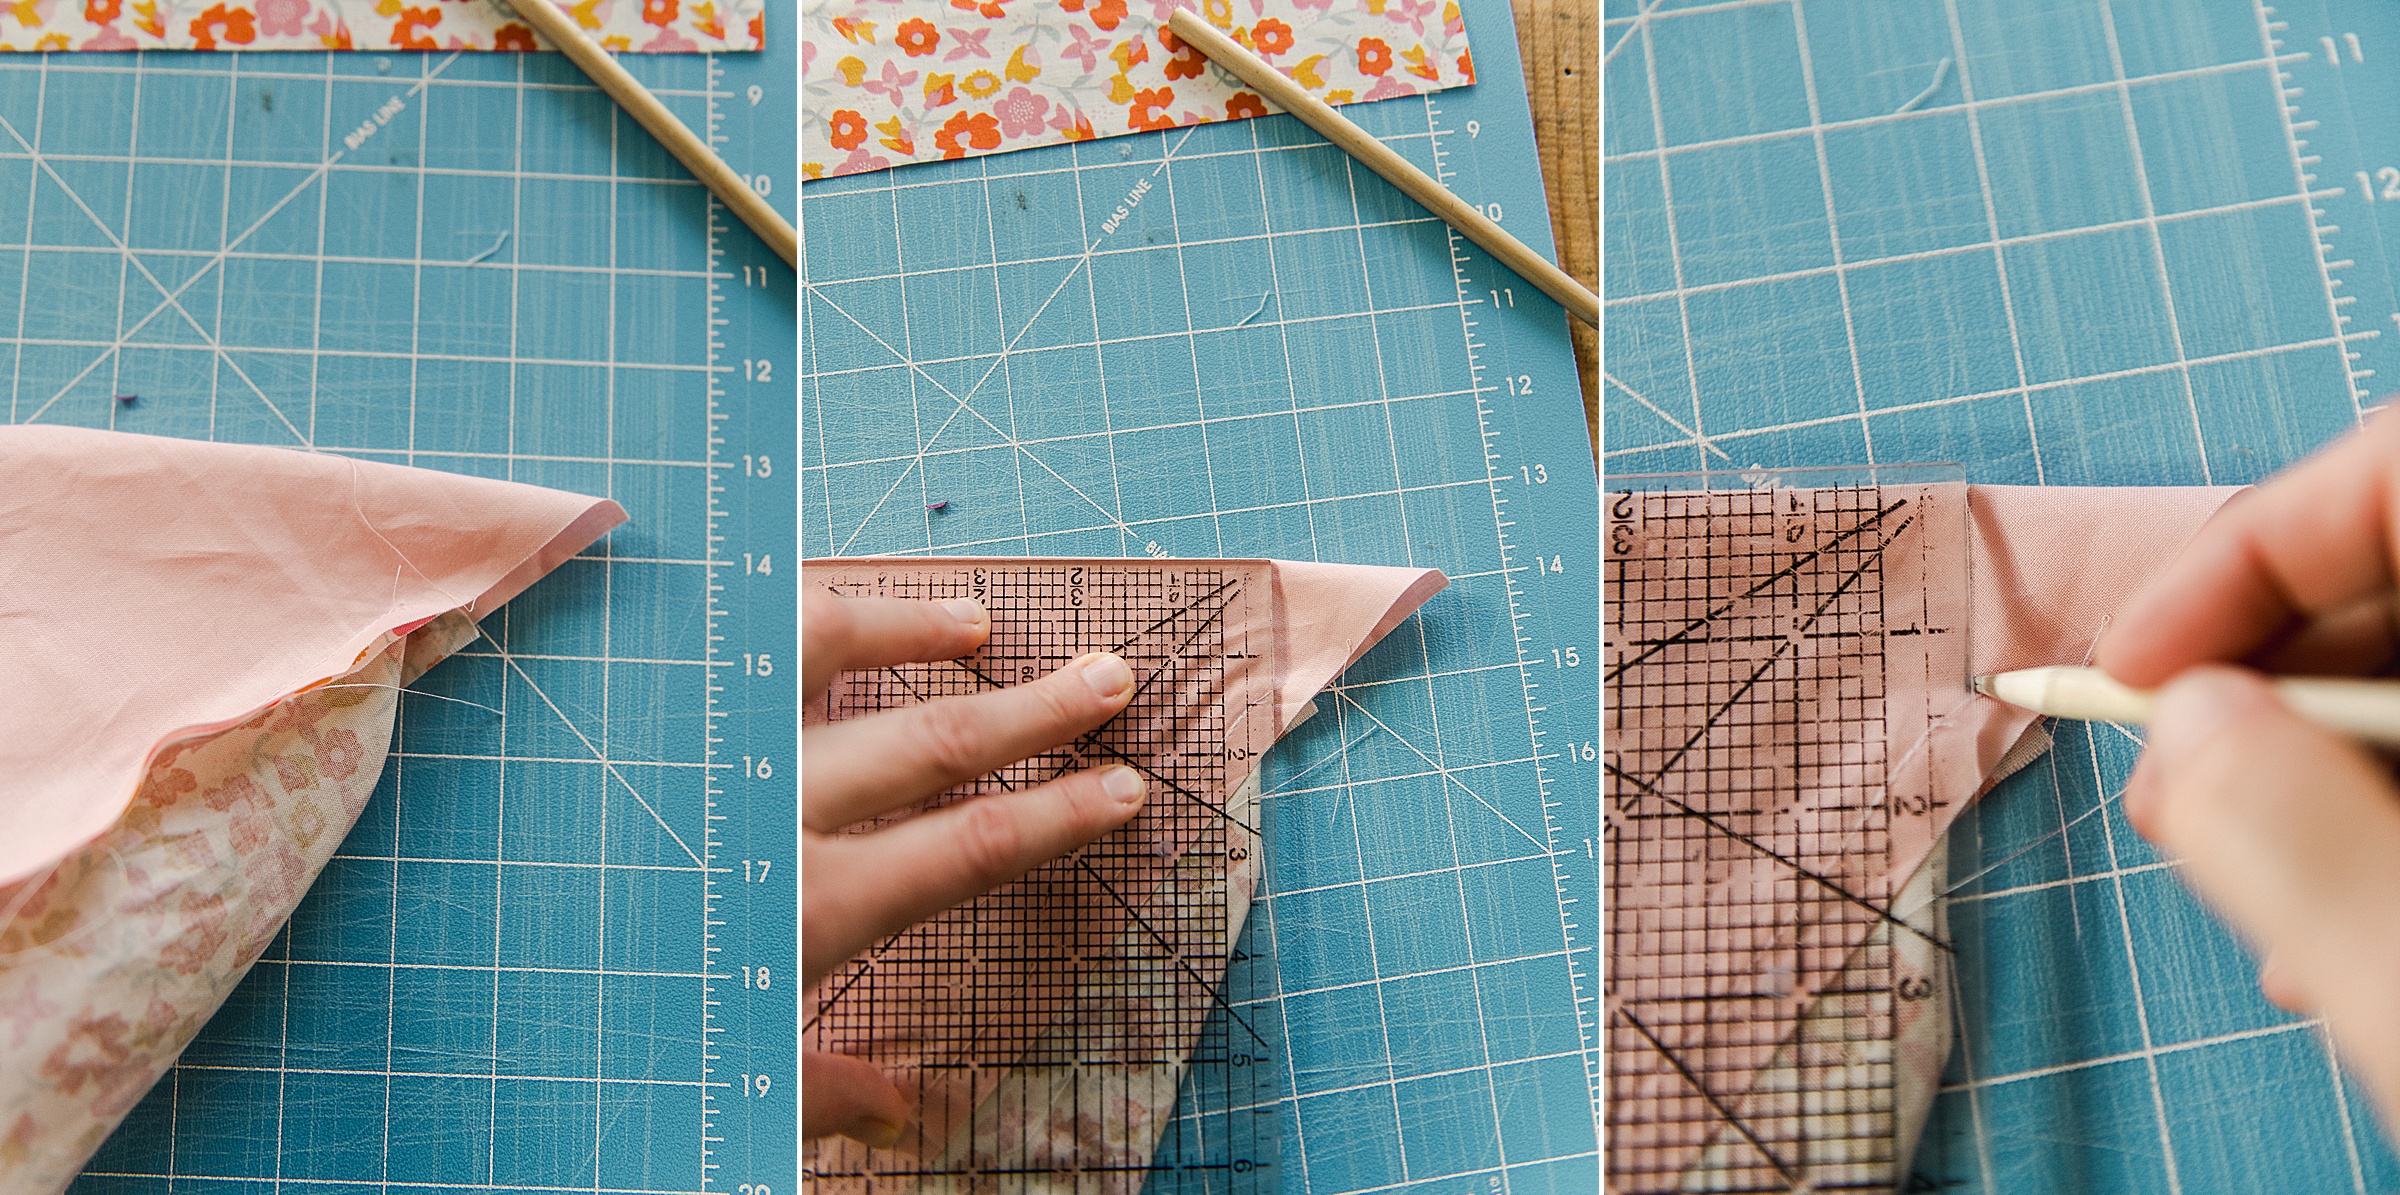
(this seems tricky until you do it – be sure that you place your napkin onto your surface with your backing fabric “separated” from your front and then lay your ruler down flush along the folder, triangle part, of your backing to make your 90* angle). Mark this with a pencil and then stitch into place 🙂
Once your corners are stitched, you can trim off the excess fabric 🙂
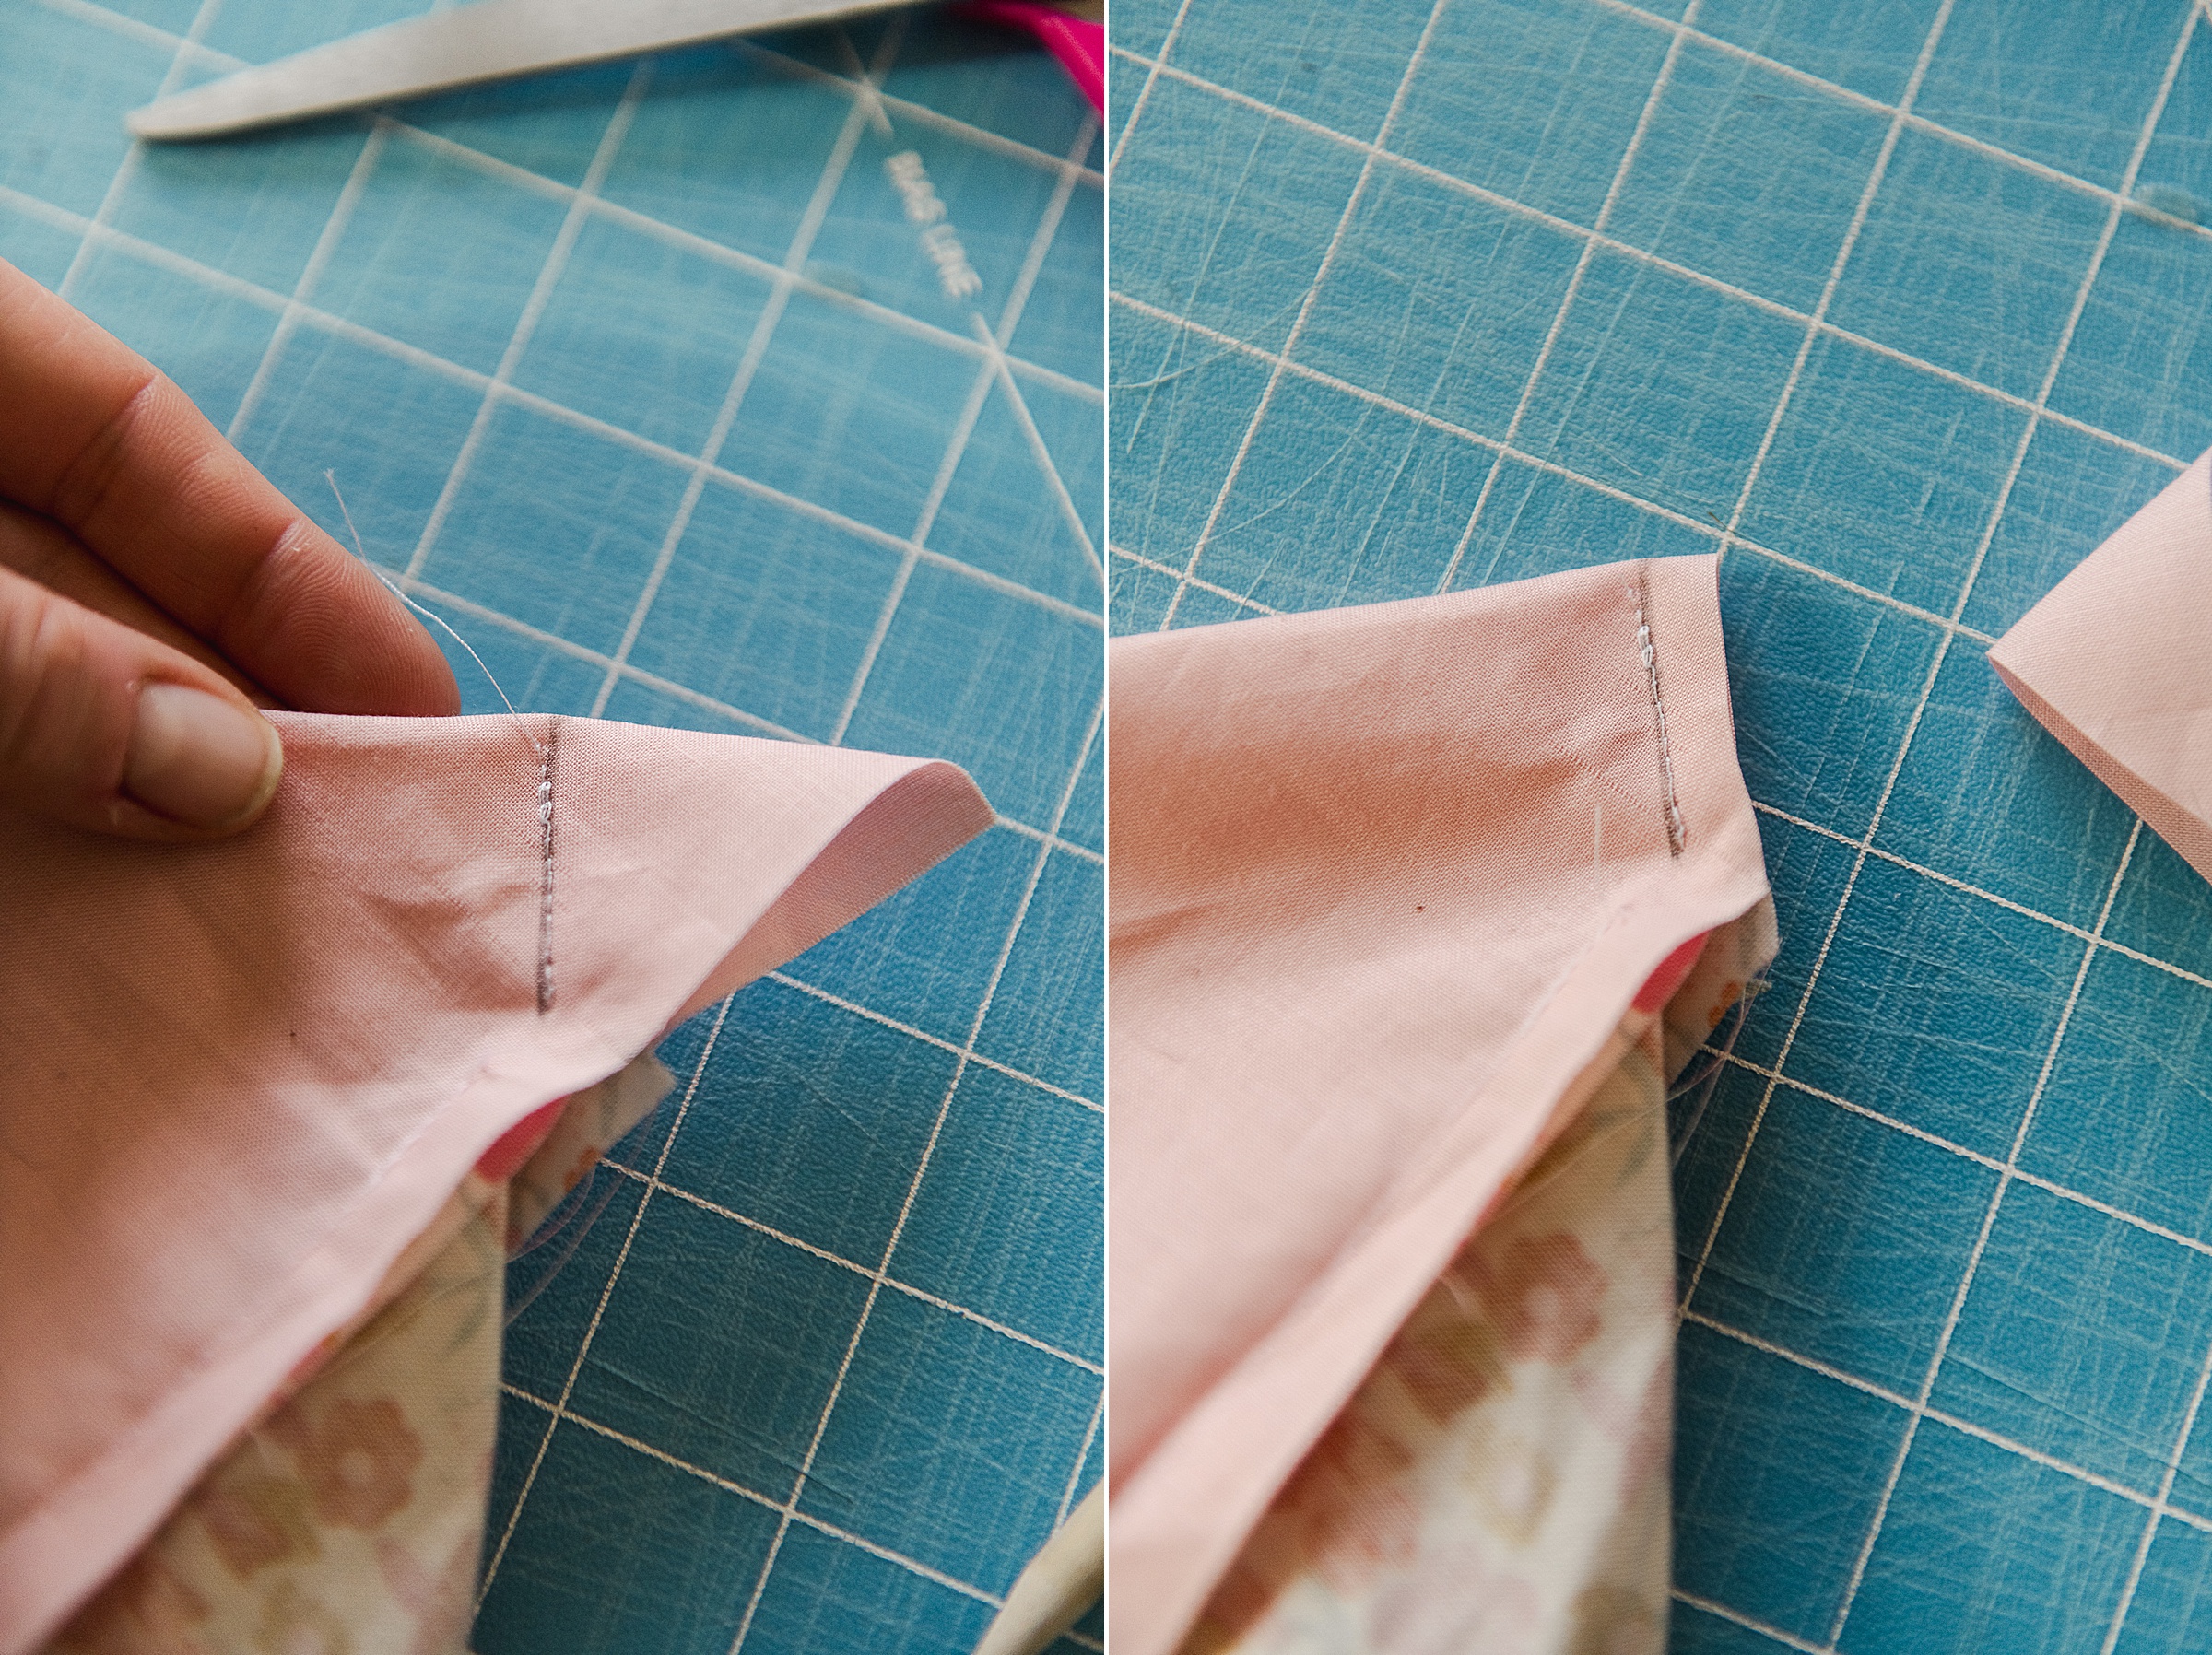
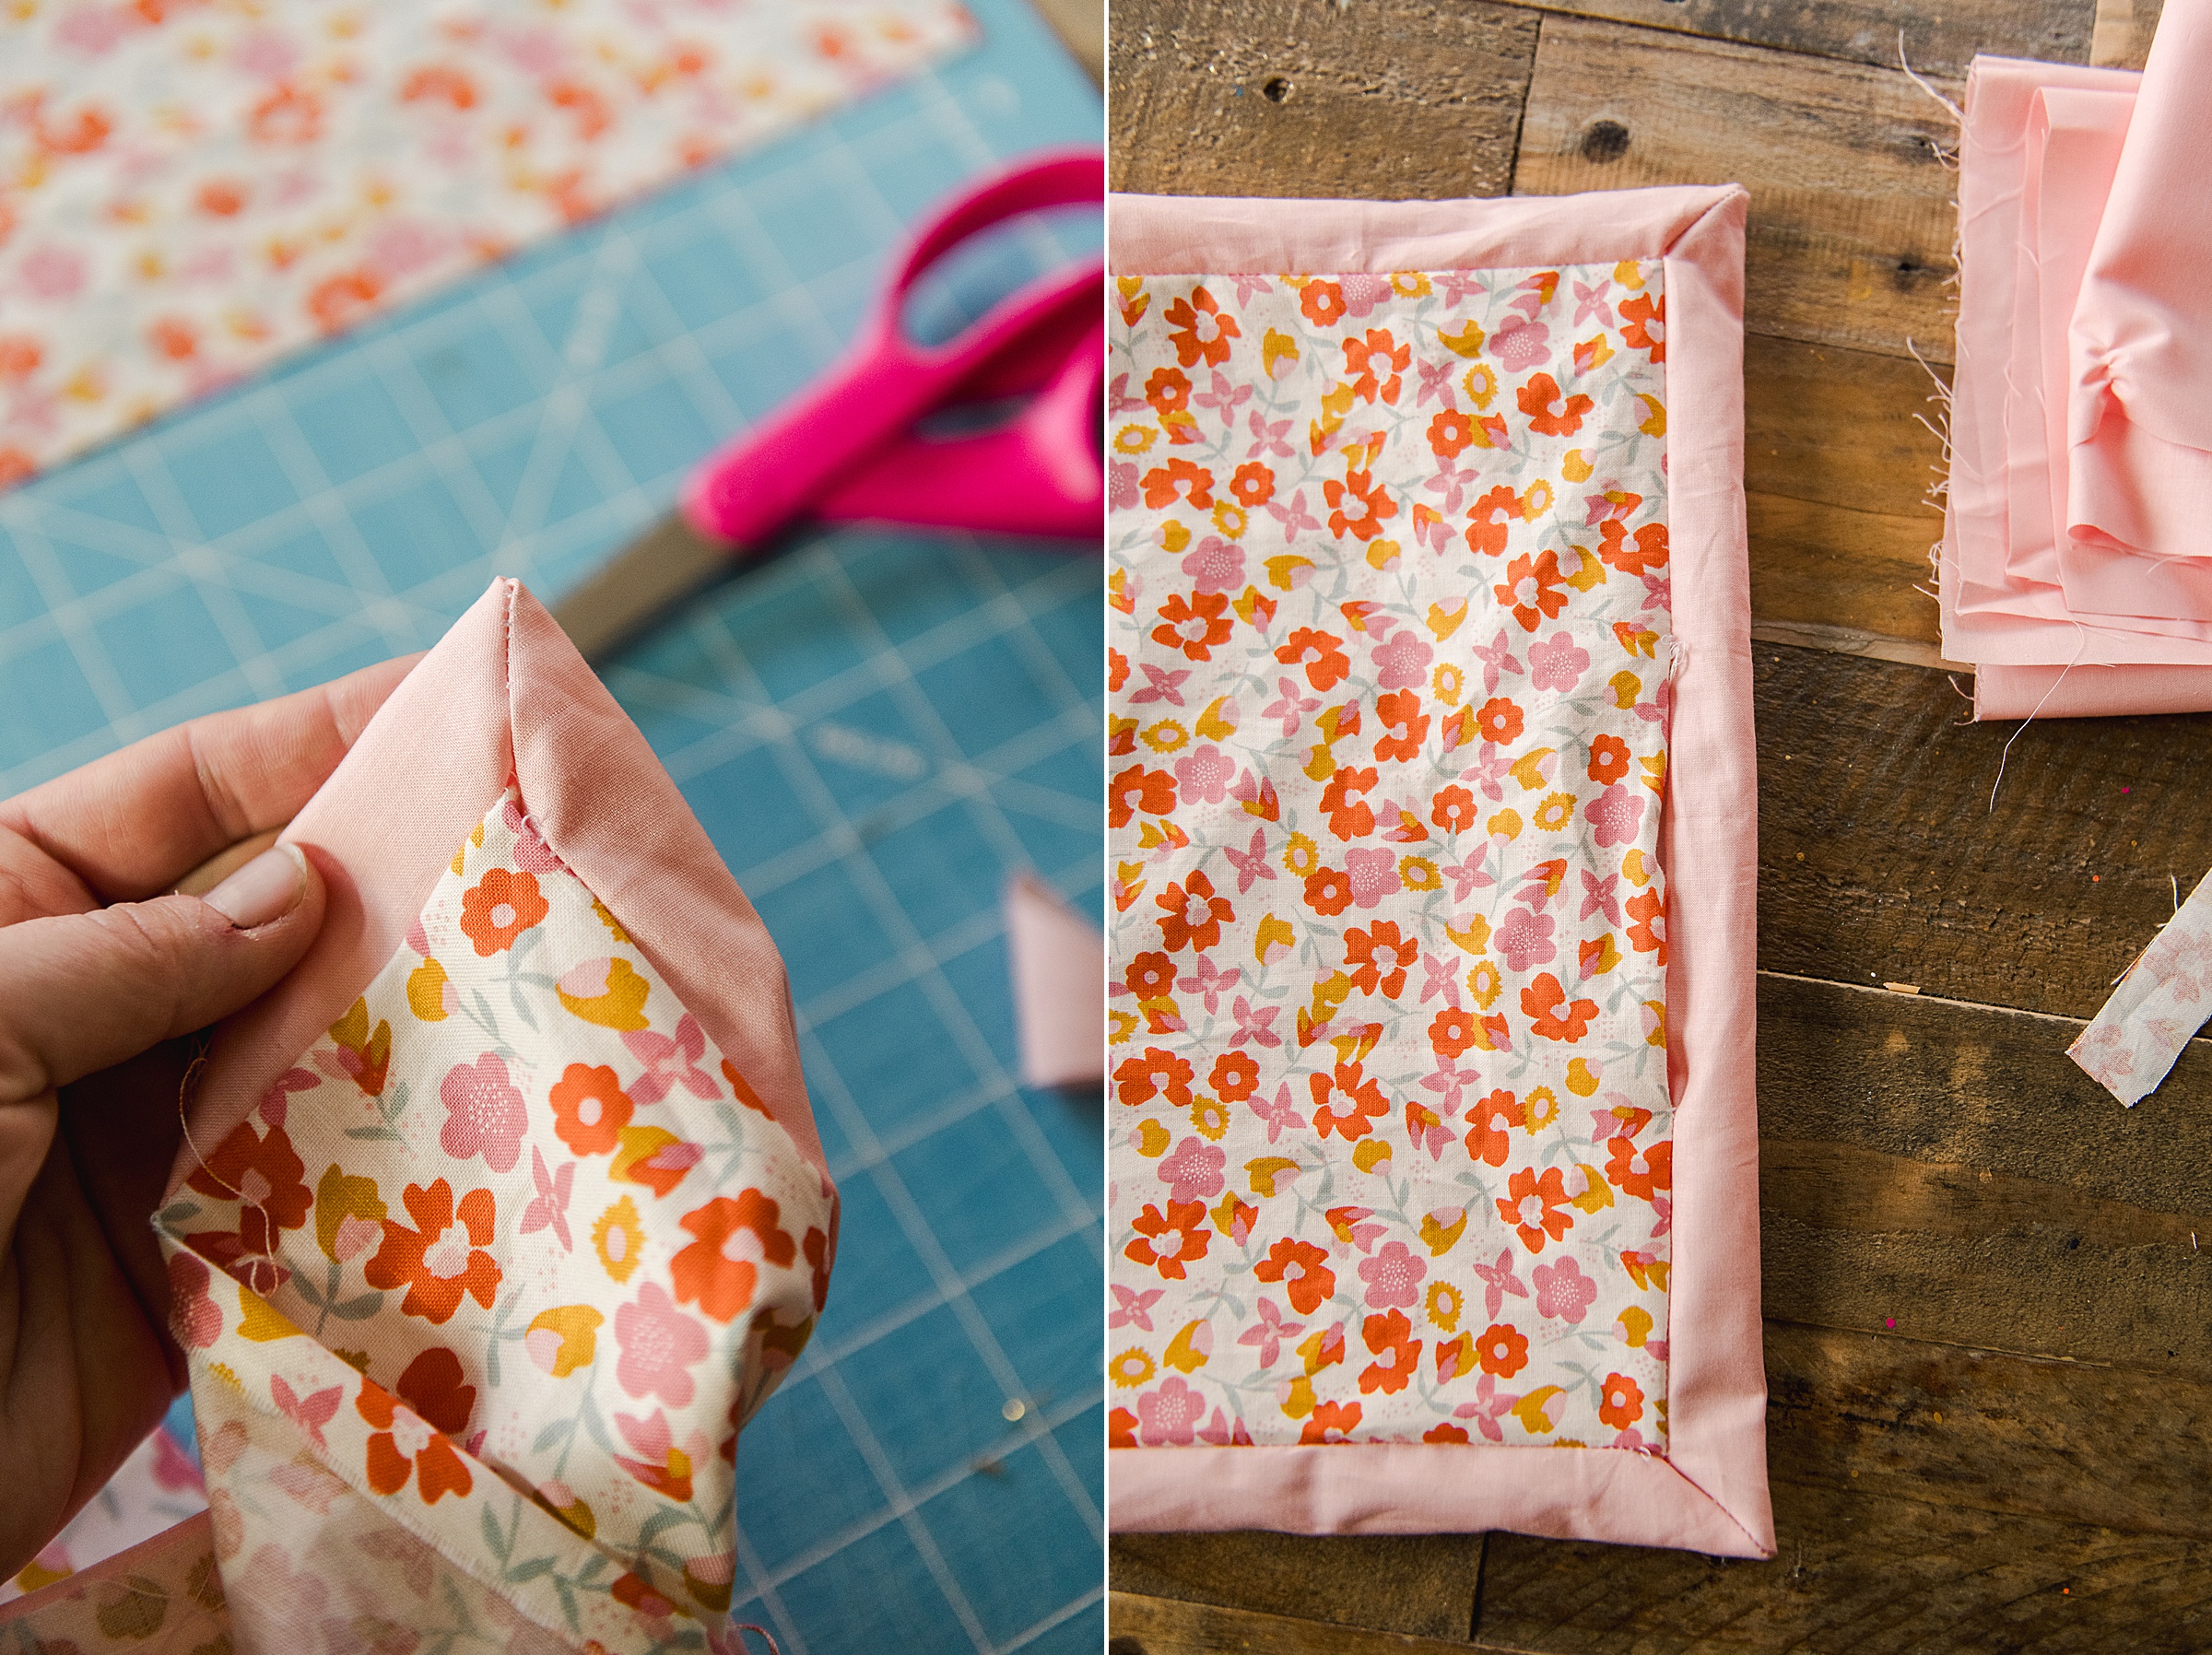
5. Open your napkin and turn it right sides out – press flat and be sure to push out each of your mitered corners to make it allllll night and amazing 🙂
6. You will then top stitch your binding/opening closed. I did a very small straight seam along all 4 edges to close my opening and keep my binding in place 🙂
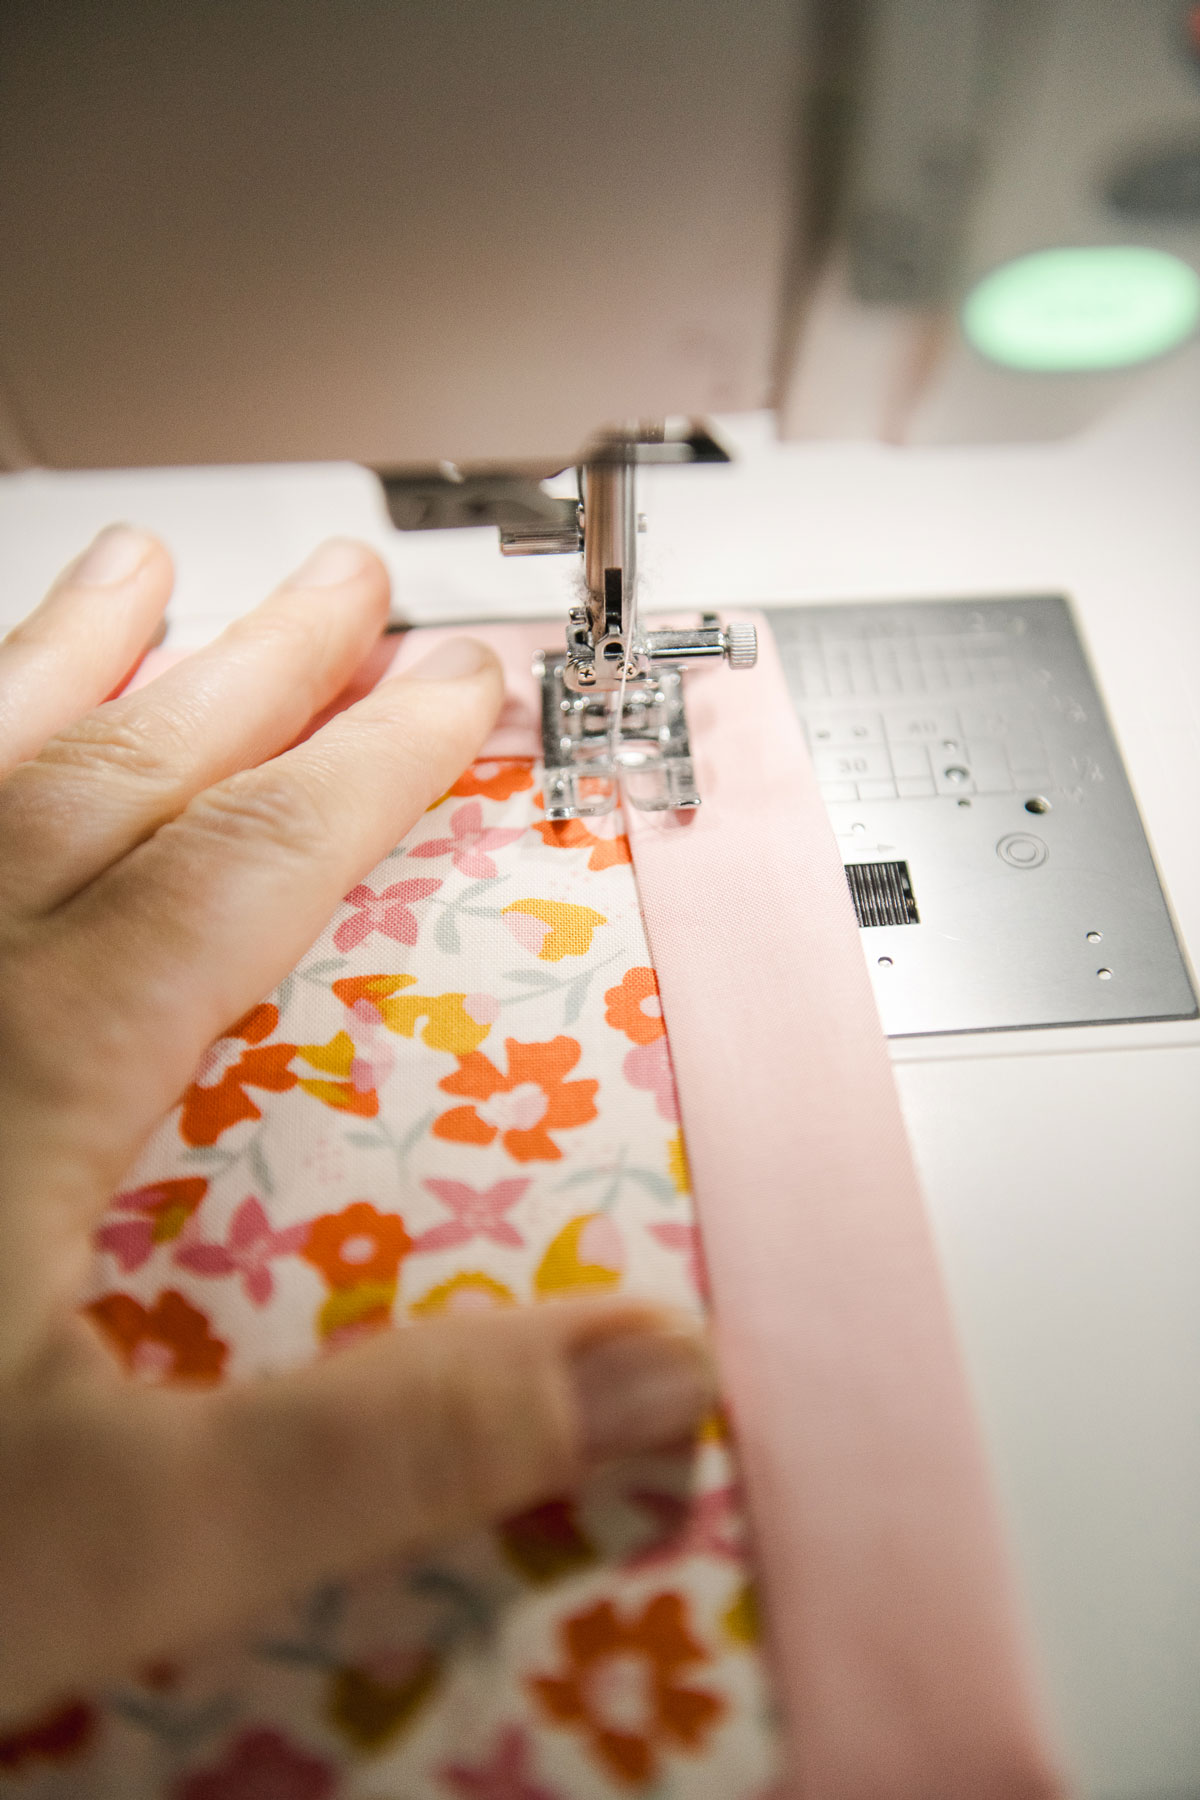
TAA-DAAAAAAAA! 🙂
