Color Blocked Stocking Pattern
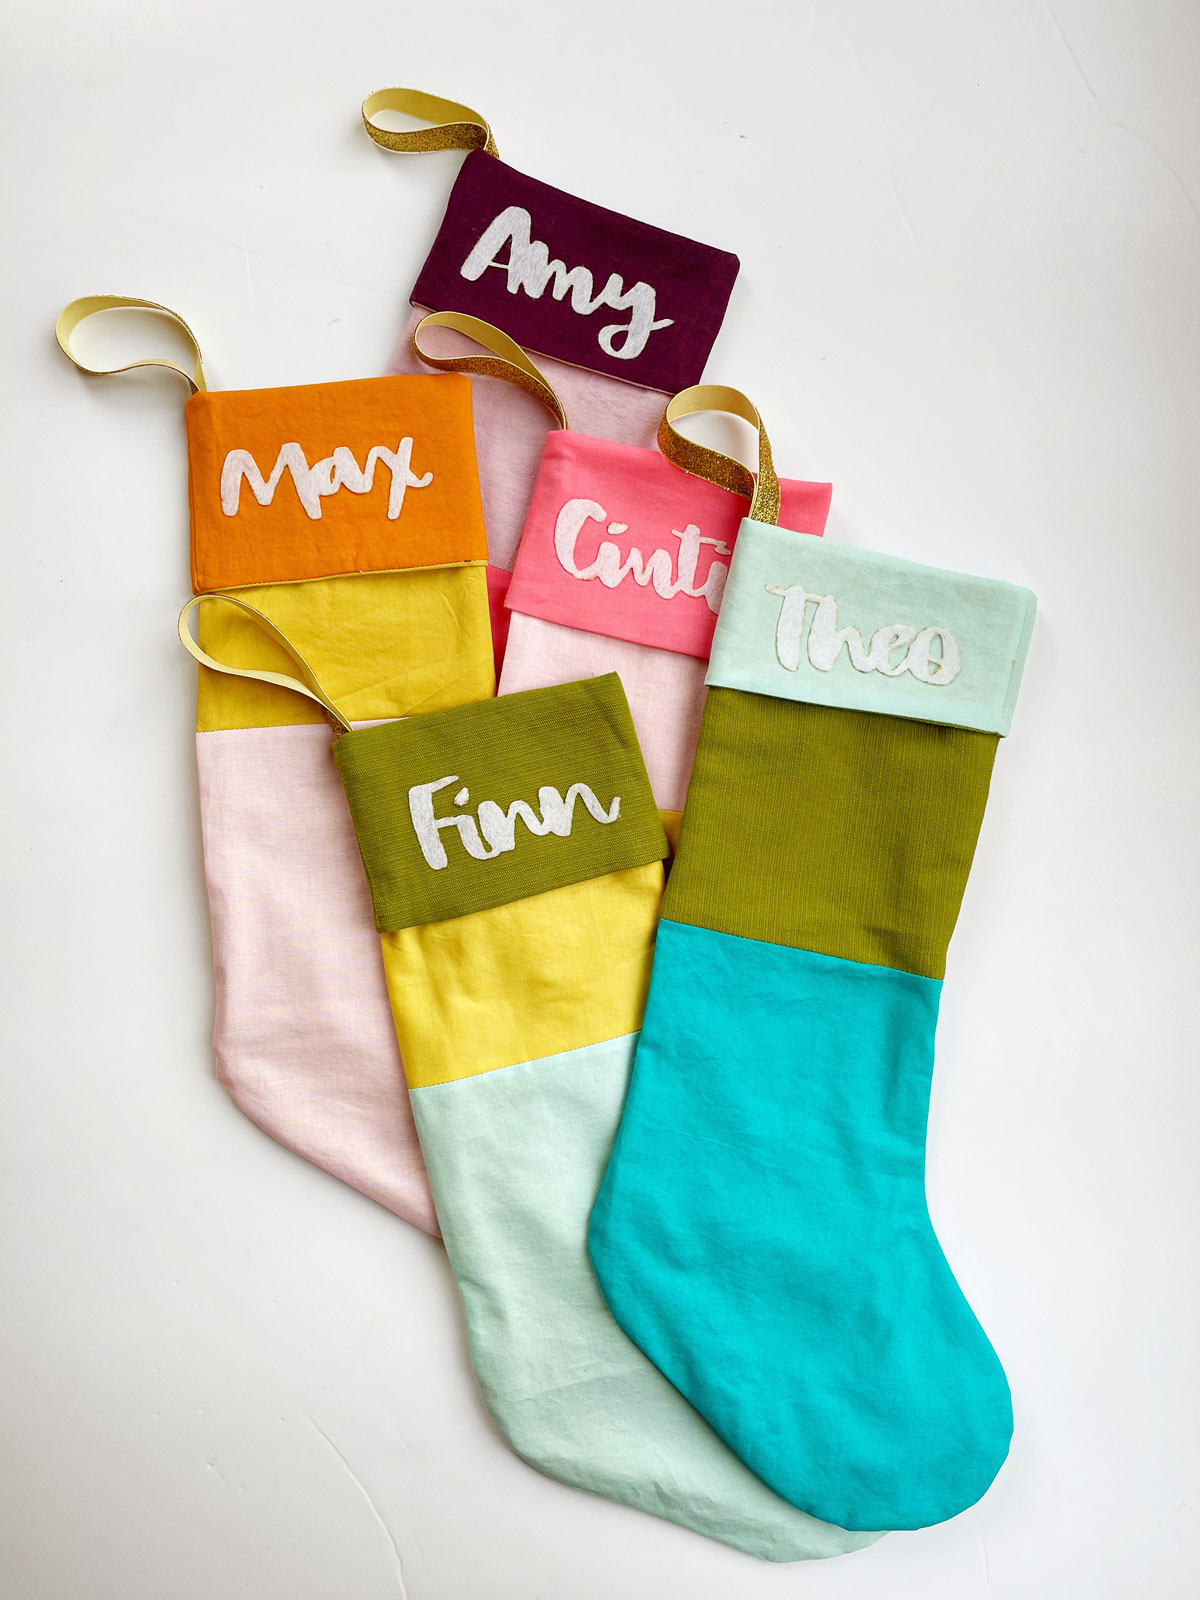
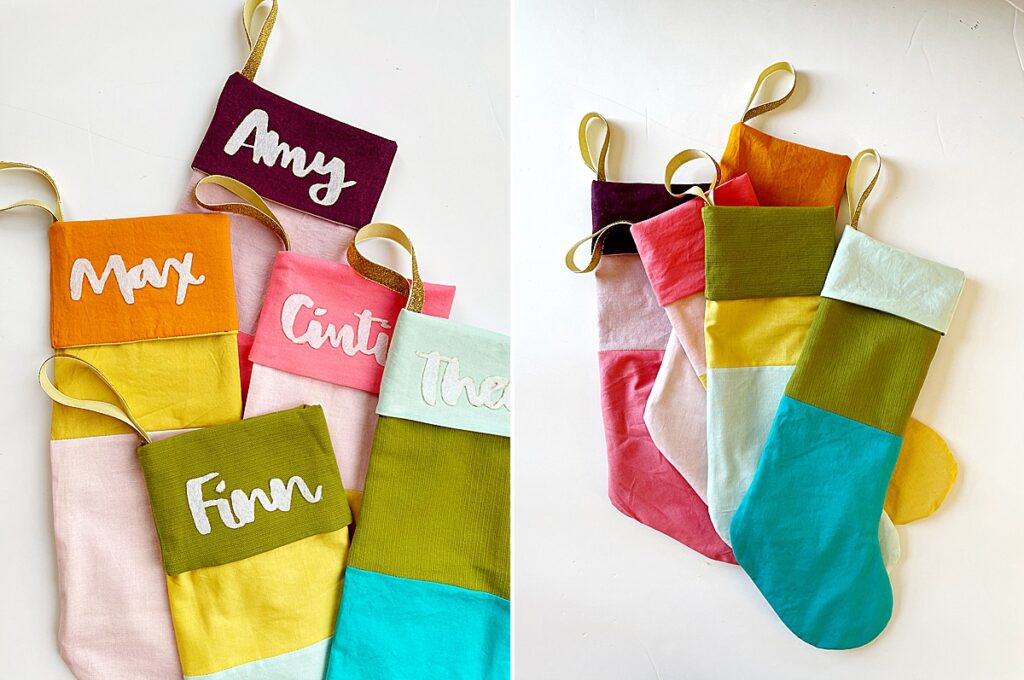
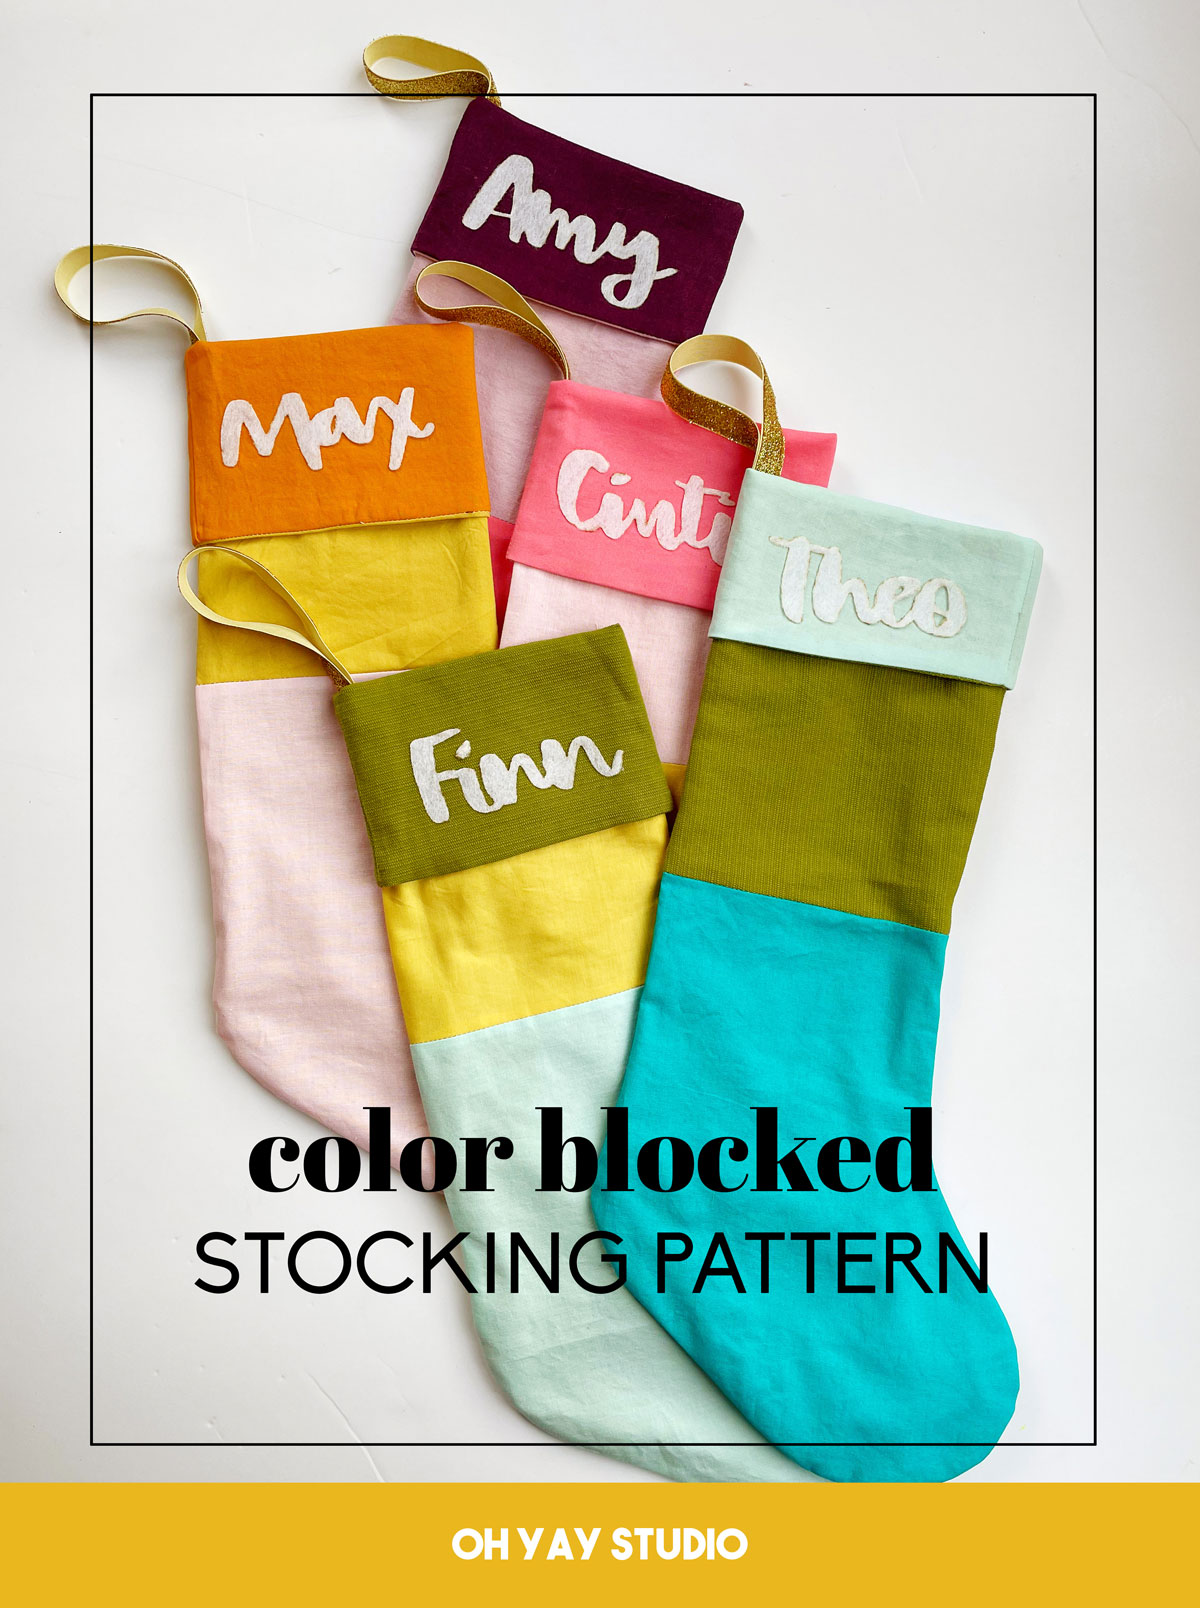
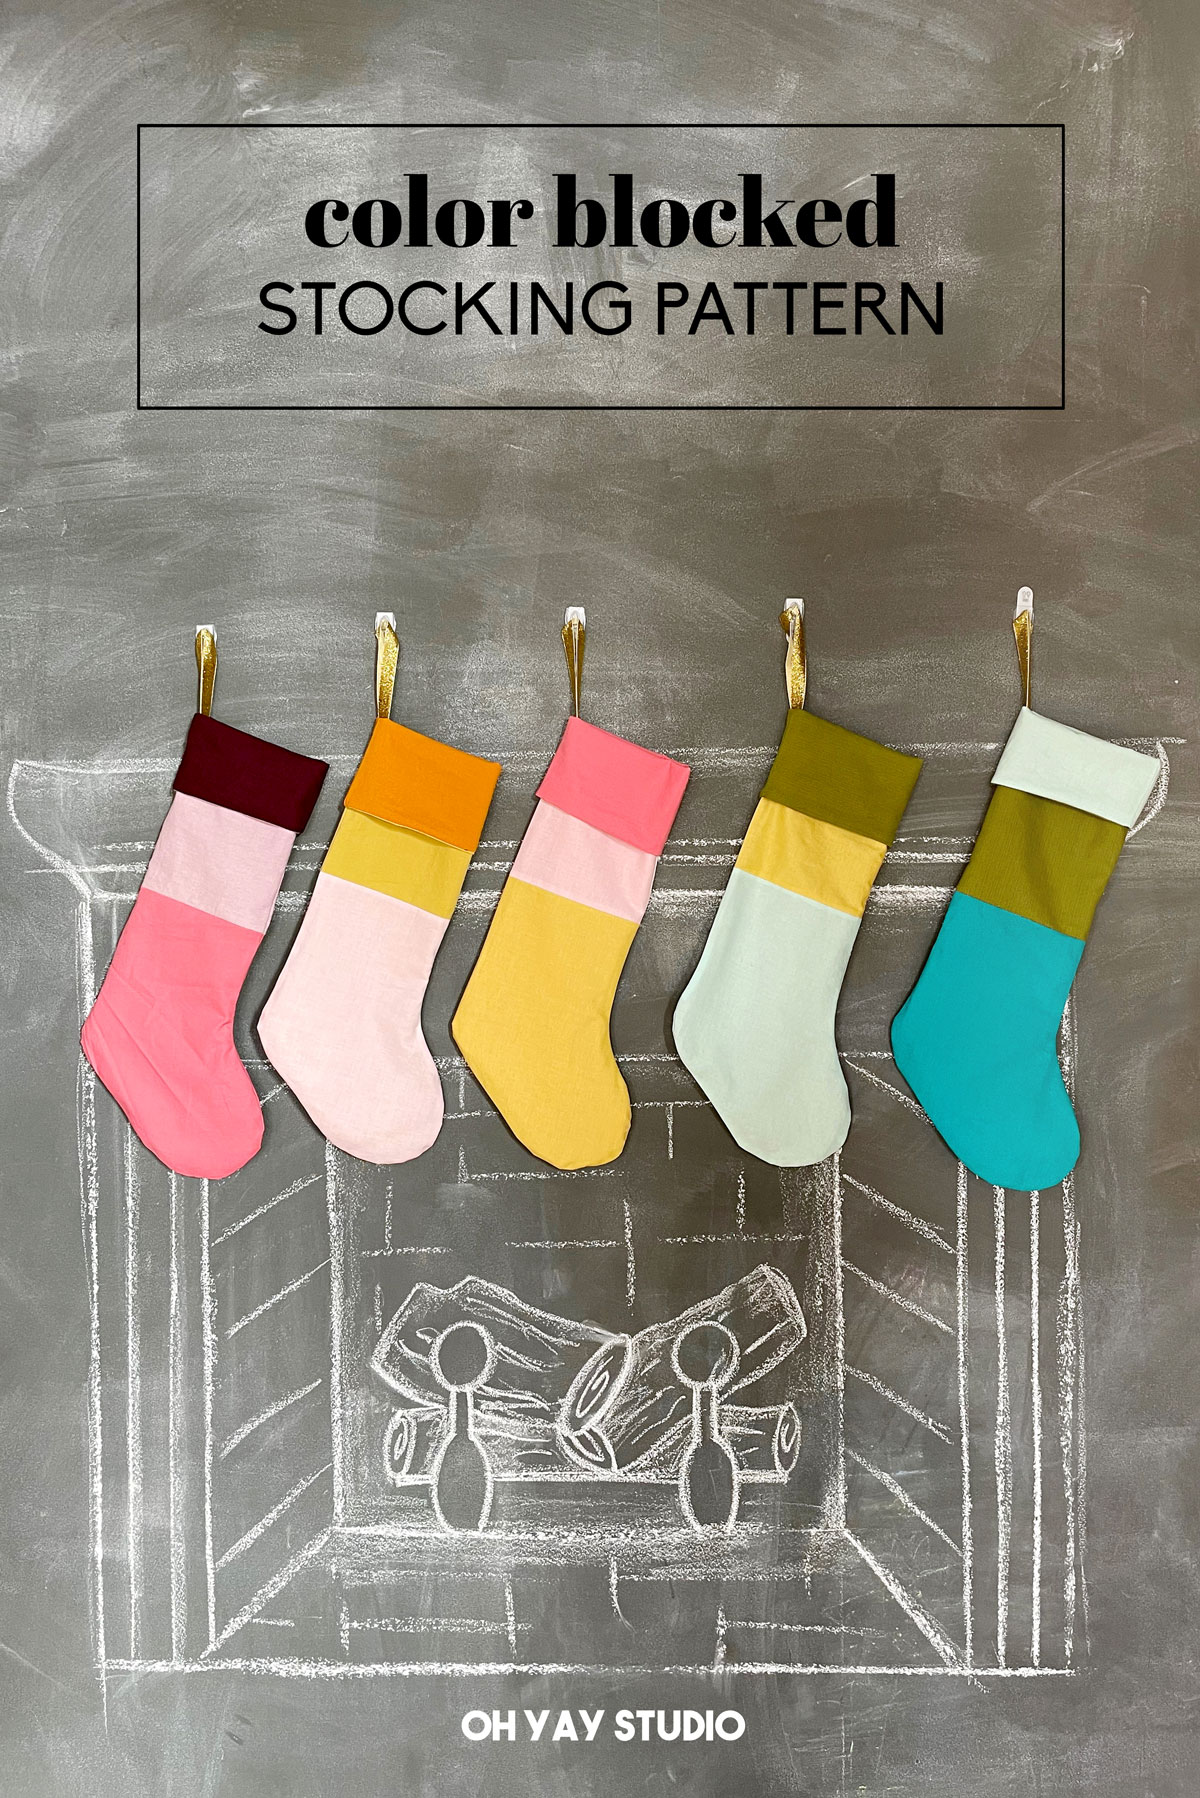
You can never have too much color at Christmas time, that’s my motto anyways…..heck it IS the most wonderful time of the year! 🙂 I had a friend commission some new stockings for their at-home celebrations this year and I was given FULL freedom to make them into anything I wanted. So, of course, I thought of some color blocking right away to bring in some joy and a slight graphic element to her mantle. And today I am sharing the free pattern + all of my sewing notes to make these Color Blocked stockings….or maybe I should call them BLOCKINGS! 🙂
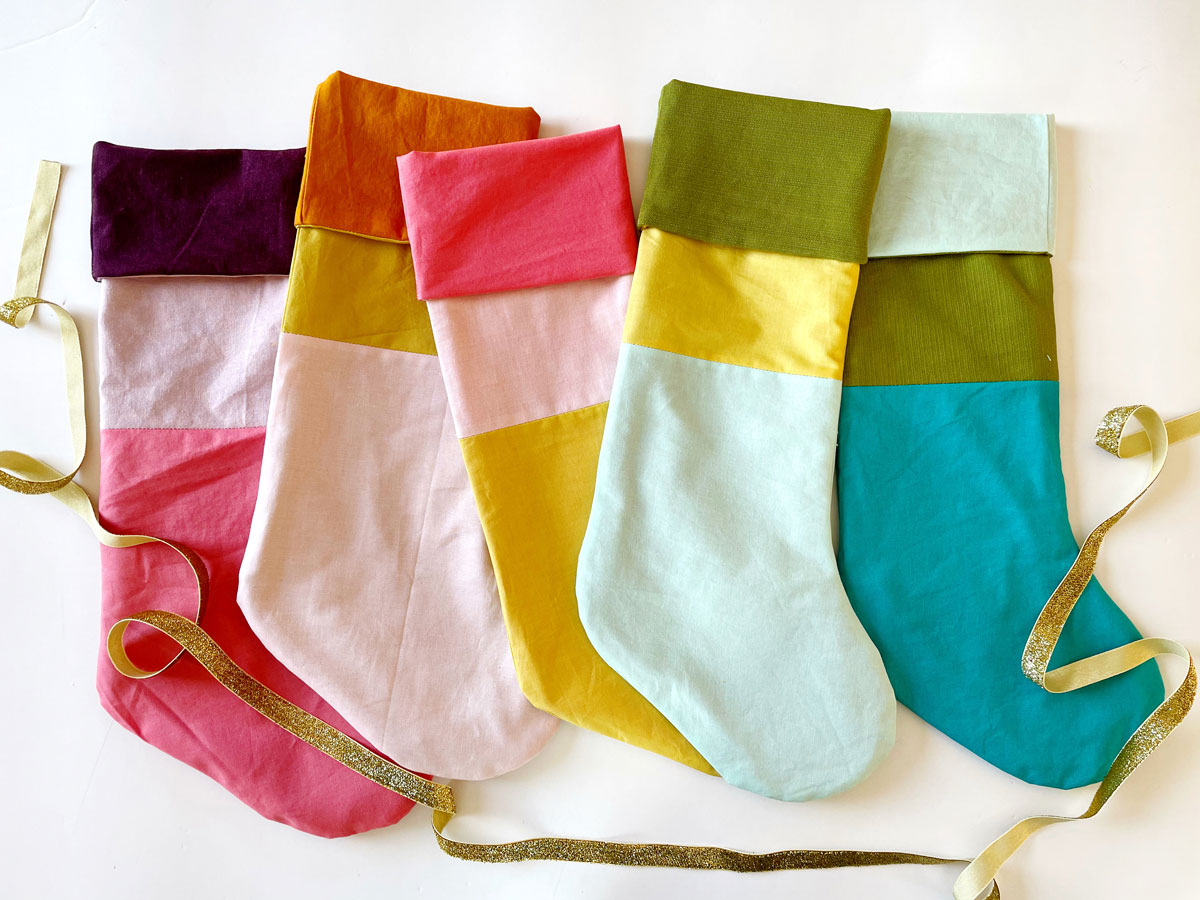
The thing I love most about these stockings is the fact that they can 100% be unique to whatever you want them to be! There are endless fabric options: you could do an ombre color gradient, add in some small patterned fabric, sew in some gold metallic fabric, or even do a more “striped” effect with mixing only 2 colors! 🙂 ANNNND you can go even further with adding pom poms, name plates, stitched names on the cuff or simply leave them plain and colorful! 🙂 I love any good craft that is customizable and let’s my artistic style shine! 🙂
MATERIALS:
- fabric: for each stocking, you will need 2 – 1/2 yard pieces and a fat quarter piece of fabric
- PDF pattern (linked below)
- Scissors or rotary cutter + cutting mat
- Your favorite sewing machine + coordinating thread
- ribbon or an extra piece of fabric for the hanger
INSTRUCTIONS!
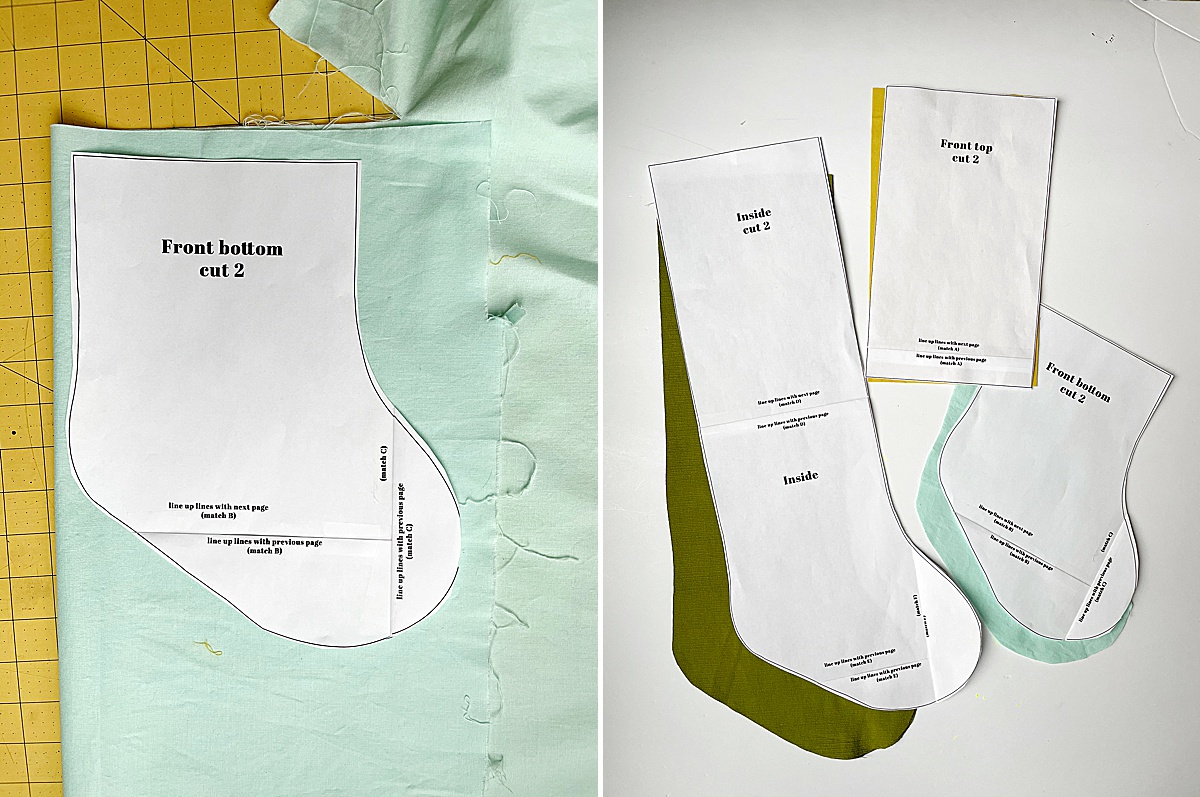
1. Download the PDF pattern pieces + tape them together. Follow the instructions on the pages to tape them together. You will end up with 3 finished pieces: the outside top, outside bottom and the inside.
COLOR BLOCKED STOCKING PATTERN PDF
2. Iron all of your fabric, then cut out your pieces.
- Cut 2 front bottom
- Cut 2 front top (which will become the colored “stripe” between the cuff and bottom)
- Cut 2 inside pieces (which will become the color of the cuff
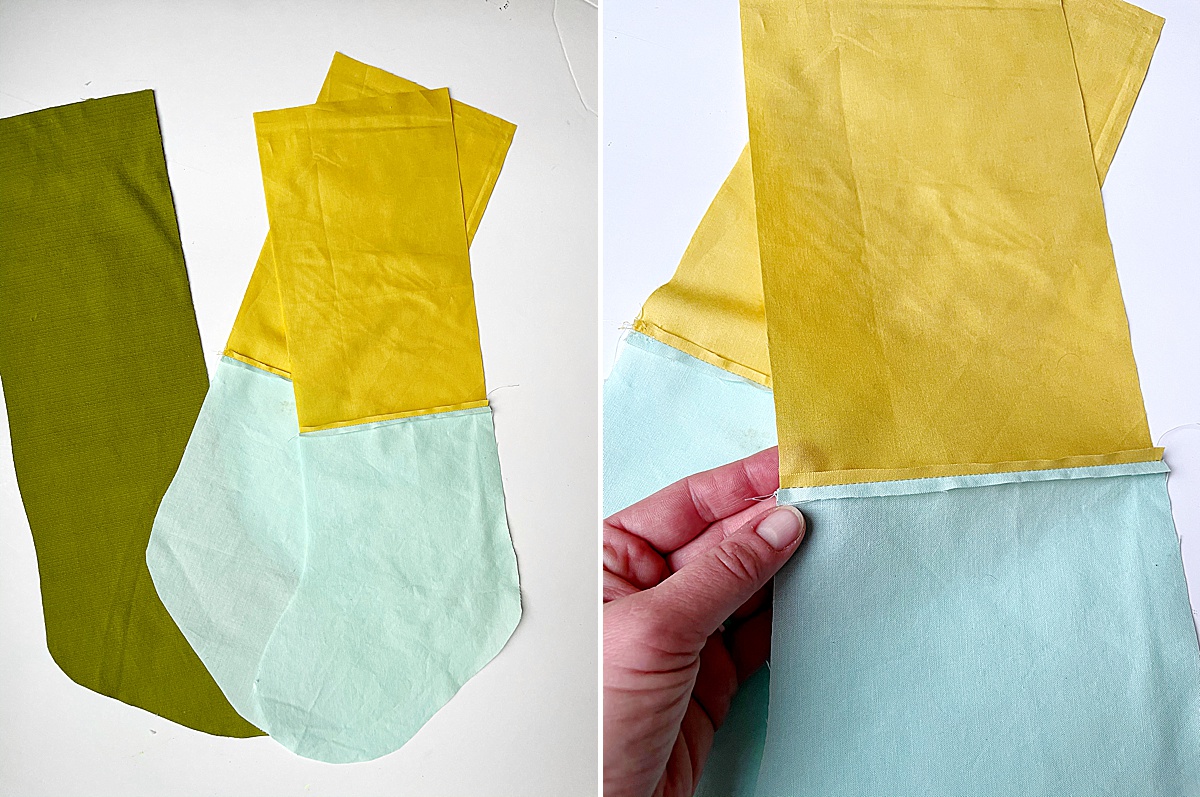
3. With right sides together, sew one of the front bottom to the front top, using about an 1/8” seam allowance. Repeat with the 2nd side. Then press the seam either open or to one side.
Then with right sides together, sew the front and back together to make the stocking outside. Be sure to line up the coloring blocking as you stitch around the outer edge and DO NOT sew across the top (straight opening)! 🙂
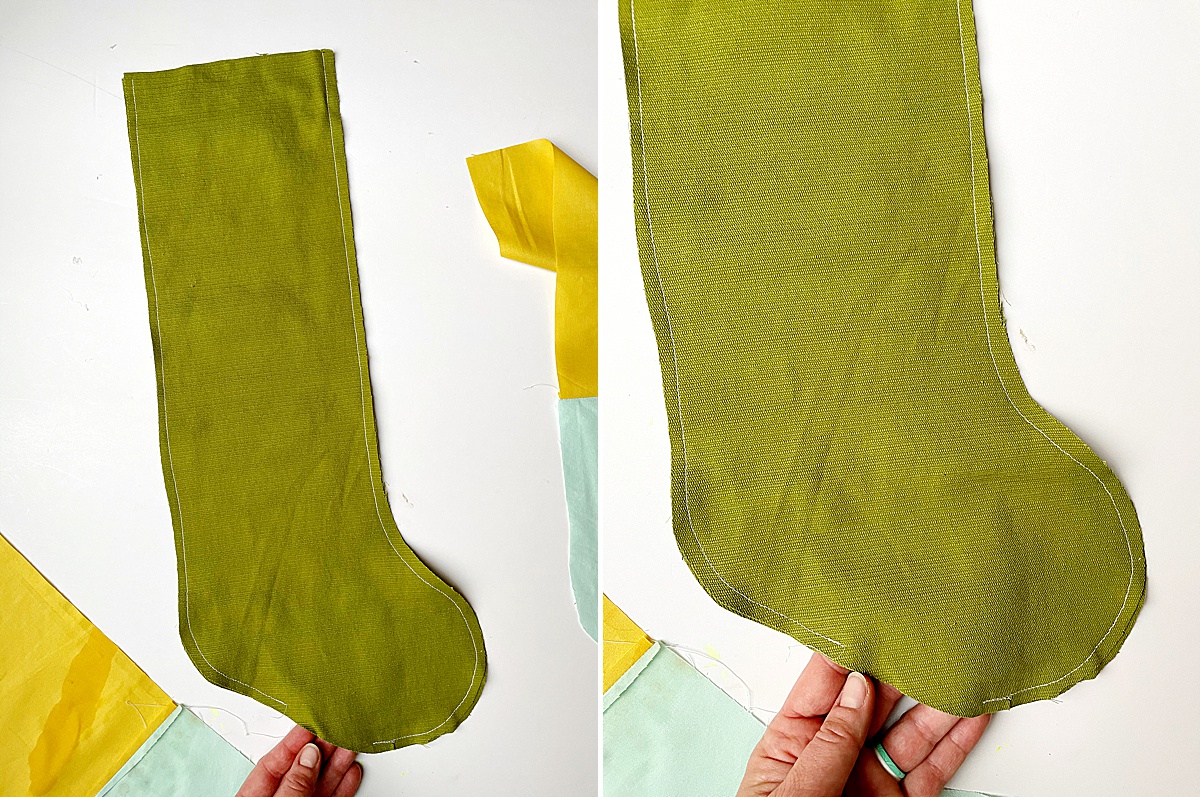
4. With right sides together, sew the inside 2 pieces together around the outer edge, using about a 1/4” seam allowance. Leave about a 3 inch opening un-sewn near the bottom of the foot (I did it across the straightest part) so that you can turn your stocking right side out when sewn together. And again, DO NOT sew across the top straight opening.
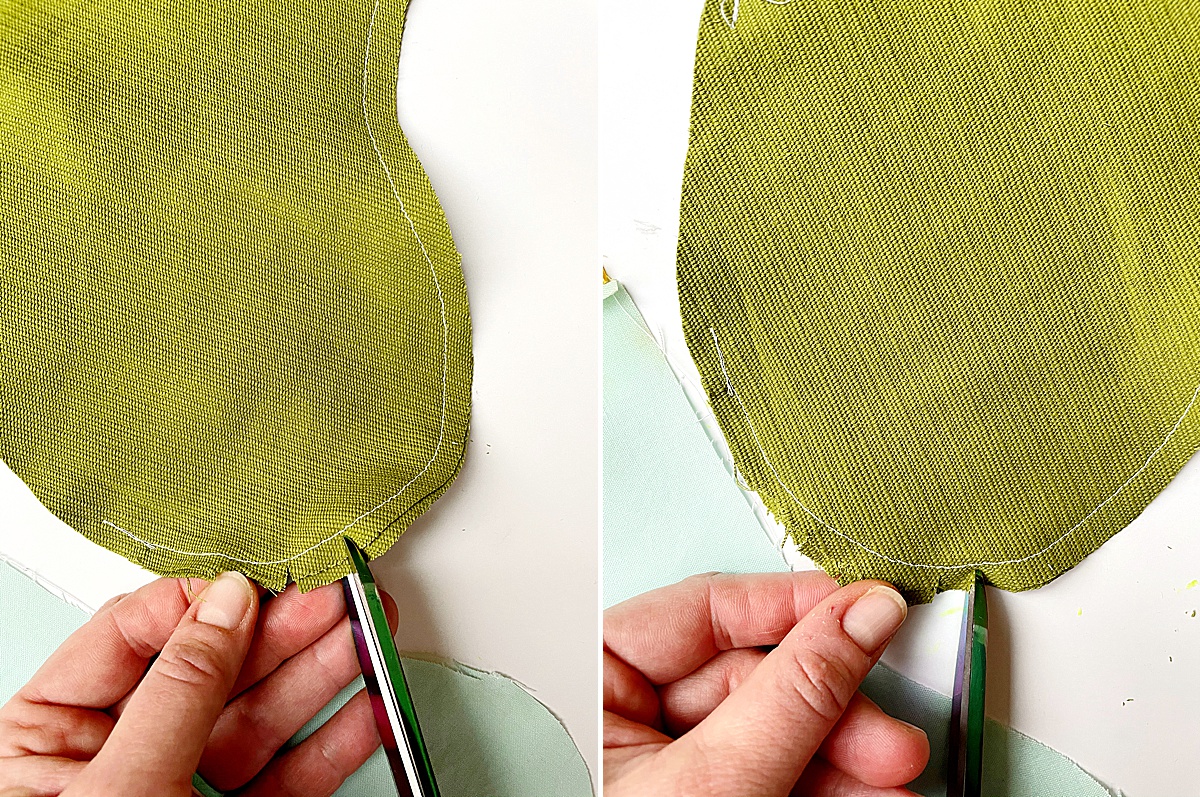
5. With both the inside and outside panels, edge clip the curved bottom portions of the stocking. This will make it so that it lays as flat as possible when they hang.
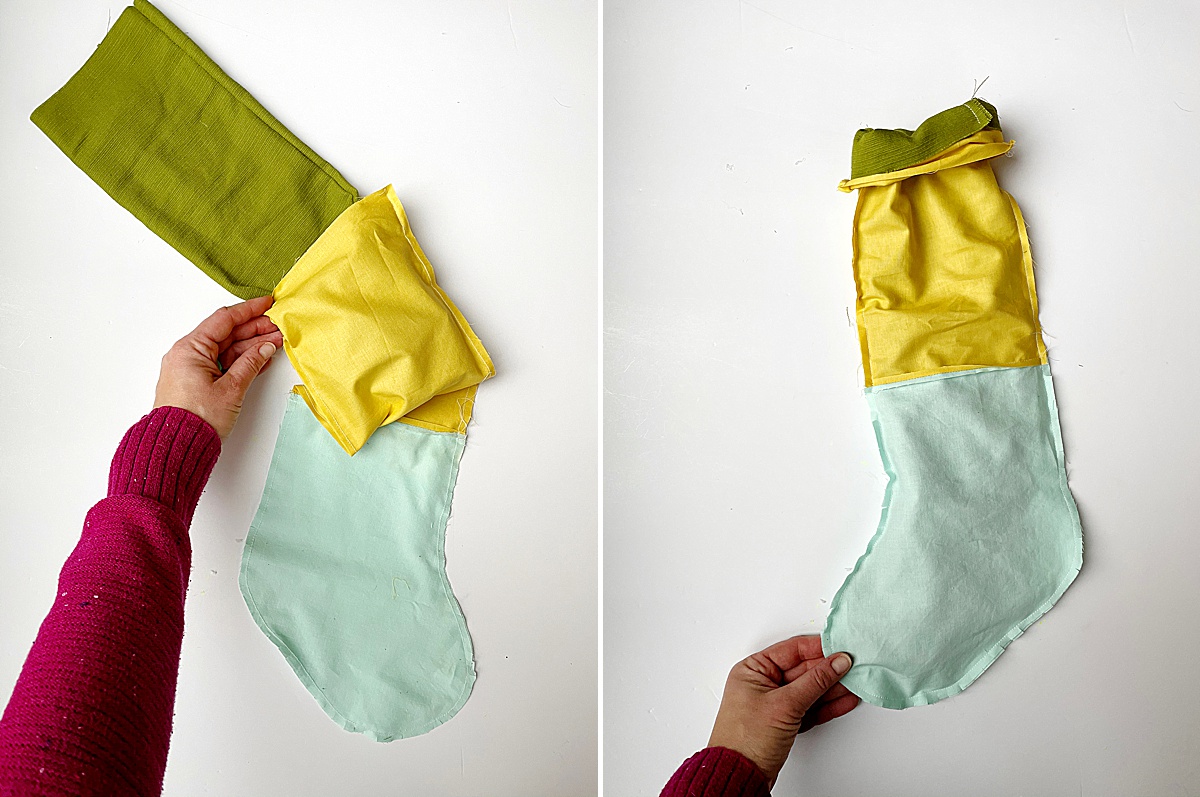
6. Turn the inside panel right side. Then stuff the inside into the outside so that the right sides are facing one another. Do your best to flatten the inside making sure that the side seams line up on both panels and the top edges line up as best as possible. then stitch a 1/4” seam across the top attaching the lining to the outside of the stocking.
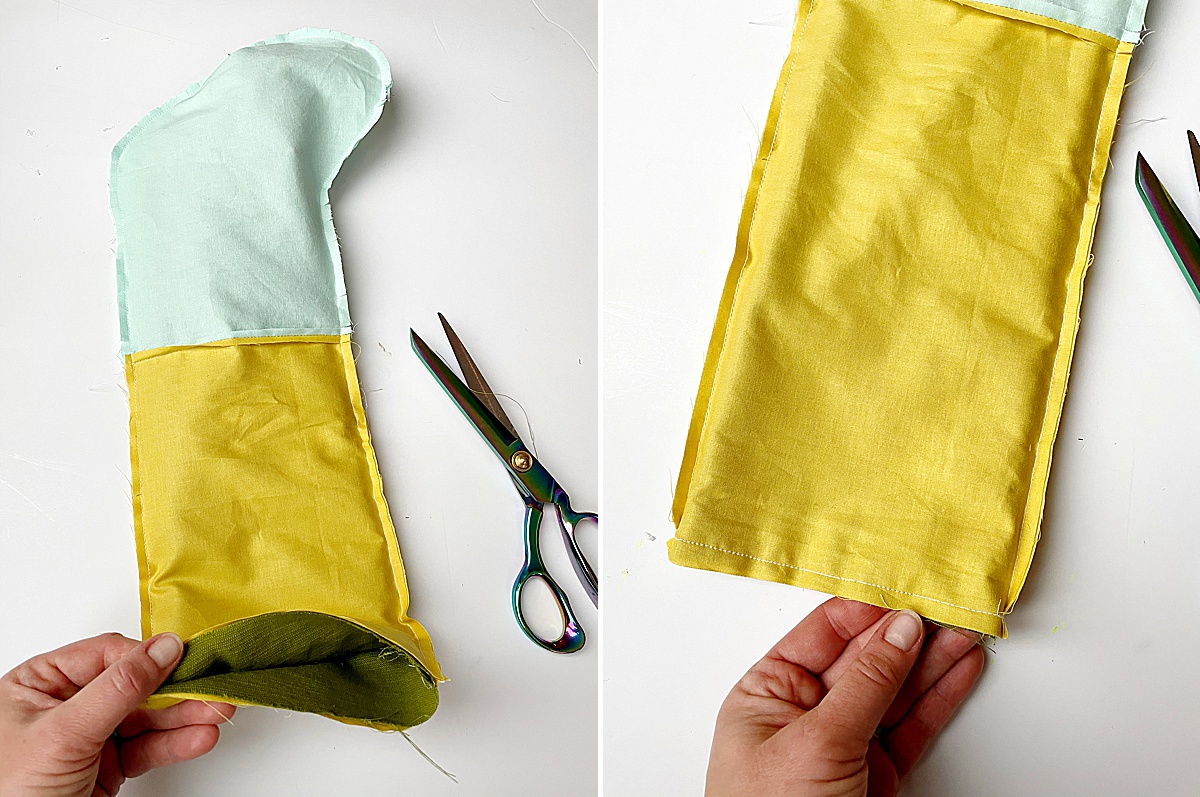
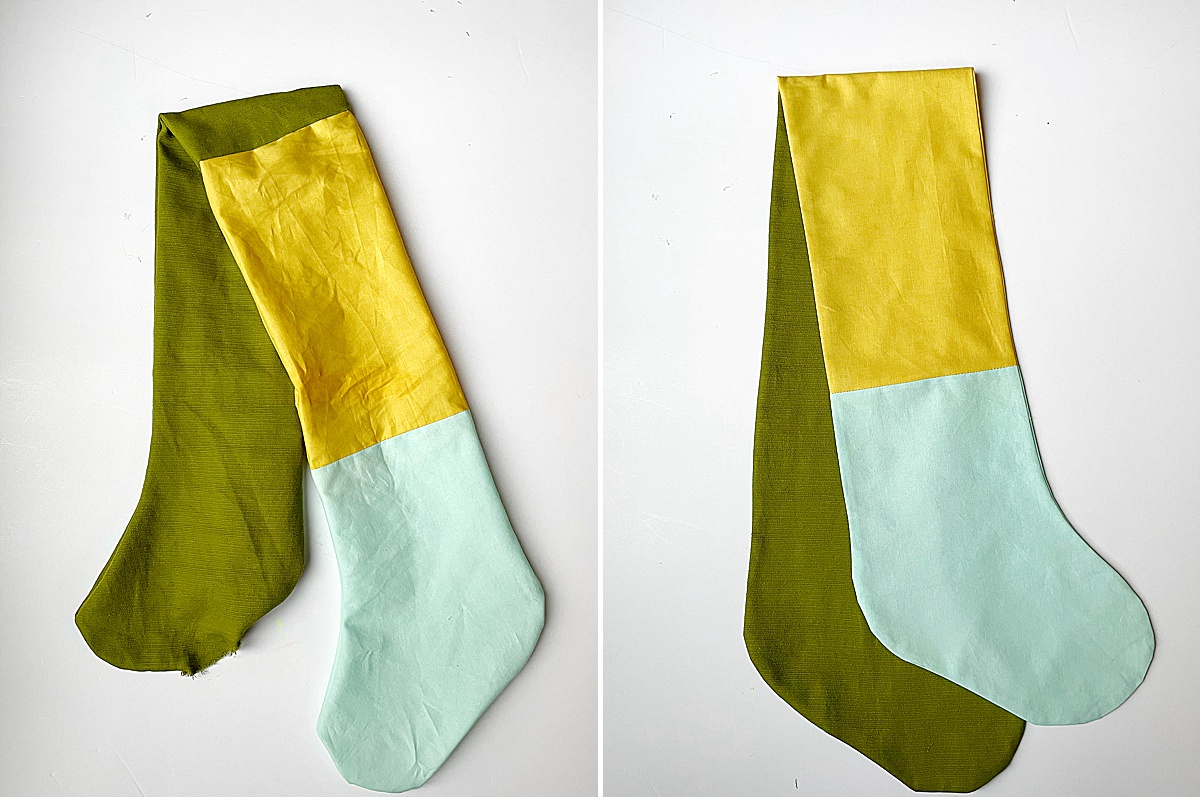
7. Pull the inside out of the outside. Then flip the entire stocking right side out through the 3” opening that you left un-sewn on the lining.
Press flat and work any edges or seams out to lay flat.
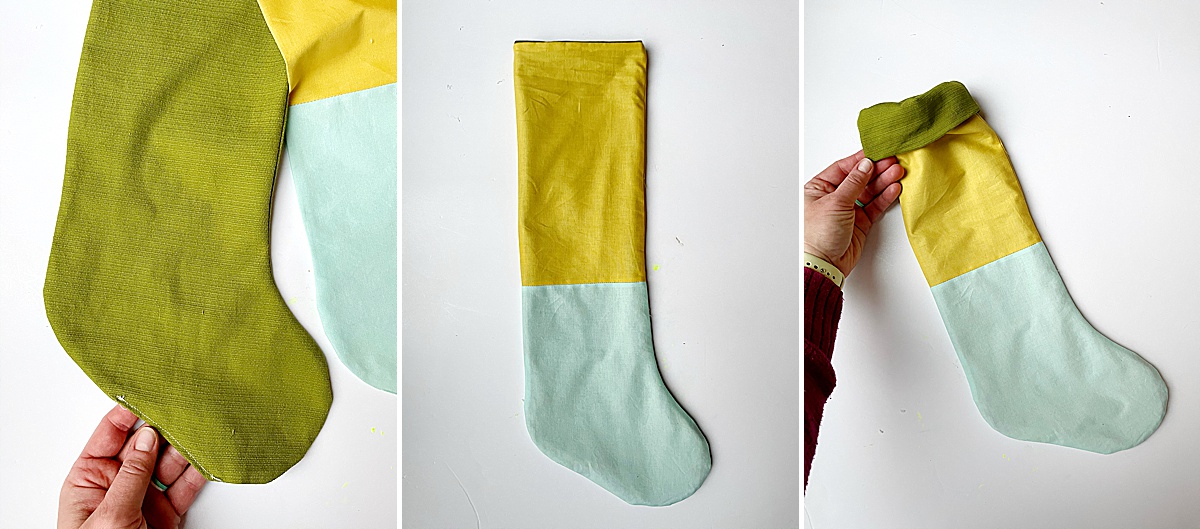
8. Stitch the 3” opening closed in the lining and stuff the lining back into the stocking. Then fold over the top cuff to show off the lining as wide as you desire.
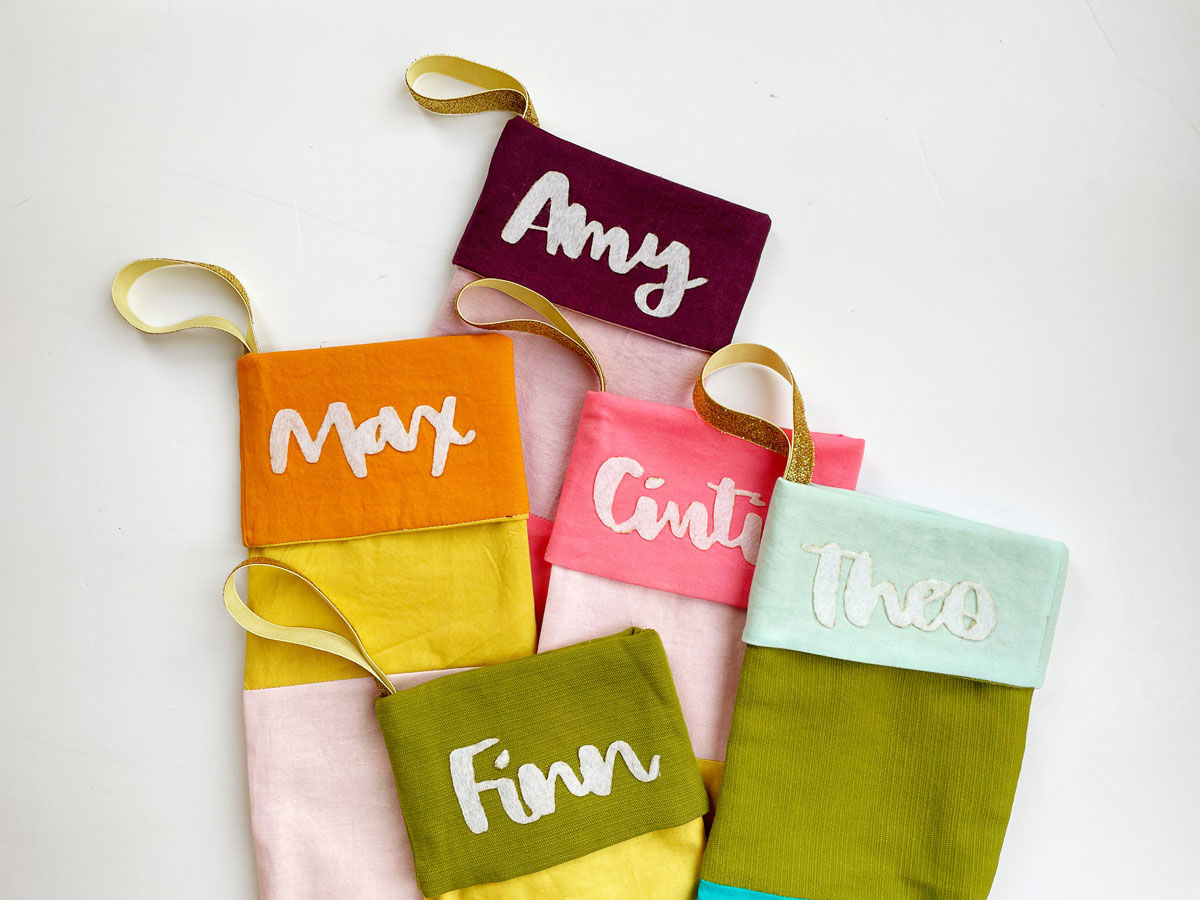
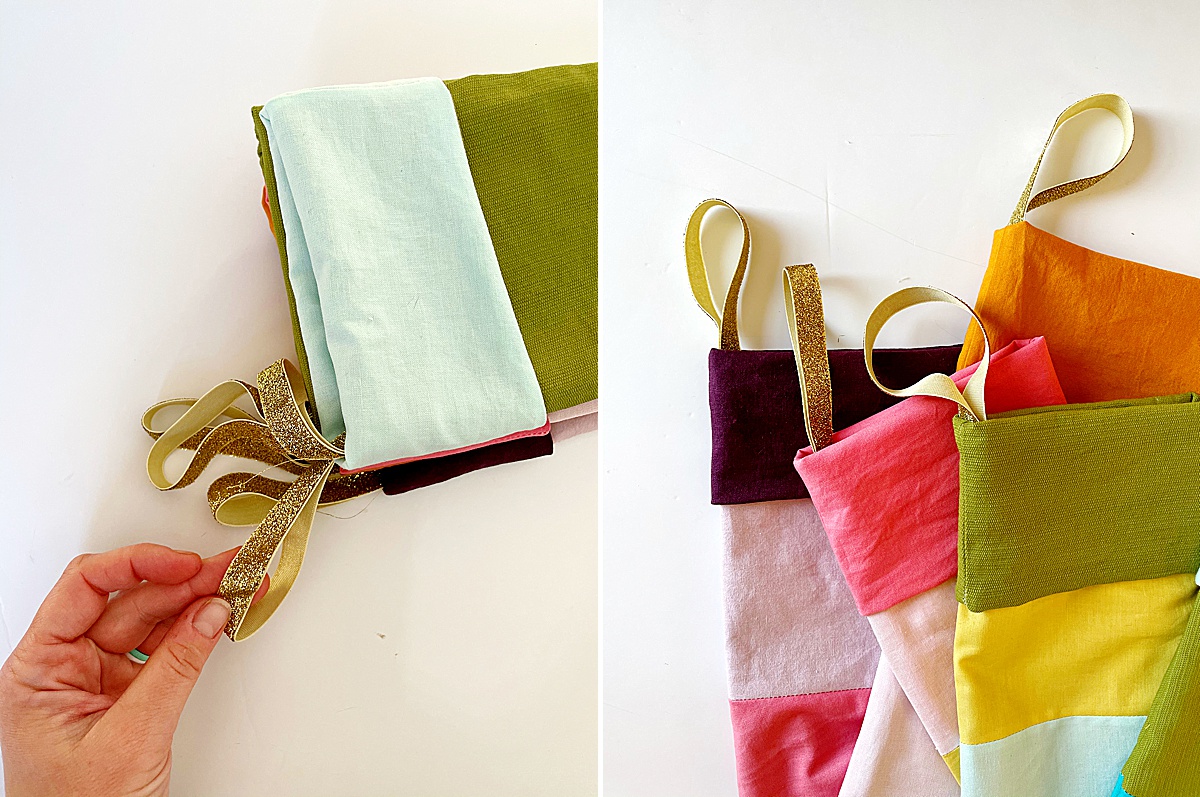
9. Add a stocking hanger, pom-poms or any name-plates to complete the stockings! 🙂
I used ribbon and used a quick straight stitch to attach the ribbon hanger underneath the stocking cuff.
And, as always, please PLEASE send me a pic or tag me on social when you make these! I find SO MUCH JOY in seeing your completed projects! 🙂




Hi Emily, How did you make the name plates? These stockings are adorable and make me smile and feel cozy!
Hey Barbara! I made them using my Cricut cutter, but you TOTALLY could cut them by hand or use precut lettering too! 🙂