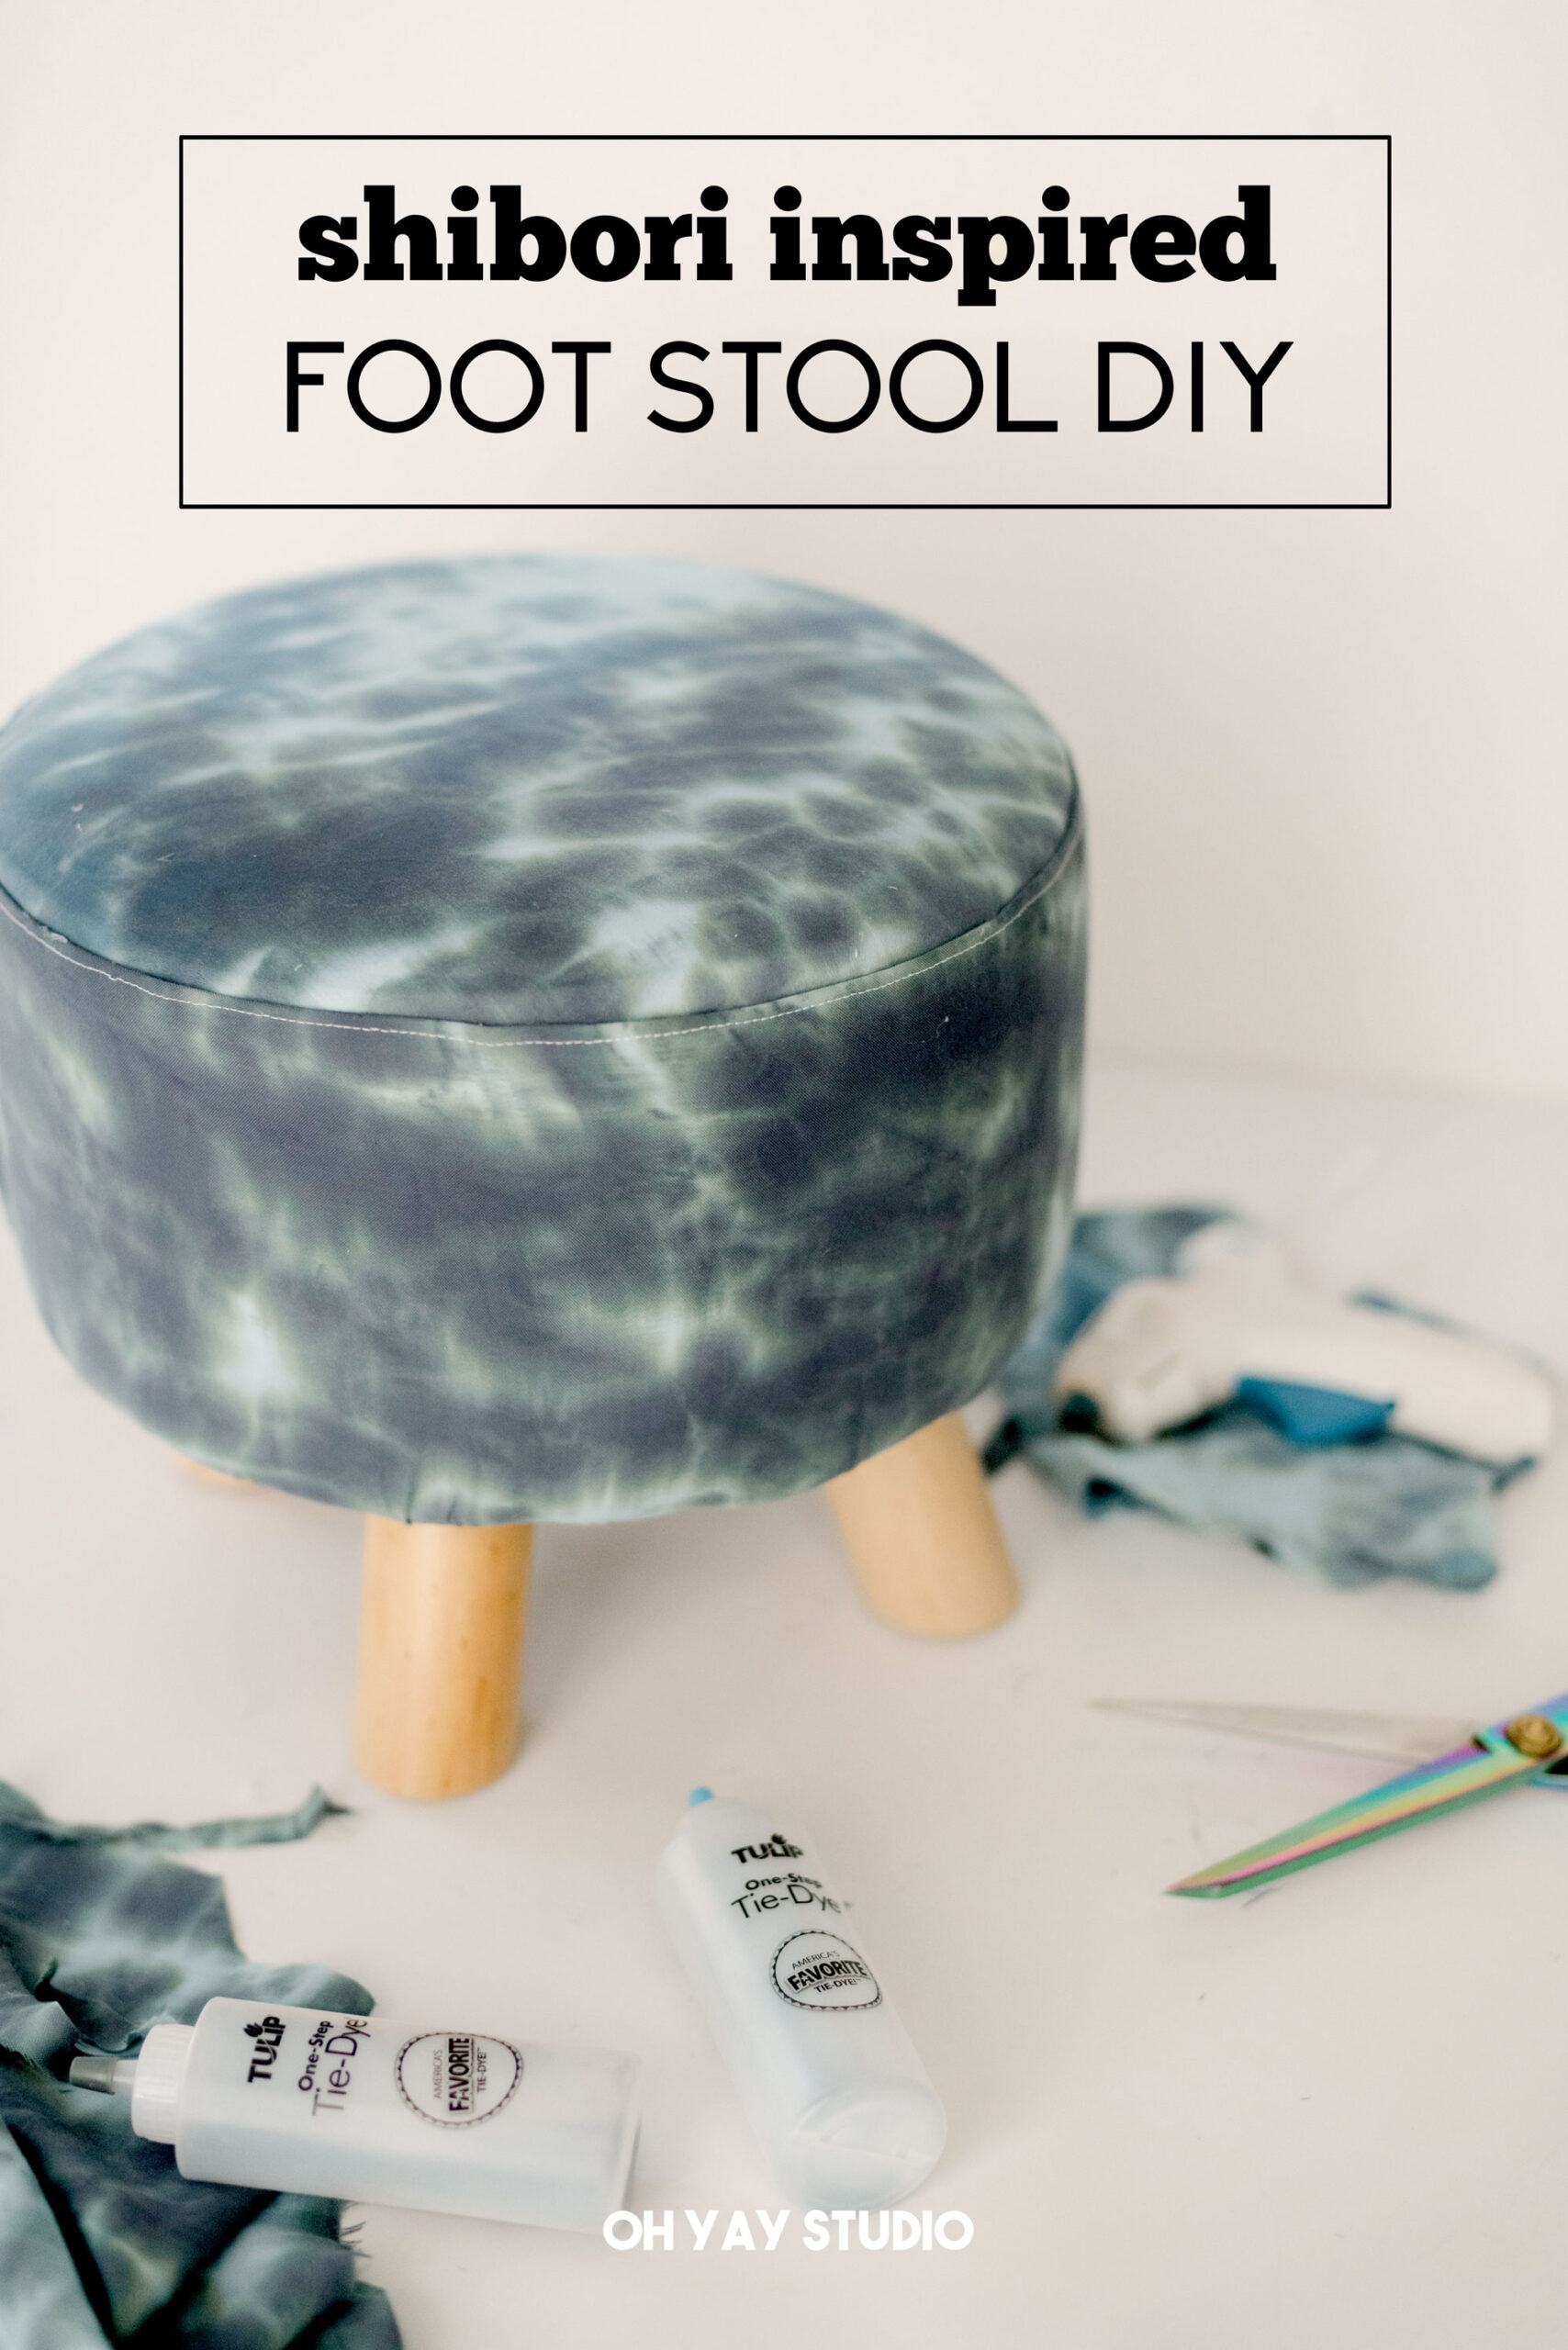
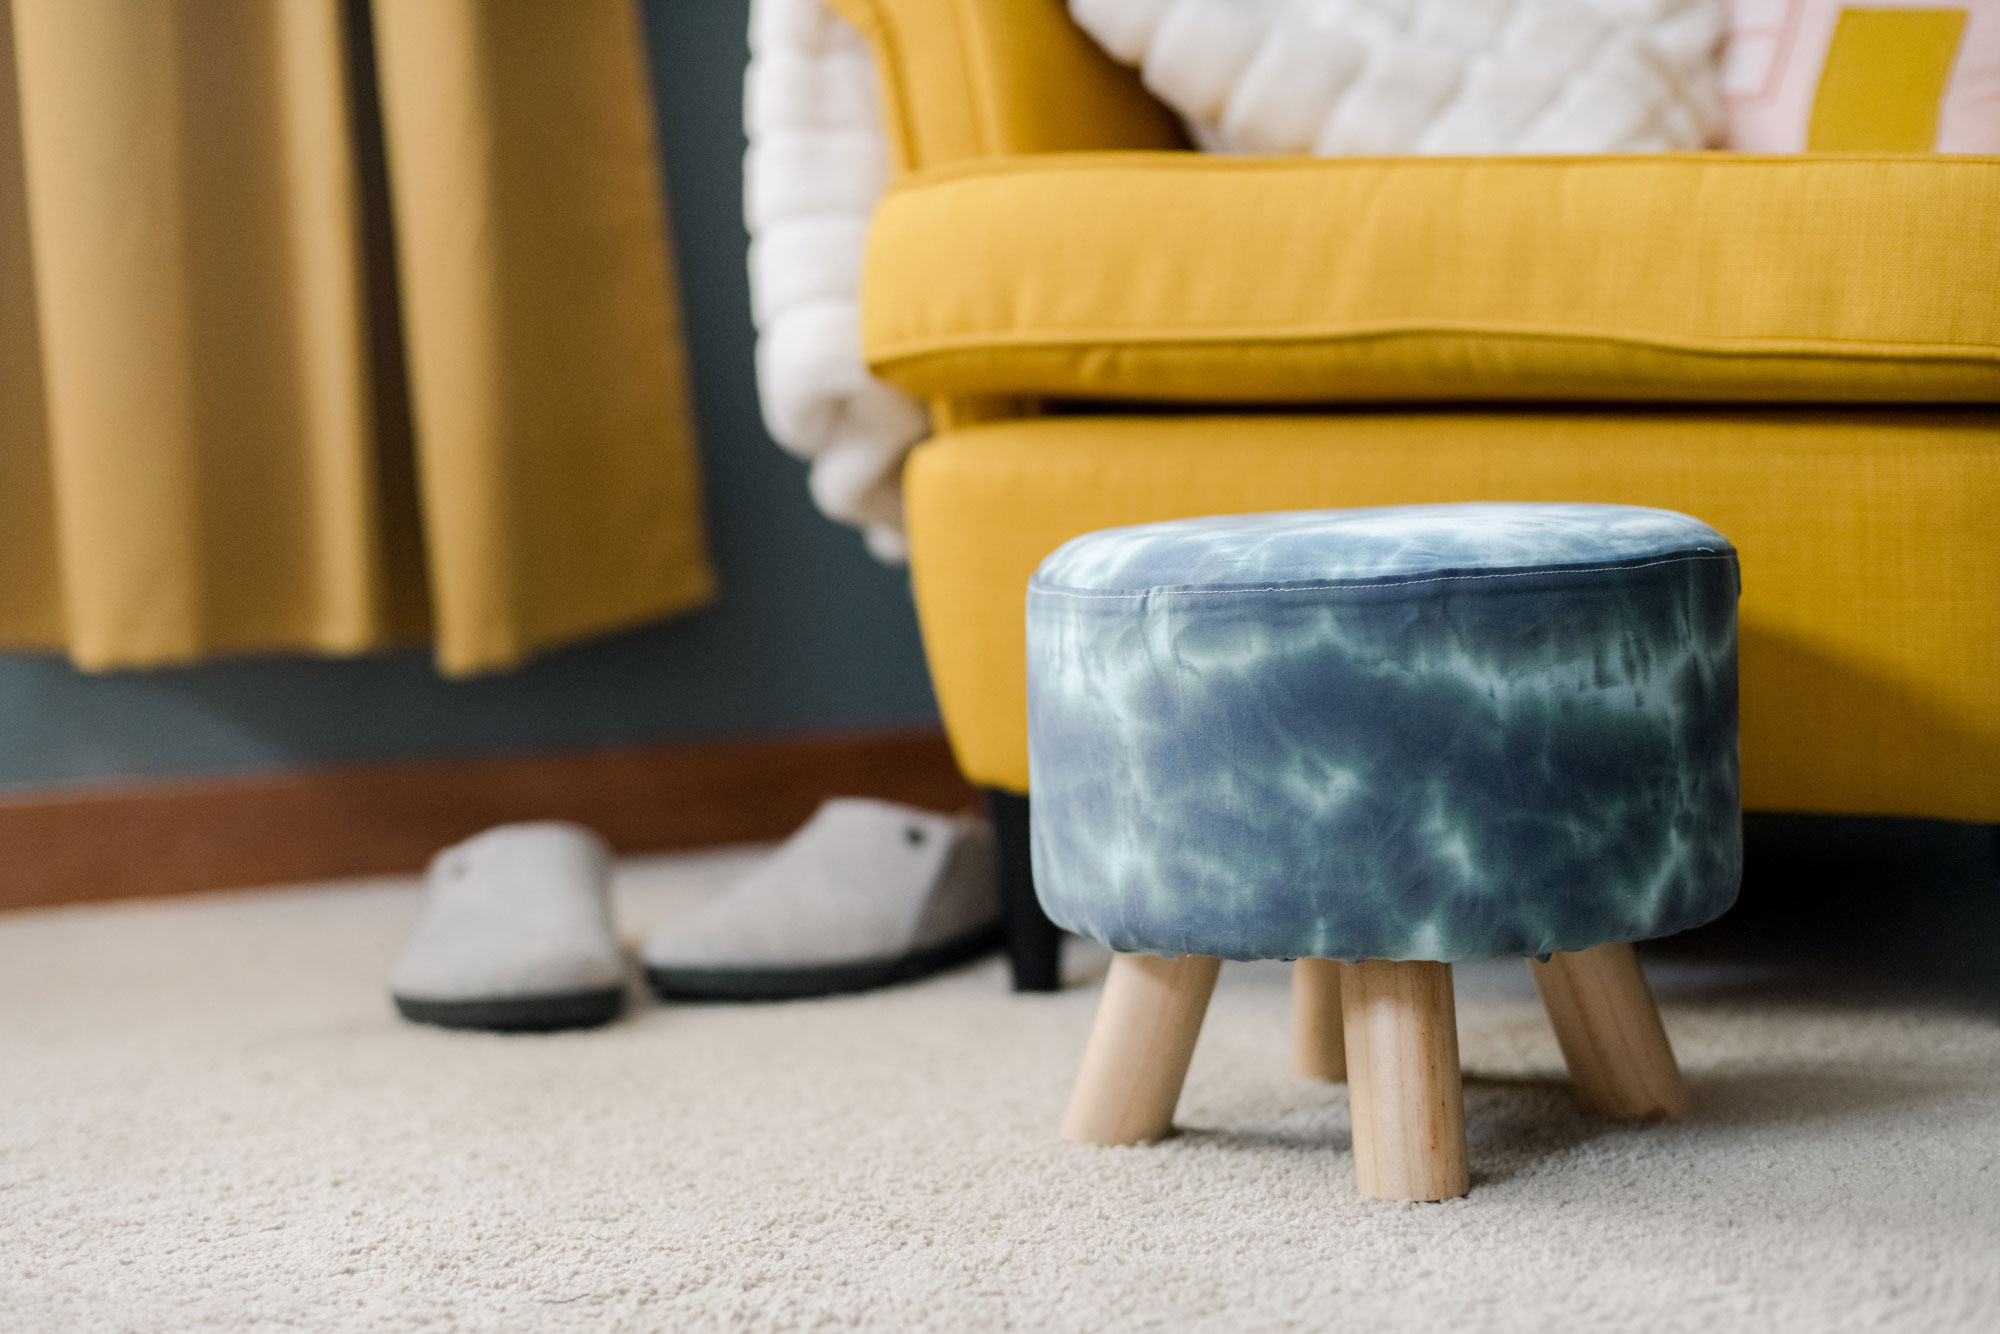
Shibori inspired footstool DIY
*this project is in partnership with Tulip and their amazing one step Tie-Dye’s
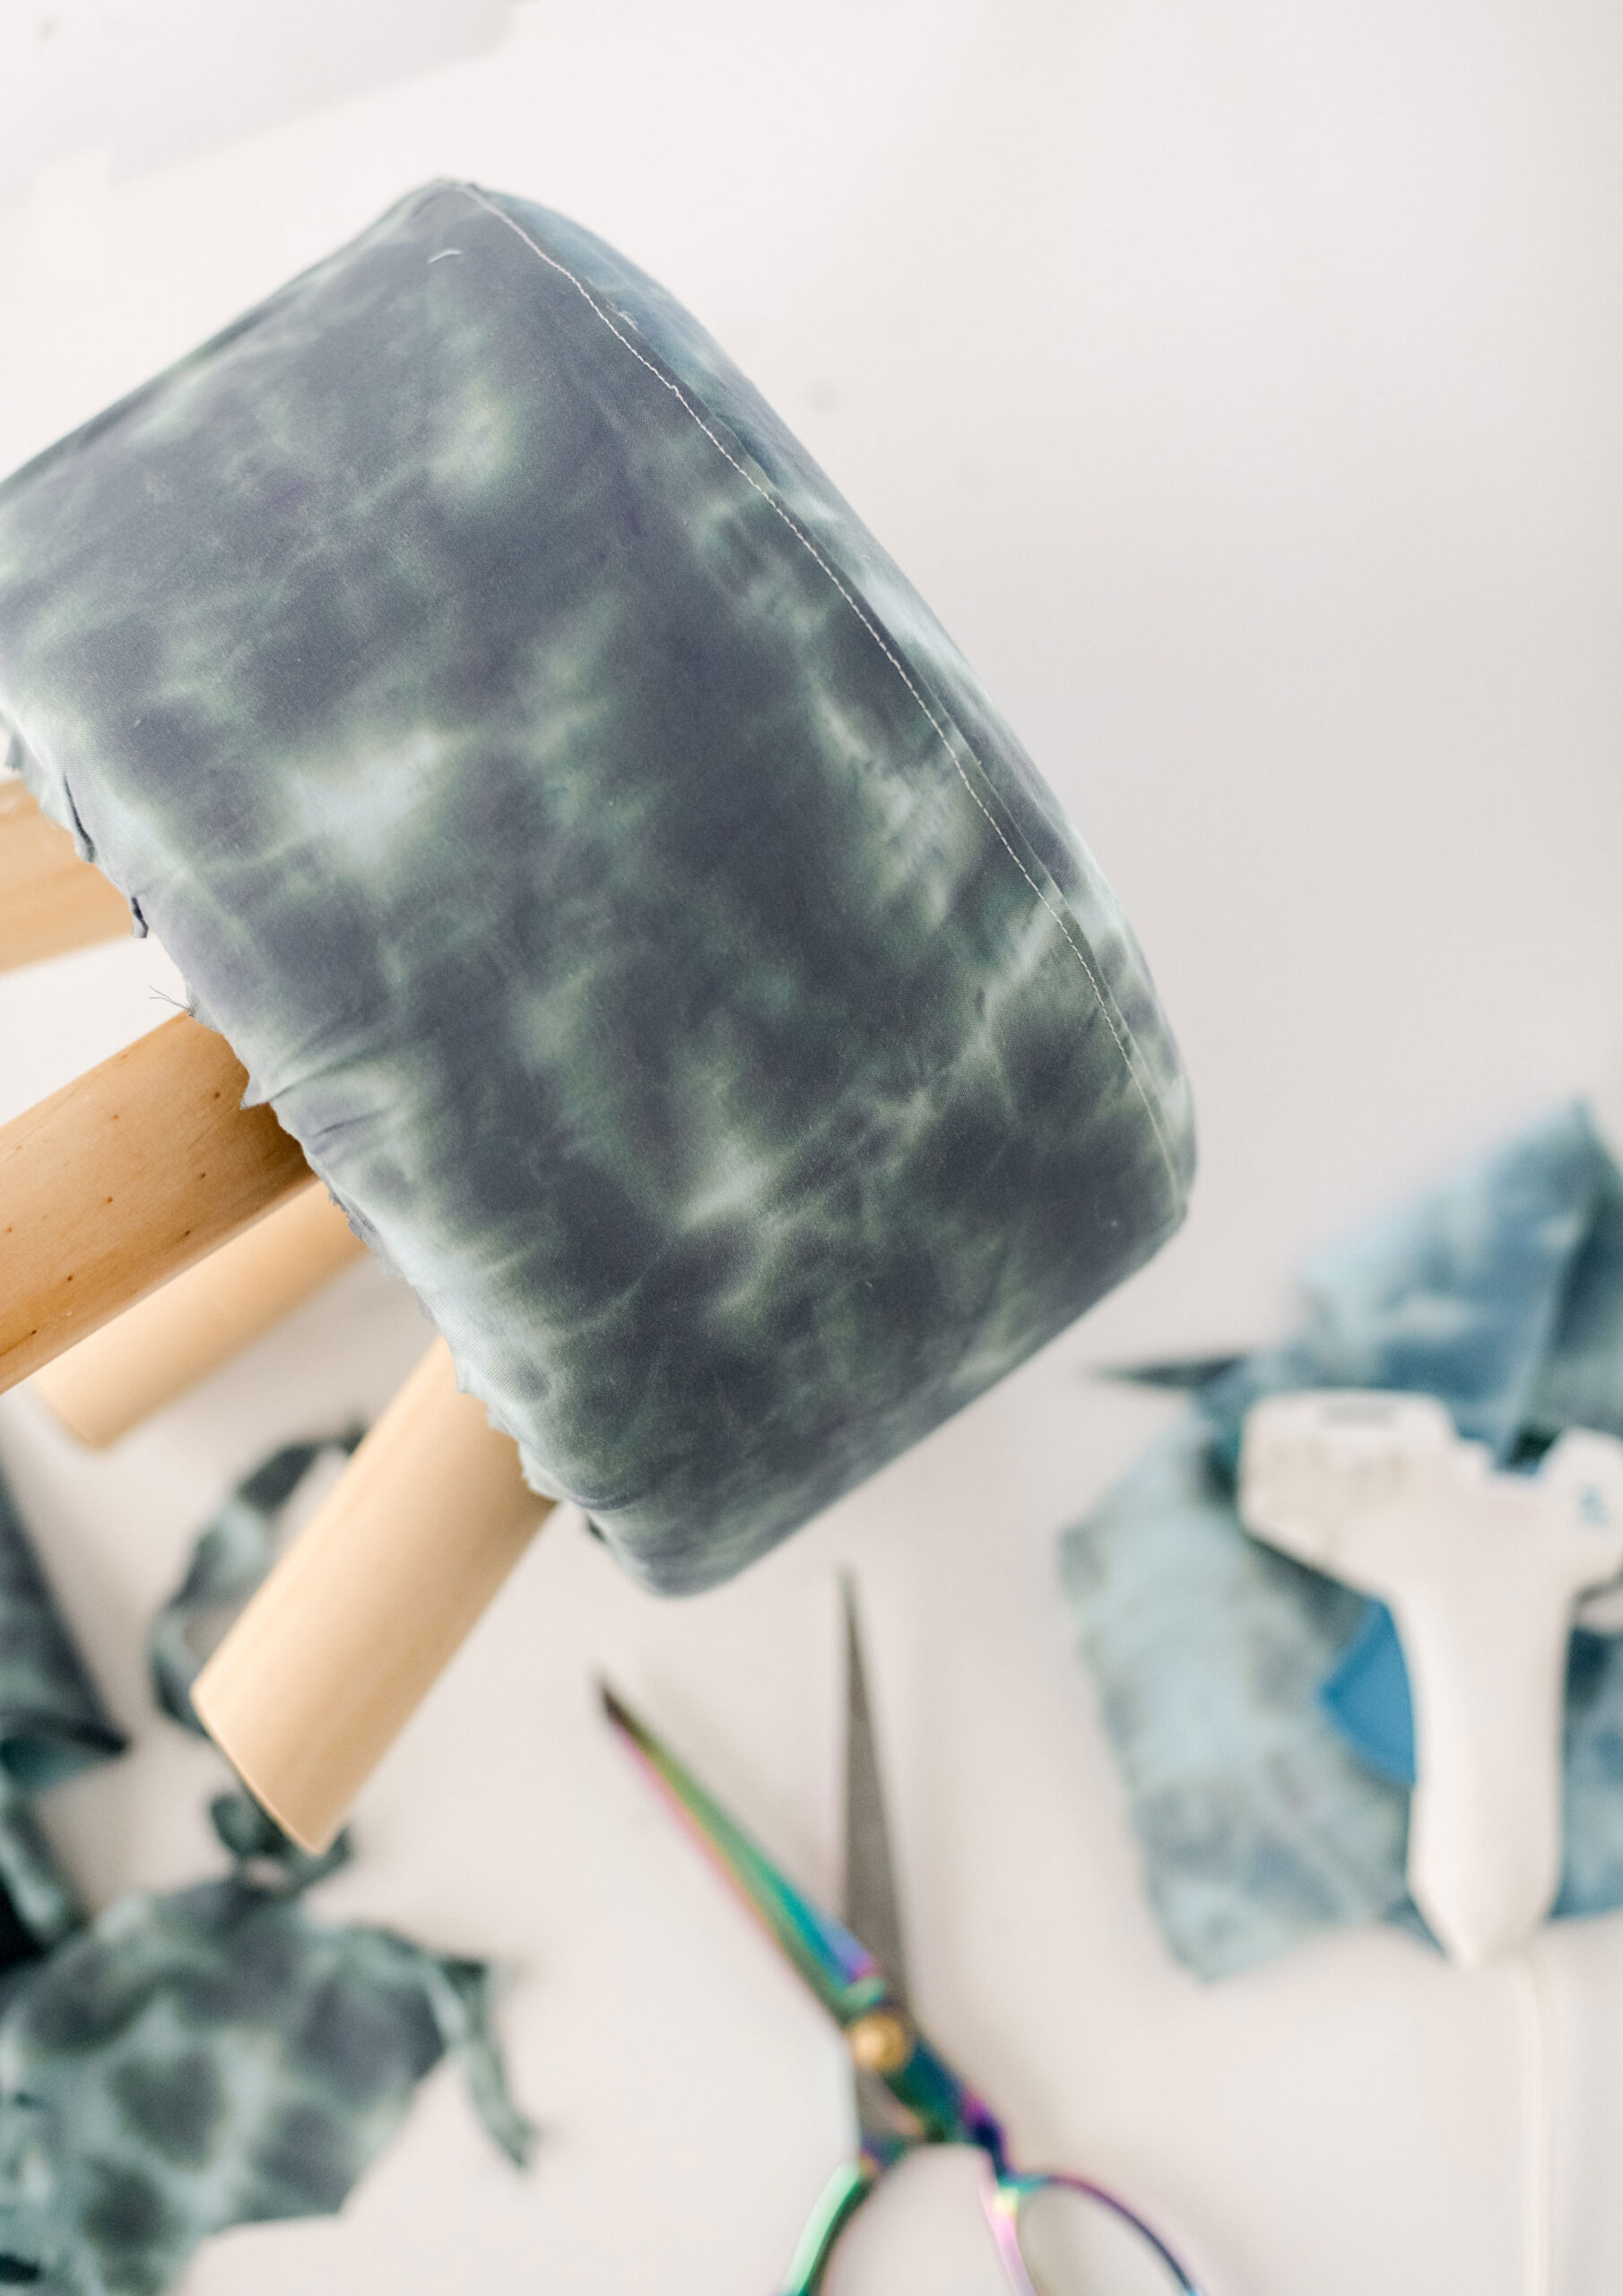
If you’re a fan of tie-dye then you are likely familiar with the term Shibori! It is a Japanese term for the way that you wrap your fabrics and squeeze and press them in various shapes (it usually involves wooden squares or triangles to wrap fabric into shapes around them…..today I am using a round tube)! If you’ve seen Shibori done before, it’s typically with a deep blue colored dye called indigo dye…..wellllll, our fine friends at Tulip have made a one-step kit that is sure to spark your intrigue into the world of Shibori-like folding to make some amazing dyed EVERYTHING!
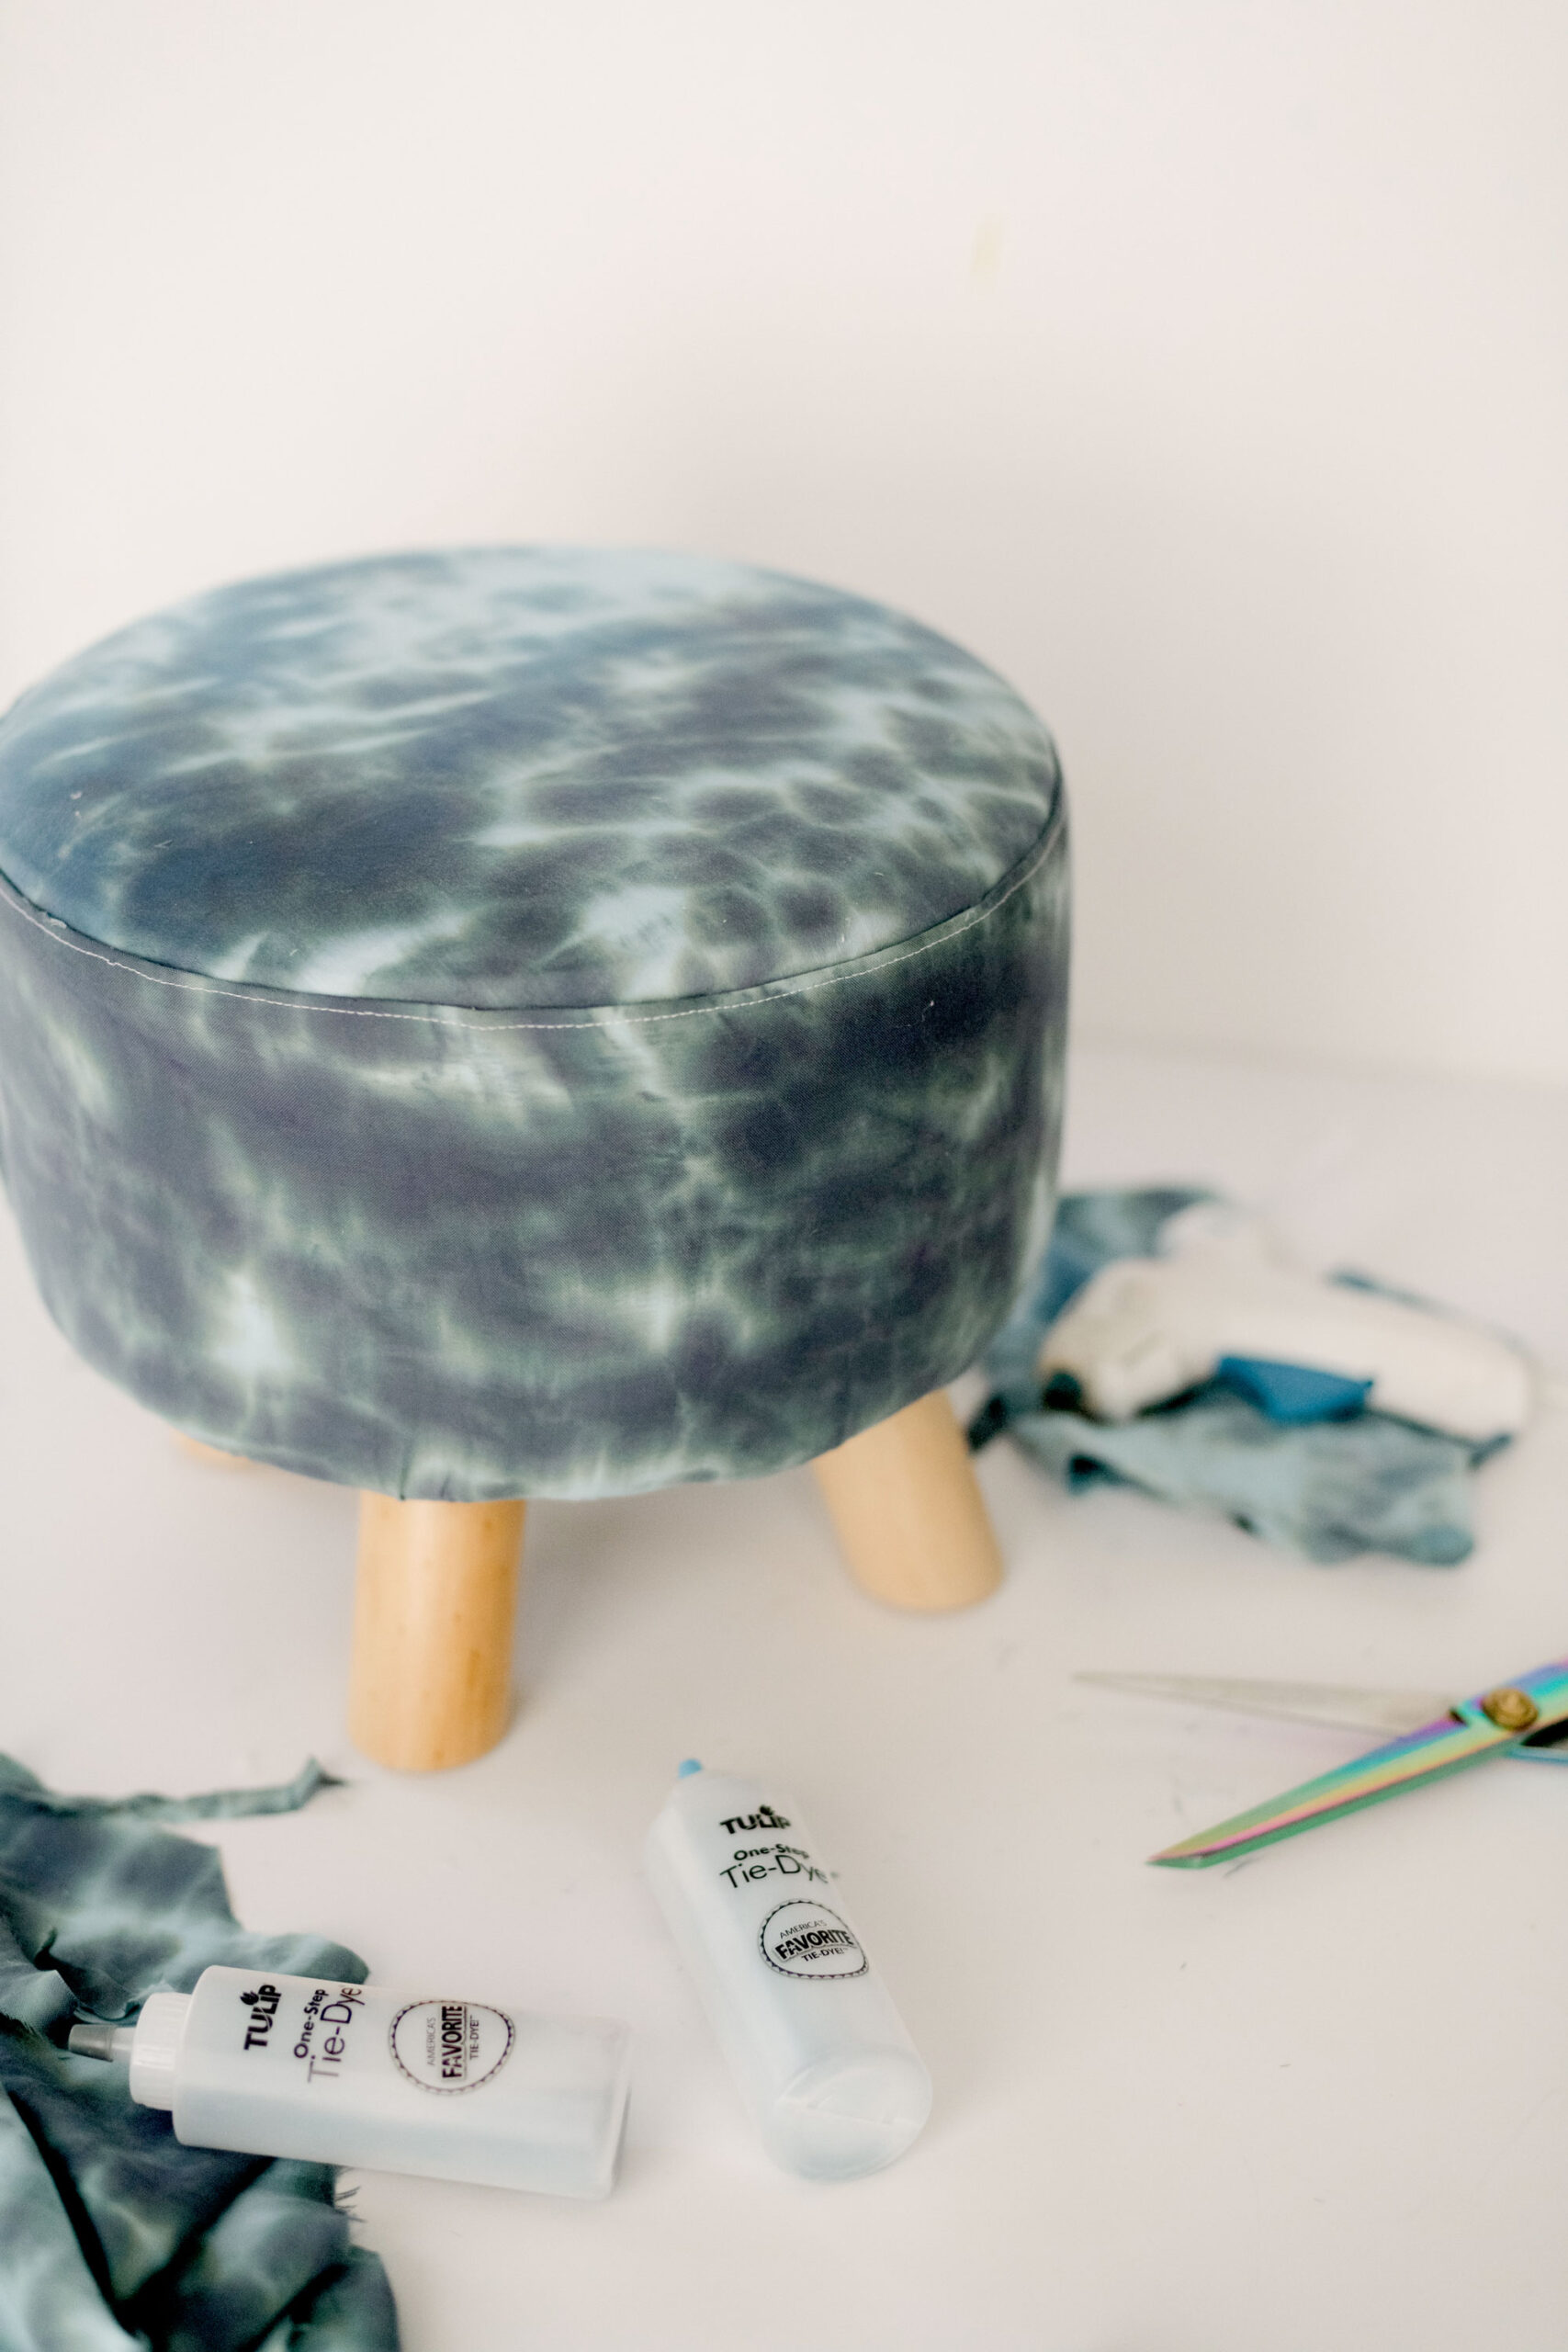
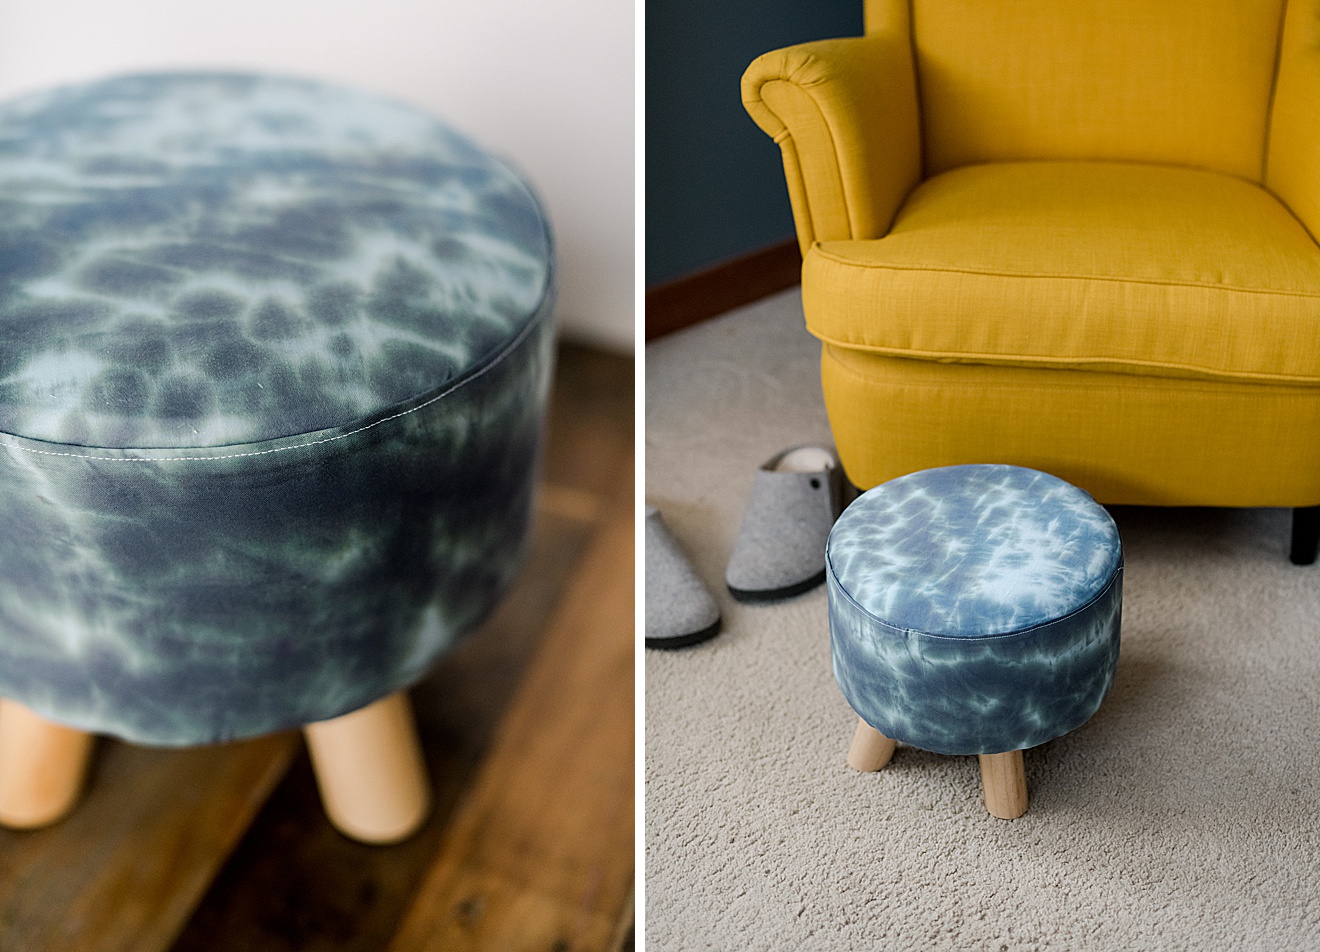
We have an old footstool that I’ve tried dying plain blue from it’s dirty white that it originated from (you can tell from the photos its kinda icky and didn’t turn out as deep in color as I’d like…..I think it was from the fabric that the footstool is originally covered in)! SOOOO! When one DIY doesn’t go right, you just keep going and keep trying (that’s my motto anyway)! To fix of “spruce up” this footstool that is ever-so-loved in our house, I am going to take an old piece of white bedsheet (that’s already been cut into a million things from my daughter making bedding for her dolls), dye the sheet and recover the footstool to give it new life! 🙂 And of course I am going to use the Tulip Shibori tie-dye kit because I am SUCHHHH a fan of tie-dying heavily used items (it hides the stain factor SUPER well……hello #momhack)! 🙂
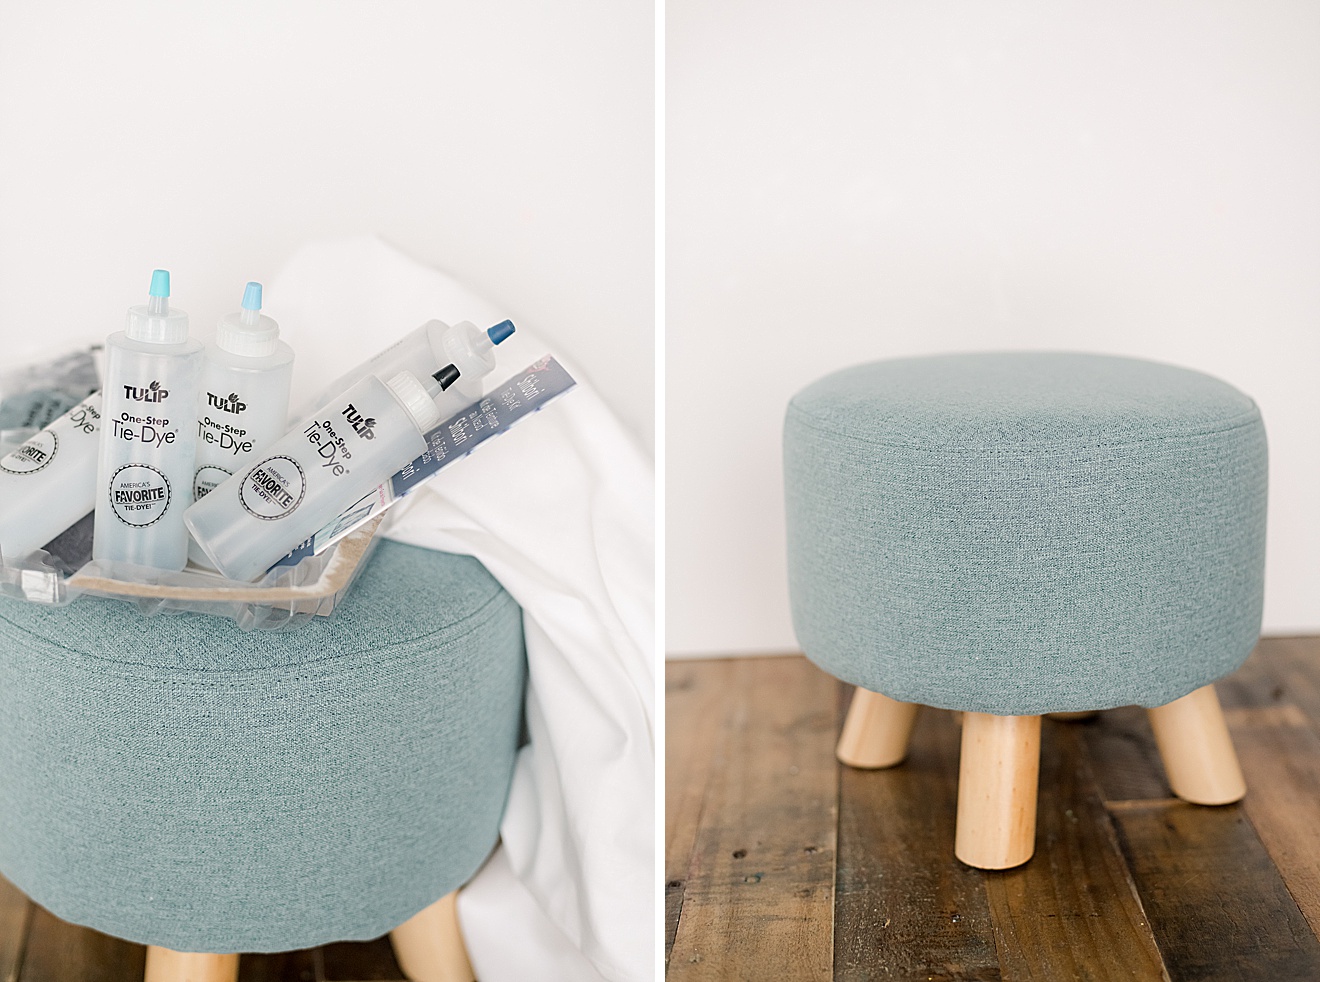
MATERIALS:
- Any piece of white fabric (100% cotton, silk or linen will work best) – an old t-shirt, bedsheet or even a piece of remnant fabric will do
- A Tulip one-step Shibori style Tie-Dye kit and alllll of it’s enclosed materials (there’s many included materials for multiple methods)
- A pair of scissors
- A glue gun/staple gun for adhering the new fabric to the footstool
- A pan + cookie sheet/drying rack for catching your excess dye
- optional iron for creases 🙂
INSTRUCTIONS:
1. Pre-wash your fabric! A *must do* step!
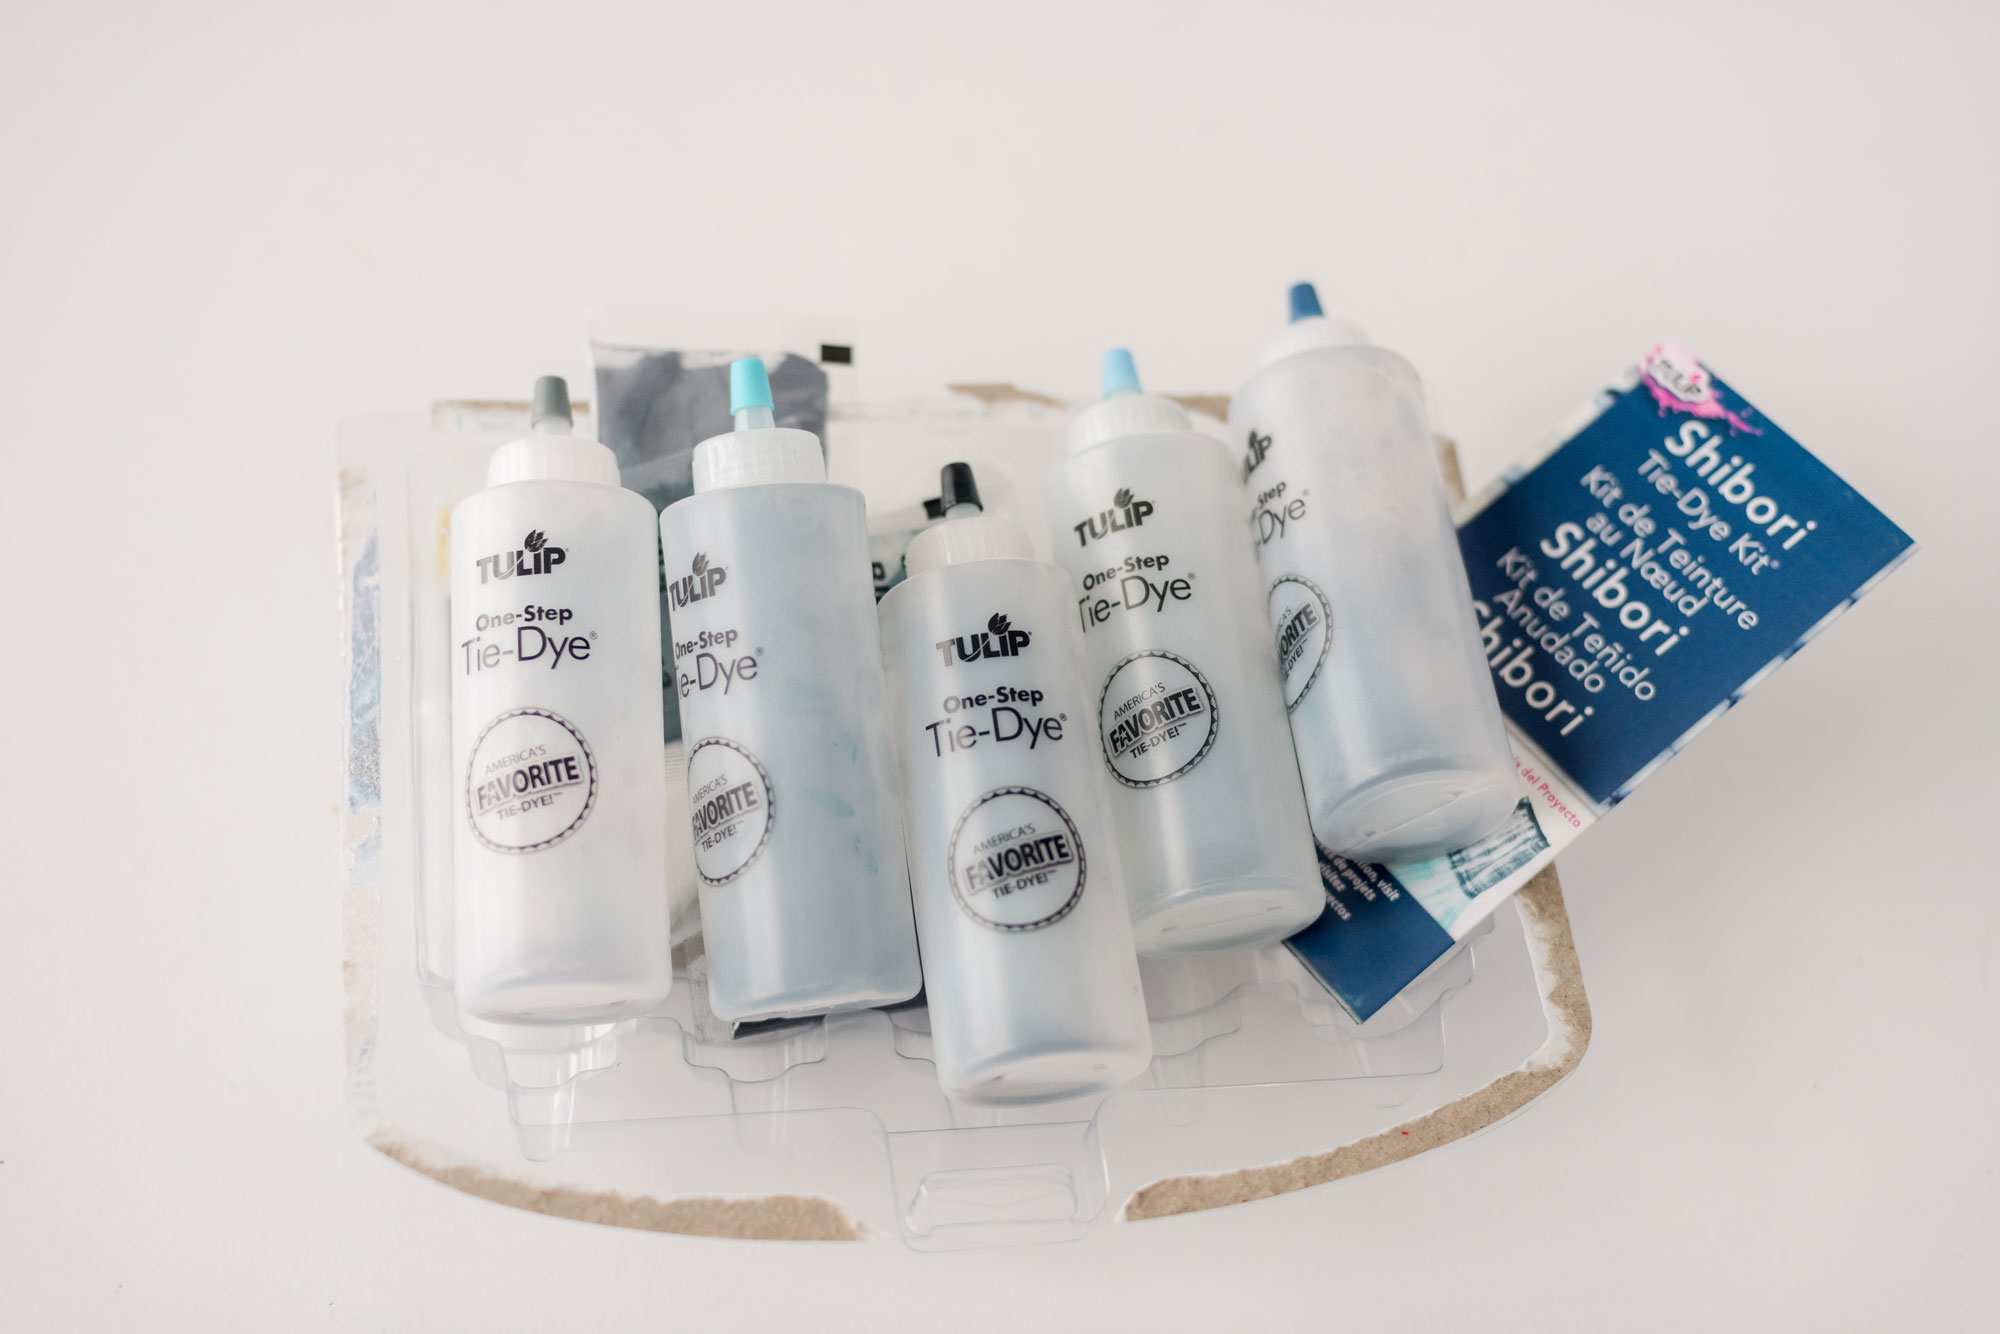
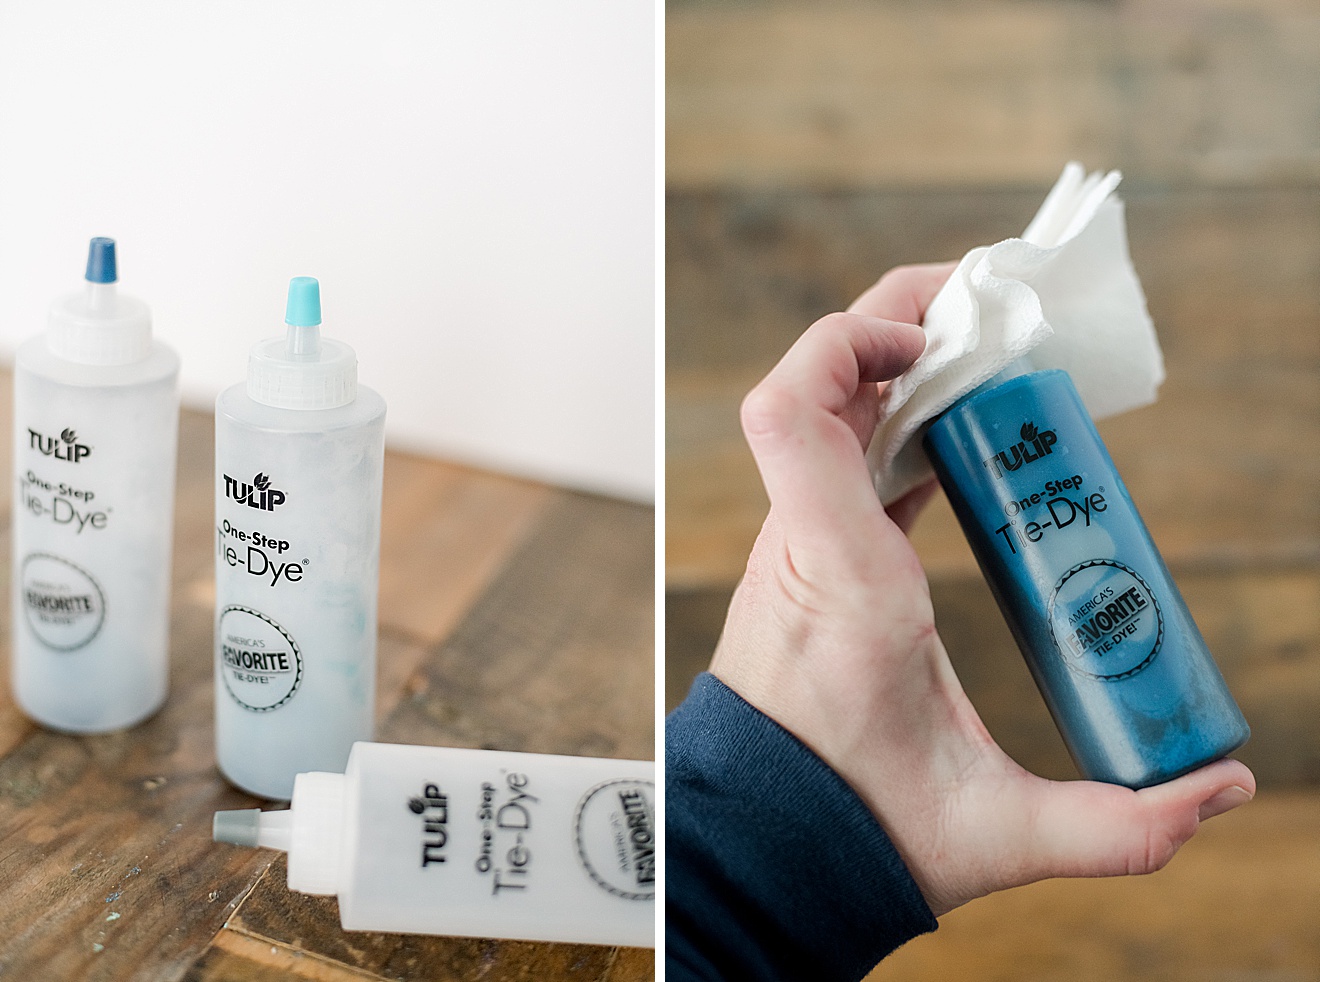
2. Look through the instructions in your Shibori one-step dye kit and decide which shibori-style folding technique you will try with your fabric. Then choose your colors of blue and fill each both with both the dye and the recommended water. Be sure to shake well (TIP…..put a paper towel over the tip of the cover before shaking so that blue dye doesn’t go EVERRRYYYWHERE! 🙂
Set your dye aside.
3. Follow the instructions for your desired folding technique.
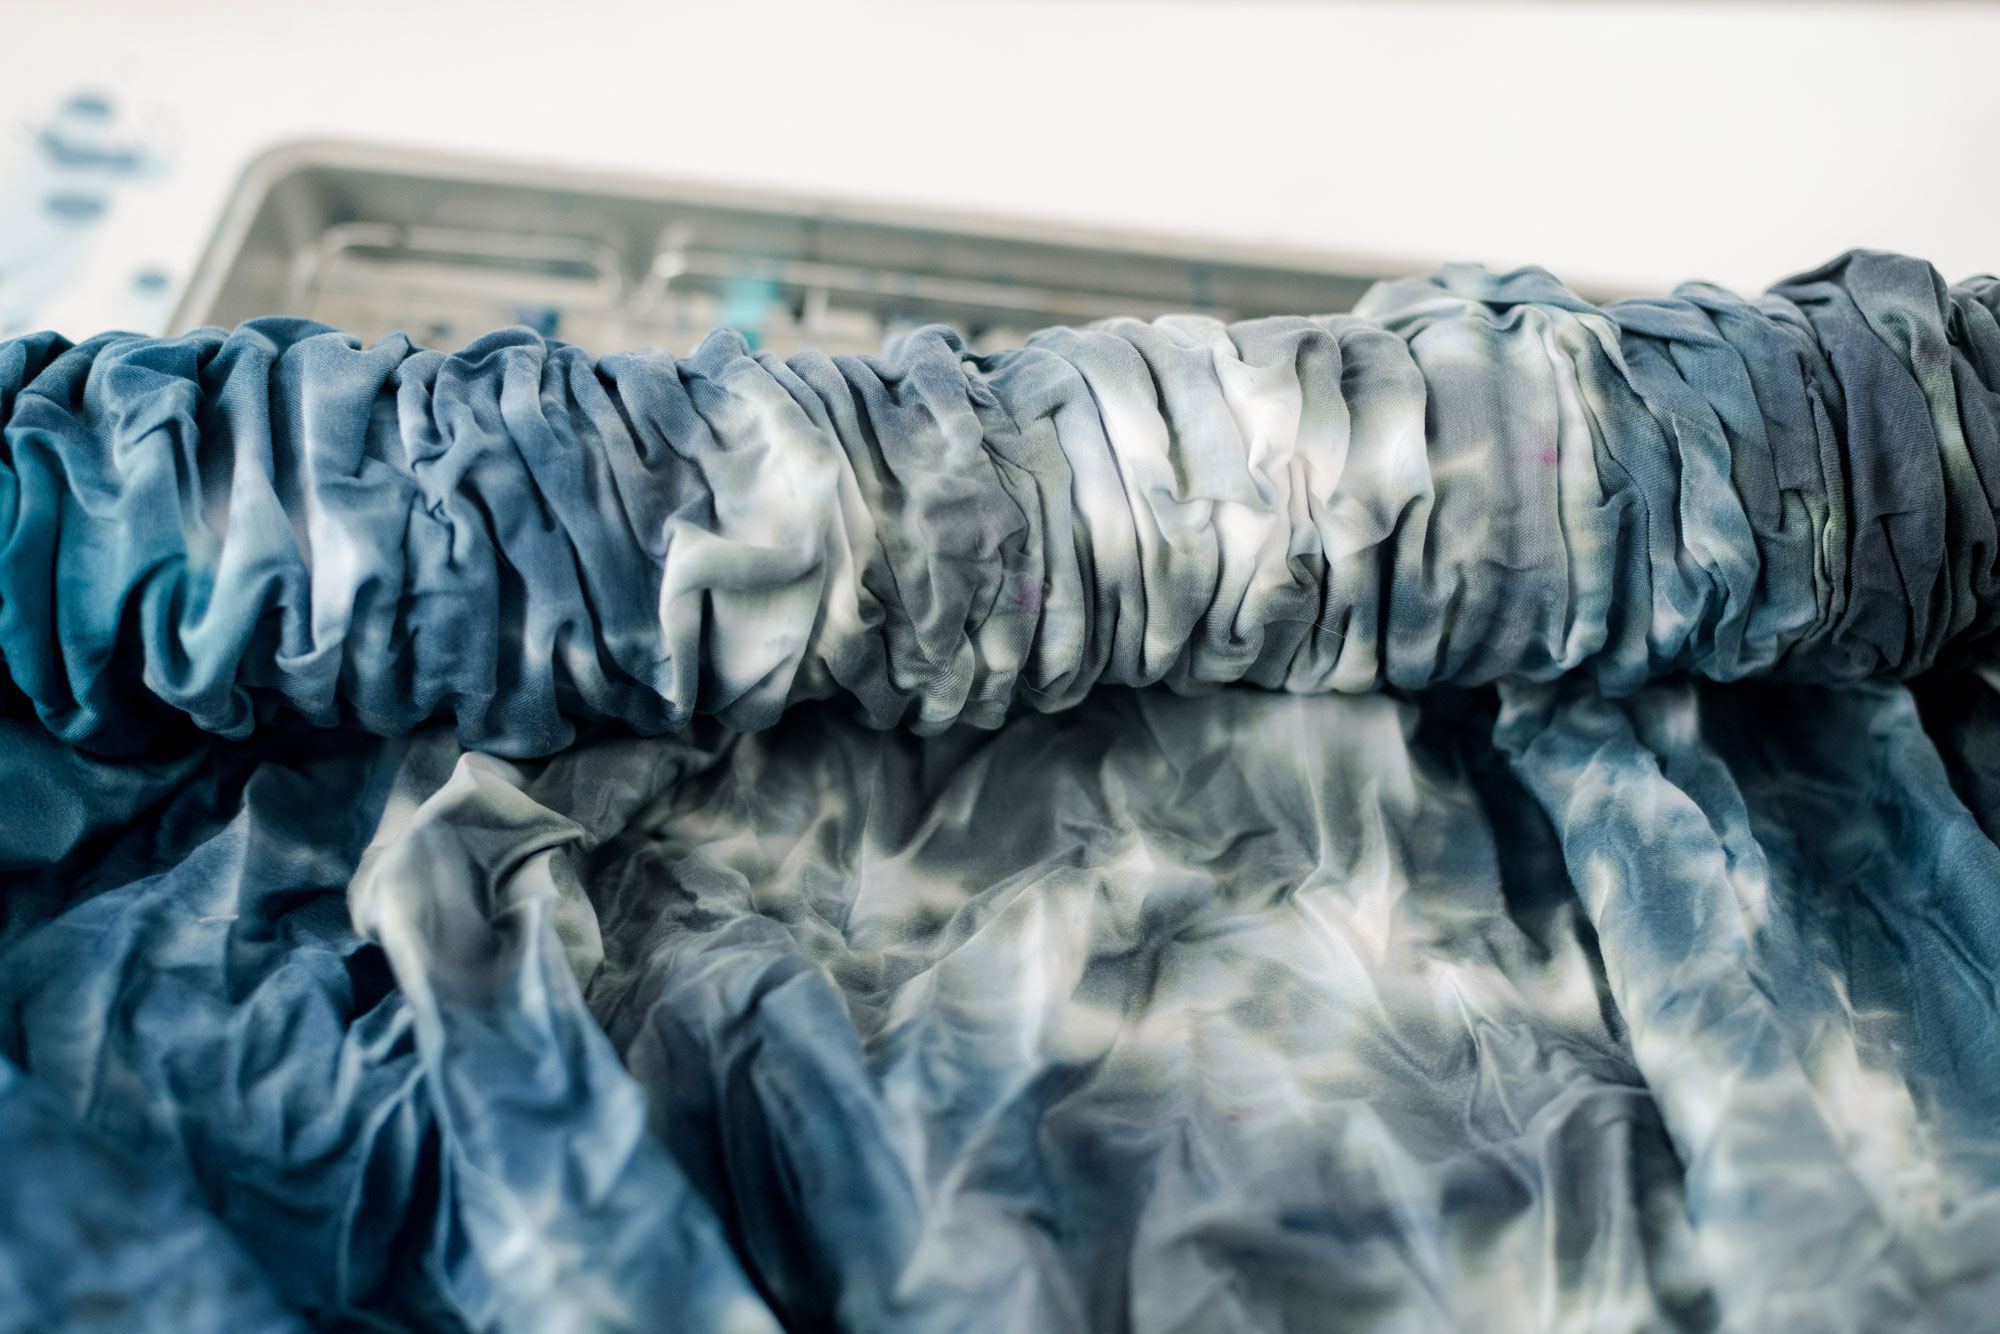
I decided to do the pole wrapping technique with my fabric and had never done anything like it before. Basically you will wrap your fabric around your pole (I couldn’t find a pole so I decided to use a thick cardboard tube that I found in my studio)! 🙂 I layed out my fabric and then placed the pole to one side, wrapped the fabric up on the pole. Then took my string (included in the kit) and begin wrapping around the fabric and pole together (not super tight). After about 7-8 wraps around the tube, I scrunched the fabric down, gave the string a tug and then kept wrapping. I continued this until the fabric was all wrapped with string and scrunched together 🙂
note: if you wrap the string too tight, it will be harder to scrunch your fabric downwards. The string and the scrunching is what leaves the white space on the final reveal 🙂
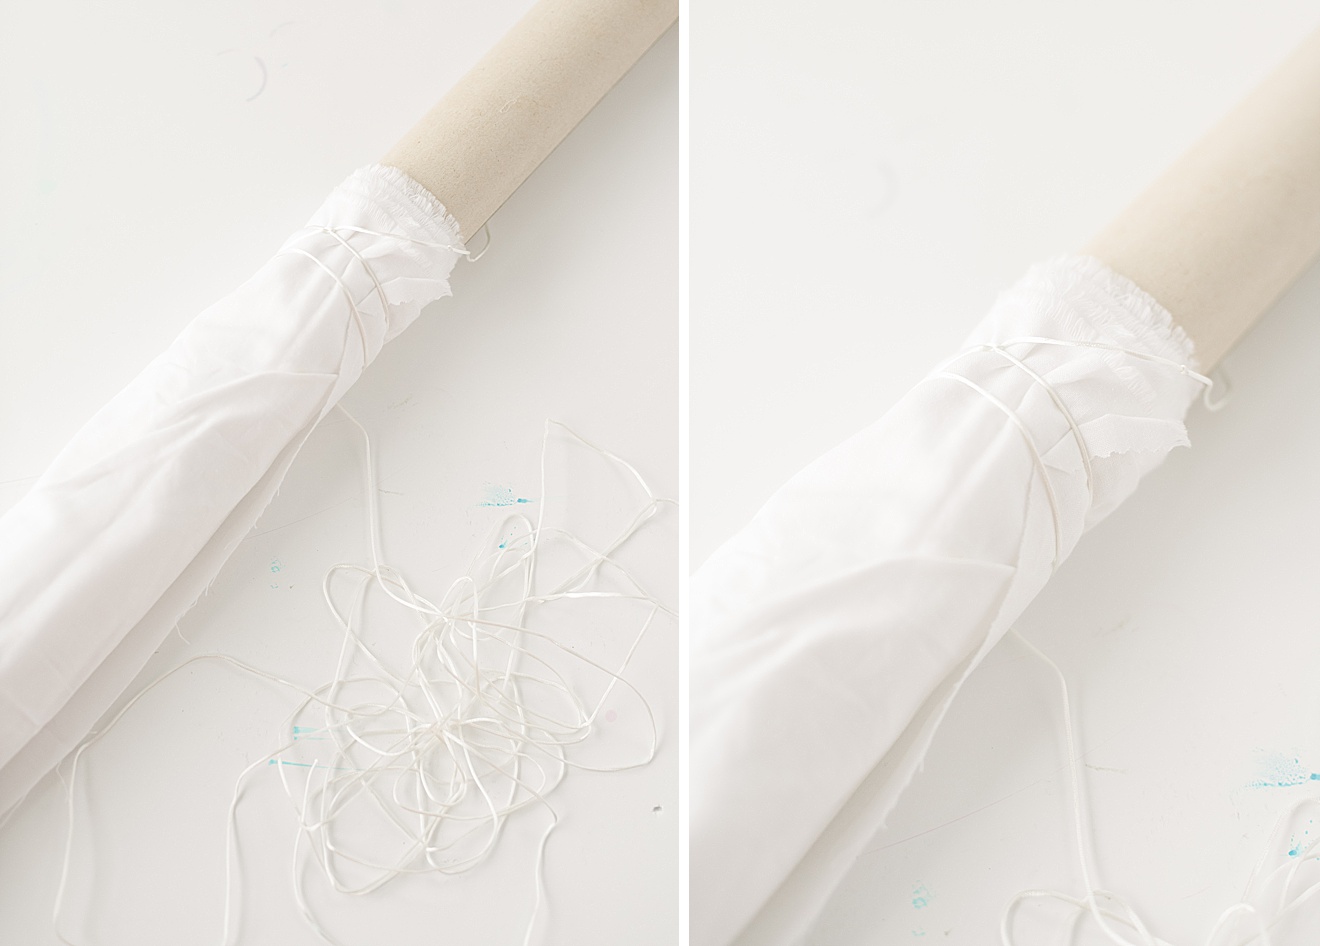
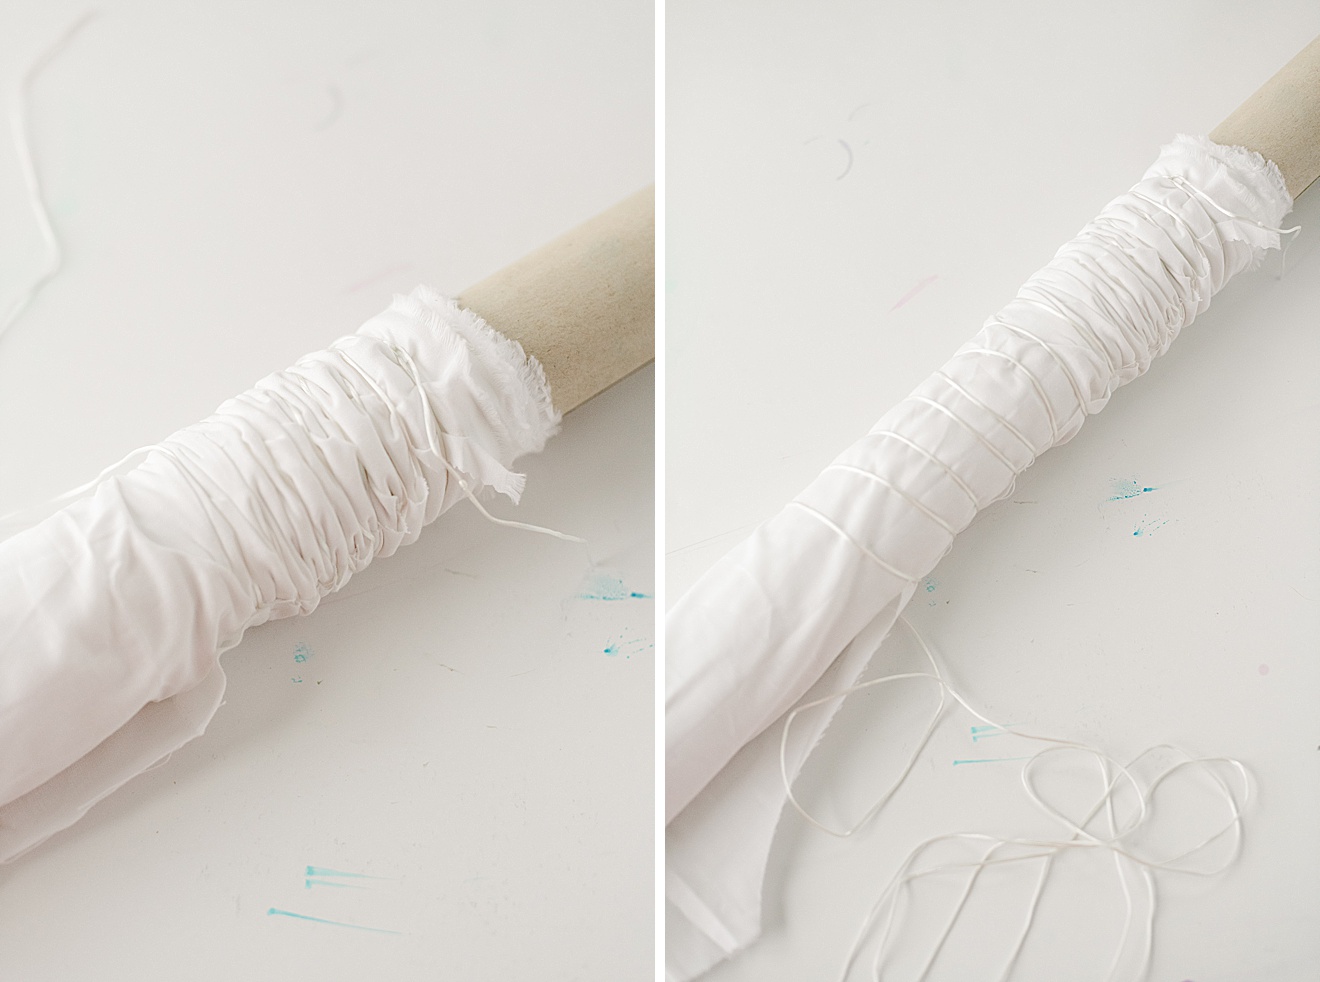
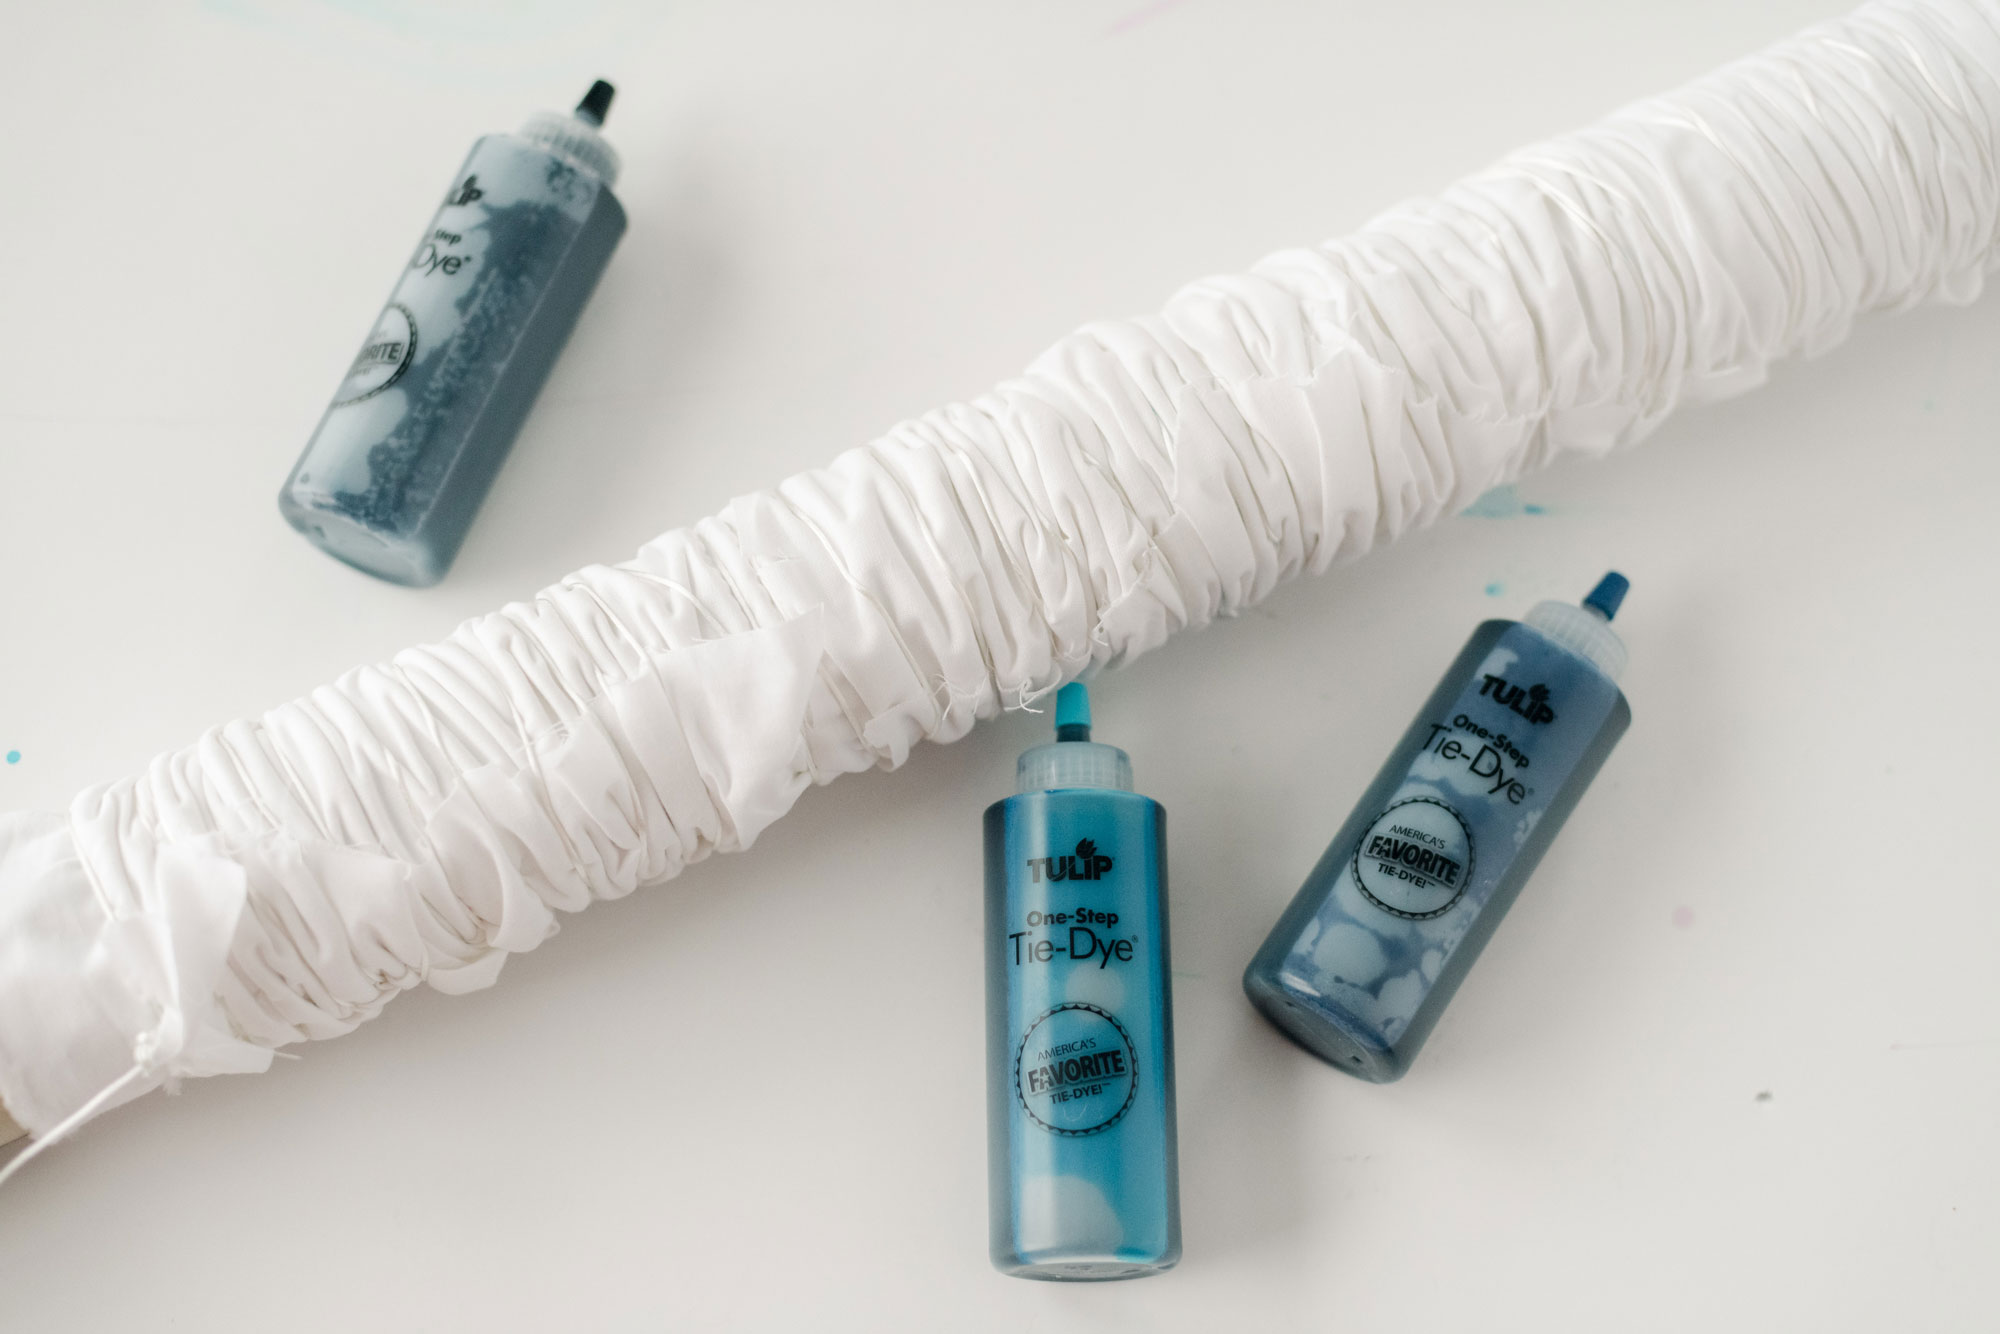
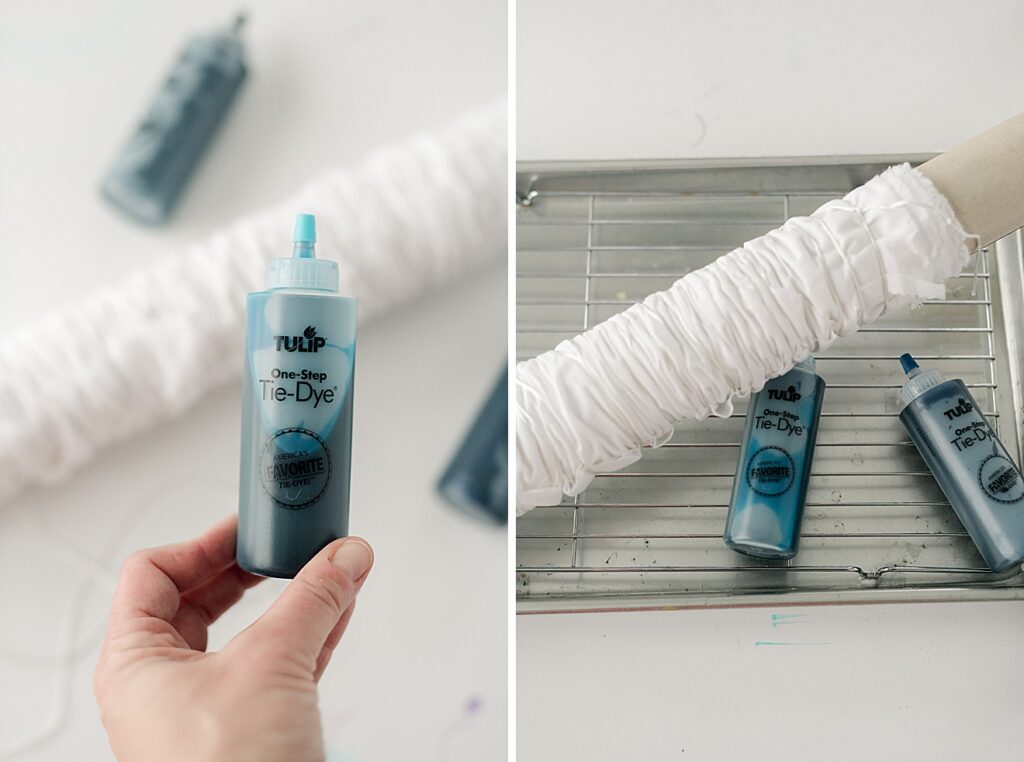
4. Place your folded or wrapped fabric onto your cookie sheet/drying rack combo. Put on your plastic gloves (included in the kit) and begin to cover your fabric with your mixed dye.
A few tips when working with the dye:
- Go slow….no need to rush. Allow the dye to fully soak into the fabric as you squeeze the liquid onto your piece.
- Be sure to cover completely….you want the fabric soaked with dye. The resist (and your pattern) will be reveals in your folds, creases or your string that you used, so no need to worry about the pattern not displaying if you use too much dye. So saturate your fabric well!
- The longer you leave the dye on the fabric, the stronger the color is (I believe)! 🙂 So take this into consideration when you’re making your project….this tends to be a good 2 day project (one day to dye, the other to complete…..the anticipation builds between both days, especially with kids)! 🙂
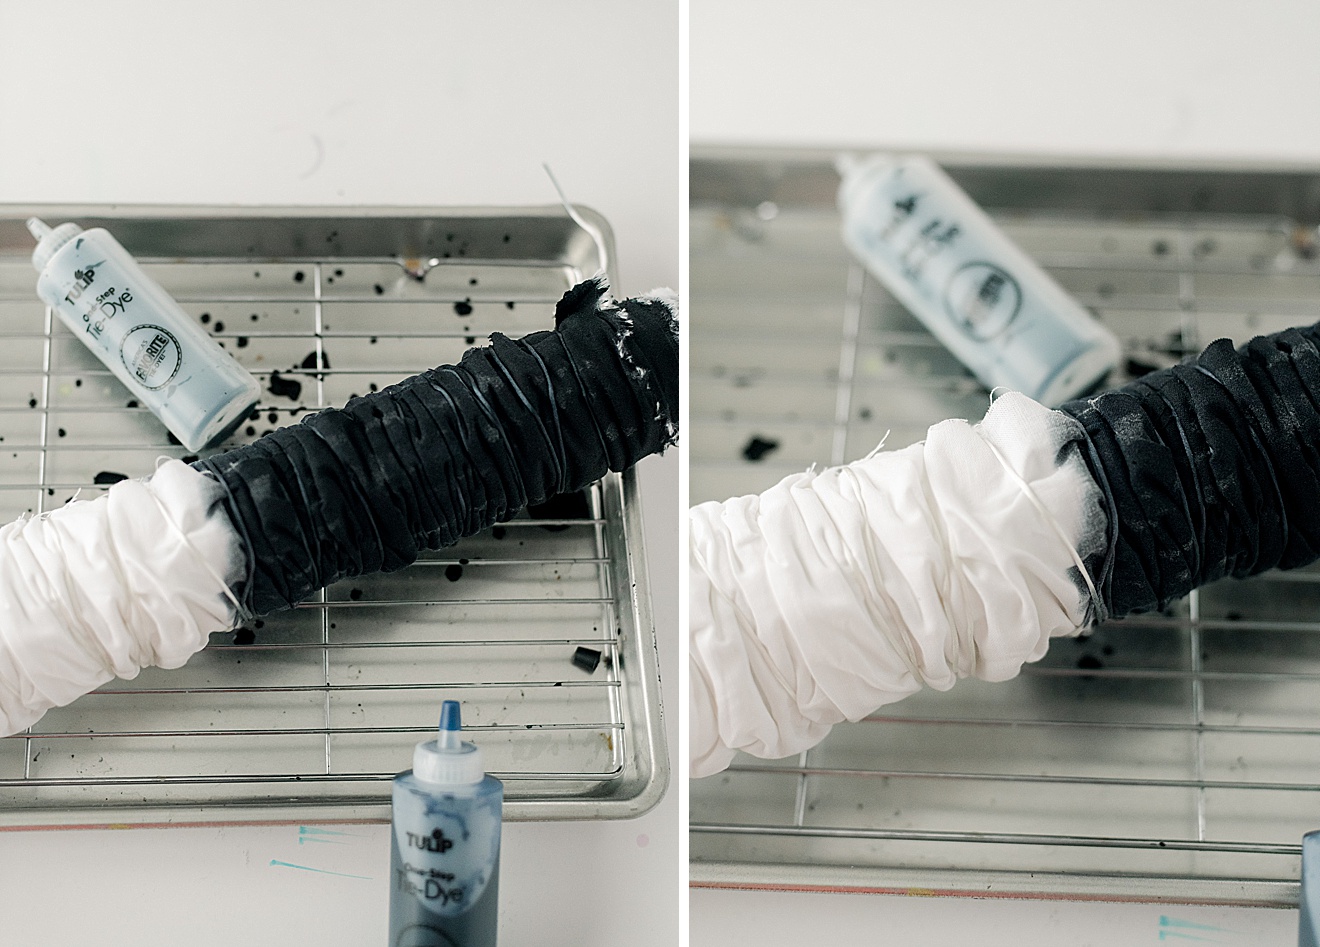
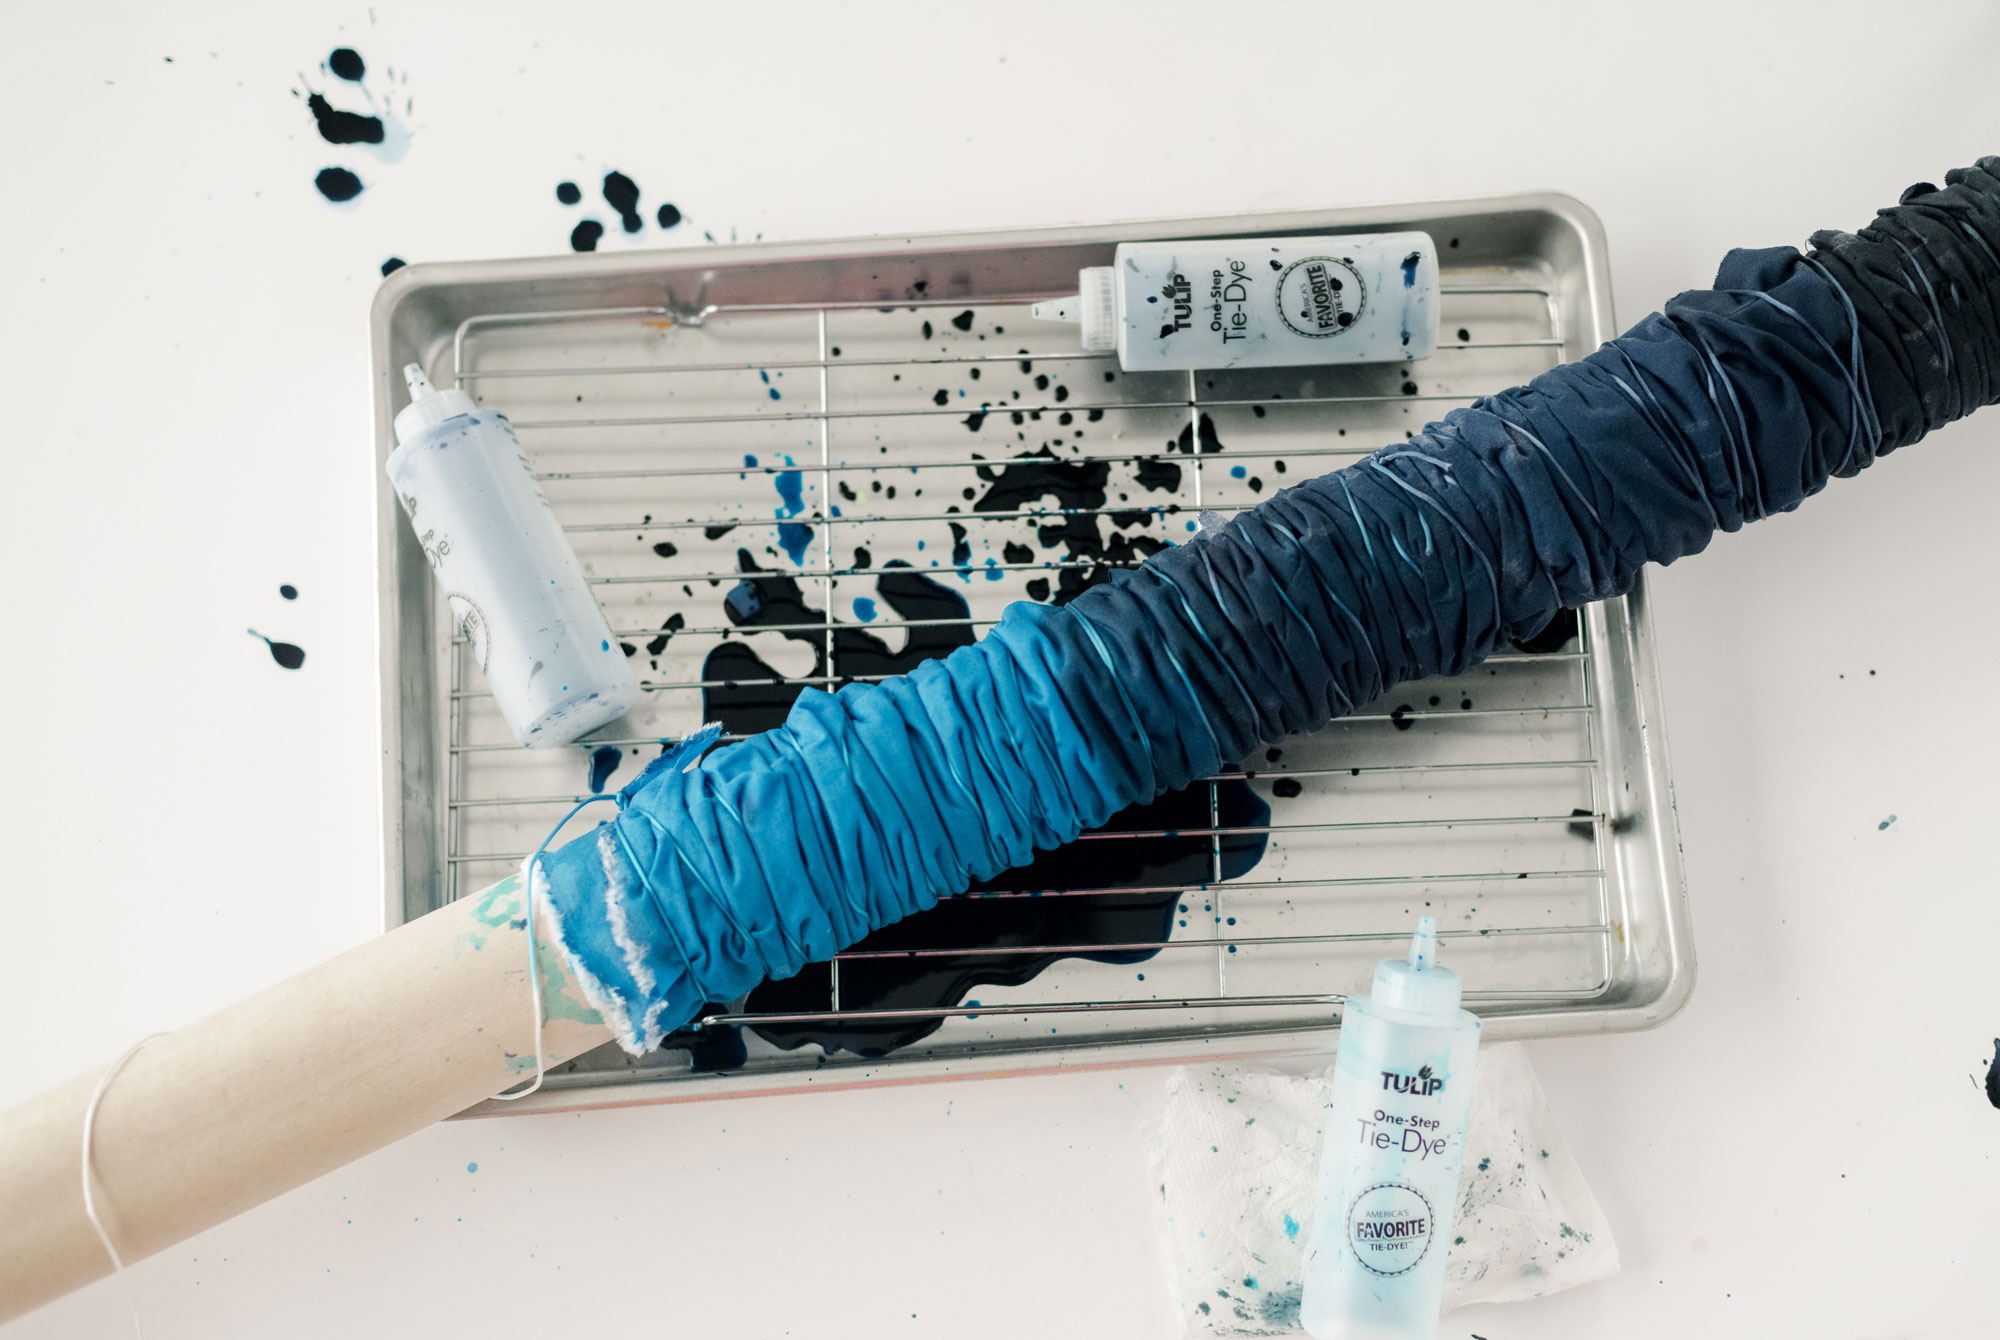
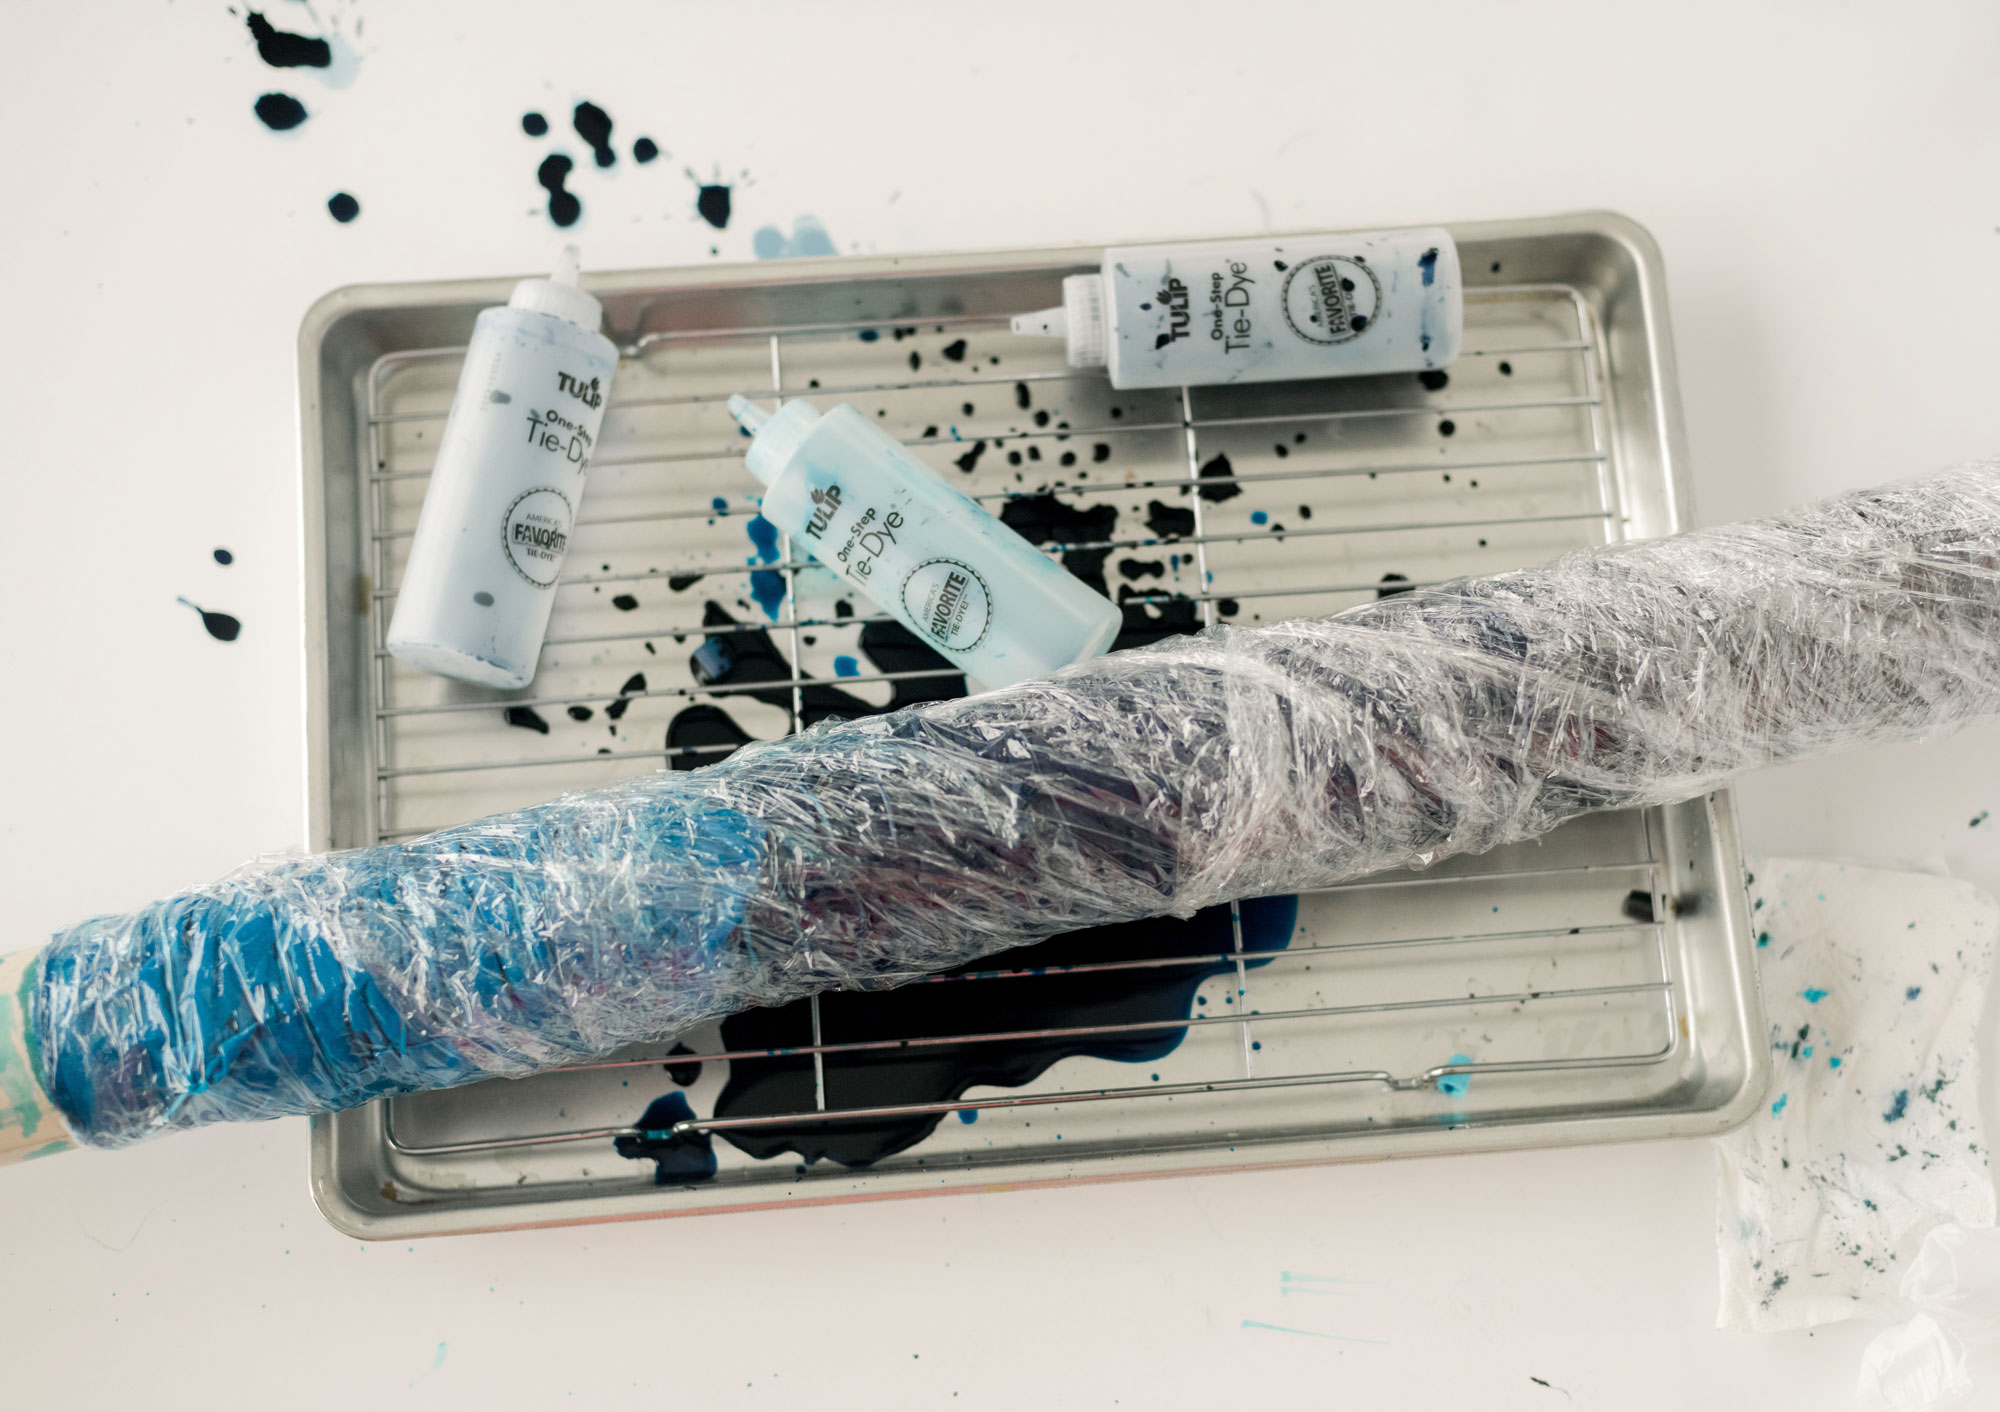
5. Once your fabric is saturated to your liking, wrap with recycled plastic bags or plastic wrap. The idea is to cover it completely so that you don’t let the fabric “dry” to the air, but rather allow the dye to keep penetrating the fabric to get the deepest color.
Allow to sit for at least 6 hours (more if desired….I left mine overnight)! 🙂
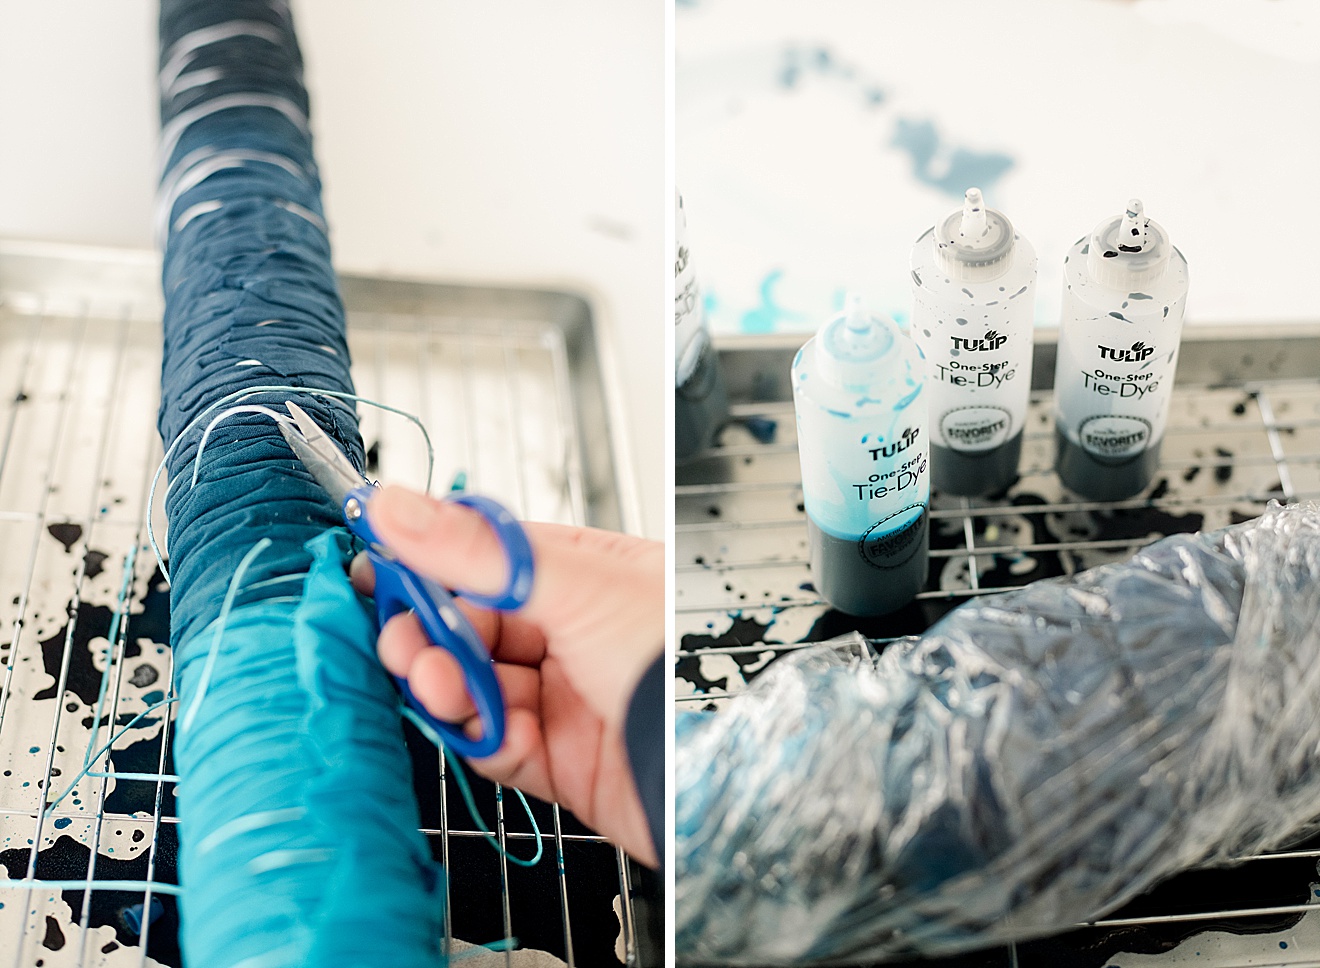
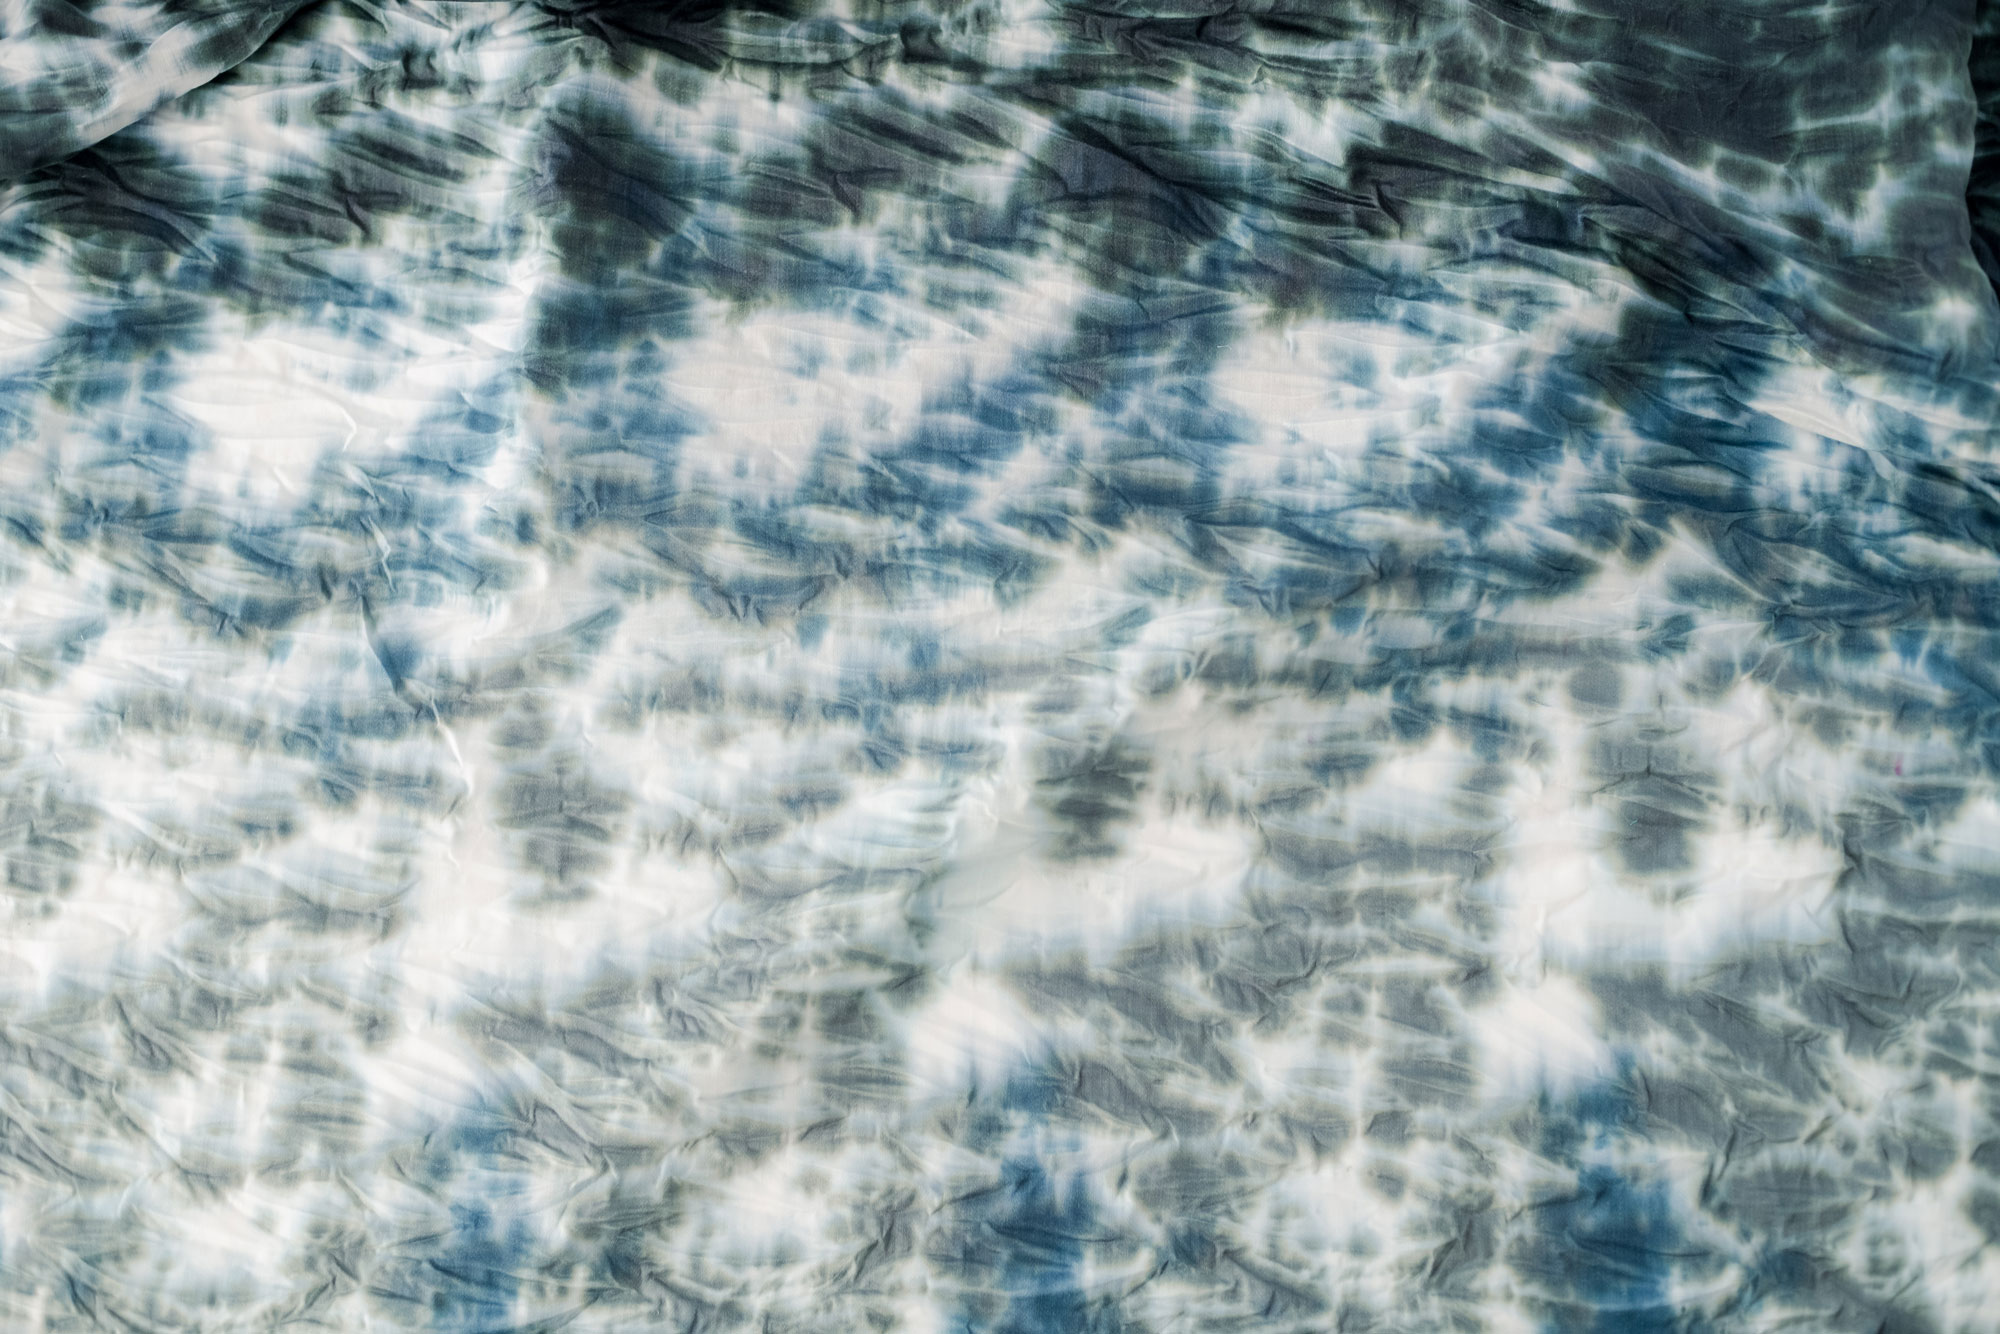
6. Remove all of your plastic wrap or covering from your dyed fabric and begin to cut or unwrap your twine around your wrapping (or rubber bands for the method you chose). I did a quick rinse in our washing machine (but you can also just run the fabric under cold water until the water runs clear)…..line dry or fully dry in the dryer! Iron your fabric if needed 🙂
7. It’s time to re-cover the stool! 🙂
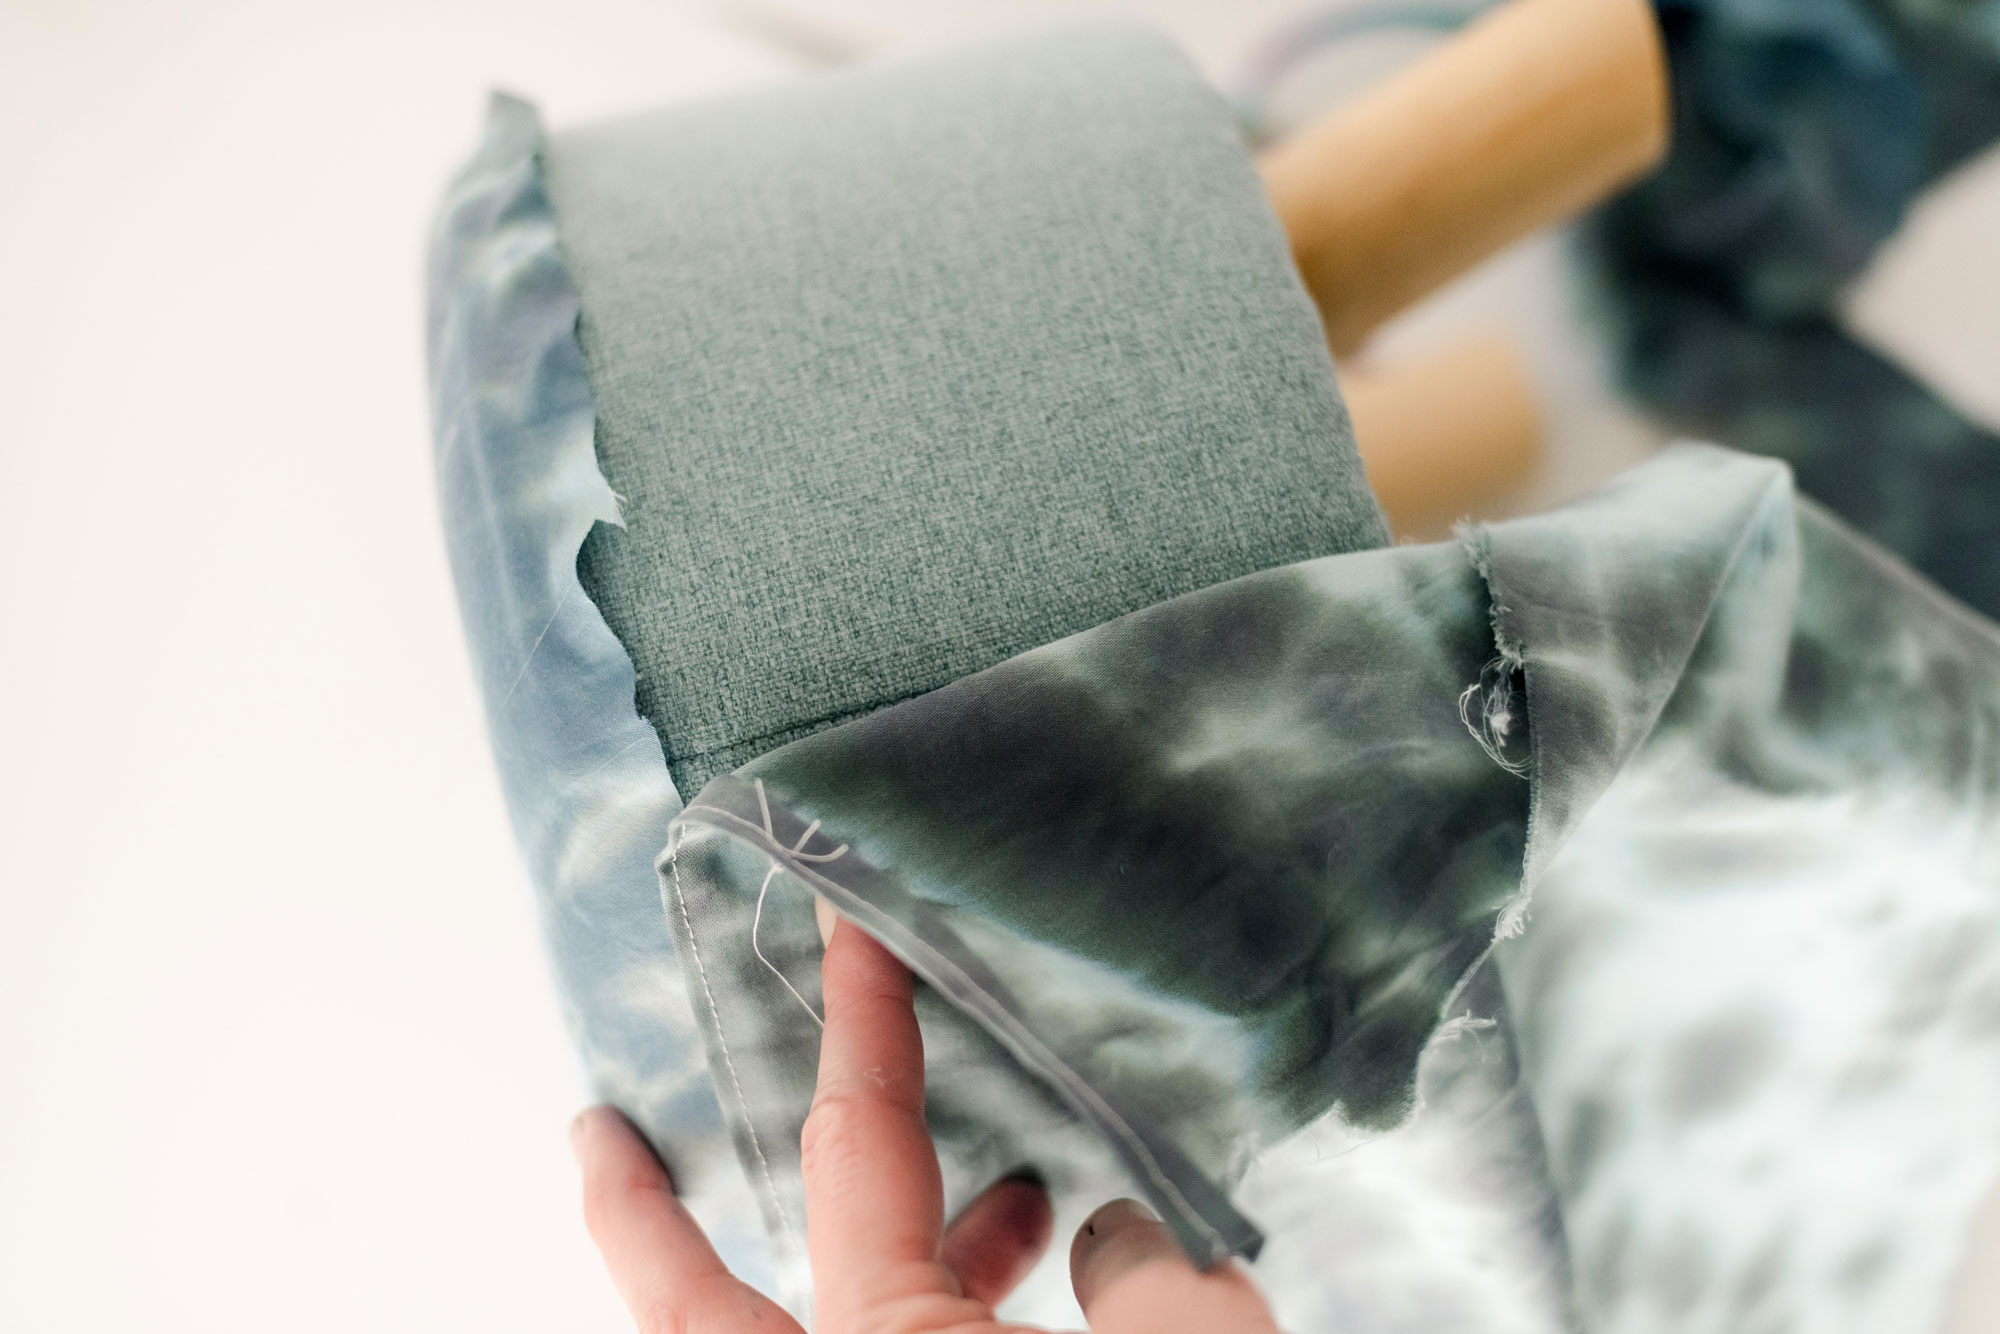
It is important that you recover your piece of furniture, footstool or item in the “same” way that it was originally put together. For instance, my stool was put together with one seam along the top outer edge, and then one seam along the backside vertically with it stapled underneath the stool. SO, I will recover the stool in the same way.
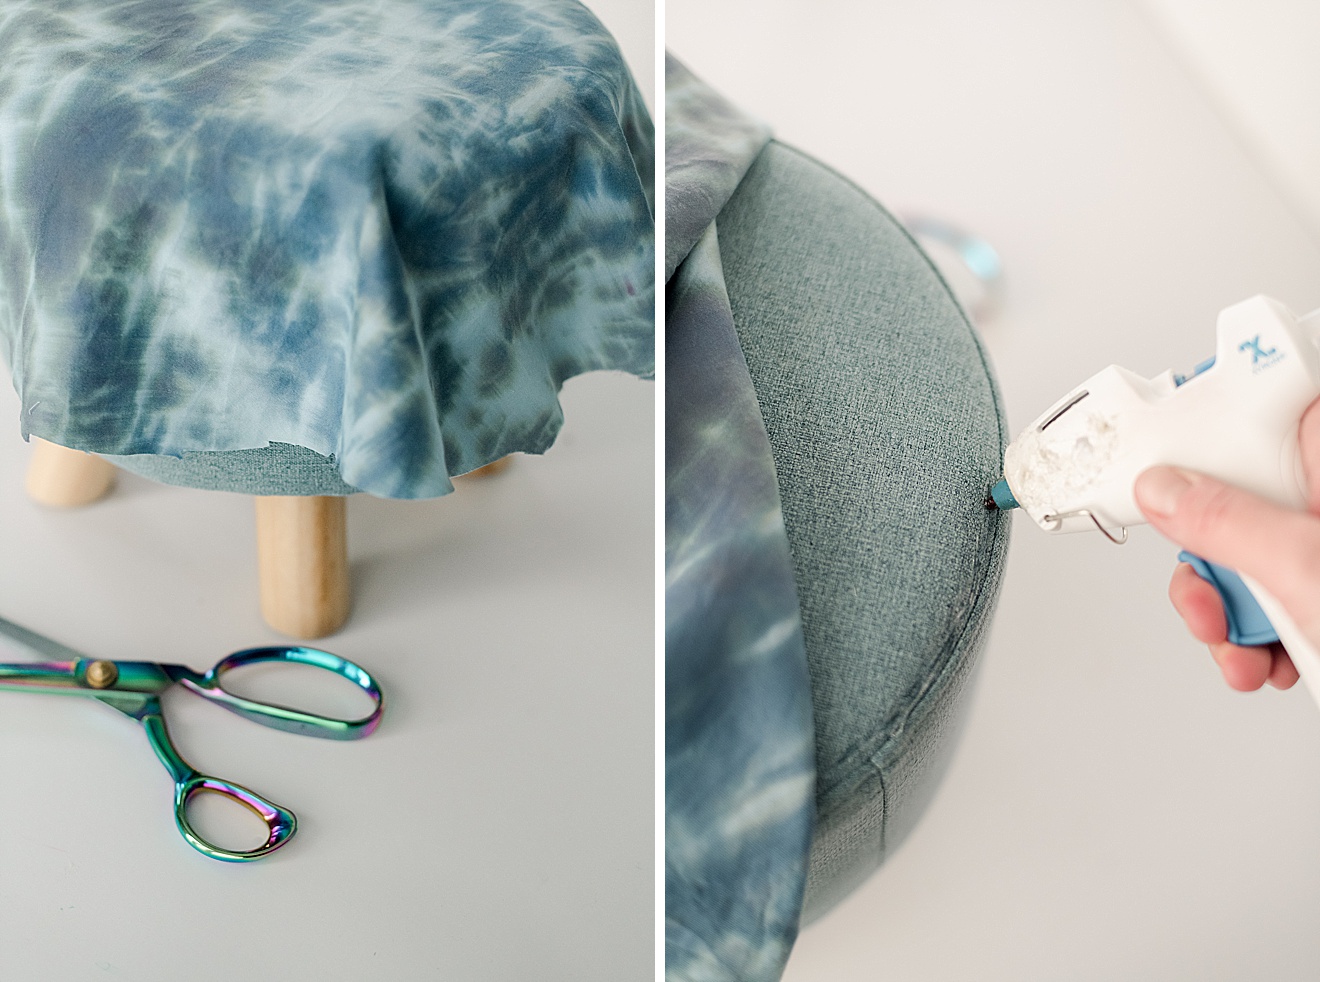
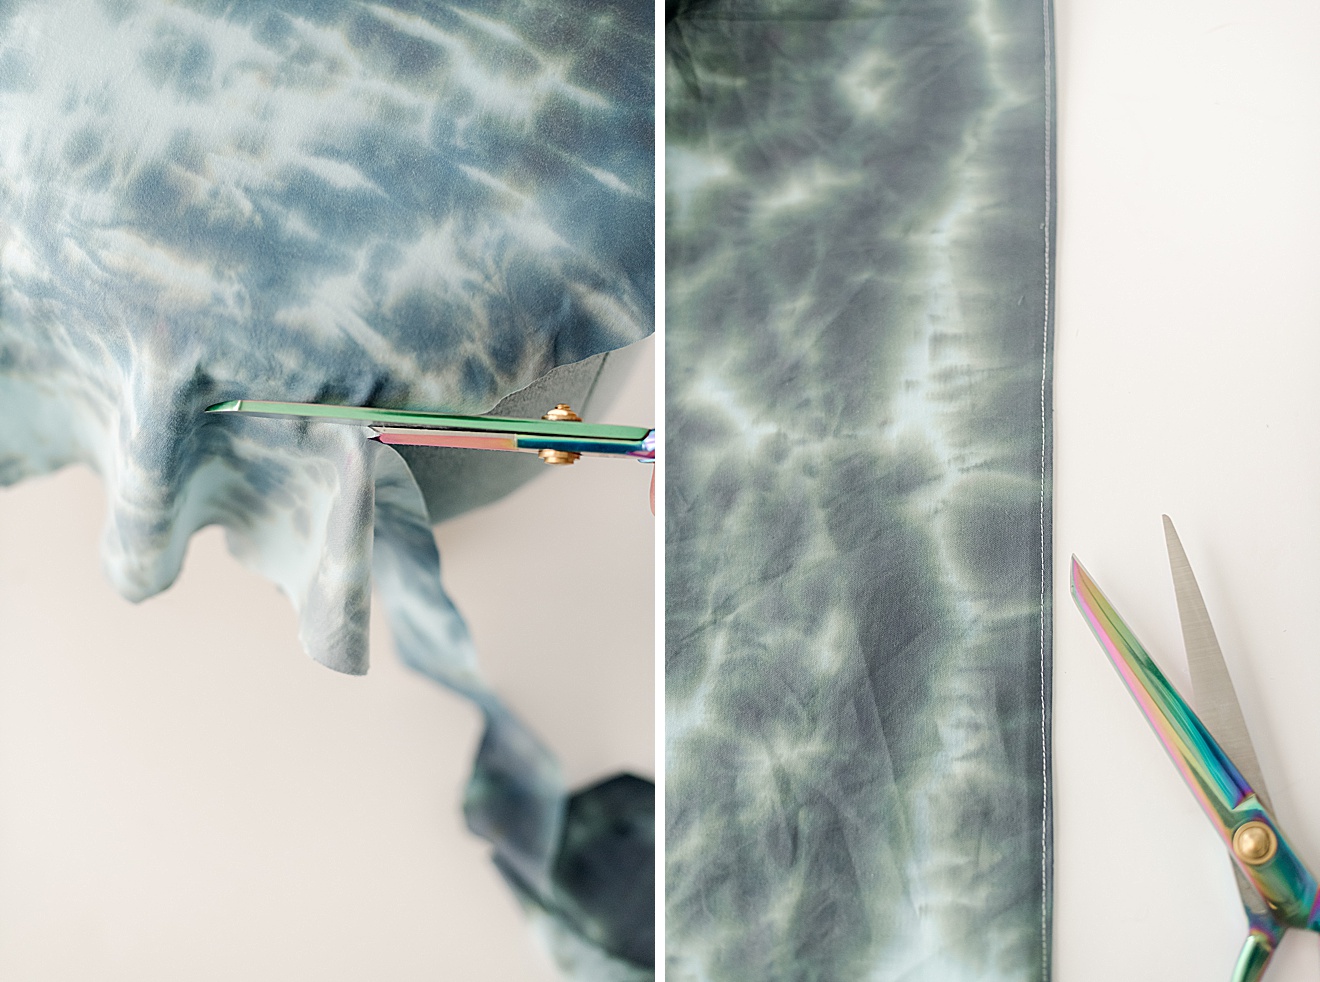
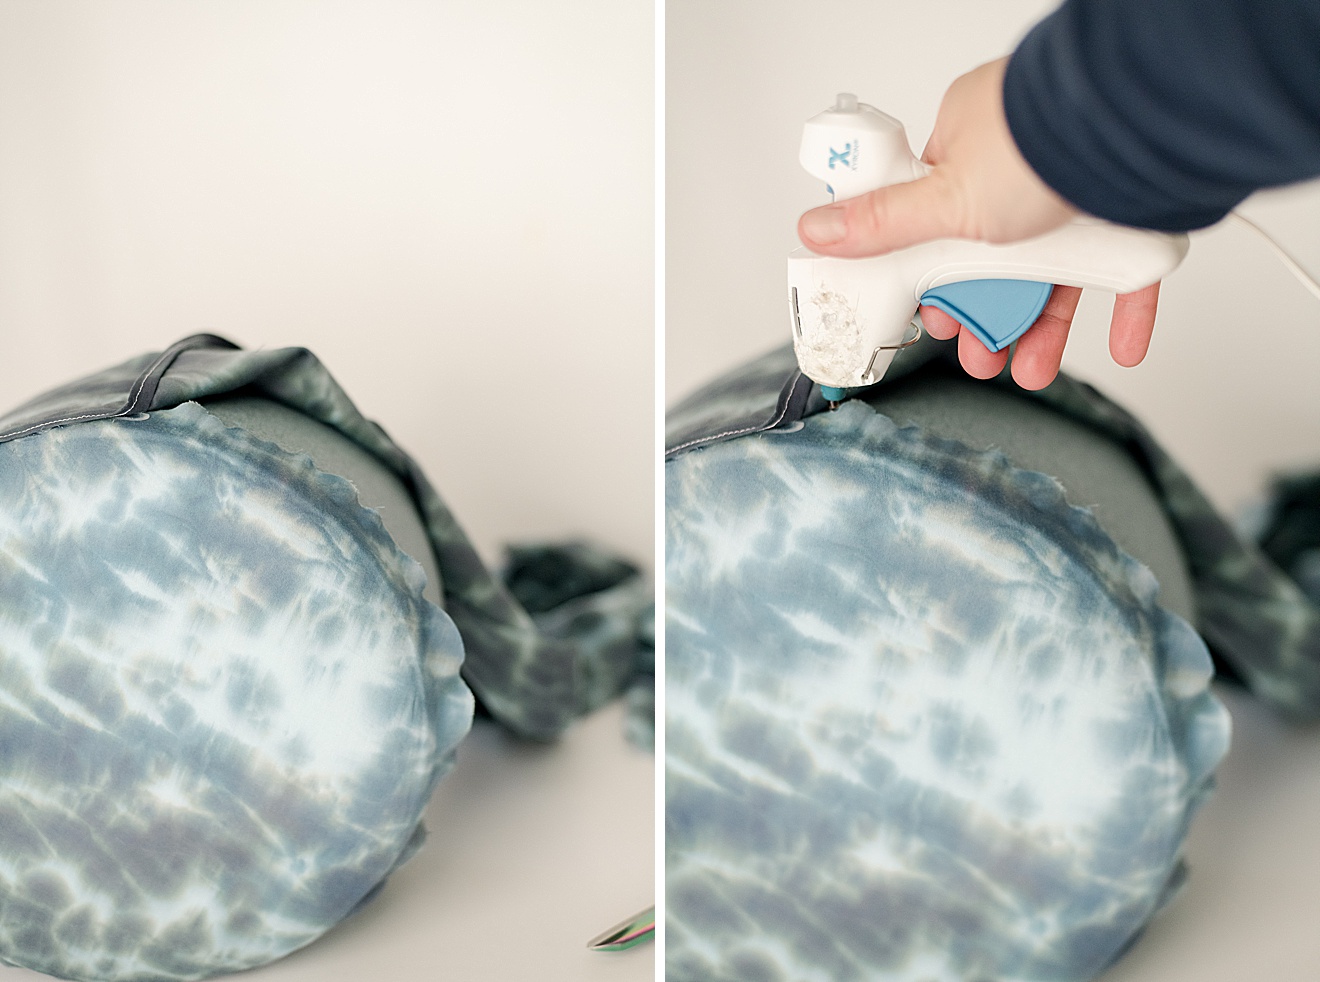
a. Begin with the top portion – cut in a circle around the top and then slowly begin to glue around the top edge (near the original seam) and tightly pull into place working your way around the top.
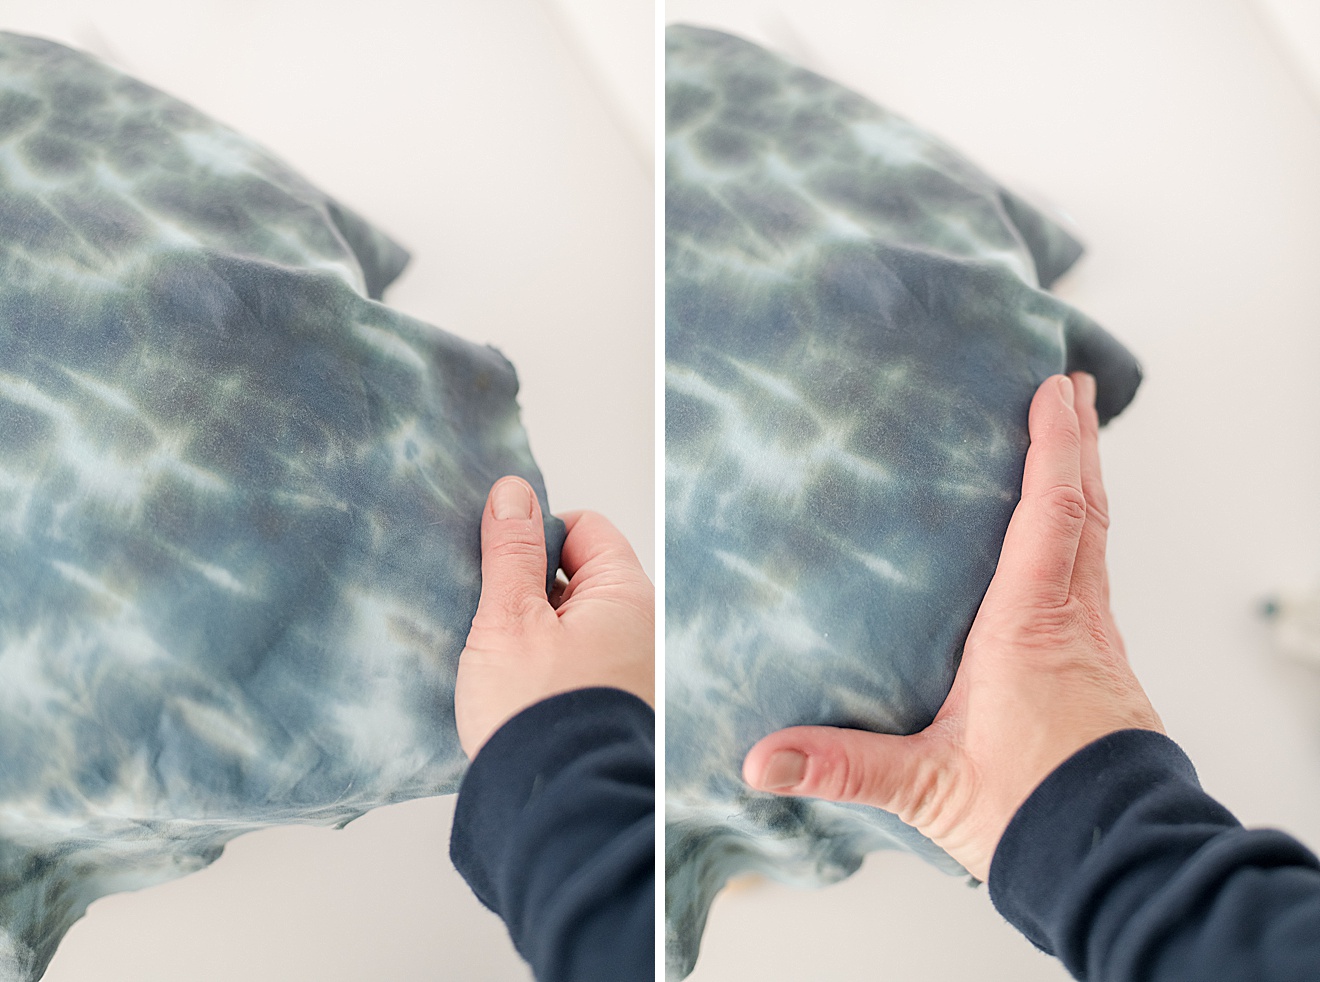
b. Either iron a straight edge or stitch (I just used a straight stitch on my sewing machine) a nice straight seam to the long edge of your tie-dyed material. Then with a bead of hot glue, carefully glue this top edge of material to the stool, overlapping the top circle that is already glued into place. Once you reach the starting point, fold over both edges and glue them into place.
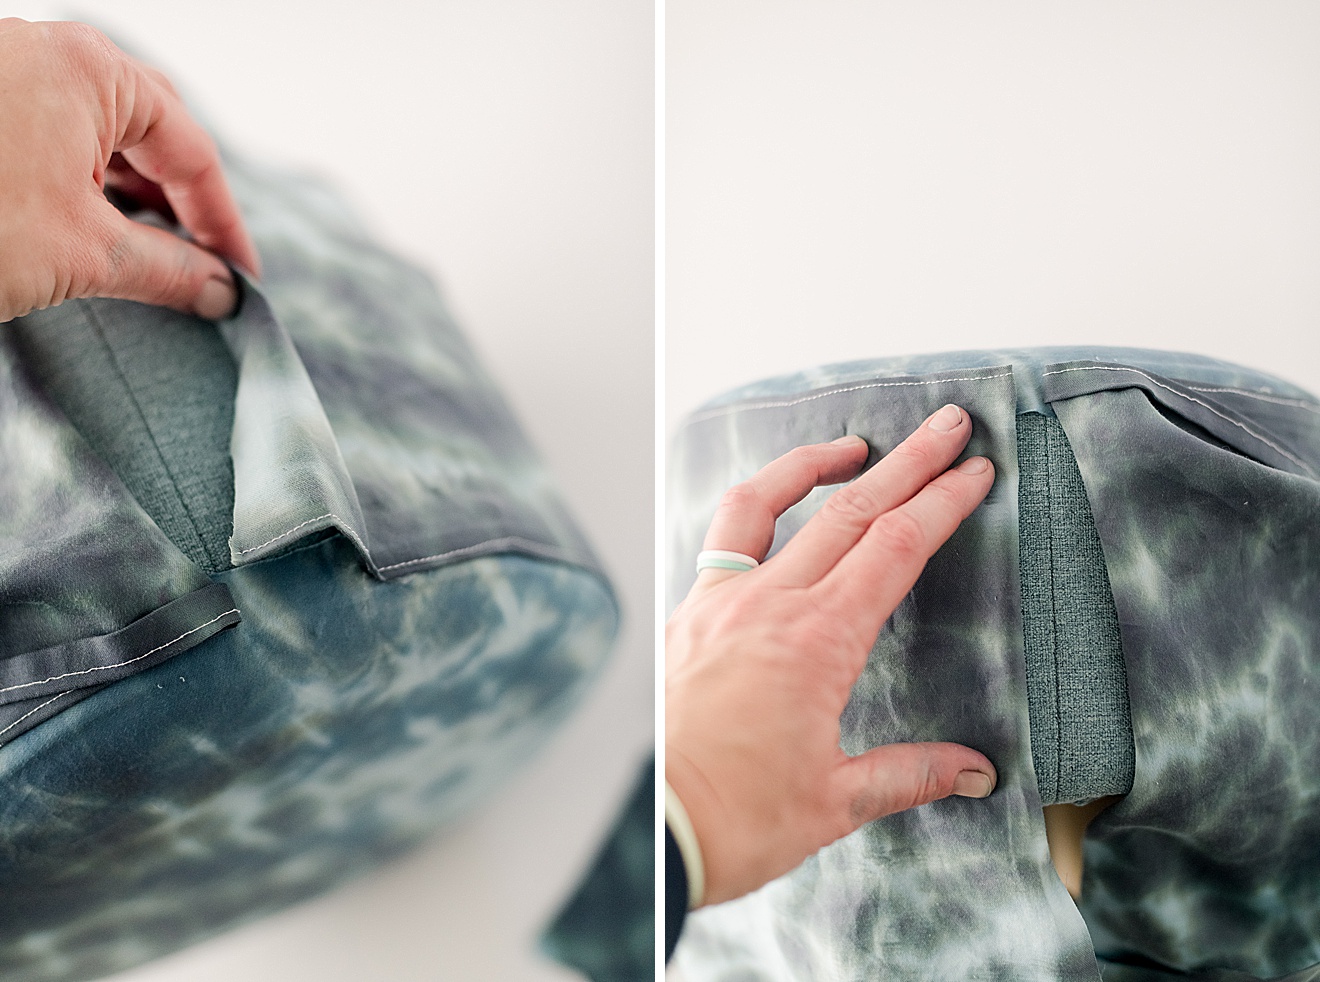
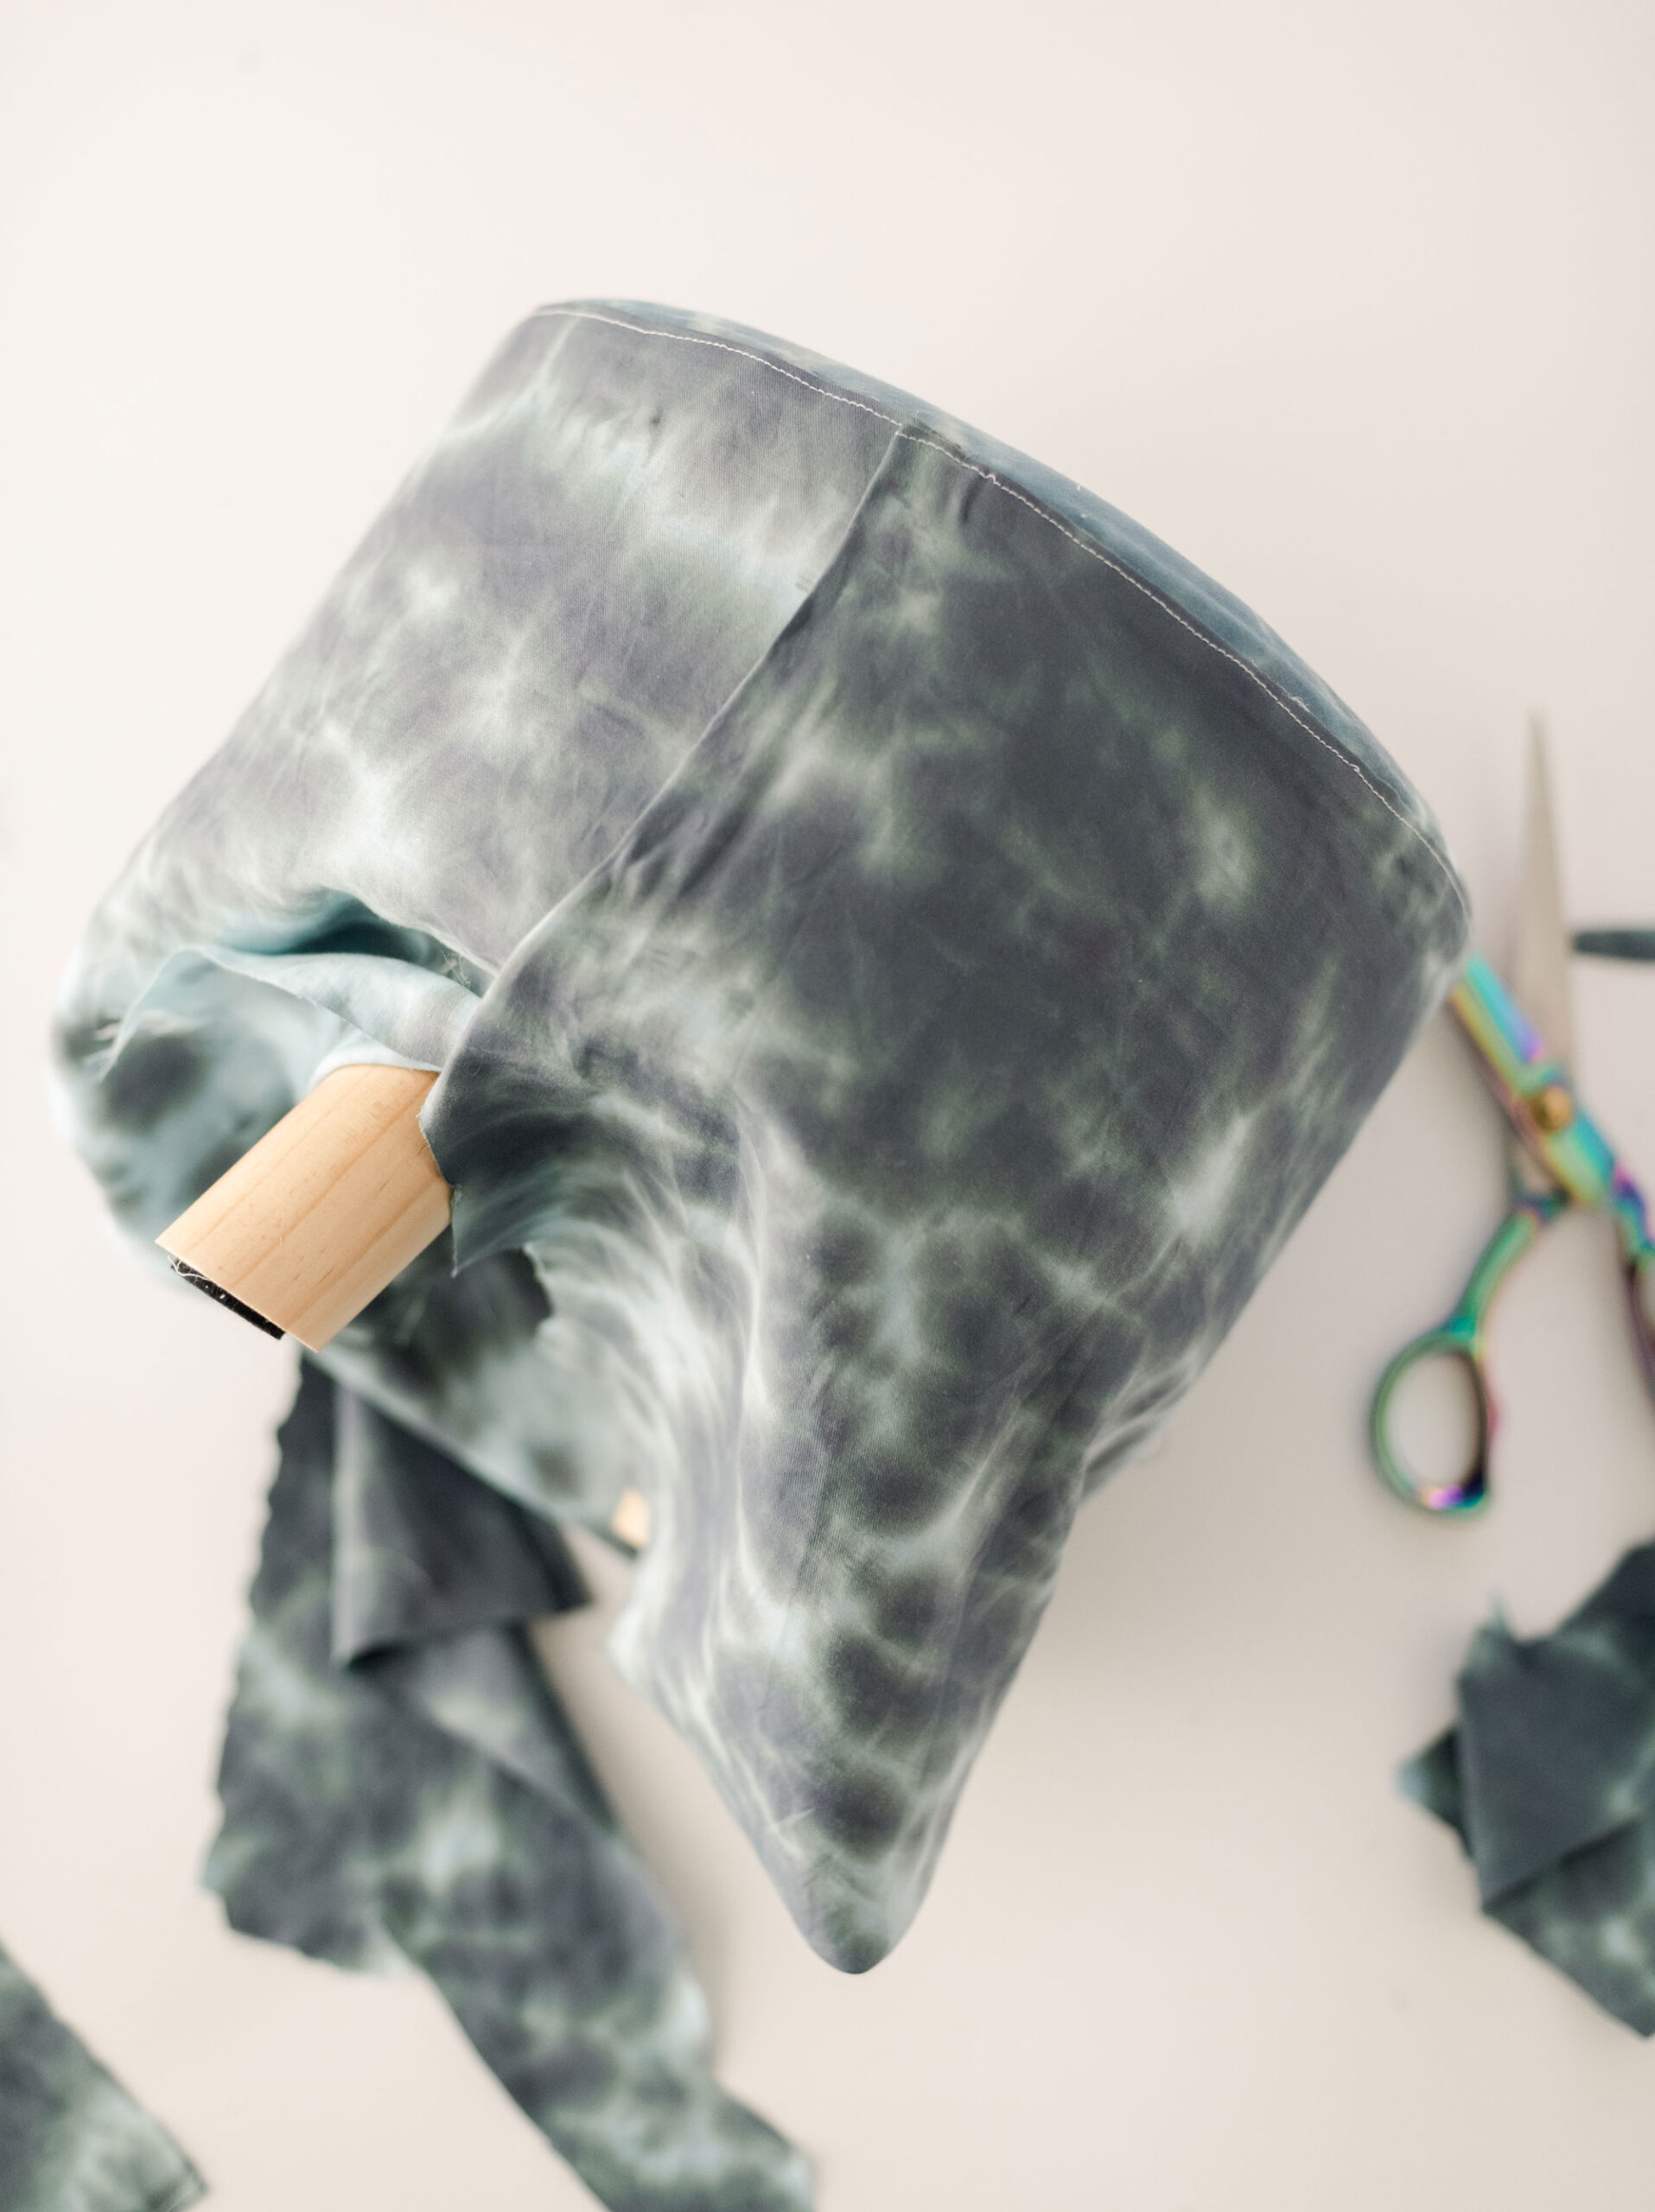
c. Then wrap your fabric to the underside of the stool and glue into place. Pull the fabric taught as you tack down!
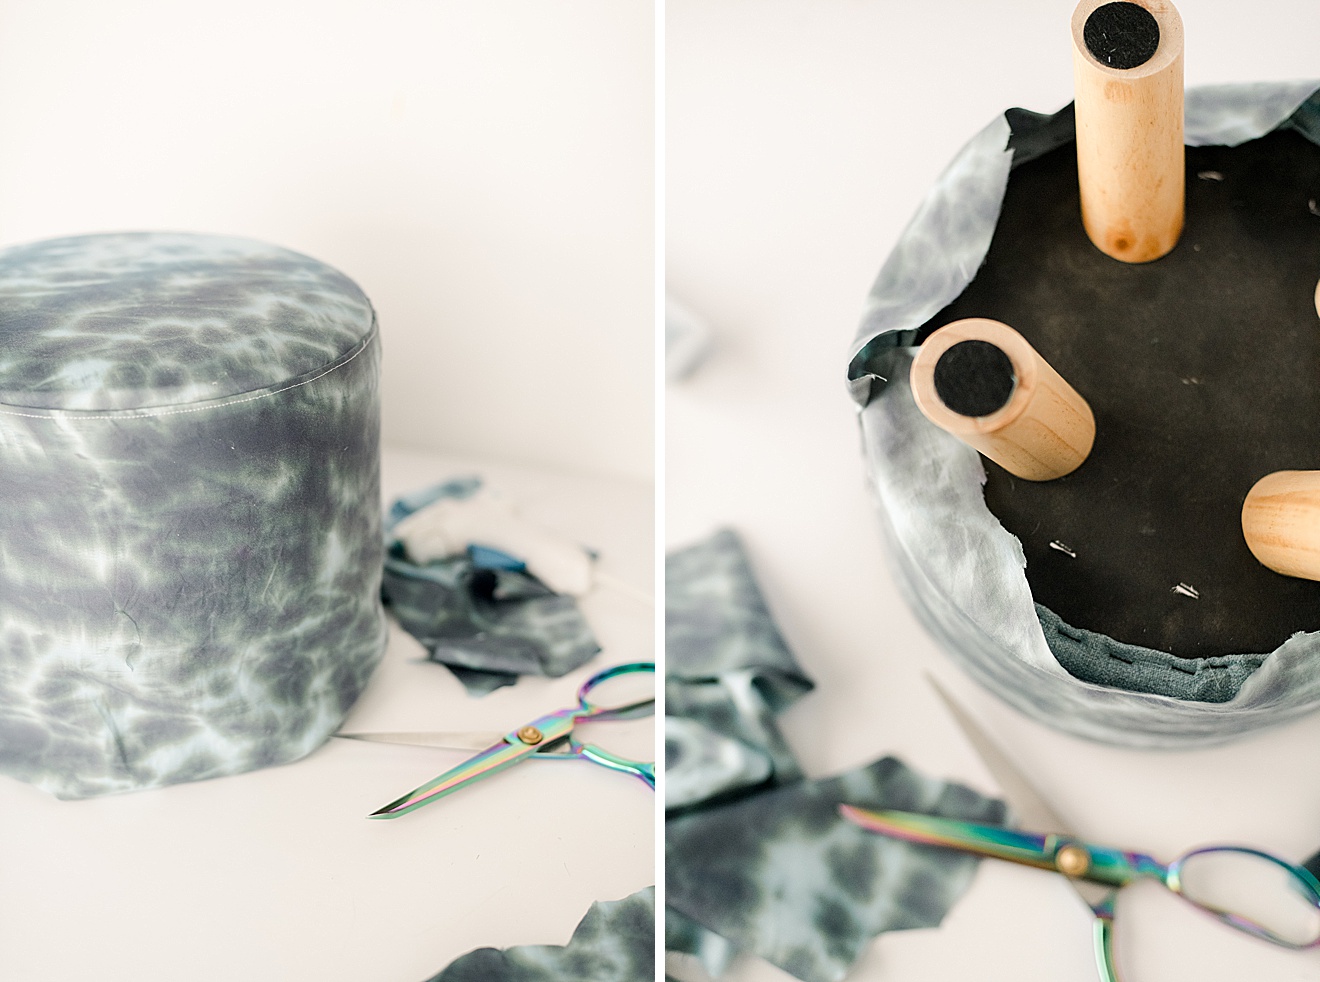
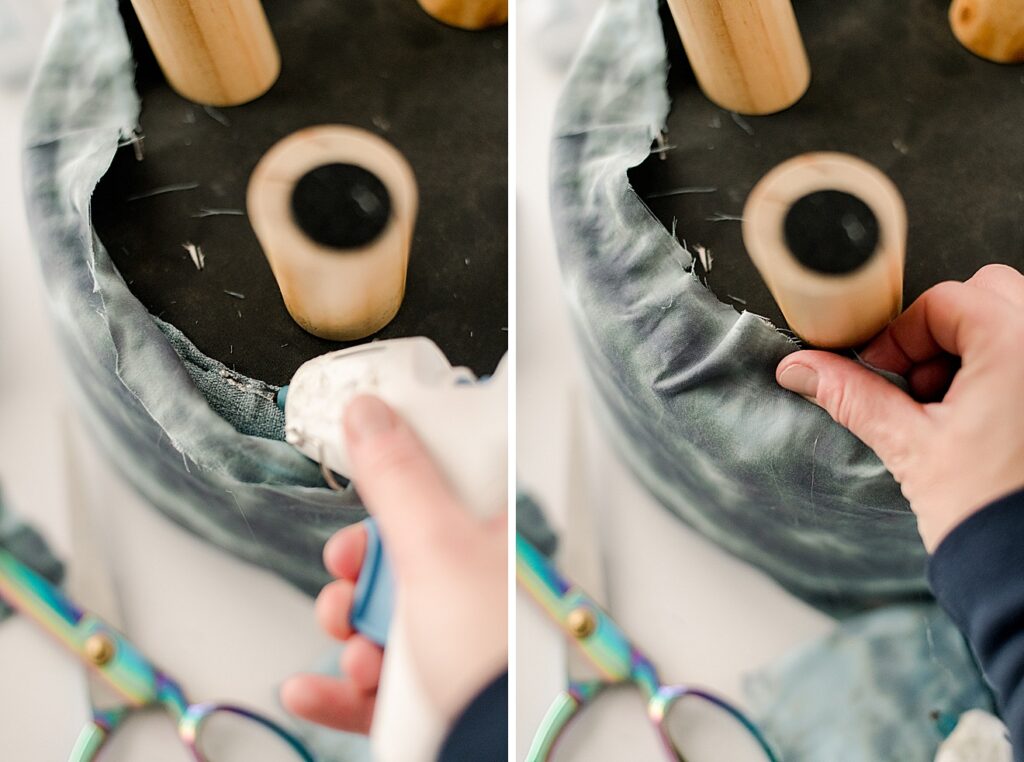
VOILA! Now you have yourself a newly refreshed and stylishly tie-dyed footstool or piece of furniture! 🙂 I am tellin’ ya: NEVER OVERLOOK what some tie dye and an old bed sheet can do to breathe new life into an old piece of furniture! 🙂
