How to make paper flowers + a colorful frame using Aleene’s memory glue :)
This blog post is in paid sponsorship with Aleene’s
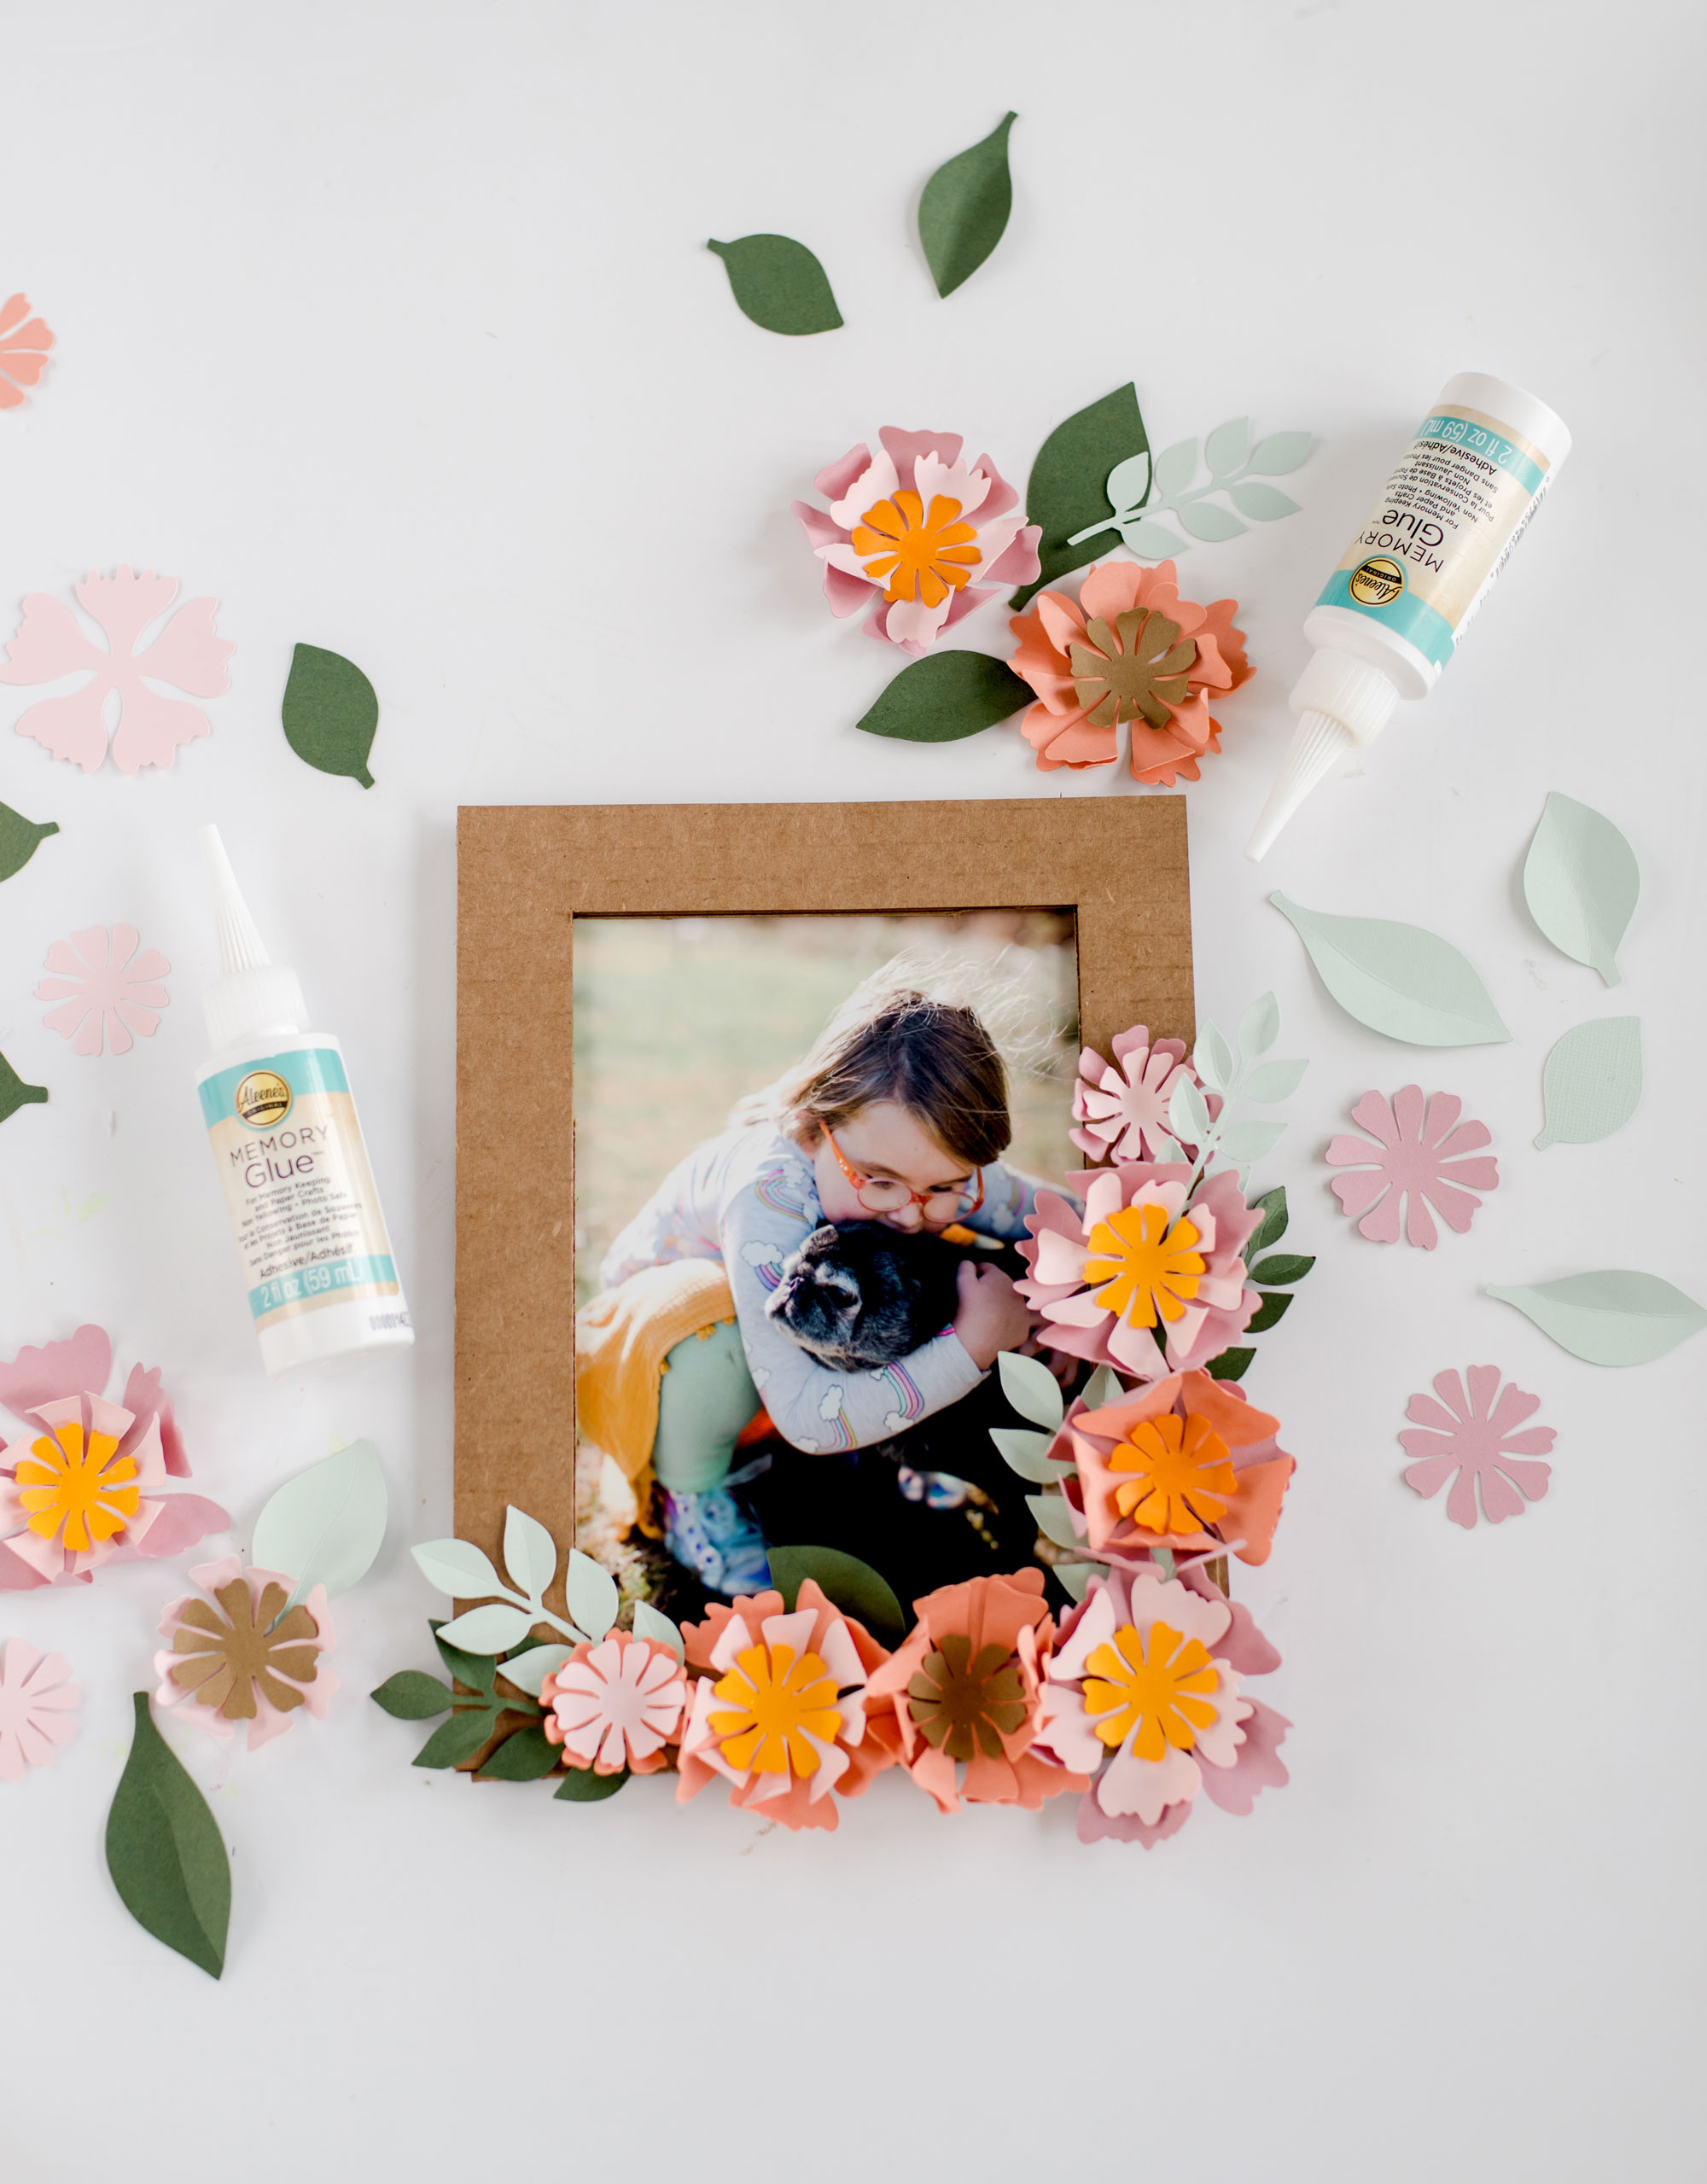
Today I am sharing a DIY that includes 2 of my favorite things: color + the love of family and memories! #yay
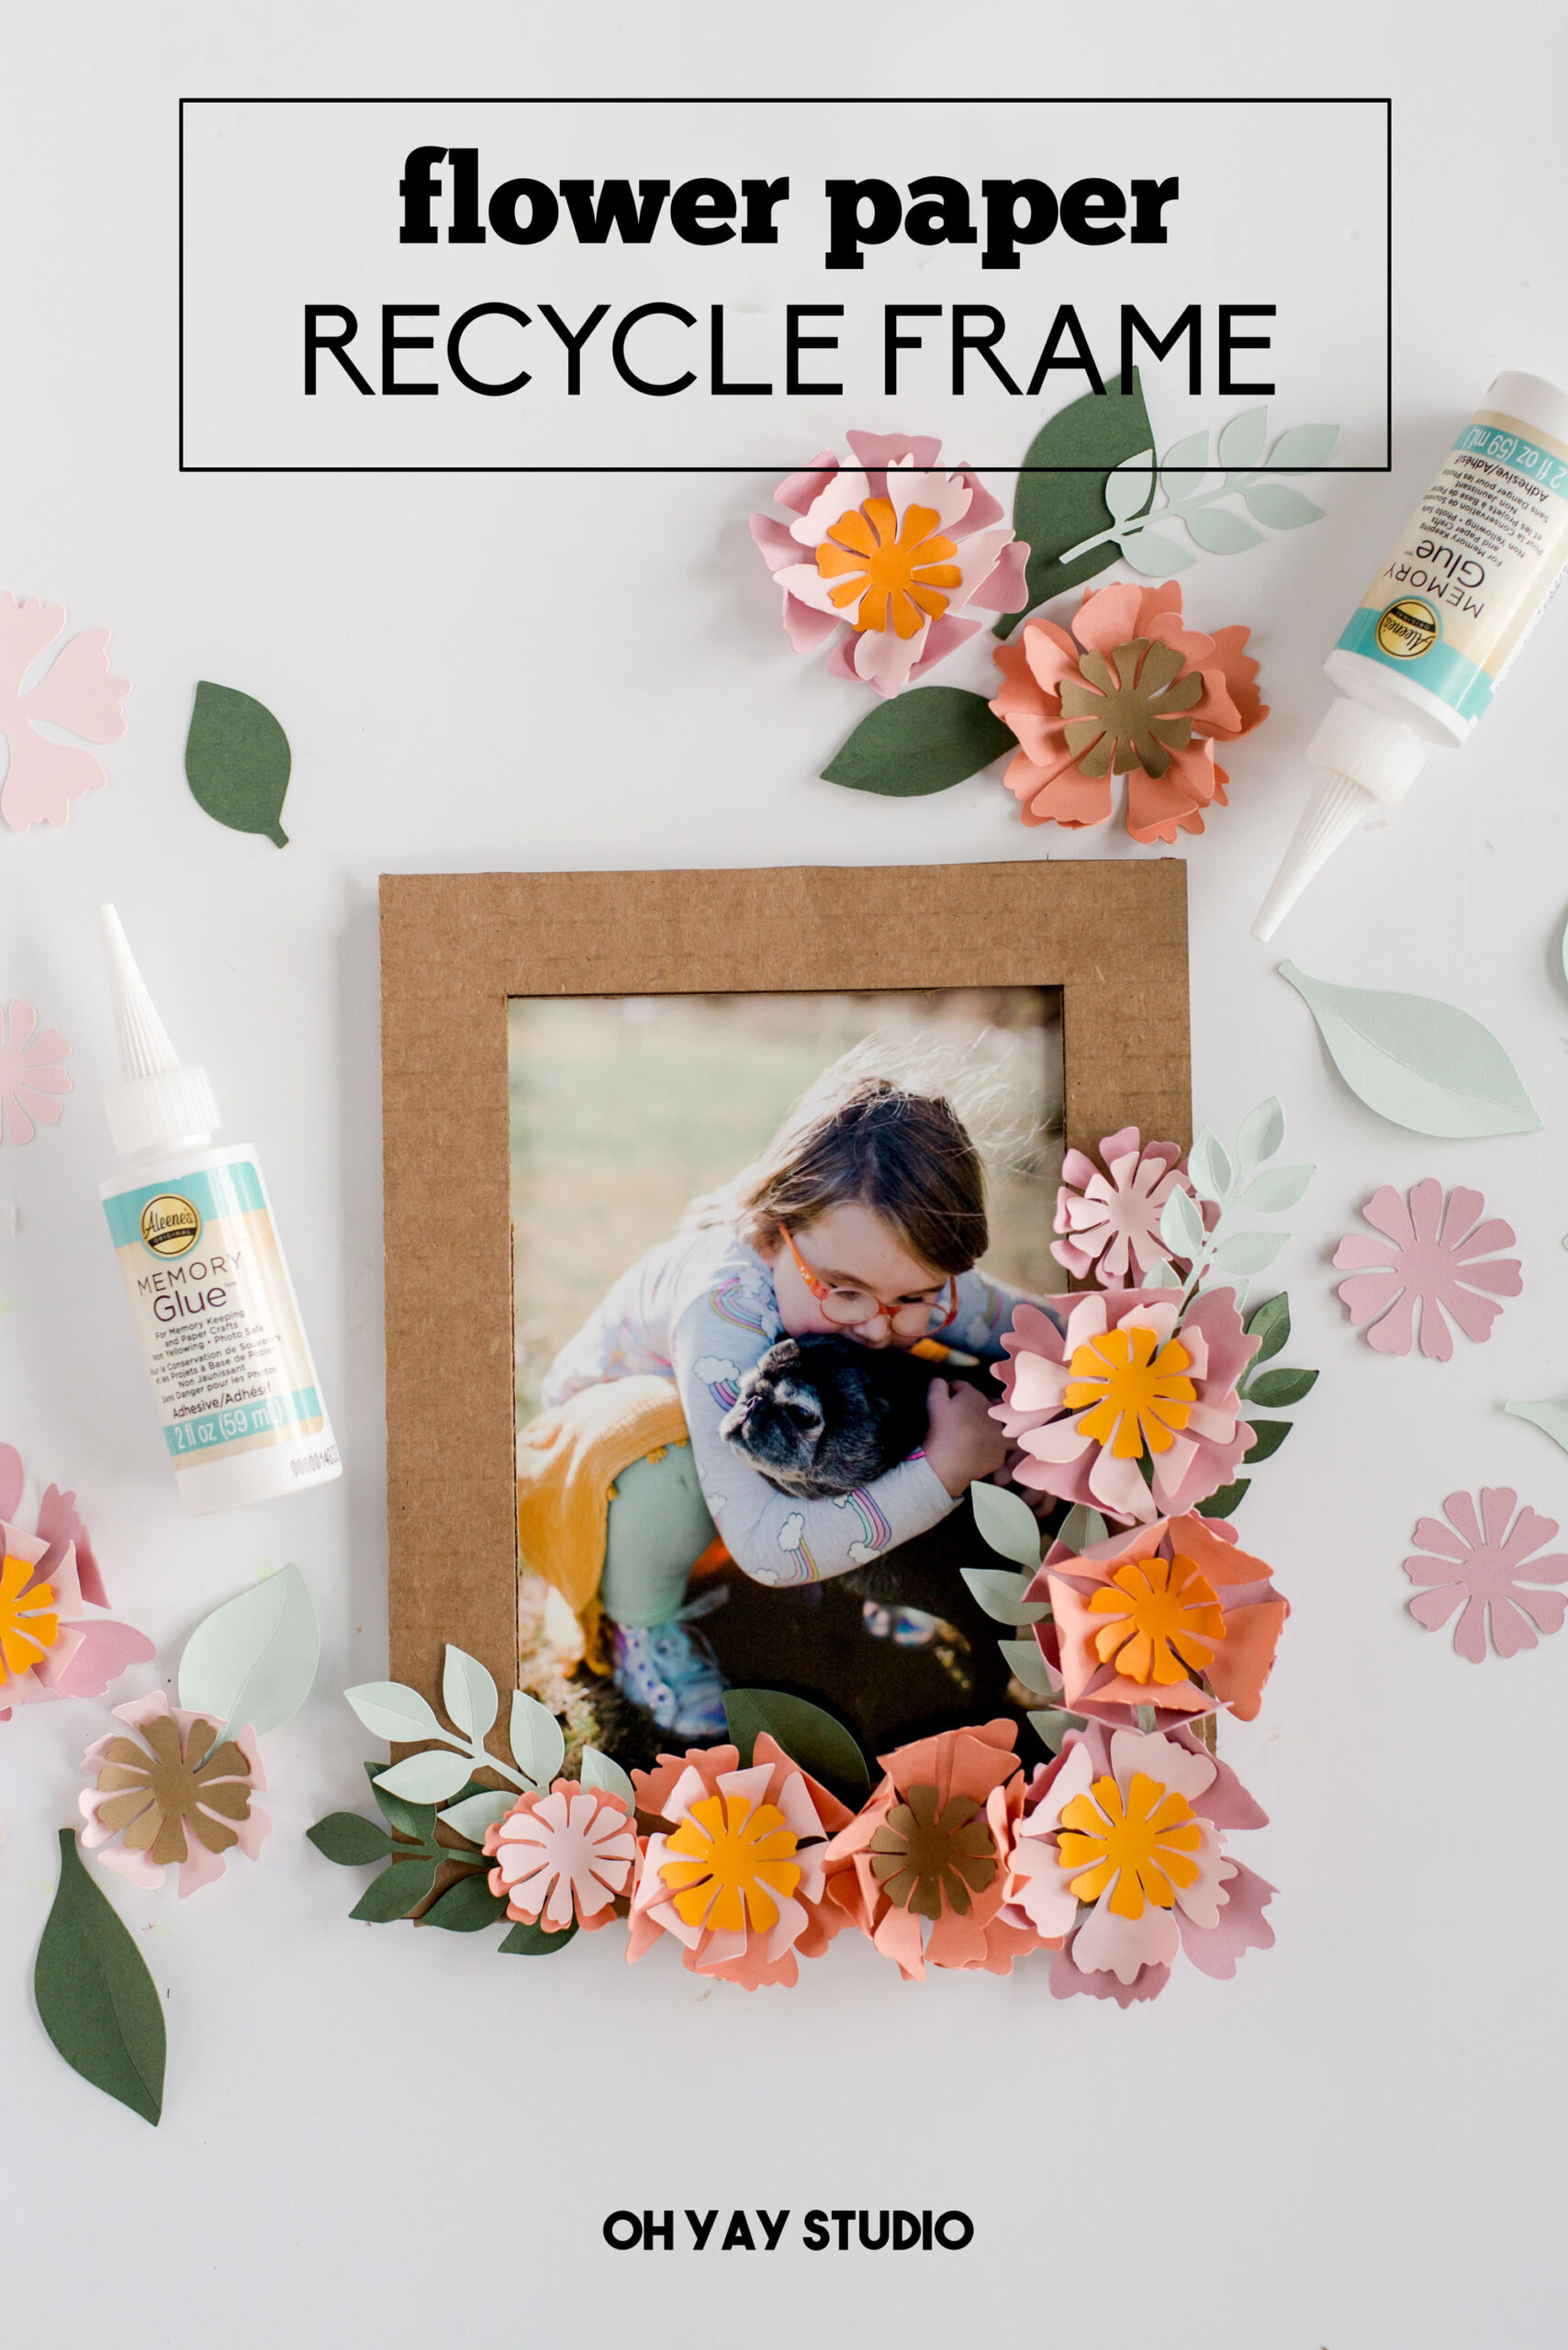
I love giving gifts that are full of love and memories and happy tears (you know it’s a winner of a gift when tears of joy come from Grandma’s face, eh?!)! So, I am sharing the full tutorial + pattern for making these paper flowers into a gorgeous frame using Aleene’s memory glue which is perfect for memory saving + paper crafts! 🙂
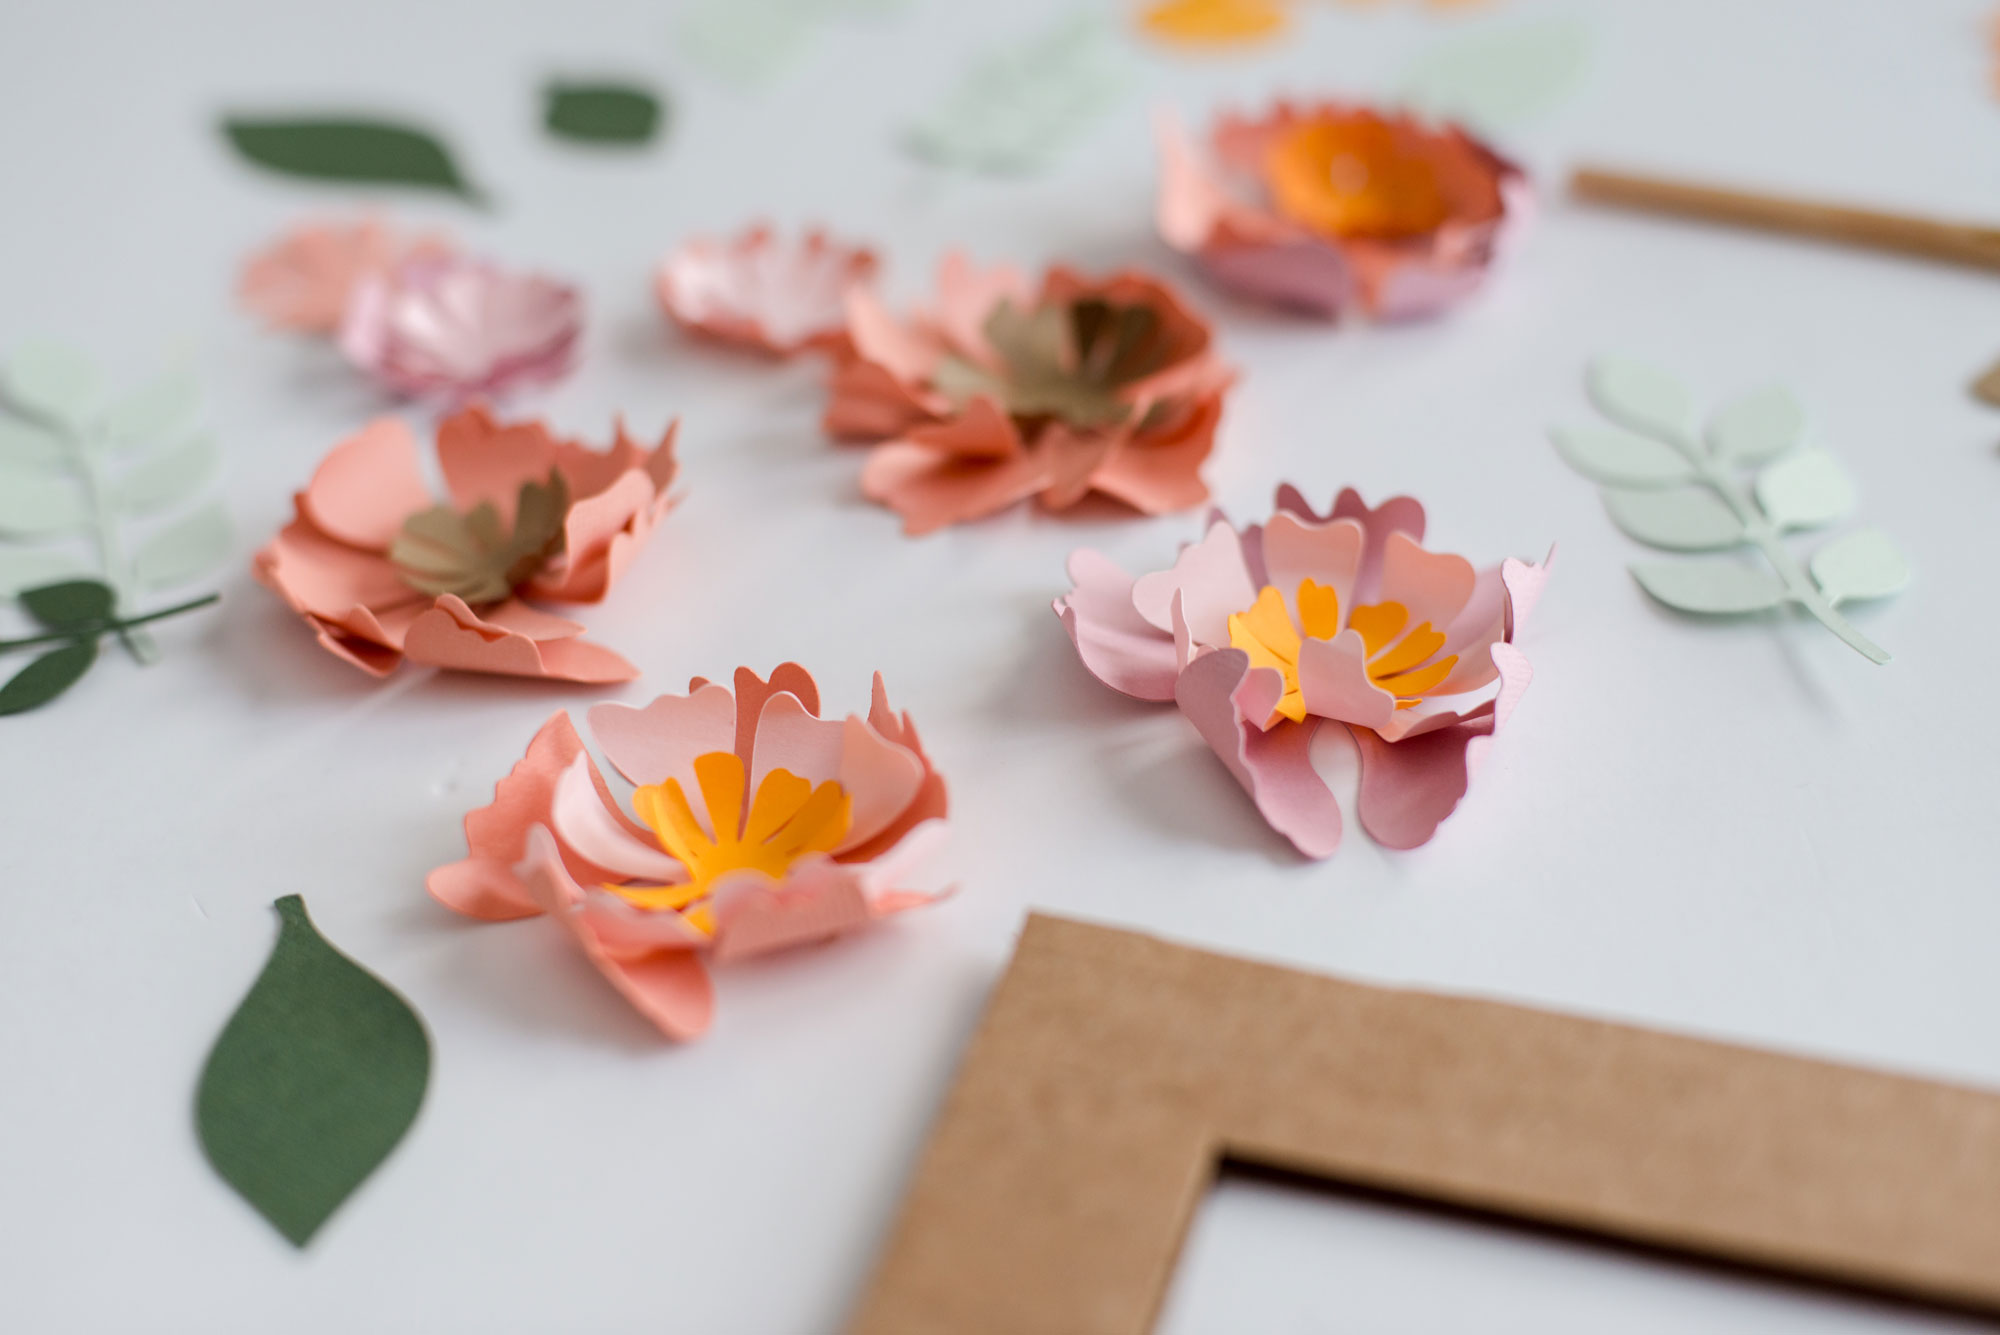
SO! This Aleene’s memory glue is BEYOND wonderful with paper crafts! YOU GUYS! NO YELLOWING (we’ve all had that happen before after a year or 2 of keeping) and it won’t make your paper or photographs wrinkle when it’s applied (no matter how much you put on)! I don’t know what is in this magic glue, but I am crafting with confidence knowing that the frames we are making can be displayed and loved for years to come without embarrassing wrinkling or dis-coloring over time! 🙂
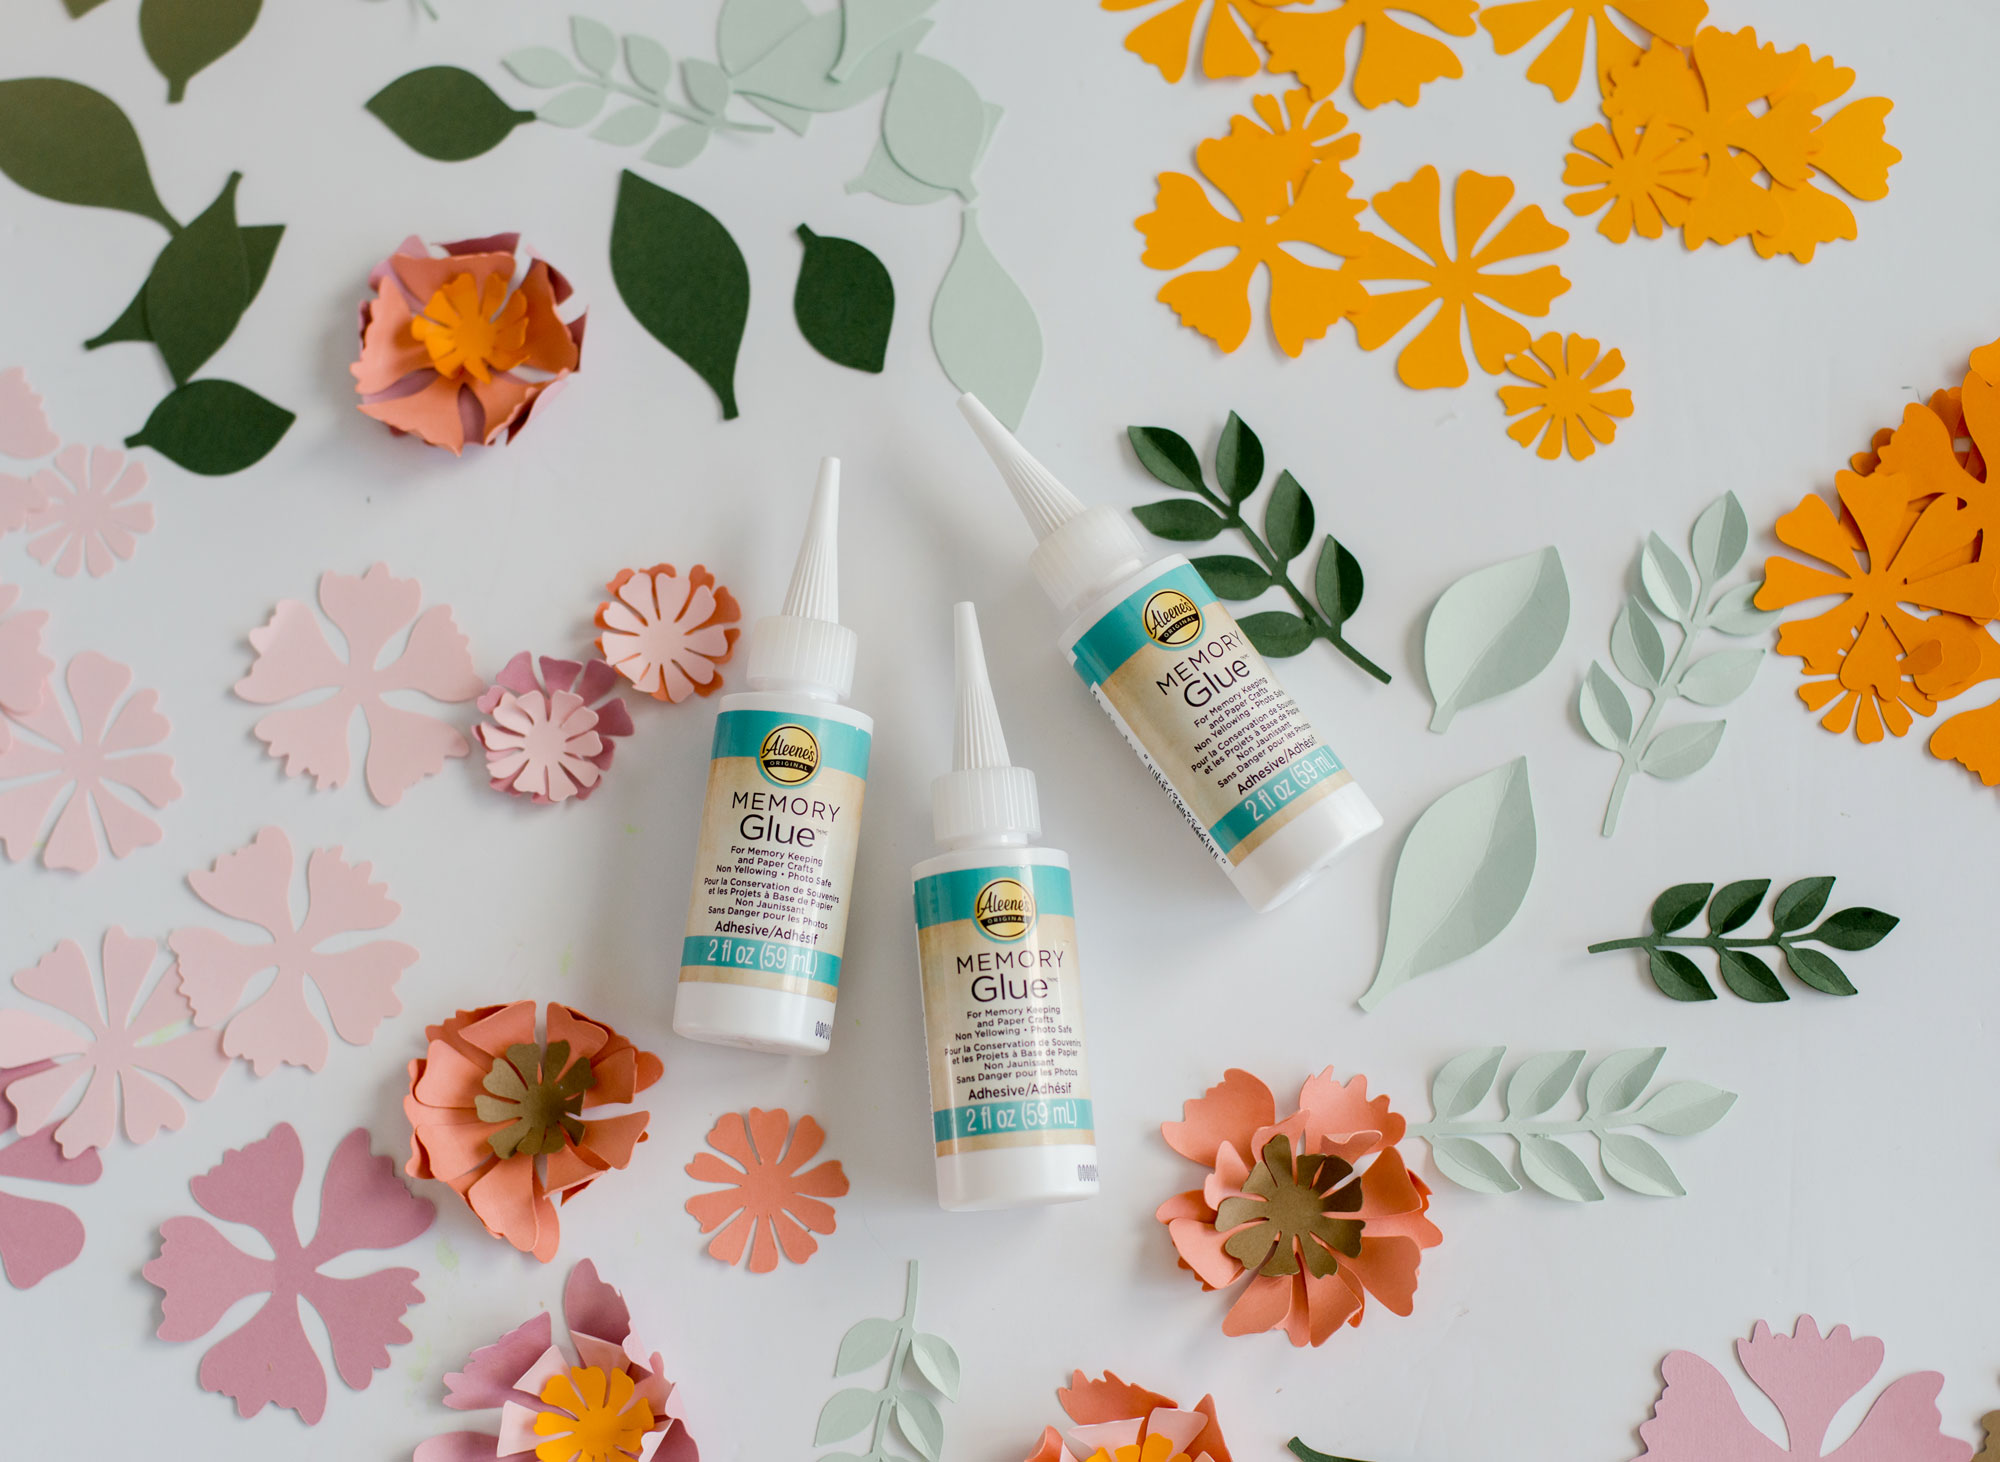
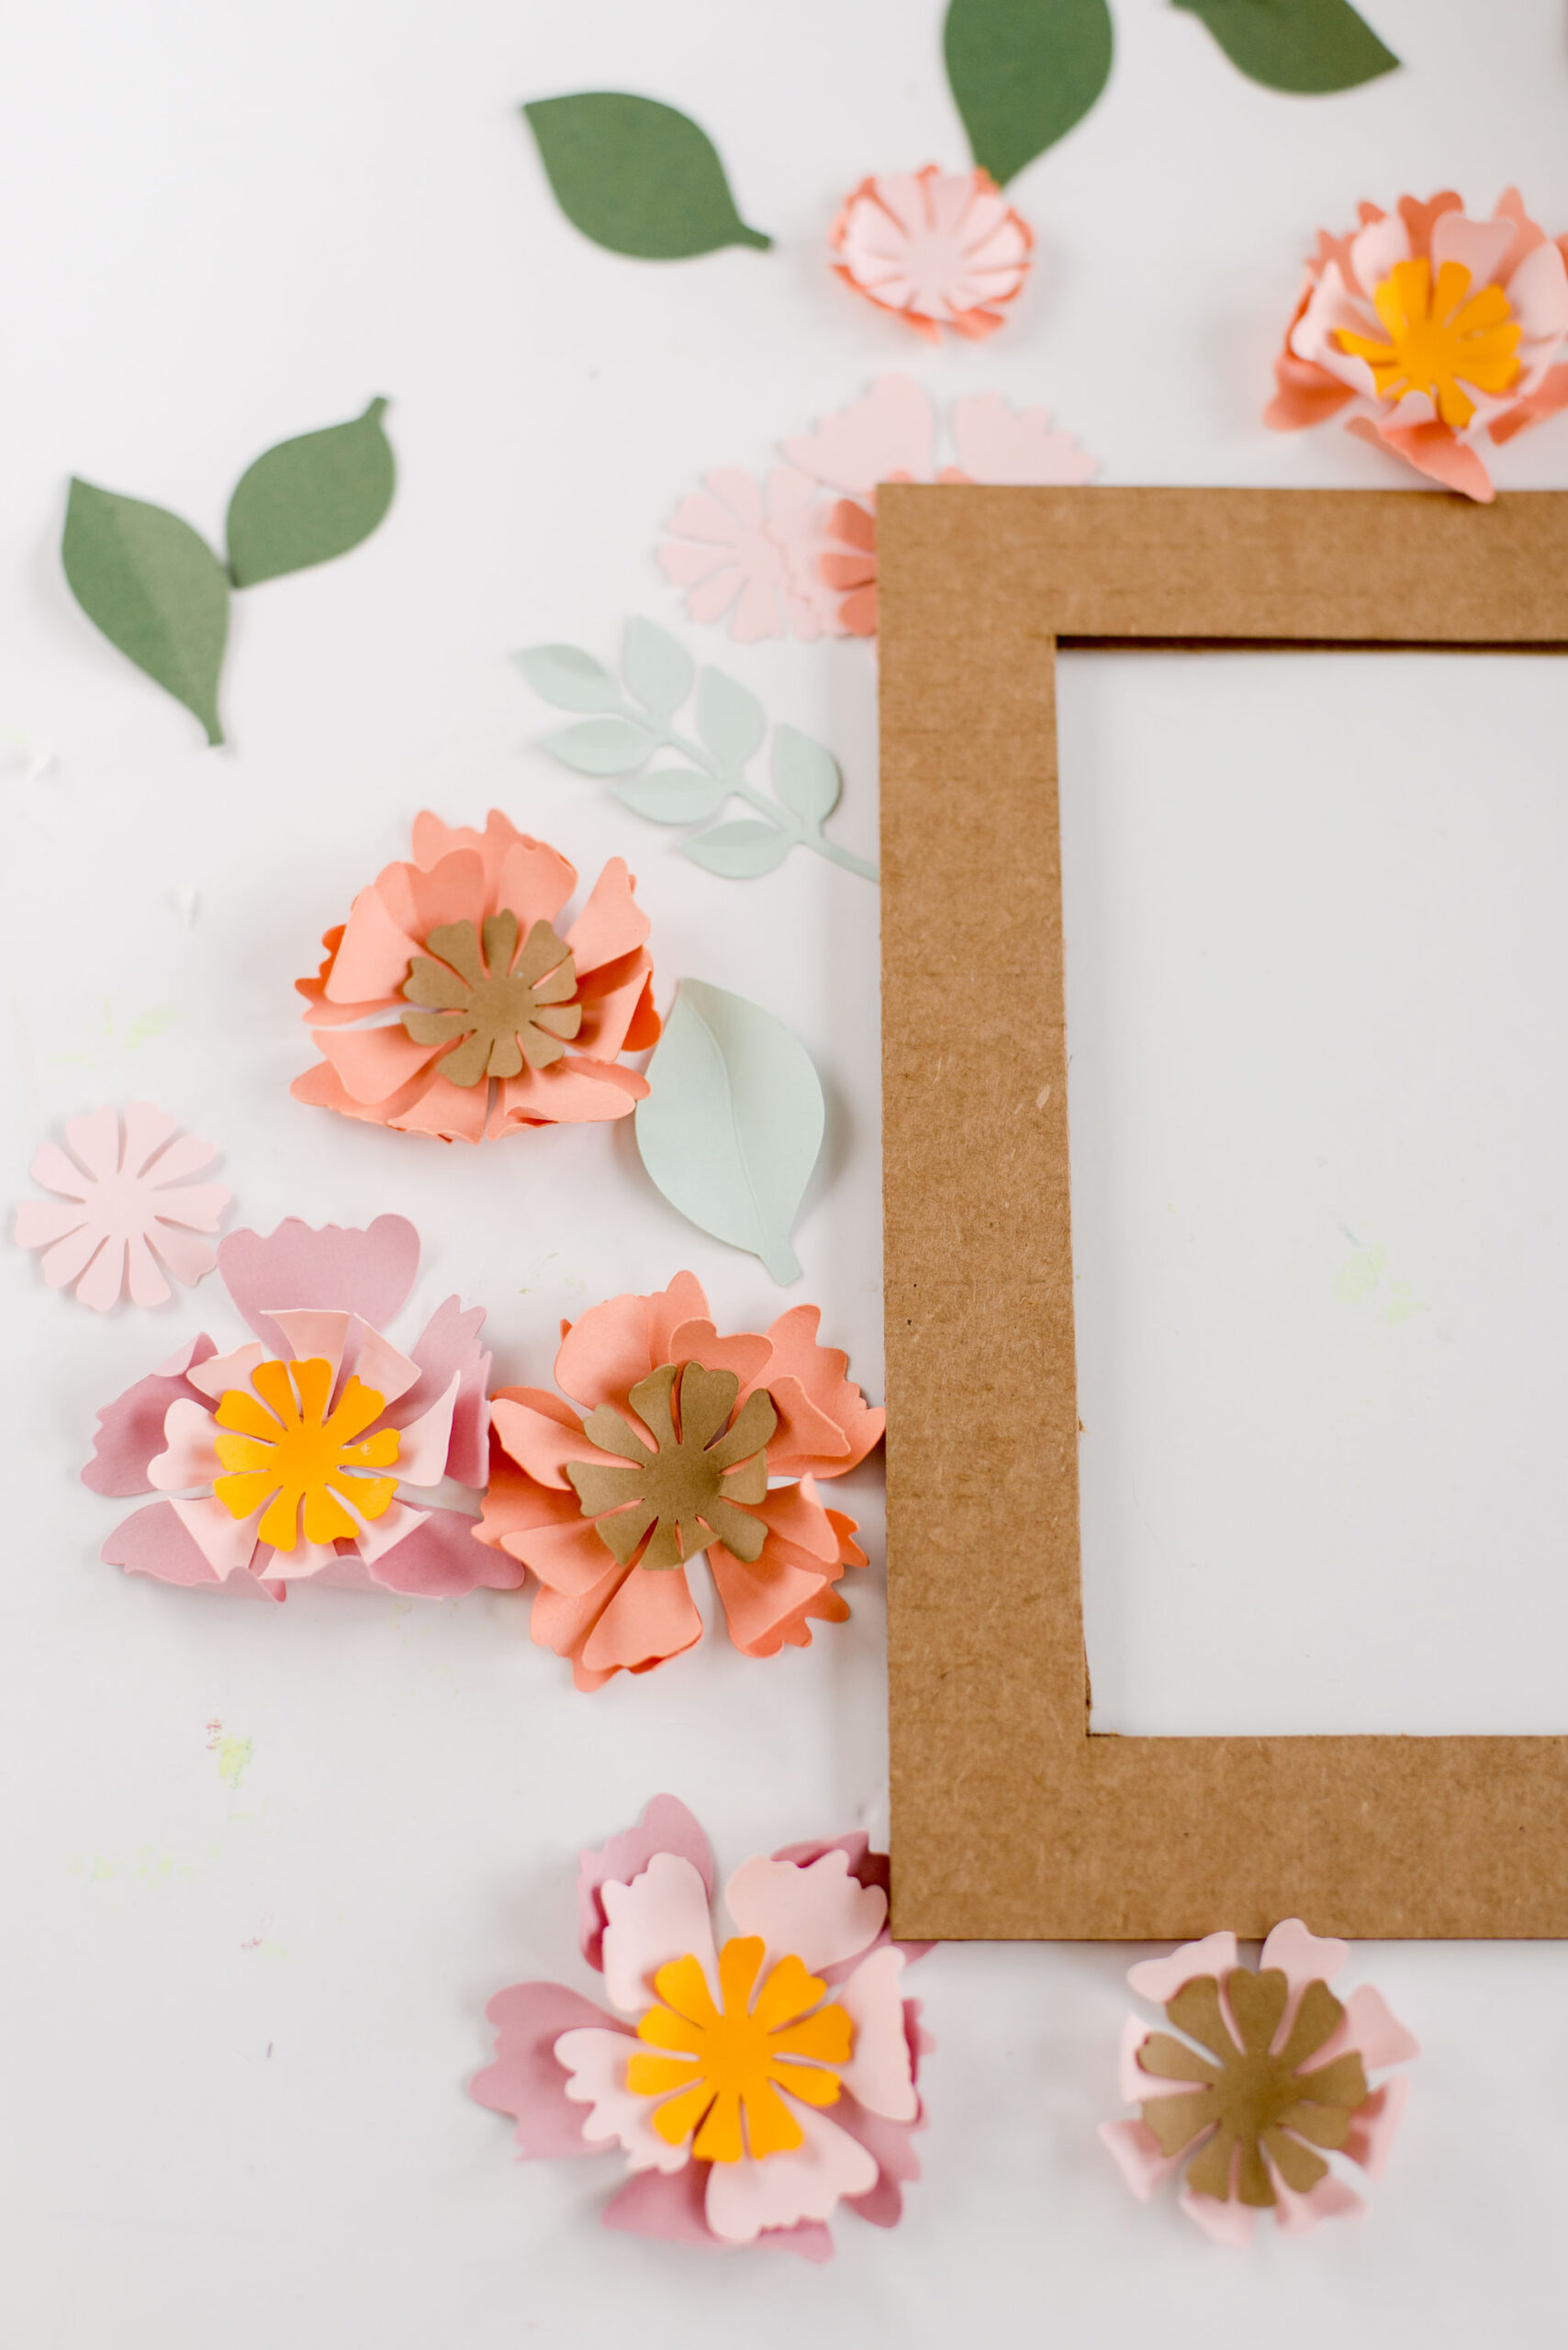
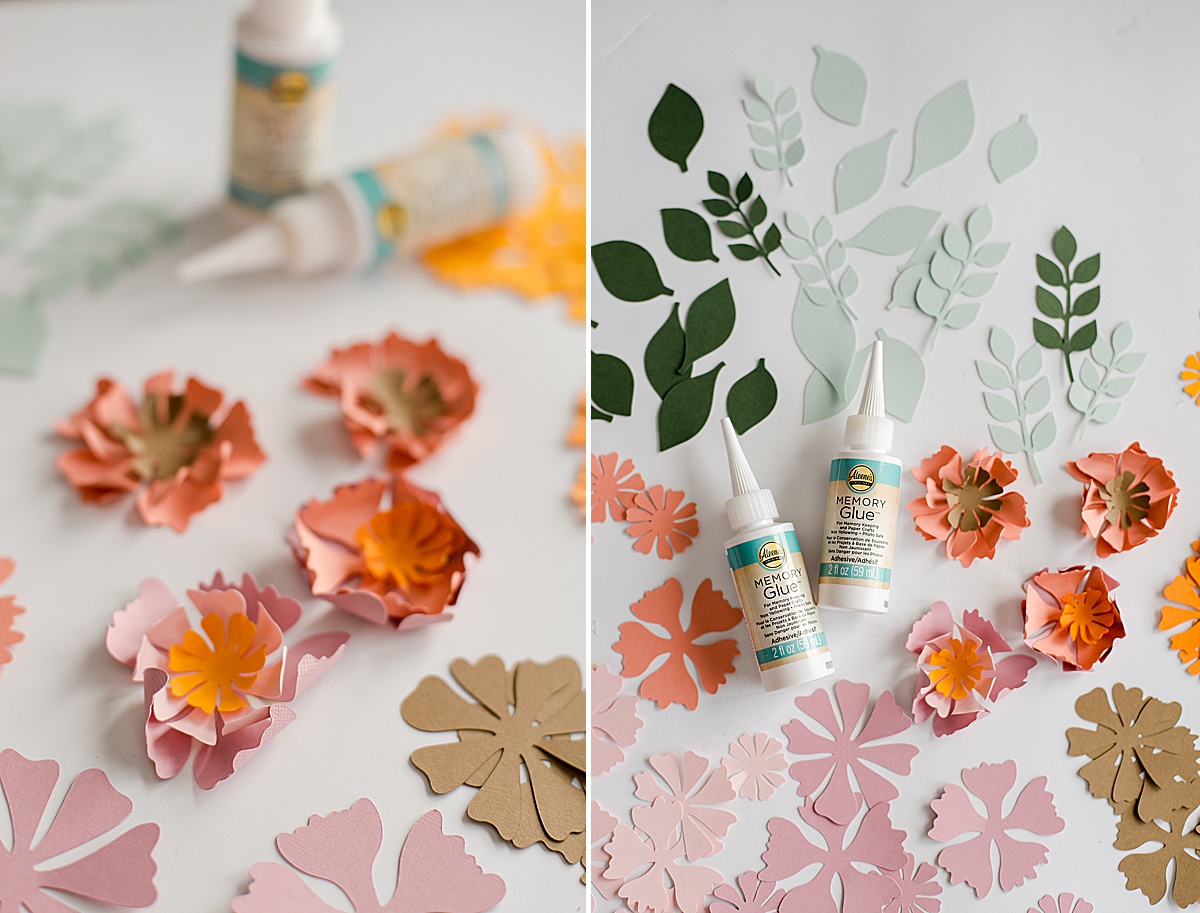
To make this frame, you will need to gather a handful of supplies (listed below) buuuuut the coolest part about this project (to me) is that you don’t have to purchase a fancy frame to simply “decorate”, this entire project is made from scratch. Because Aleene’s memory glue is made for paper crafting and longevity, you can use paper products from the ground up for the frame with no need to “hide” or protect the materials behind glass! Cool, eh? 🙂
ANNND double whammy is that you now have another DIY project for those delivery cardboard boxes that have been coming for months and months)! 🙂
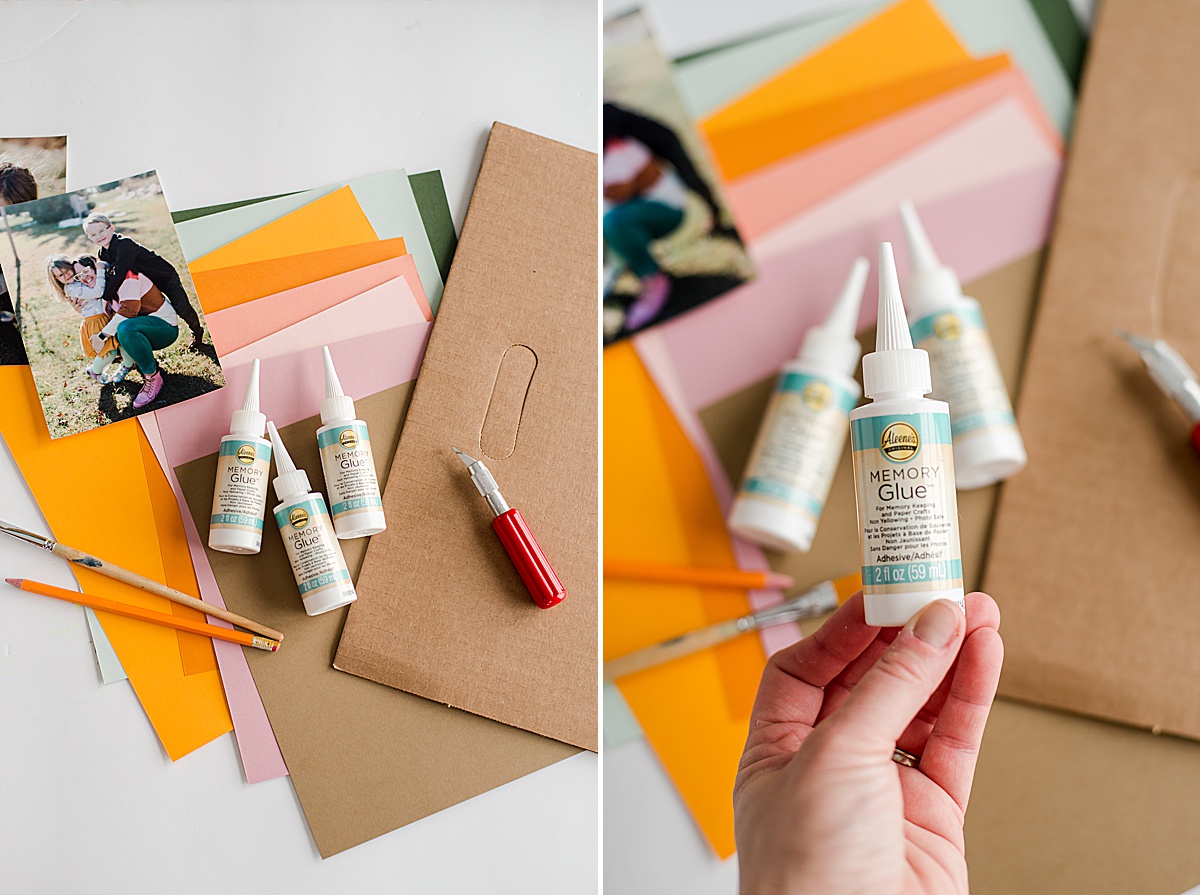
MATERIALS:
- Cardstock paper in your fave floral colors
- Aleene’s memory glue
- A Cardboard box (preferably the side without writing)
- Scoring tool or pen cap for scoring and creasing
- Scissors or straight edge + ruler for cutting cardboard
- Your favorite photograph(s)
- FREE SVG files for flowers HERE
INSTRUCTIONS:
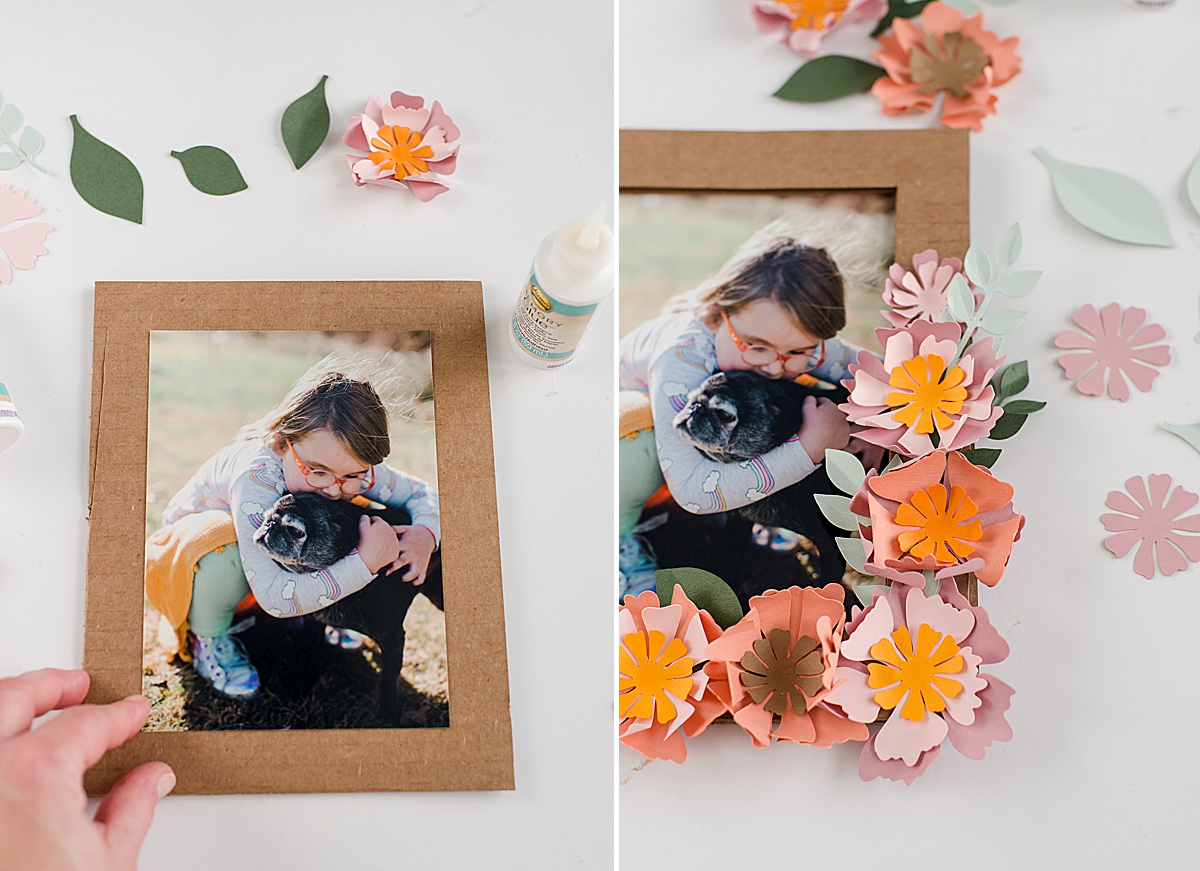
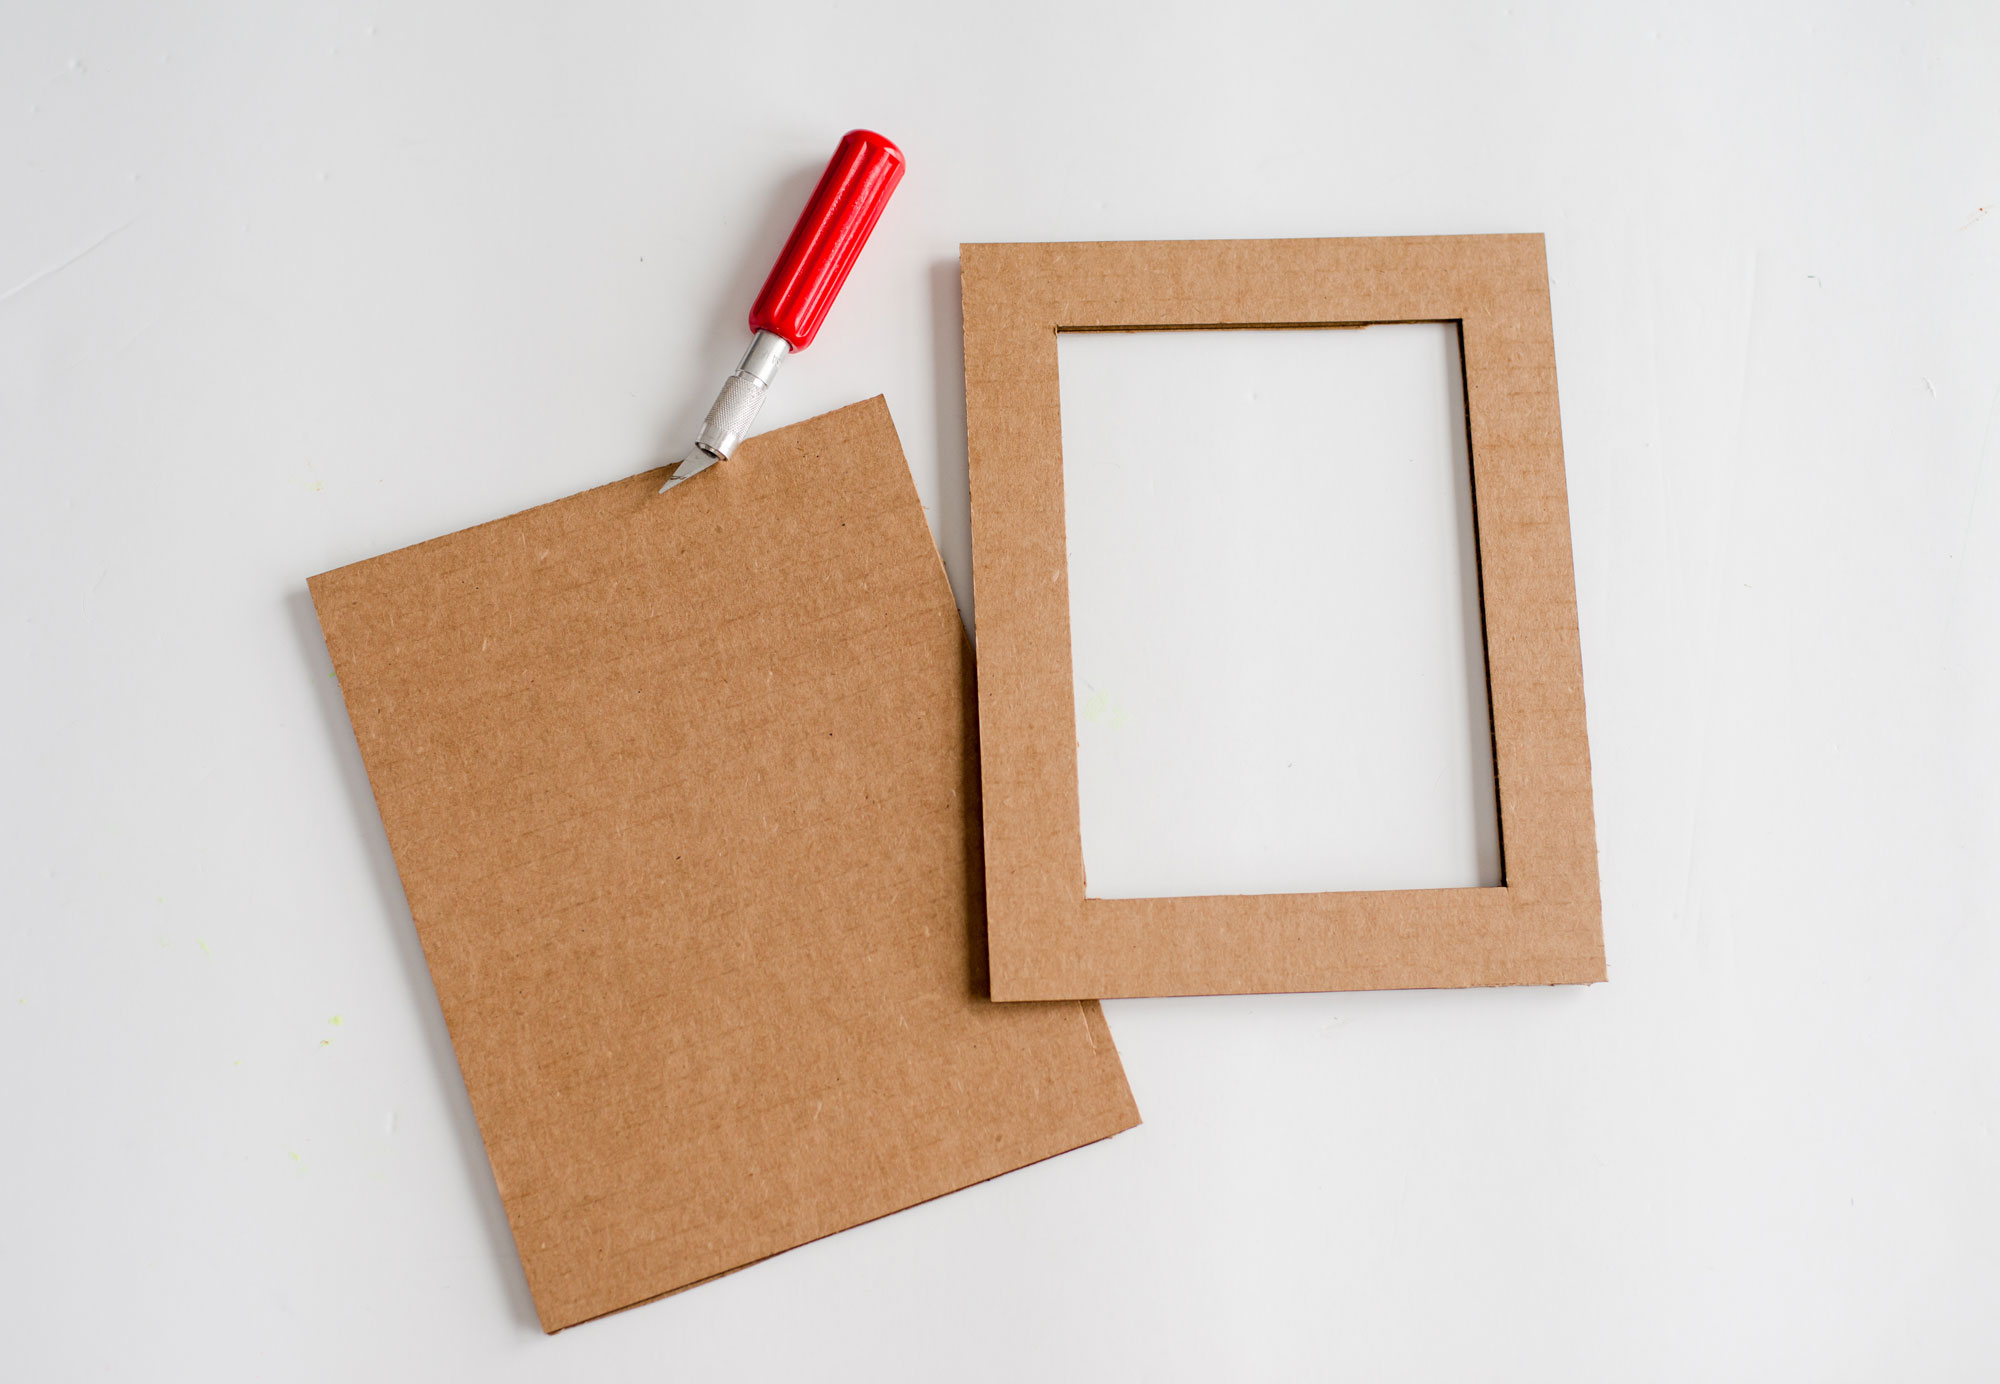
- Cut out the frame for your photograph. You can make this any shape that you’d like. I cut out a “back” which was sized 7” x 9” and a “front” which was sized 7” x 9” with a (slightly smaller than a) 5” x 7” opening (for my 5×7 photo) . You do not need to have 2 pieces, but I wanted it to look as “frame-ish” as possible 🙂
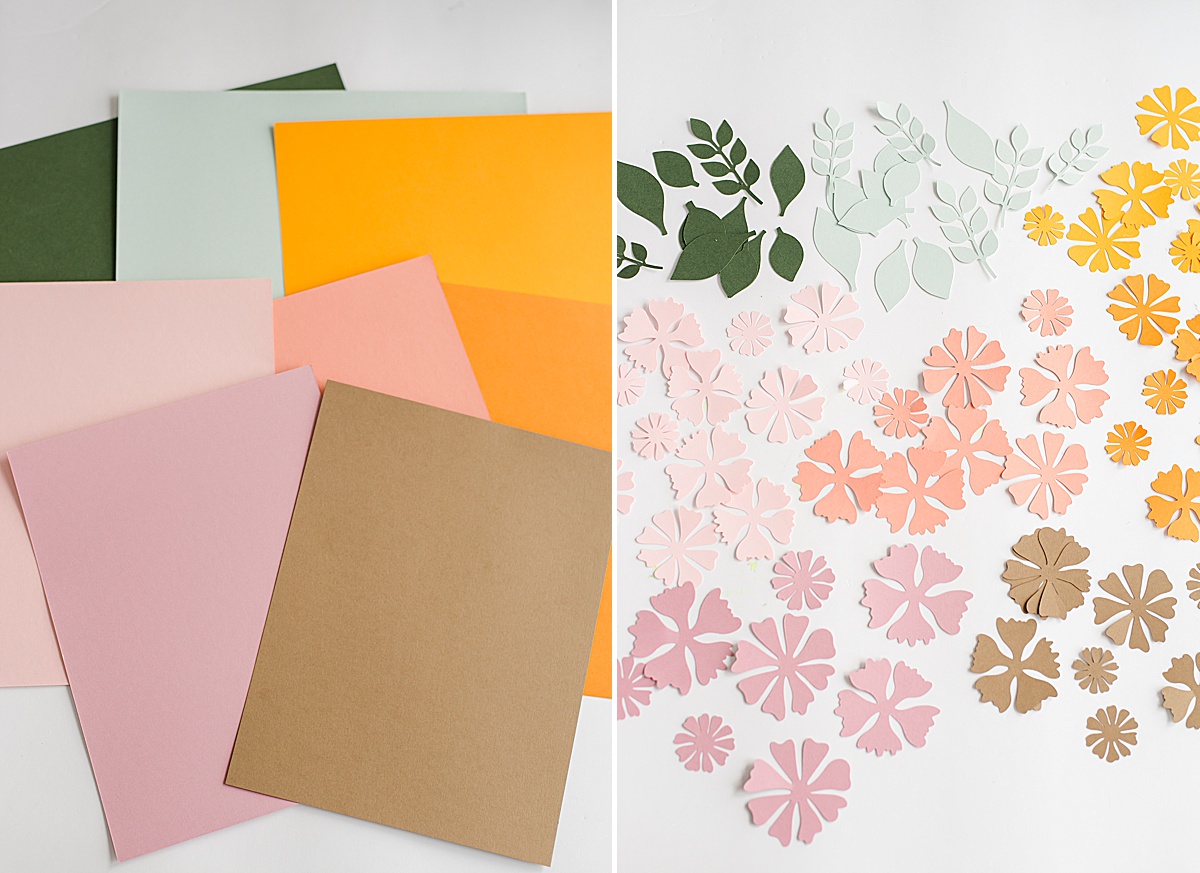
2. Download the SVG file (HERE) for the flowers and cut out as many as desired. The flower SVG file has 3 layers per one finished flower (you will see the variation on the shapes, but you will need 1 of each shape to complete one flower). You can size these as large or small as you’d like within your design space (just be sure you are sizing all 3 layers at the same time so that they cut out equal with one another).
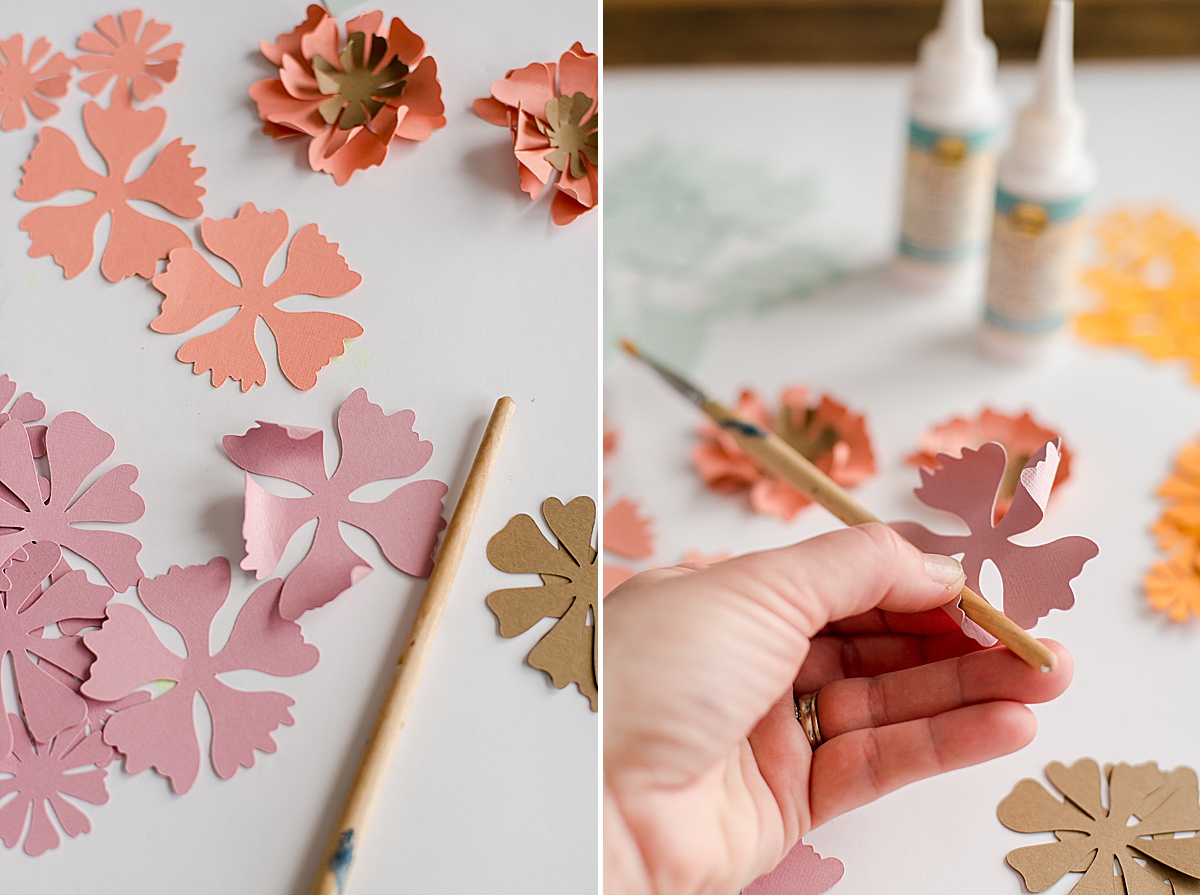
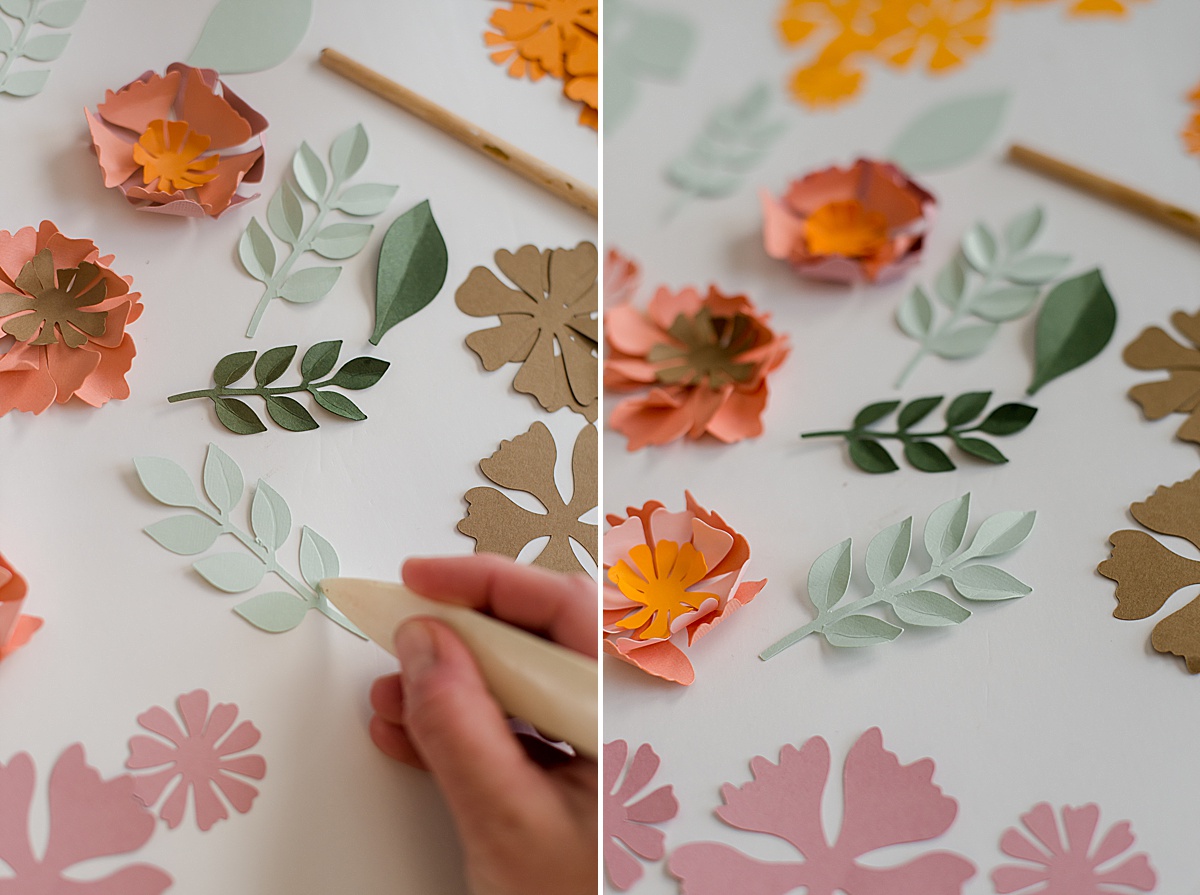
3. Prep flowers and petals by giving them shape. Using a pen or paintbrush, begin to roll the edges of the flowers to give them movement and life. Then with the leaves, score (gently) and then crease the center most sections gently to give the leaves shape as well.
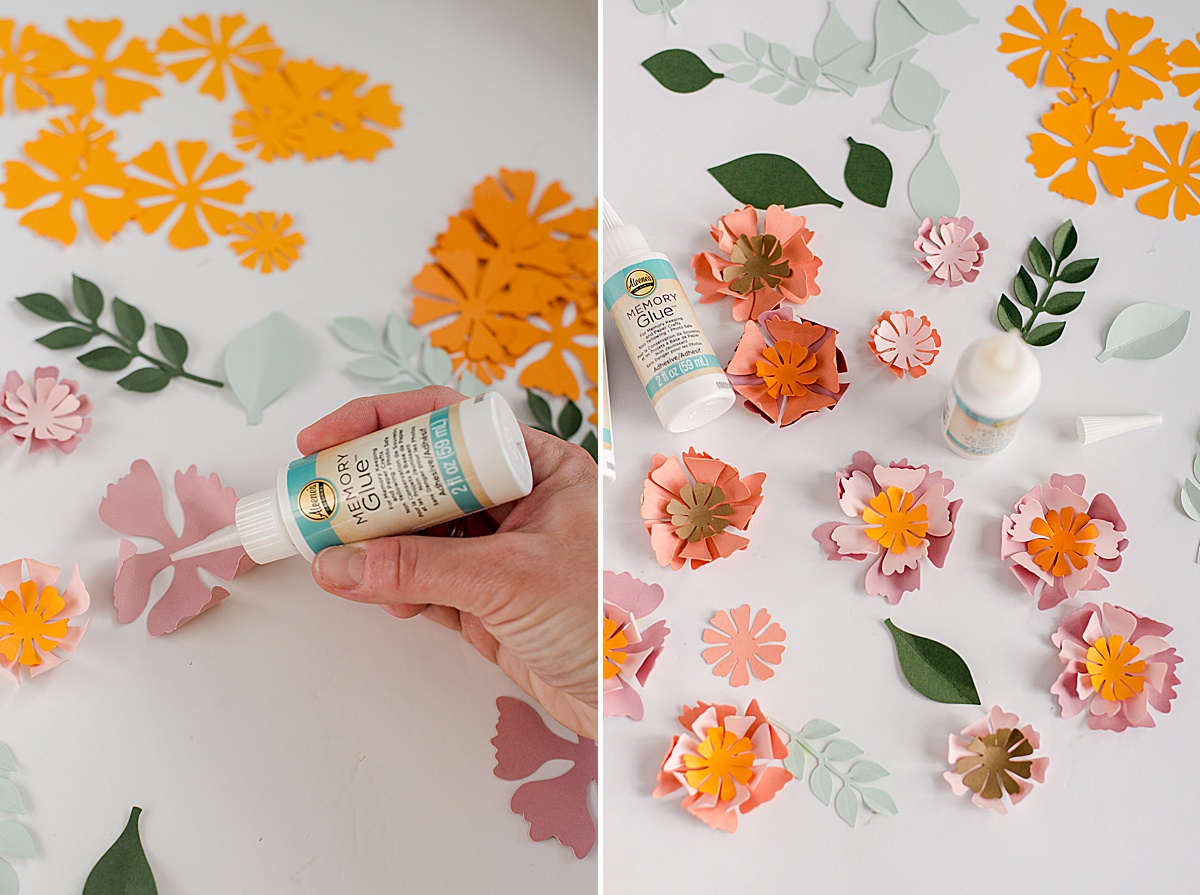
4. Begin glueing everything together! 🙂
This is the fun part! You can start to glue your flowers together by working largest layer to smallest. And then begin arranging and glueing your flowers onto your frame. You may need to cut out more leaves or flowers as you continue arranging to make the frame full + happy! 🙂
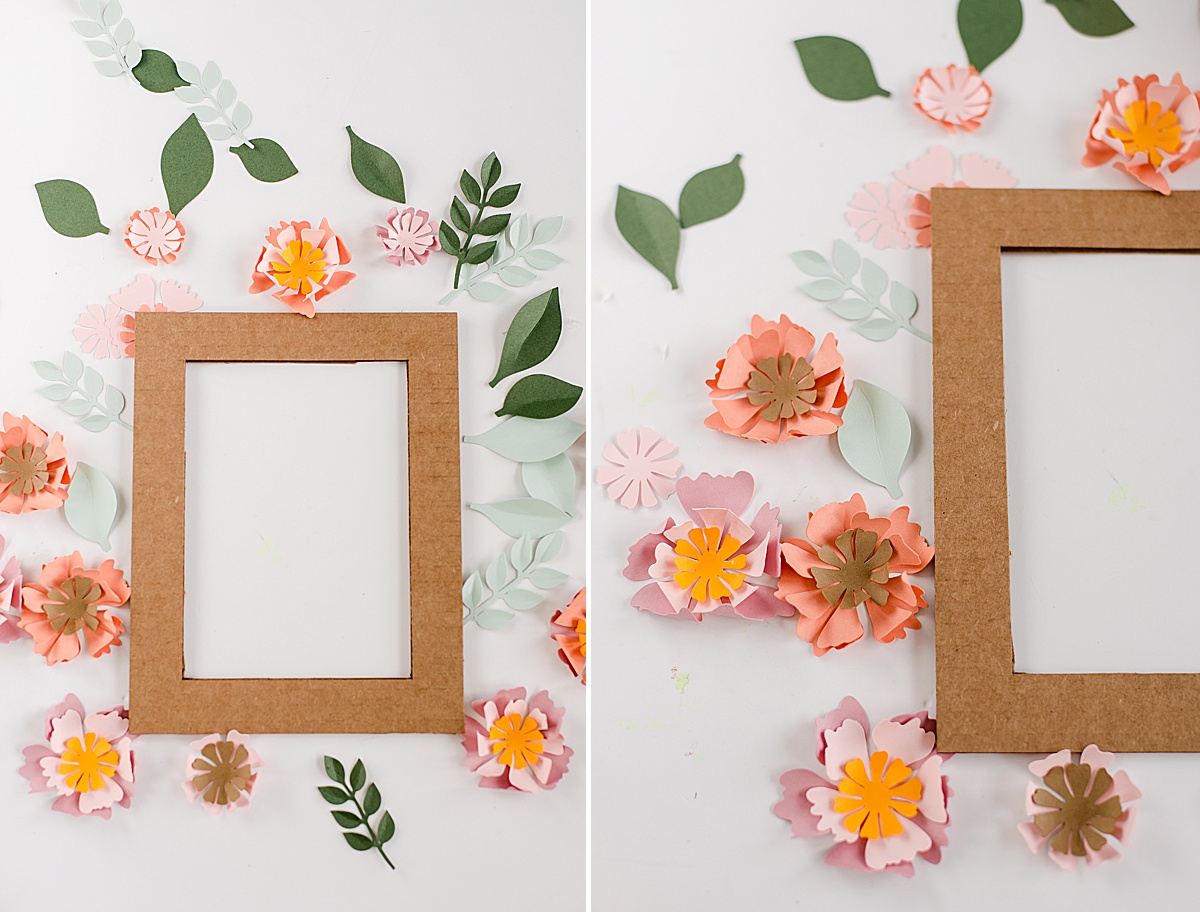
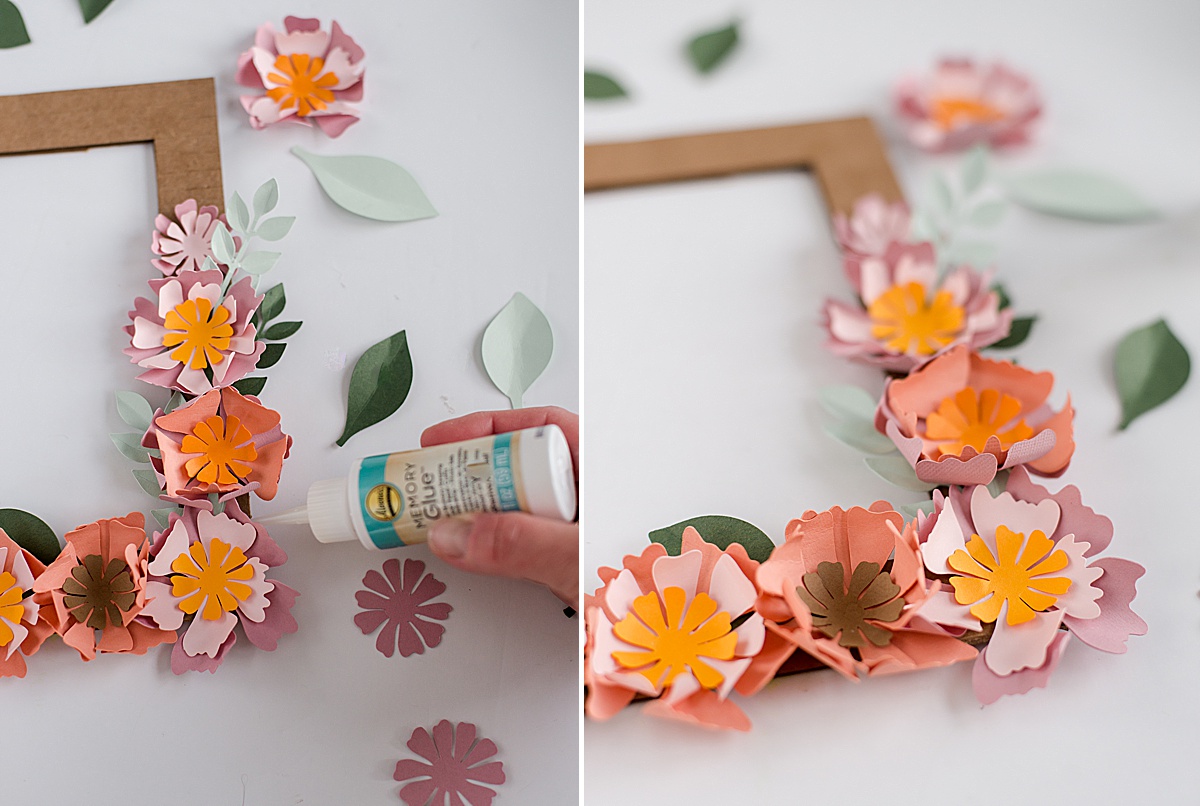
5. Finish your project by adding your photograph directly onto your cardboard + adding the optional front! 🙂
NOTE: Feel free to add an optional “desk” kick to the back so that the frame can stand up on a desk. And you may use removable adhesive strips to attach the frame to a gallery wall!
