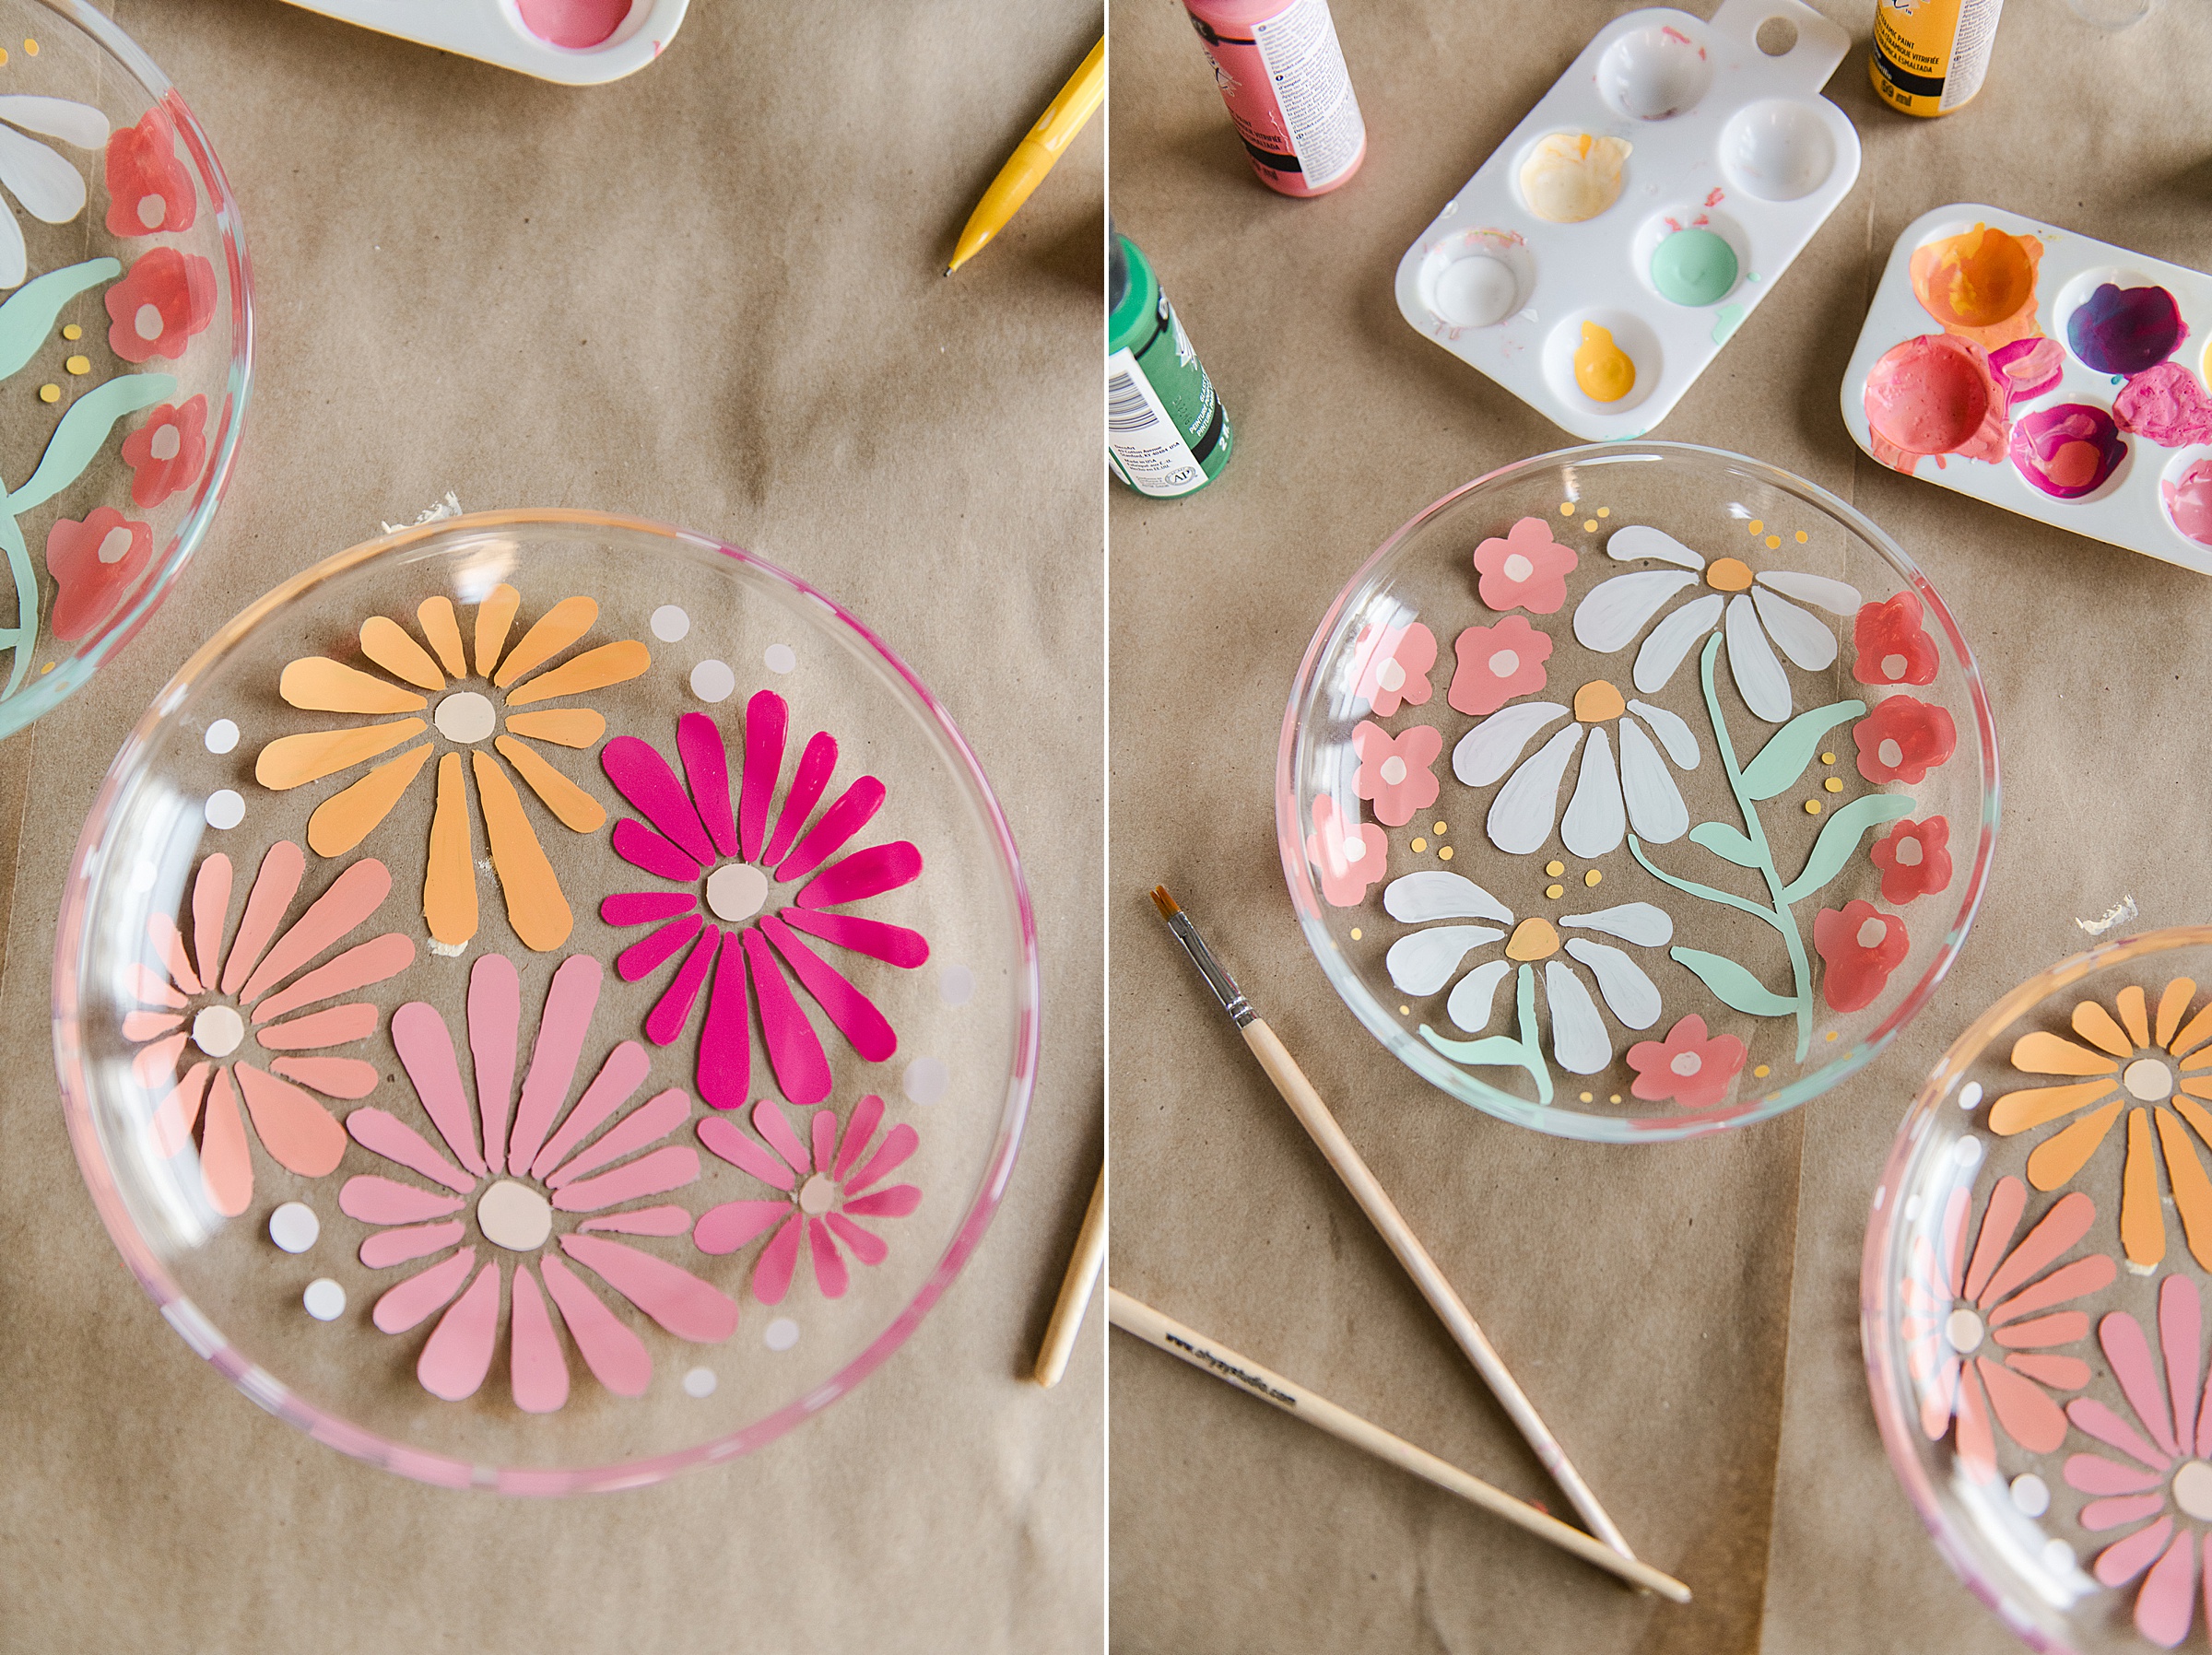
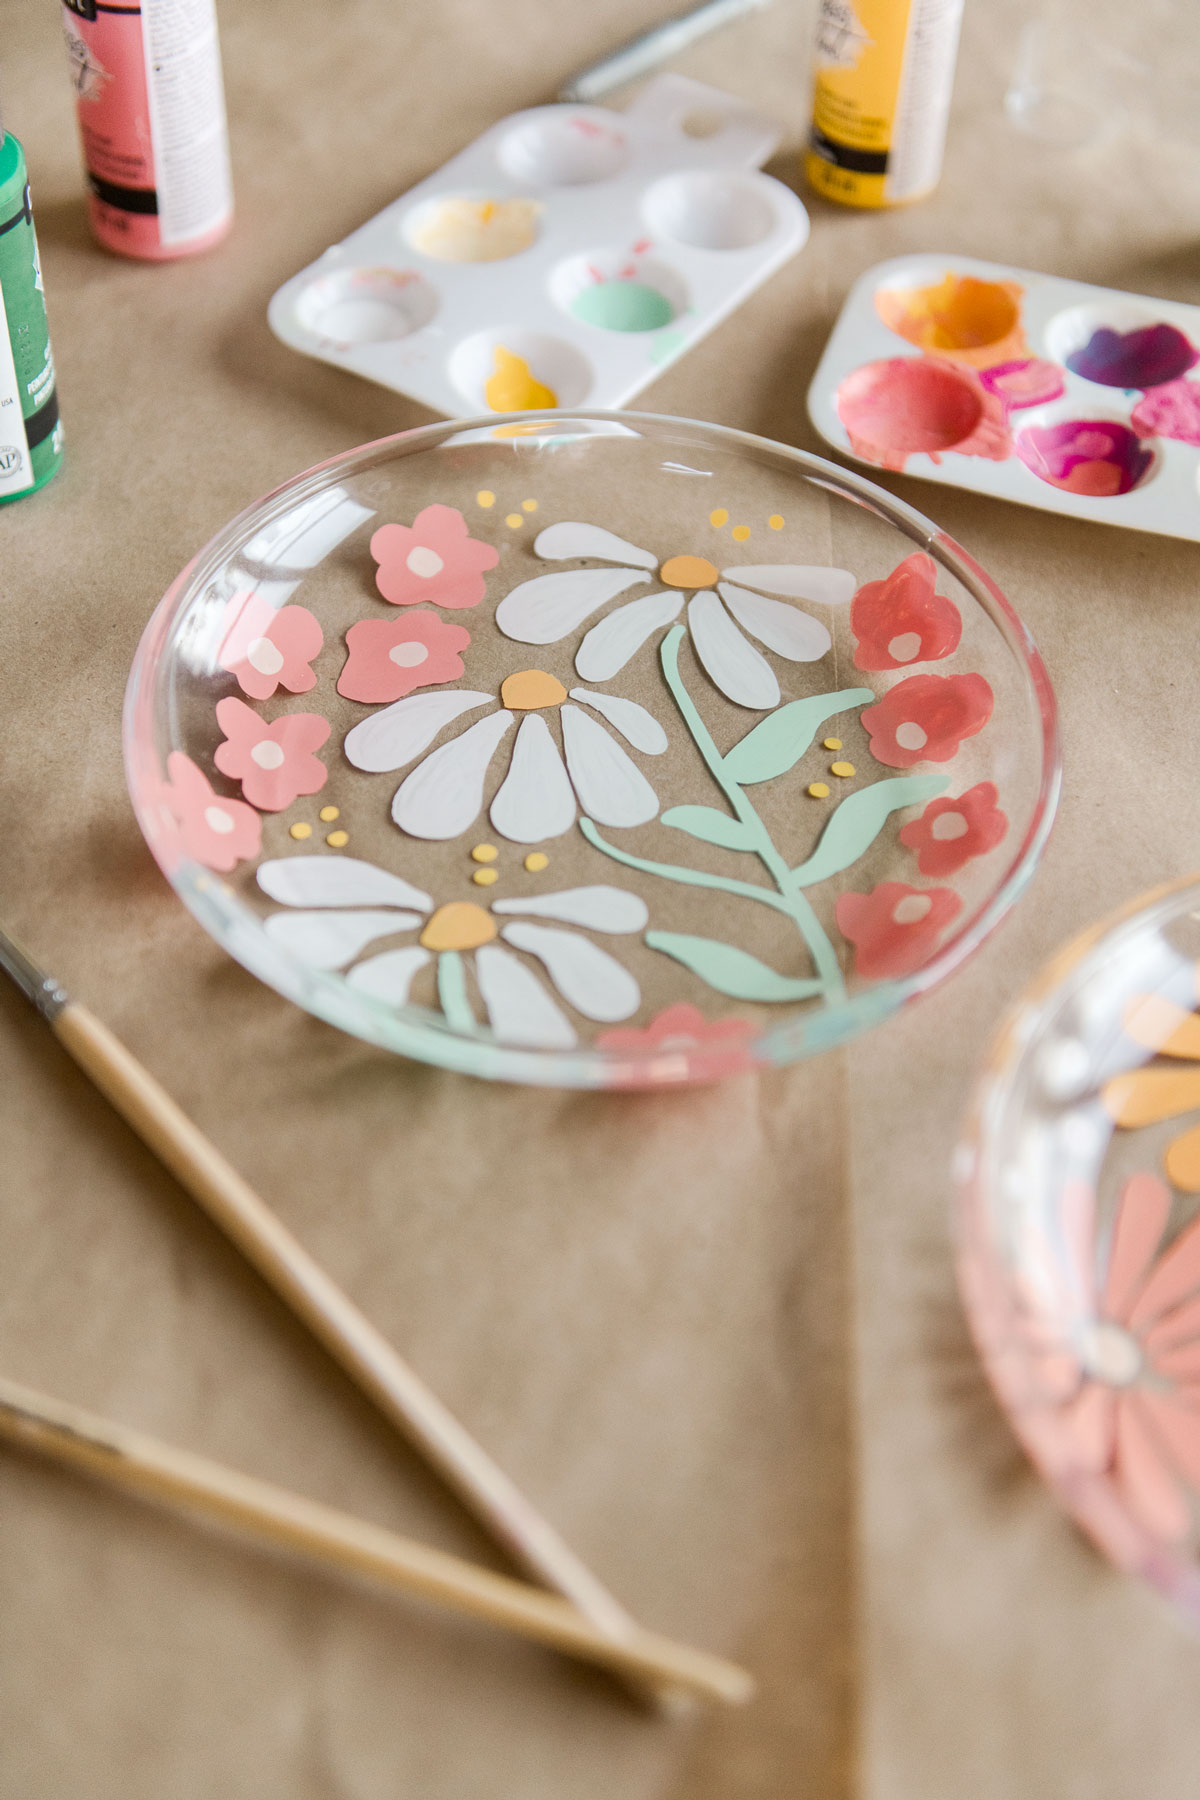
Painted glass plate DIY!
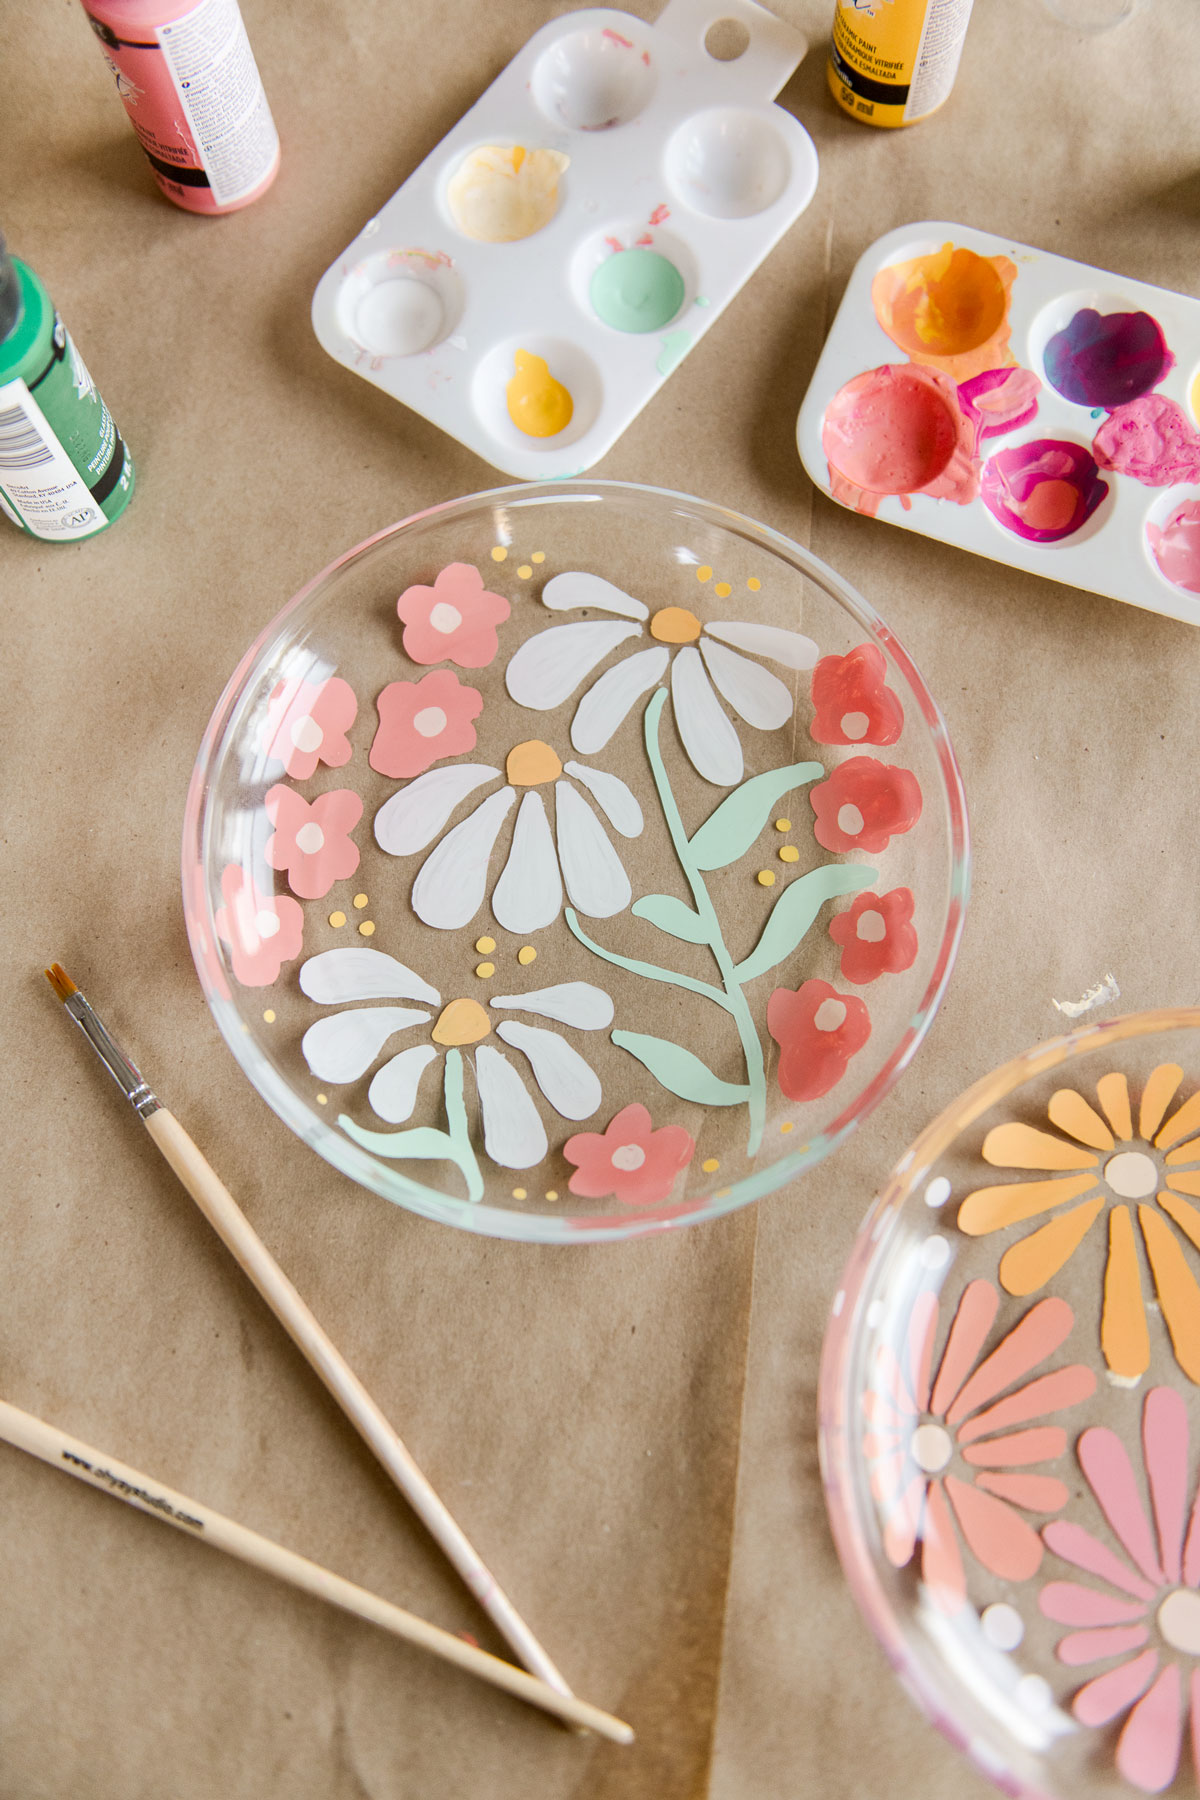
OK! this DIY is *surely* kid and adult friendly for this summer or spring or fall (or heck, even for some holiday gift giving ideas too)! It’s simple and has endless ways to customize with colors and pattern and wording or anything you want your beautiful painted plates to be!! 🙂
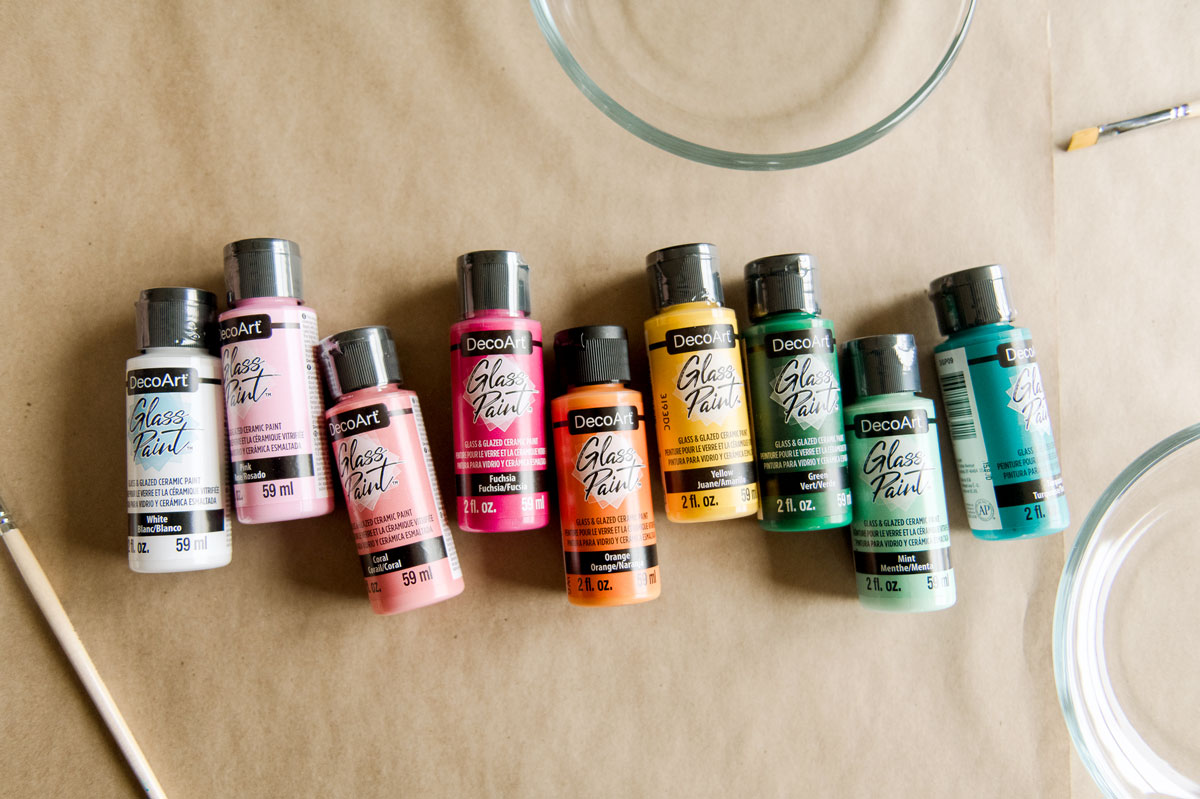
MATERIALS:
- Some clear glass plates in whatever size you want (I chose smaller dessert plates for easier transport…link HERE)
- Some Glass paint (I used Deco Art brand in various colors!)
- paint brushes in various sizes
- water cup, paper towel, covering for work surface
- optional paper and pencil for designing your pattern 🙂
- An oven and cooling rack 🙂
INSTRUCTIONS:
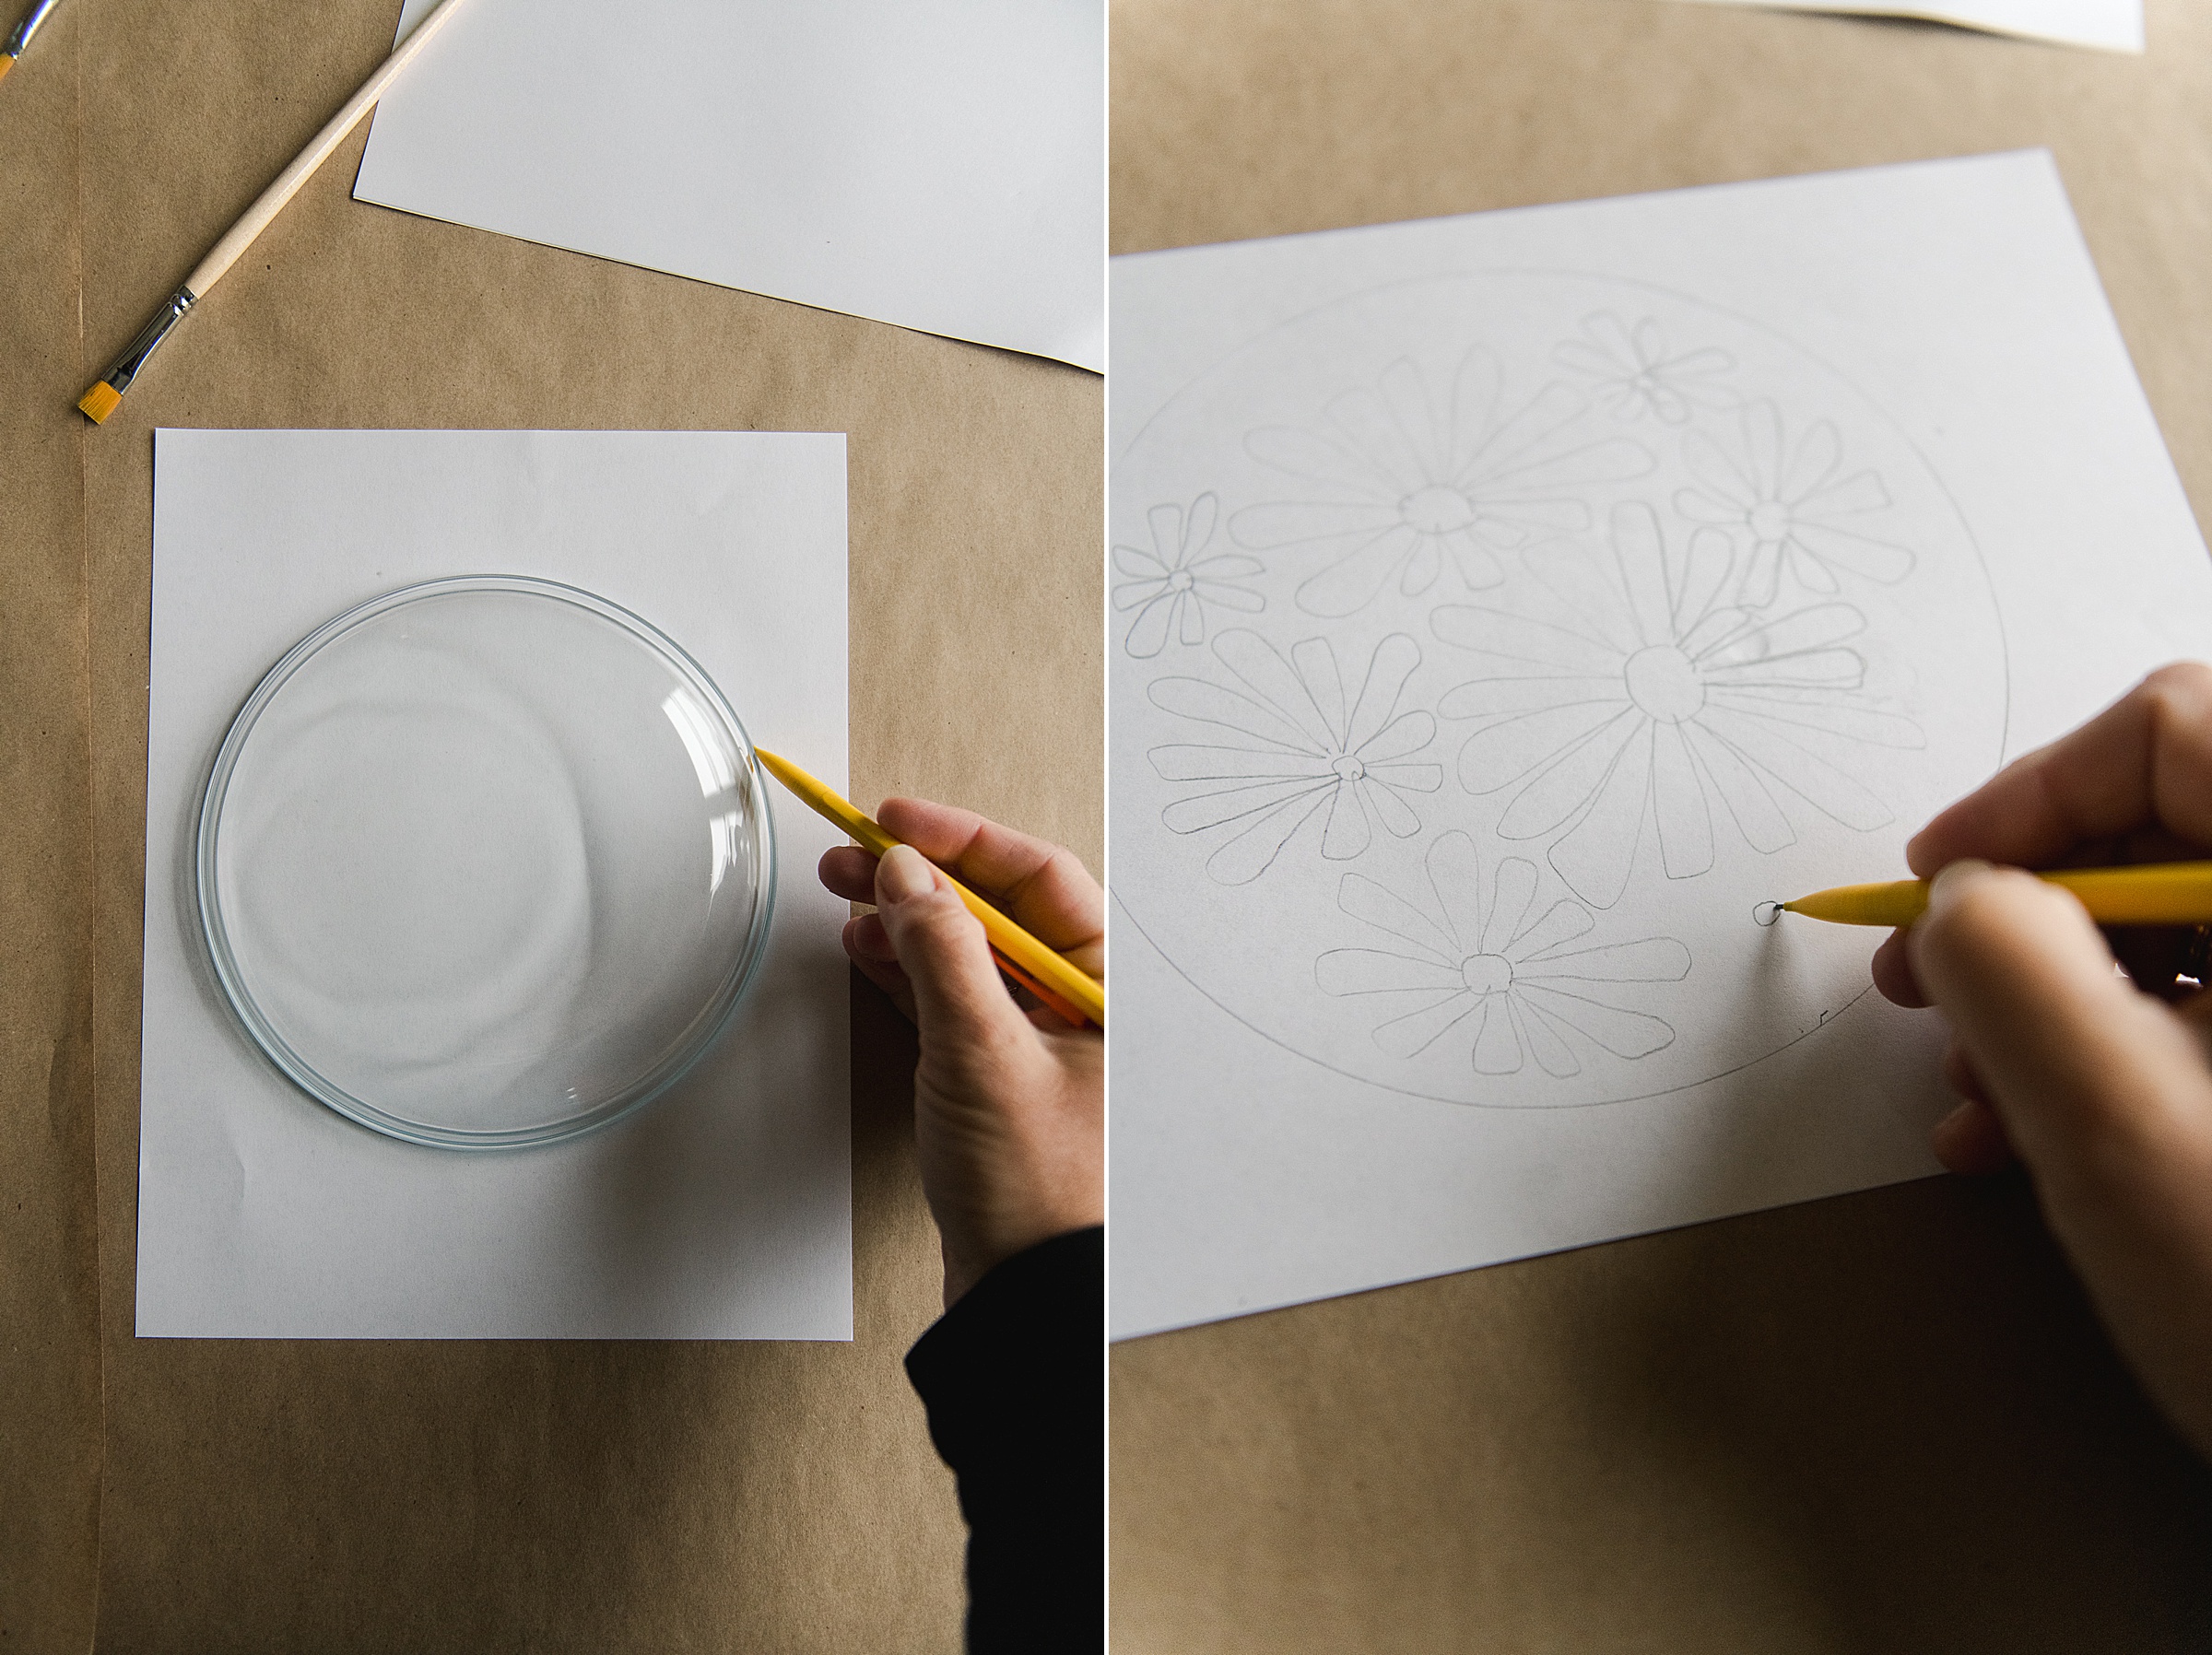
1. Map out what you want on your plates. If it helps, you can trace your plate size onto a piece of paper and begin to just doodle your flowers, fruit slices, dots, shapes or whatever you have planned for your painted dessert plates.
I love doing this because it gives me the time to get all of my ideas out of my head onto paper and start to actually visualize what I want my finished plate to look like 🙂
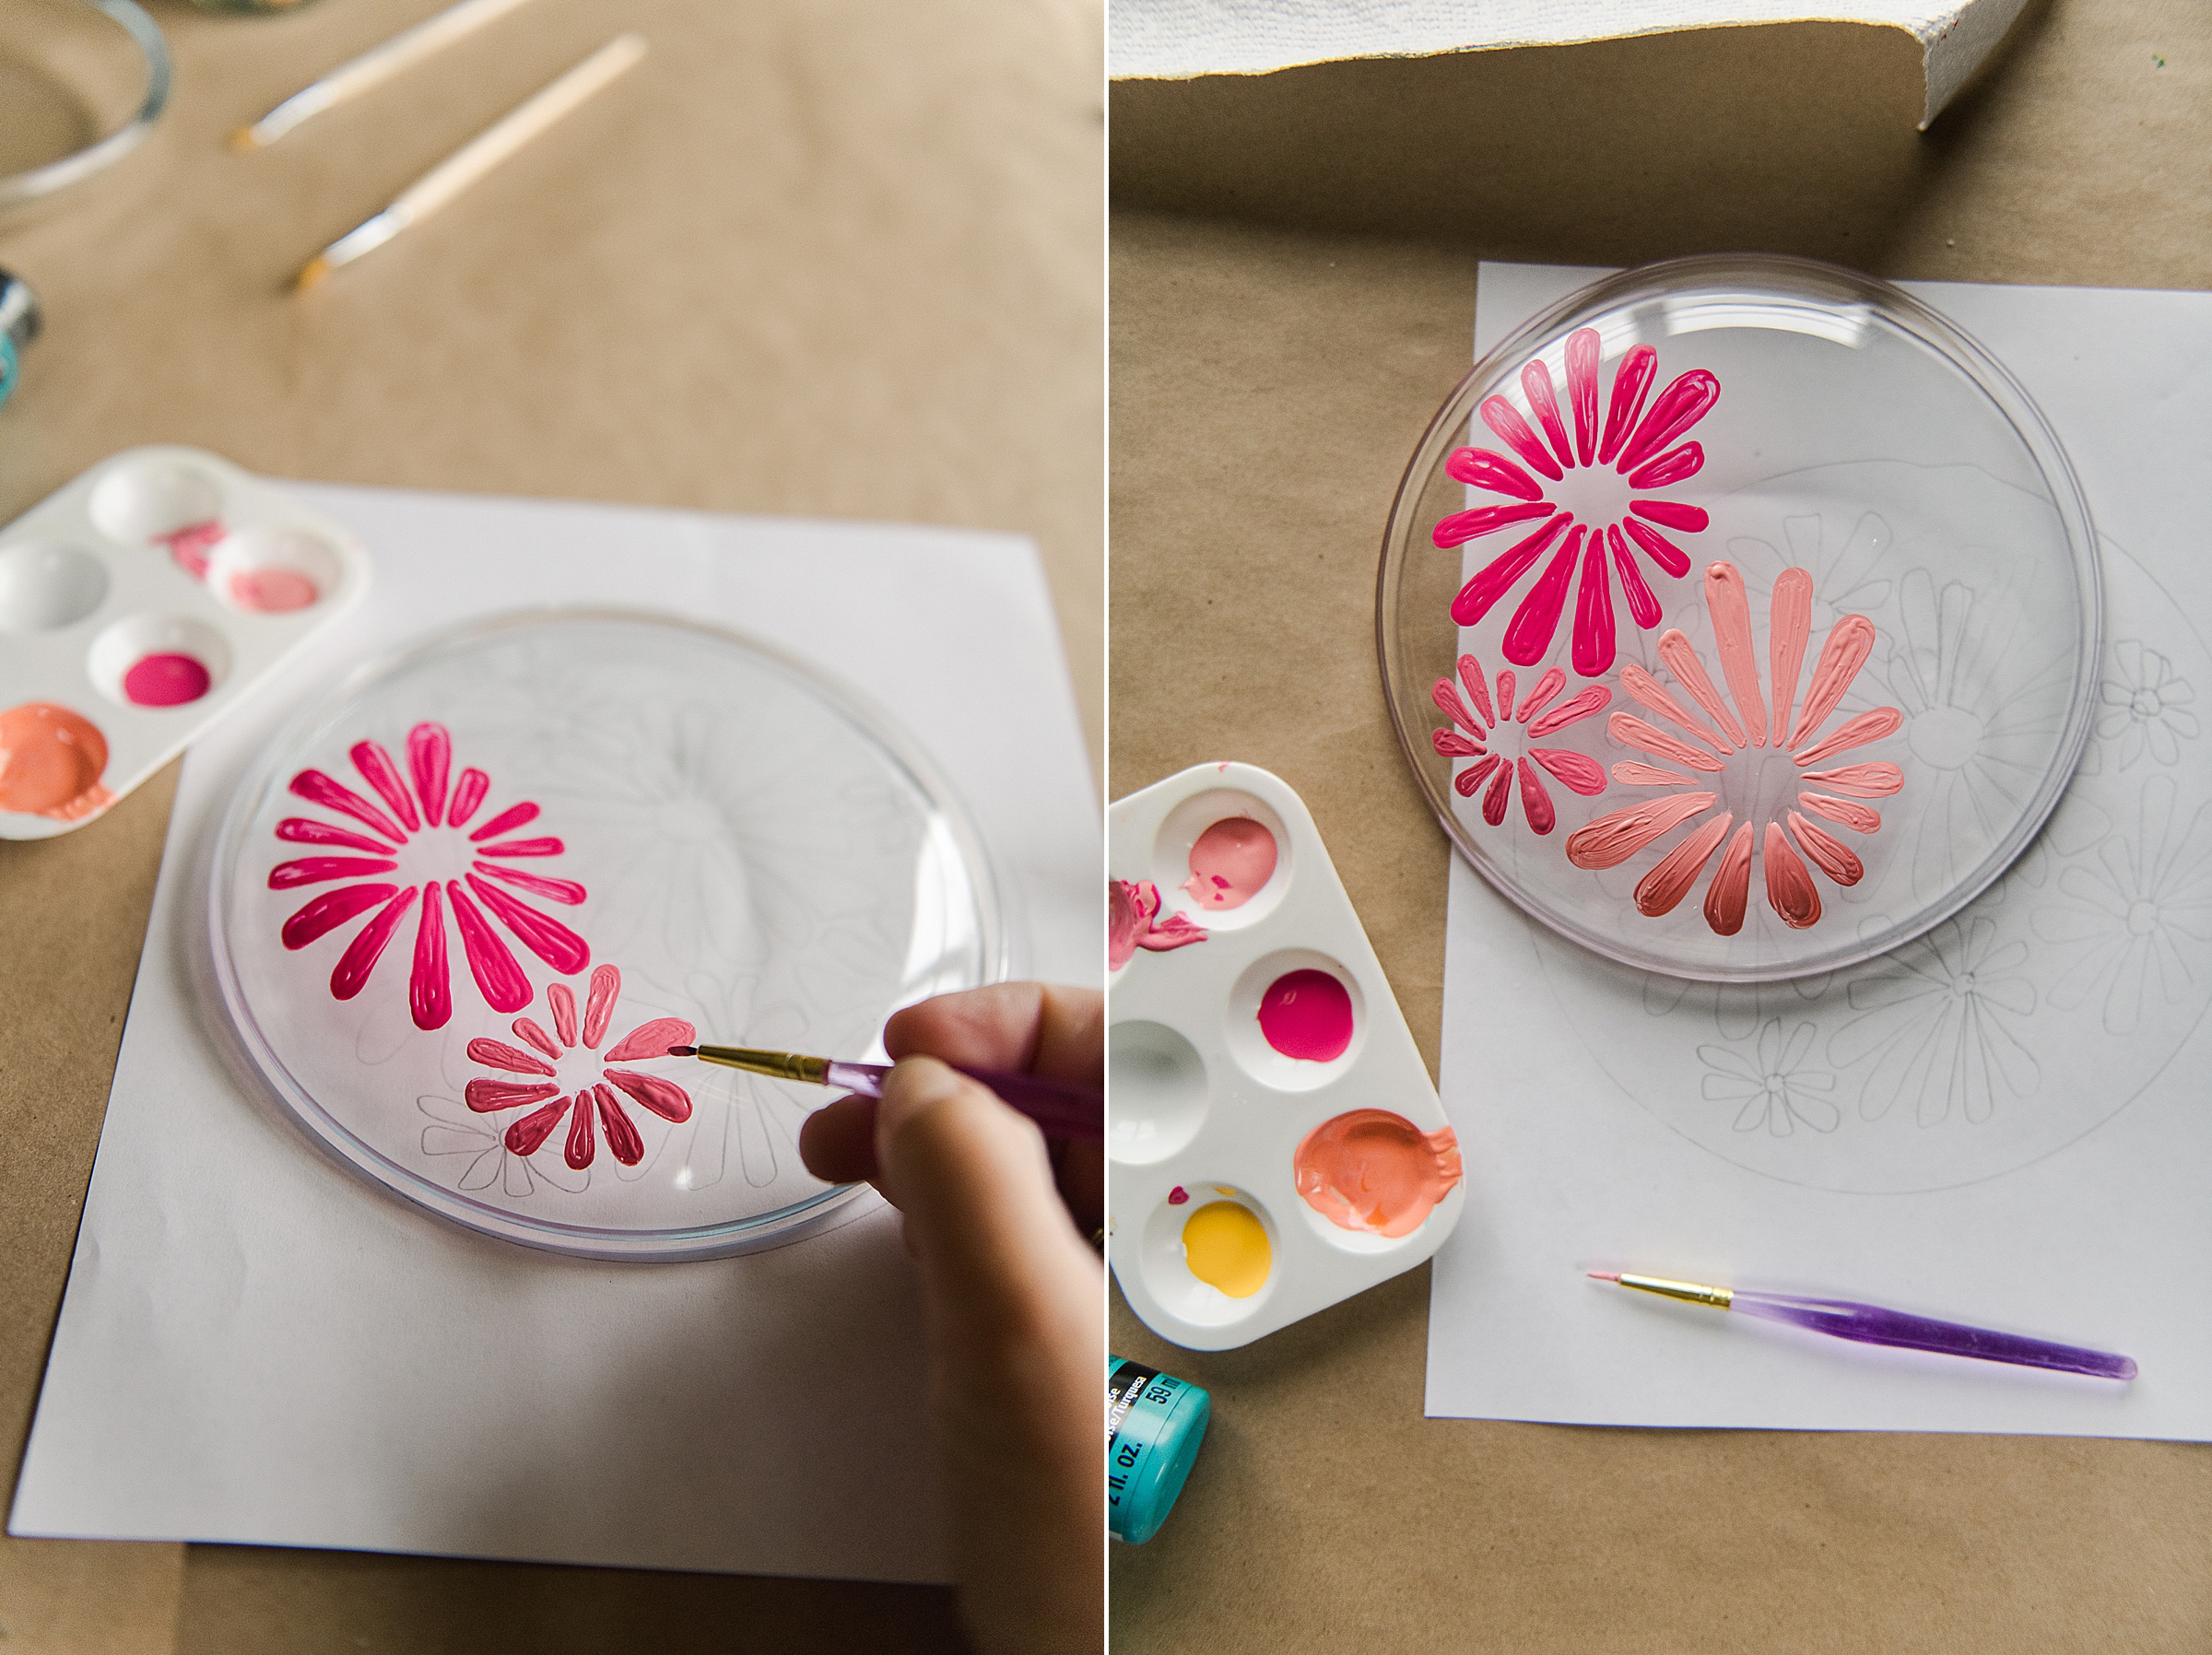
2. BEGIN PAINTING! 🙂
We are painting “BACKWARDS” or in reverse, because we are painting the UNDERSIDE of the plate. We don’t want this paint touching food (even though it *should* be enameled onto the glass after we are completed…..but just to be safe and keep our design looking beautiful).
So, think of what would be your “last steps” of a traditional painting, and do those first.
For instance, with the smaller florals besides the white daisies, I painted the inner center circles (the light yellow) and let that dry before painting the pink floral pedal blobs 🙂
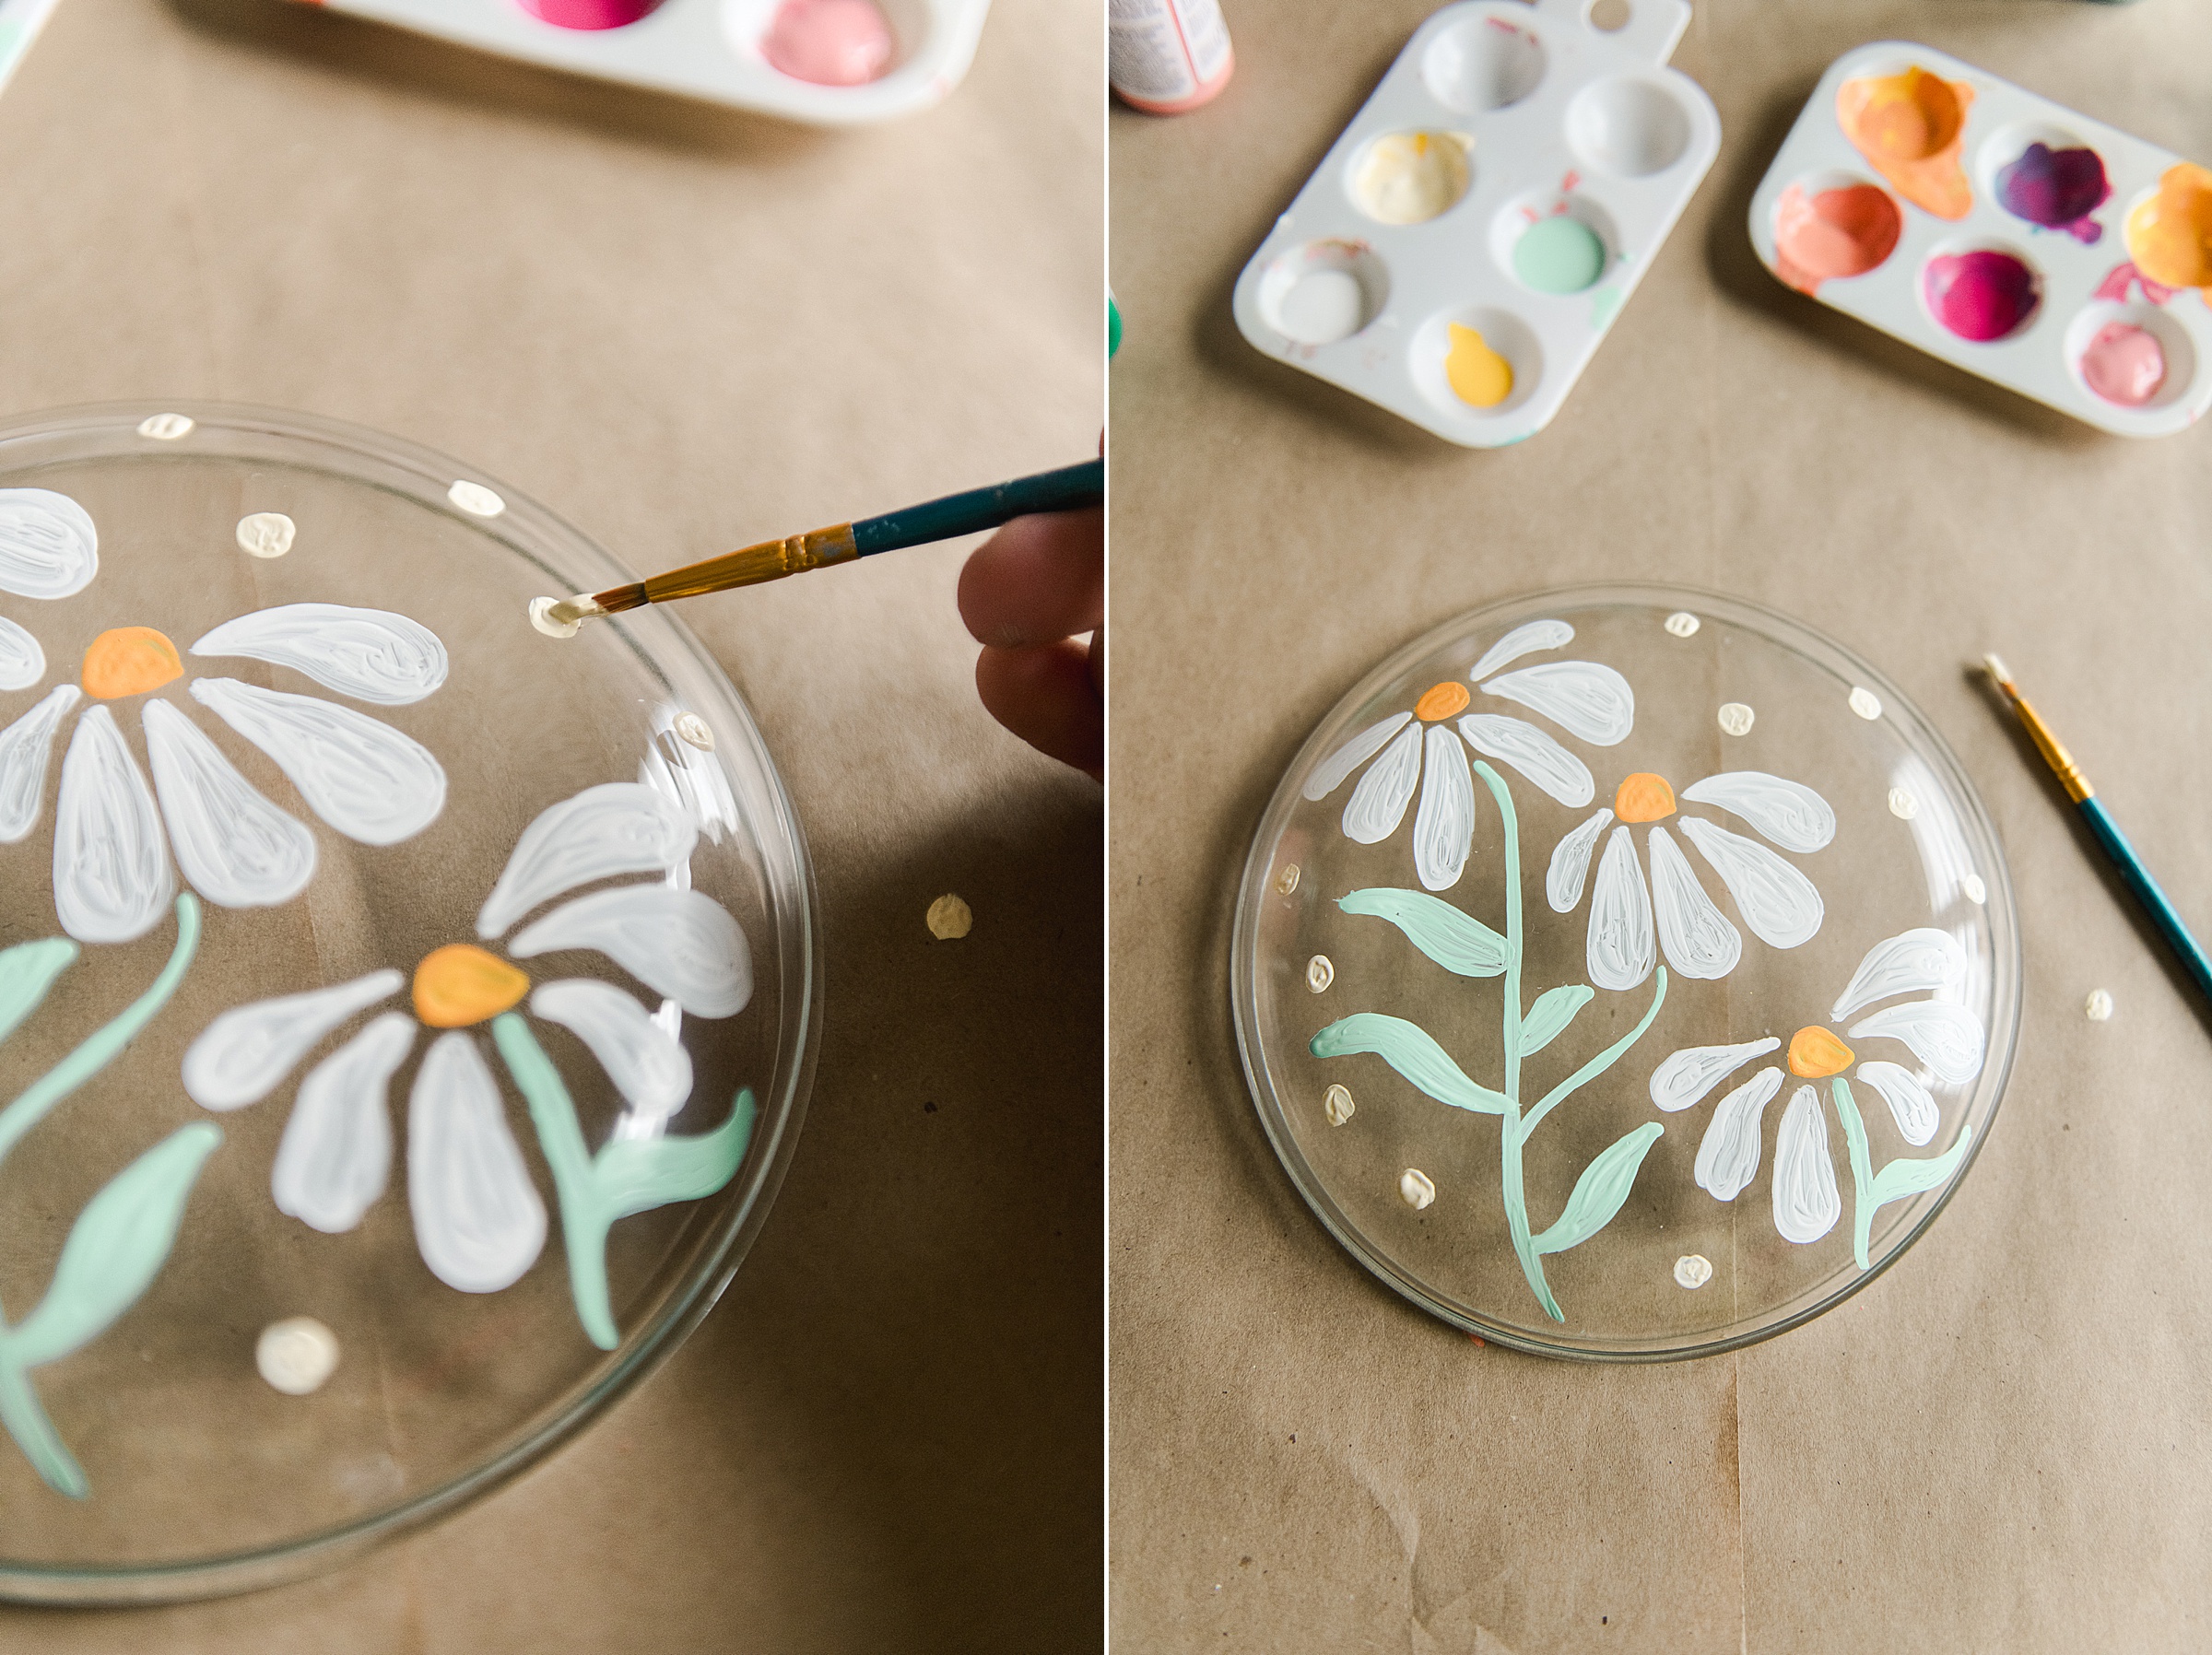
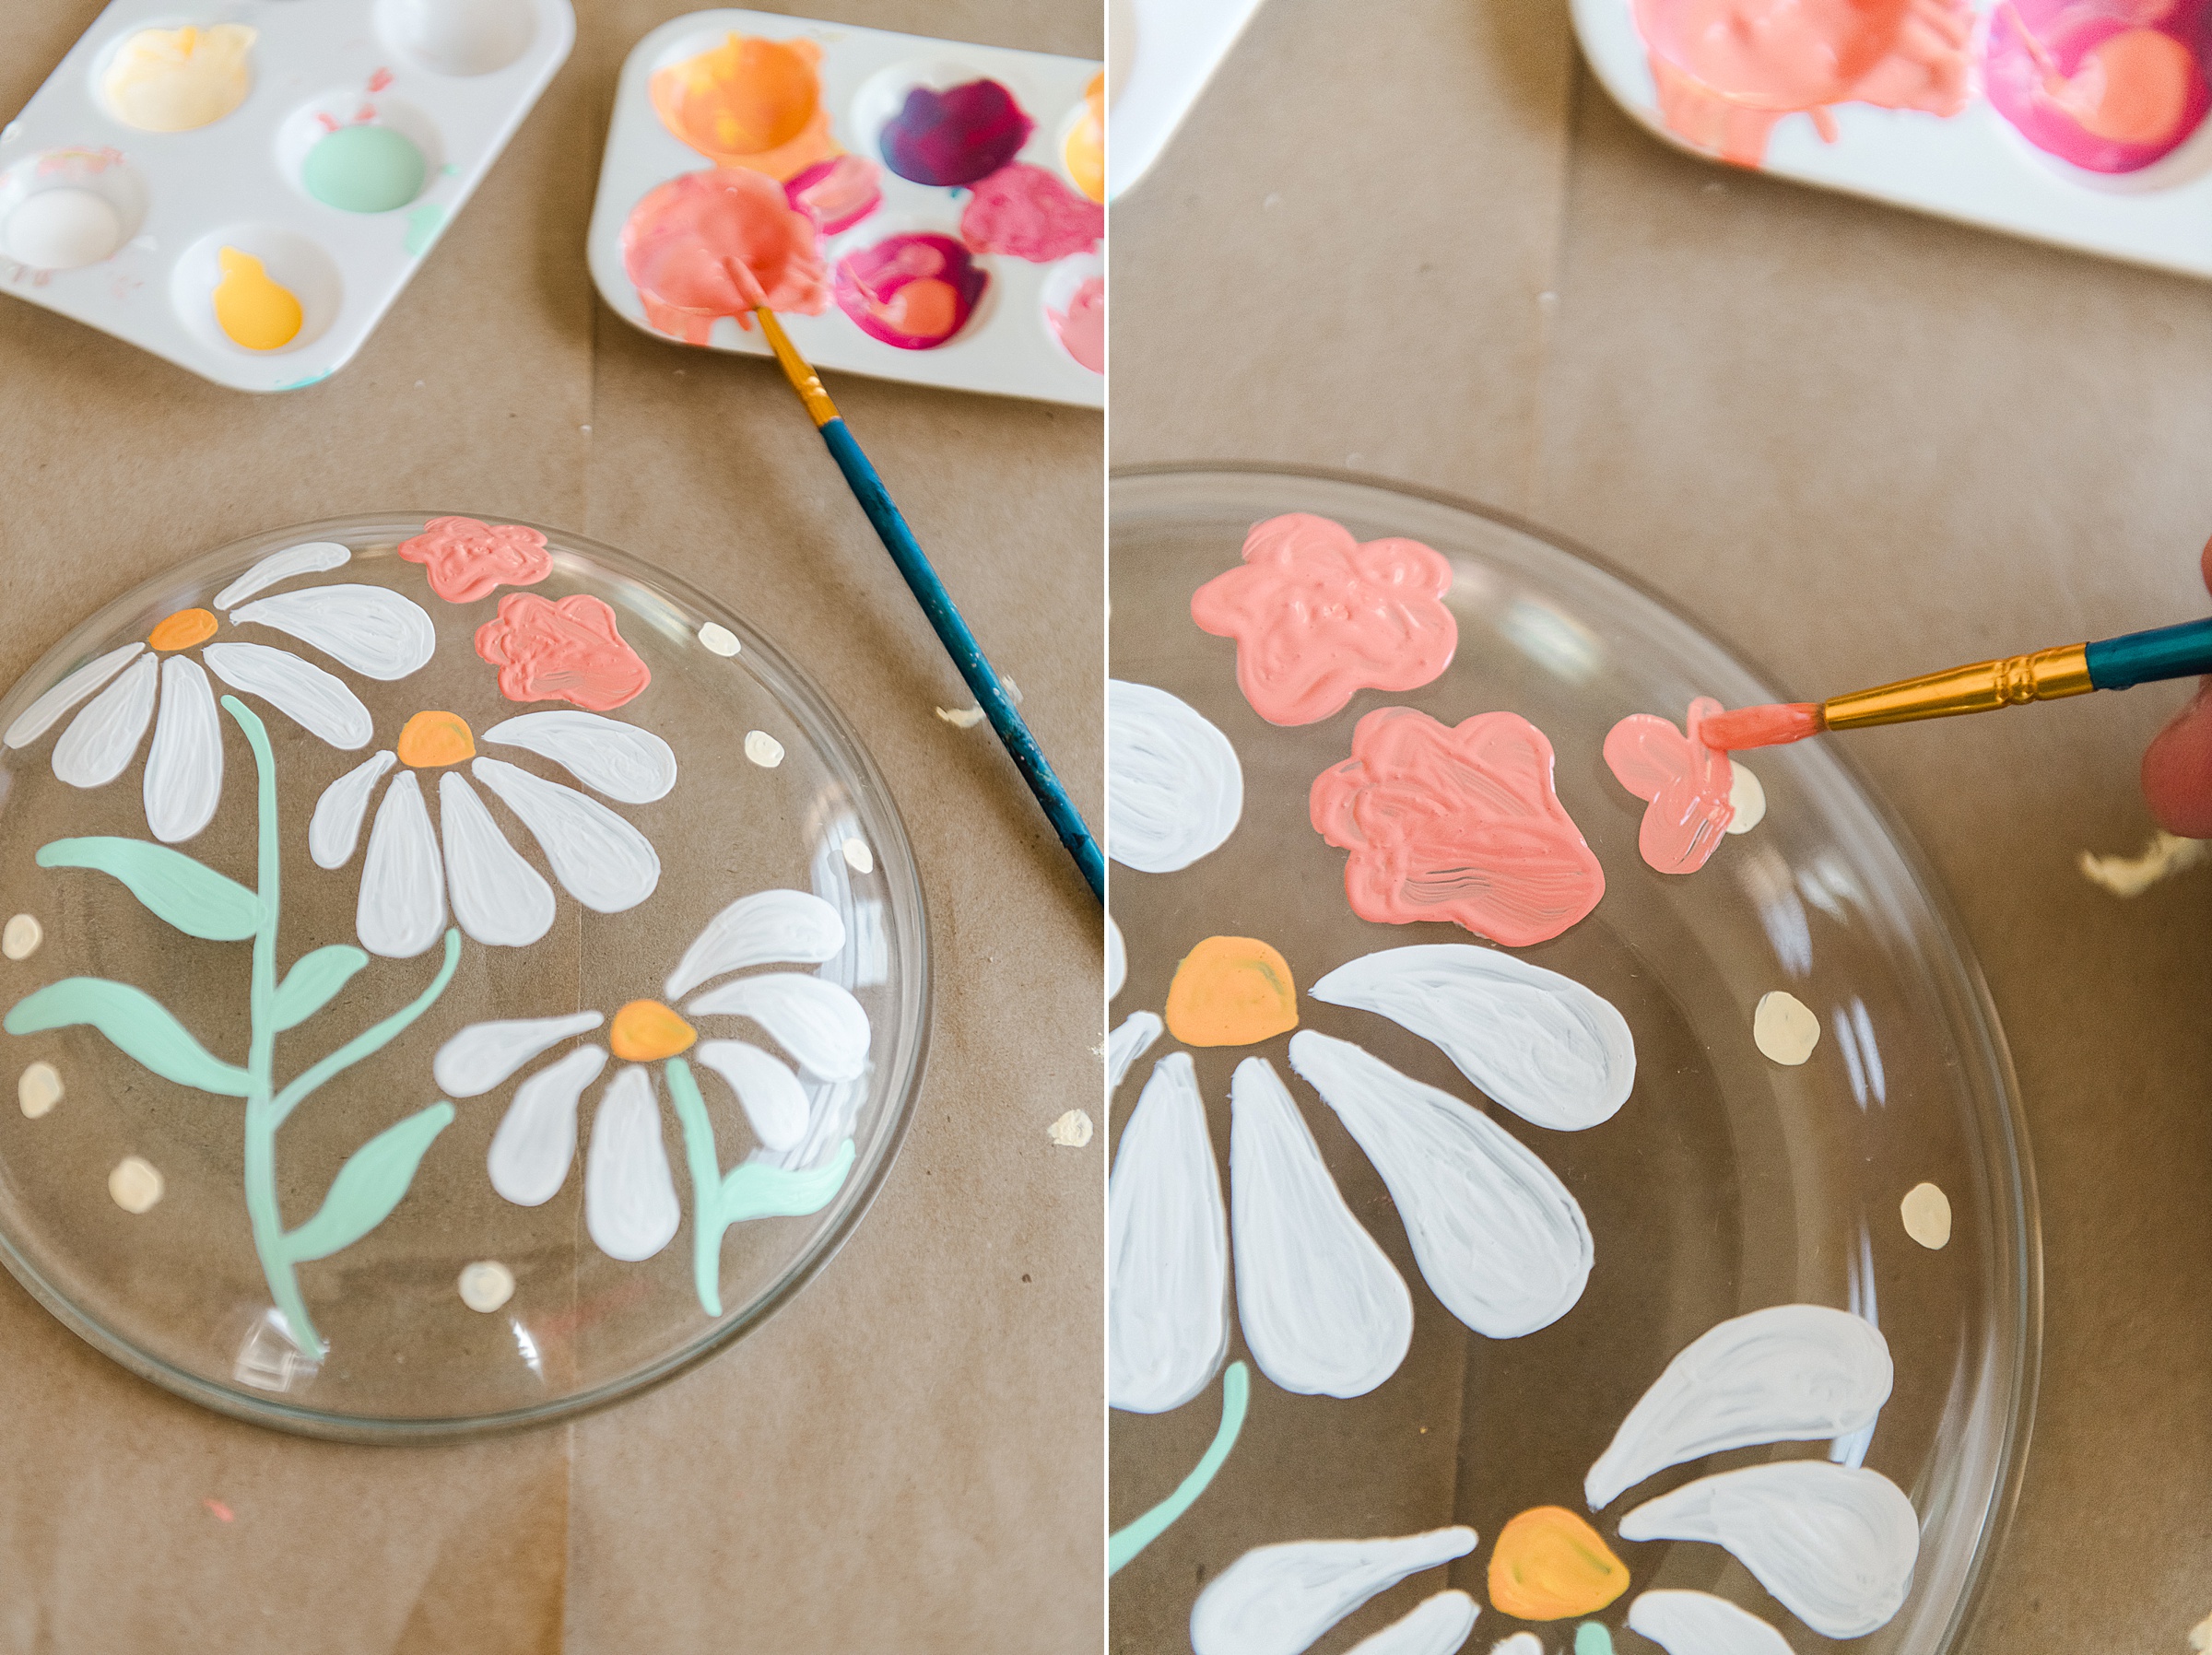
I also did 2 coats on most of the flowers so that it was nice and coated – you can check how opaque the painting is by turning the plate right-side over to check how you like the look of how it’s going 🙂
3. Once the plate is dry you will put your plates into a COLD OVEN and turn the temperature to 275 degrees and bake for 30 minutes. Let the plates cool in the oven and repeat the heating and cooling process again.
(I let the plates sit and cool overnight in the oven and then turned it on again the next morning for the 2nd heat).
**you may want to consult the instructions on your paint bottle if you have alternate methods of “setting” the paint
***If you have set your paint correctly, your plates should be able to be placed in the top rack of the dishwasher! YAY!
Now you are ready for your picnic desserts with friends or family or the ones you love! 🙂
