Backyard Lawn Word Game + tic-tac-toe board
**This blog post is sponsored by the wonderful VELCRO® Brand
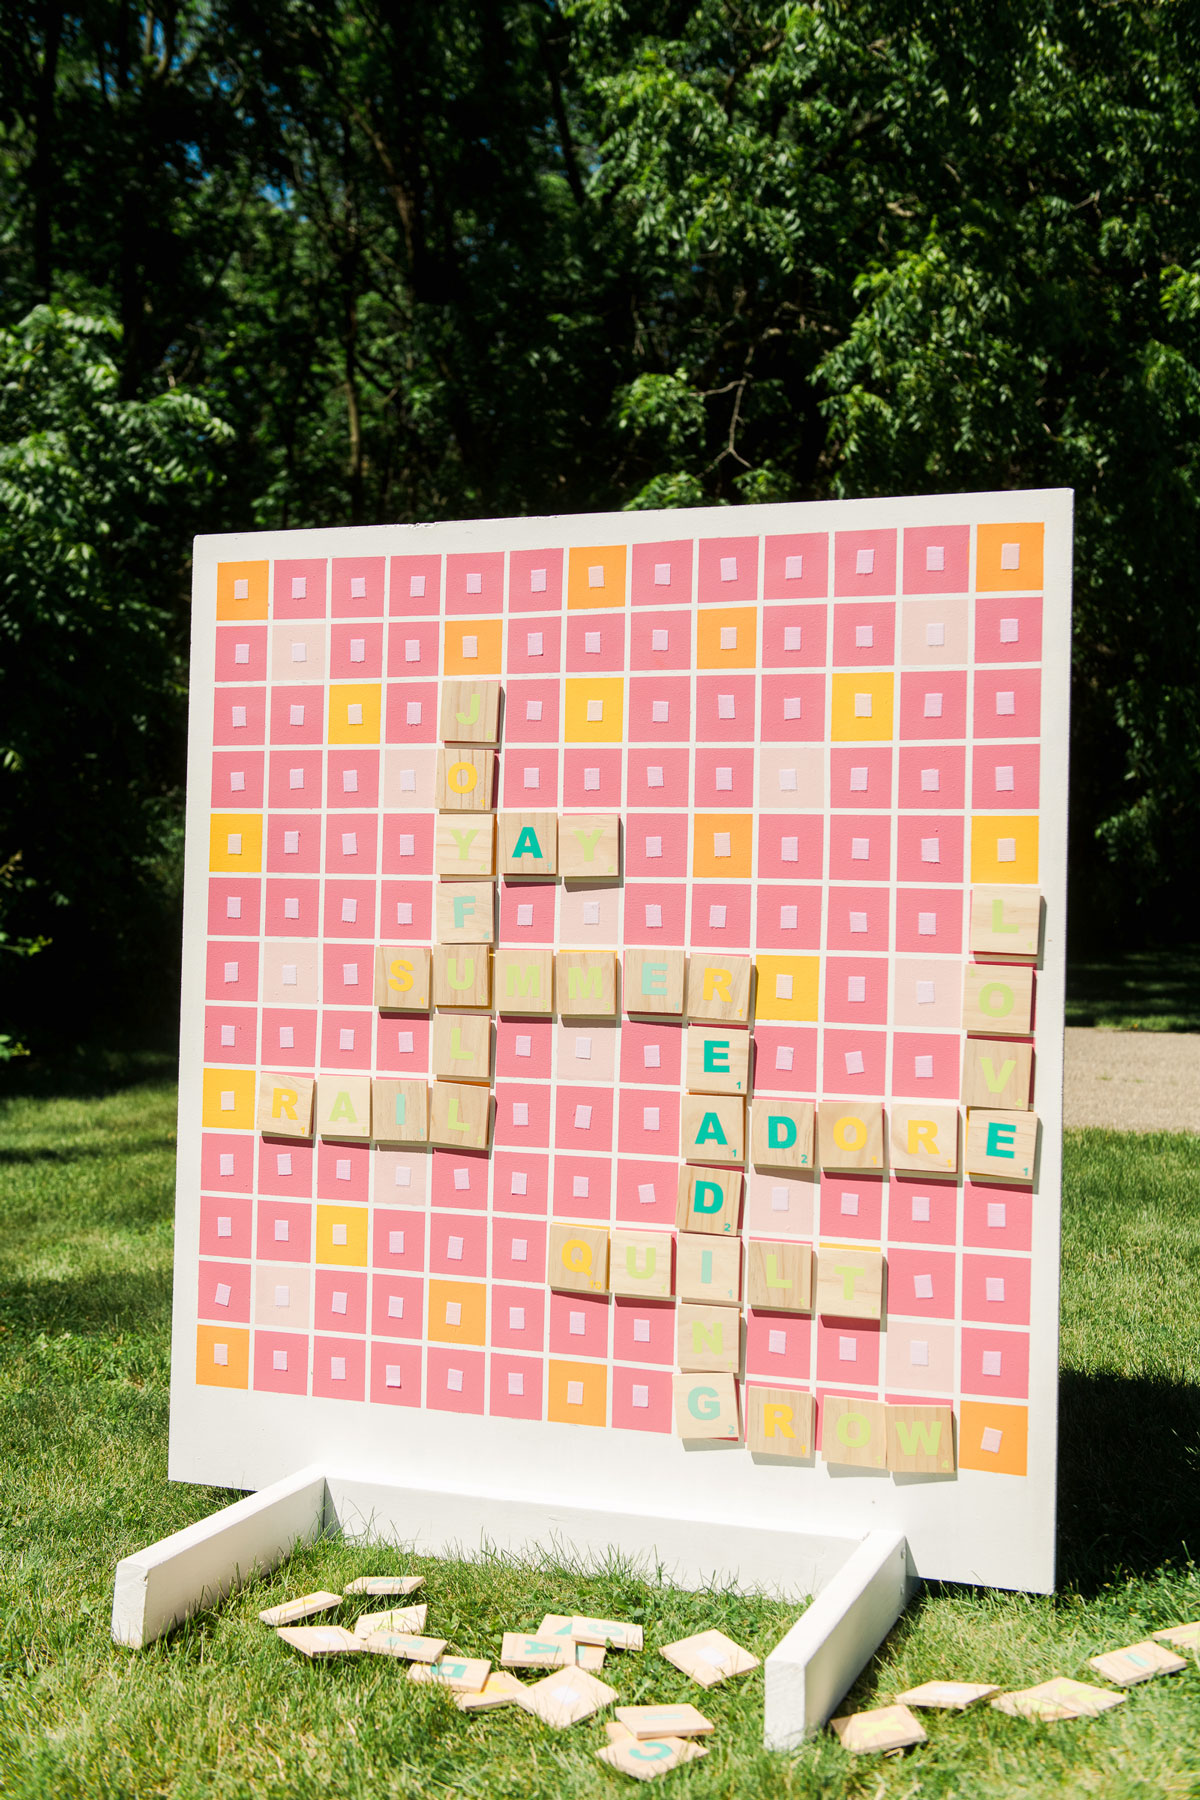
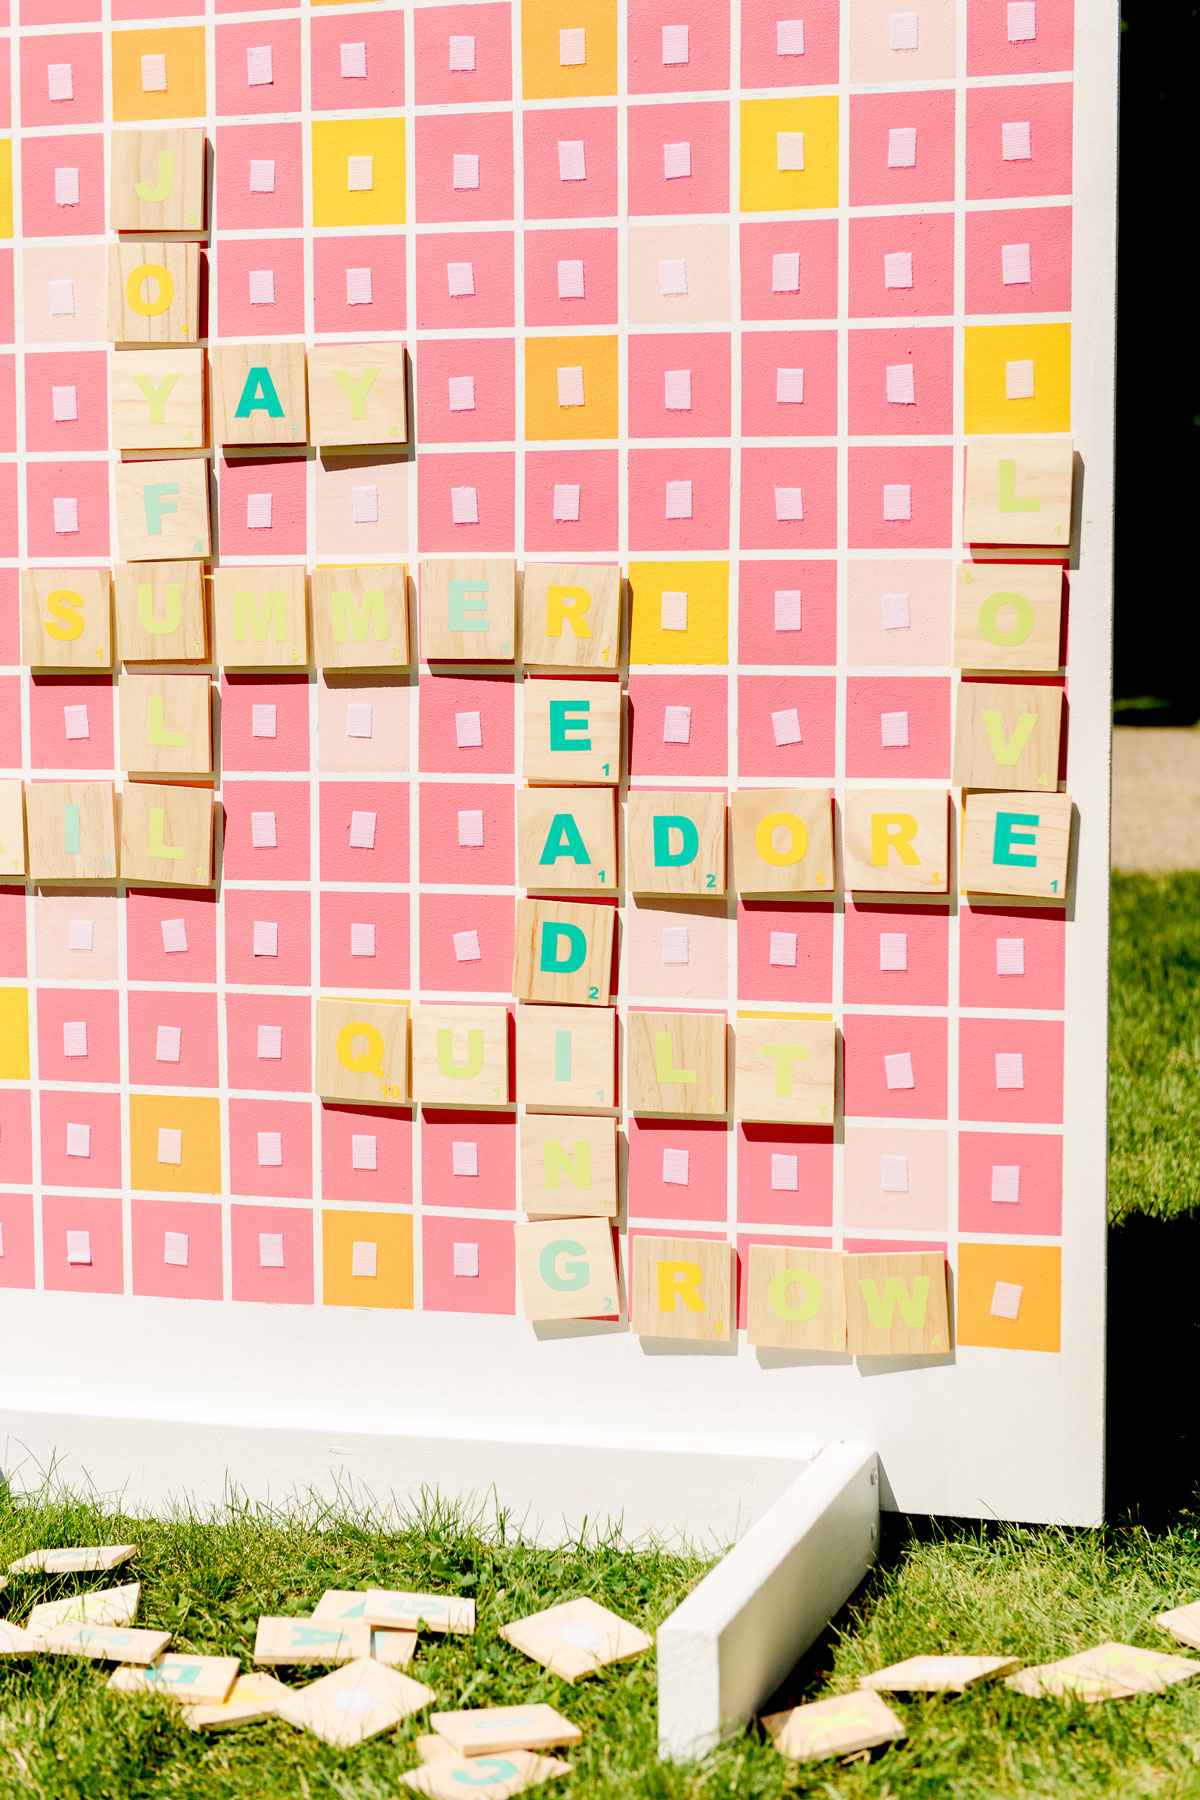
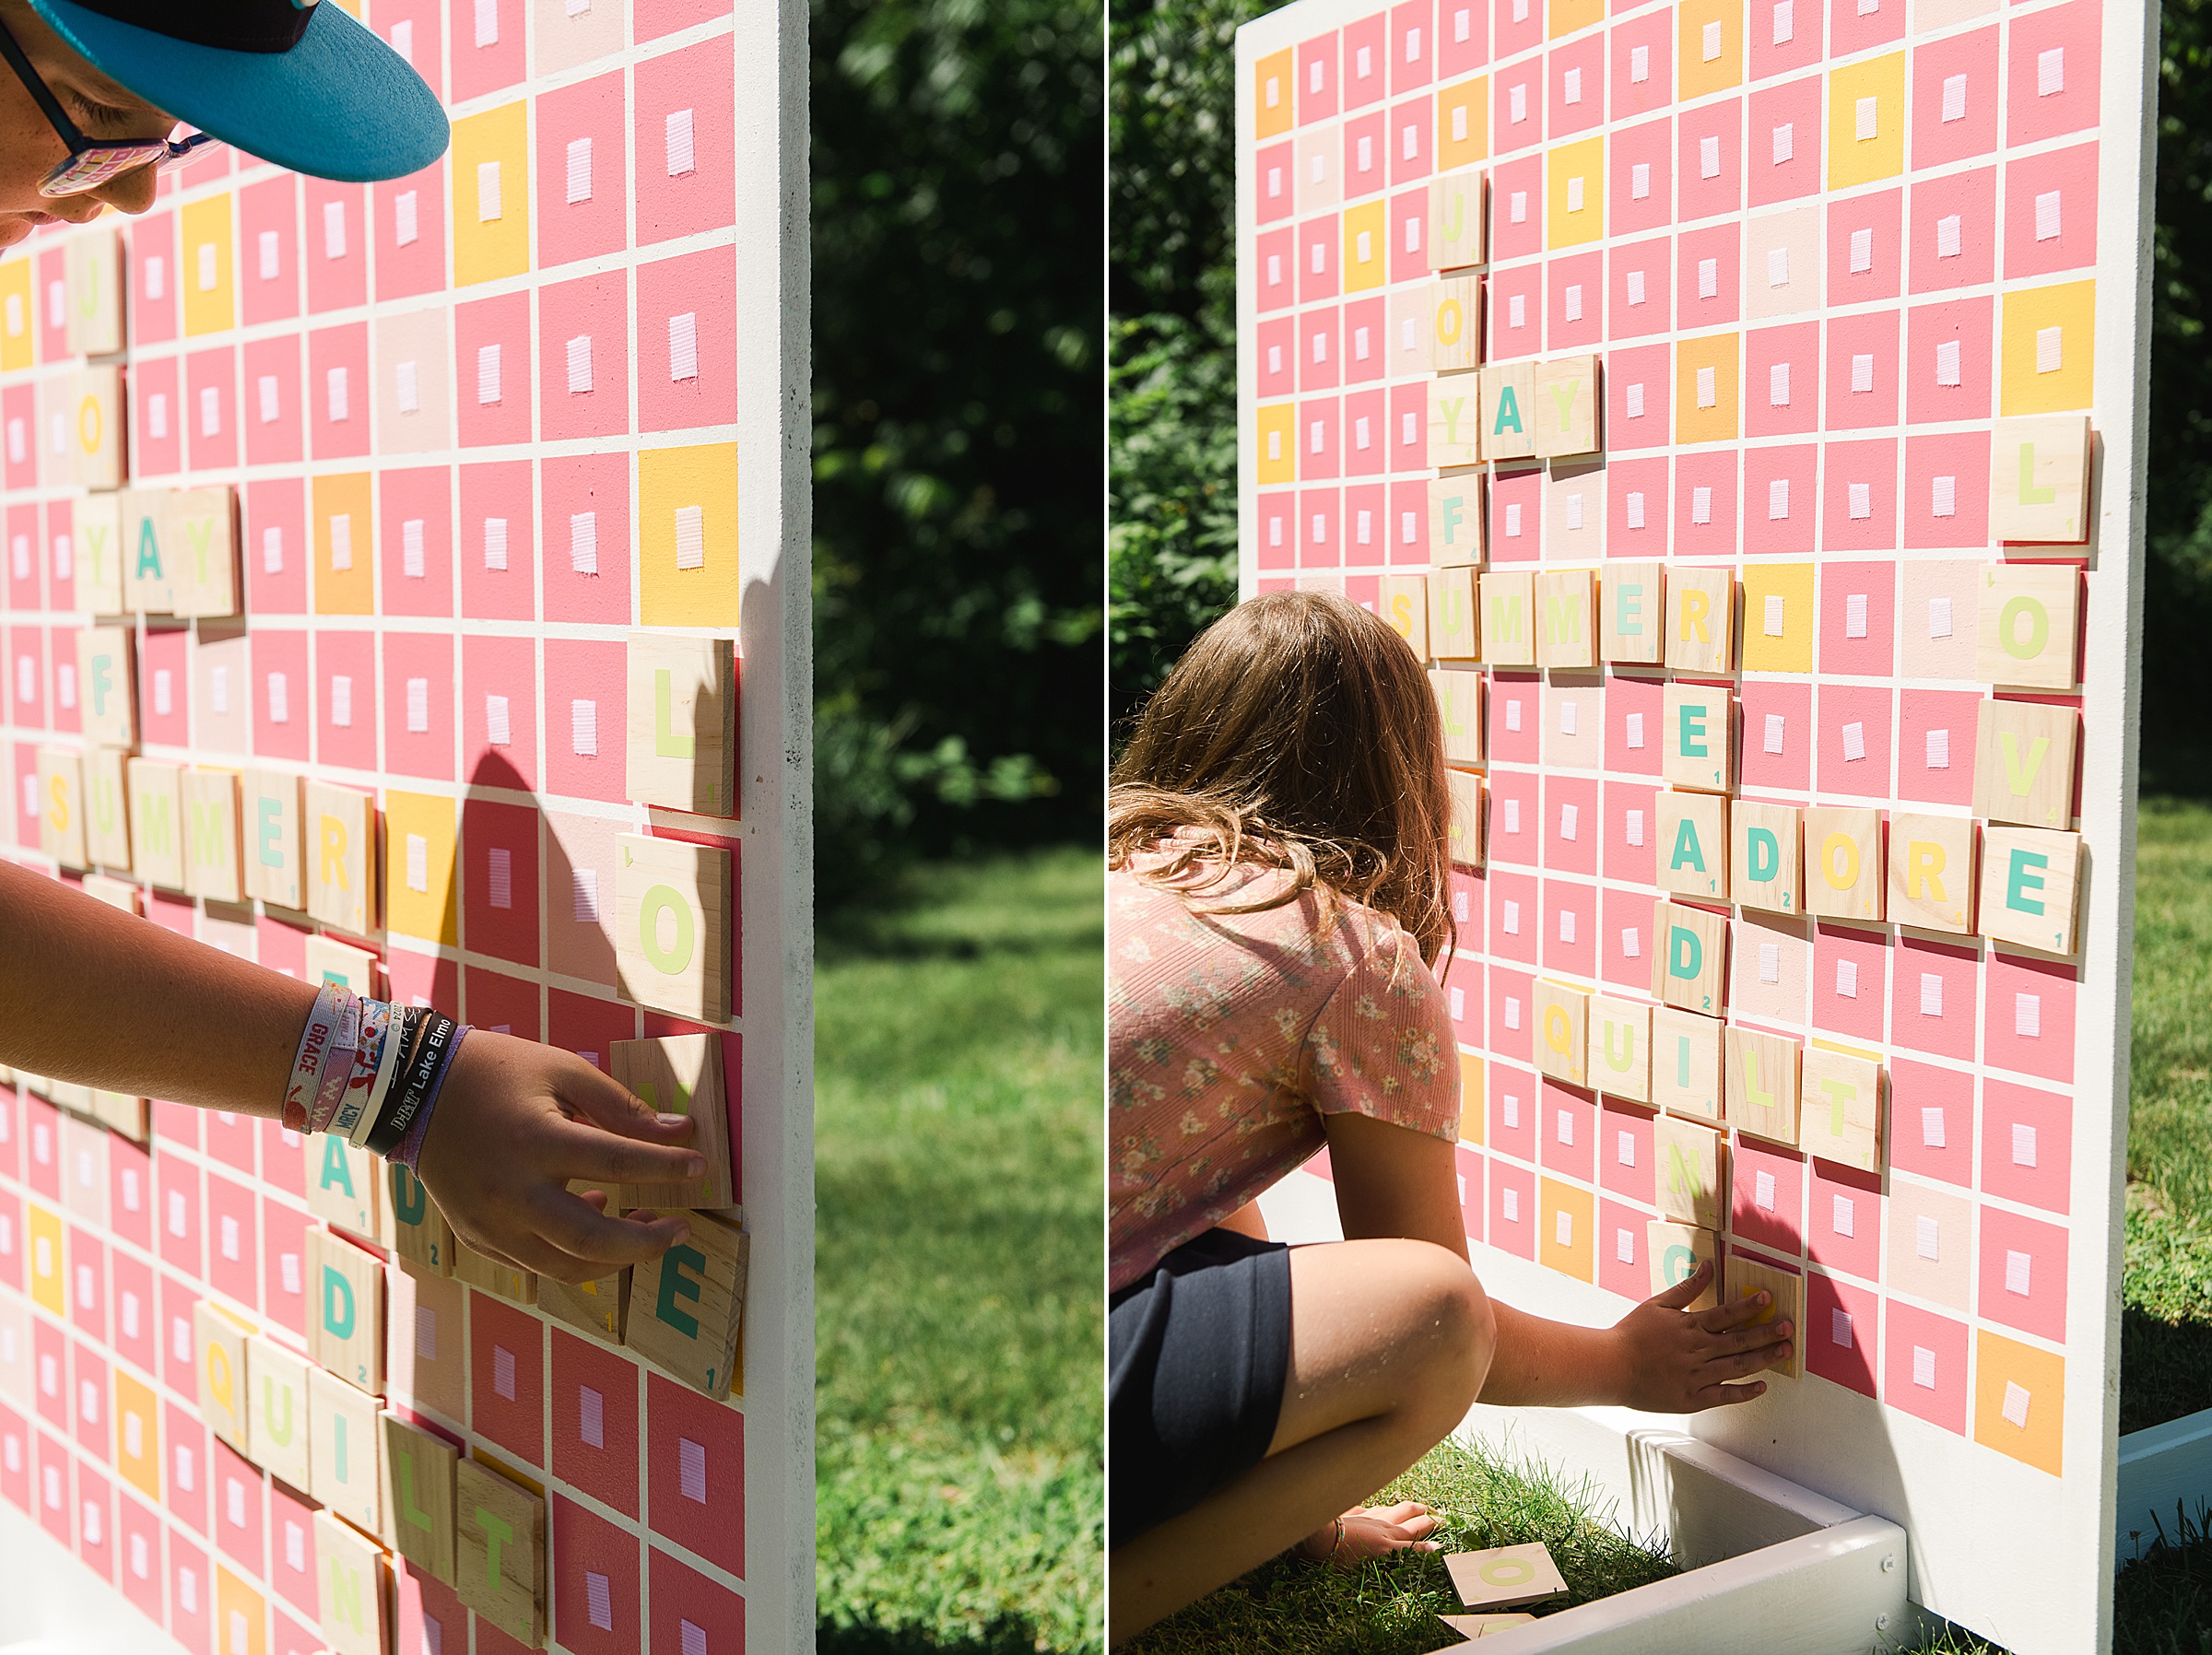
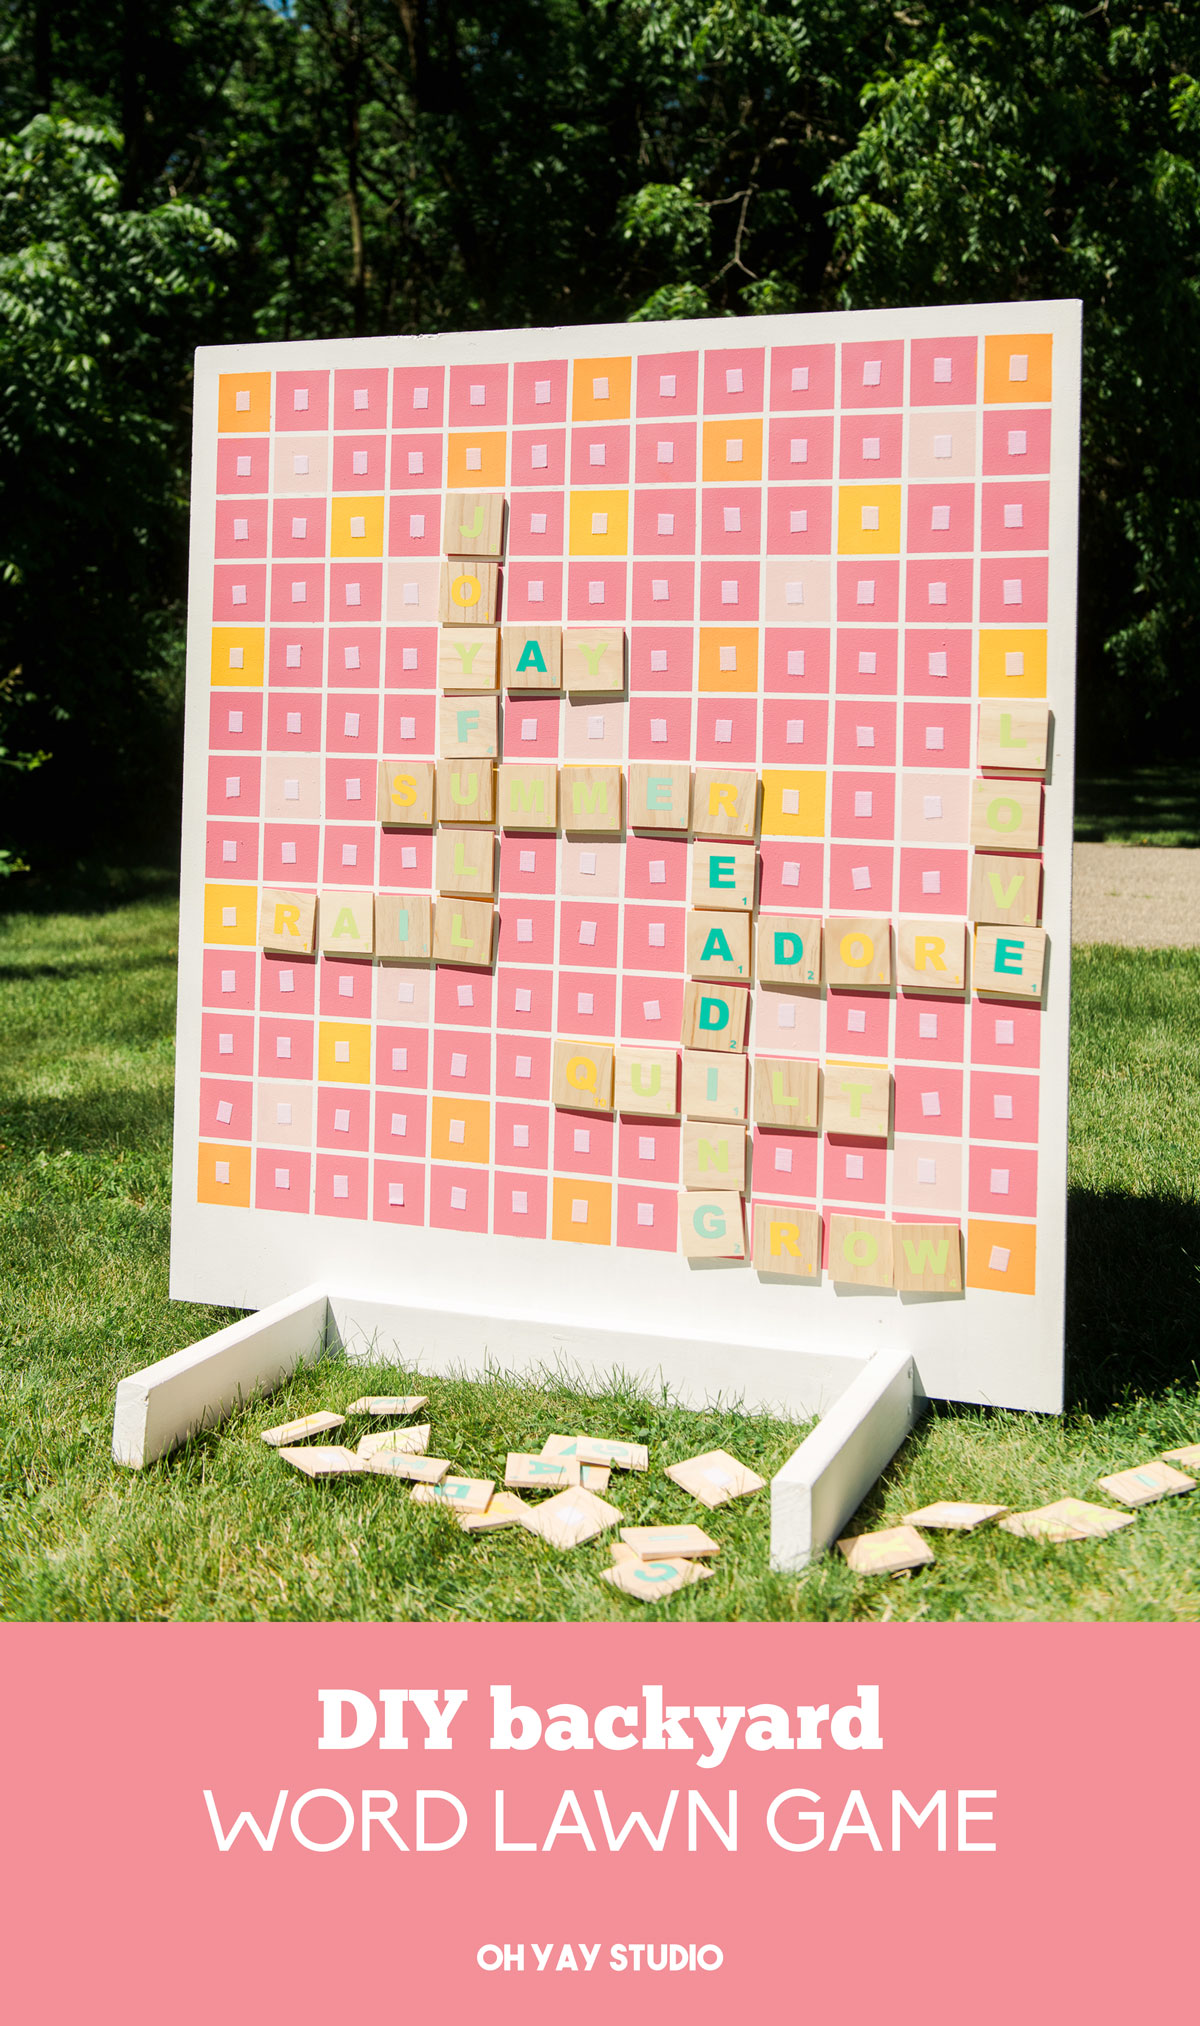
If you’ve wanted to make a super amazingly fun summer backyard game, this is THEEEE TICKET! A giant backyard lawn word game will be fun for kids, adults, word smiths, and everyone in between! The key to making this project possible is awesome VELCRO® Brand Sticky Back Tape to help get the letters easily removable from the giant game board! 🙂
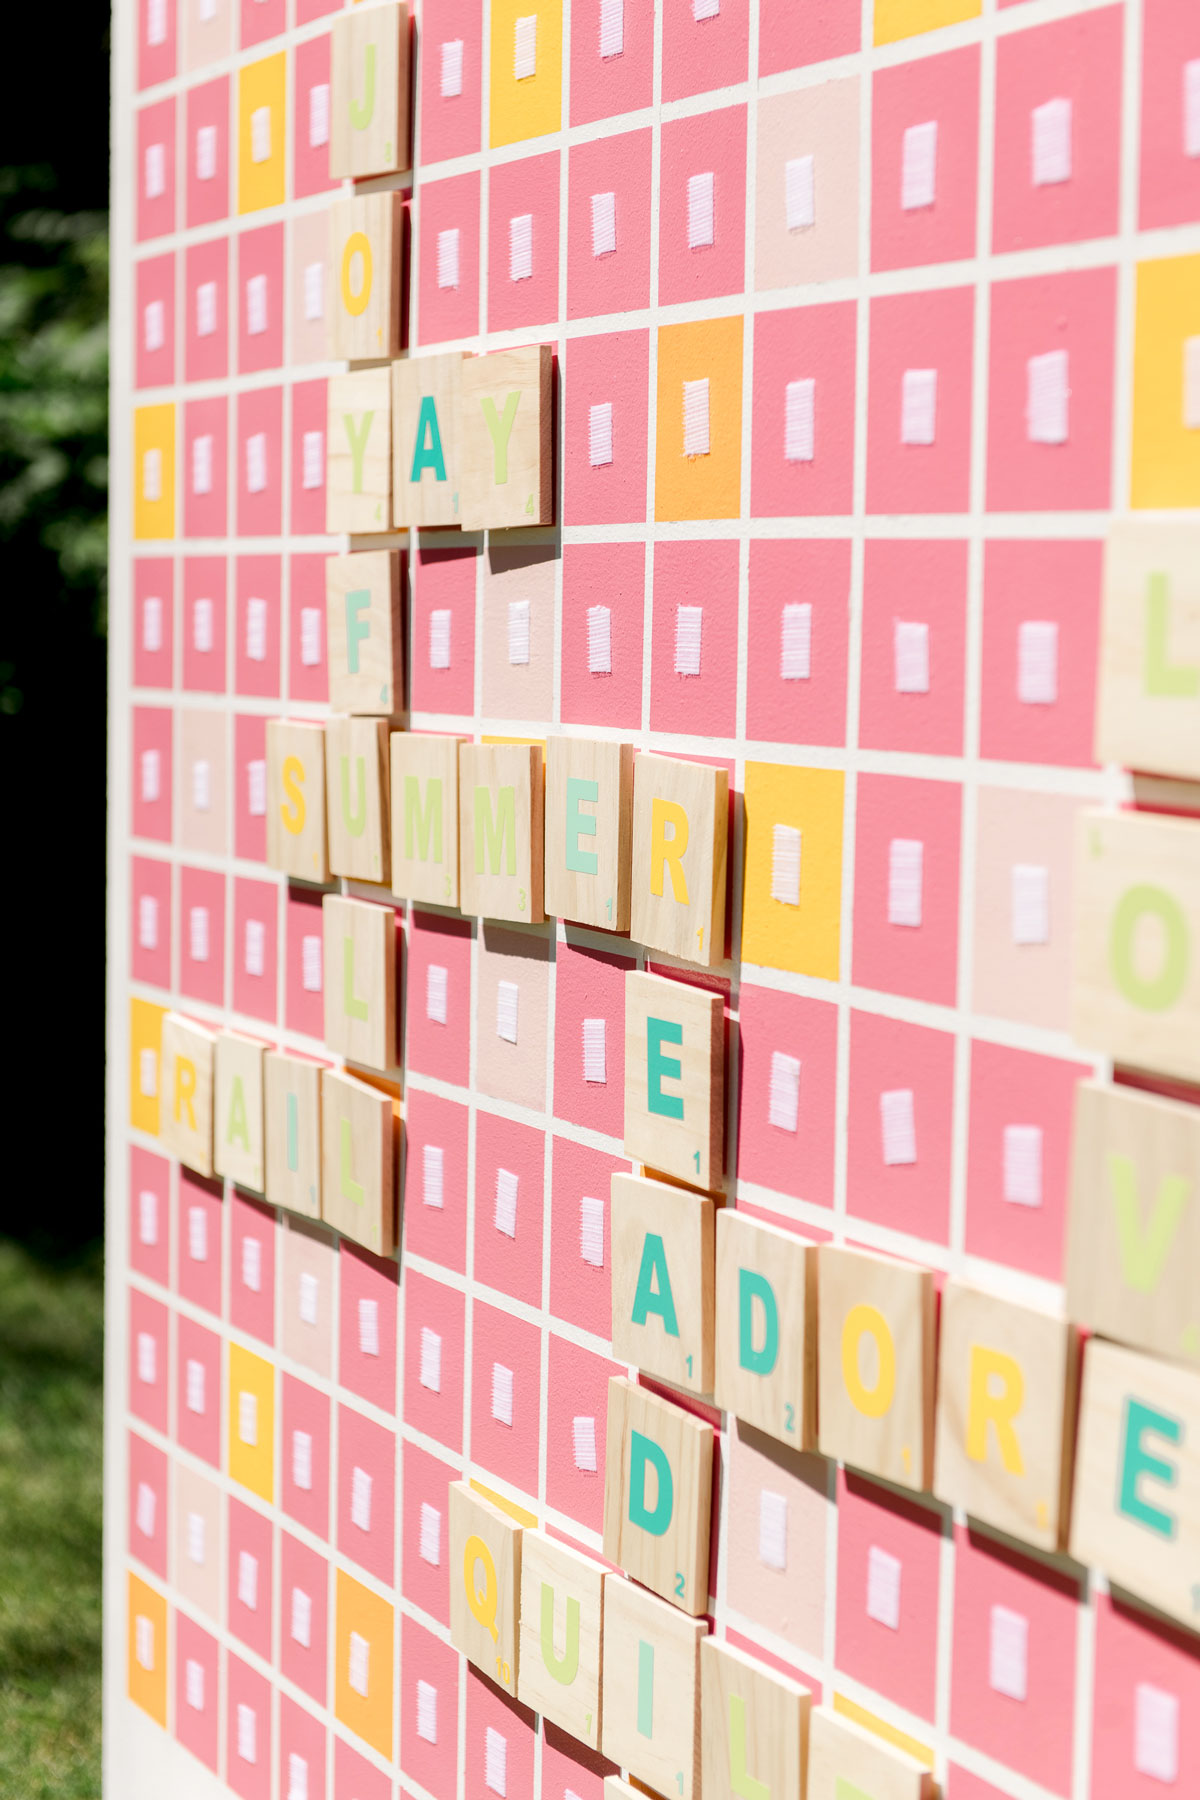
MATERIALS:
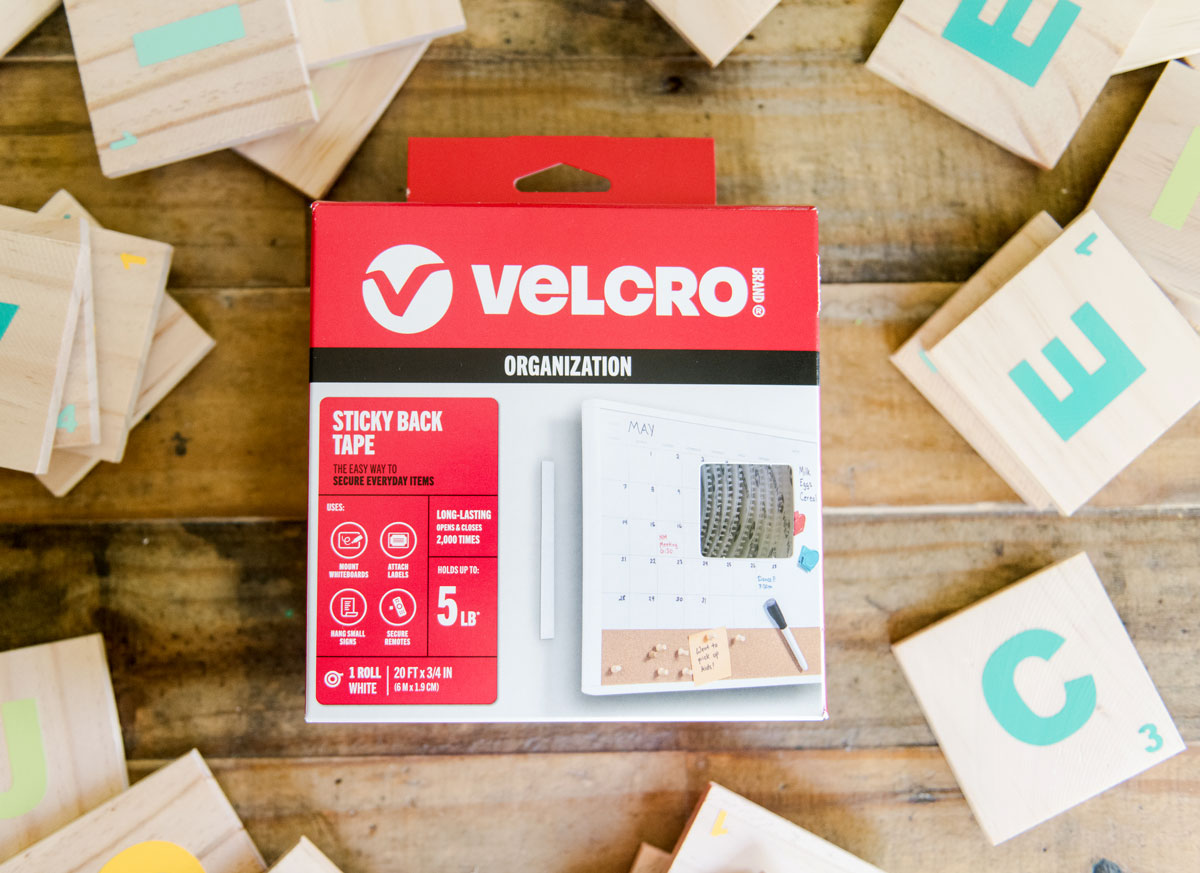
- A pack of VELCRO® Brand Sticky Back Tape
- 1 piece of 4’x8’ 5/8” particle board/MDF/plywood (I chose particle board because the texture was SUPER smooth and was easy to paint)
- 2- 2”x4”s (I used some leftovers in our garage….you just need at least 130” -ish in length. Exact measurements are below)
- Wood Sandpaper for smoothing the edges of the wood
- 3” wooden screws (min of 8)
- Some white paint + brushes or rollers
- Painters tape
- 1/4” washi tape
- Chalk or a pencil for marking out game board lines
- 2-4 colors of your favorite acrylic paint colors for the alternate squares on the game board
- Some sealer – I used Colorshot Matte sealer (this is a great indoor/outdoor sealer for many surfaces)
- LOTS of 3”x3” wooden tiles – I chose some that were 1/4” thick for extra durability
- Either acrylic paint OR some vinyl adhesive for the letters
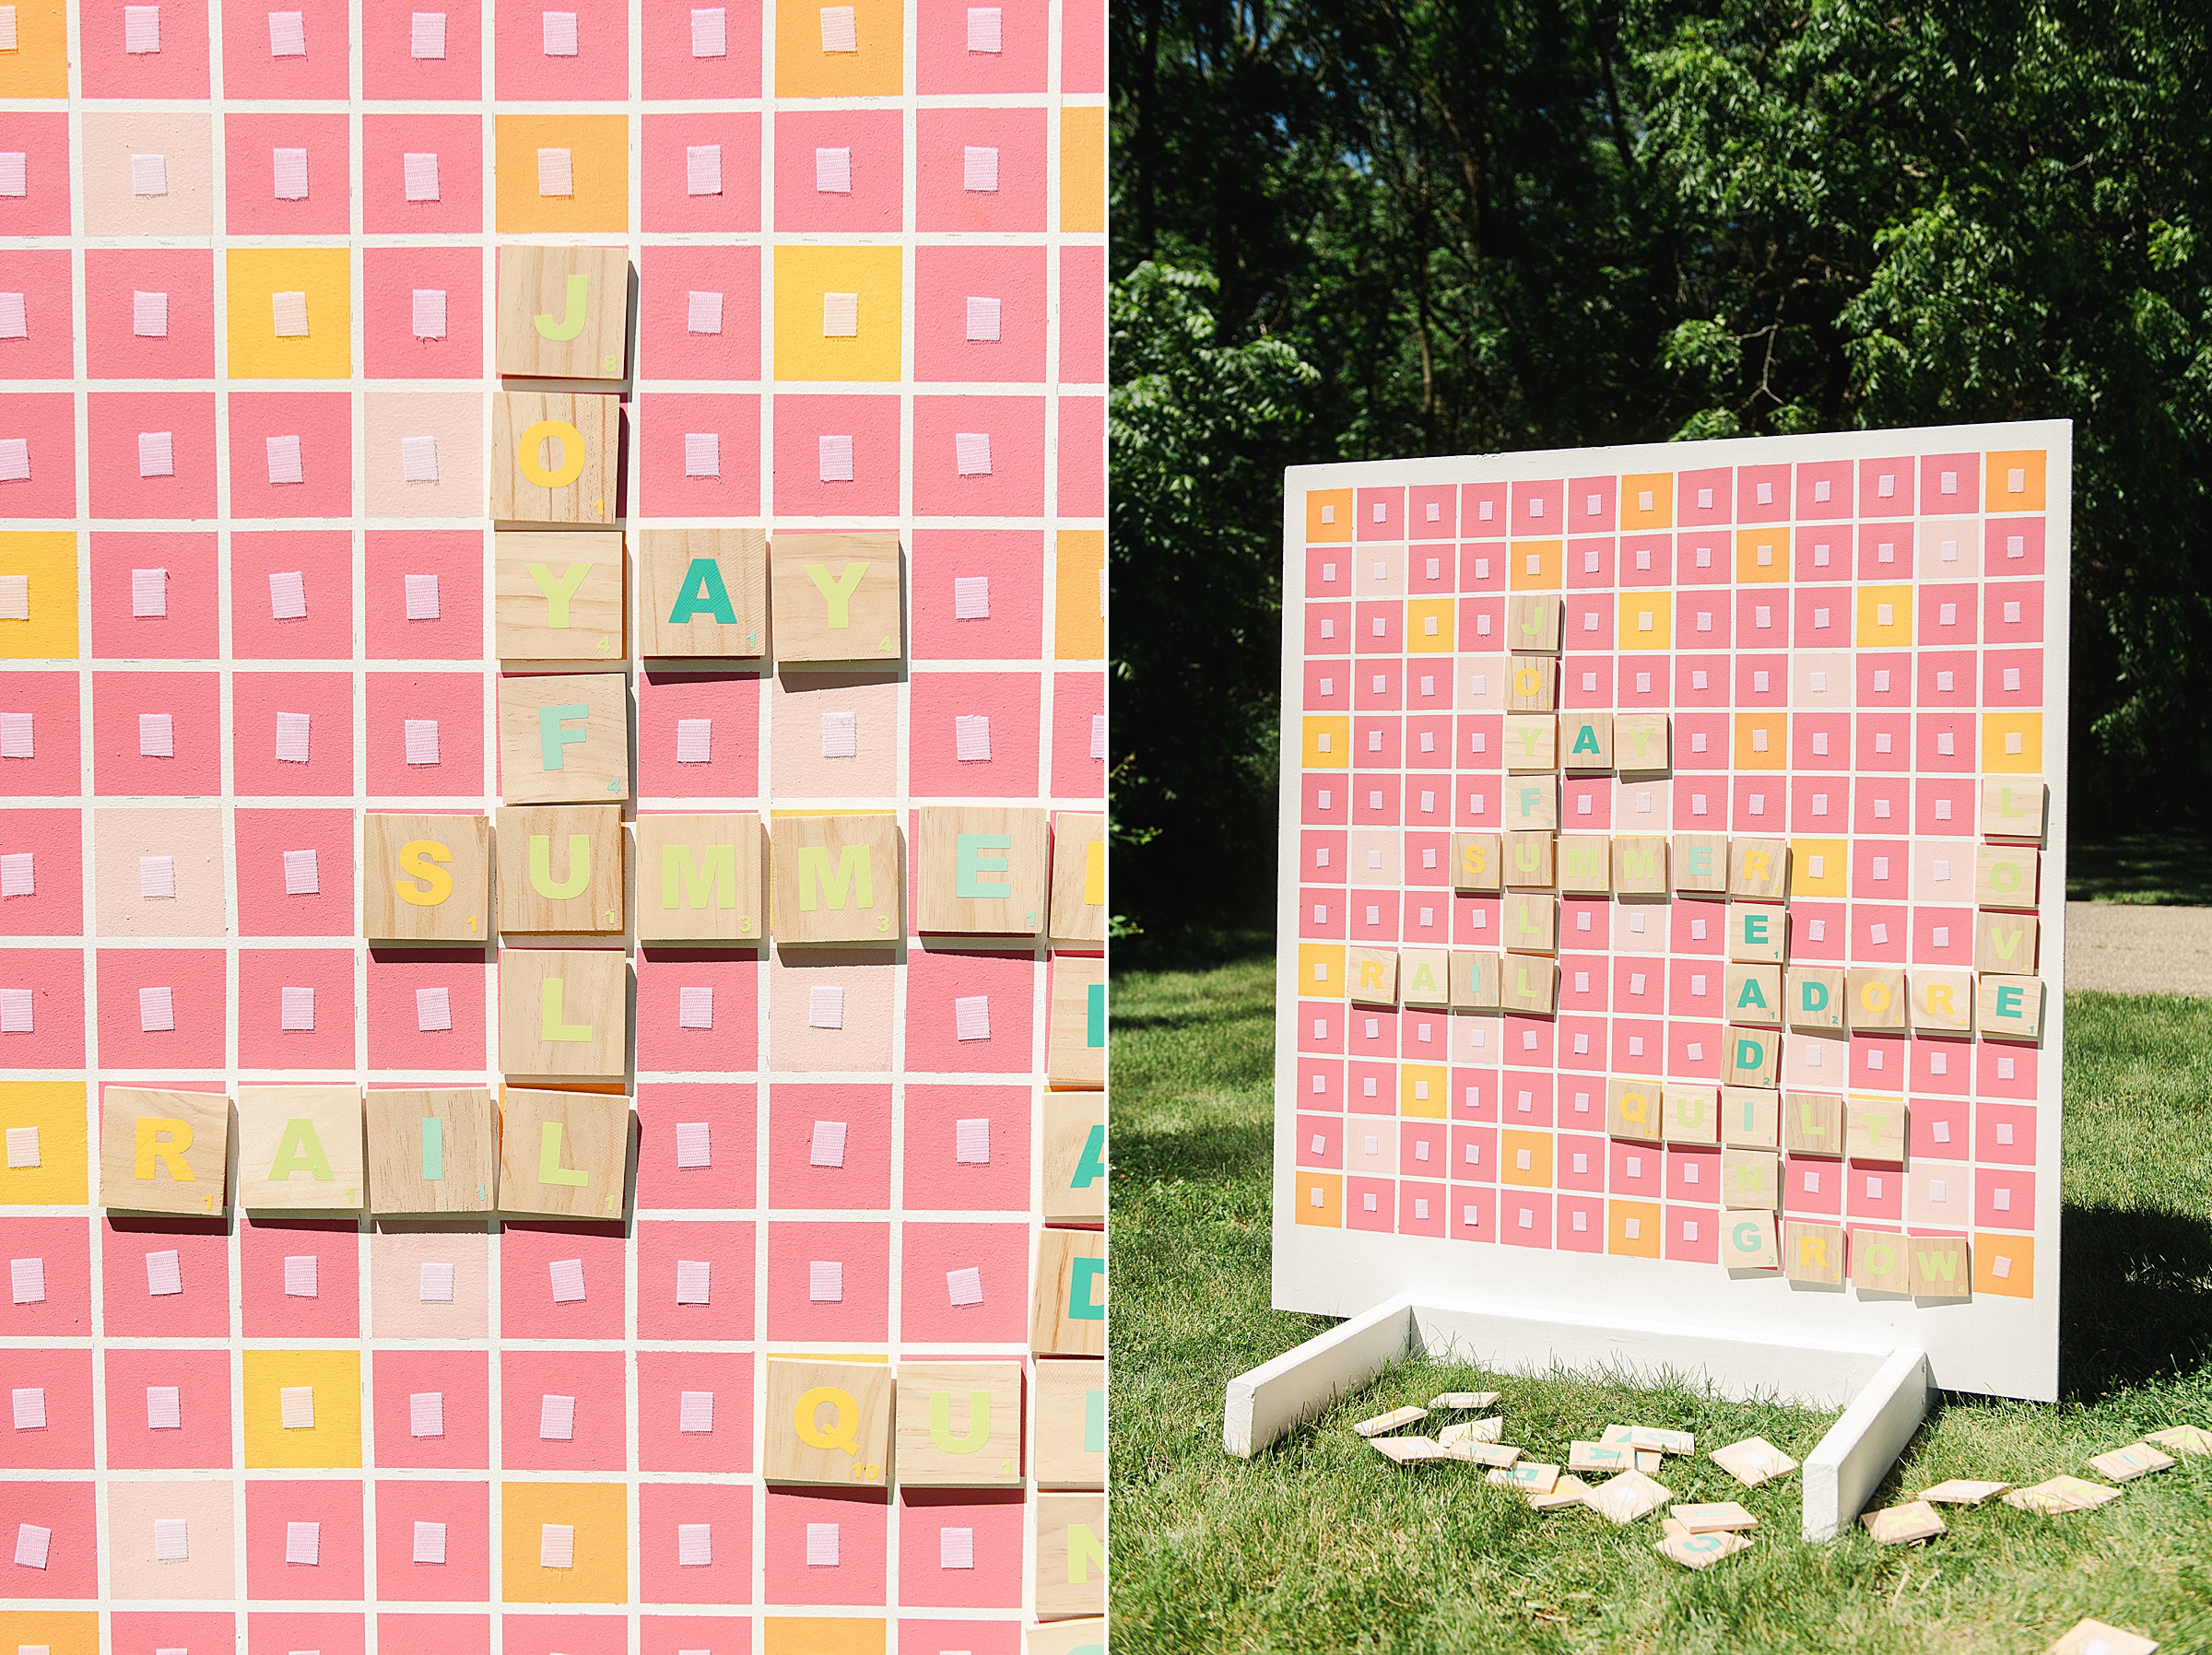
INSTRUCTIONS:
1. Cut wood pieces
From your 4×8 piece of MDF/plywood/particle board, cut one piece 48” x 45”
**note: our local hardware store sells pre-cut boards in 4’x4’ sheets, so that would be 48”x48” if that’s easier) 🙂
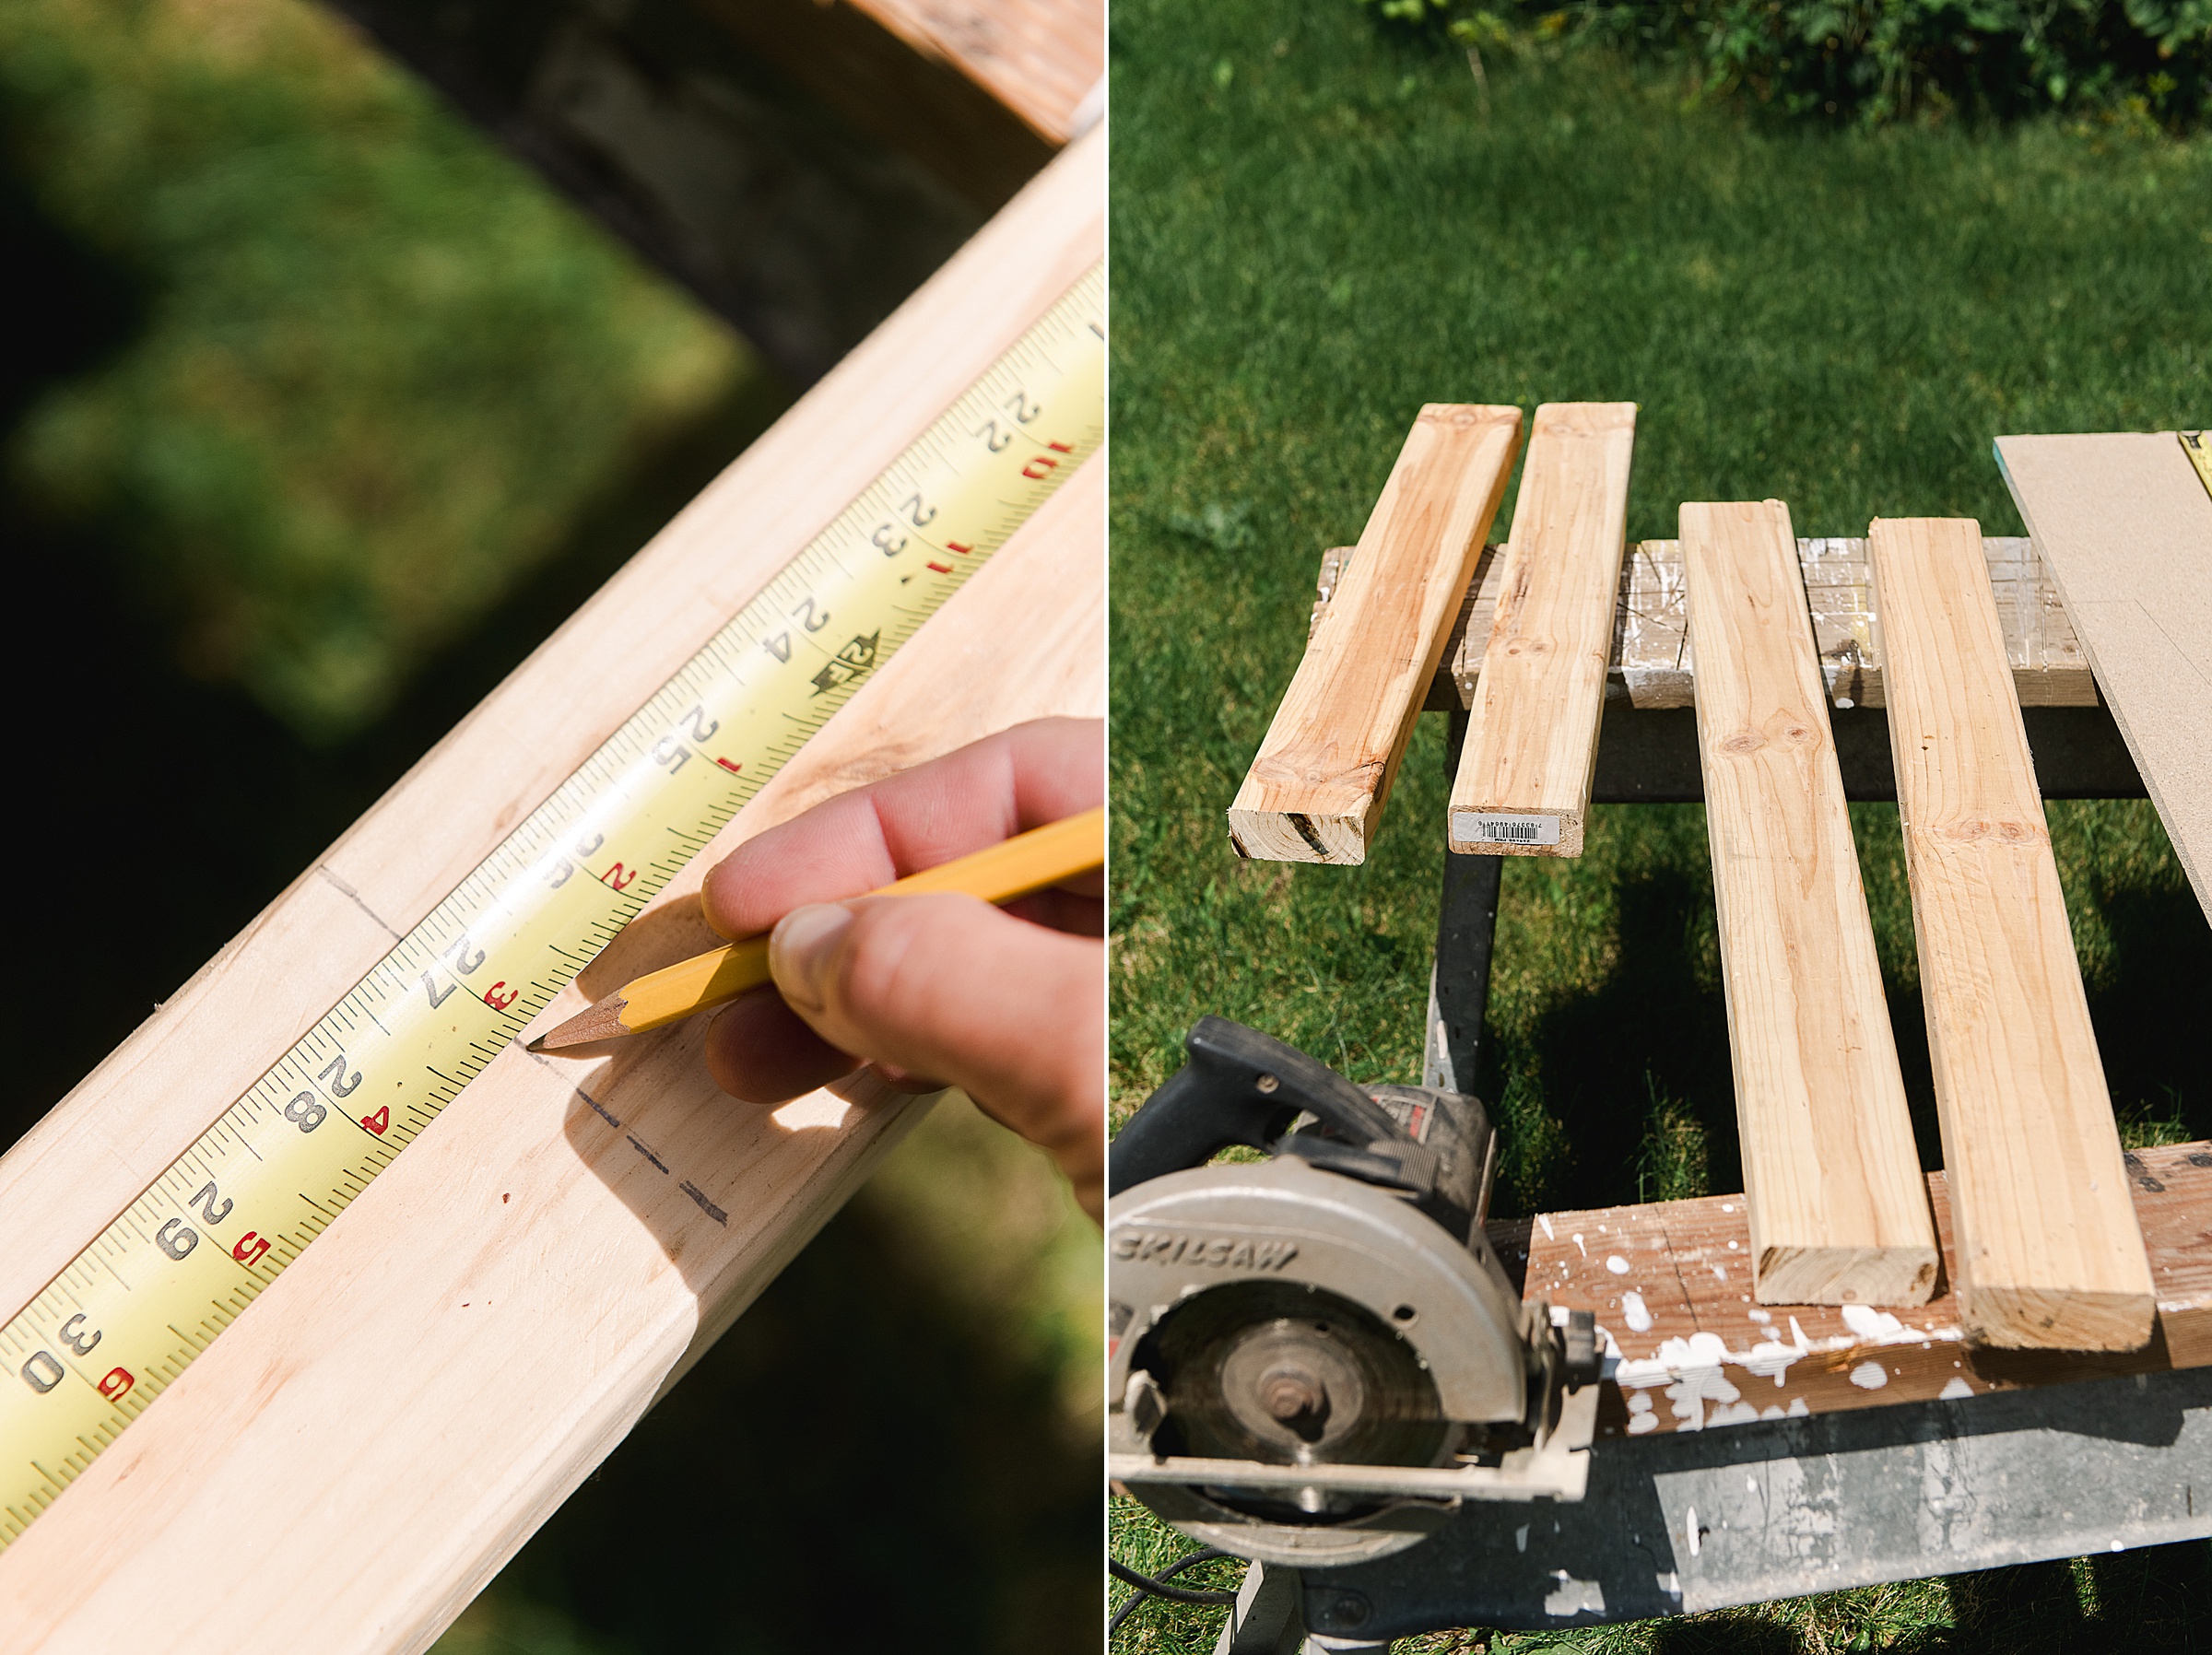
Cut 2 – 27” pieces from the 2×4
Cut 2 – 36” pieces from the 2×4
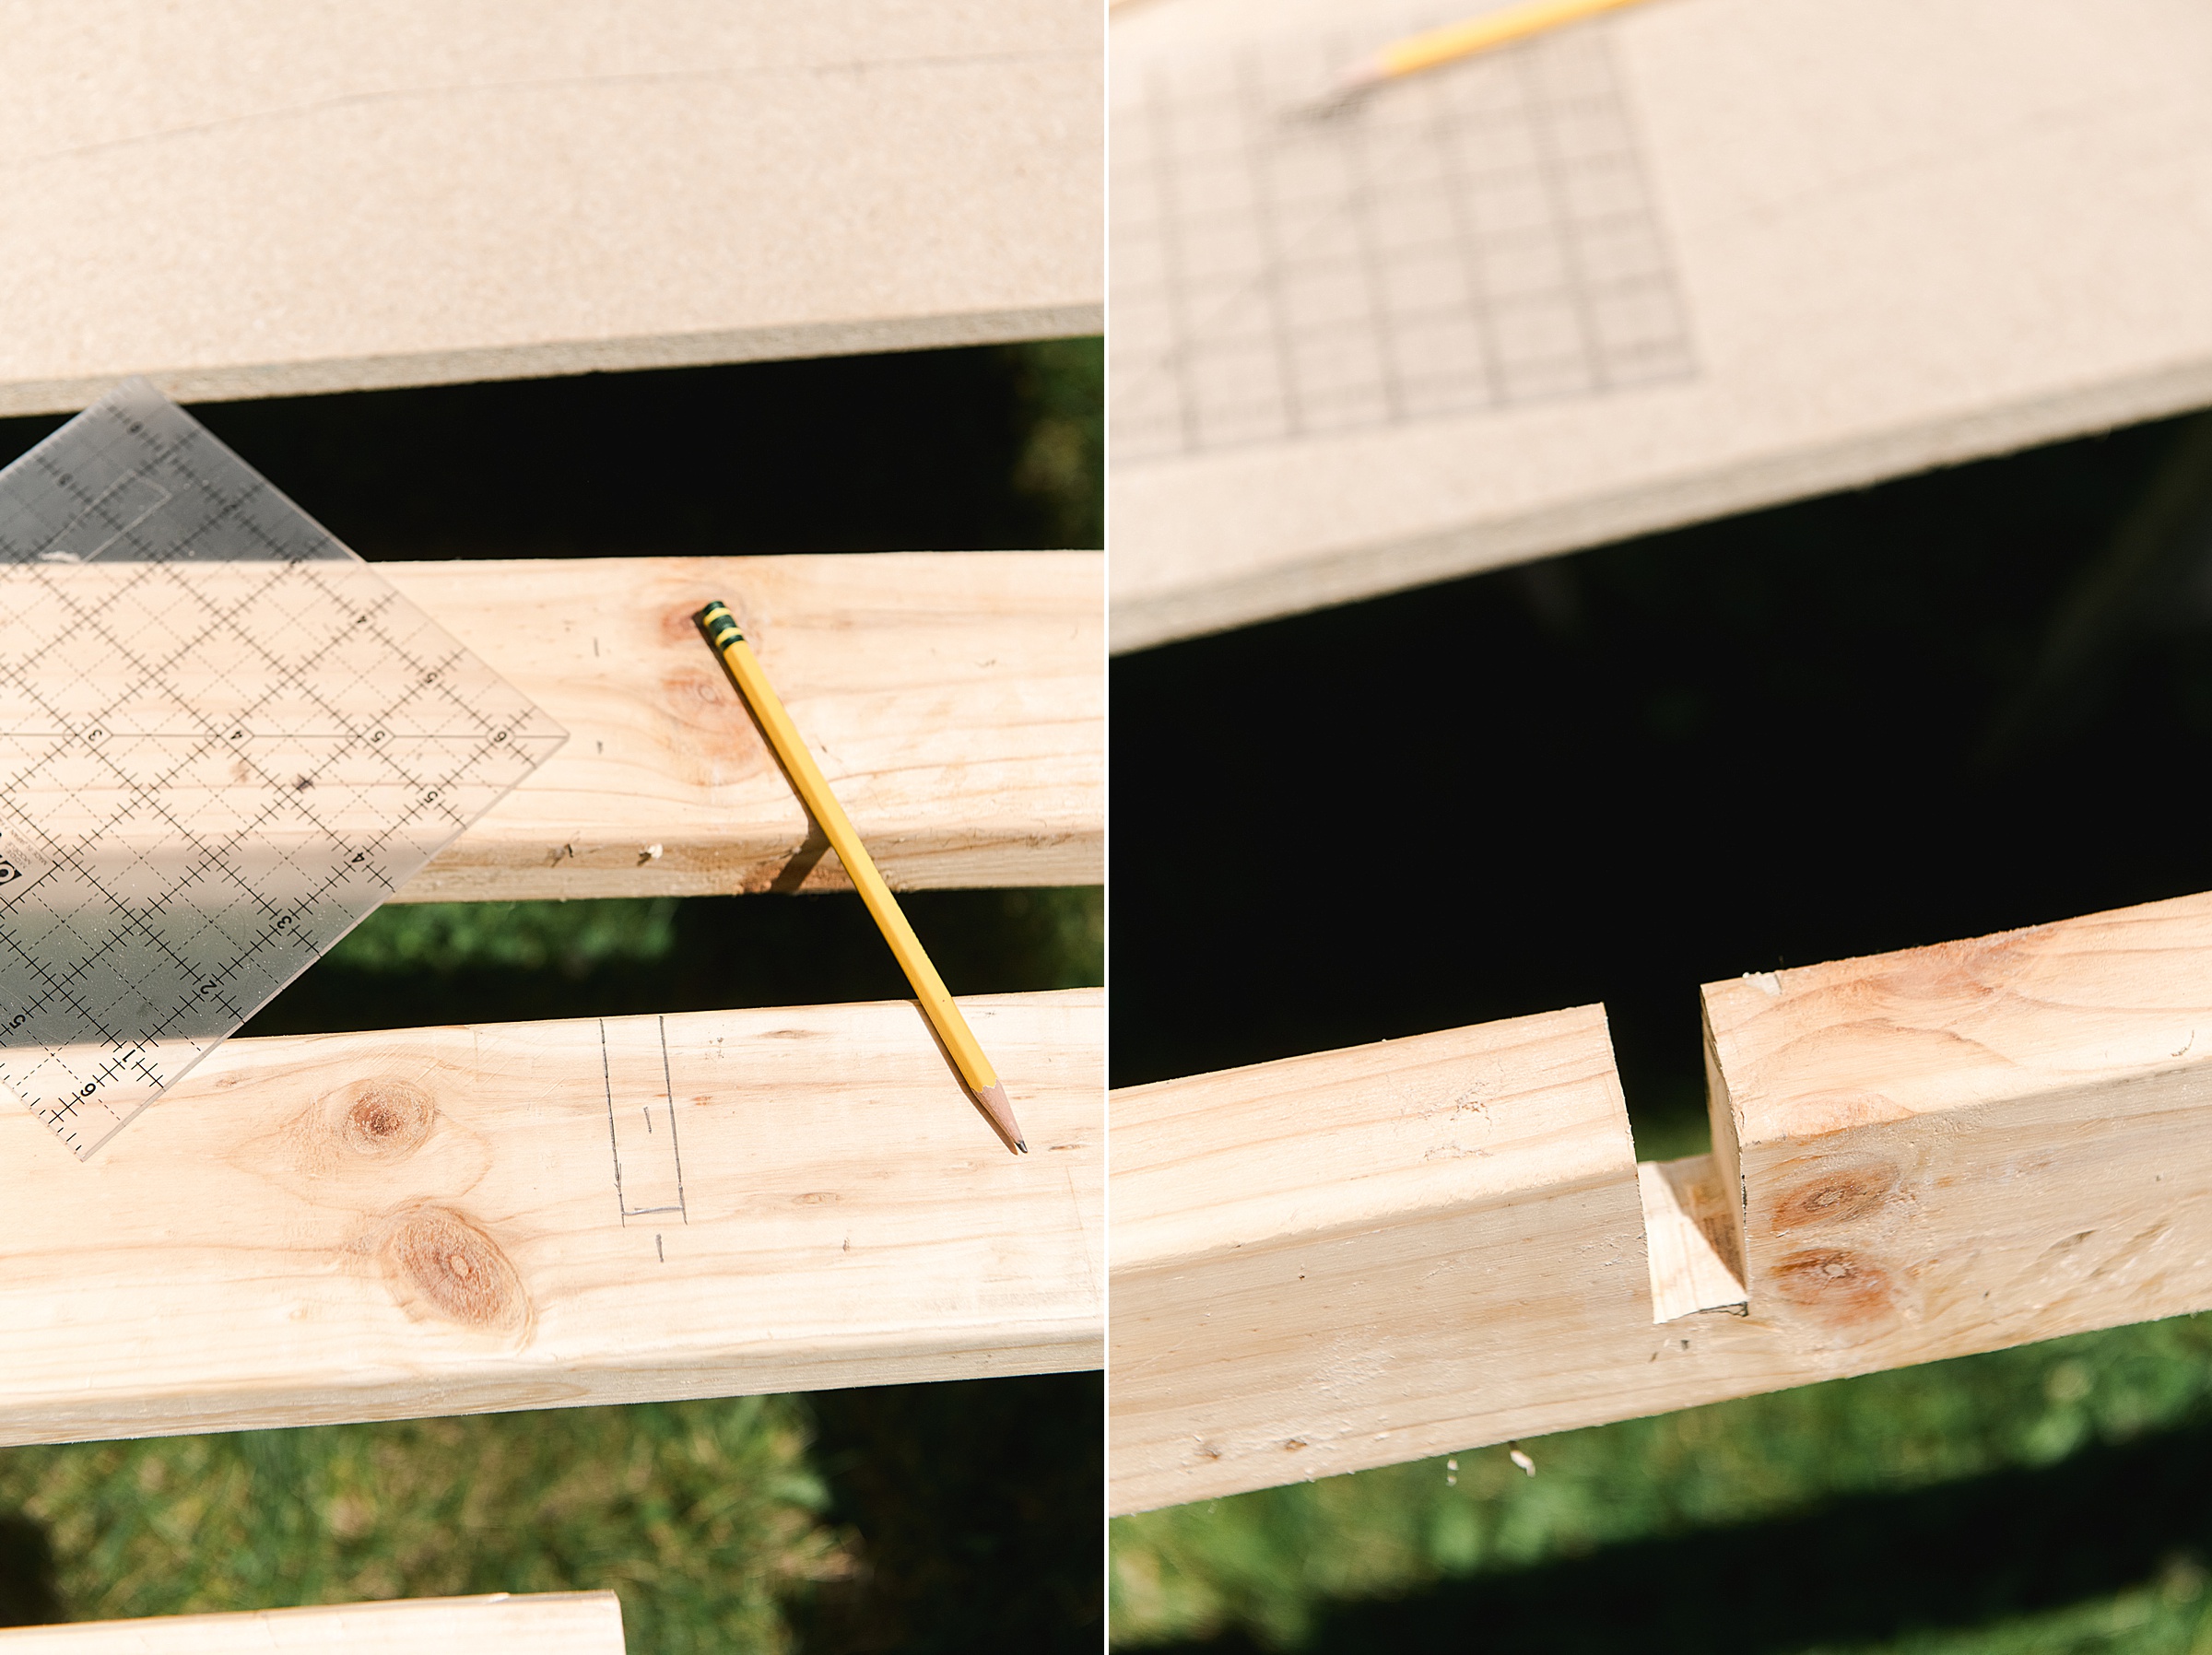
From each of the 36” 2x4s, mark the center length (18”) and then begin to “notch out” a section (on that 18” center ) that is the width of the piece of particle board/MDF/plywood that you purchased.
For instance, I marked the 18” center and then made a 5/8” notch on that board (since my particle board is 5/8” in depth) – this will hold the vertical game board and keep it sturdy 🙂
2. Assemble the base
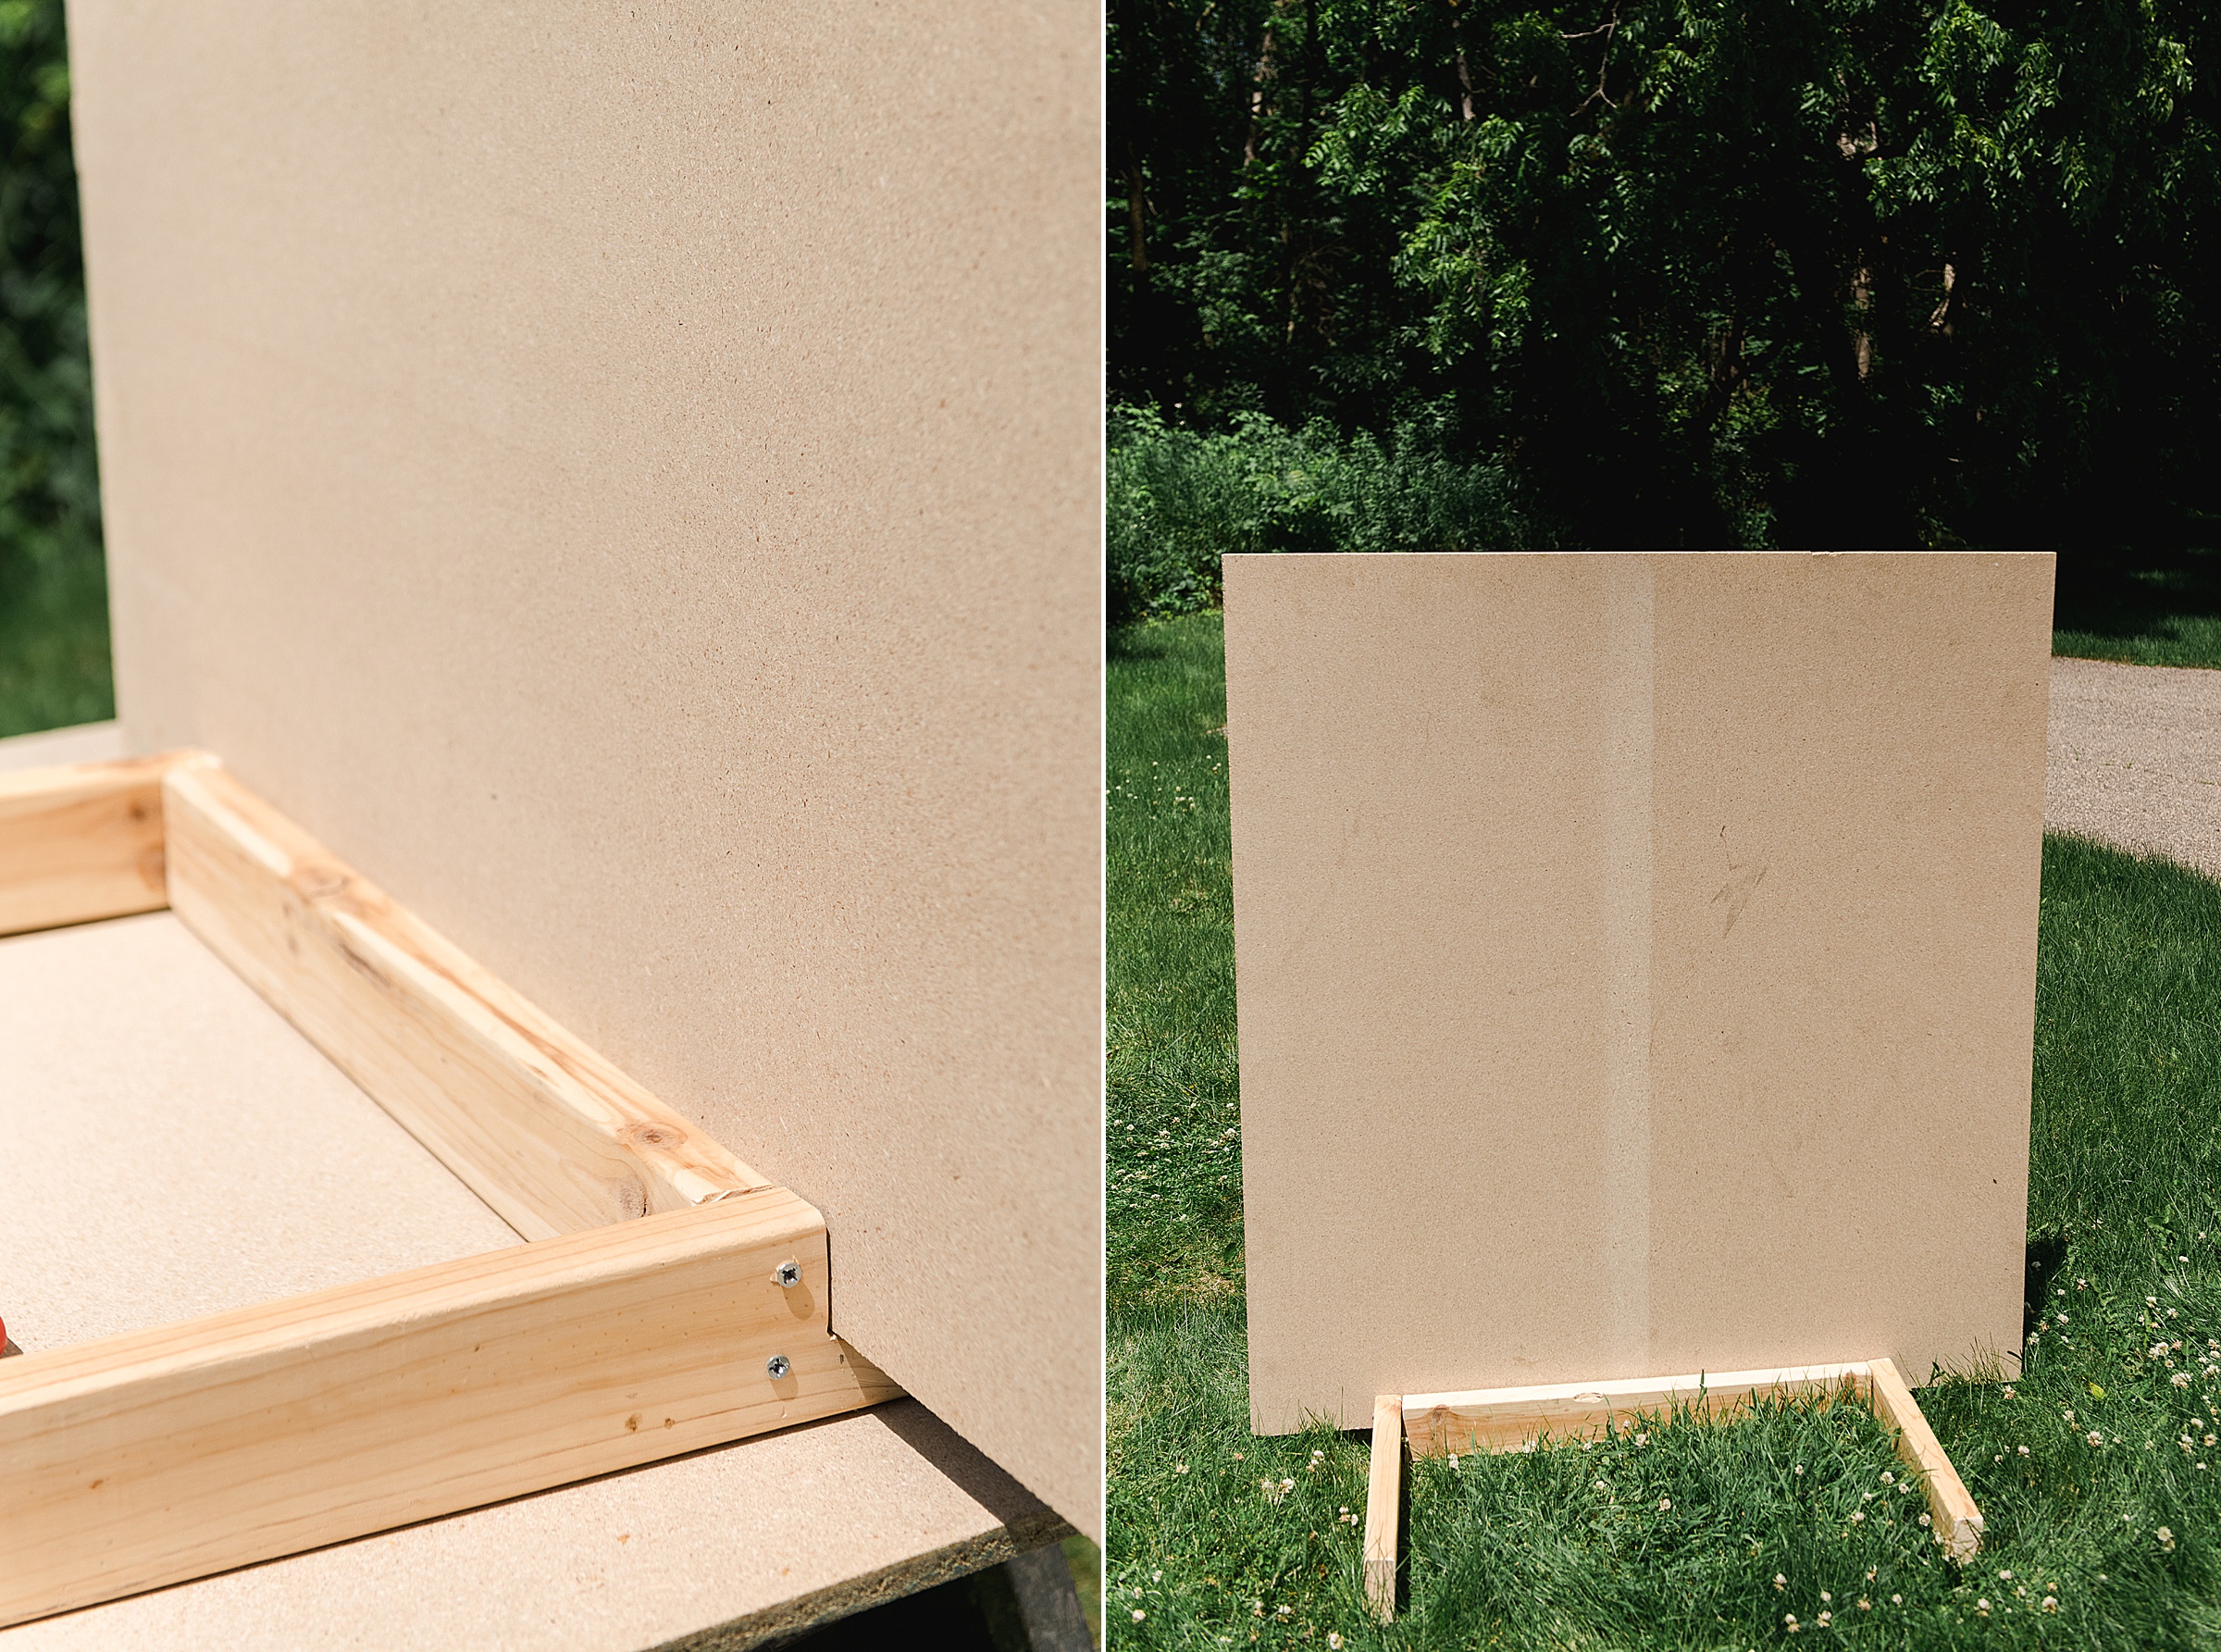
Begin by sanding down any rough edges from the cutting process (you want to be able to use, set up, and store this game board easily). Then you will use a drill and wood screws to attach the 27” pieces in the center of the 36” pieces perpendicular (making a giant “capital I” shape). You will leave a space for the vertical game board exactly where the notched-out sections you previously cut on the 36” in step 1.
3. Paint both the big game board and the base white primer.
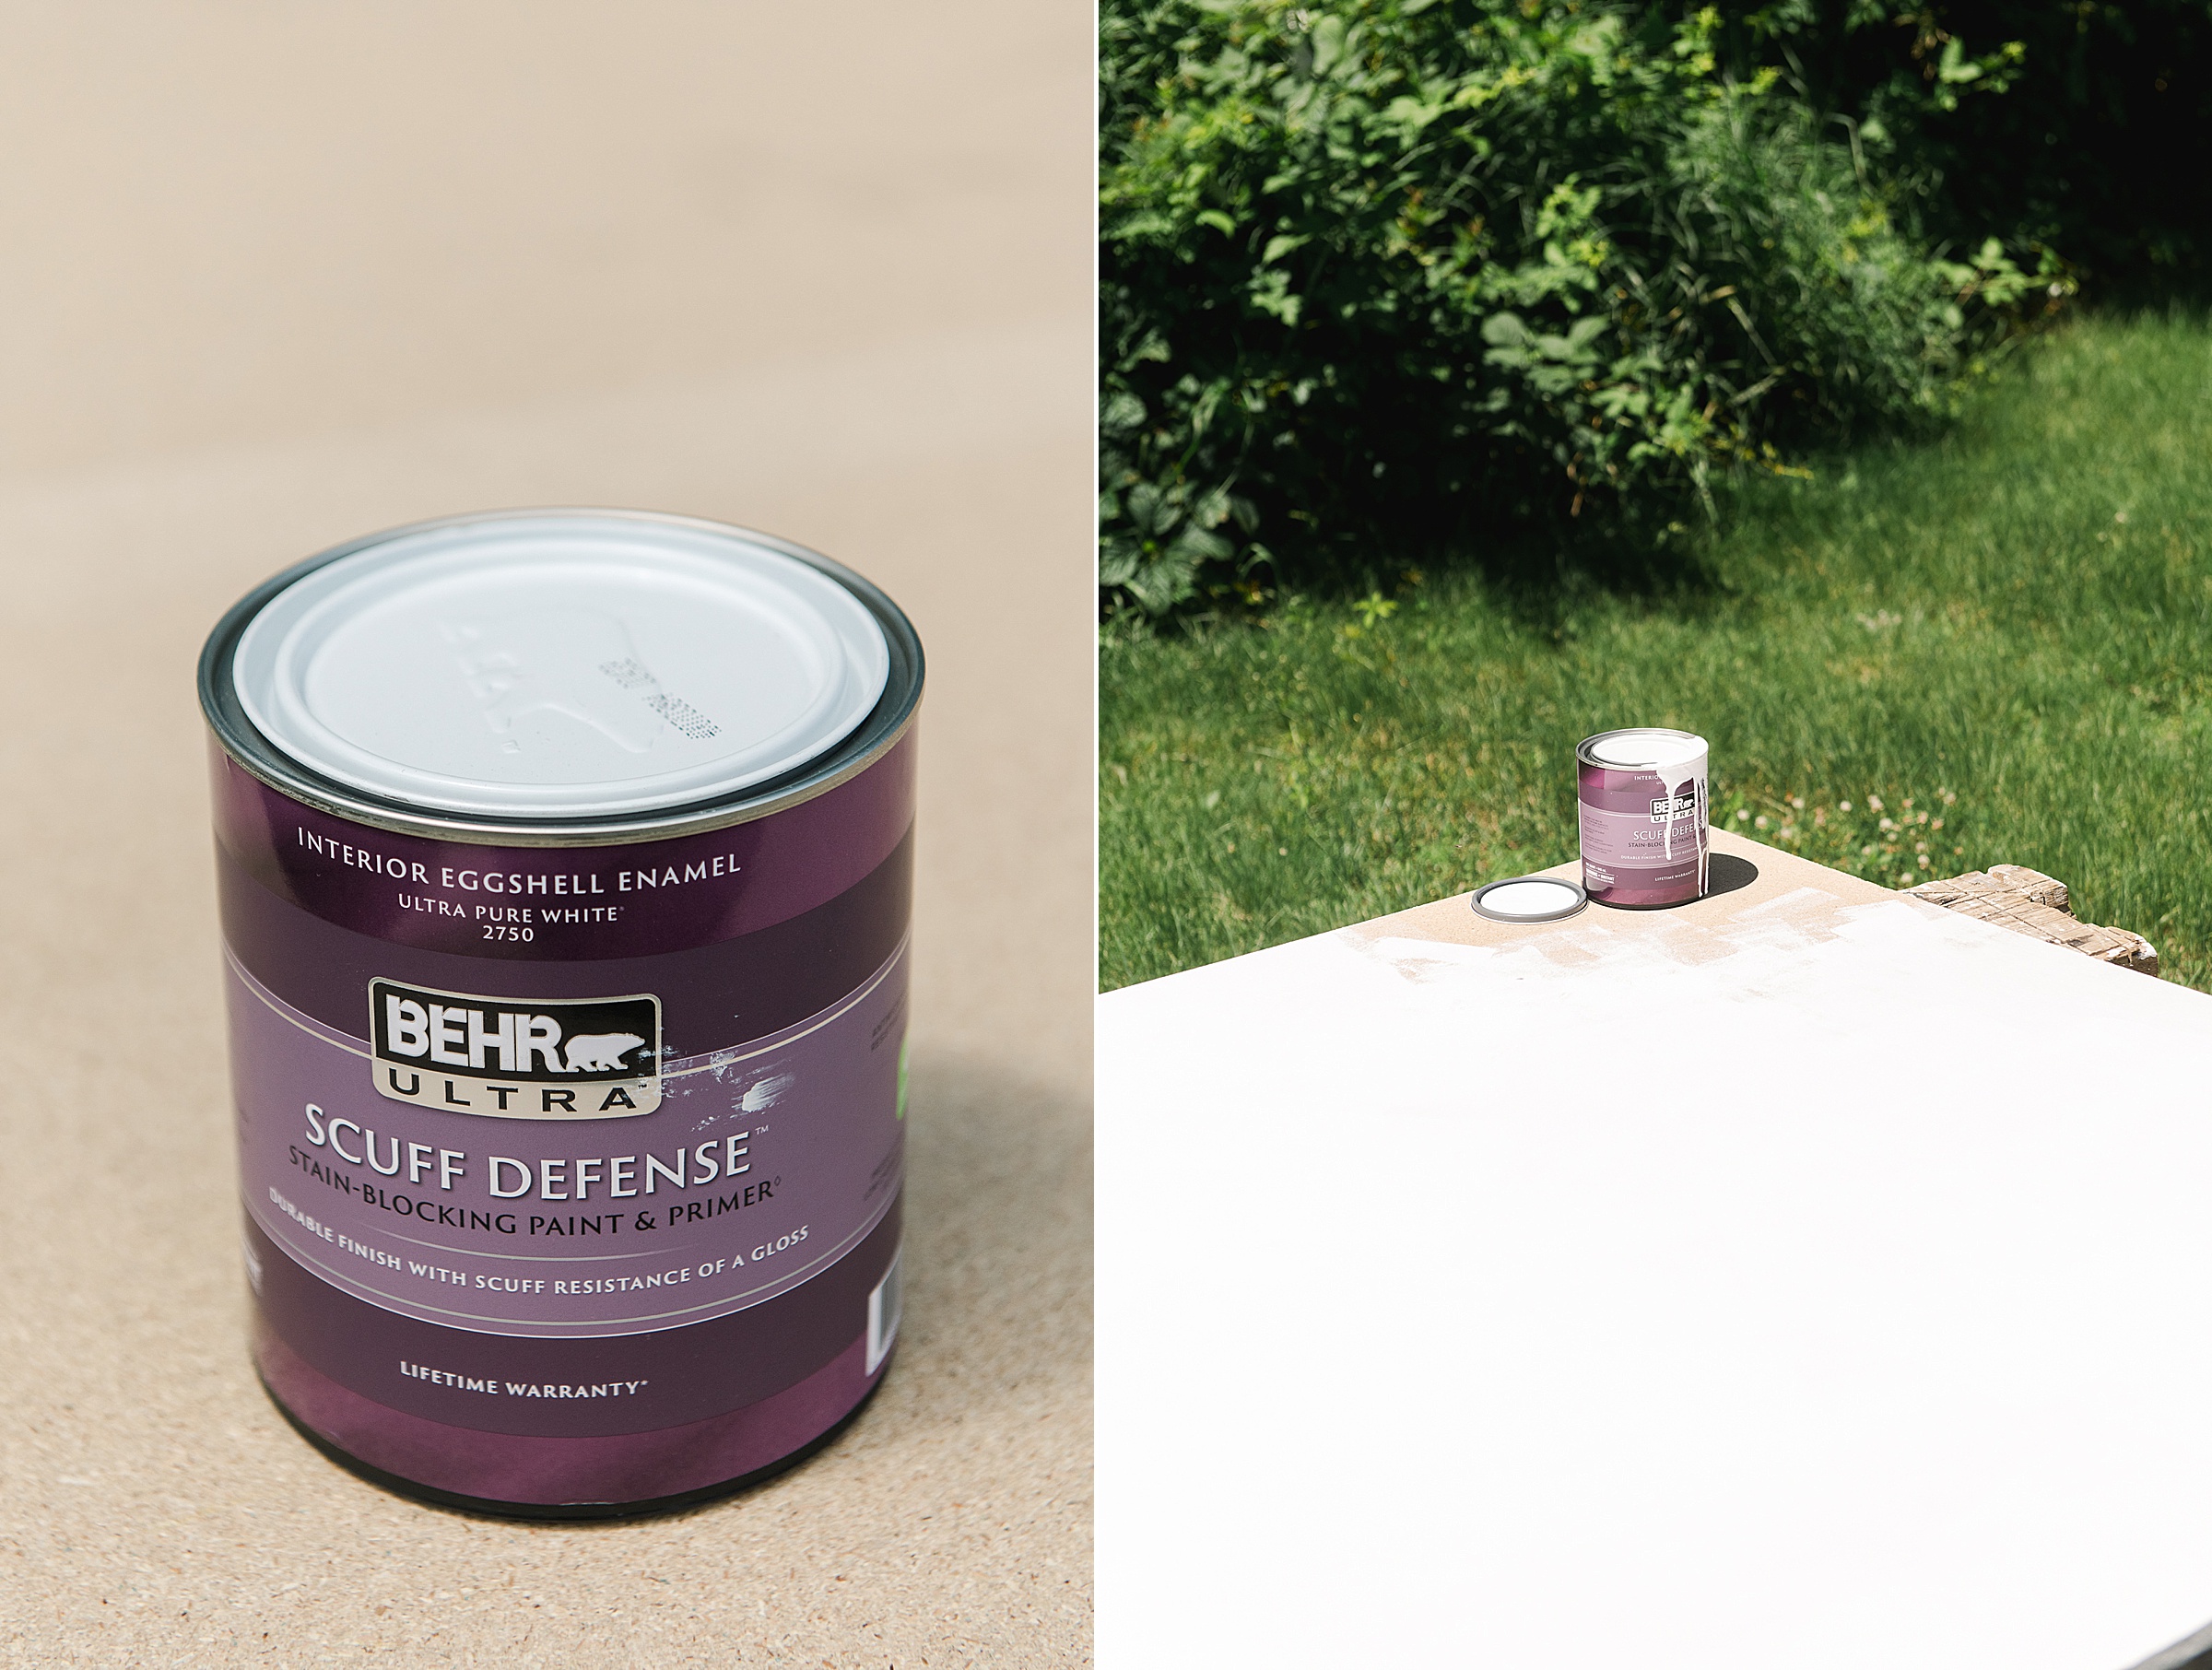
Be sure to paint both sides of the game board and give everything a 2nd coat if needed 🙂
4. Begin to mark out your game board
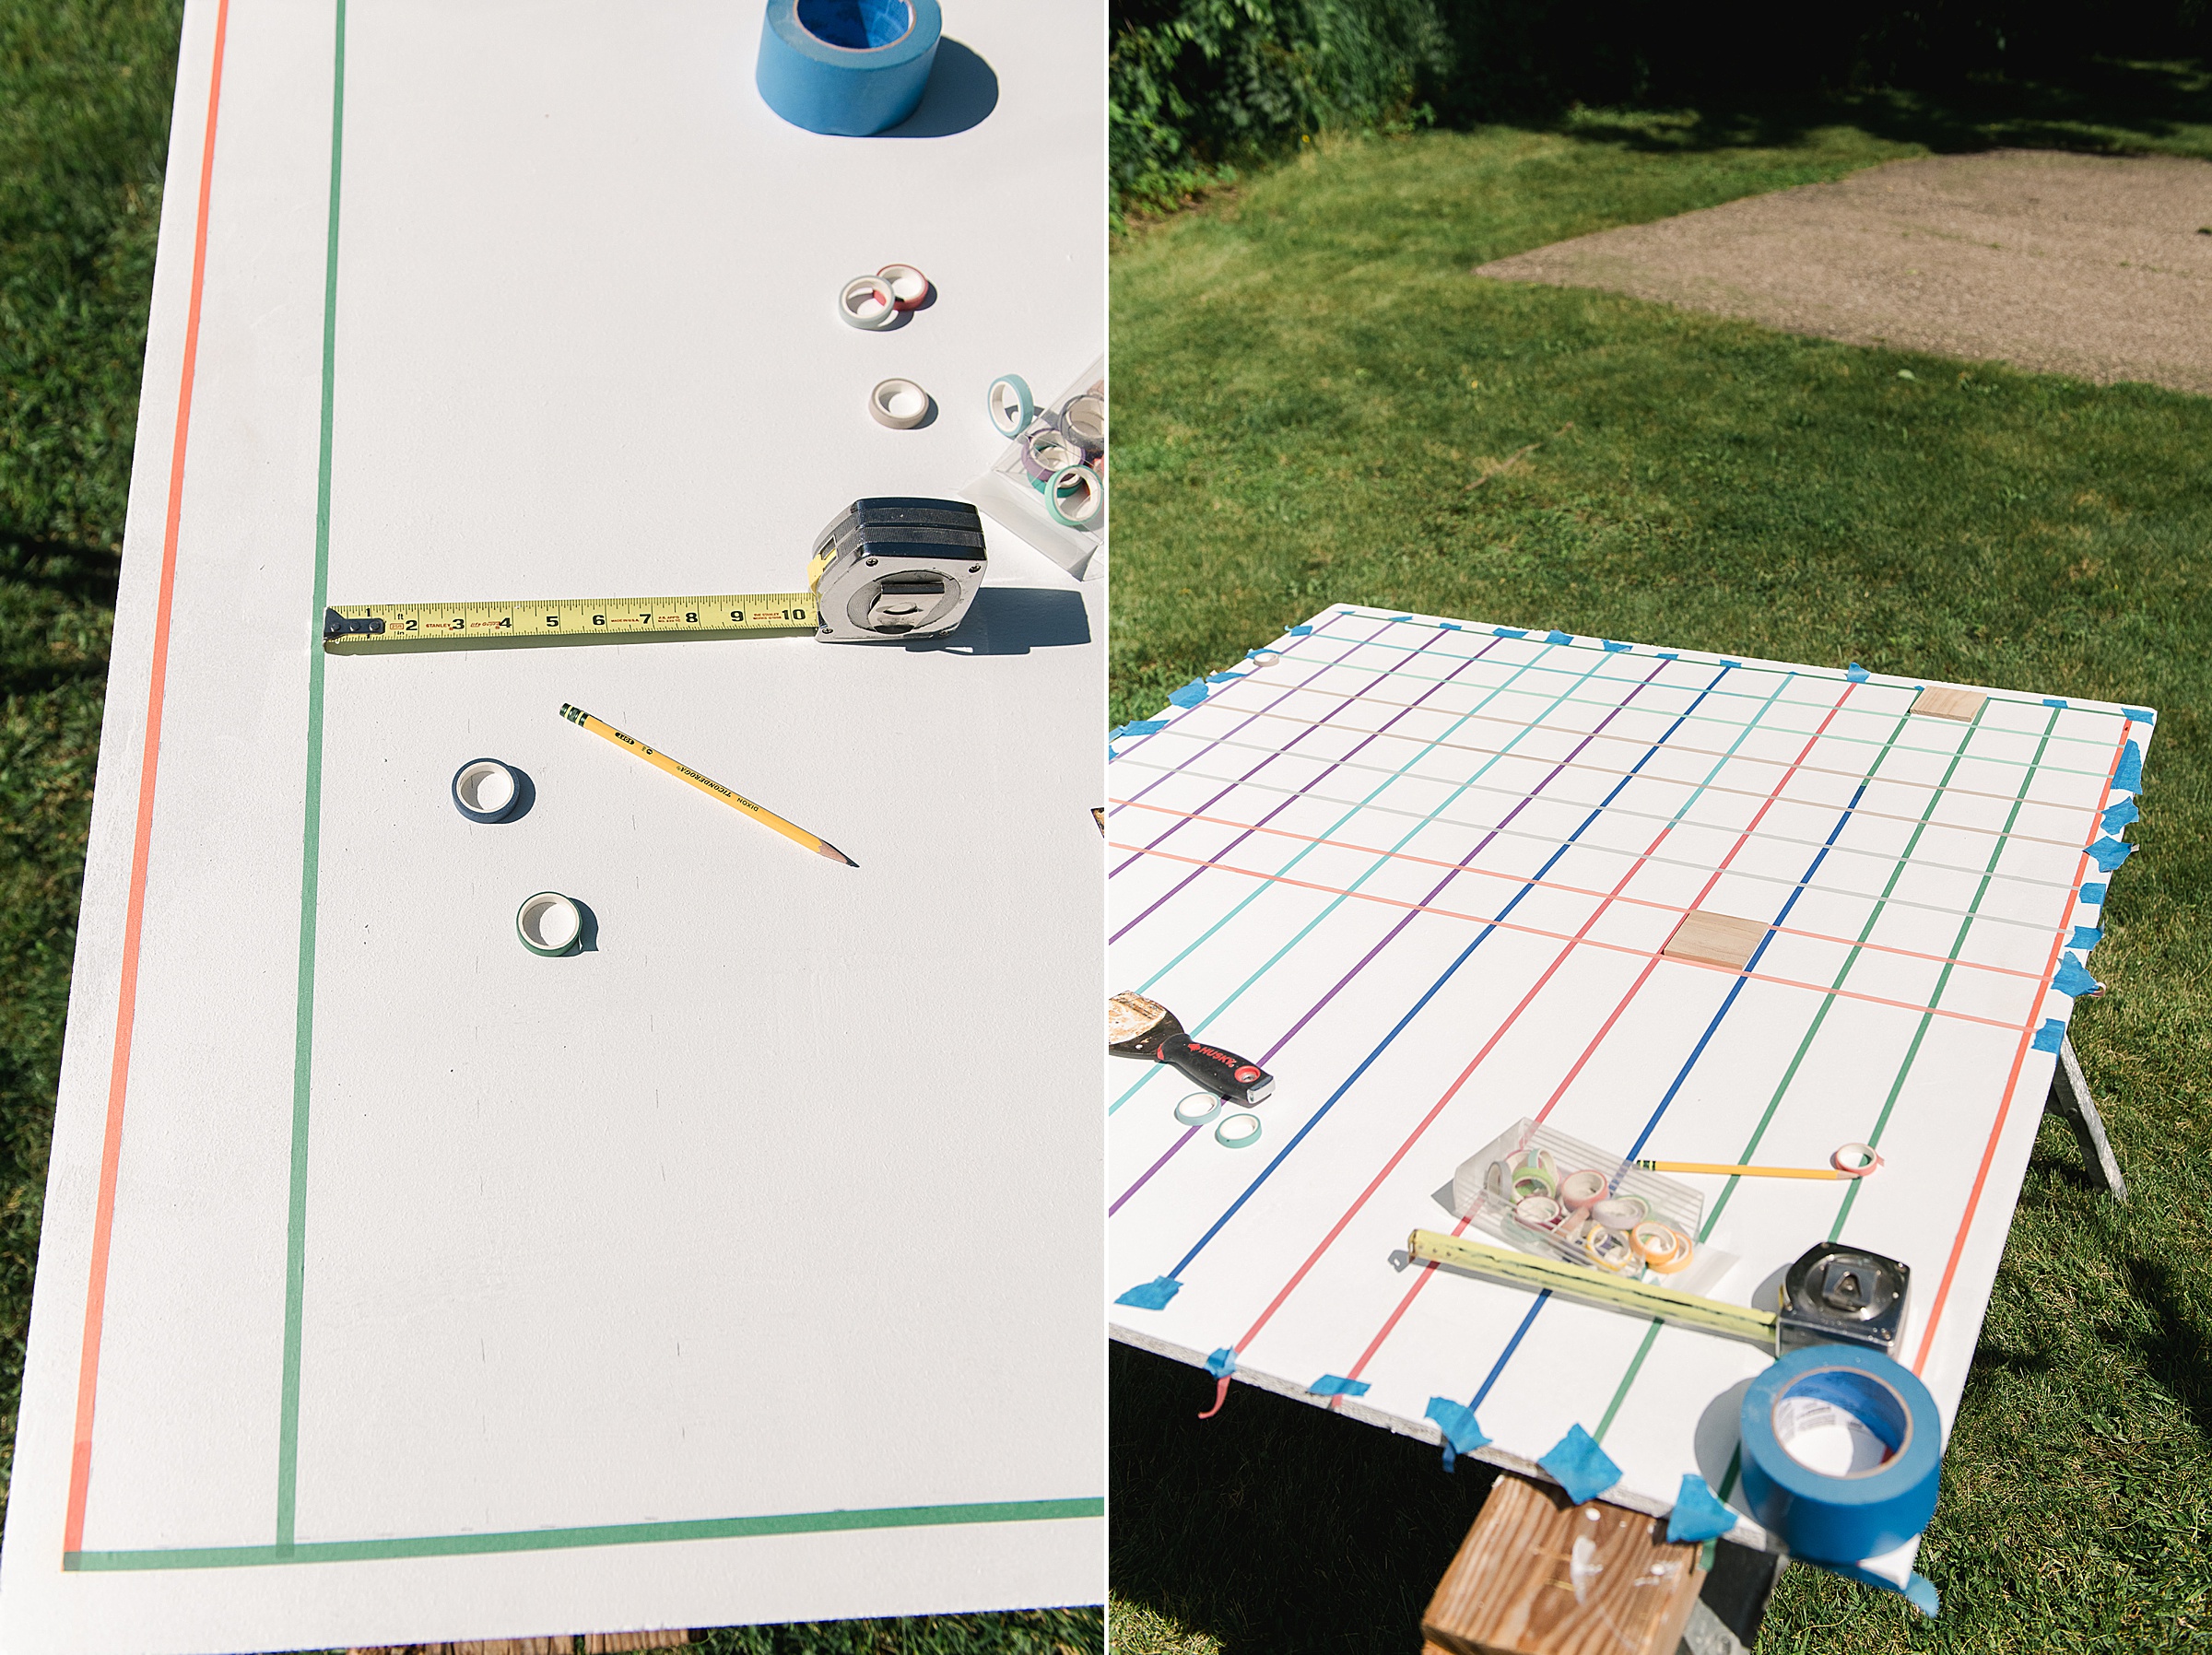
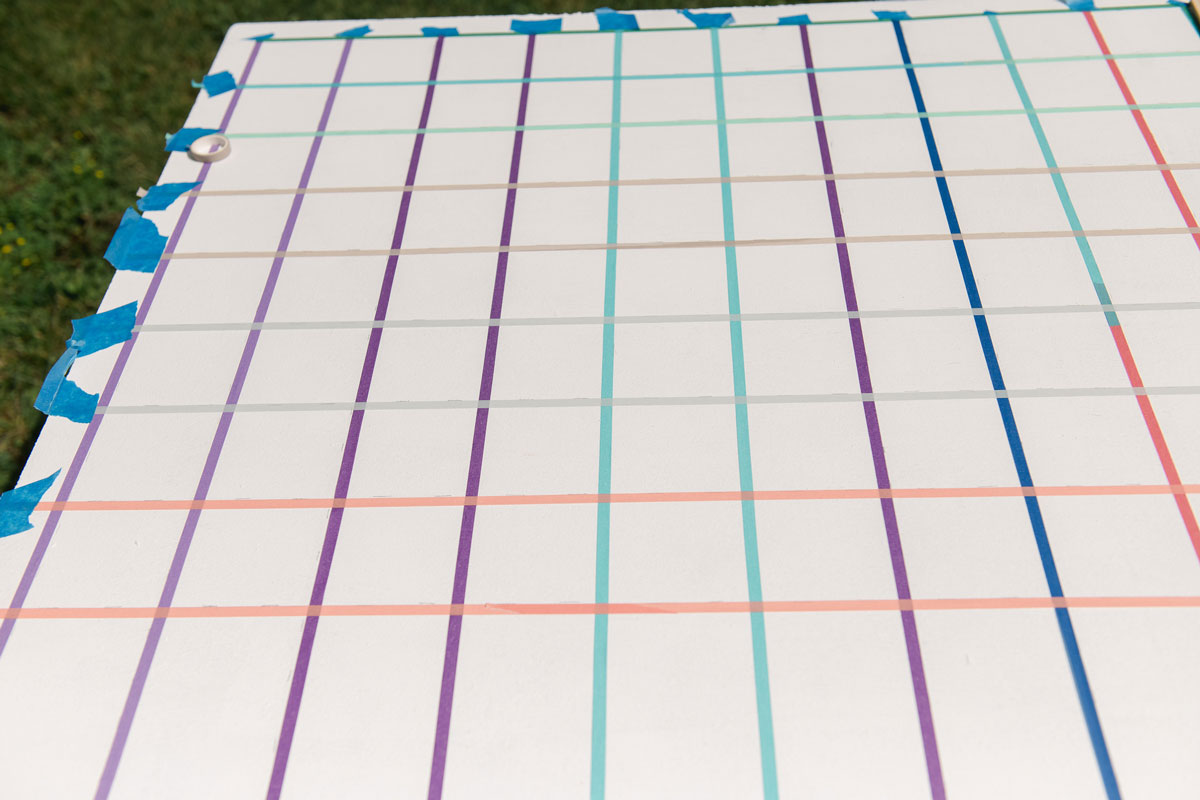
I did this with a ruler, a pencil (or chalk), some washi tape, and painter’s tape. I chose to make a grid with 3 1/4” squares in the center (for my 3” tiles), a 1 1/2” edge on three sides, and a larger edge along the bottom where the base will cover.
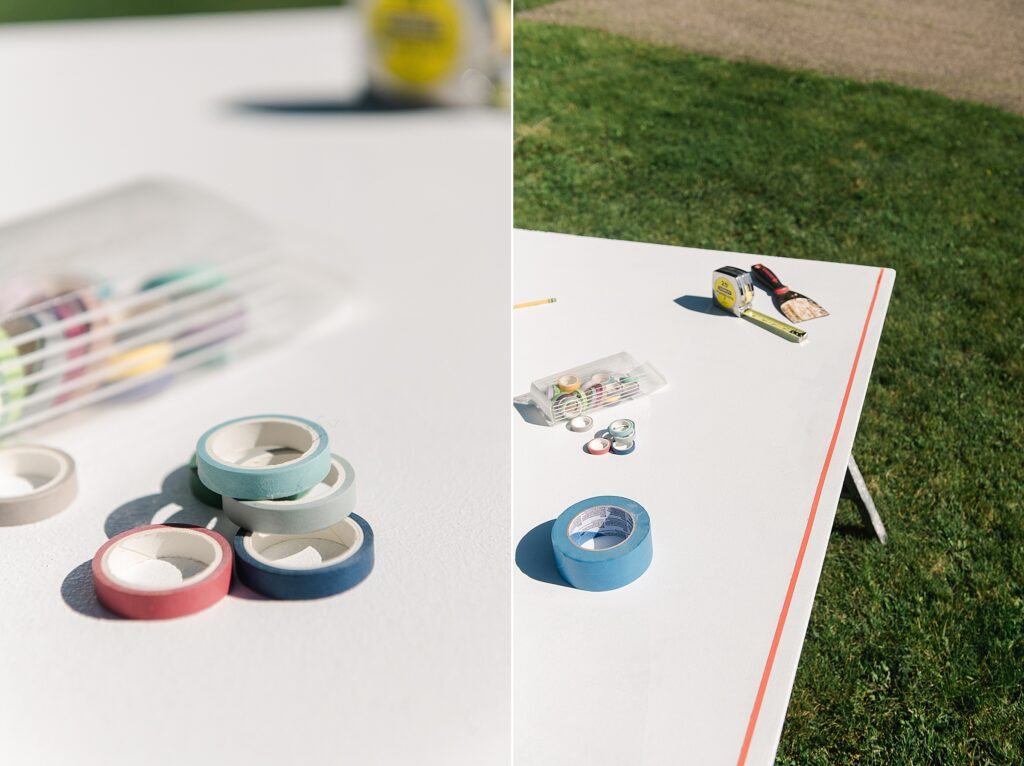
I began by marking off my 1 1/2” edge along one side and then made my 3-inch square, putting the 1/4” washi tape in between as the “gap”. I wanted the squares to be close together since this is a letter board and the words to be seen and placed.
Once everything was marked off, I secured the edges of the tape with a big line of the stronger painters tape just to be sure it all stuck in place and then got to painting.
5. Paint your game board!
The best “trick” for making crisp lines while painting is to “seal” off the tape with the background color (in this case white). So, my first coat was a thin coat of white that sealed the tape and dried fairly quickly. Then, I chose darker pink for most squares, so I did one layer across the whole board, covering all the tape.
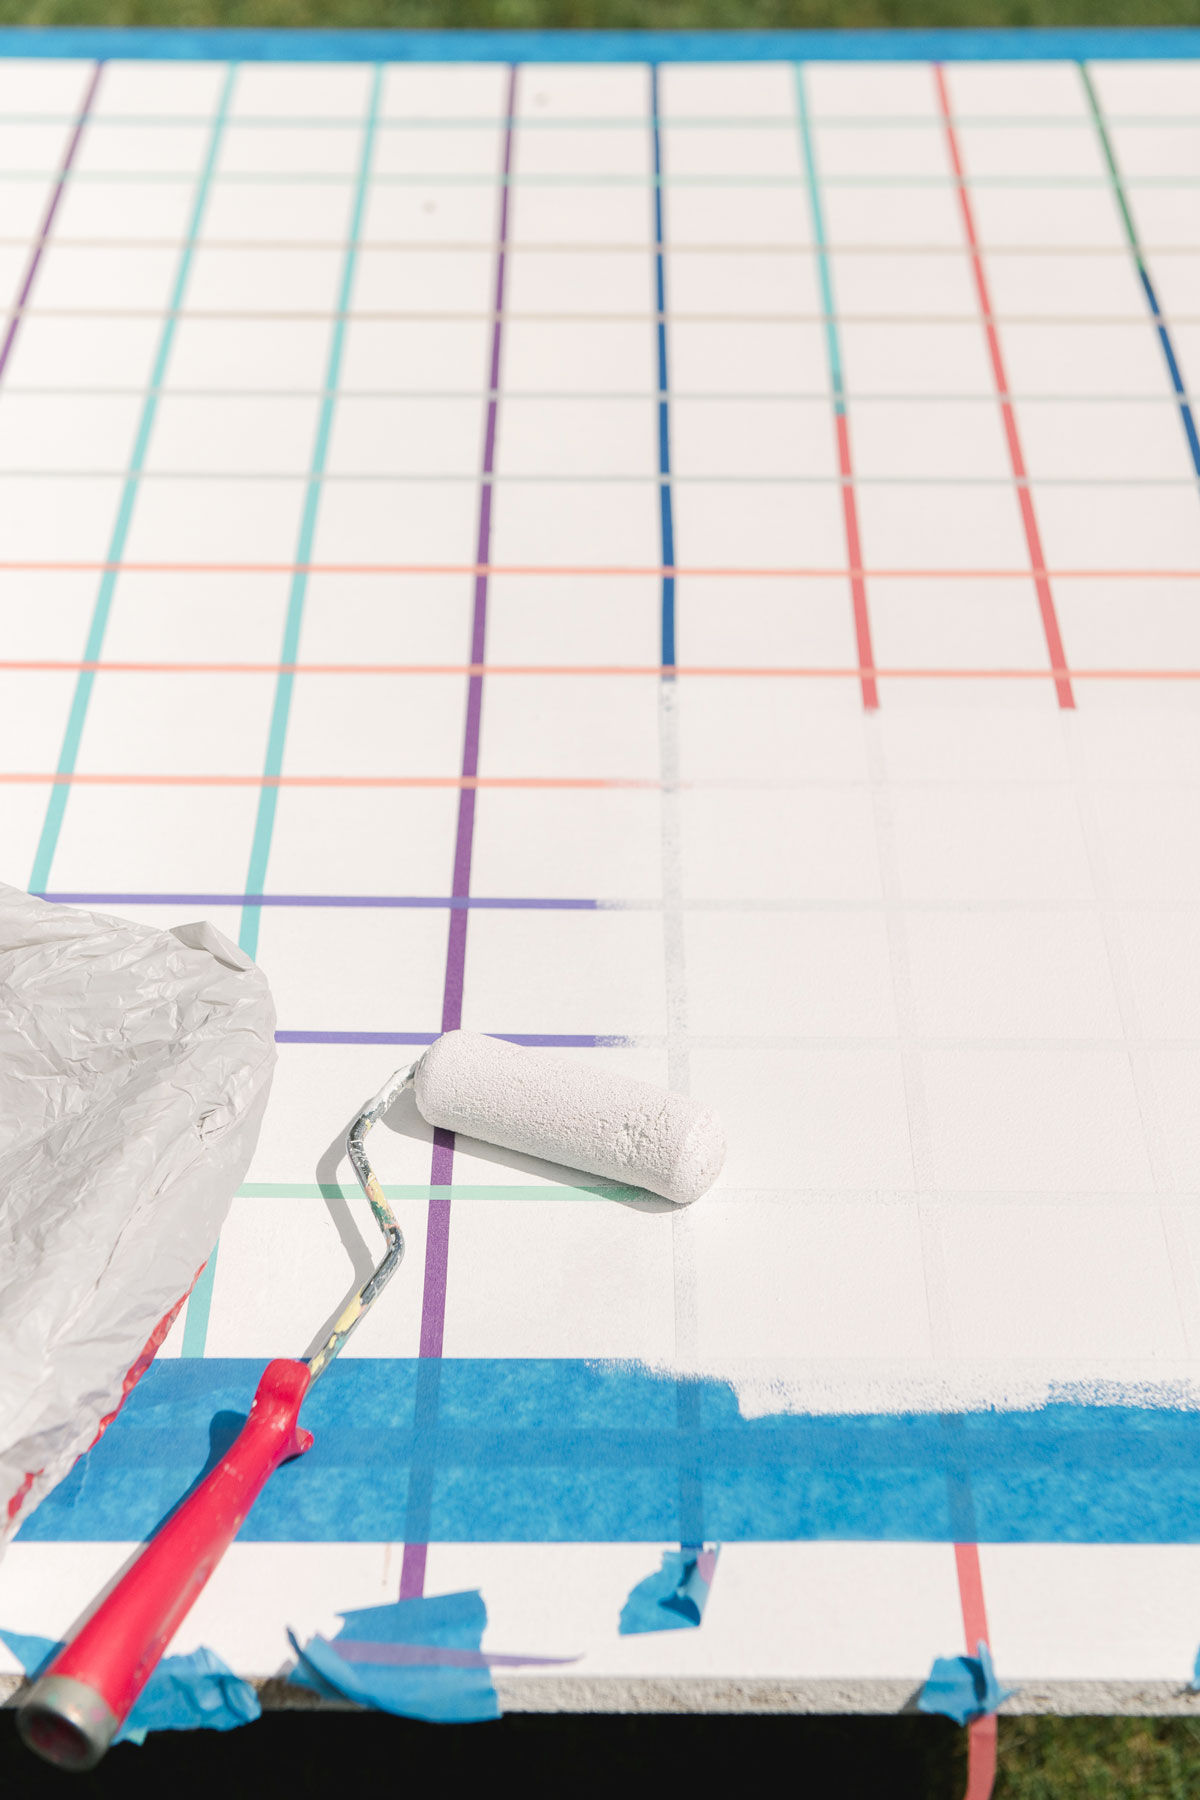
Note: Since I chose acrylic paint for the game board colors, I watered them down just a tiny amount so that they would spread easily without clumping (sometimes, good acrylic paint is awesomely thick).
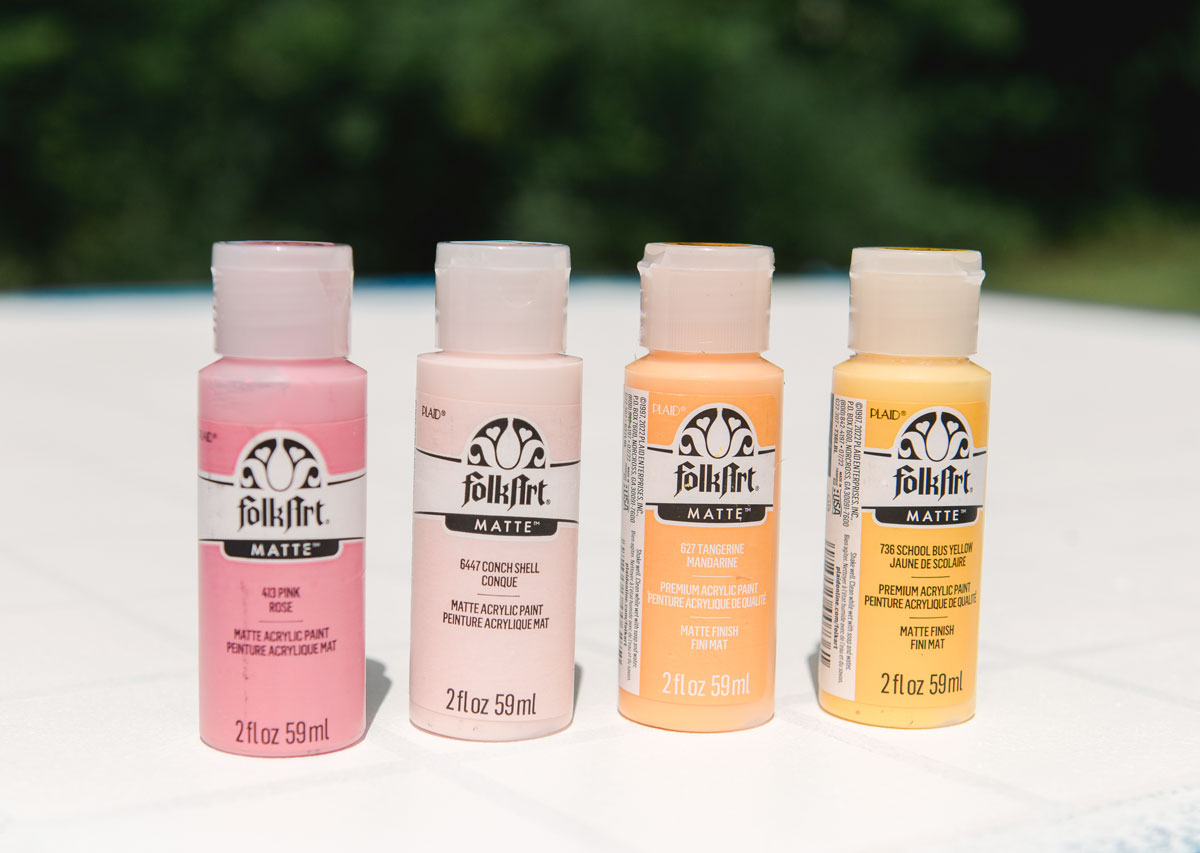
After the dark pink was dry, I went in with my yellow, orange and light pink to add the other colored squares – these can be used for double/triple points when playing the game, so just think about where you want to place them as you choose what colors to paint where.
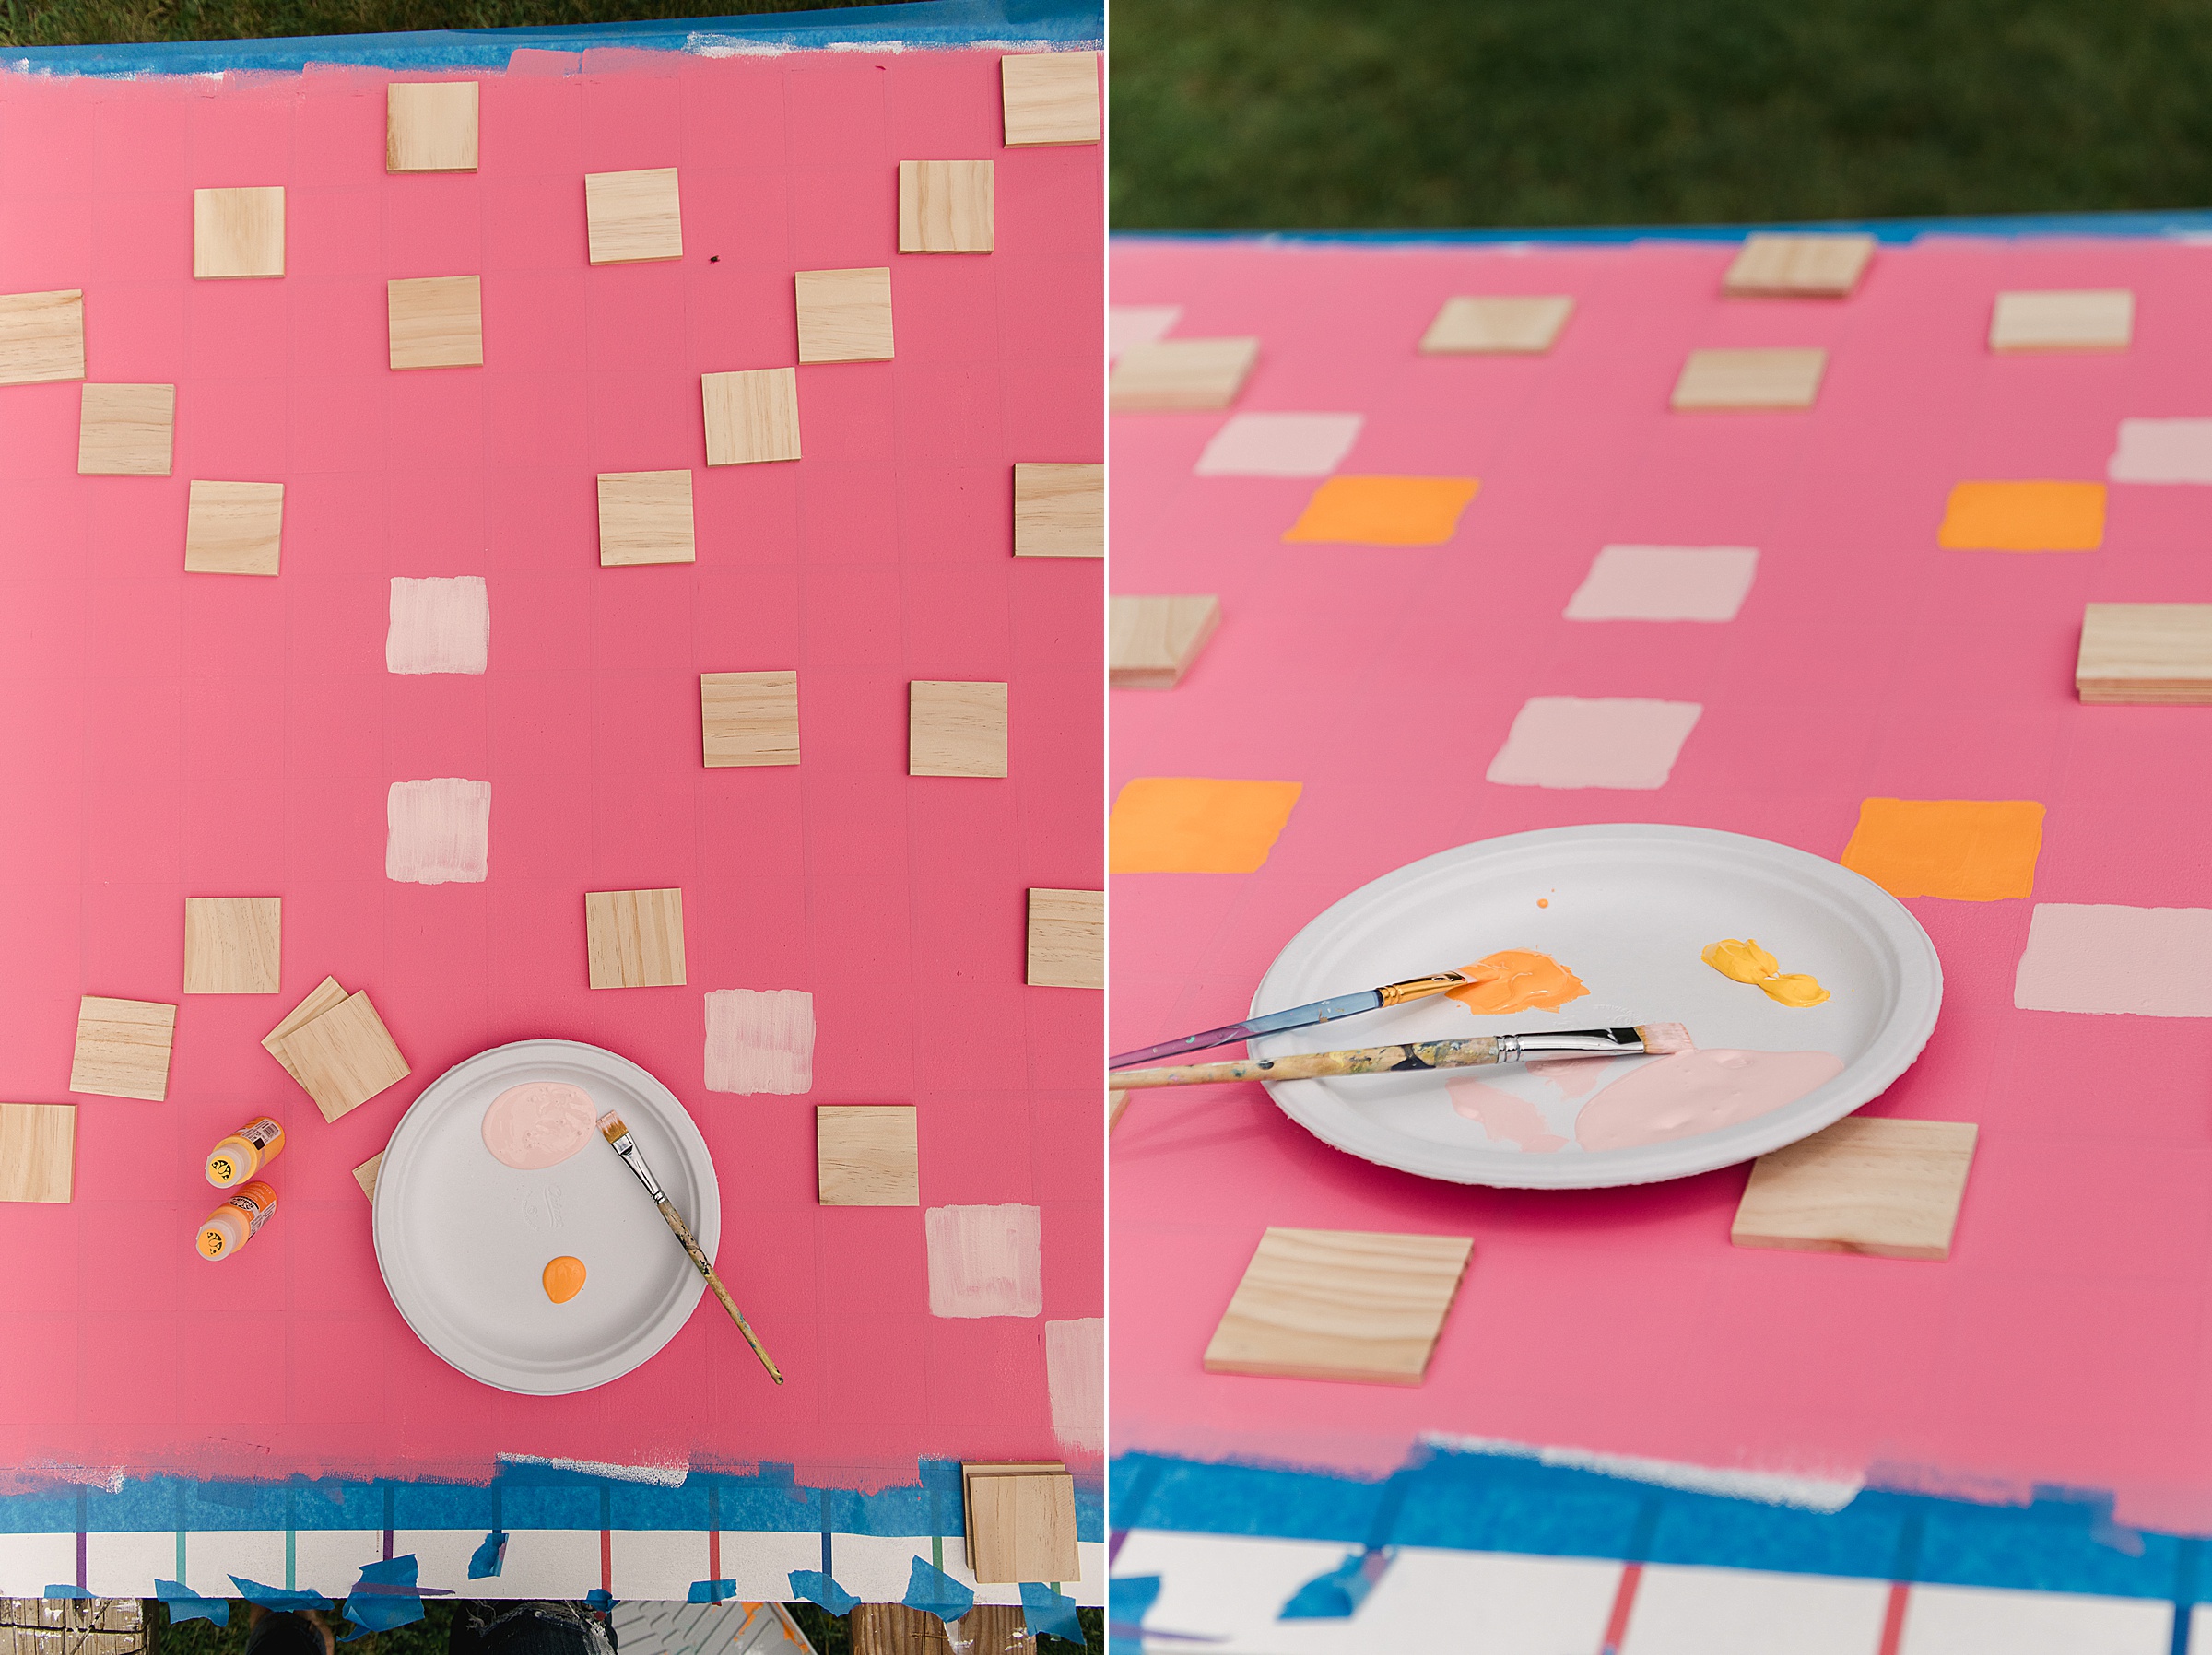
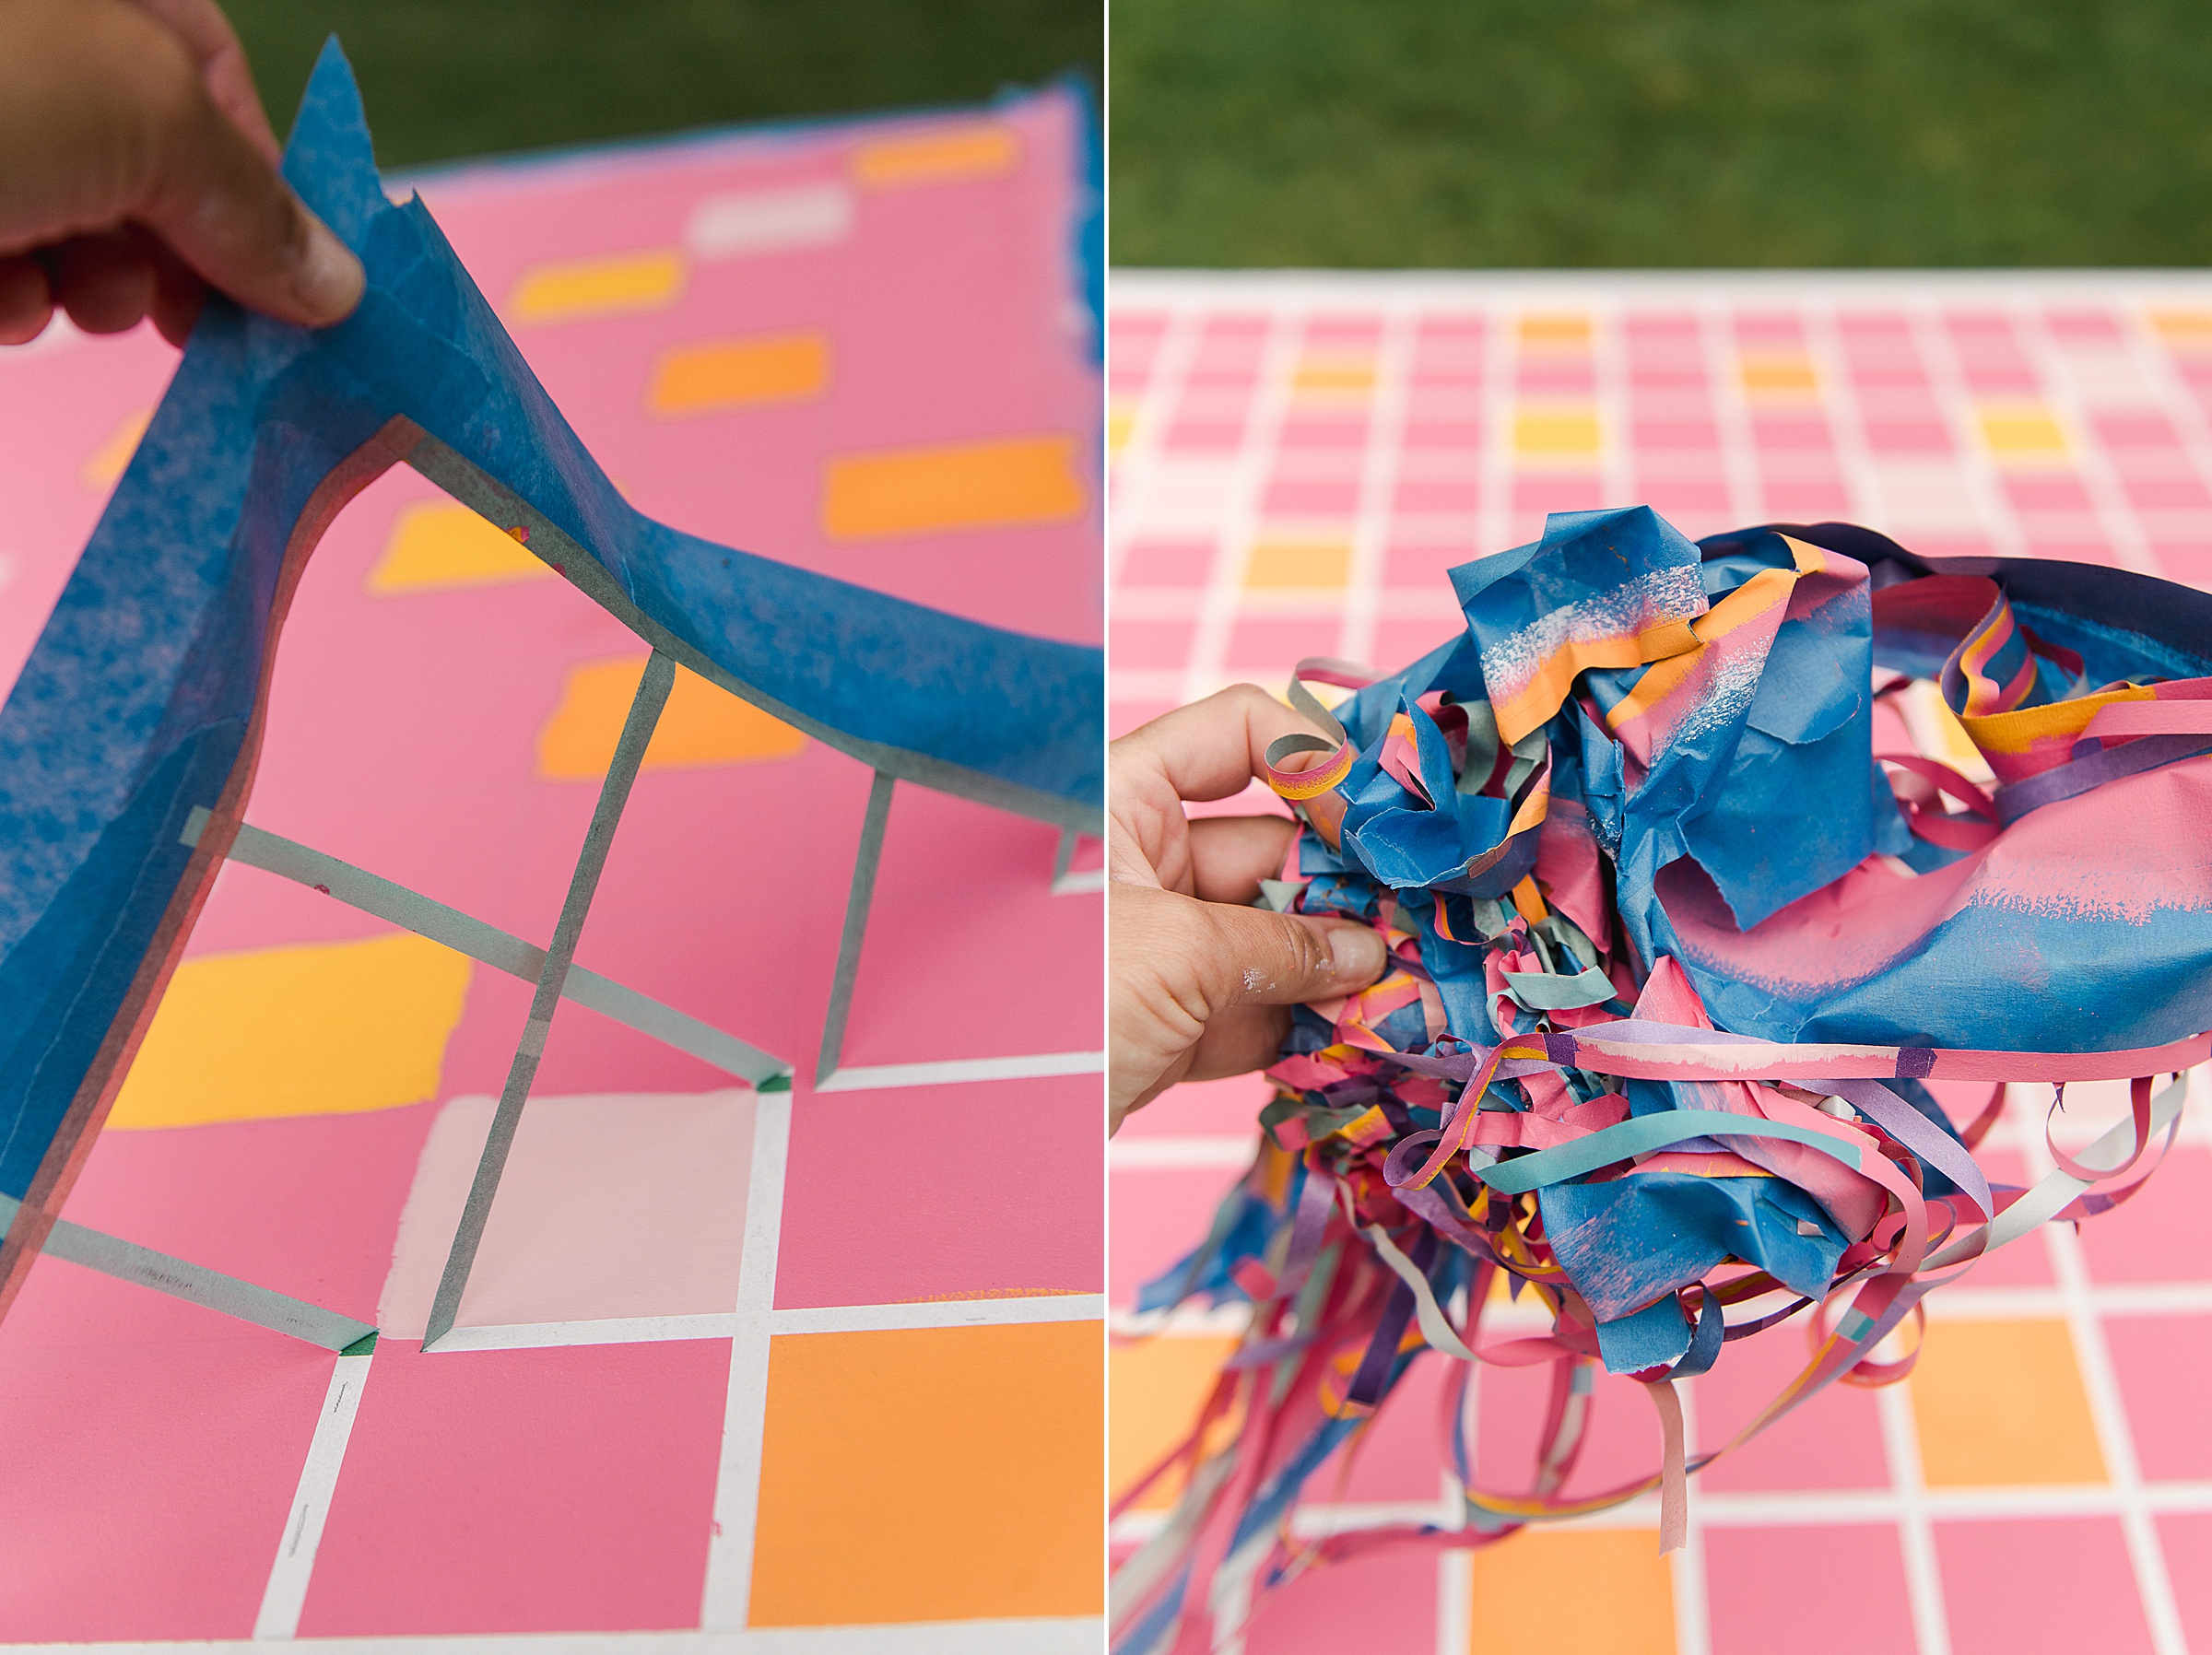
Allow it to fully dry, and then use your favorite sealer to seal everything on the game board. I chose to do this to increase the game board’s durability and outdoor weathering.
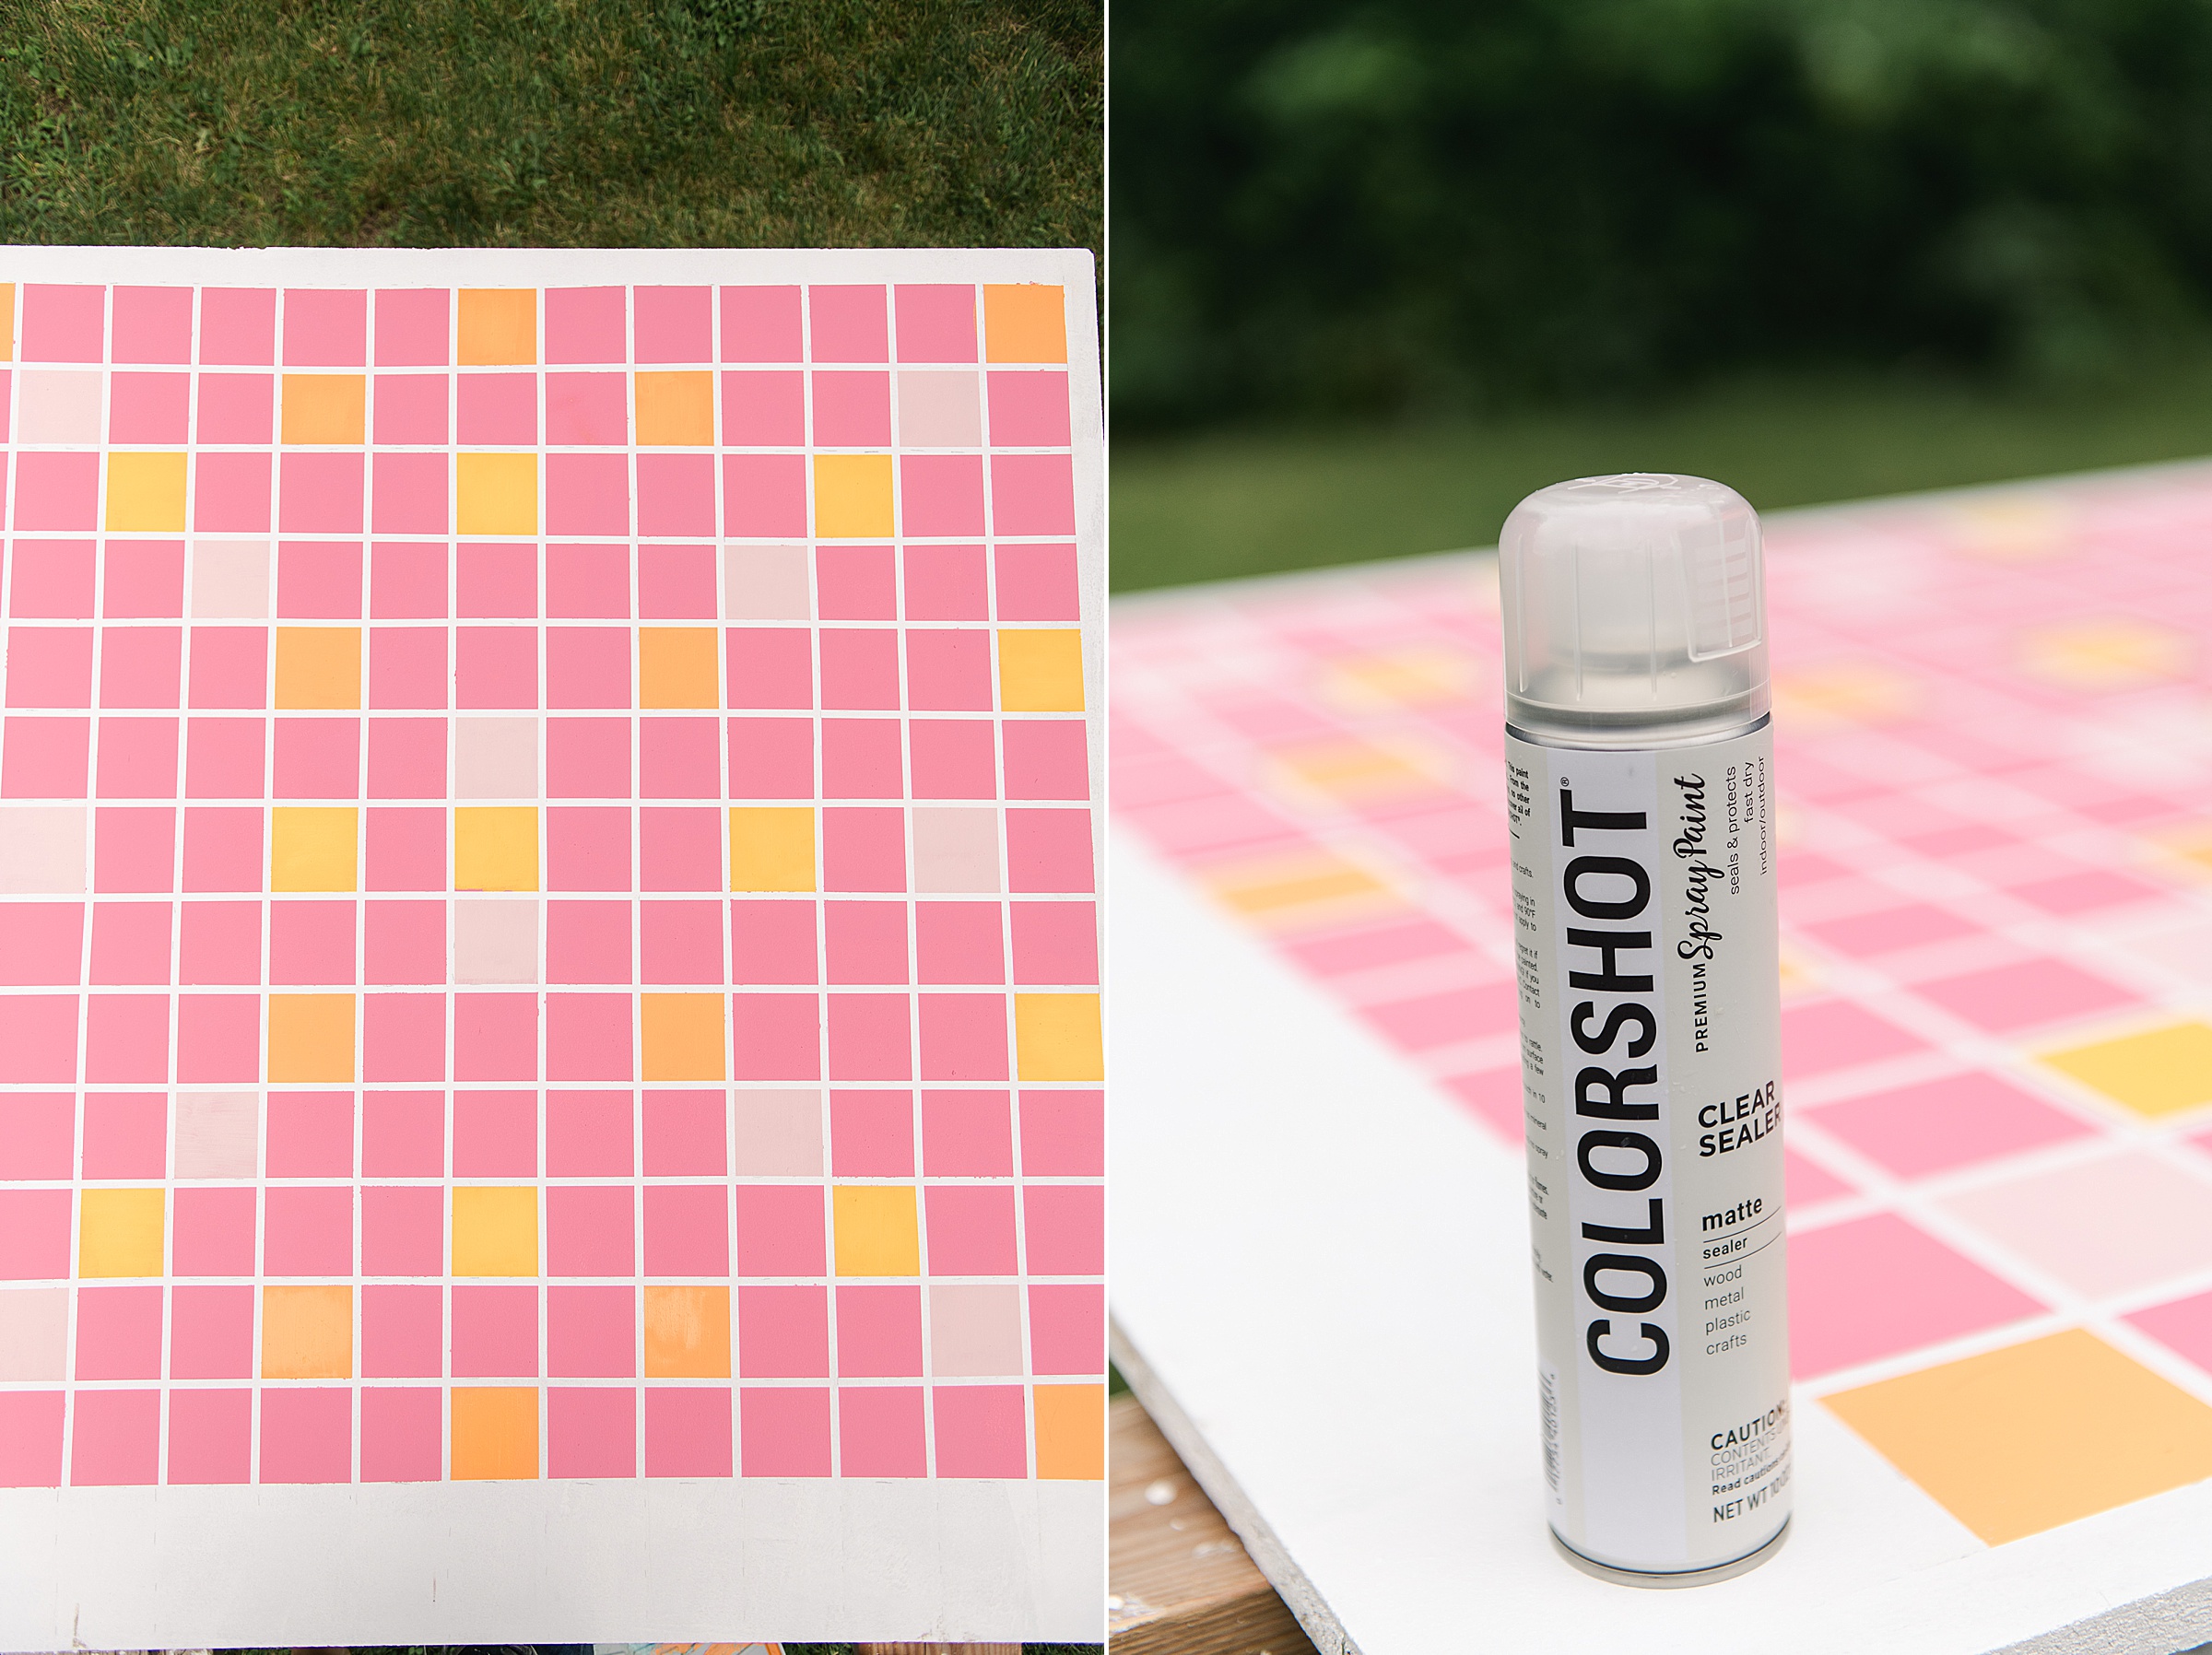
6. Paint backside
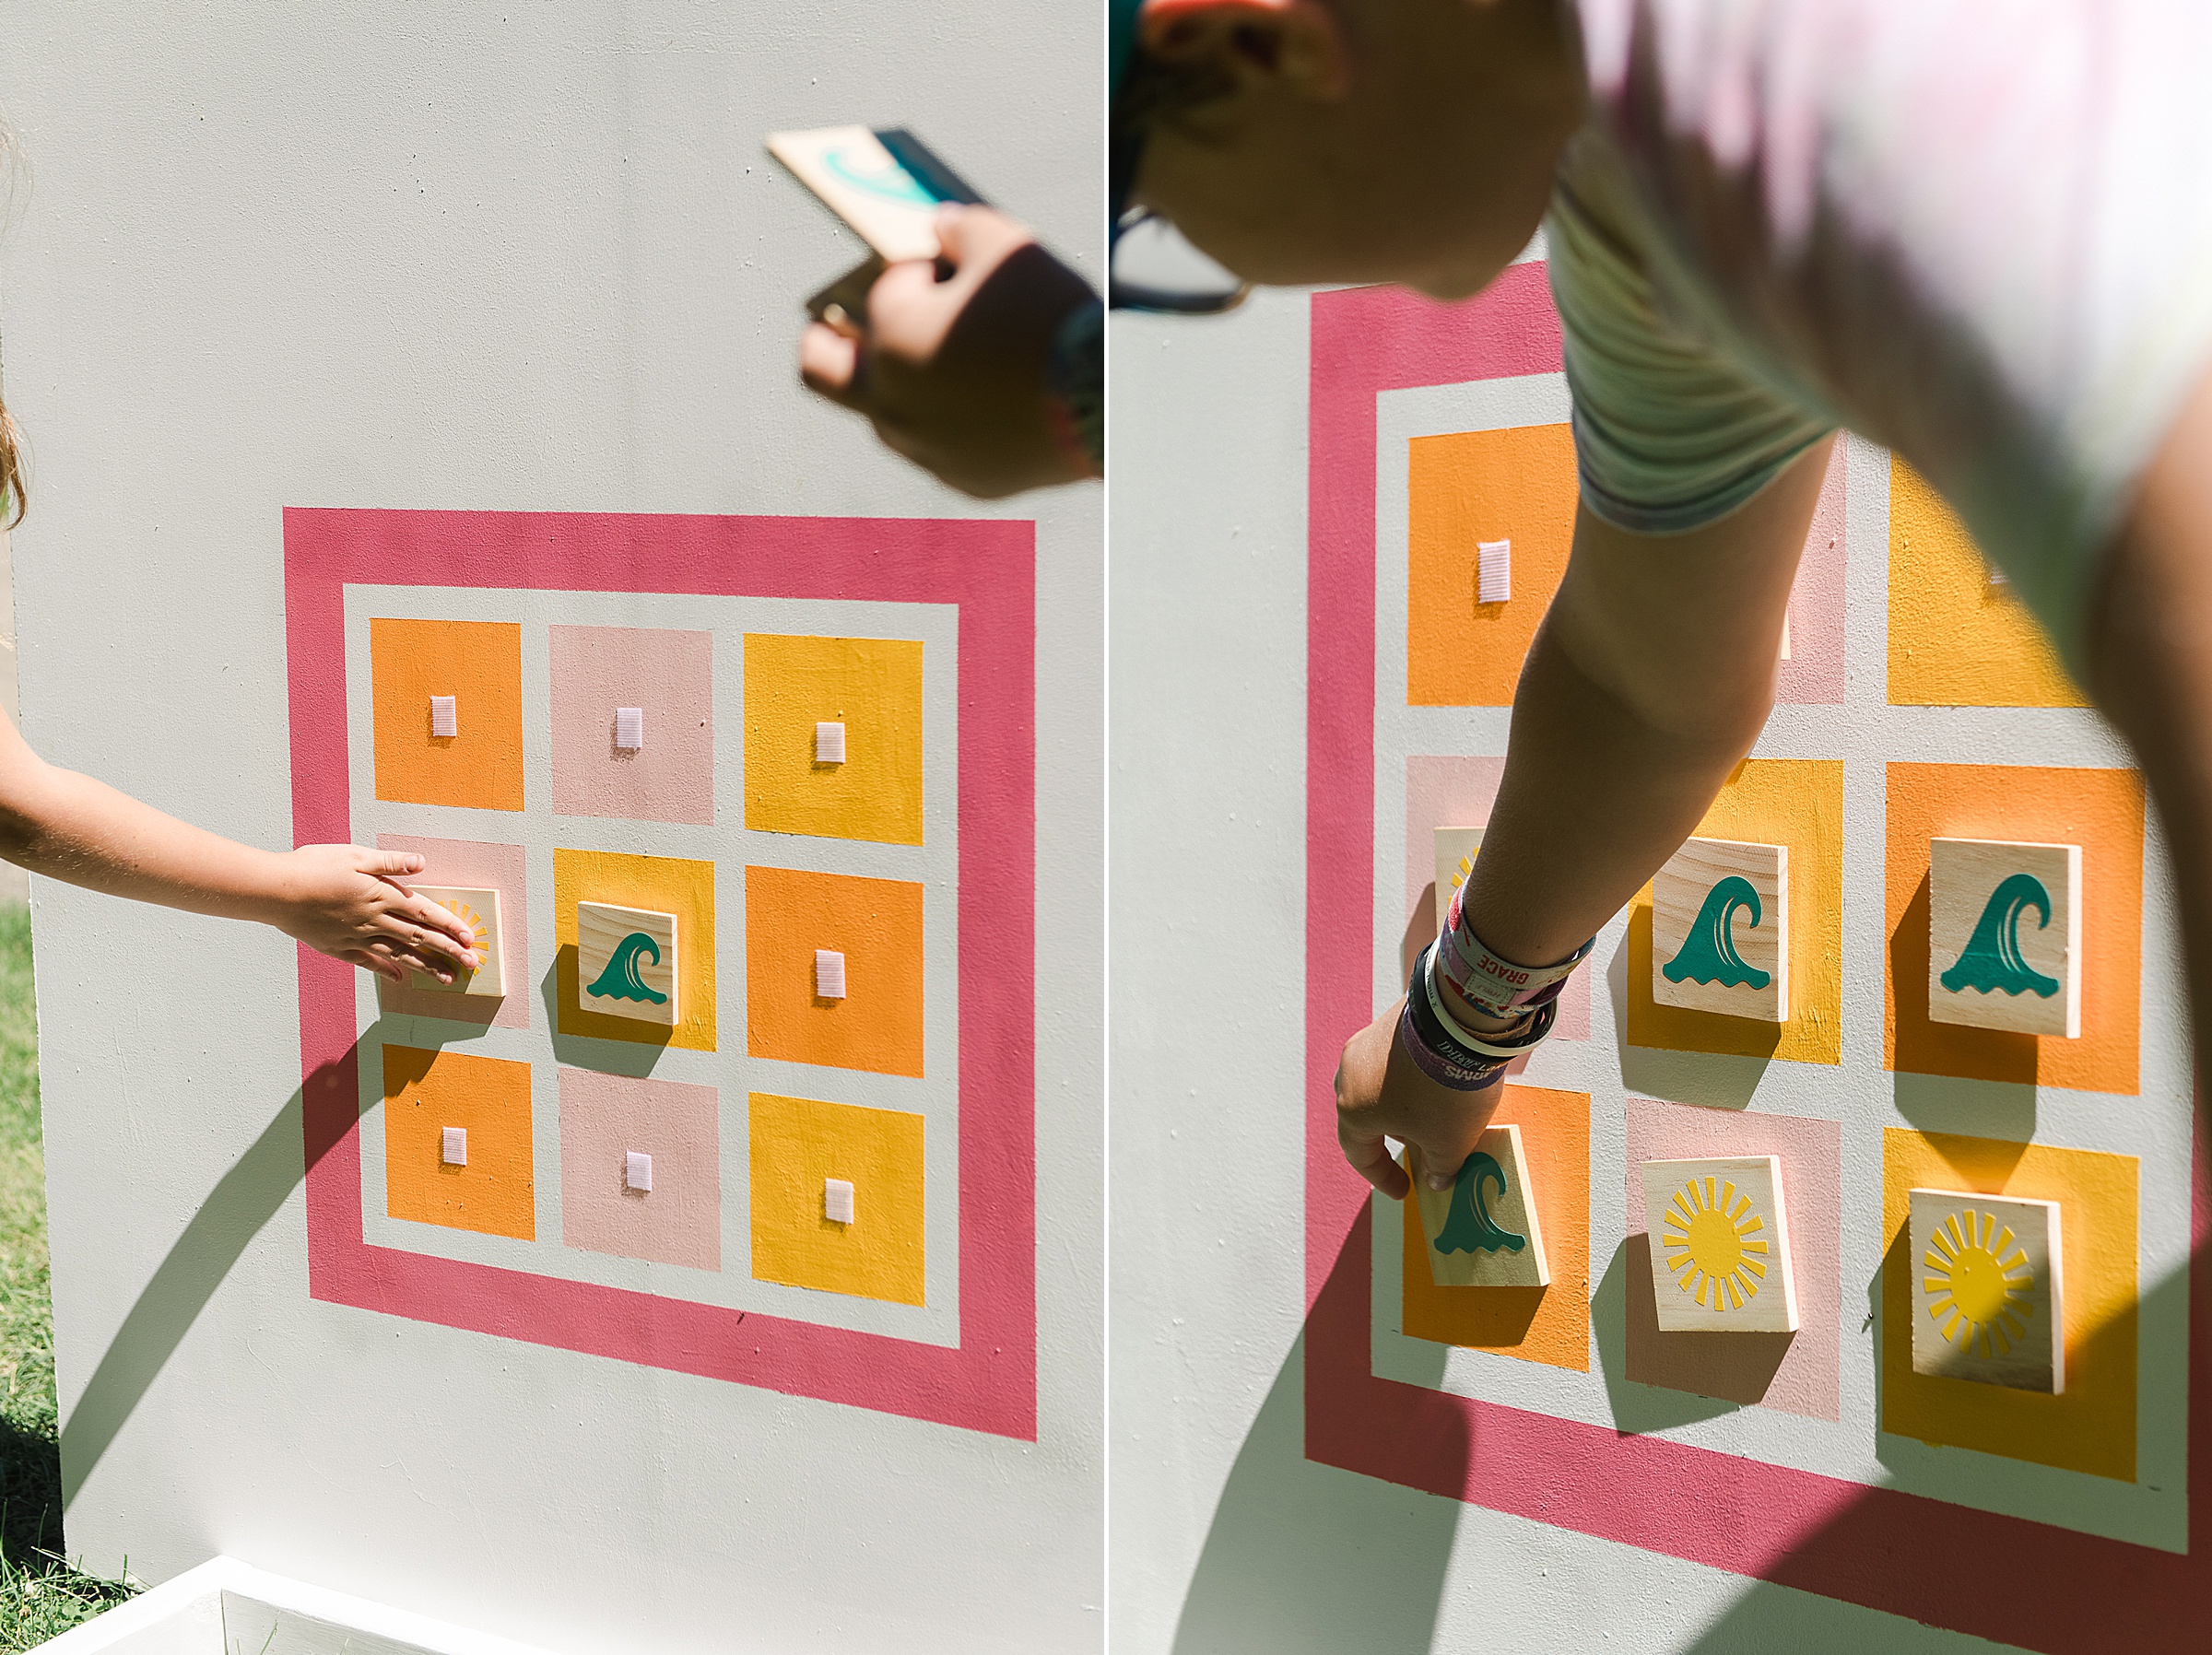
Repeat any gridding/painting instructions from step 5 for painting the backside of the game board! I chose to do a tic-tac-toe board on the back (to help include the non-spelling/reading little kids that come to our house), so I centered a grid on the backside with 9 squares for this game.
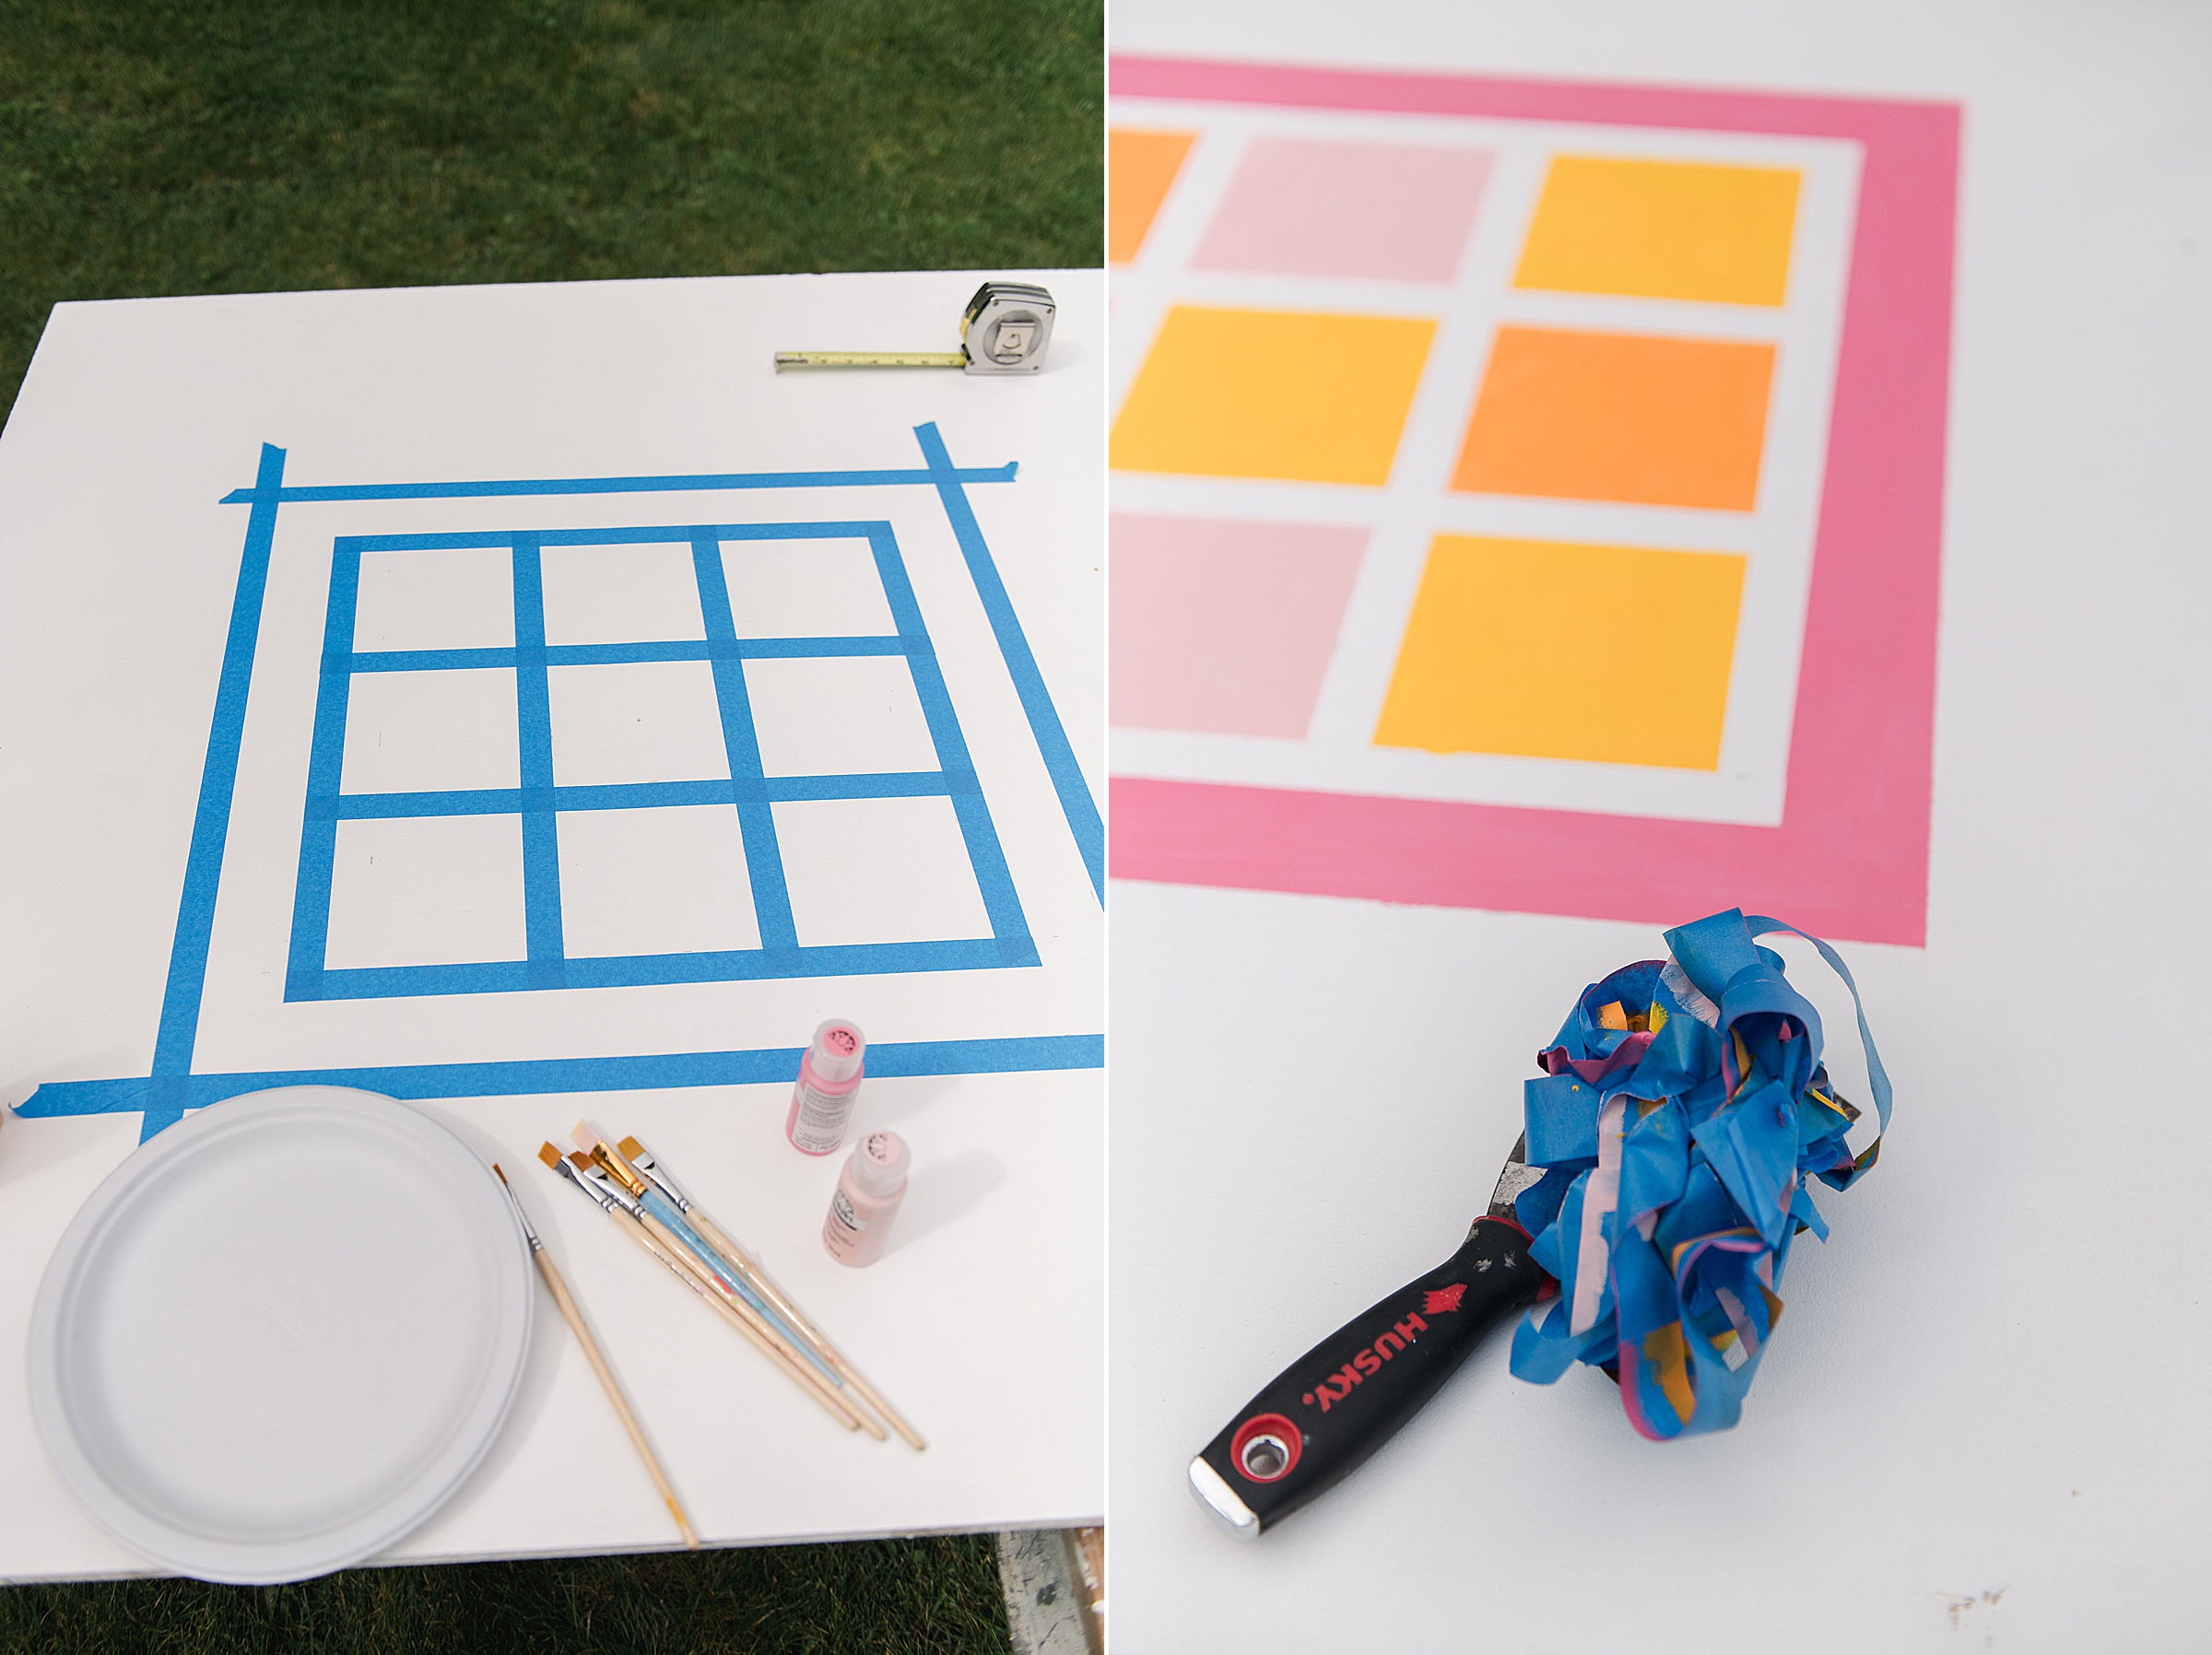
7. Add letters to tiles
I chose to use my Cricut cutting machine to make these out of some permanent vinyl, but this step could also be achieved by hand painting the letters (and you can even get your kids involved too)!
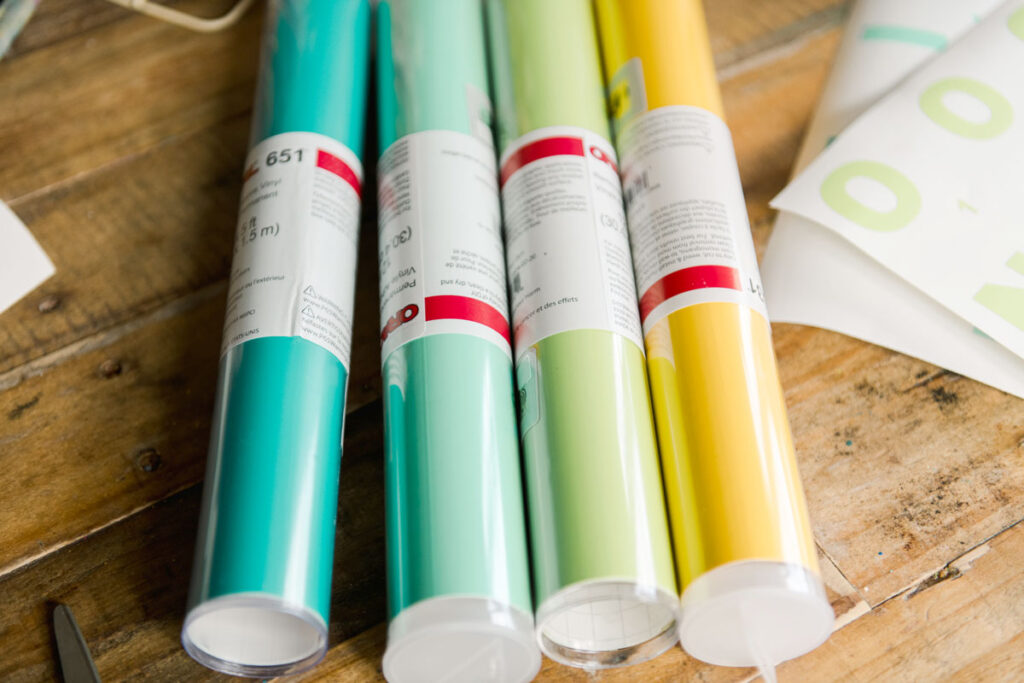
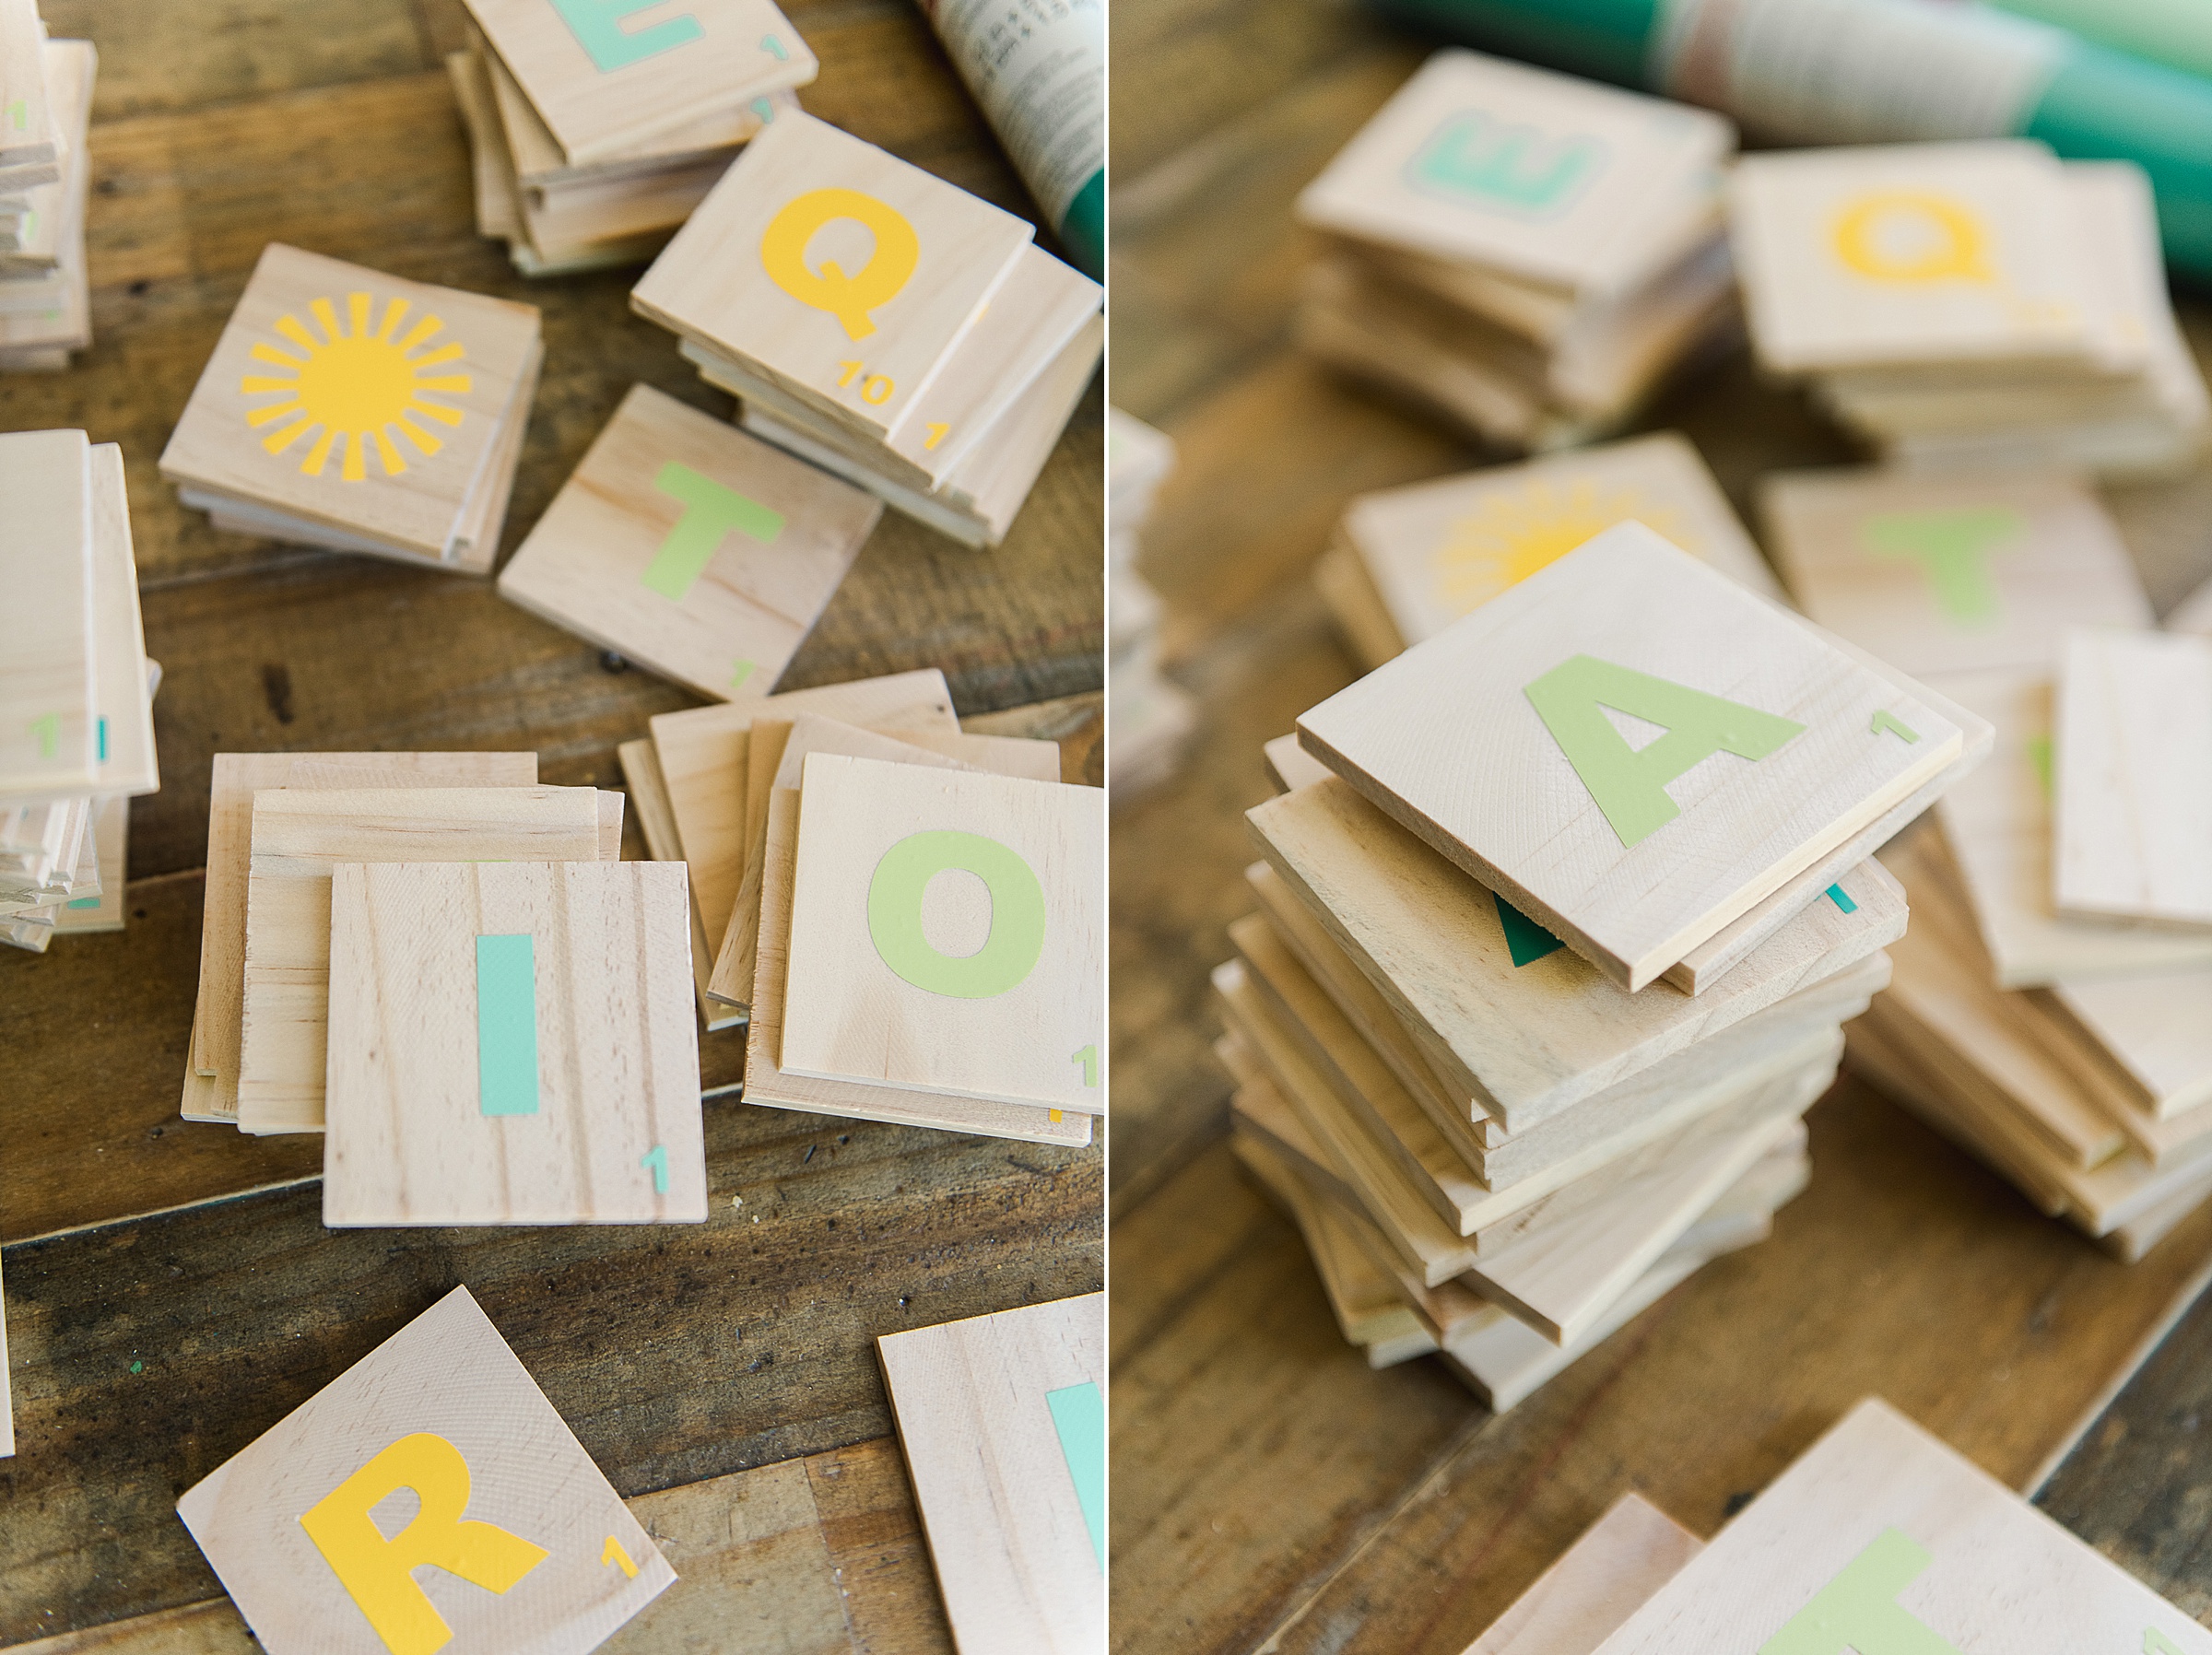
I did 10 tiles for the tic-tac-toe board (the sun and the wave instead of “X” and “O”)
And 90 tiles for the letters (and likely could have made more for ULTIMATE word-making)! 🙂
I chose to do the following:
A-5, B-2, C-2, D-3, E-9, F-2, G-2, H-2, I-5, J-1, K-1, L-4, M-2, N-4, O-6, P-2, Q-1, R-5, S-4, T-6, U-2, V-1, W-2, X-1, Y-2, Z-1, blank-2
8. Add VELCRO® Brand Sticky Back Tape
This, *this*, is the key to making this backyard letter game come to life!
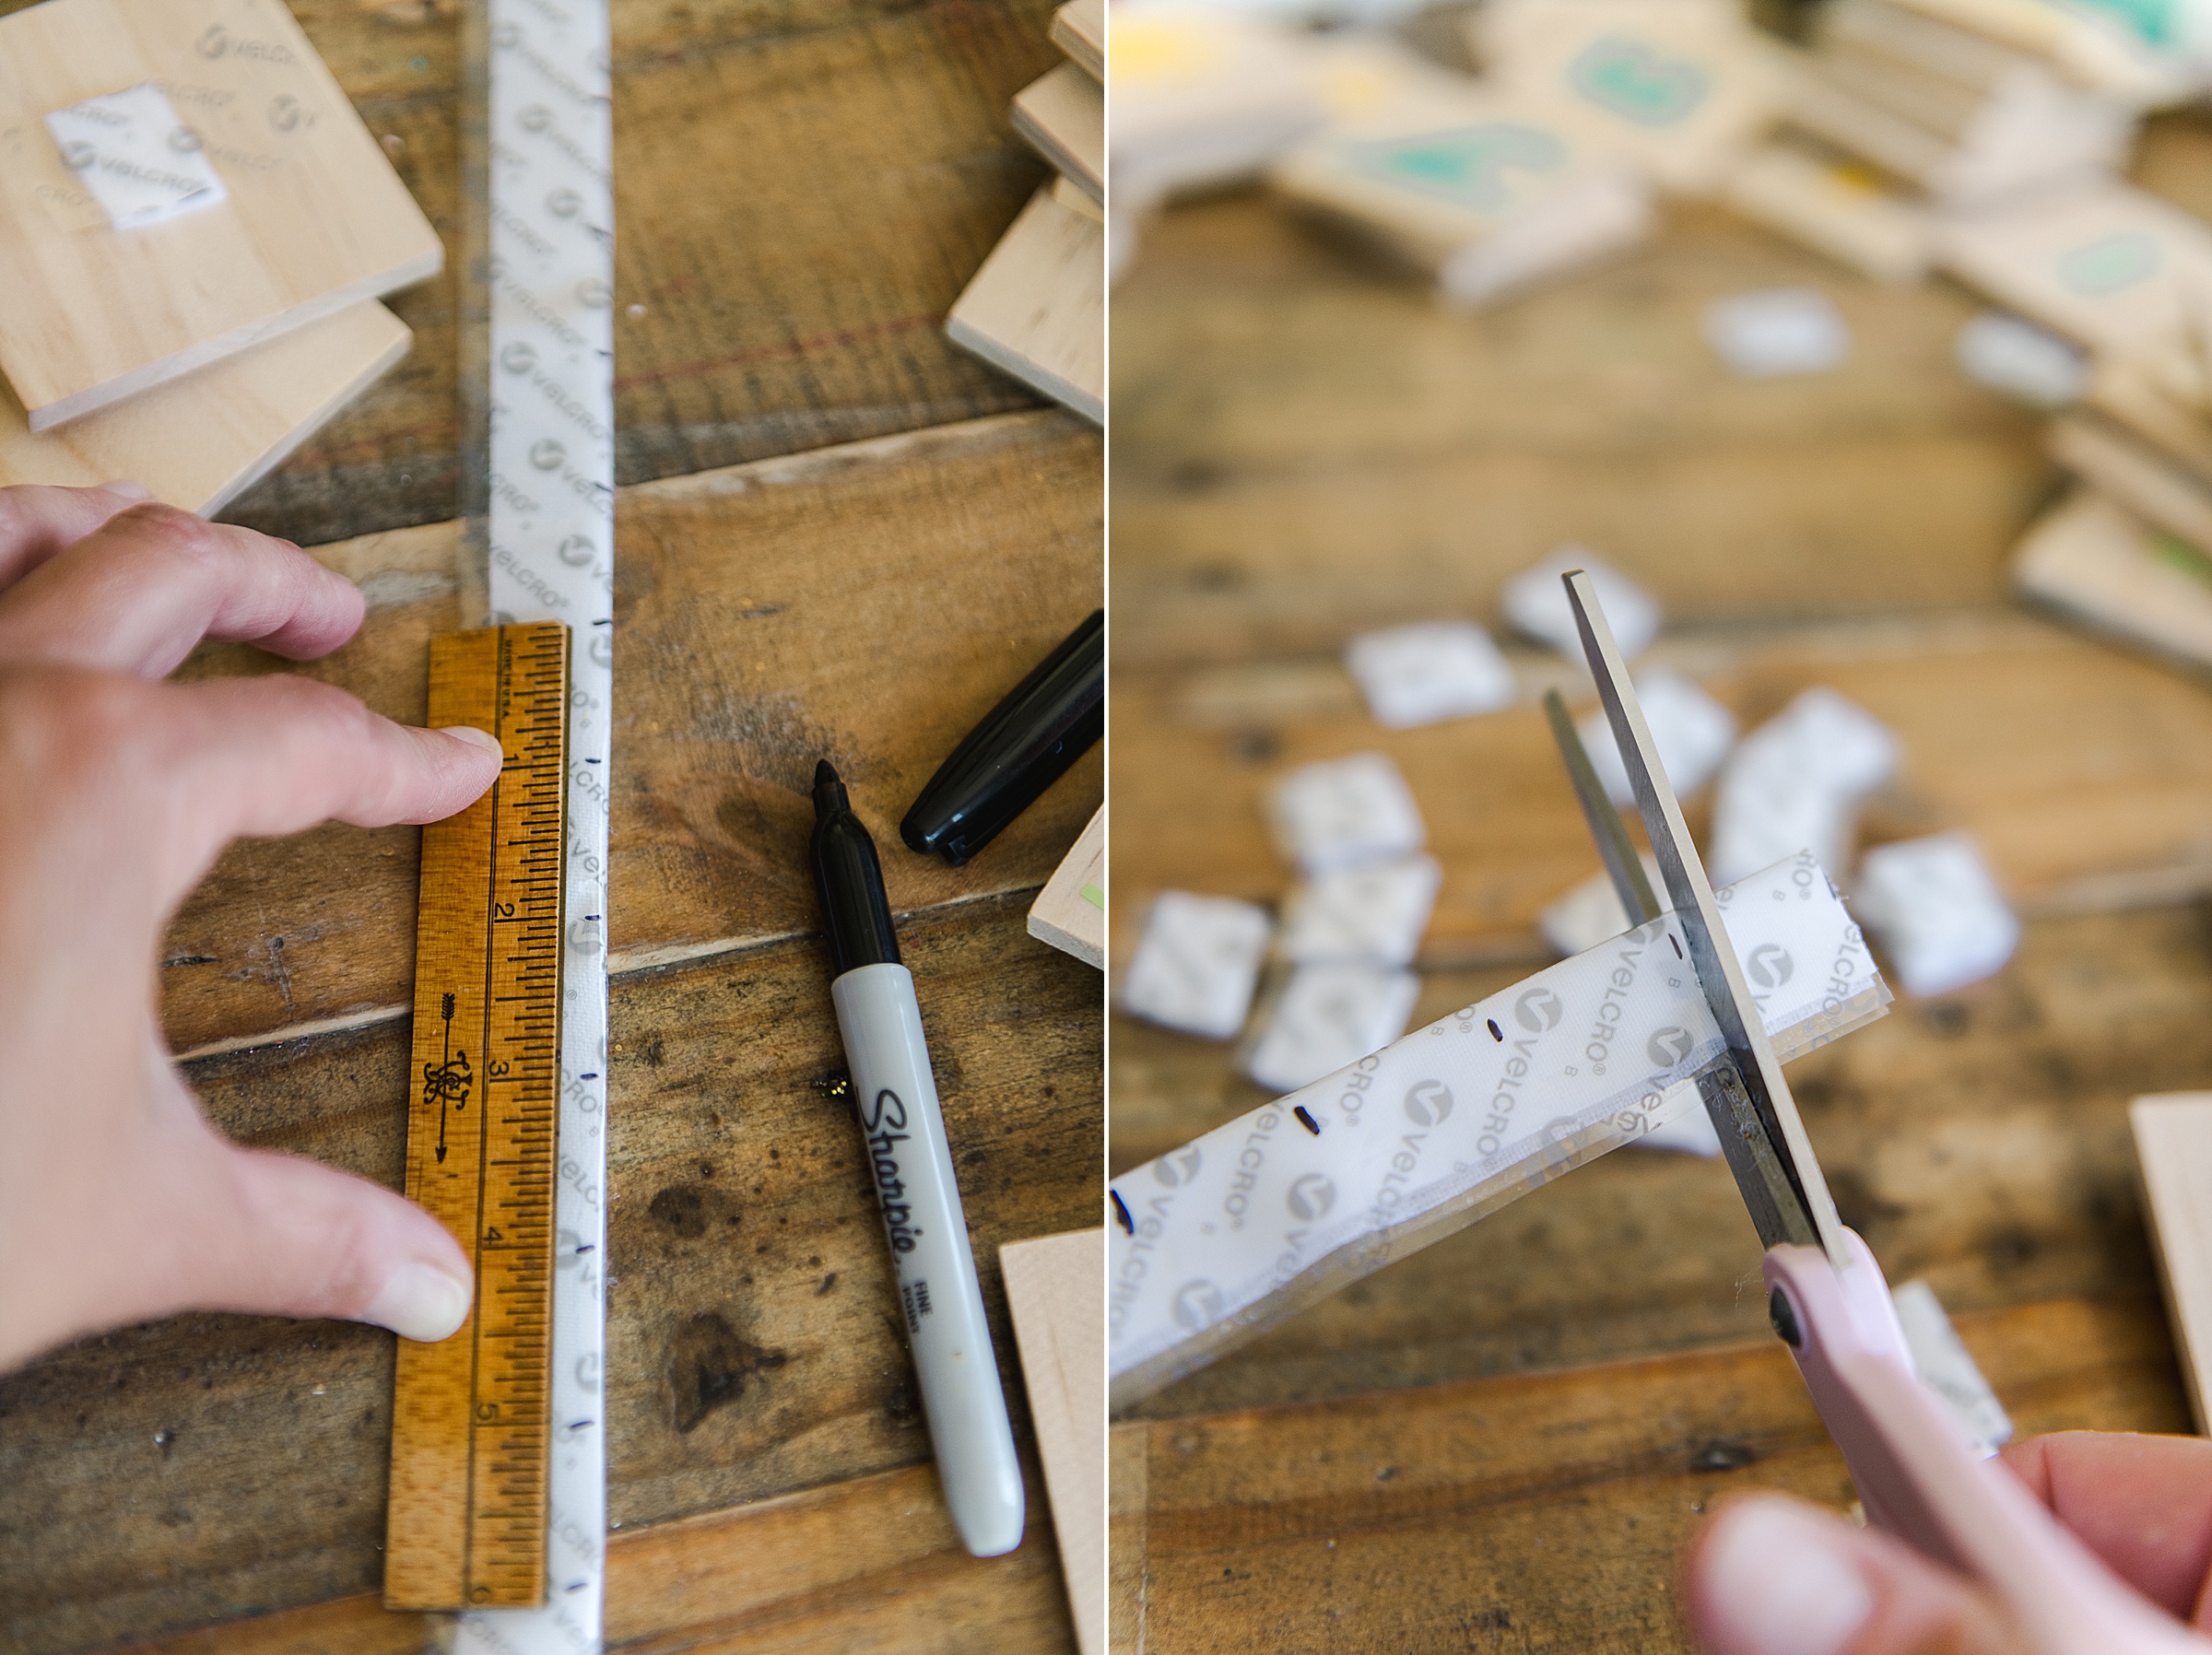
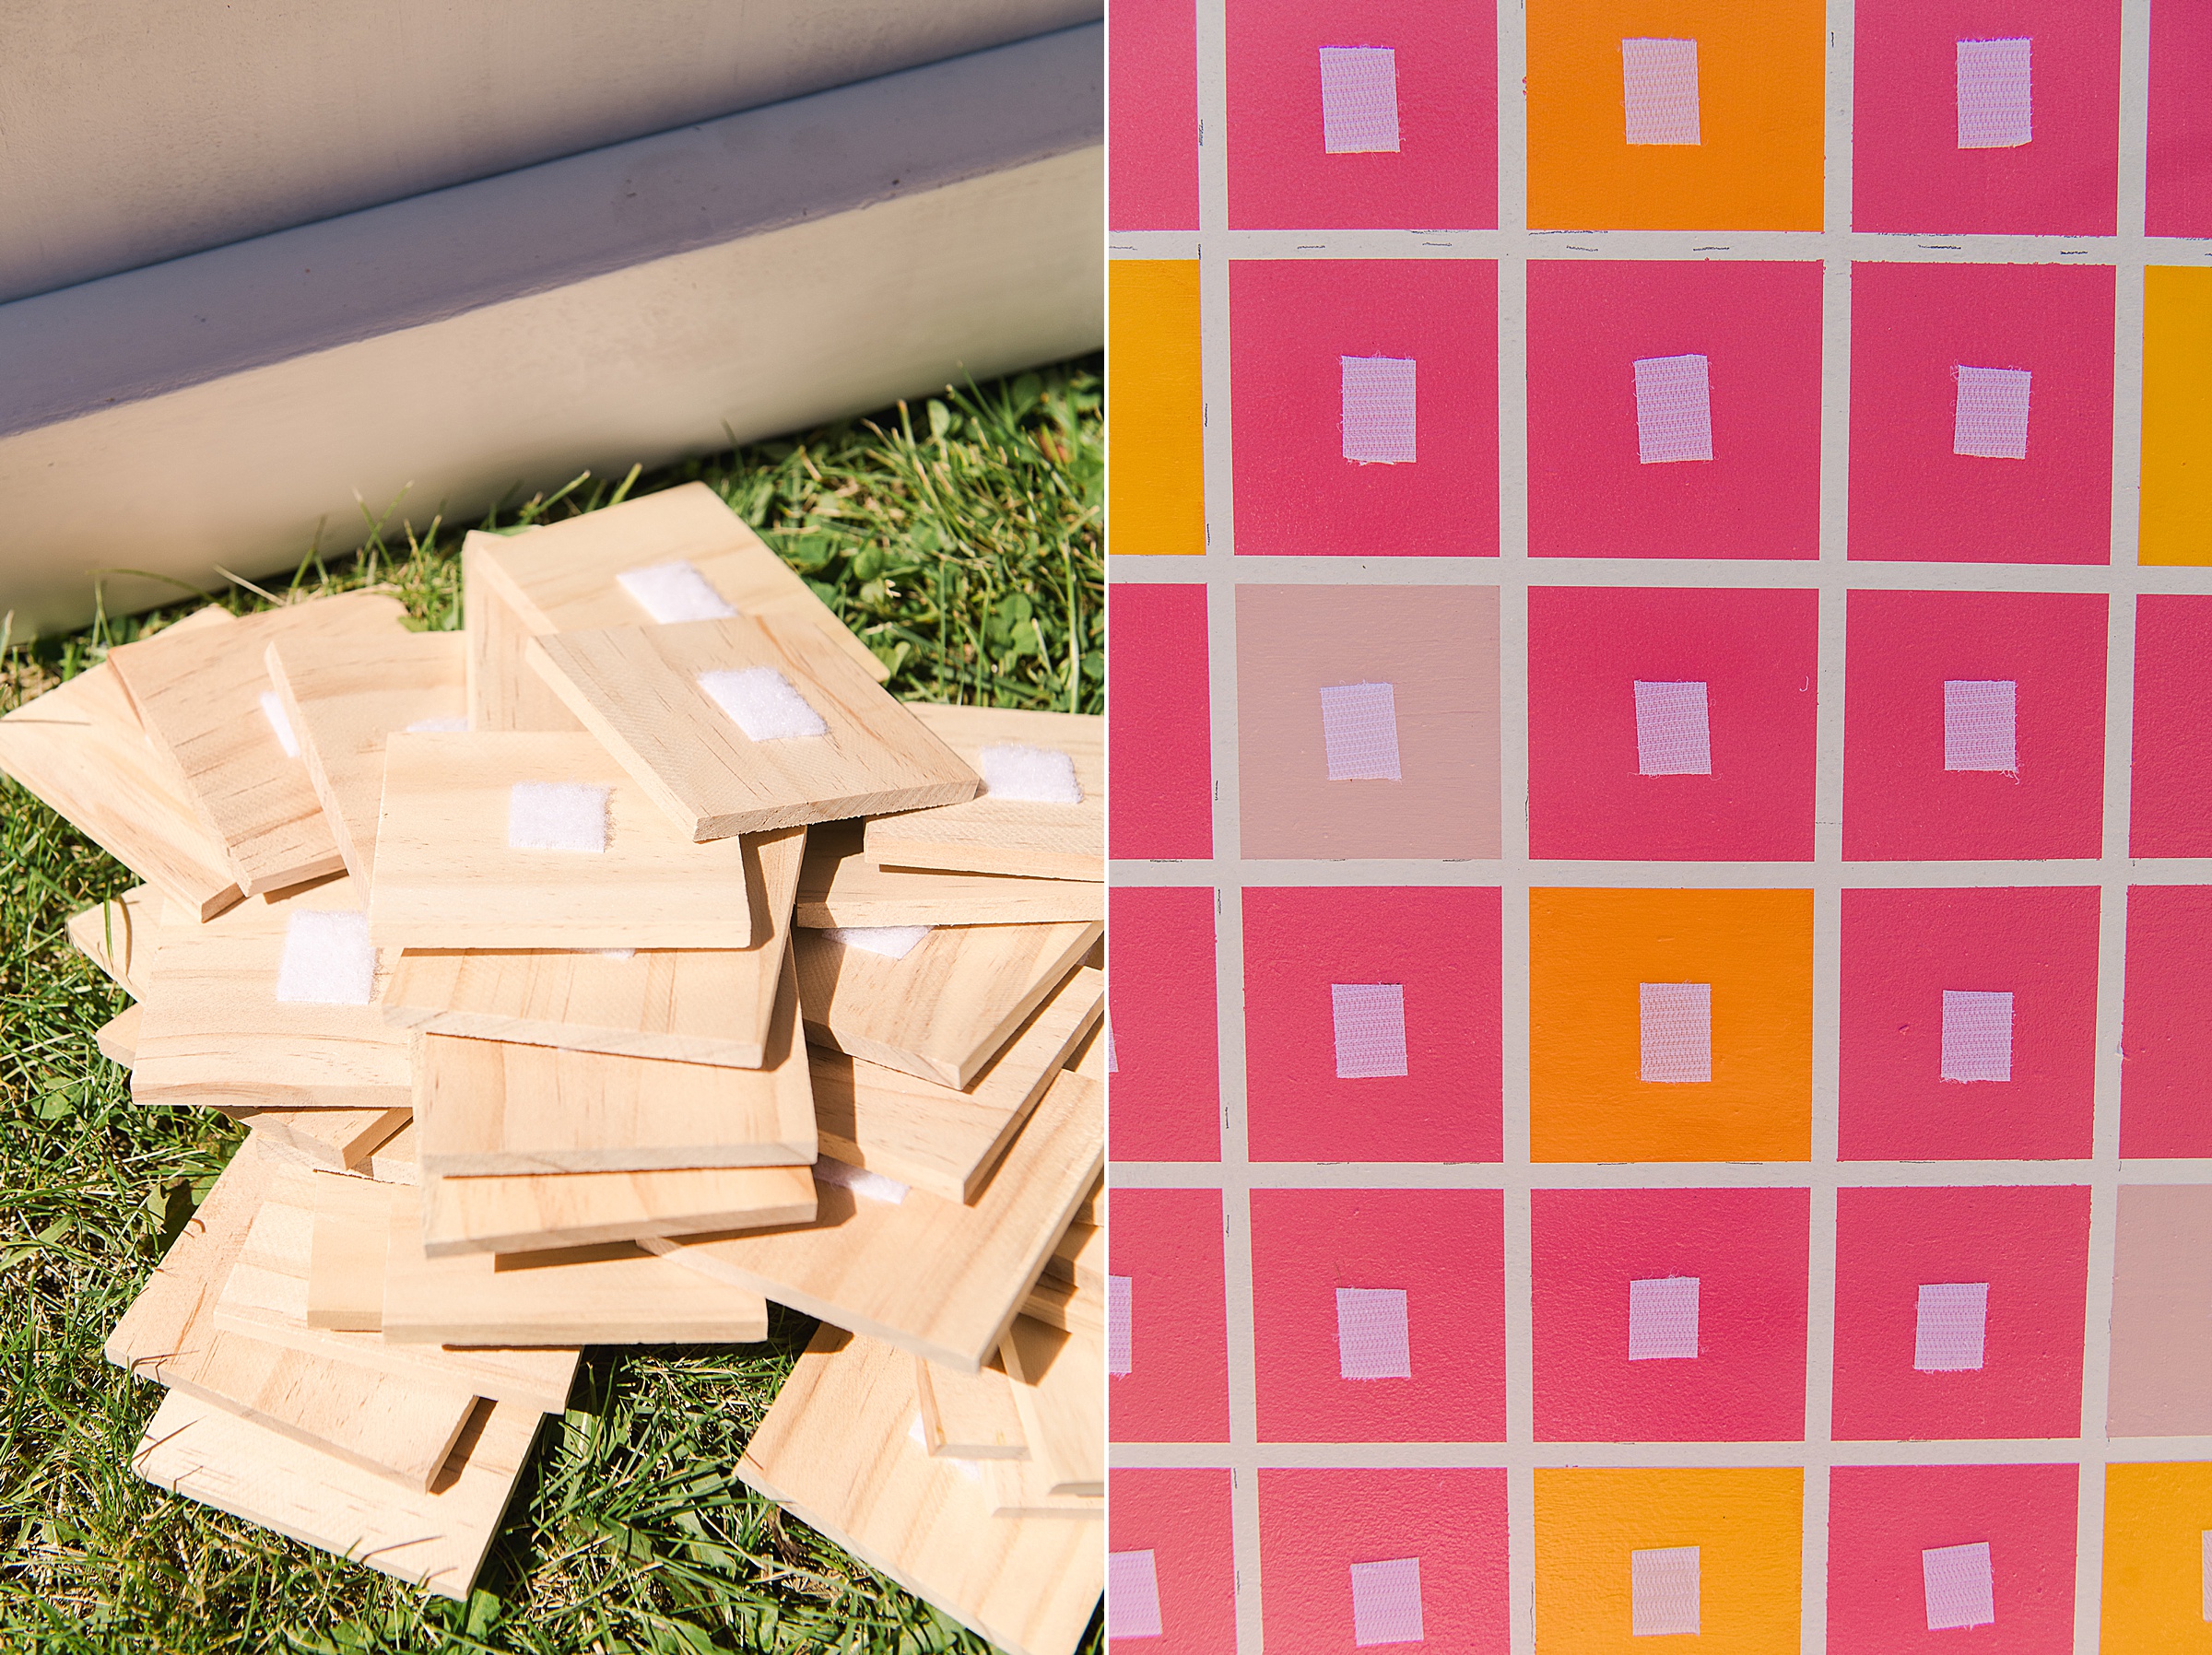
I started by measuring and cutting up squares of VELCRO® Brand Sticky Back Tape. Then, I chose to peel off the “fuzzy” side of the tape and stick that to the center of the back of each letter tile. Tip: Be sure your letter tiles are all facing right side up on the front before flipping them over so that all of the VELCRO® Brand Sticky Back Tape is centered and the same for each tile.
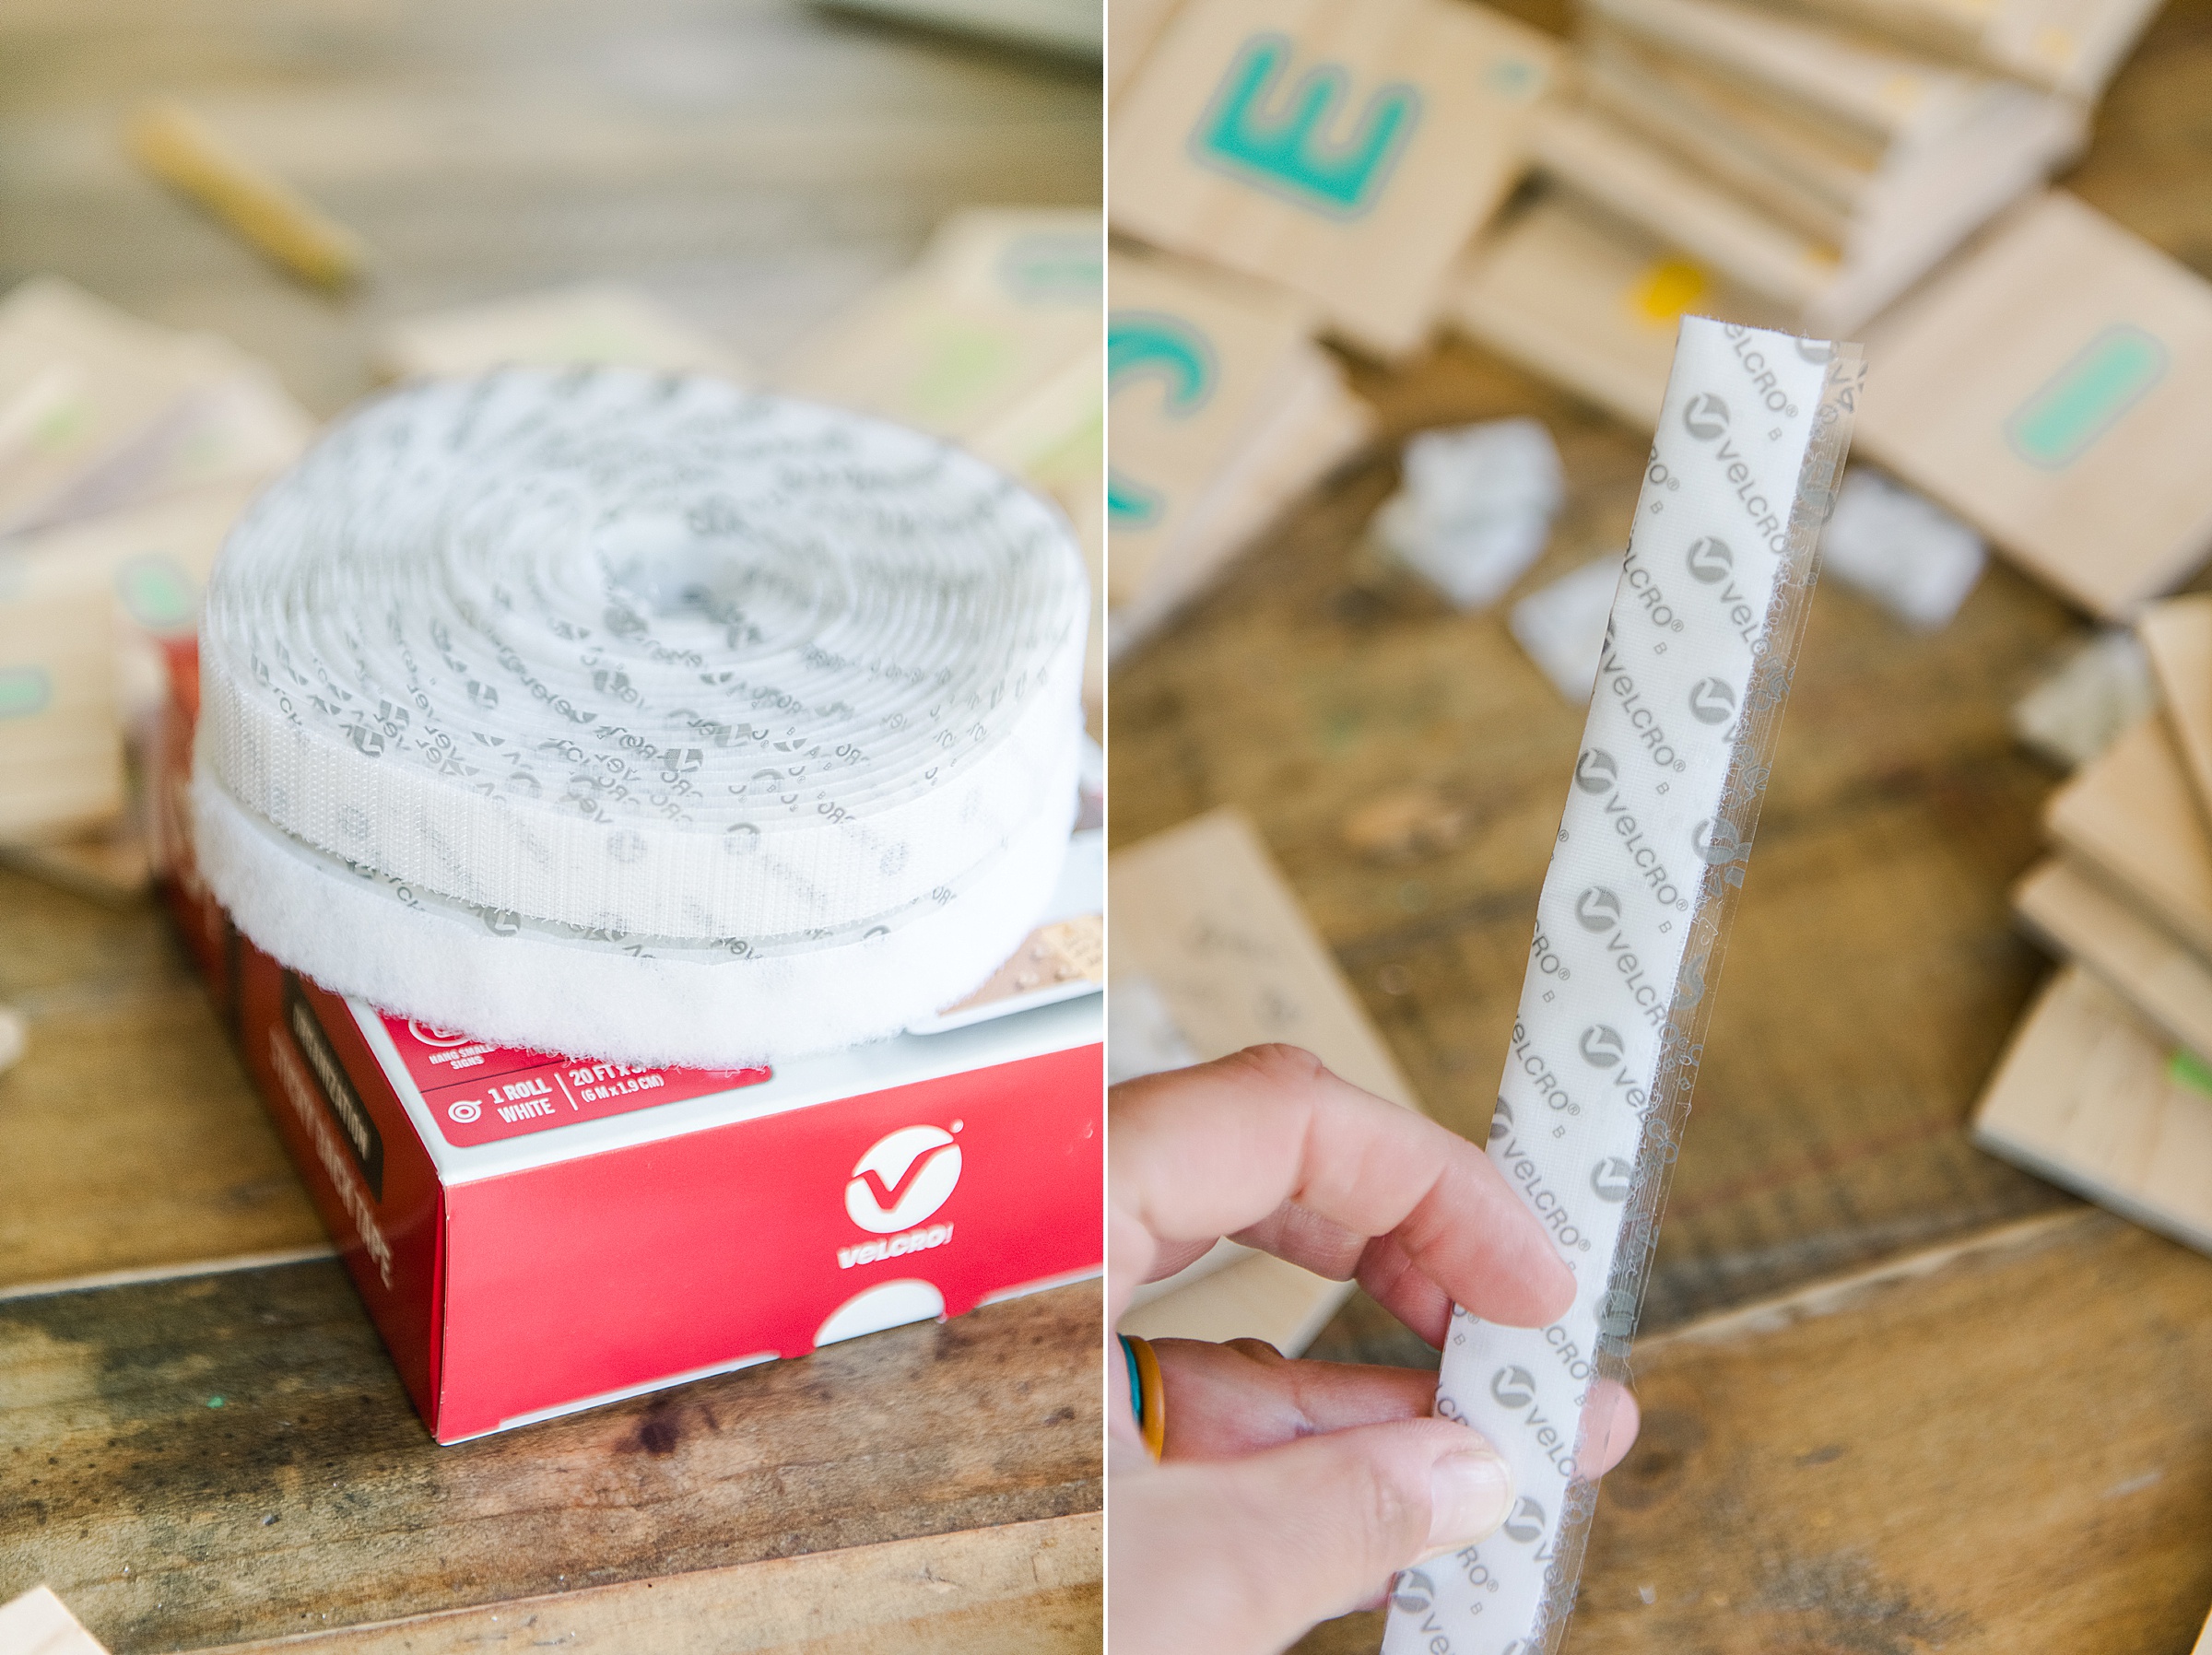
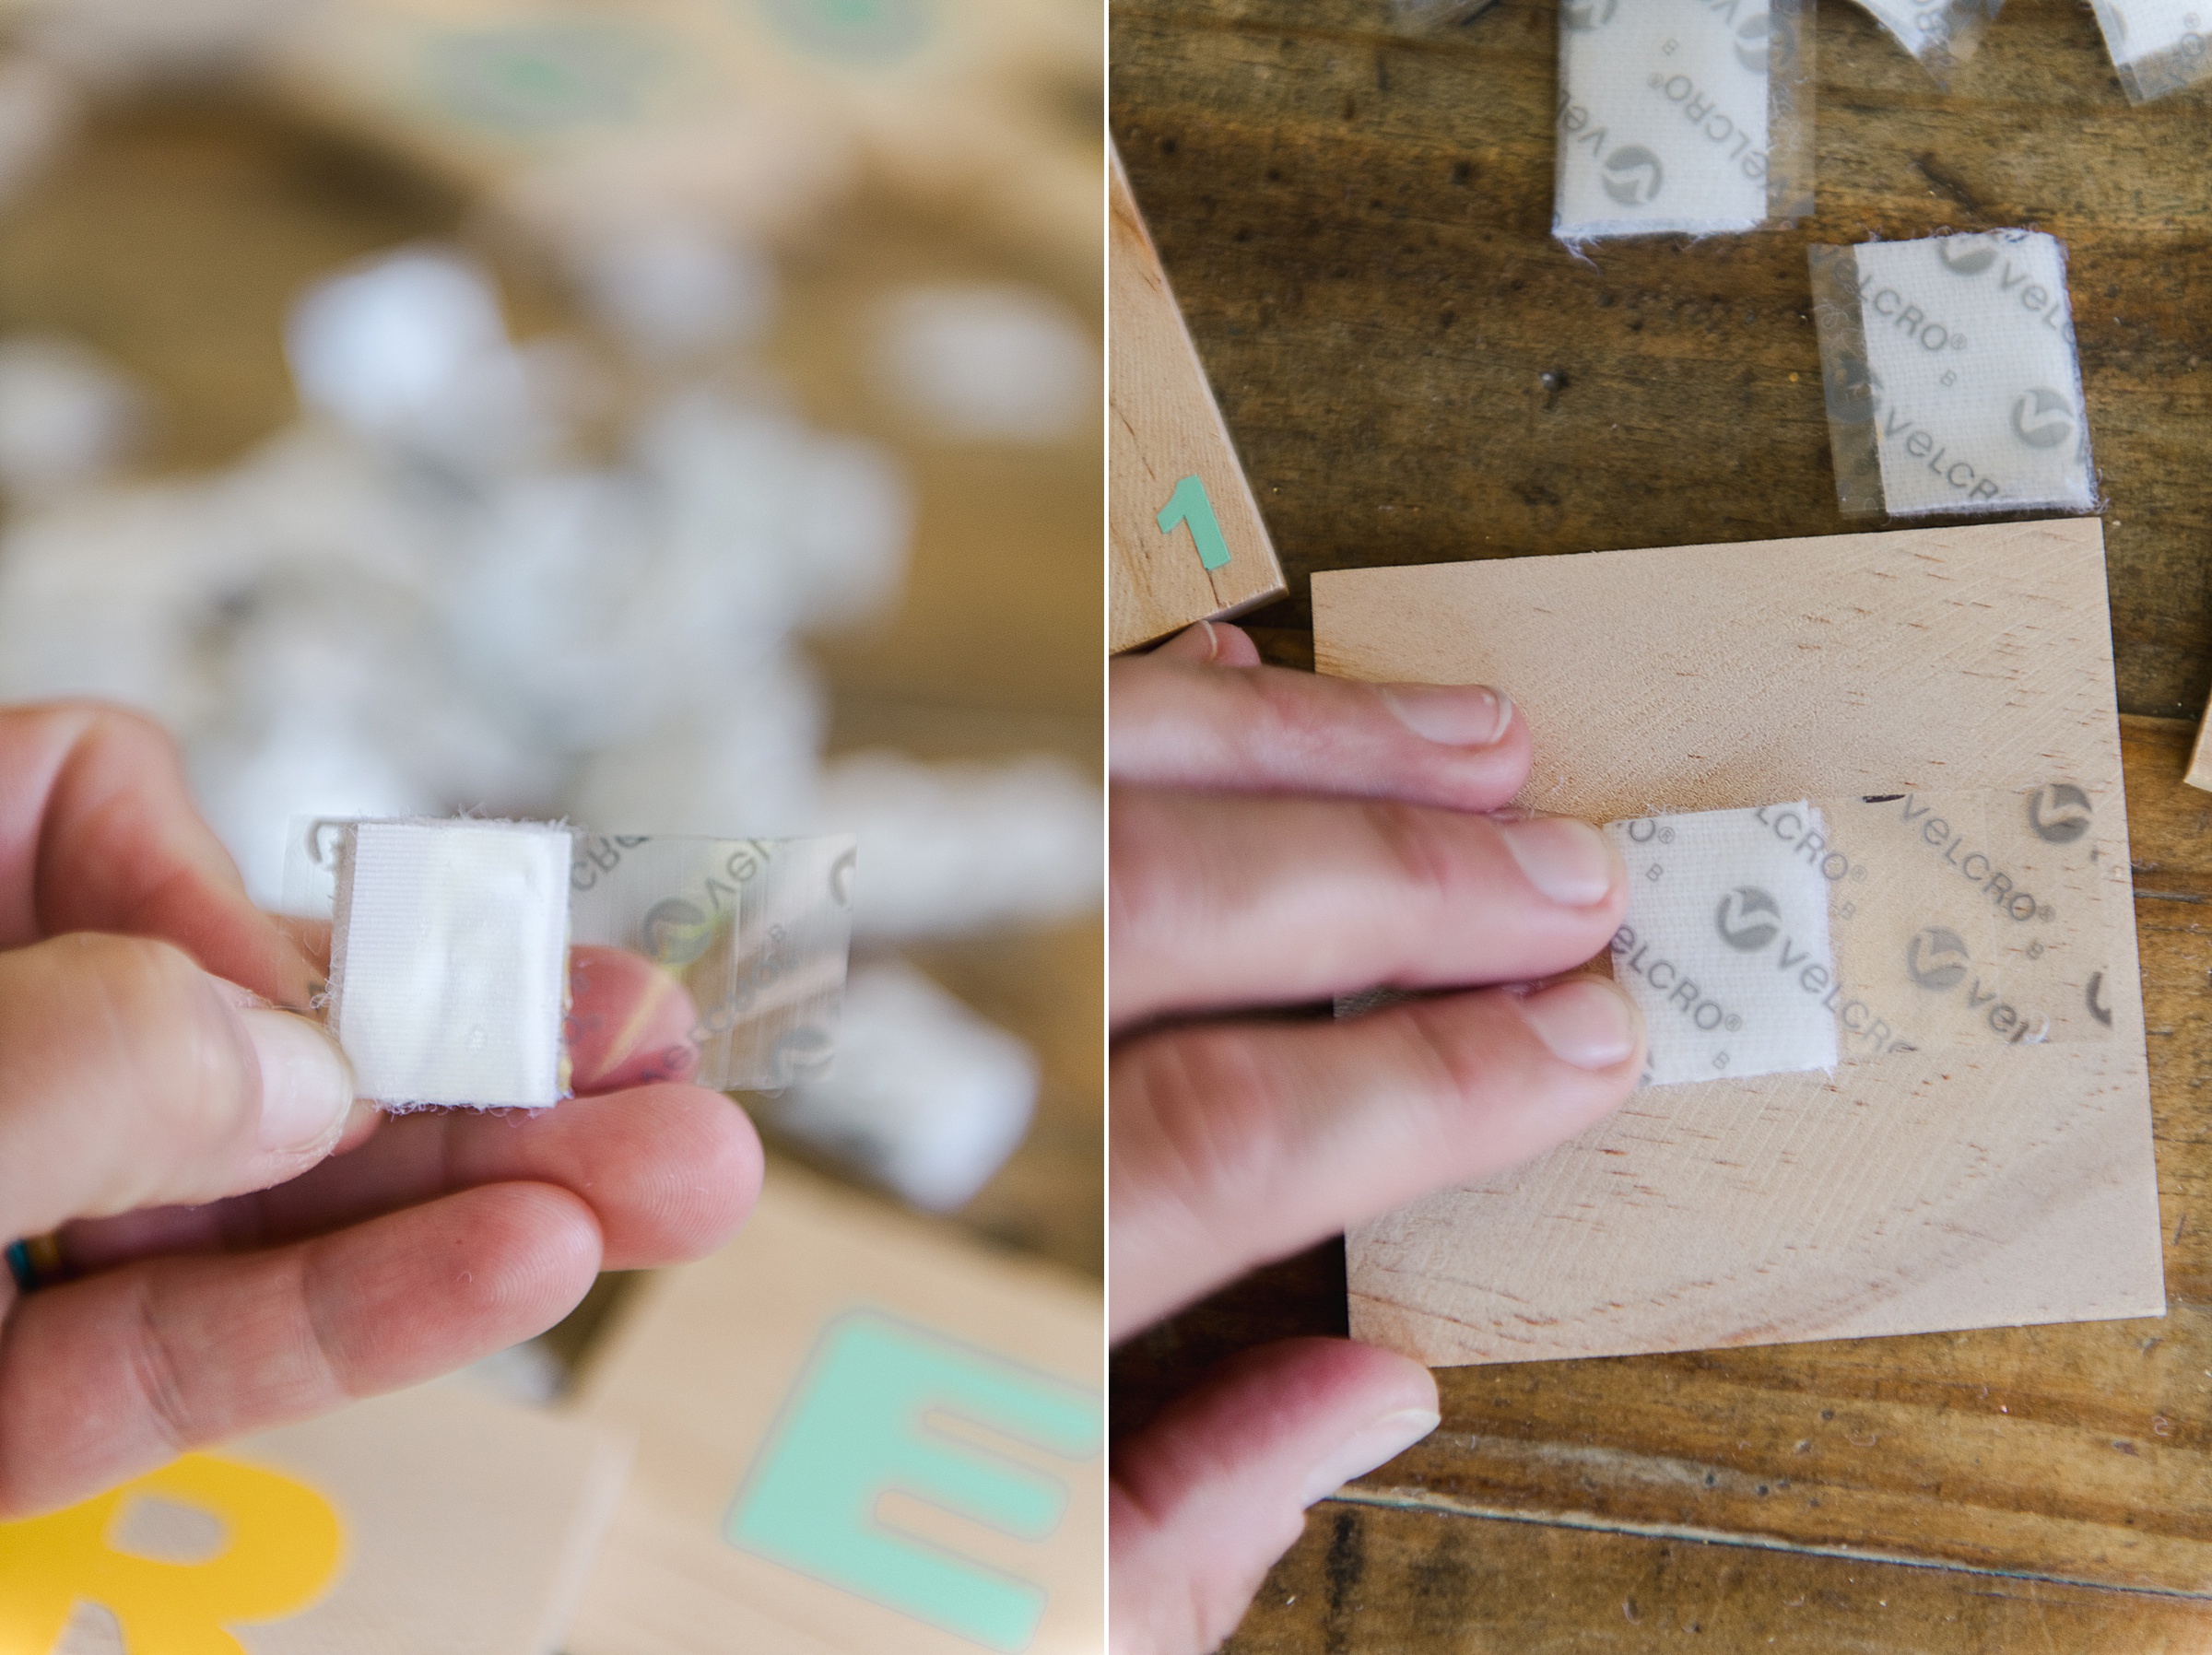
Once each of the tiles has its back side, cut up any extra tape that is needed for the front of the game board. For instance, I had 156 spaces on the front of my game board but only had 90 tiles, so I needed additional “non-fuzzy” squares cut from VELCRO® Brand Sticky Back Tape.
9. Add the VELCRO® Brand Sticky Back Tape to the game board + finish up 🙂
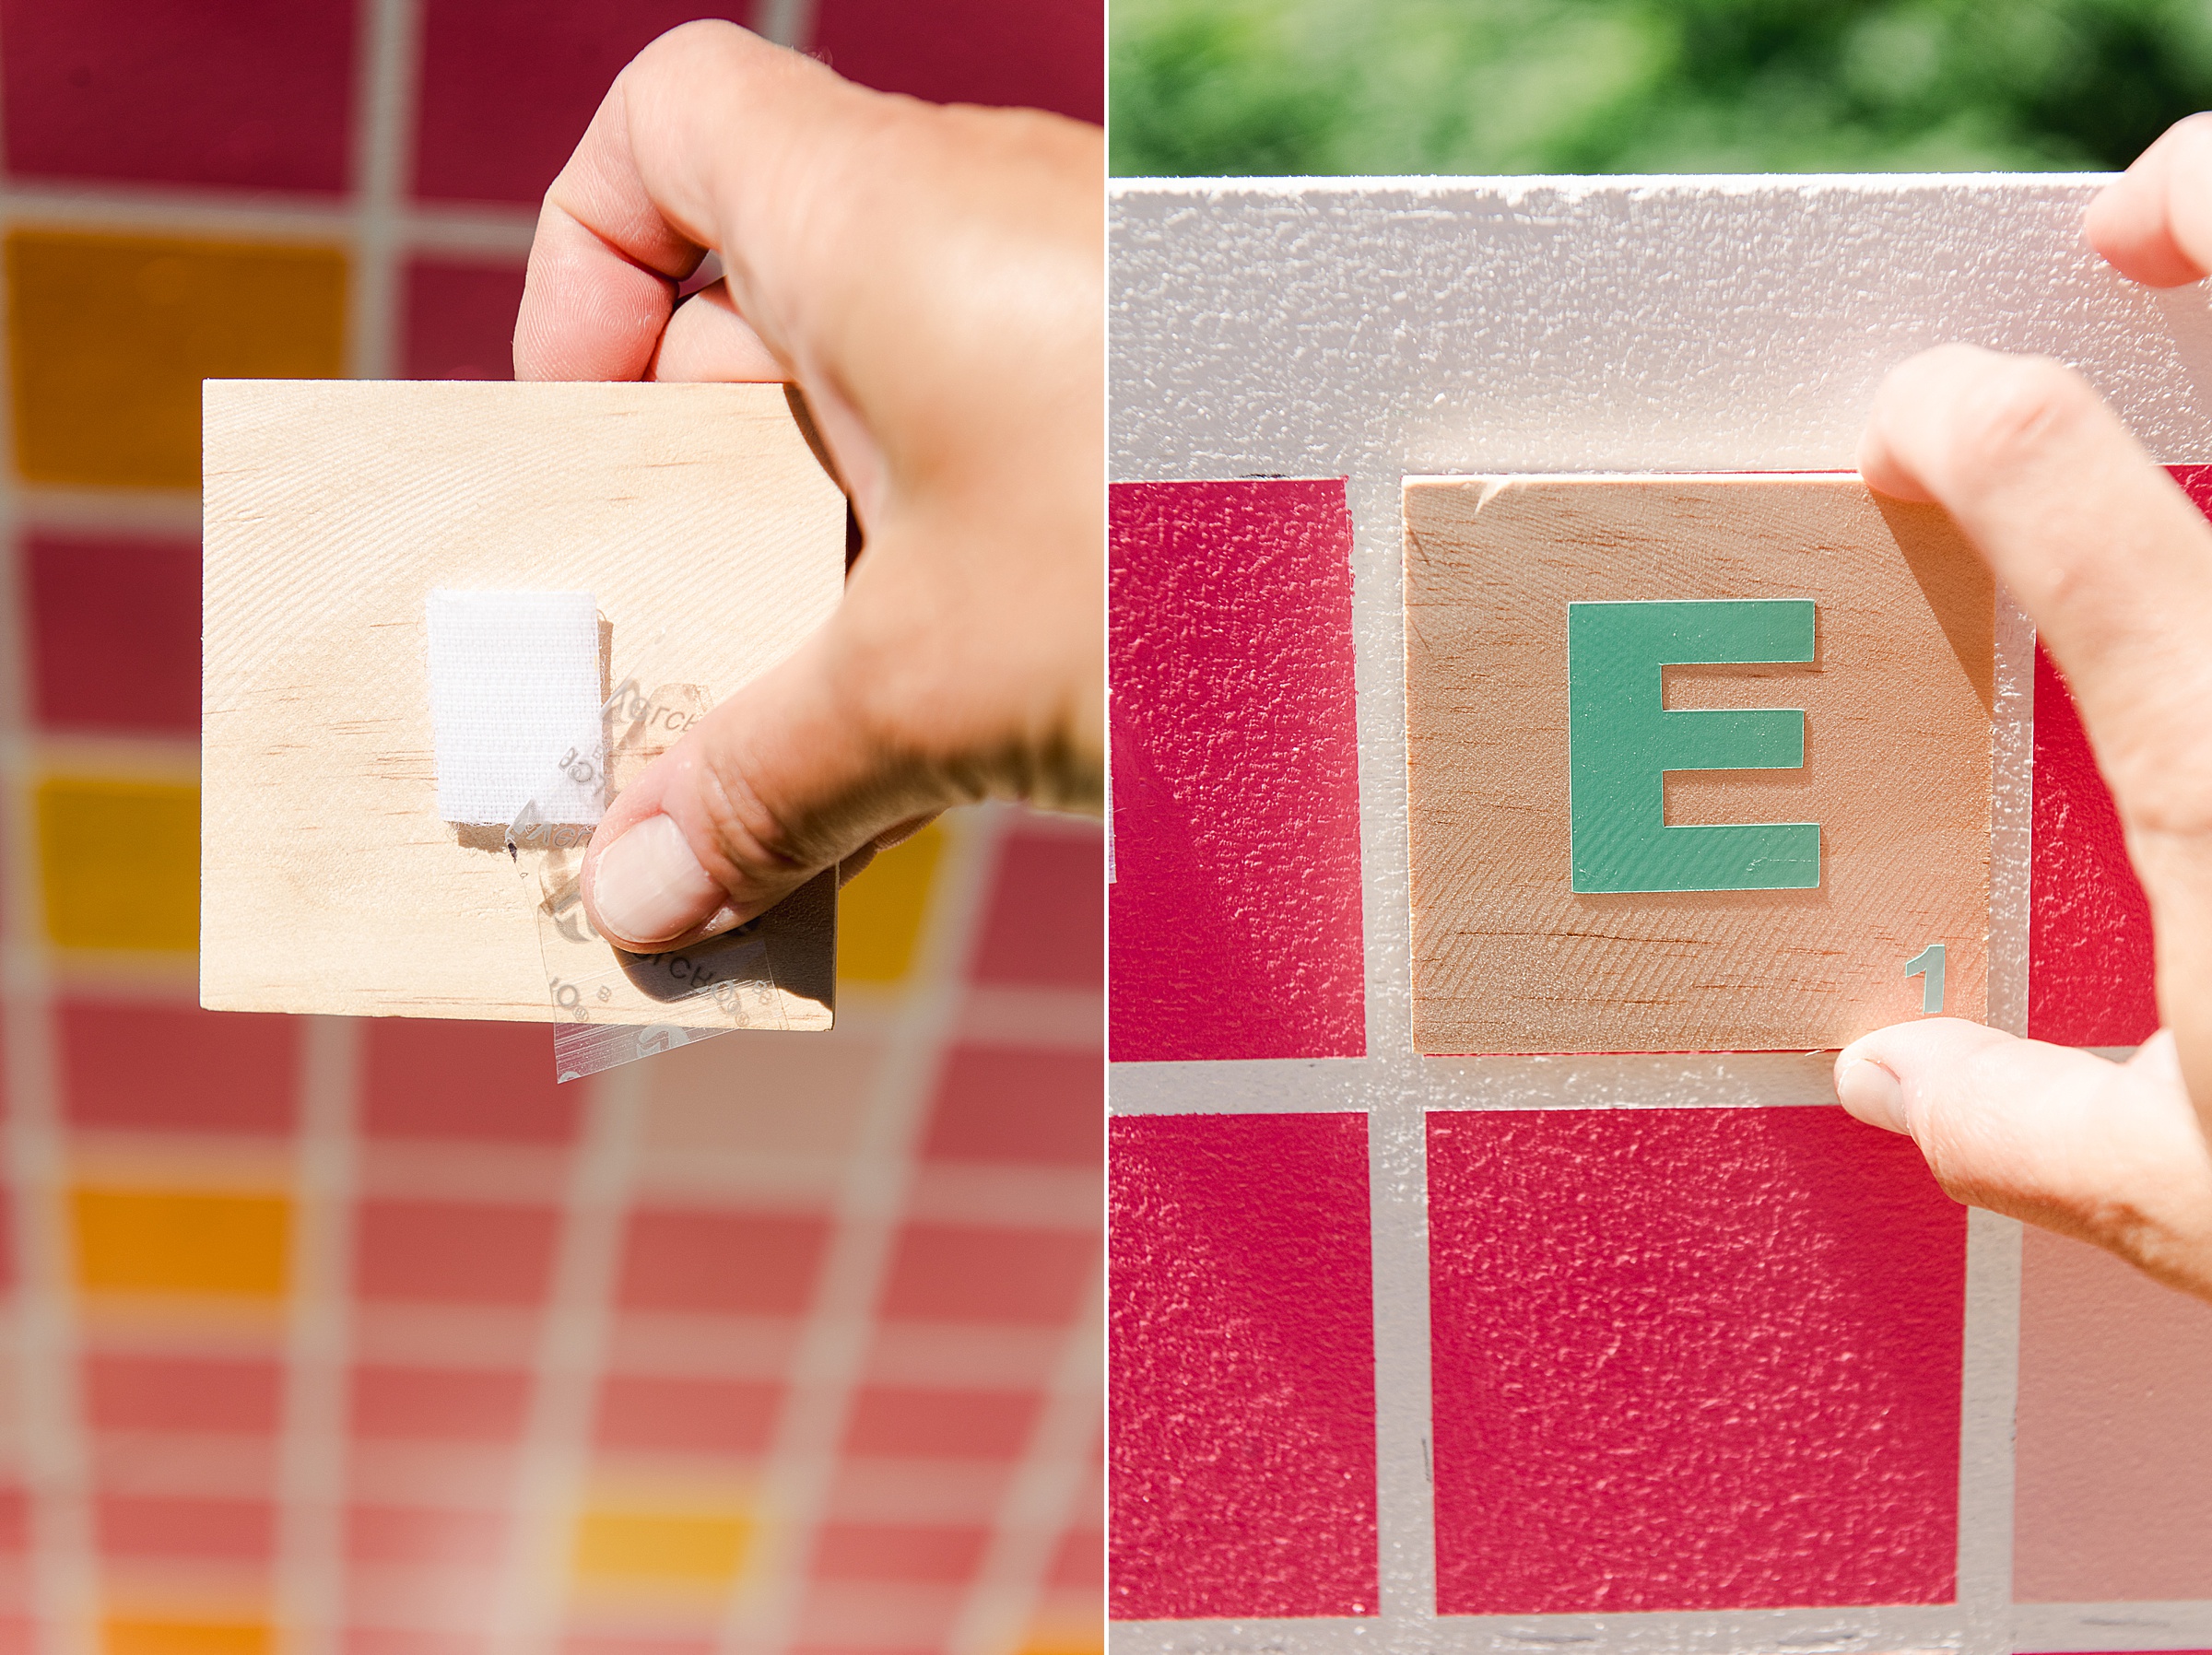
Peel off the last piece of backing from the VELCRO® Brand Sticky Back Tape on each letter tile and stick them to the painted squares on the game board. Push firmly and then remove the letter tile, leaving just the last piece of VELCRO® Brand Sticky Back Tape (the “toothy” side) in the center of the painted square.
Repeat this process for every letter tile filling in each of the painted squares of the VELCRO® Brand Sticky Back Tape. Once you’ve finished adding all of your letter tiles, fill in the remaining squares with those additional sides of VELCRO® Brand Sticky Back Tape, making sure it is centered on each painted tile.
Repeat this process for the backside of the tic-tac-toe portion of the game board.
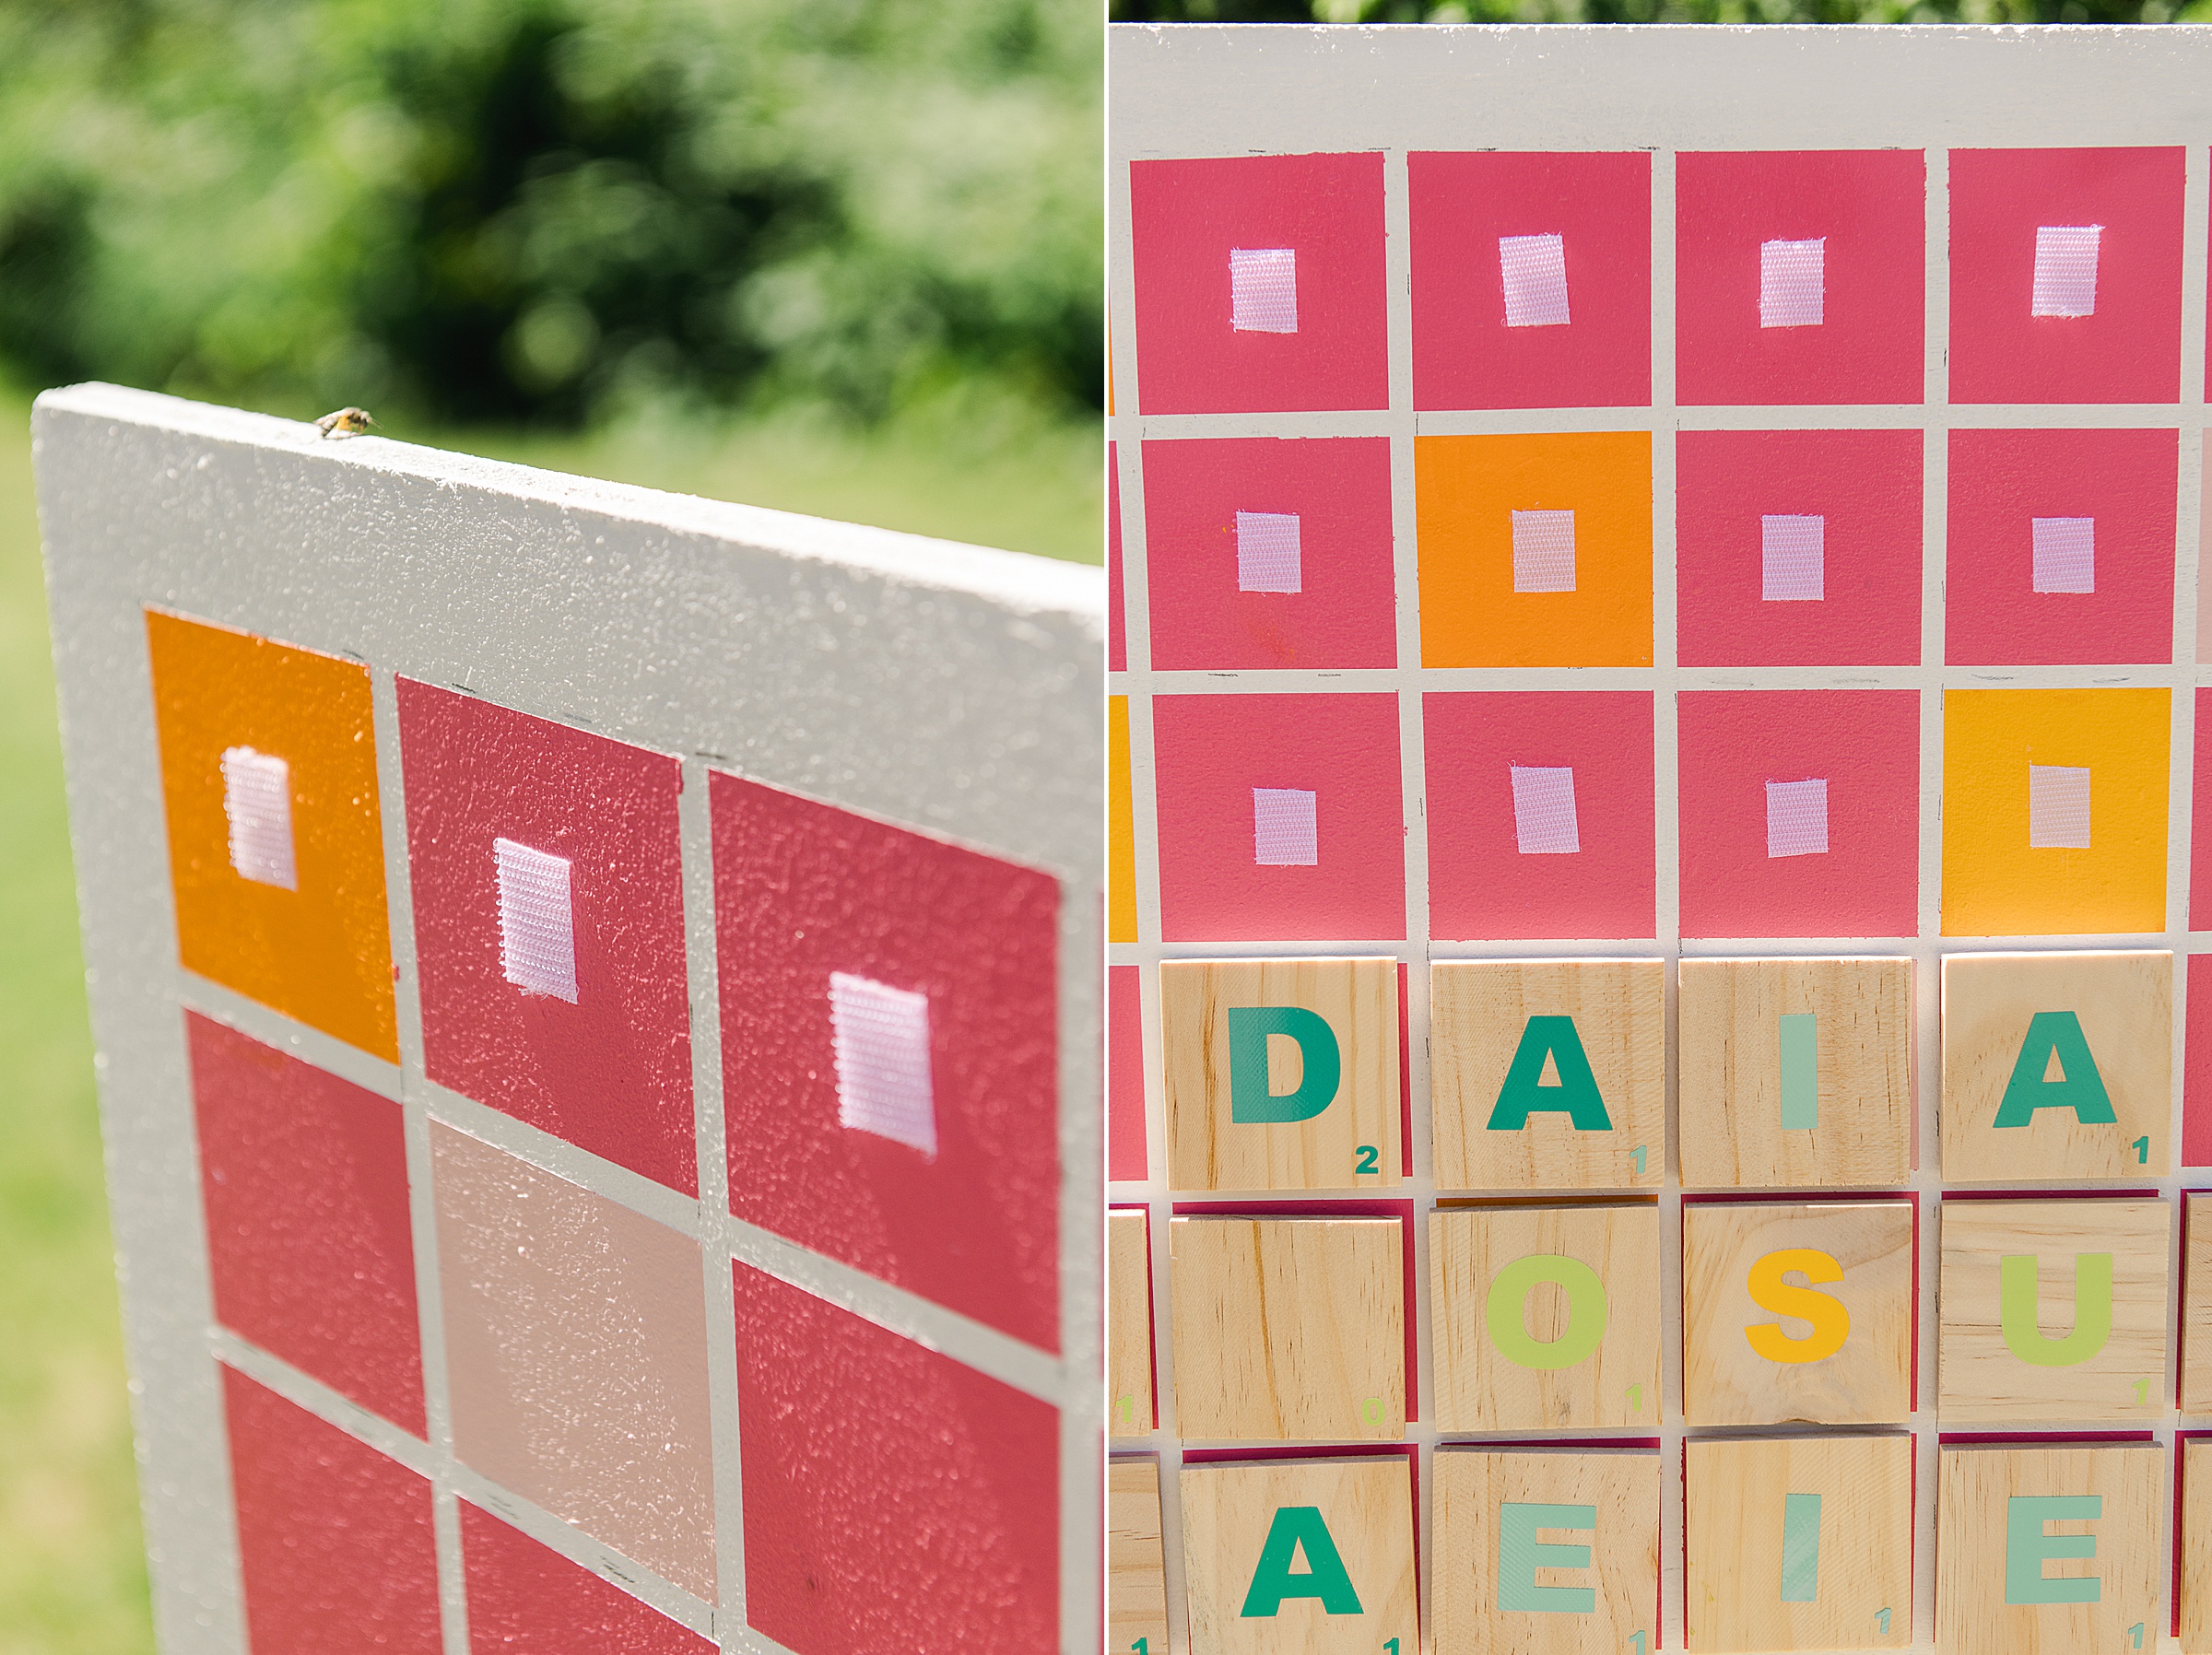
Now it’s time for some outdoor backyard GAME FUNNNNNNNN!
I put our letter tiles into a canvas bag to make it easier to store and transport! 🙂
