Fall leaf stencils for upcycling clothes!
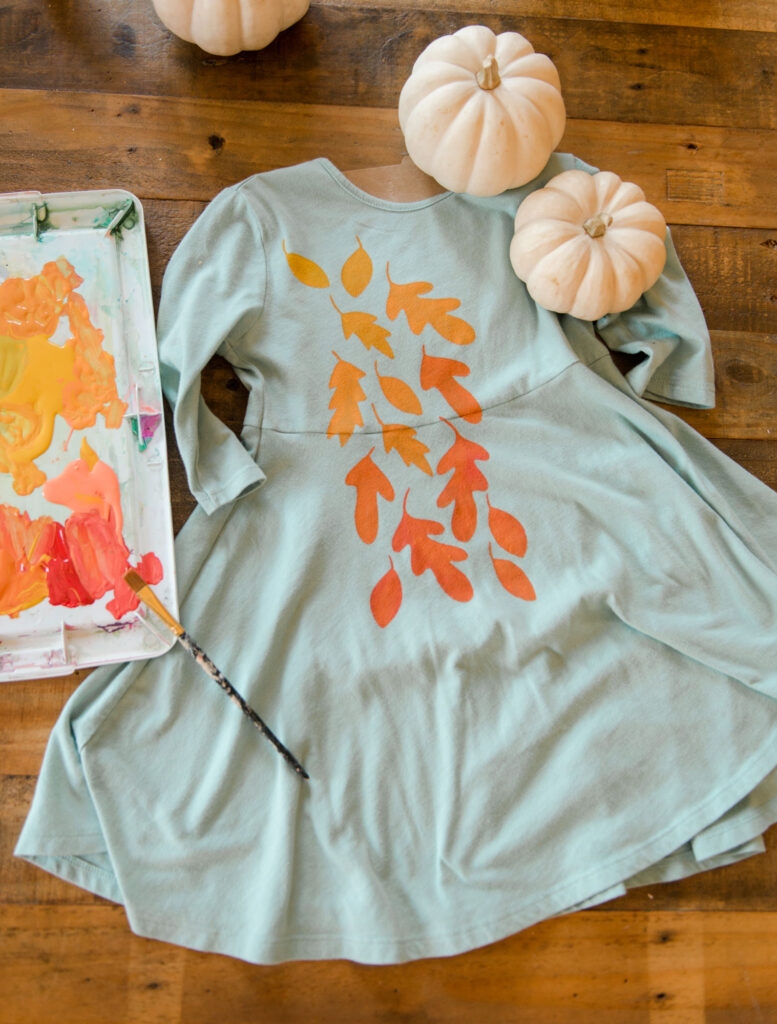
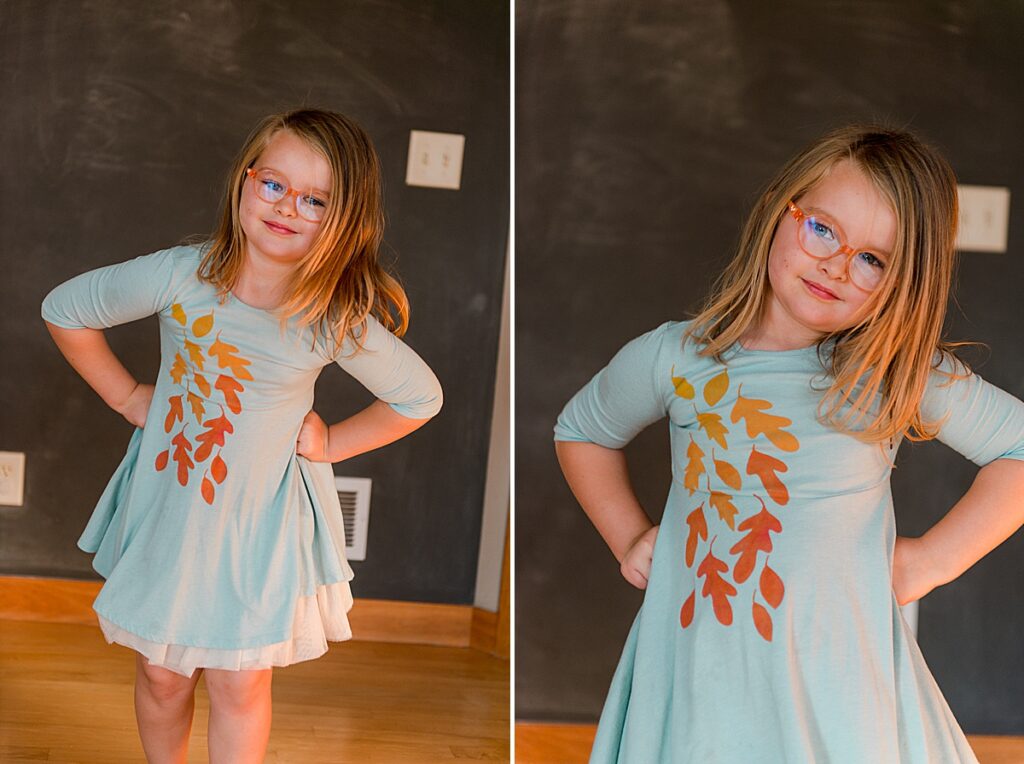
My daughter has a dress that she LOVES (ya know, those outfits that 4 year olds just LOVE LOVE to wear)!? BUUUT because she loves it so so so much it is stained to high heaven, especially in the bodice area of the dress where art projects, ketchup and any other pre-school type thing gets wiped and smeared daily!
SOOOOO today I am going to show you how to use your Cricut to make stencils for upcycling any piece of clothing for the fall by adding some colorful painted leaves!
The basic jist of this project is that I will use some sticky vinyl to cut with my Cricut, peel the vinyl and place onto the dress to use as a stencil for painting! 🙂 And easy project that, if you wanted, could TOTALLY be used a jean jacket, pair of pants, sweatshirt, pj’s, tote bag, or literally ANYTHING!
SUPPLIES:
- Cricut or other cut machine
- Peel and stick Vinyl in any color (not heat transfer)….great to use up those odd pieces left over from other projects
- Transfer tape
- Fabric paint (or acrylic will work too)
- Paint brush
- Piece of cardboard or an old cereal box
- Optional paint pen to add details if desired 🙂
INSTRUCTIONS:
- Measure + prep
Measure your fabric to see how many leaves and how big each leaf should be (approx). Download the SVG file HERE and prep by adjusting any sizing in your design software if needed.
2. Cut + weed
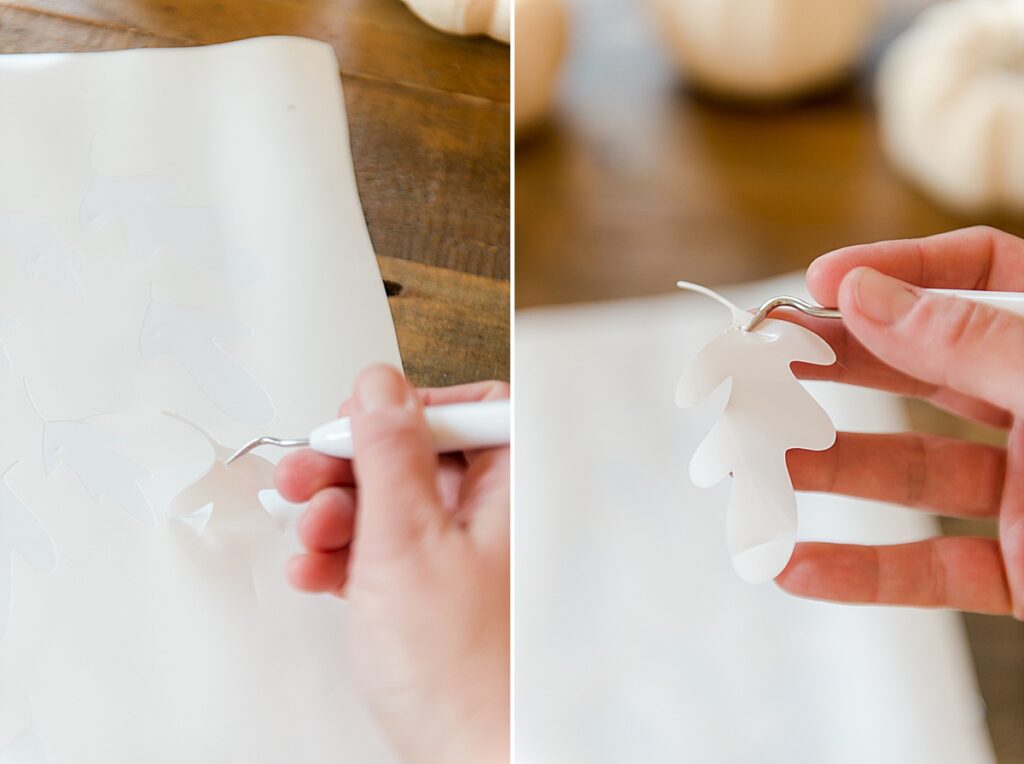
Cut the leaf file SVG using your Cricut (or other cutter) and weed the POSITIVE SPACE (the leaves) from the cut portion (you are likely used to weeding out the negative space to reveal the positive space but in this instance, the positive space will become the painted leaves).
3. Transfer + stick
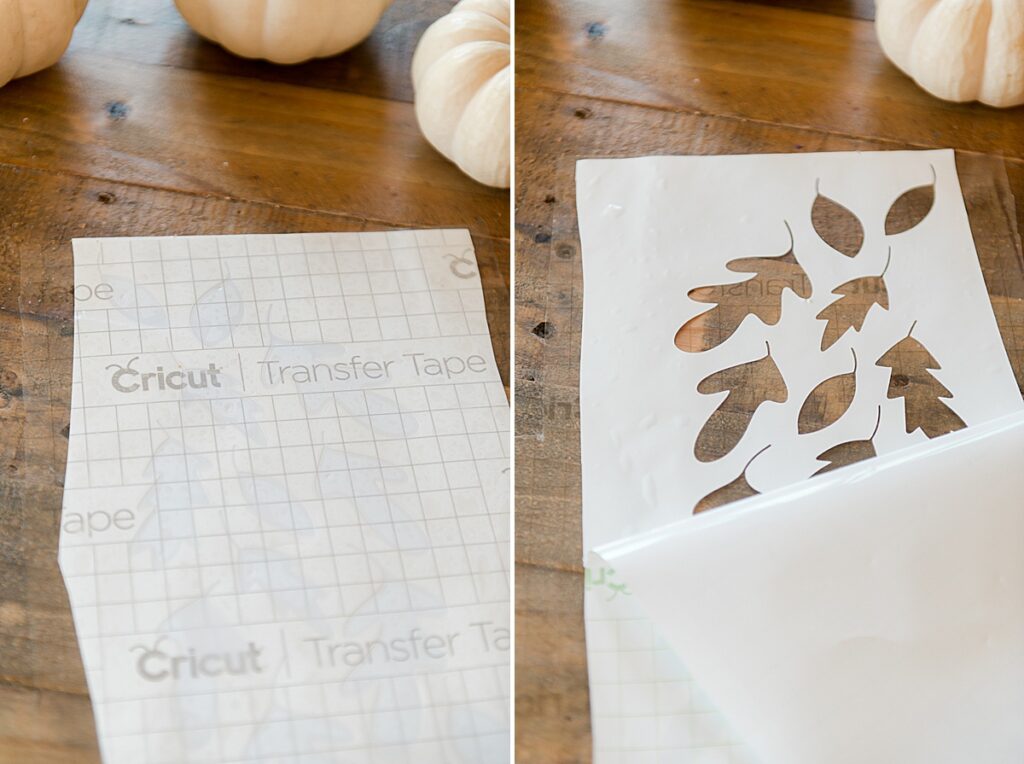
Once your leaves are weeded, use transfer paper to transfer the whole piece of vinyl. Then carefully place the vinyl to the garment desired. Pulling at a 45* angle, begin carefully pulling off the transfer tape from the vinyl, being sure not pull too fast or hard to remove the details of the leaves.
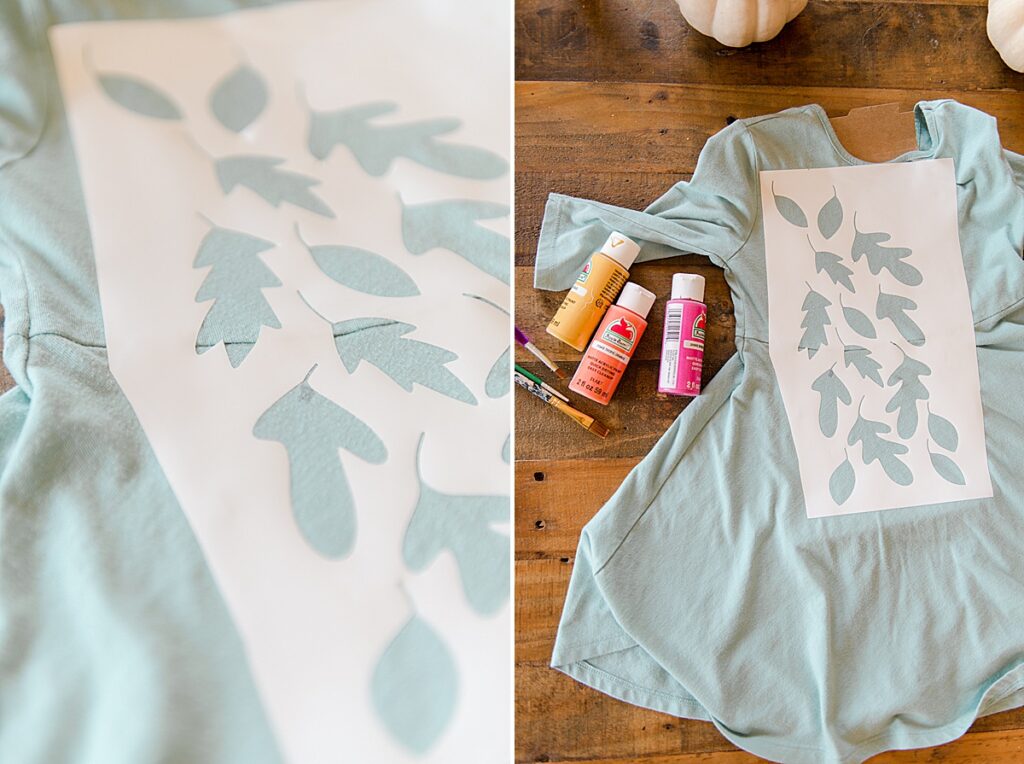
4. Paint + peel vinyl
Place a piece of cardboard underwear the area that you will be painting. This helps make sure the paint does’t bleed through to the back depending on the fabric. Mix your paint colors and carefully begin painting your leaves being sure not to “glob” on the paint too thick. Add any blending, shading or detail in the painting process that you want 🙂
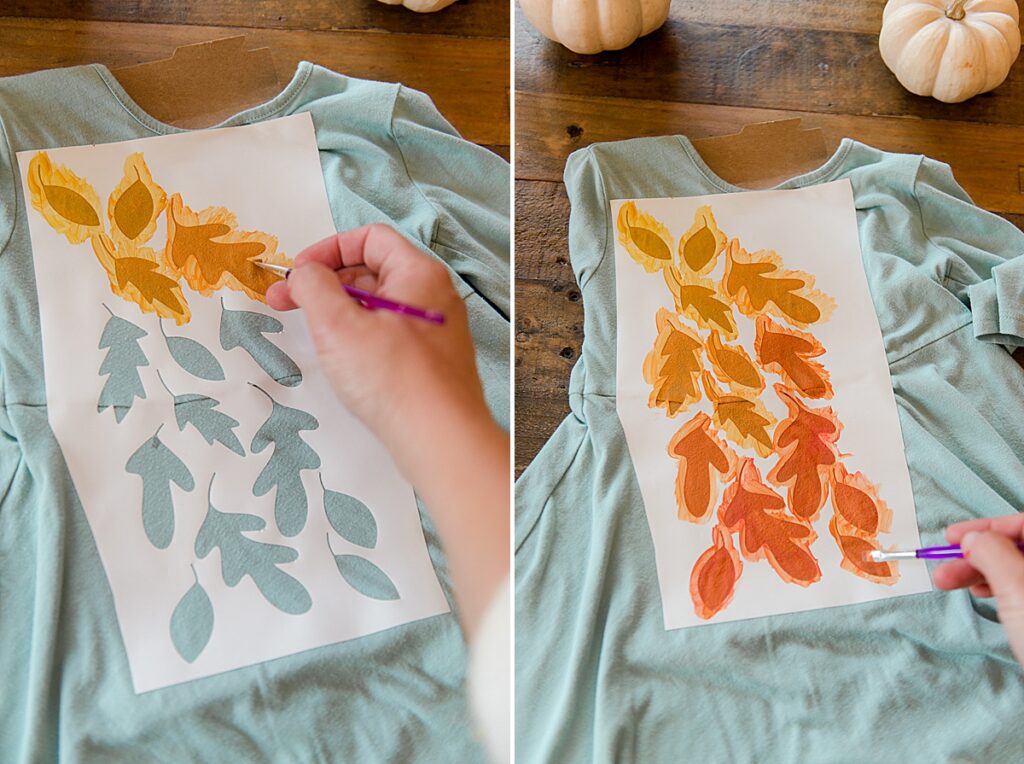
5. Peel while wet + dry
While the paint is still semi-wet (before it sets too much) peel away the vinyl being careful not to smudge your newly painted leaves. I found that it’s the most helpful to just do it in one slow, swipe and lift up all at one time!
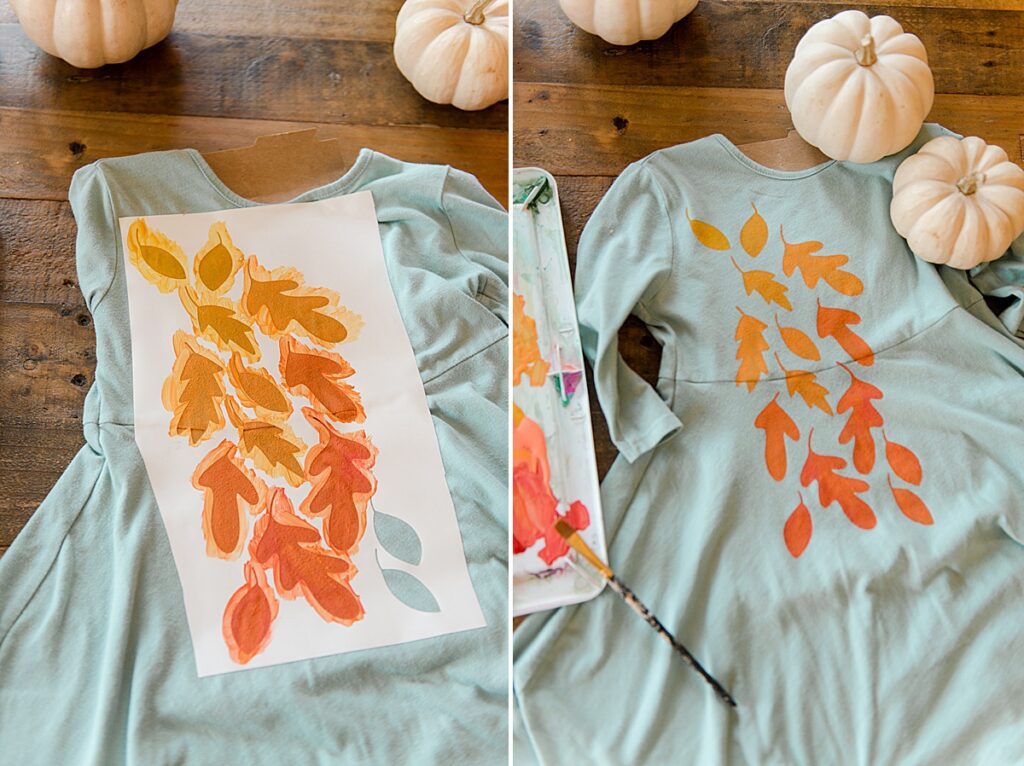
VOILA! 🙂 How easy, right? Now, I promise that you will be dreaming up what else you want to paint stencil by making your own with your Cricut! 🙂
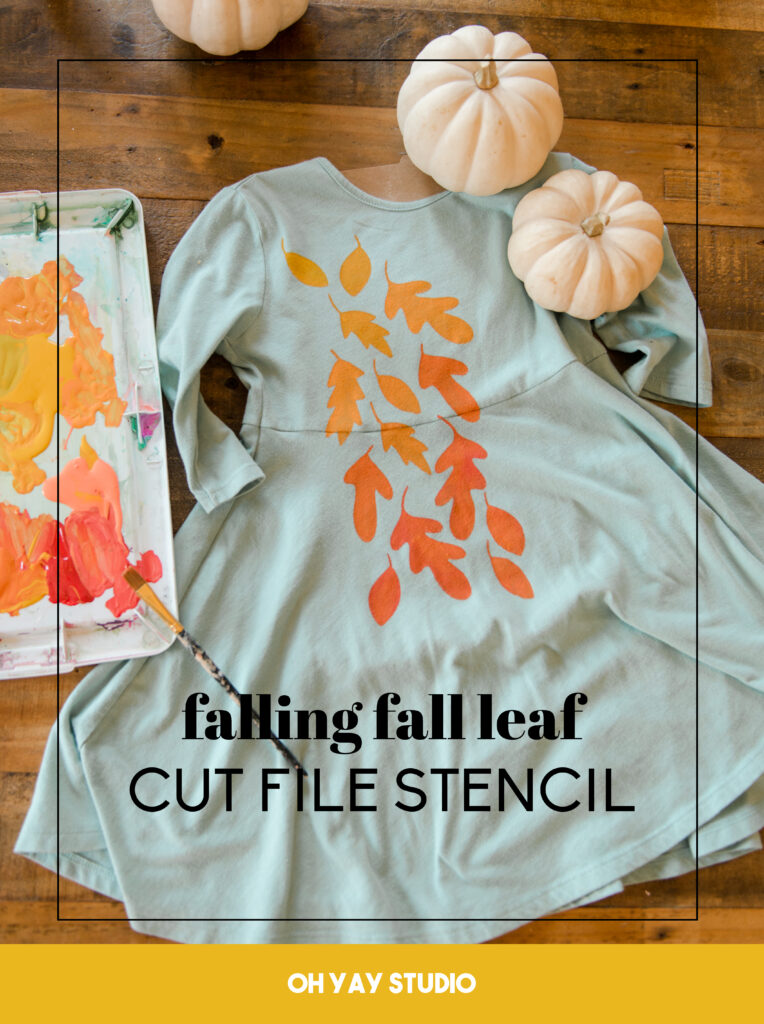
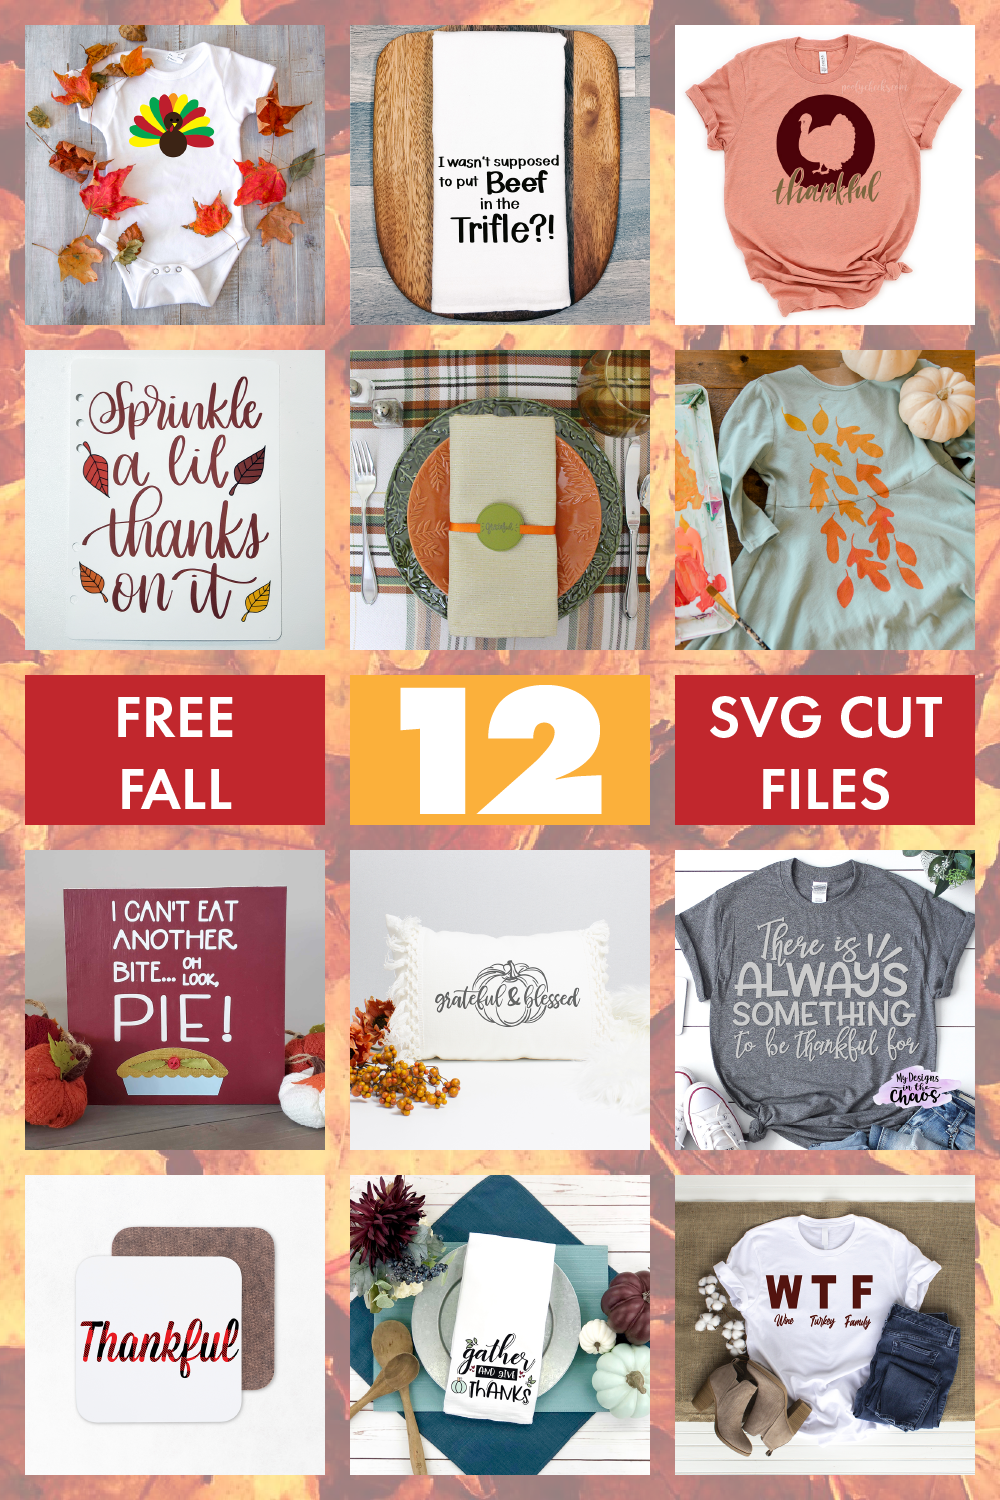
And be sure to snag any (or all) of these free FALL SVG CUT FILES from this list of incredible makers:
- Monogram Turkey SVG file from Crafts of a Different Shade
- Thanksgiving cut file from Crafting Overload
- Grateful napkin Rings from Polka Dotted Blue Jay
- Thanksgiving cut file from Poofy Cheeks
- Sprinkle a Lil thanks SVG file from Mightemadeit
- There’s always something to be thankful for from My Design in the Chaos
- Grateful and Blessed SVG from Chameleon Cuttables
- I can’t eat another bite SVG from Sunshine and Munchkins
- DIY Thankful coaster from the Craft Print
- Gather and Give thanks SVG from Simply Made Fun

I seriously love this! The color change is perfection.
Oh my gosh, this is a great idea! I love the colors you used too.