How to re-cover outdoor cushions | A quick + easy DIY
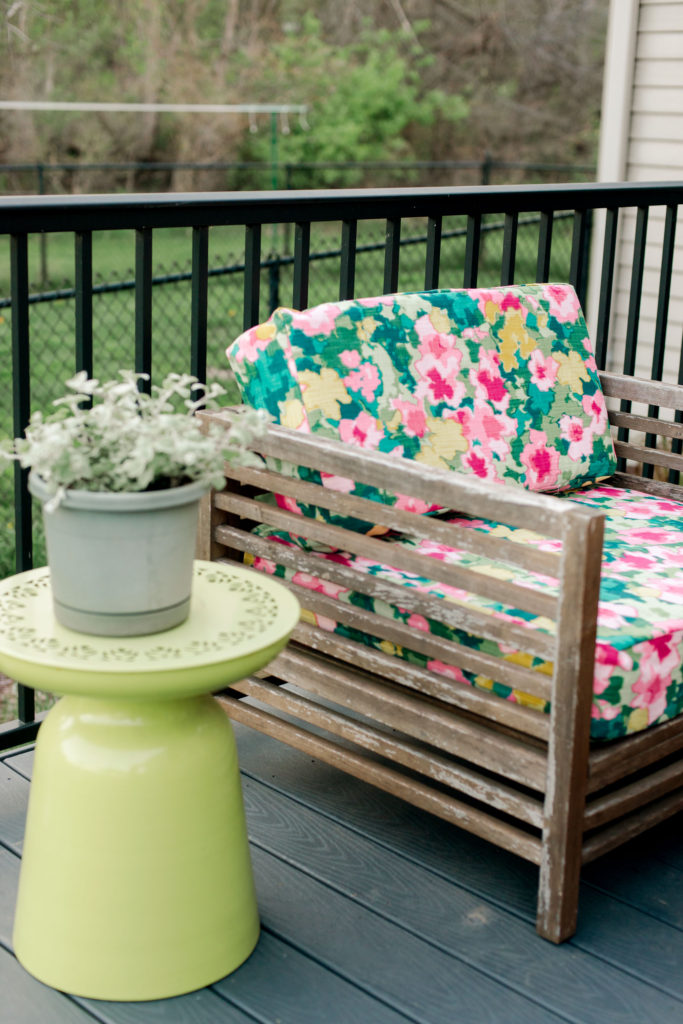
The way that I choose to re-cover is not an exact science and I don’t measure a whole ton (maybe that’s a good thing, maybe that’s a bad thing) but I have found that it works AWESOME and I have sewn many things using this method before! 🙂 Essentially I use the existing cushion covers as a “pattern” for the new cushion covers which omits loads of math for seam allowances and things that I don’t love doing. I am so excited about how these cushions came out and I hope that this little tutorial on how to re-cover your own outdoor cushions inspires you to tackle this DIY!! 🙂
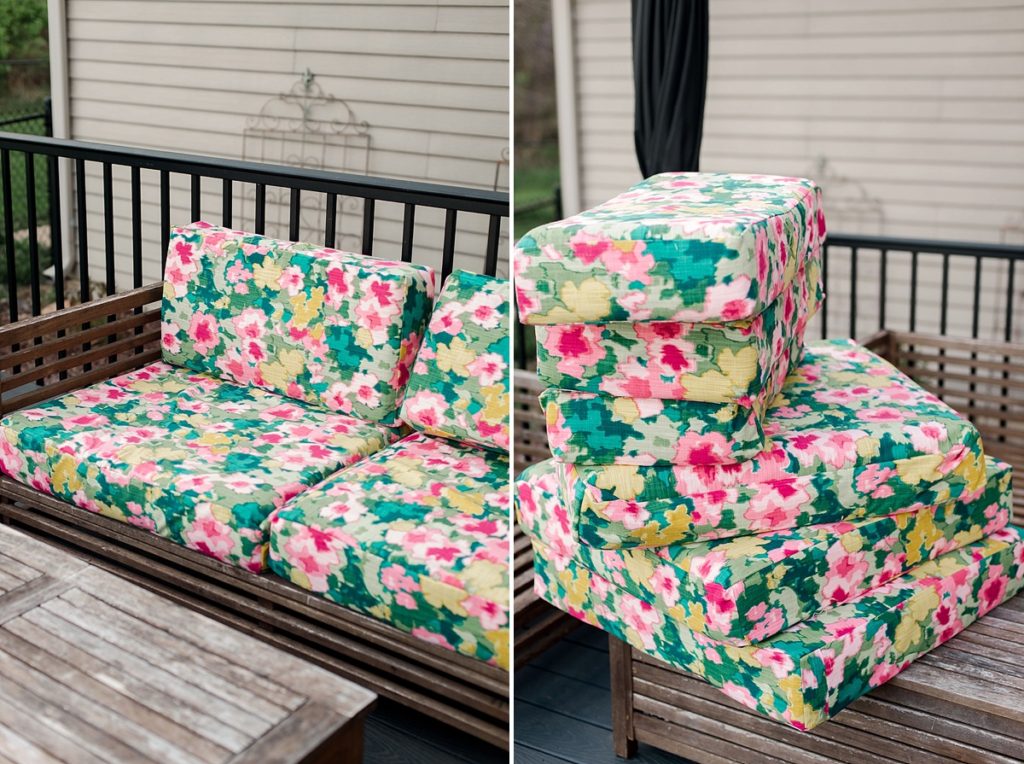
Supplies:
- New recovering fabric (measure from your old, existing covers to get a rough idea)
- Old cushion covers (to measure from + make pattern)
- Seam ripper
- Tape measure
- Sewing machine with coordinating thread
- Pinking sheers
- (and maybe a glass of wine or 2)
STEP ONE : Make Pattern
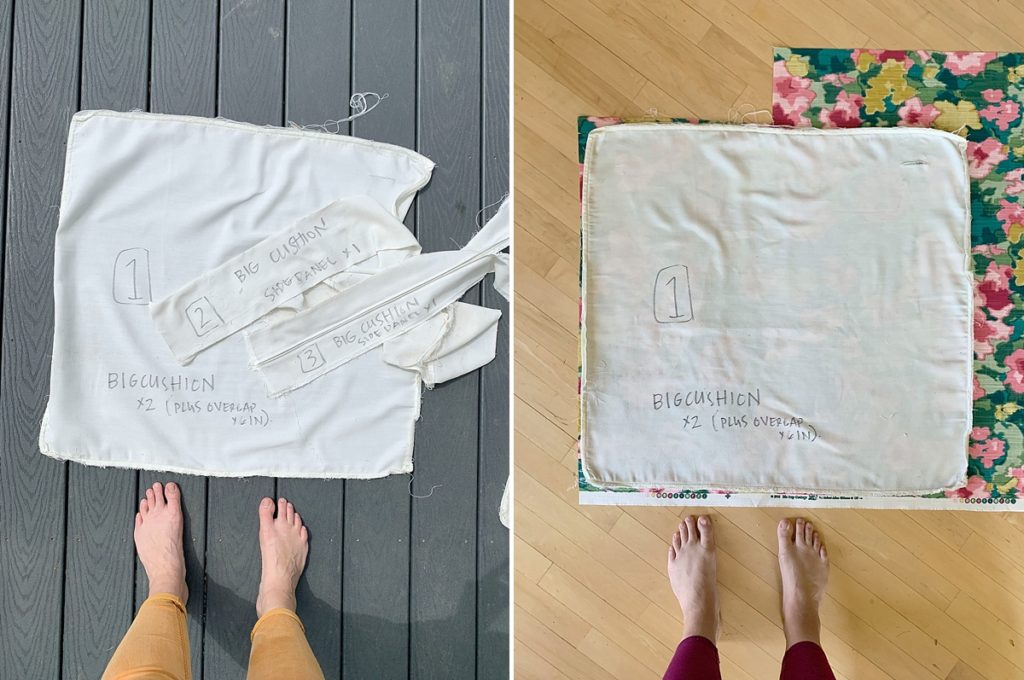
Remove your old cushion cover from your cushion and start to gently rip the seams apart (you want the pieces to stay in tact as best as possible). Basically we are getting our pattern pieces from our old cushion covers. I ended up with a front, back and 2 side pieces. You may want to label the pattern pieces with a marker once you have them all laid out and cleaned up so that you know what is what in case you get interrupted or need them for future use.
NOTE: I decided that I didn’t want to do zippers like the first cushion covers had (ACK, zippers are not necessary in cushion covers like these IMO), SOOOOOO I decided to still “use” the piece with the zipper, but just omit the zipper part.
TIP: You also can IRON your pieces so that they are COMPLETELY flat and there is less room for seam allowance error because of folding, etc.
STEP TWO : Cut Fabric
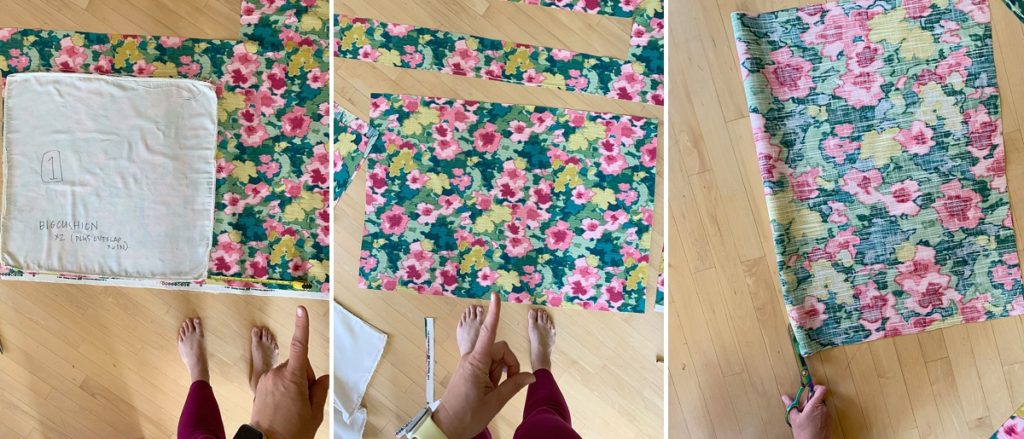
Lay out all of your pieces onto the new fabric. Begin cutting out pieces one by one.
NOTE: Because I decided to omit the zipper in my re-covering, I wanted to make a back “flap” for the cushion to easily come in and out. SOOOOOO when I cut the back panel, I actually cut it 12 inches longer so that I could cut in in 1/2 and make 2 pieces with a 6″ overlap for the back side
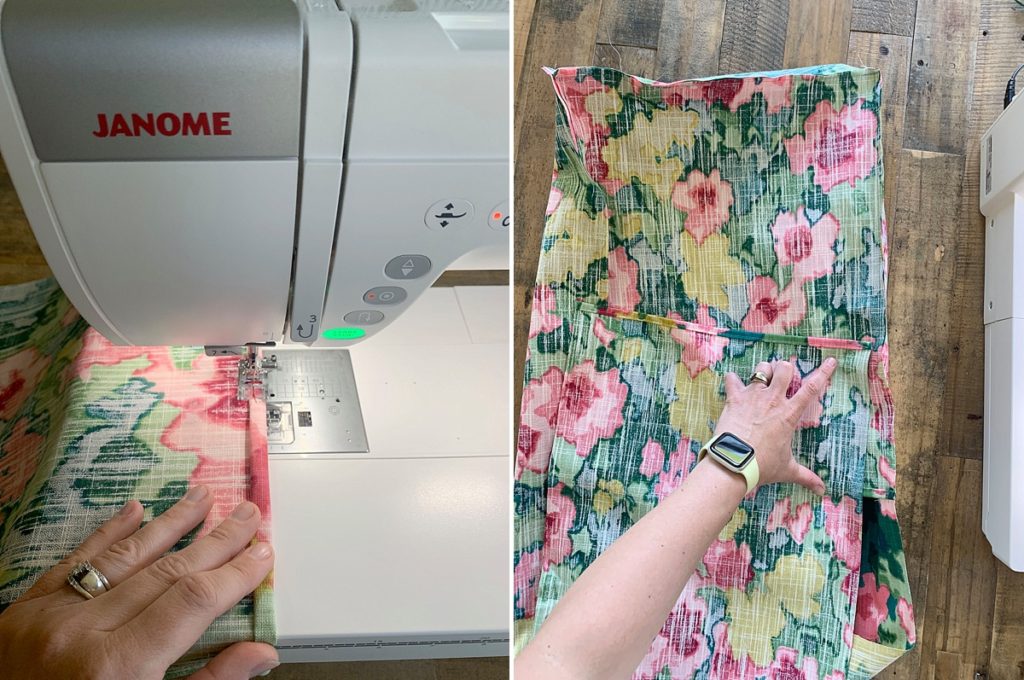
STEP THREE : Sew
I began by sewing my back 1/2 cut sides (basically roll hemming them) so that there weren’t any fray or loose ends inside. Then I began pieces each panel back together. You can sort of get an idea of how this can happen while you are seam ripping your old cushion covers apart. Basically I started with the back (hem), then sewed the sides to the front panel, followed by the back side.
TIP: When you are sewing the sides onto the front or the back, try and make sure to line up the corners as best as possible so that the edges are square. I did this by lining up the corner and holding (or pinning) in place each time I started to sew the side panels.
STEP FOUR : Try on and Make any adjustments
This is the moment of truth!!!! Shove the cushion form back into the new cushion cover and note of any adjustment that need to be made. Sew those adjustments as needed! 🙂
The final step is to turn your new cushion cover wrong side out, take your pinking sheers and trim allll the inside seams to prevent from fraying or weak points in the sewing as they get jumped on, worn and loved! 🙂
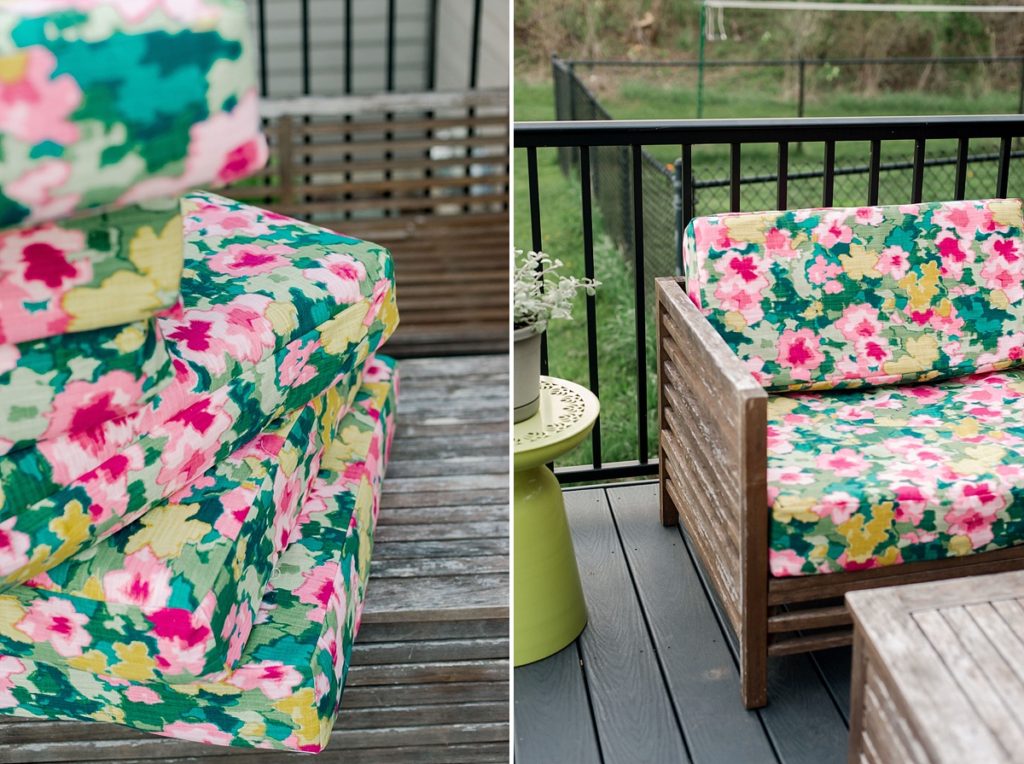
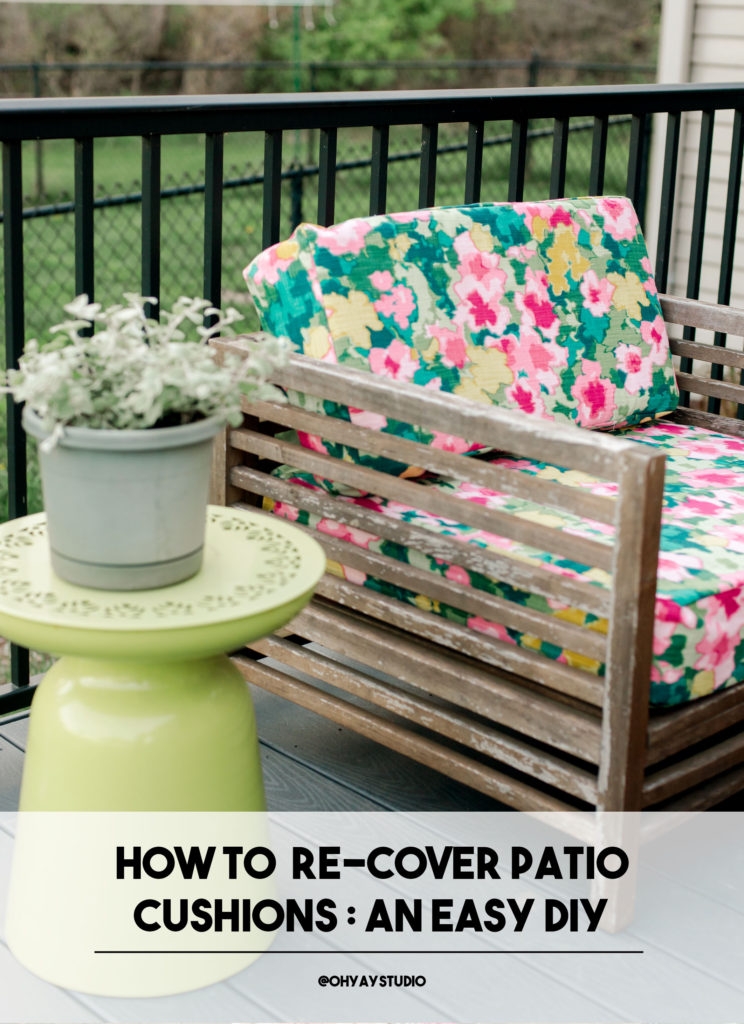


A few glasses of wine – that is my kind of DIY project. haha = but seriously this turned out lovely!
Great job with the covers! They look awesome.
This does look pretty simple and that flowery fabric is so bright and beautiful! I love it.
Great tutorial! Thanks for sharing!
Great DIY project!!!
I really like this. I sew A LOT and do this all the time…. new from old. <3
You make it look so simple! I bet even I could follow your tutorial! (am I am no seamstress)
What a great idea, and I love the pattern you chose for your new covers! So bright and happy! Wine always goes with projects like this.
This is timely info for me! Thank you!
Great tutorial! Looks beautiful.
I dream of the day we’ll have our own home with an amazing patio! Stevenn loves furniture design, so I think he would have fun with your ideas!
I need some new patio chair cushions at this very moment!! Thanks for the article. I pinned it for later too.
Those are so pretty! You did a great job!
What a simple idea – the possibility is now endless for the outdoor decor!
These turned out so well! I’ve done the exact same thing…used the old cushion covers to create new ones and I think it saves so much time. I’m about due to recover my cushions again.
Very pretty. I’ve been planning to do this for awhile but there’s always other projects. You make it look simple.
Wow you made this look so much easier than I thought it would be. I am going to have to give these a try with our new patio furniture
Great tutorial! I love the colors of the fabric!!!
Great and easy tut, they came out so pretty! Thank you for sharing 🙂
Fabulous ideas!! Certainly beats getting new ones. One problem that I have – and you may have a solution – is the cushions aren’t puffy over time. I use outdoor cushions for my classroom, but by the middle of the school year, the kids are looking to double up the cushions. Any thoughts to fix this? Thanks!
Hey Annette! 🙂
I always add extra fluff or foam to my cushions!!! ALWAYS! Especially for outdoor cushions because I feel like those get worn down faster from weather and harder wear and tear!!! 🙂 You can find thin (anywhere from 1/2″-2″) foam at most craft stores (and maybe even hardware stores) or online. ORRRR you can always get sheets of batting and cut those into squares and layer them for extra love. You would just cut them to size and then stuff them on top and bottom of the cushion to add some more firmness and fluff! 🙂
Hope this helpppppps!!!! 🙂
Crafty, I am not! LOL. This is a great project, though, for someone who can and is eager to do stuff like this.
ugh! I hope to be this crafty one day!
I love this! I have some outdoor chair cushions I would love to replace but maybe I’ll recover them instead. Thanks!
Oh my word! They look adorable! I love the colors and the creativity!
Beautiful! Where did you get the fabric?