Lisa Frank inspired mirror + clock
If you grew up in the 90s then you are SURE to remember the name LISA FRANK?! eh?! 🙂 I remember a specific puffy trapper keeper with a colorful, rainbow leopard print background and some kittens cuddling with big eyes on the front! It’s like an instant nod to my elementary school days that I never want to forget!
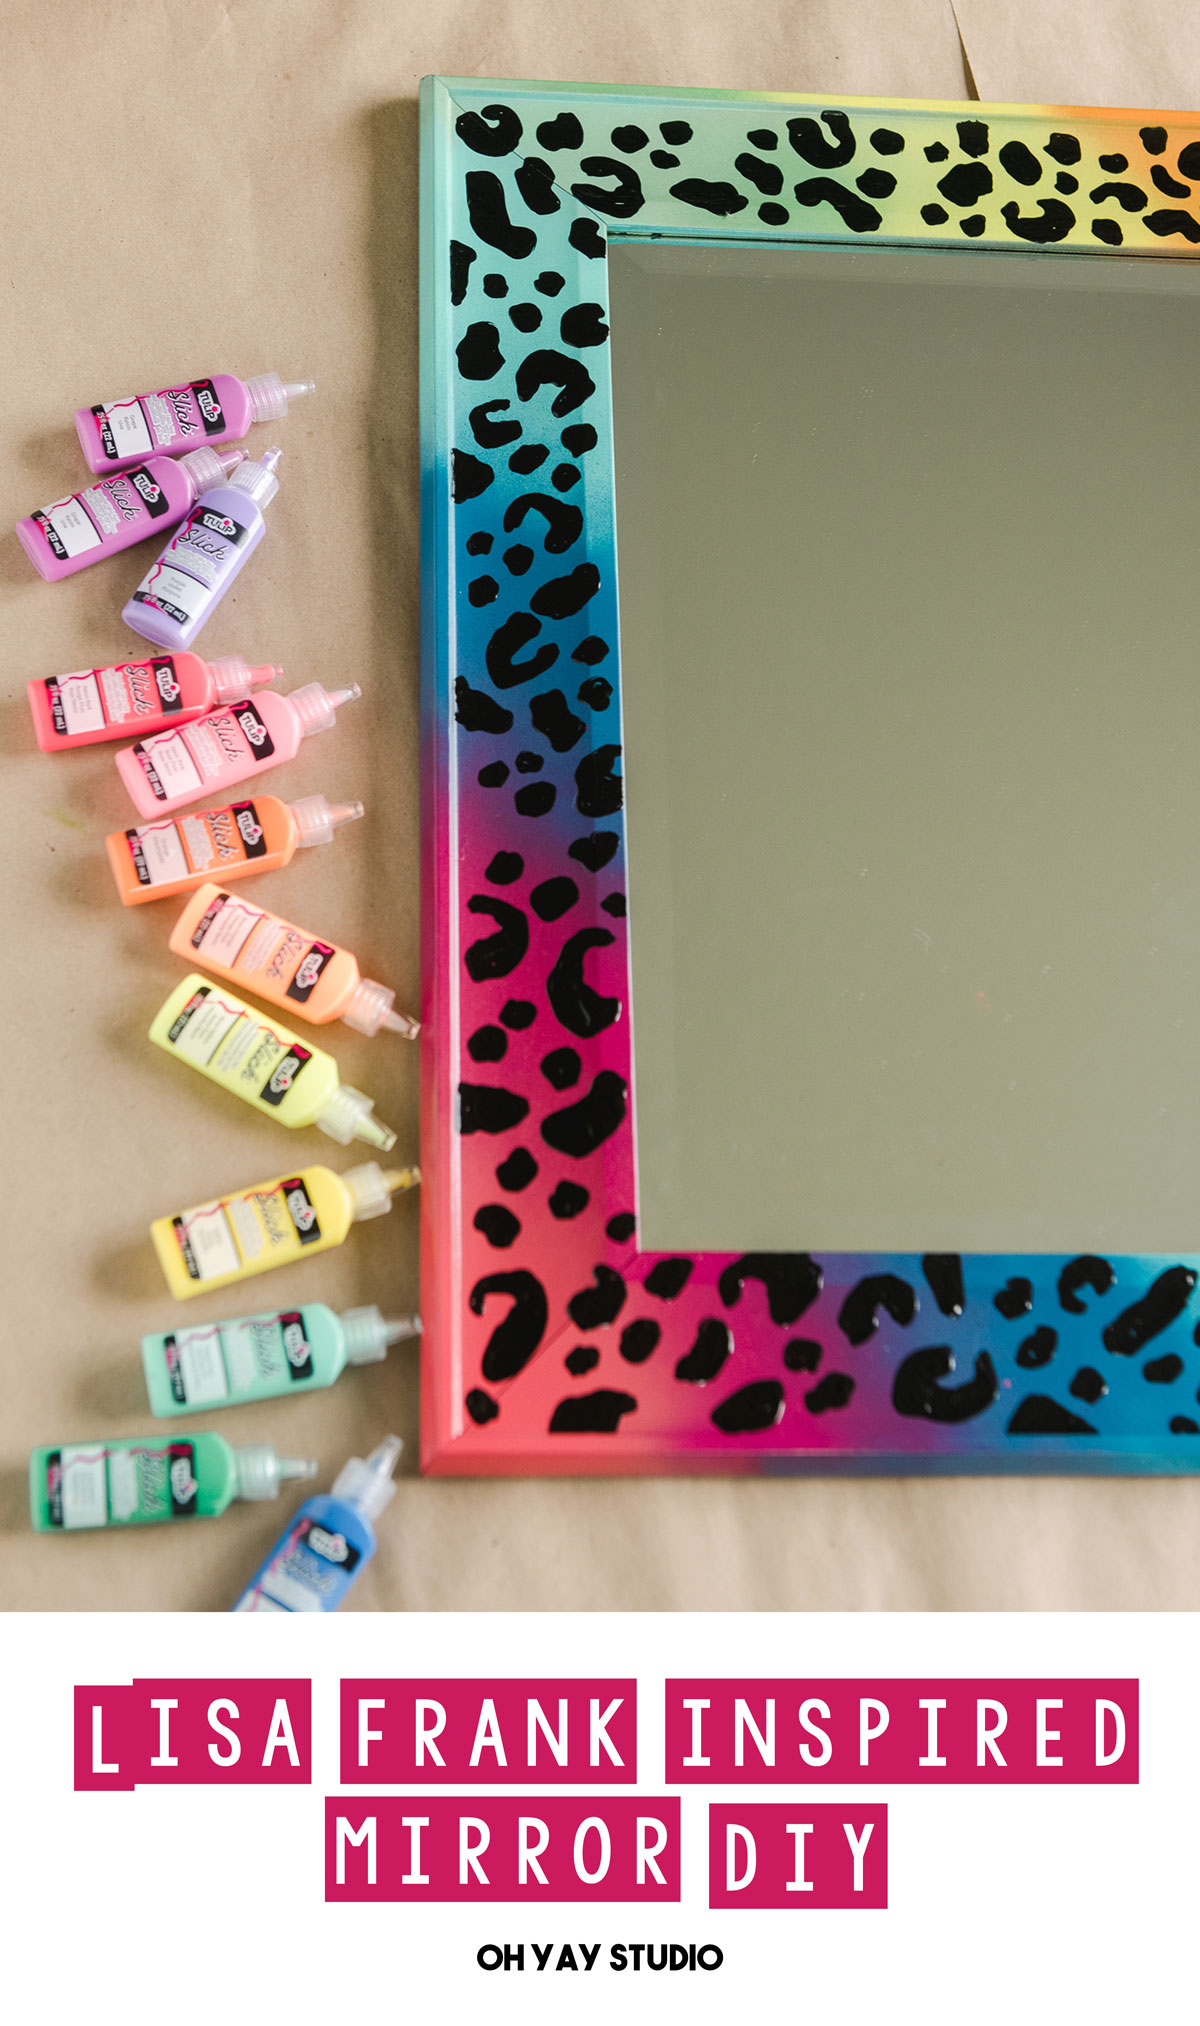
SO why not recreate this Lisa Frank, 90s style rainbow leopard print in some home decor? Like spiffy up our stairway with a new mirror and clock that is perfectly handmade drawing the leopard prints using Tulips amazing dimensional paint!
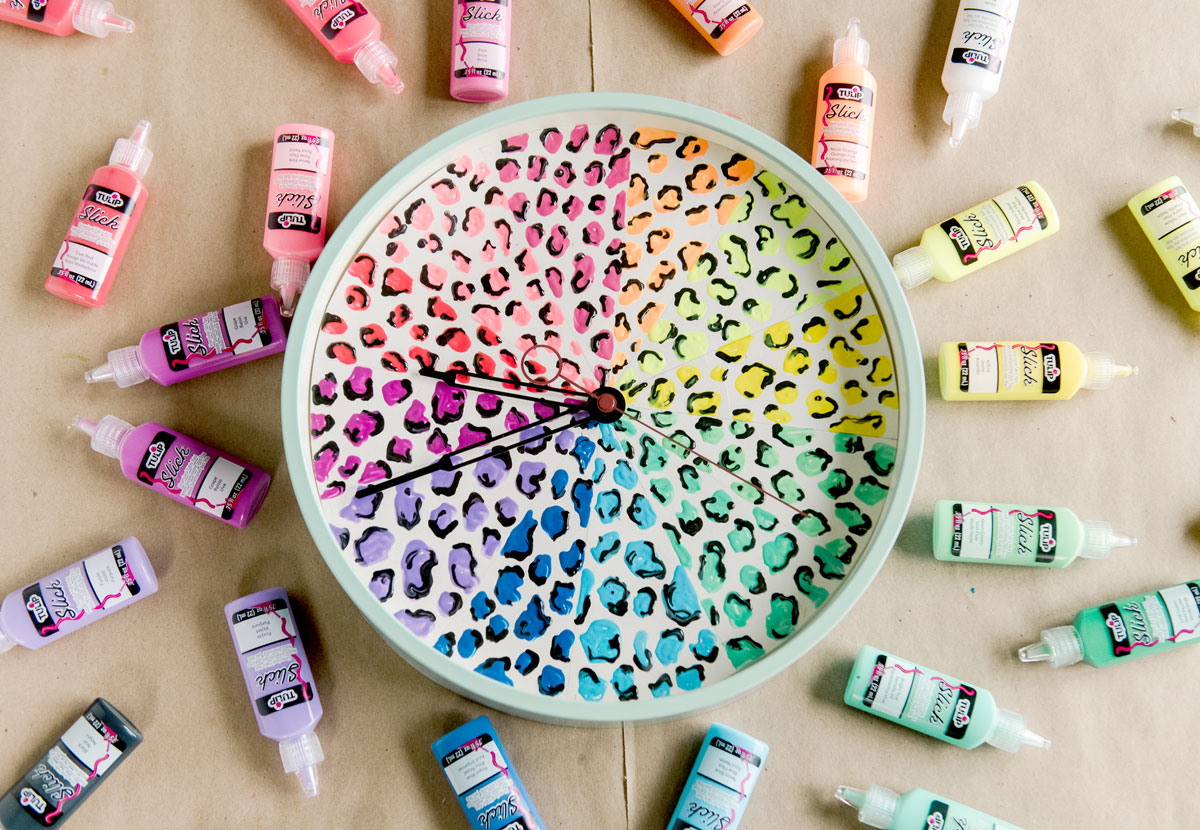
This project is quite simple (and I mean that 100% honestly)…….you are basically painting asymmetrical, not perfect blobs to make the leopard print (don’t worry, I have tons of tips and tricks below) so you don’t have to be a surface designer or even an amazing doodler to make this project happen! Just a love of color and a love of the 90s will be just the perfect combo! 🙂
MATERIALS:
- An old clock that needs some 90s love
- A piece of cardstock paper that is the same size of the face of your clock
- A mirror with a “thick-ish” frame around the outside
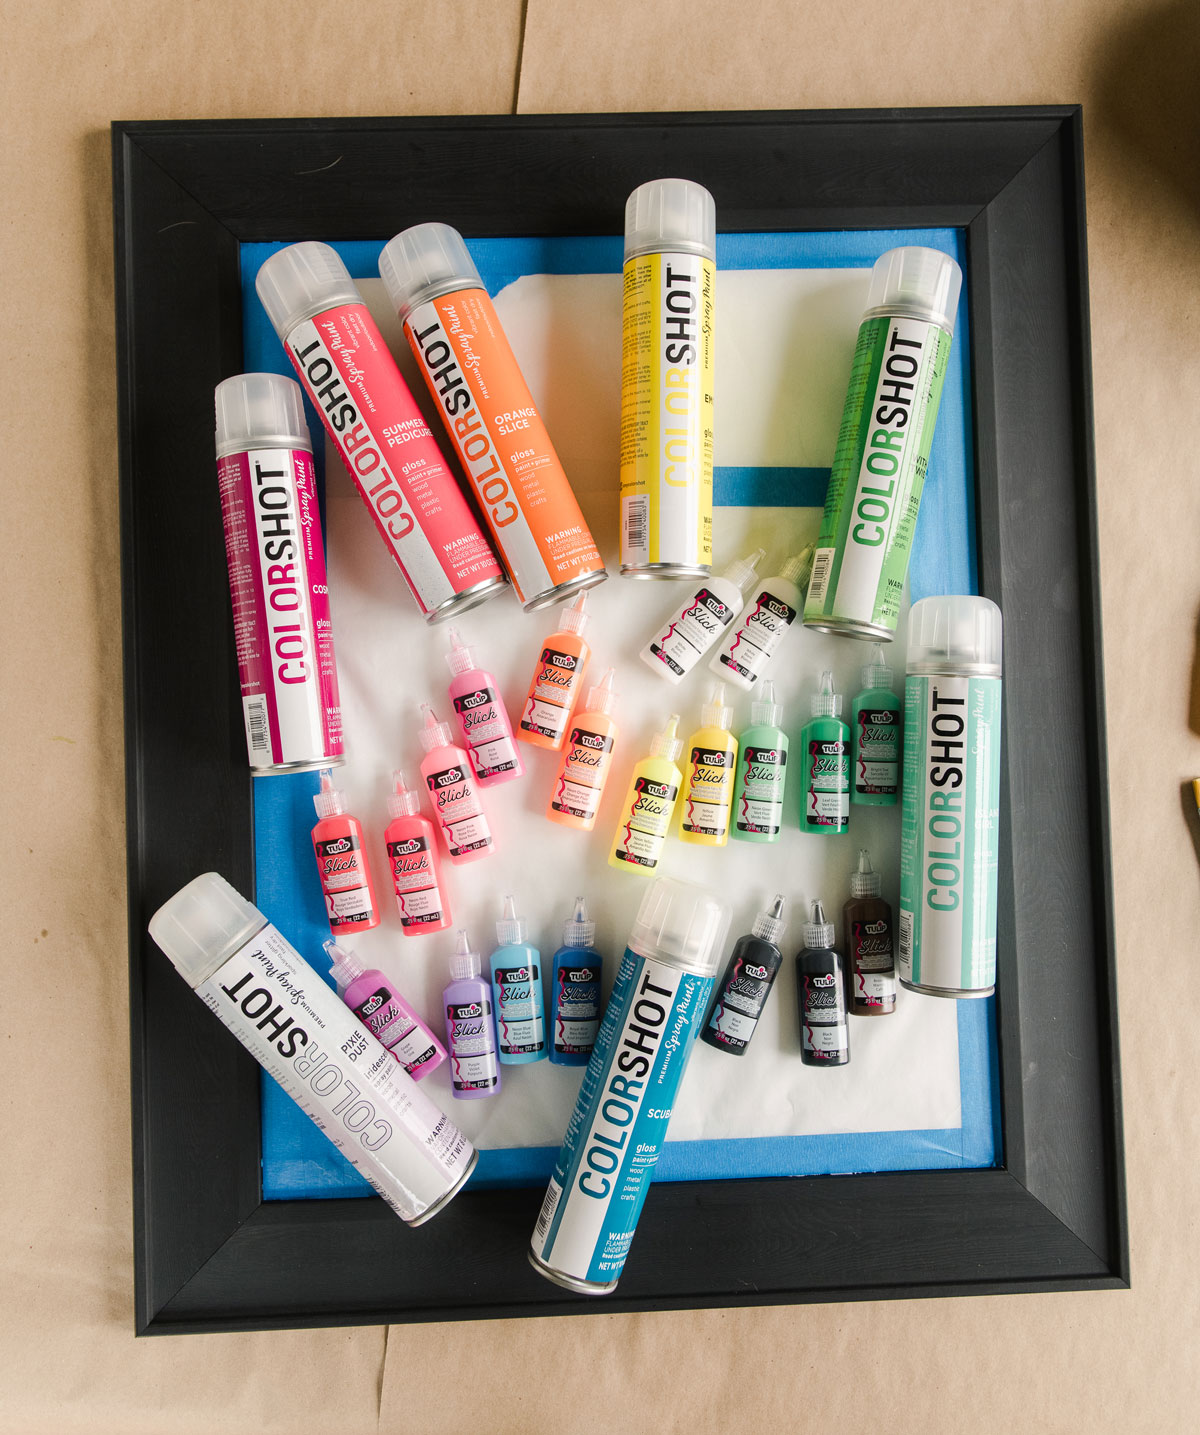
- optional spray paint in the rainbow – Colorshot spray paint is the besssst for this because one coat is all it takes which keeps this project quick 🙂
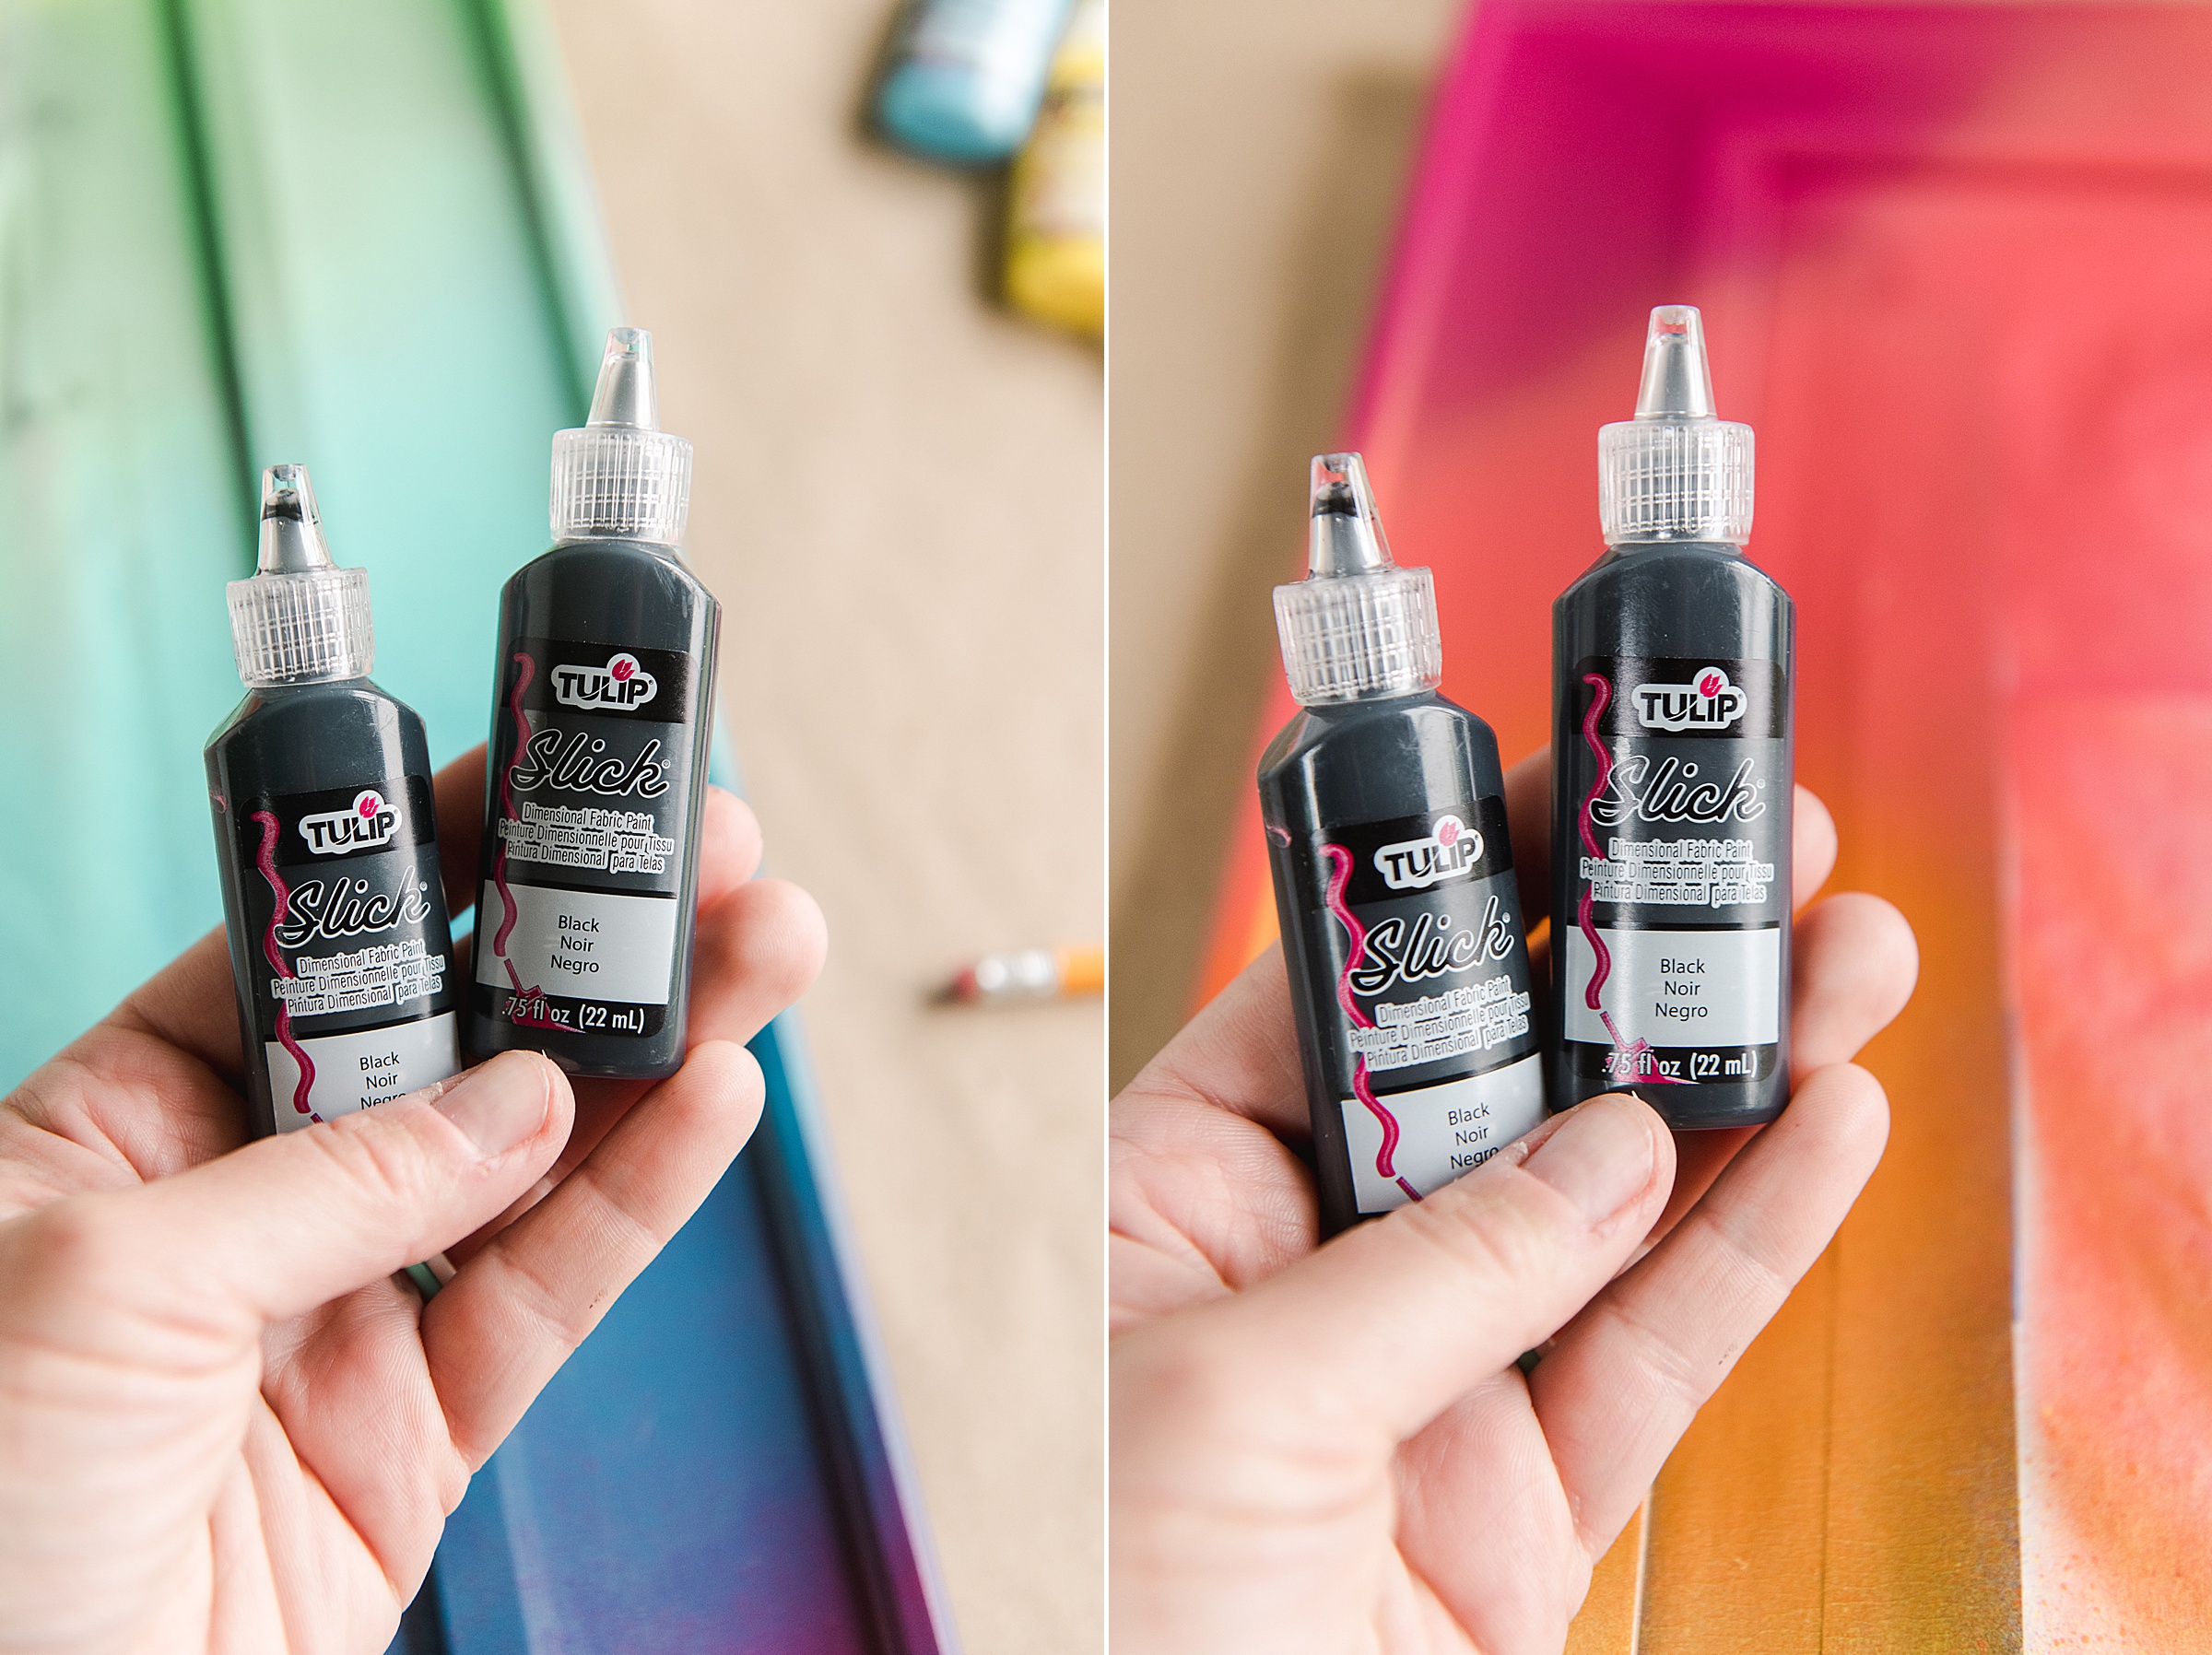
- A set of your favorite colors of Tulip Dimensional Fabric paint
- A drop cloth or surface protection for the project
- Painters tape and parchment paper or something to mask off areas that you don’t want painted 🙂
TO MAKE THE CLOCK:
1. Disassemble the clock by removing the back panel (mine had little notches that I just had to push in gently all the way around). You can either just “trace” the face of the clock OR you can pull out the hands and the back panel (usually paper with the numbers on it).
If you pull out the back paper, then you can just flip this over and paint right onto the already sized piece of paper.
I chose to trace our “face” and start with a fresh piece of paper for painting.
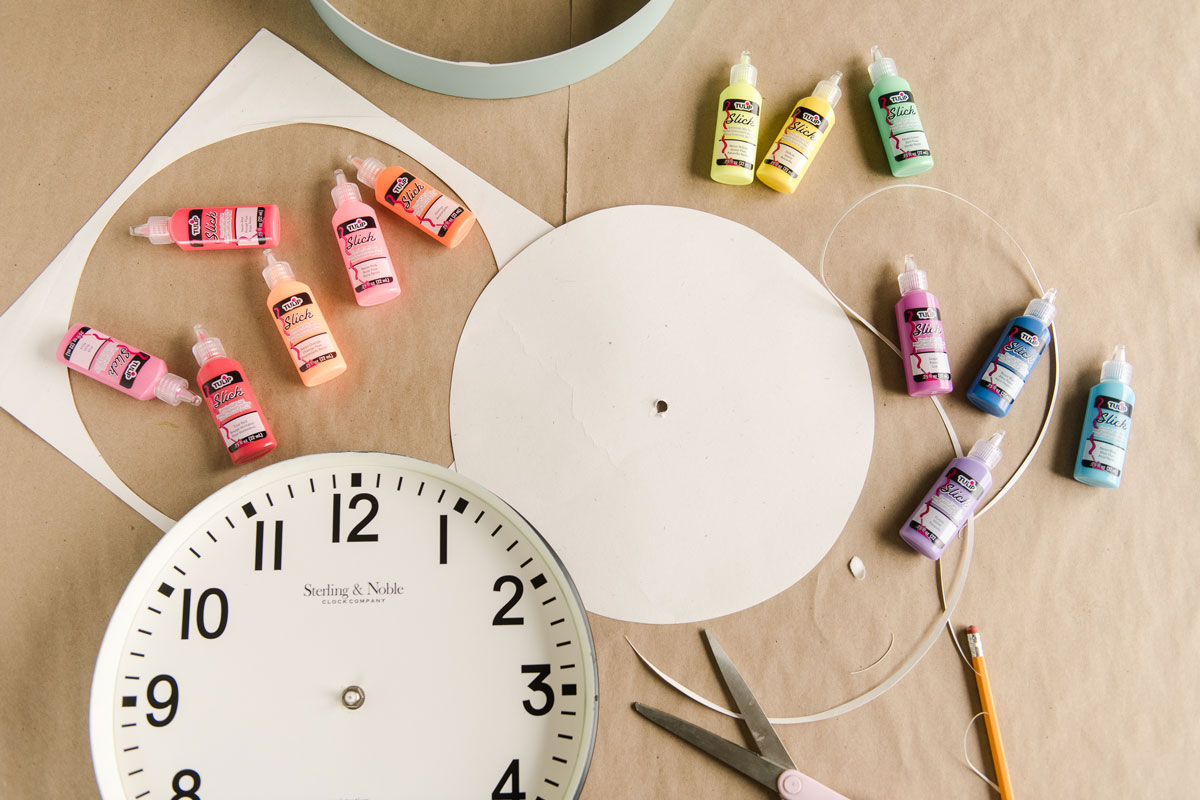
2. Mark out your sections to paint for each “number” on the clock. I decided I didn’t want to add numbers back onto the clock, so I decided to paint each hour section a different leopard color through the rainbow. I used a pencil to mark off the clock face paper into 12 sections…I did this by splitting into 4 (an X or cross) and then each of those 4 sections I split into 3 equal (or roughly equal) pieces.
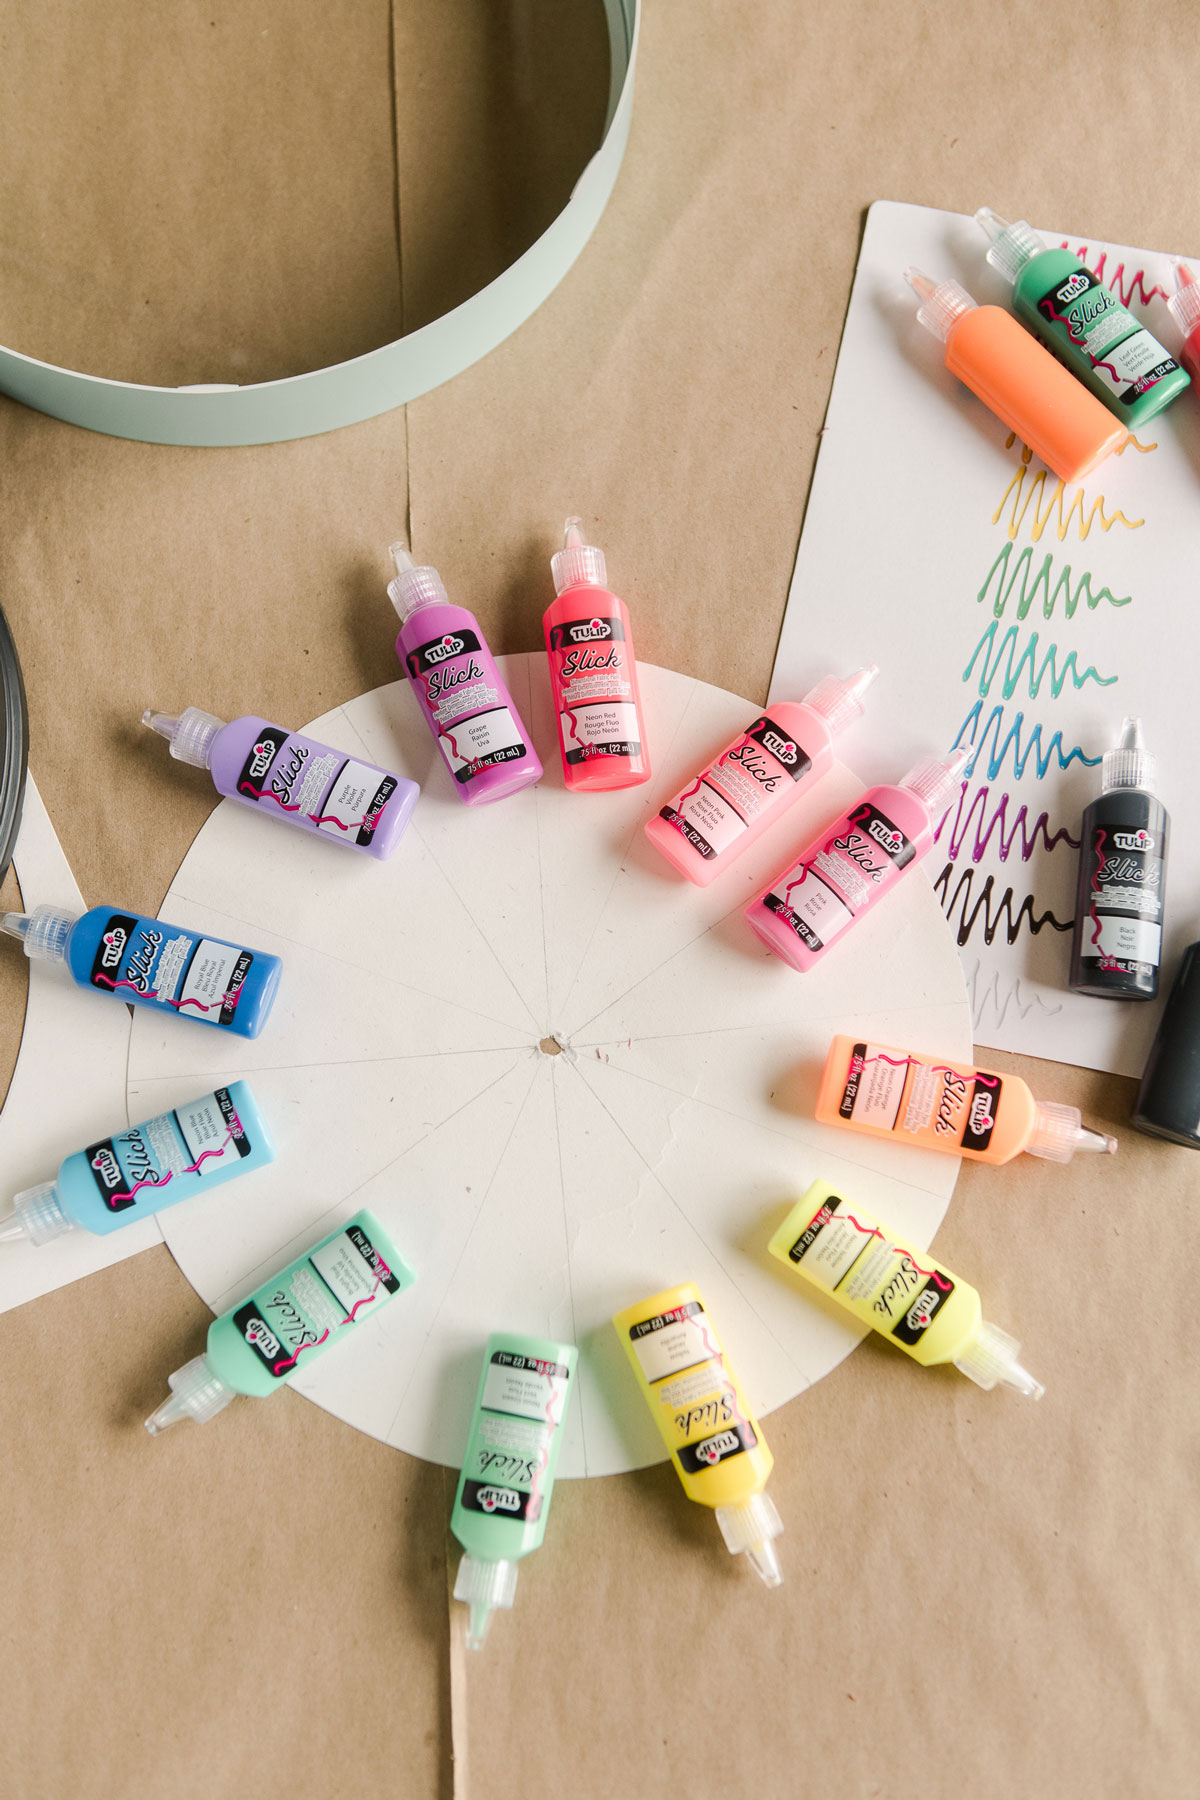
3. Begin painting your rainbow leopard print sections! YAY! This is the fun part!
Here are some tips for using the Tulip dimensional paint to paint your 90s inspired clock:
- To make the leopard shape, pick you first color and make a smallish blob. Repeat making blobs throughout the whole “hour section” with the same color
- Then when you are done with your color blobs, you will use your black Tulip dimensional paint to give an “outer edge” to about 1/3 of the blob. This DOES NOT have to be uniform….simply add you fridge of black on each blob in a different part of the blob. You will start to see this come together as leopard-ish when this touch is added! 🙂
- Use all 12 colors and feel free to mesh some of the colors if you want to make it TRUELY ombre across the clock 🙂
- When squeezing, you want an even pressure on the bottle to make the blobs. Outline first and then fill in trying to get an even height in the dimensional paint
- Keep a paper towel handy for wiping the tip of your bottle and testing anything necessary (I especially wiped the tip when I was adding the black).
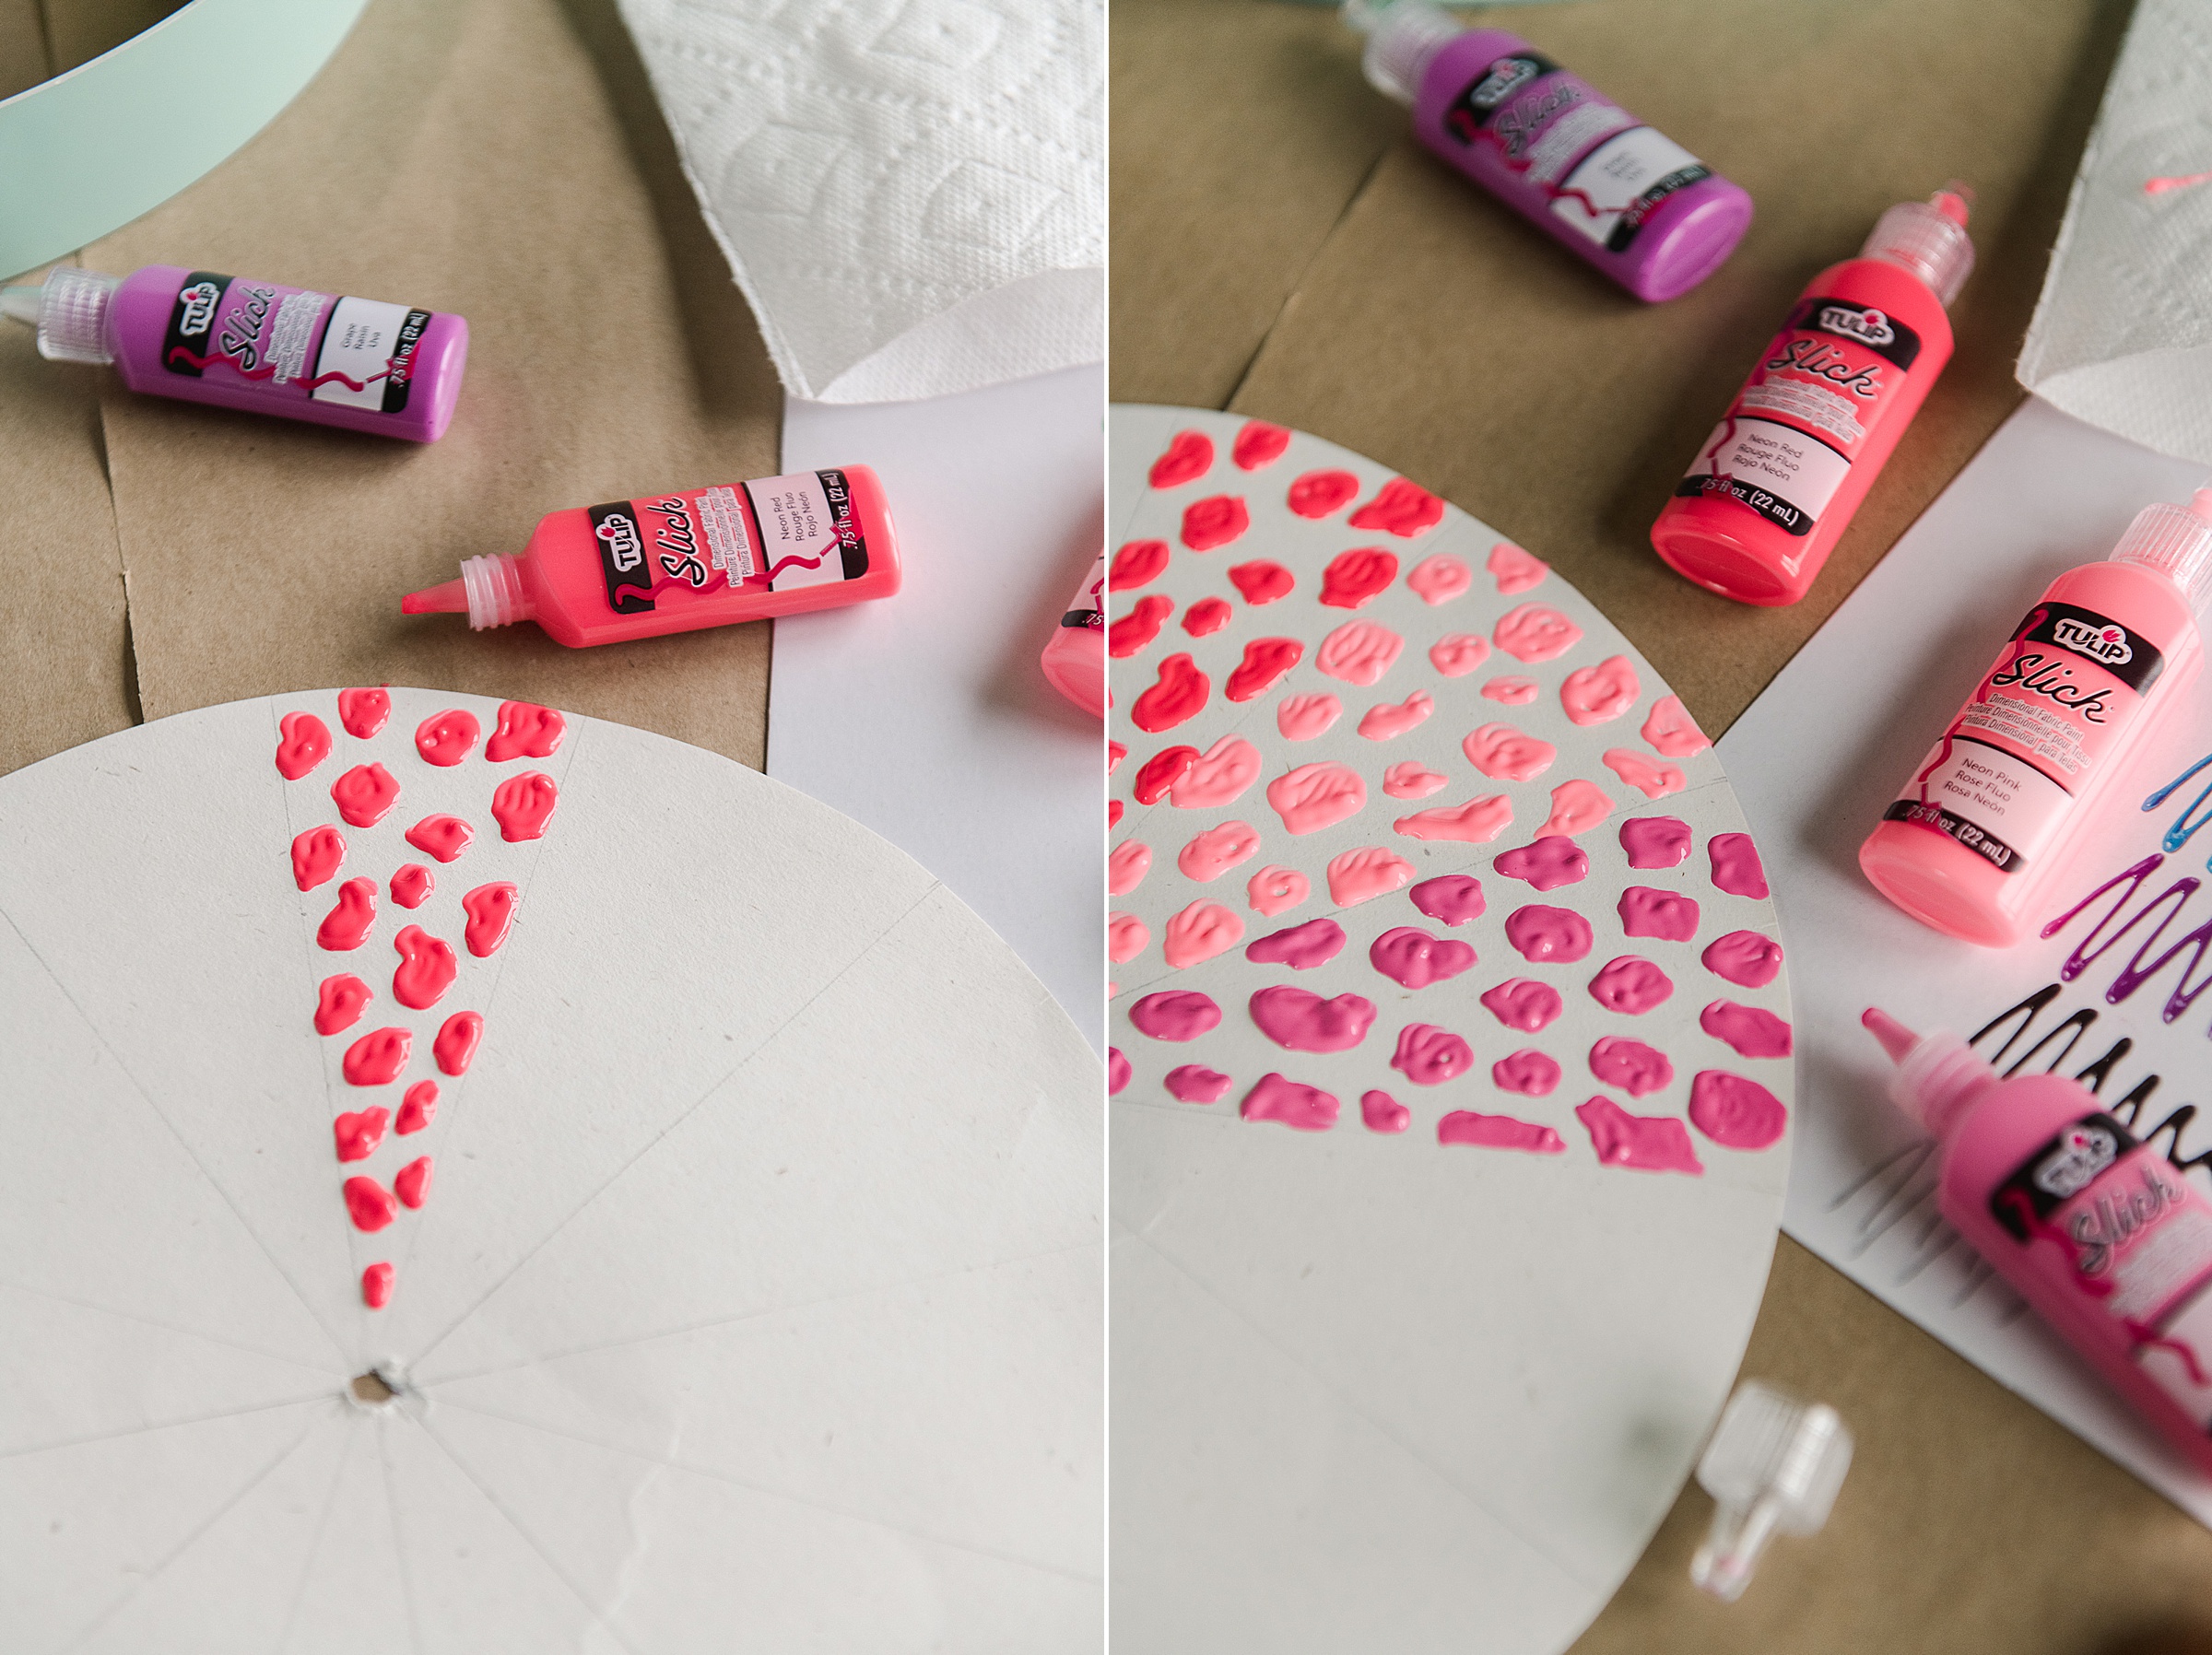
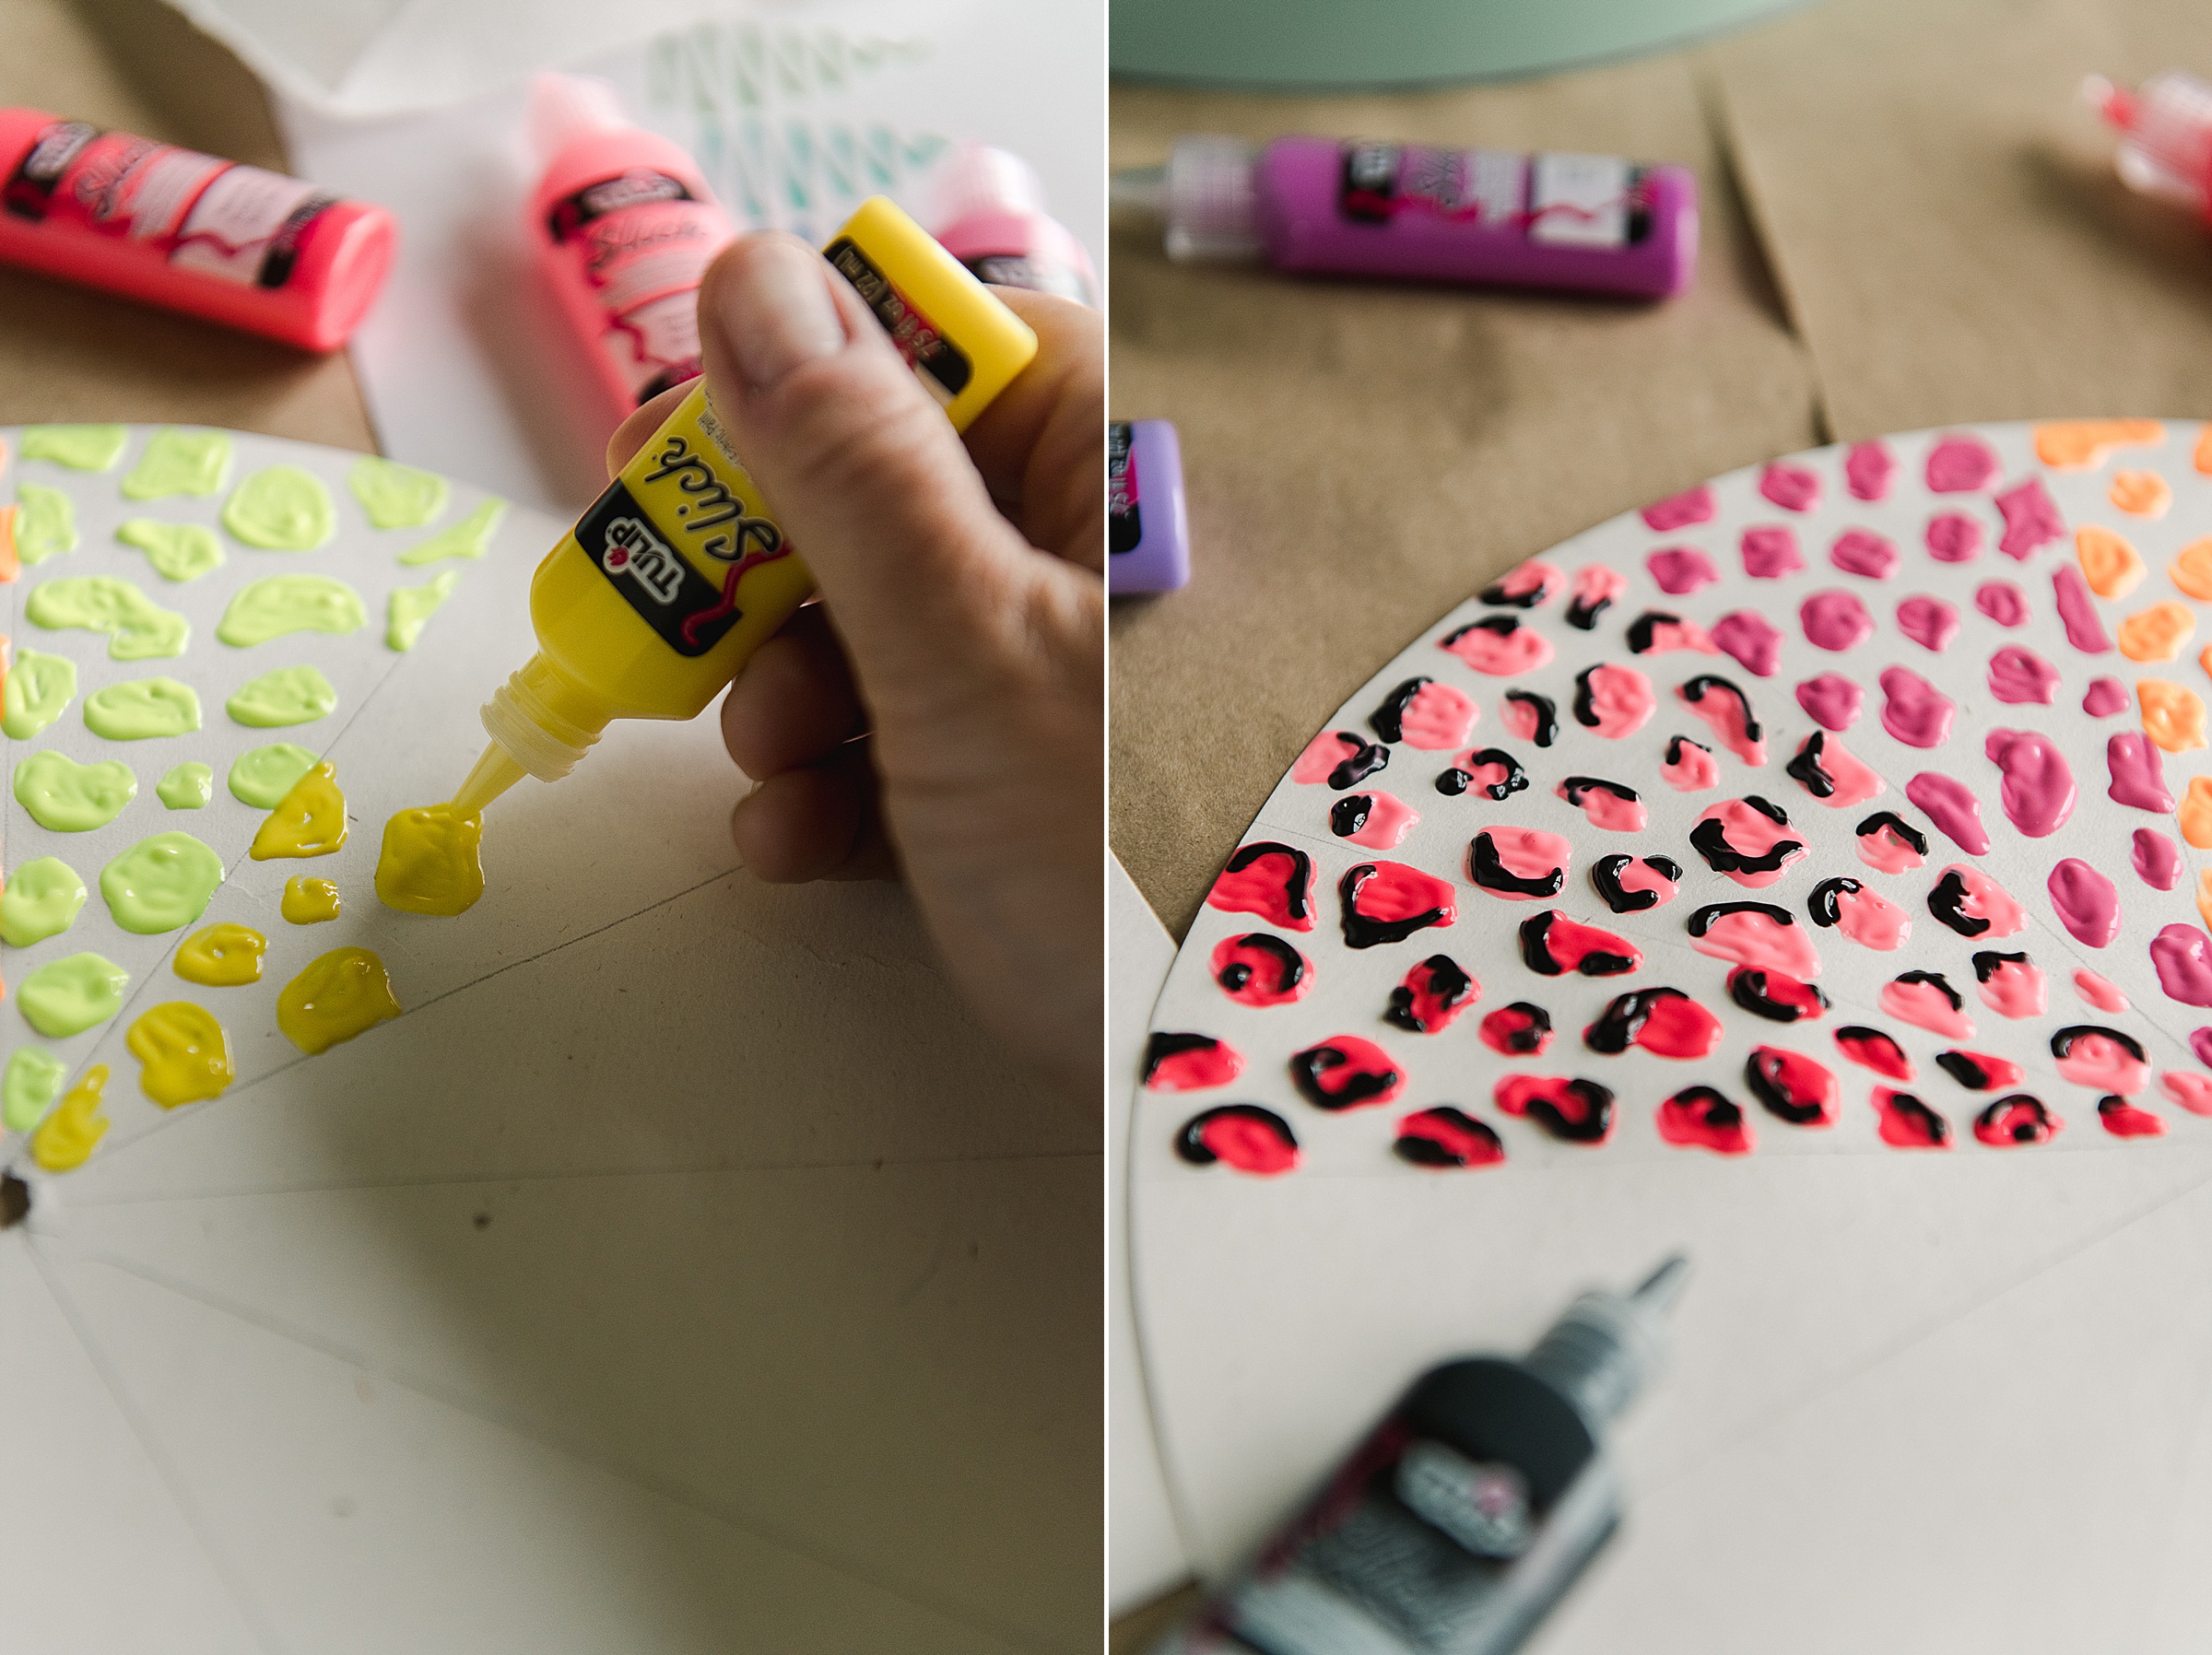
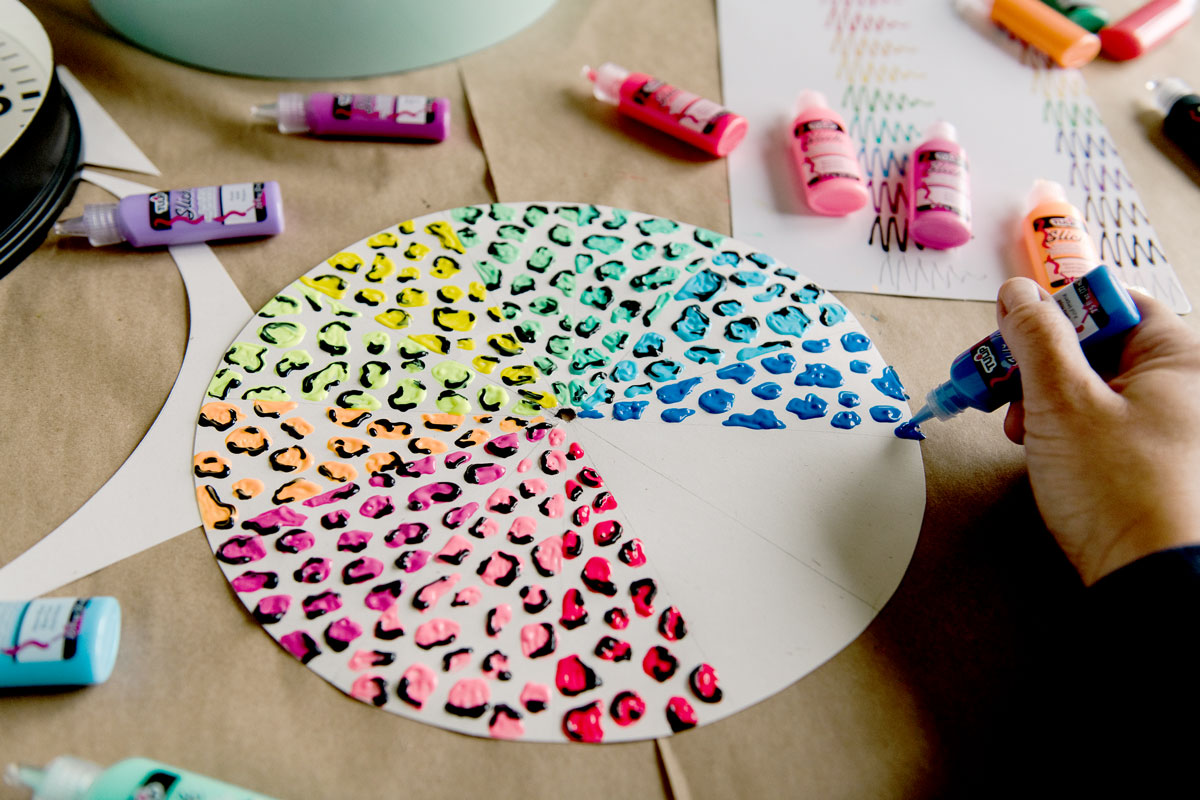
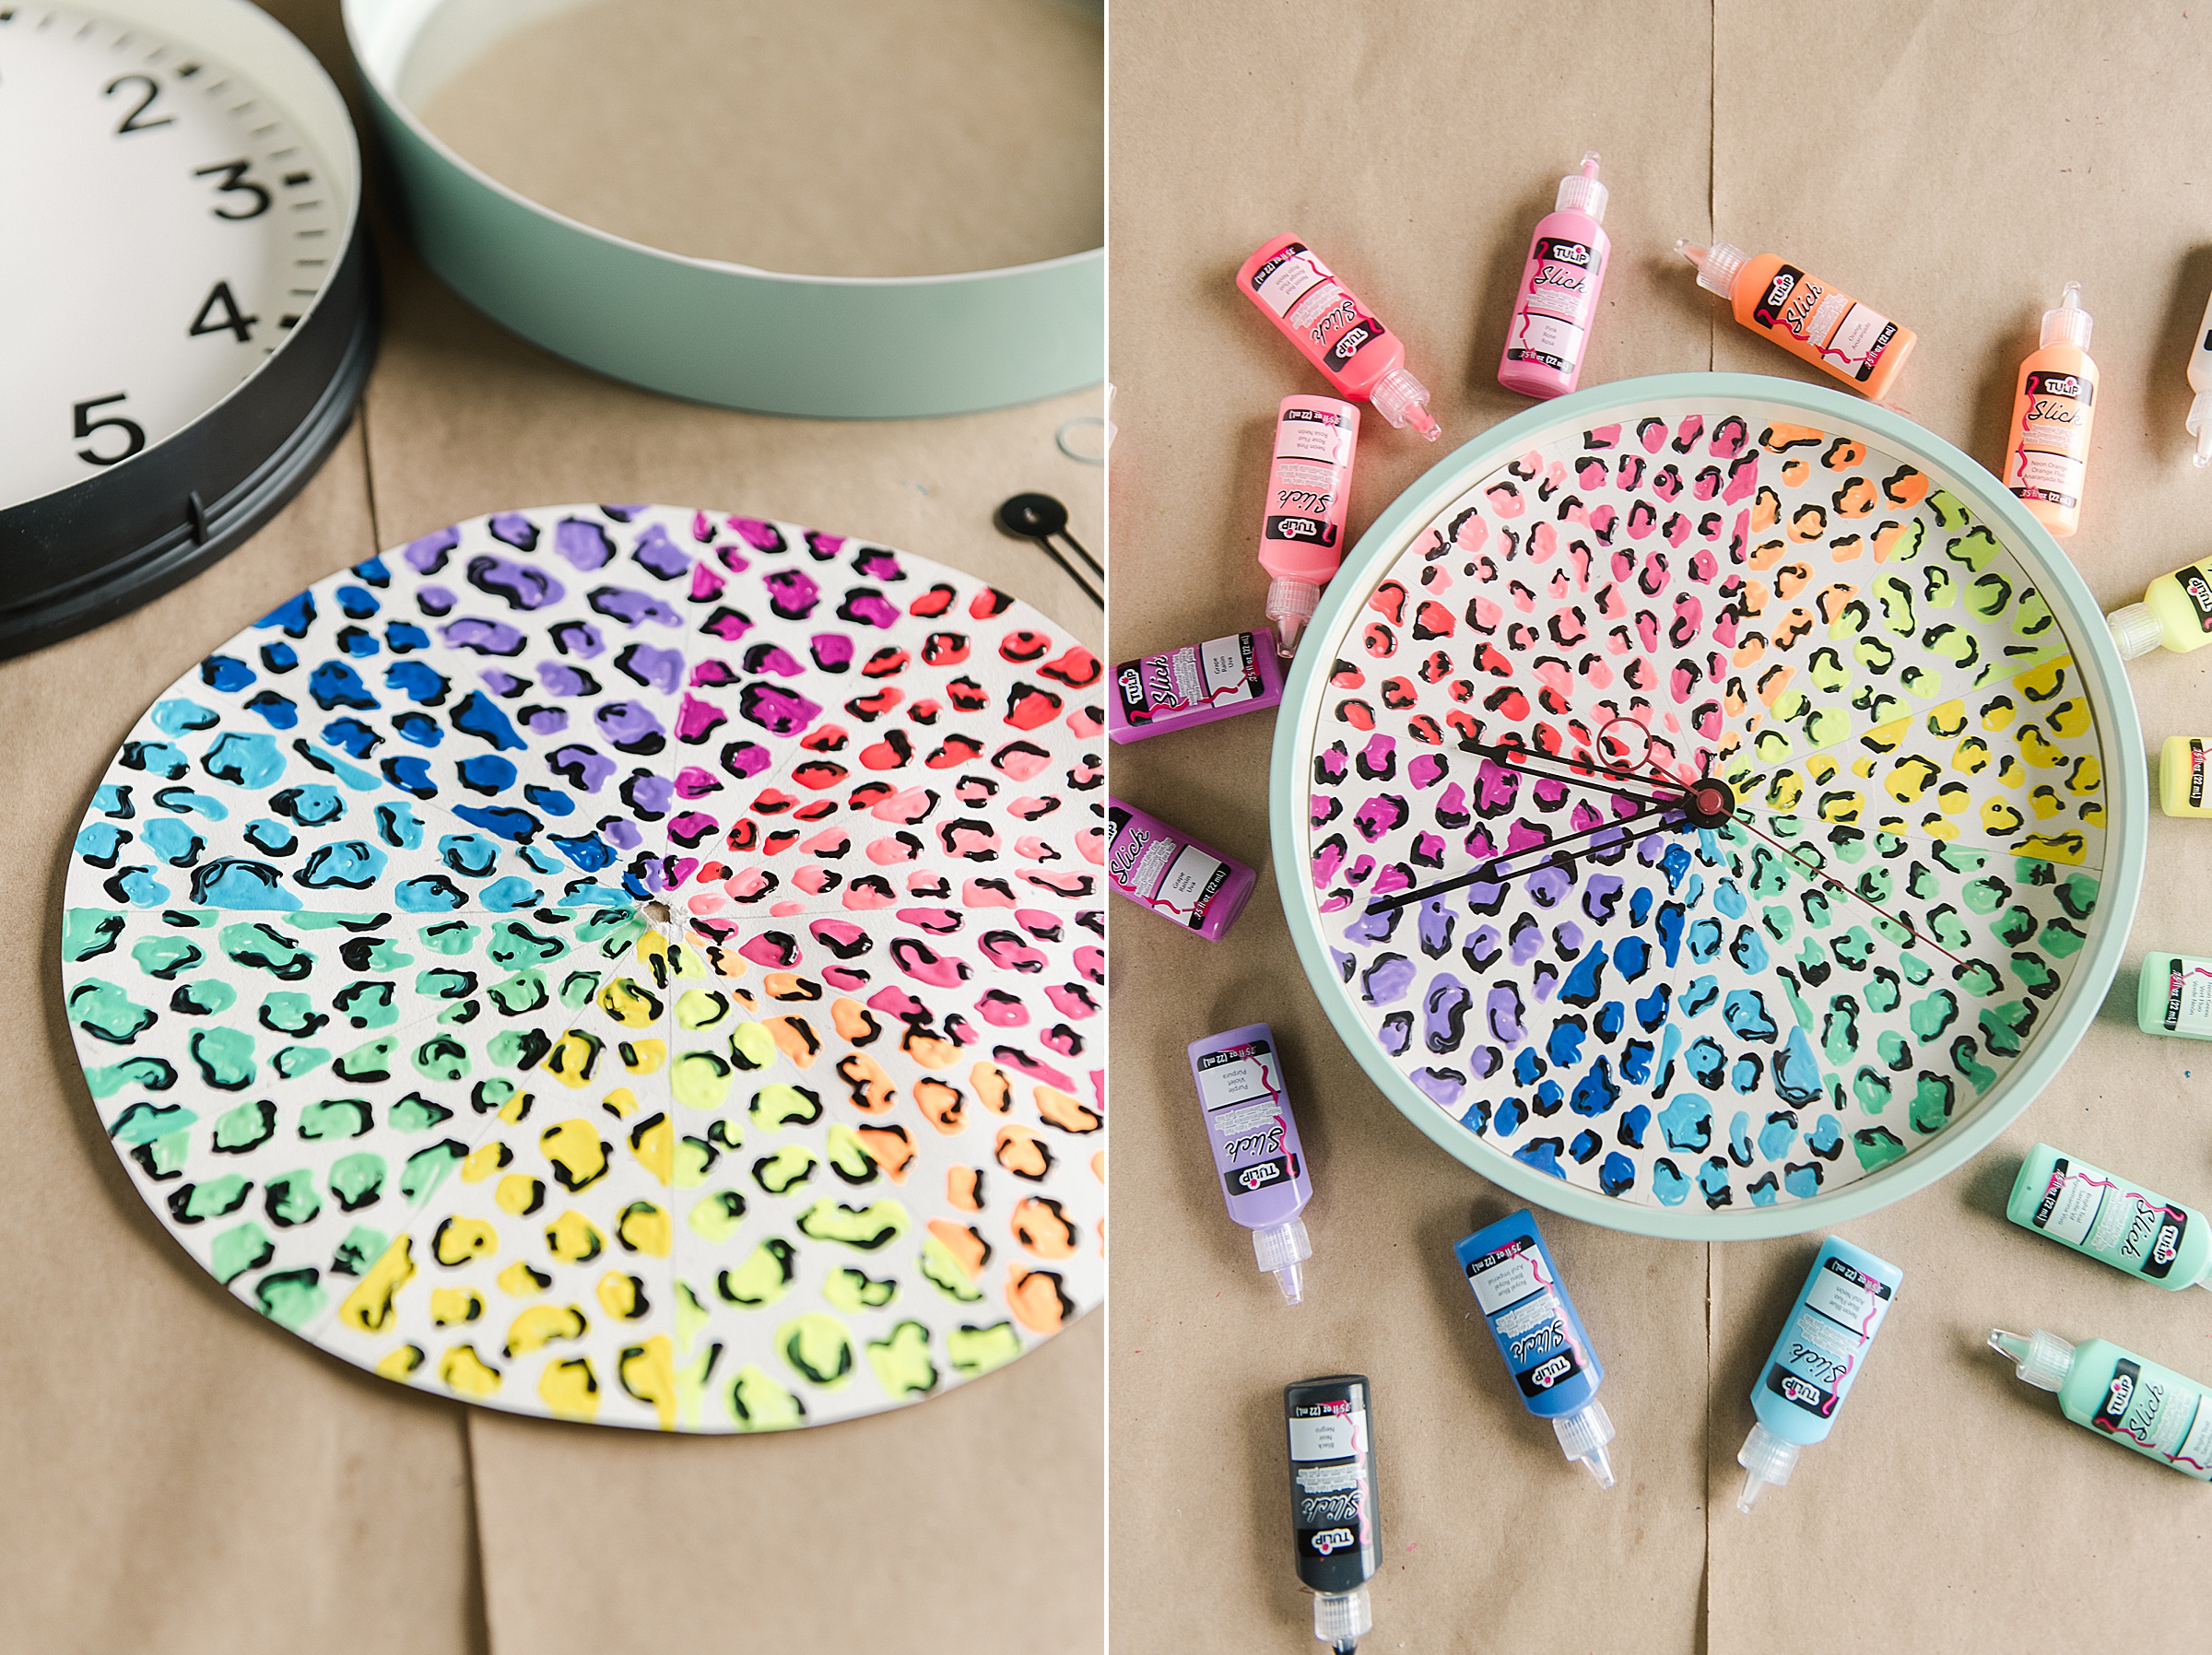
4. When you’ve added all of your amazing, colorful touch to the clock face, set it aside and let it dry for at least 8 hours. I let mine sit overnight and in the morning I was ready to put the clock back together again, add my batteries and TAAA DAAAAA! 🙂
TO MAKE THE MIRROR:
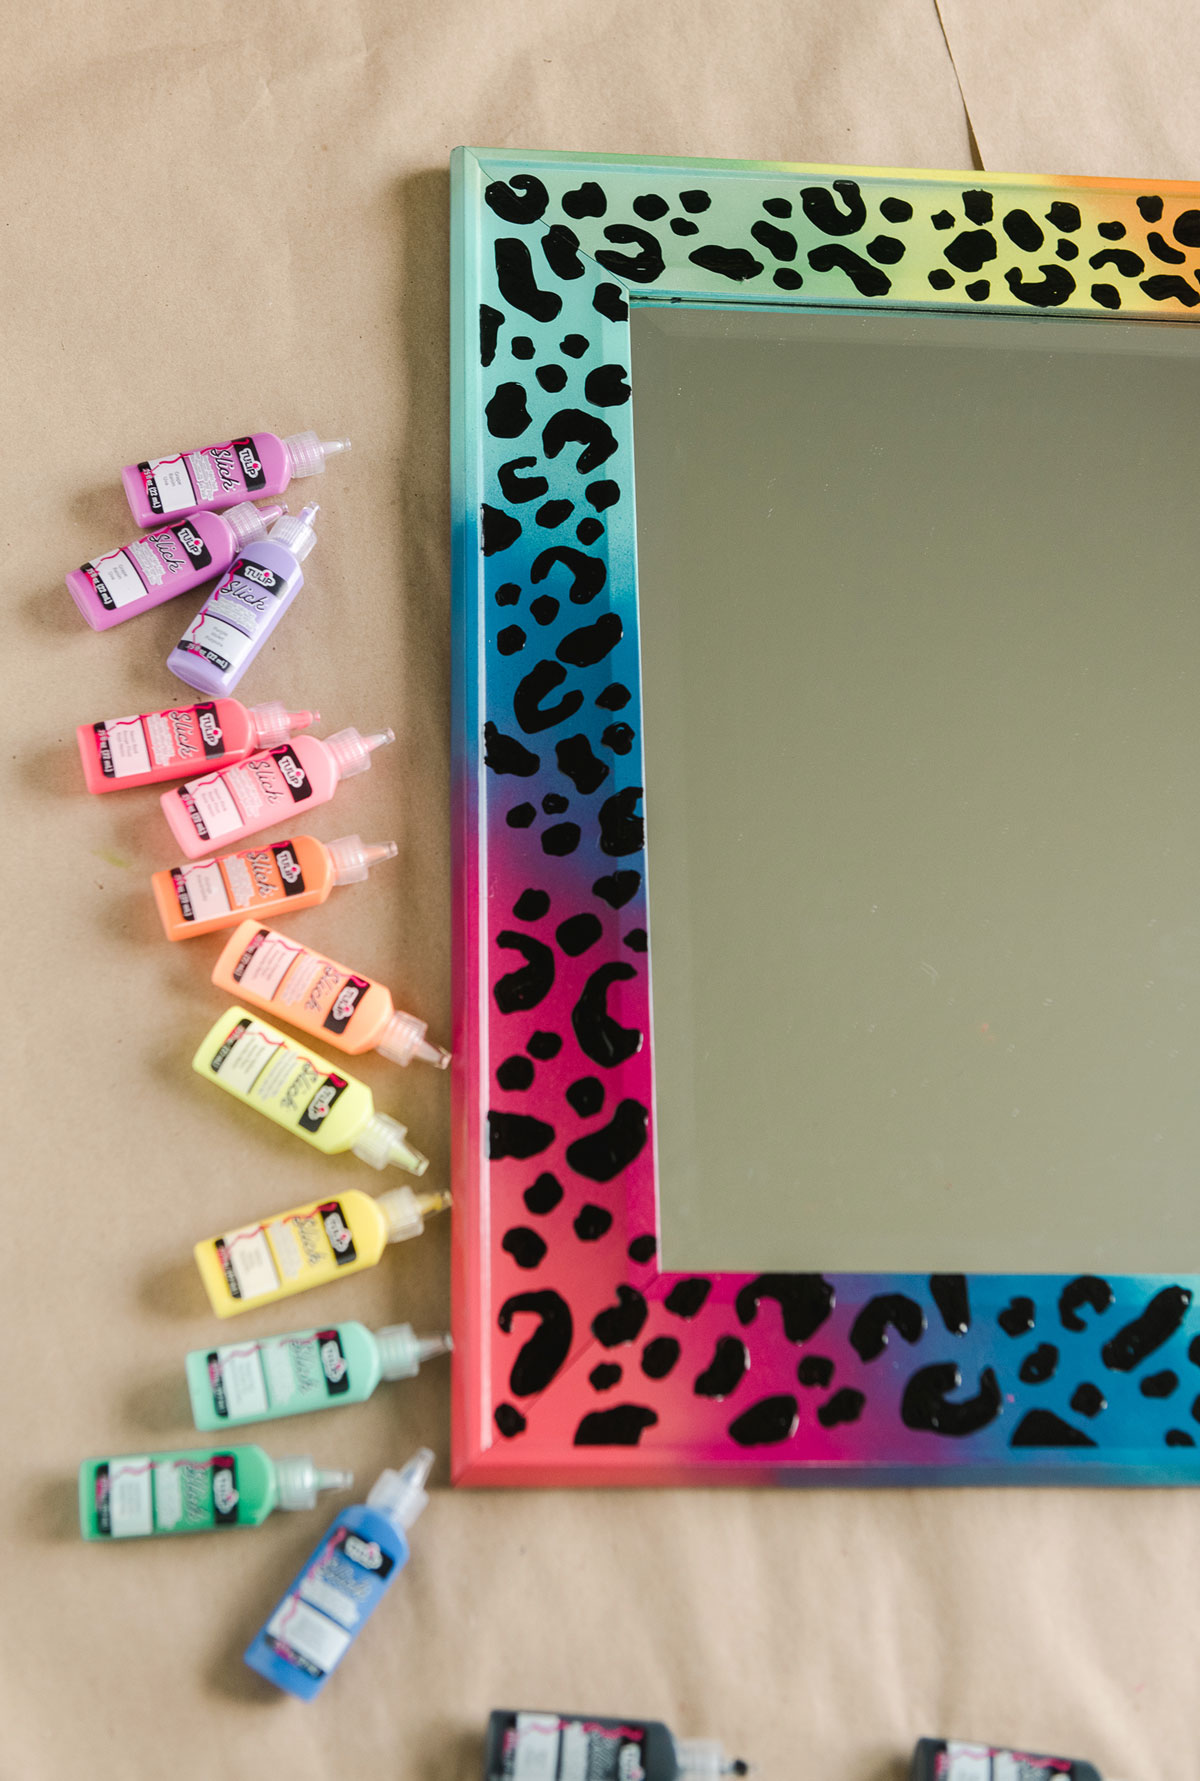
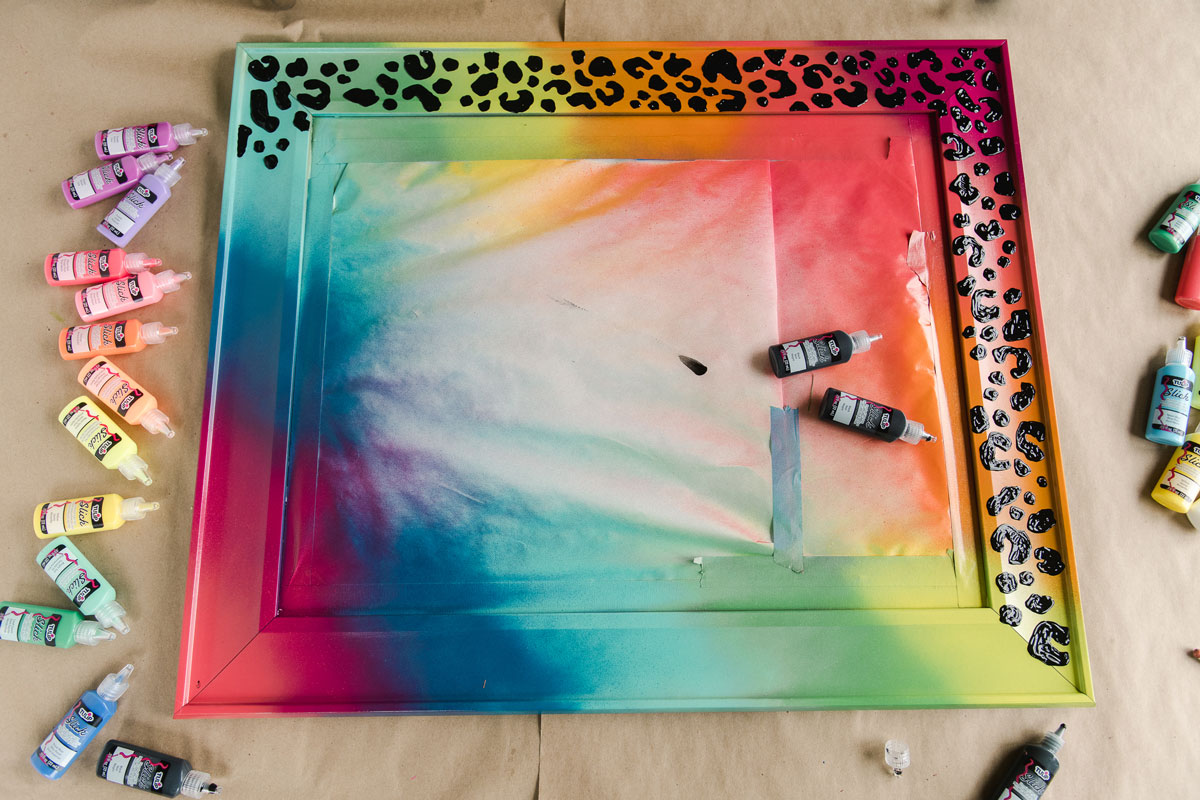
1. Tape off your mirrored portion of the glass with some painters tape and paper or parchment to cover.
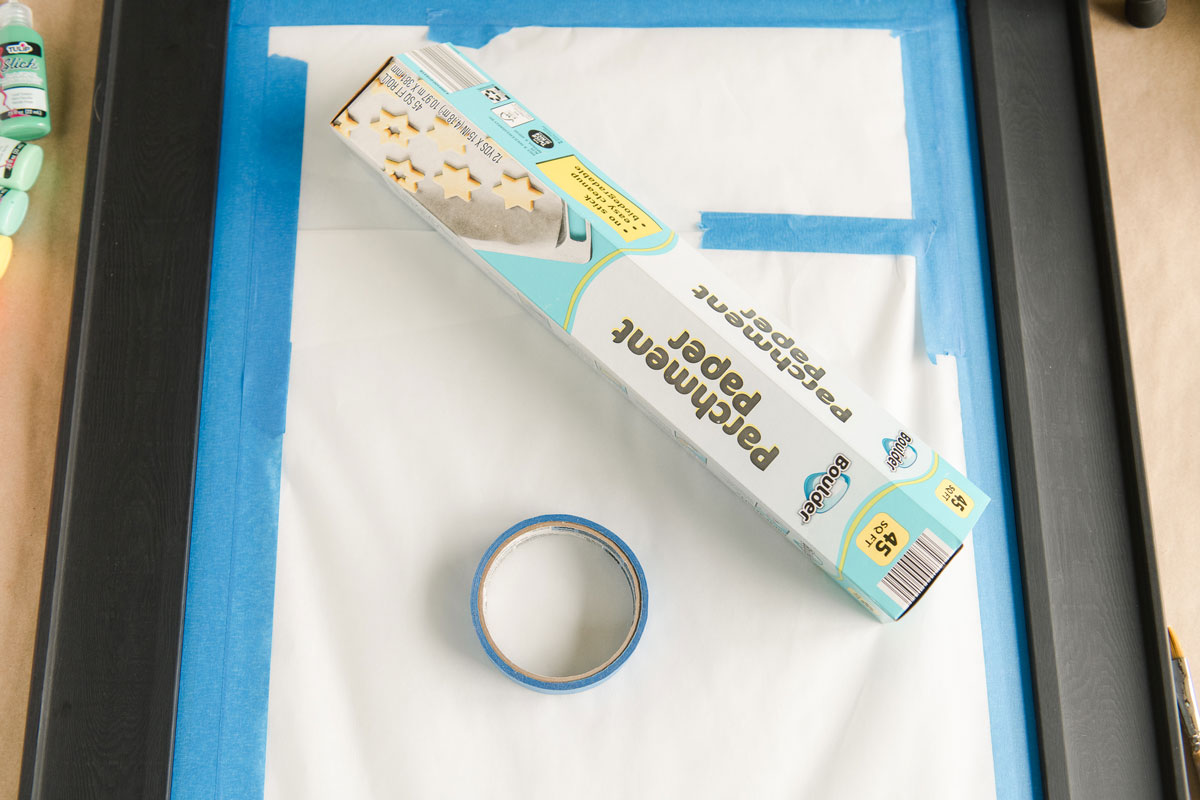
2. You can use spray paint to diagonally paint the rainbow – I used the INCREDIBLE Colorshot spray paint in the following colors:
- Cosmo
- Summer Pedicure
- Orange Slice
- Emoji
- With a Twist
- Island Girl
- Scuba
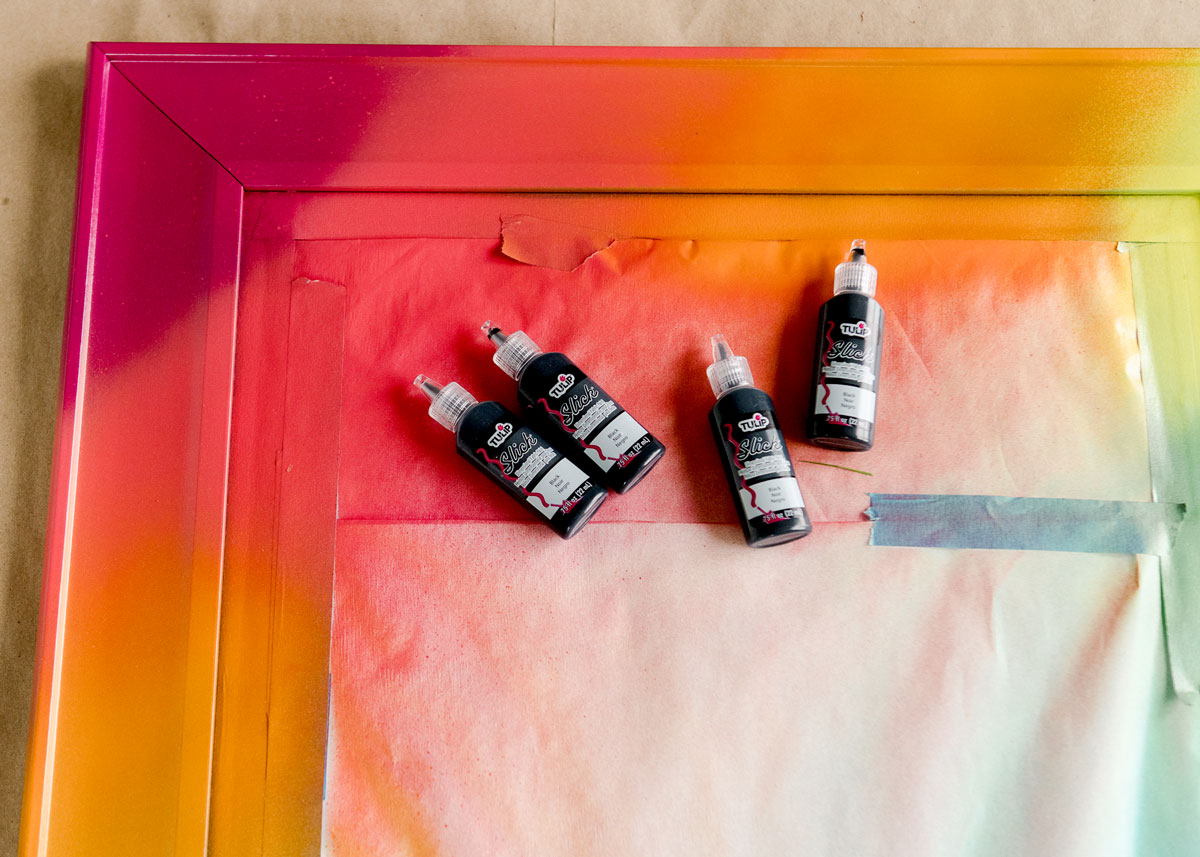
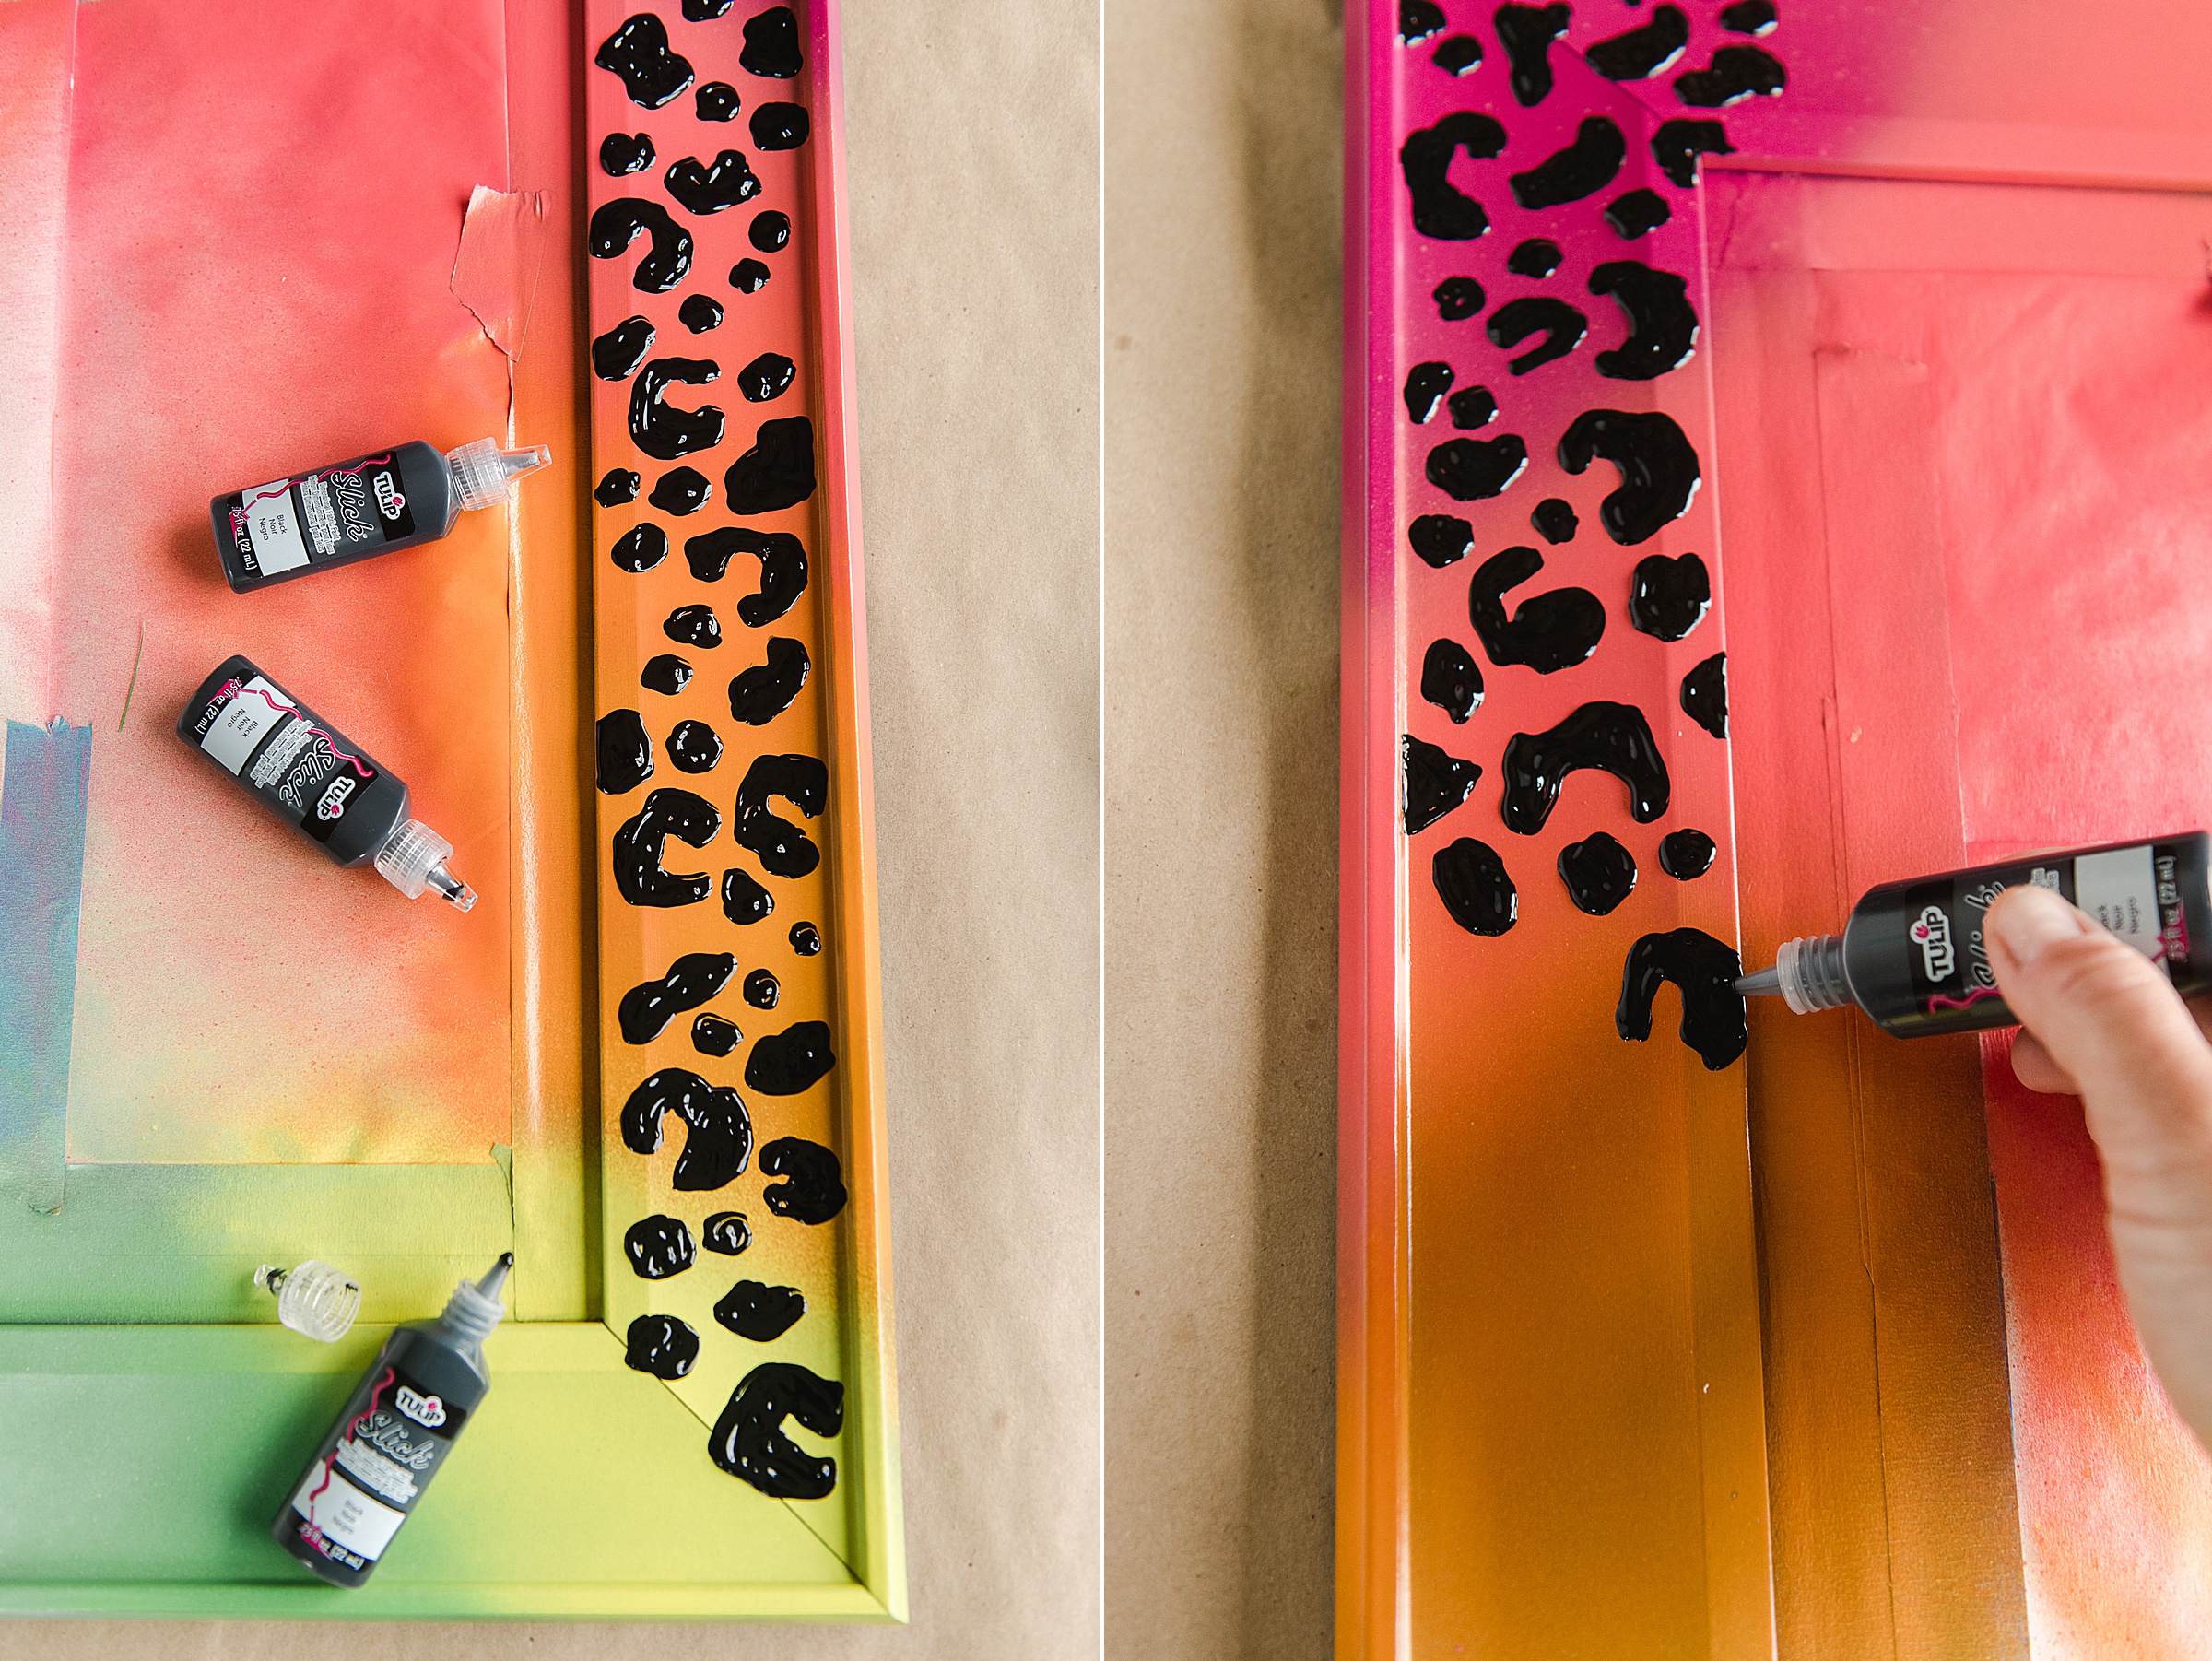
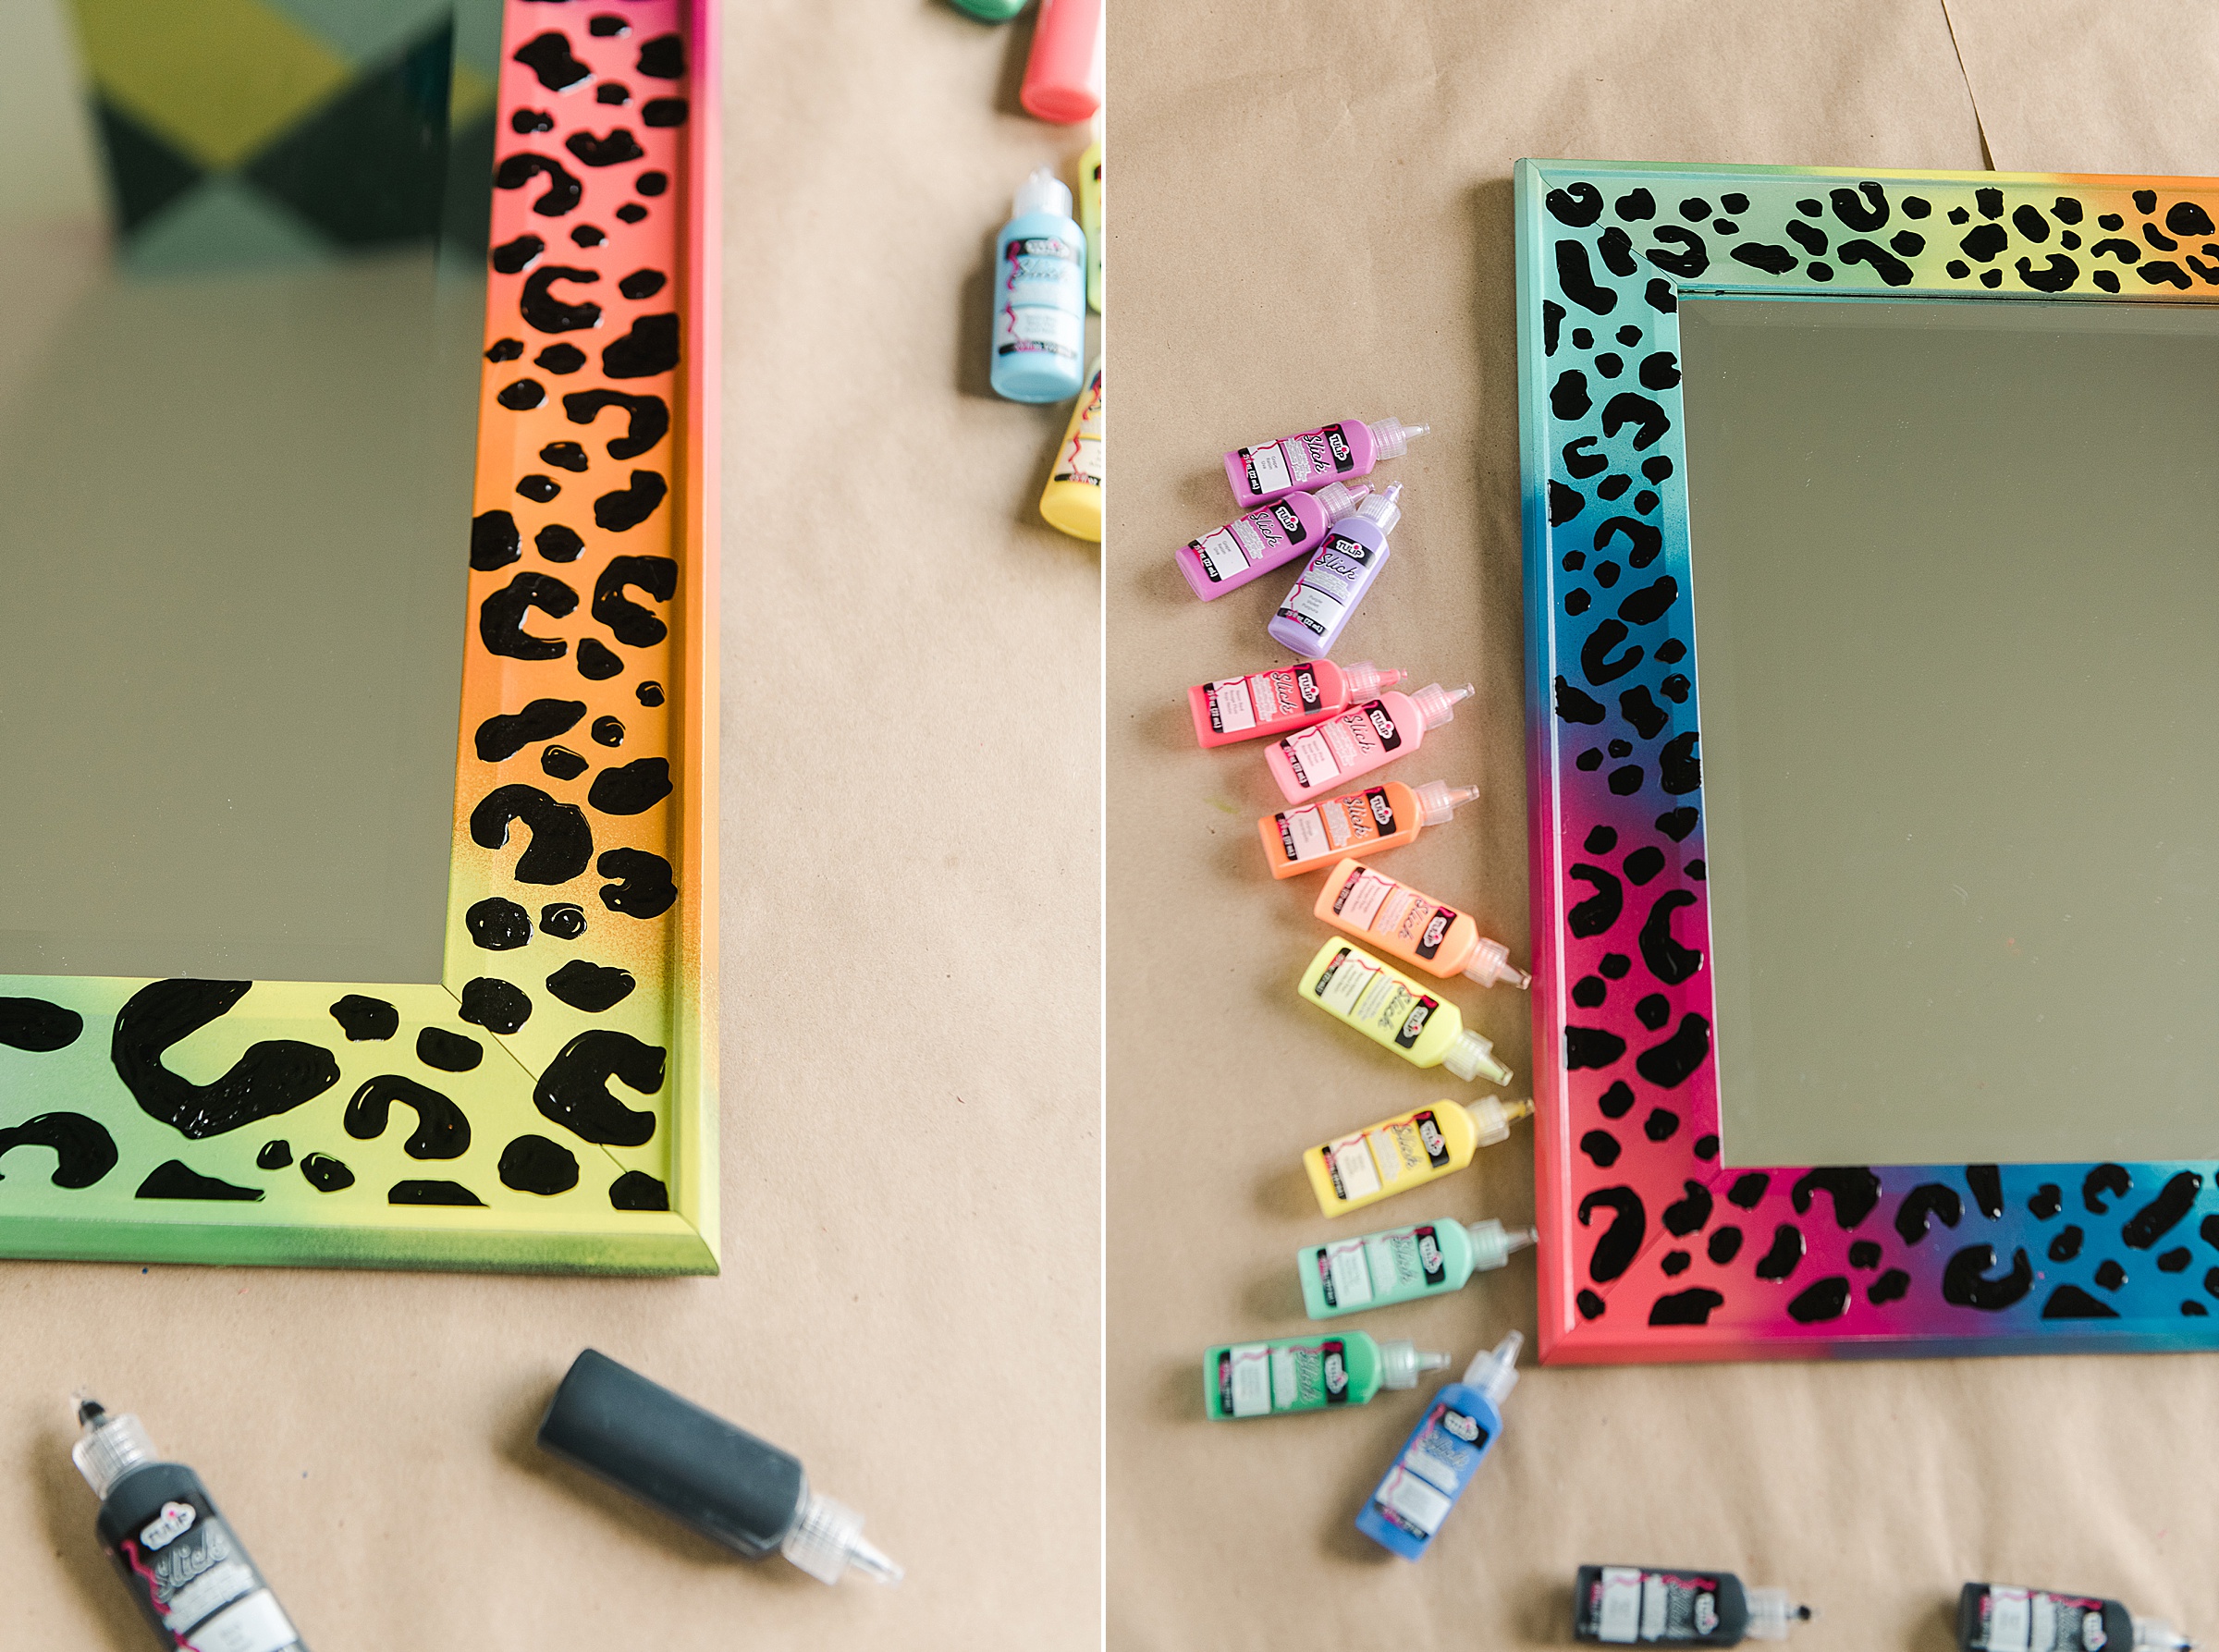
3. Now you are going to add your leopard print using your Tulip dimensional fabric paint! This stuff is SOOOOO fun to draw and paint with…..here are some tips to making your leopard print the most amazing ever using this paint:
- Decide what areas of your frame you are painting (for instance, I didn’t paint the side edges because I wanted the beautiful color underneath to show through too – so I only painted the face of the frame).
- Begin in one corner by drawing a black blob and filling it in – start with outlining the shape and then filling in
- The sizing of your leopard print is key – be sure that it’s large enough to be recognizable in shape, but not too big that you aren’t adding variety
- Make your blobs in 3 different shapes
- An asymmetrical “c shape”
- Long and skinny blobs
- clusters of 3 or more small blobs
- When squeezing the color, be sure to keep steady pressure because you want the dimension of the paint to be uniform and even
- Have a paper towel handy for wiping the tip of your bottle or testing anything necessary
- Repeat your blobs and be sure some go “off” the edge to give the desired leopard effect 🙂
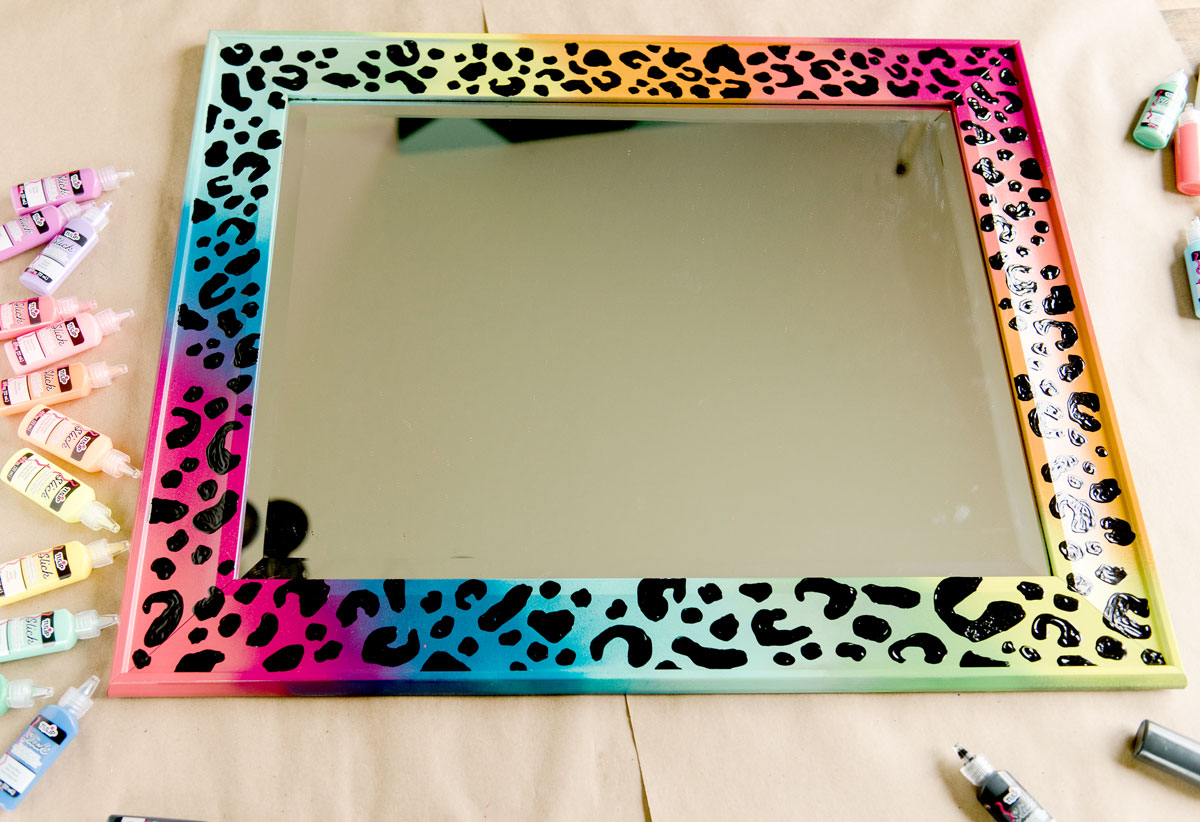
4. Set your mirror aside to dry for at least 8 hours – I let mine sit overnight. When it’s done drying, you will remove your painters tape and parchment to reveal the mirrored portion and hang proudly!
My hope is that this mirror and clock set bring back amazing memories of my Lisa Frank loving days and be an amazing conversation starter in our stairwell!!! Honestly, you could even do a huge wall mural of this leopard print and it would be the TALK OF THE TOWN using these same techniques (and I 100% believe that this dimensional fabric paint the the hot ticket to making these pieces pop! 🙂
YAY! Have fun painting – and three cheers to the 90s! 🙂
