How to make Olympic ring glasses!
If you know ANYTHING about me, you know just how UTTERLY OBSESSED with the Olympics I am! 🙂 Like, crying at the commercials about all of the Mom’s sacrificing, cheering SUPER loudly for as many sports as I can, and we always have a FULL ON medal count on our wall in the kitchen while the games are on! There is something SO BEAUTIFUL about the sacrifice, hard work, determination, pride and LOVE that goes into every athlete!!!
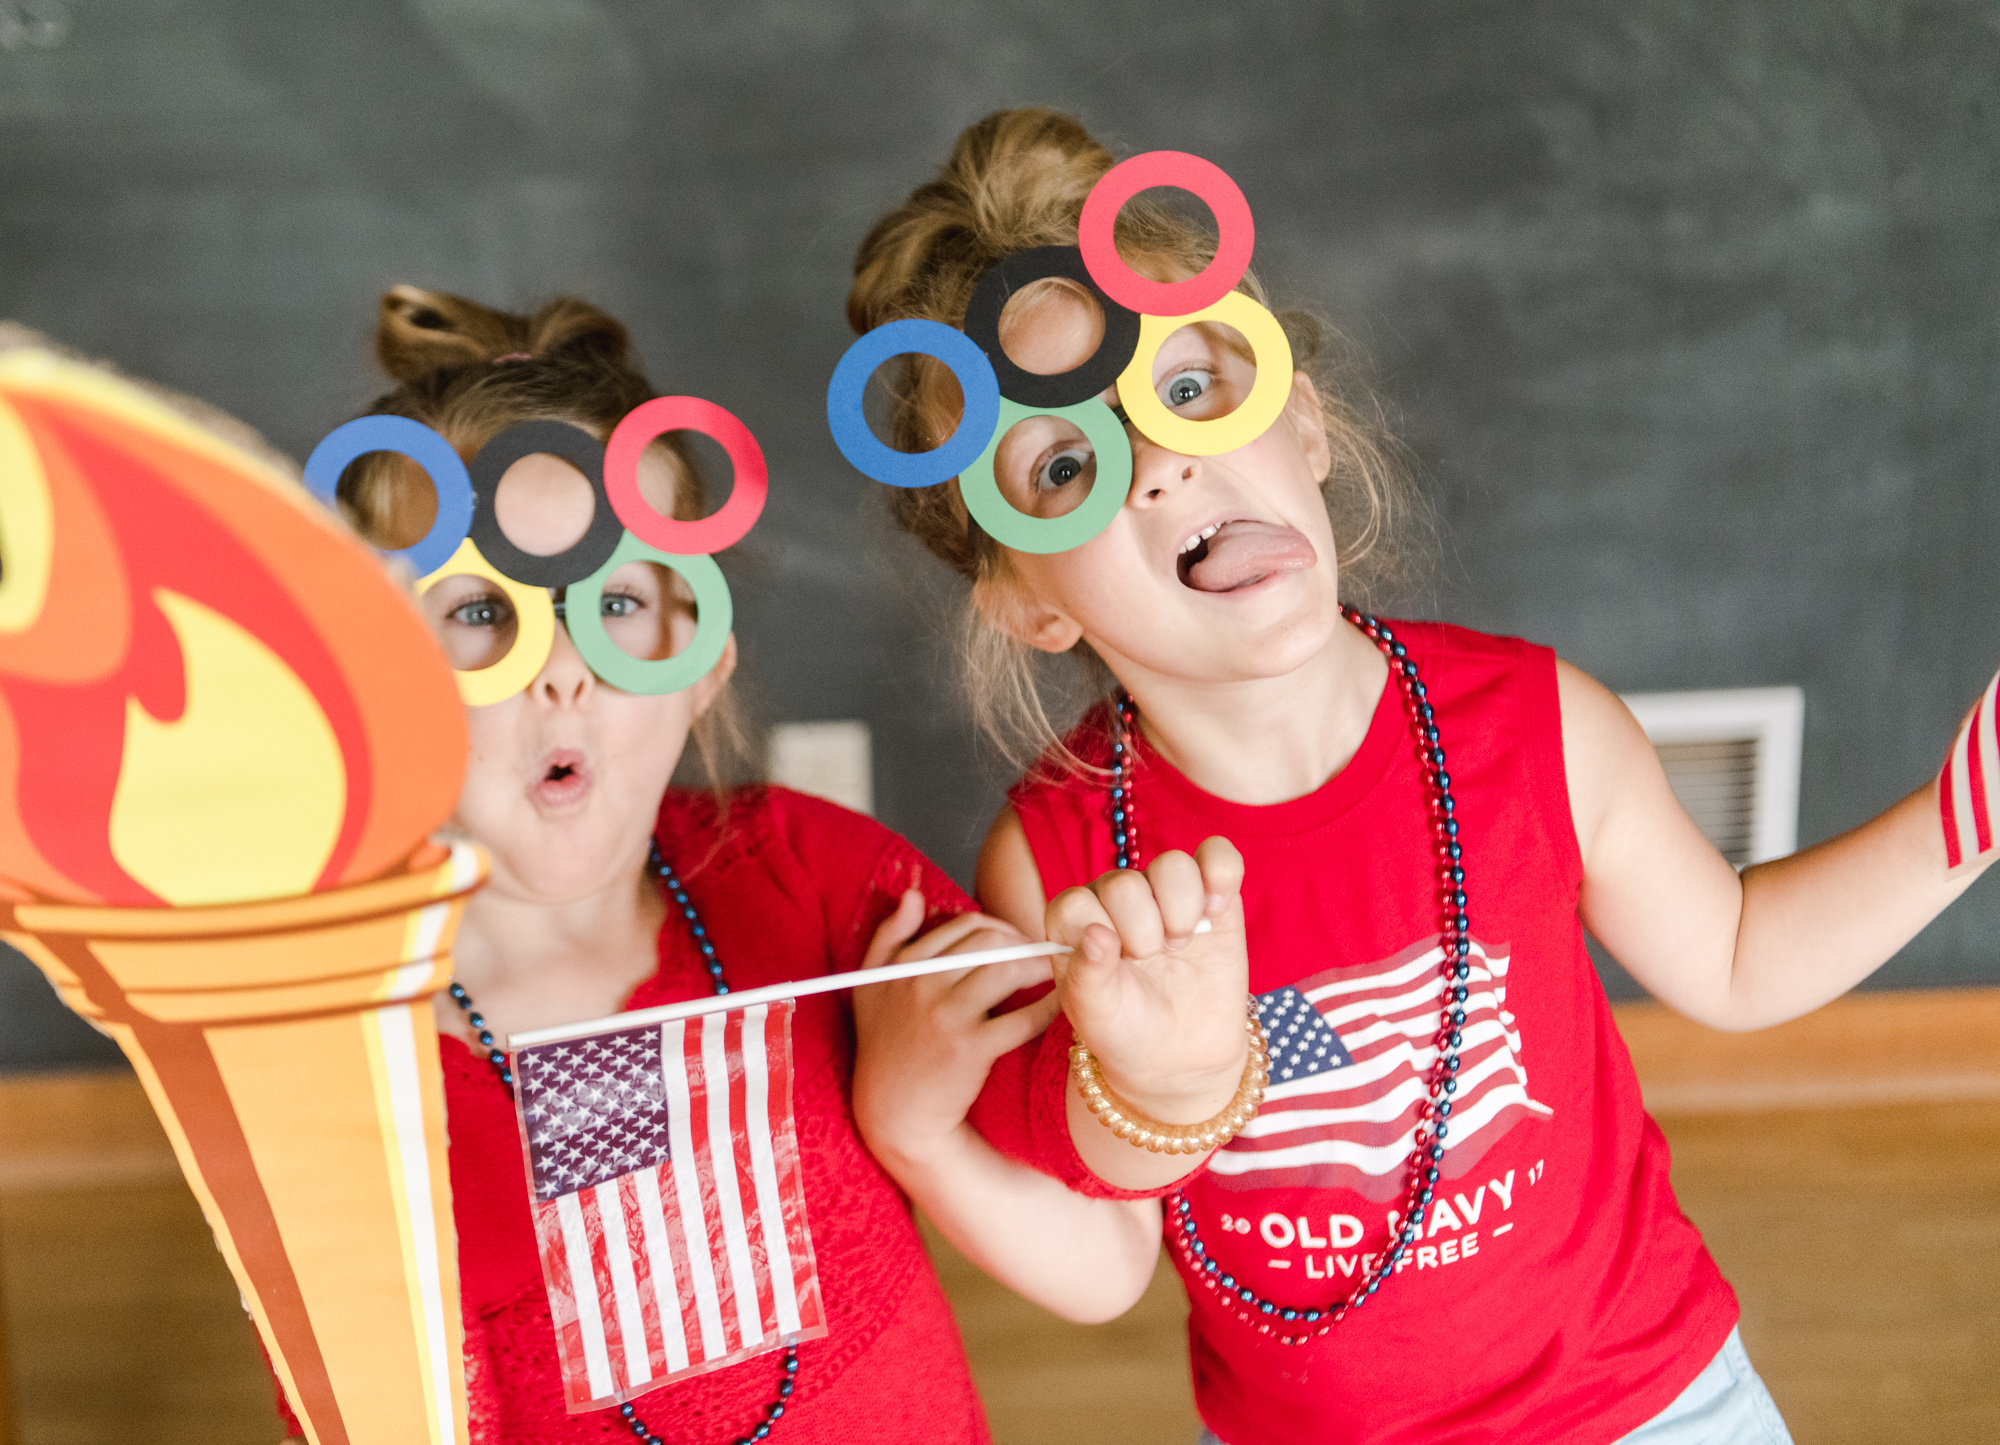
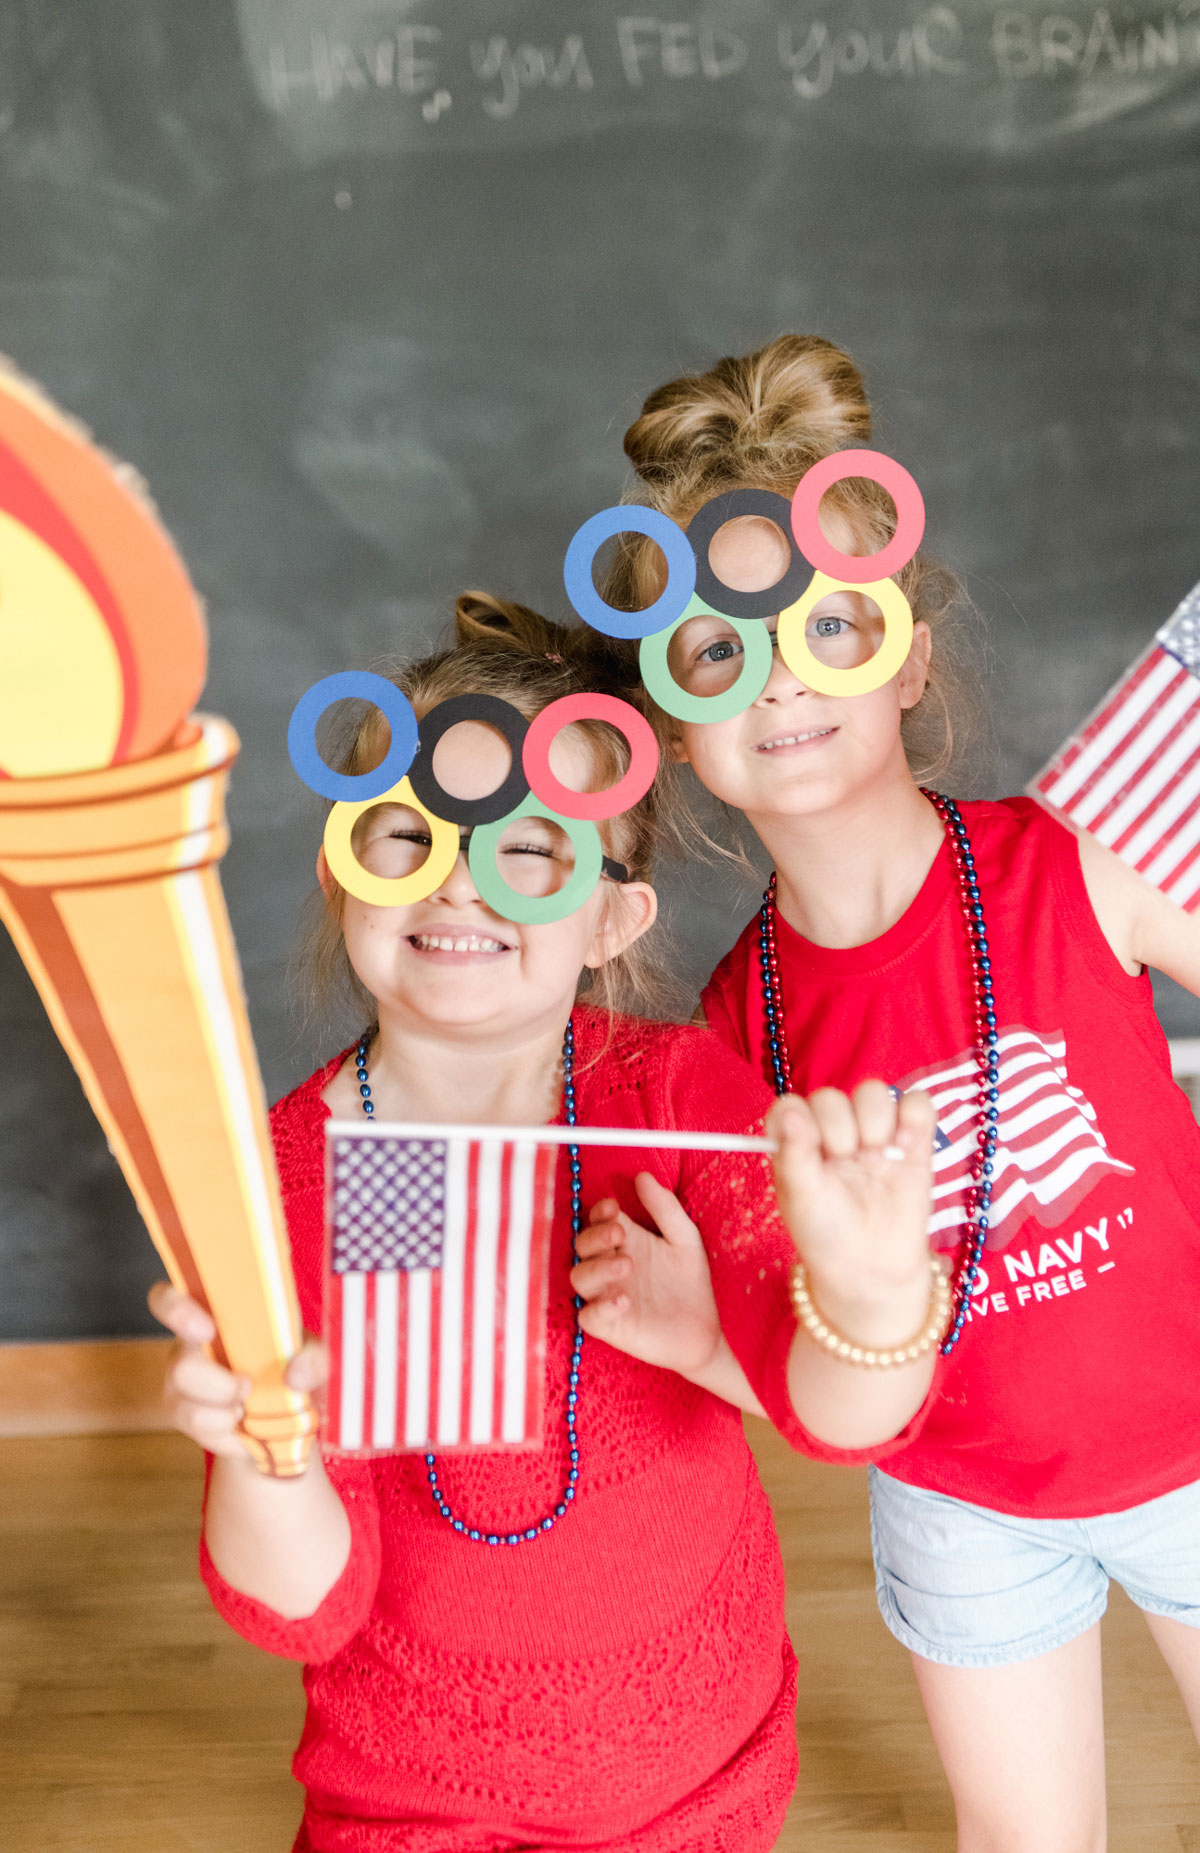
SOOoooooooo today I am sharing a cute, Olympic Ring SVG file so that you can make a few set of these Olympic Ring glasses for your own living-room-olympic-cheering party! These are adorable for kids and adults alike and you bet-your-bippy that I will be wearing these for the whole 2 (plus) week of both the Olympics and Paraolympics!
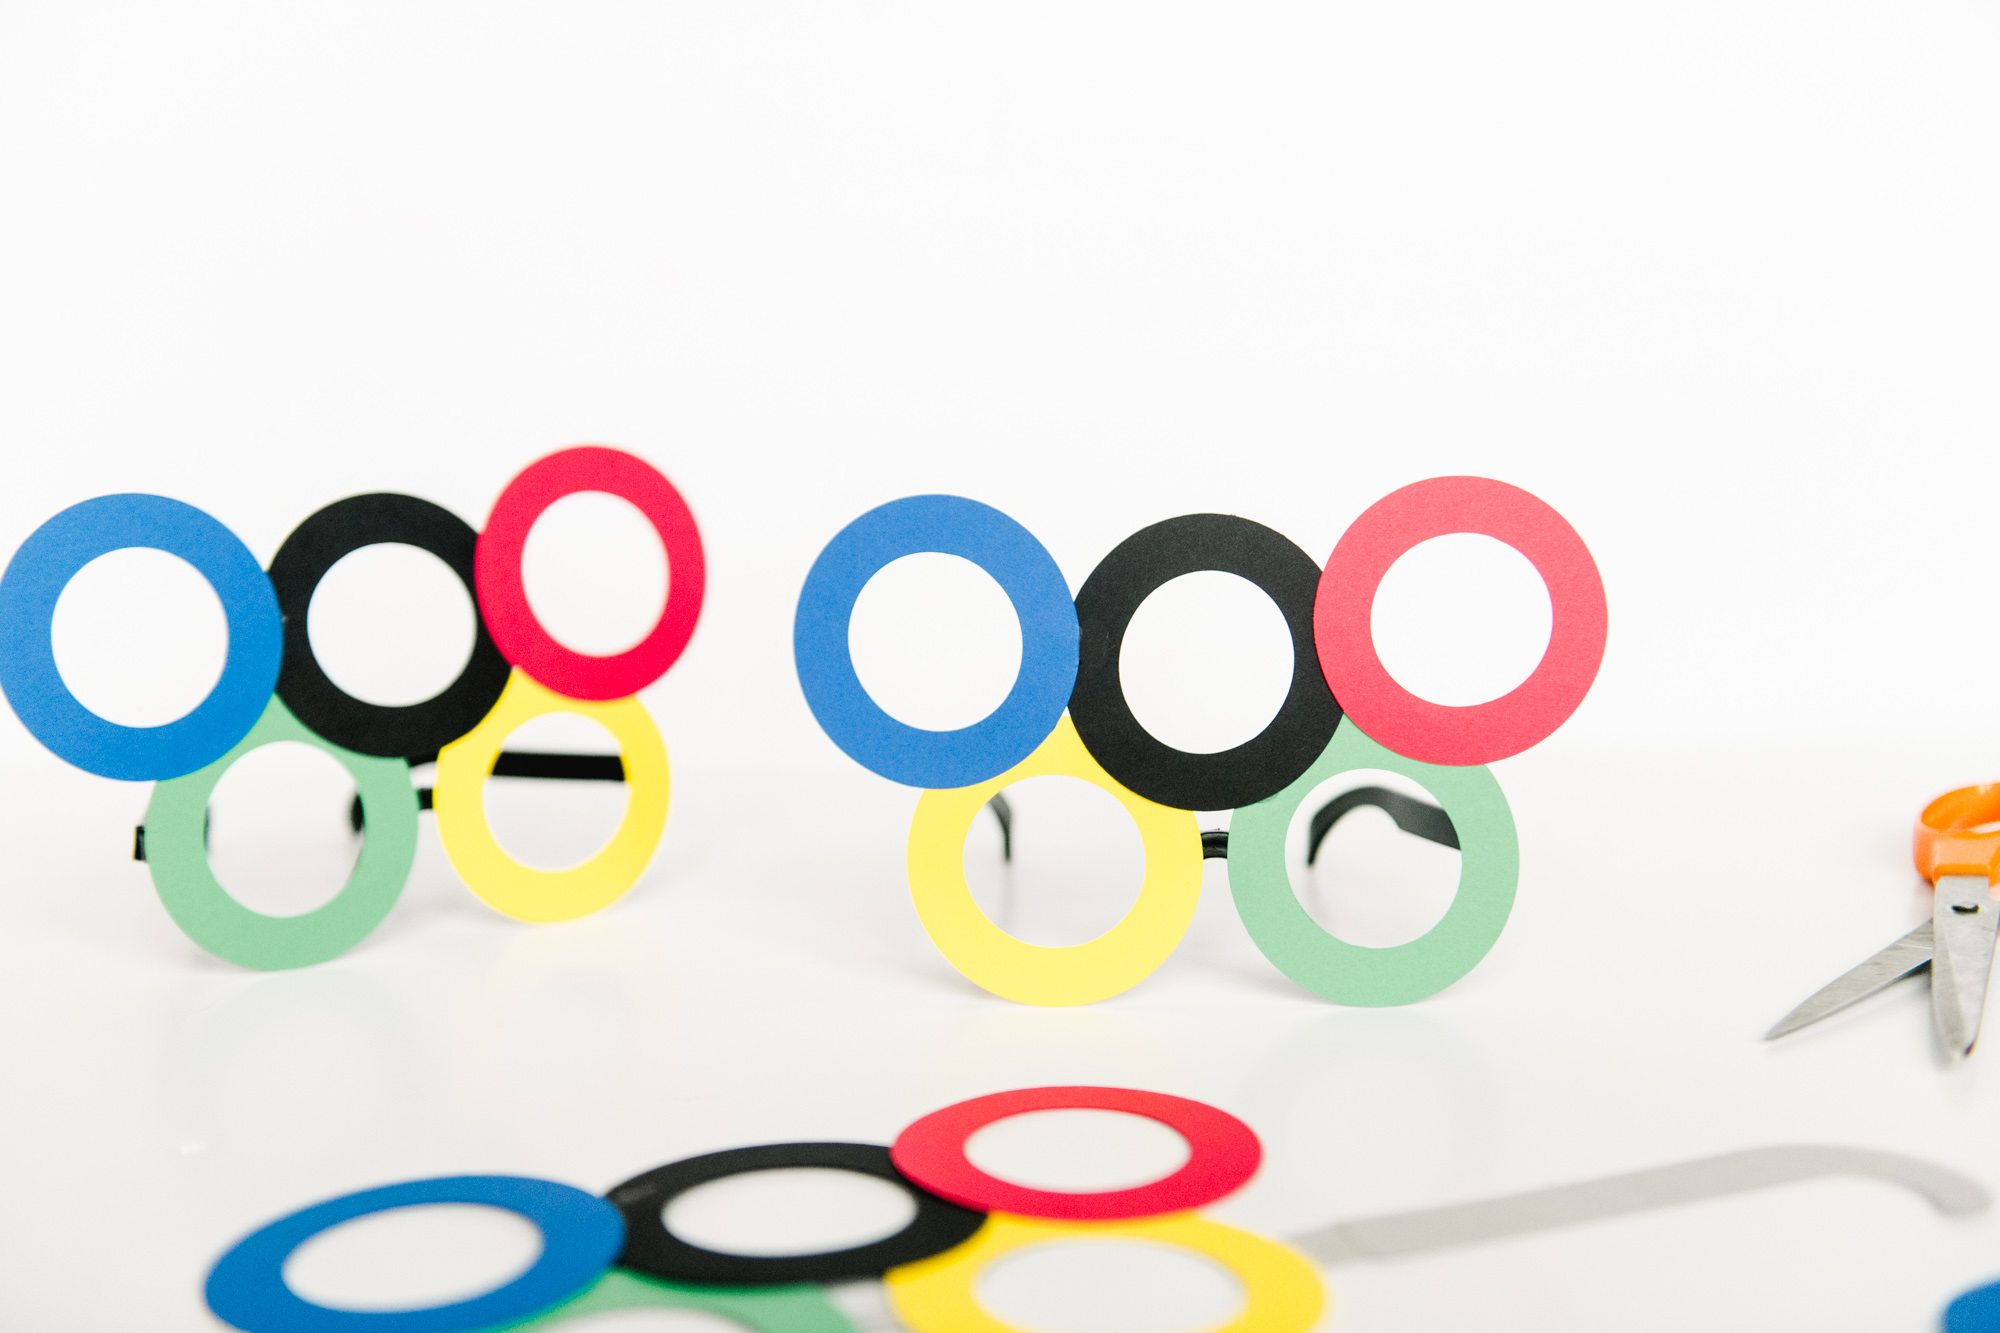
You can make these if you have a Cricut or Silhouette cut machine ORRRR you could also easily cut them by hand (heck, an easy opening ceremony party craft for kiddos to make too)! 🙂 You can make the whole set of glasses out of cardstock (like I did below) ORRRR you can make them more durable by up-cylcing some of those old plastic (usually freebie) plastic glasses (just pop the lenses out and glue the colored rings over top in place of the cardstock glasses shape)! 🙂
MATERIALS:
- Cardstock in blue, black, red, yellow, green and grey/white colors
- A cricut or other cutting machine
- The SVG cut file downloaded HERE
- Glue, hot glue or tape to assemble
Instructions:
1. Download the SVG file HERE:
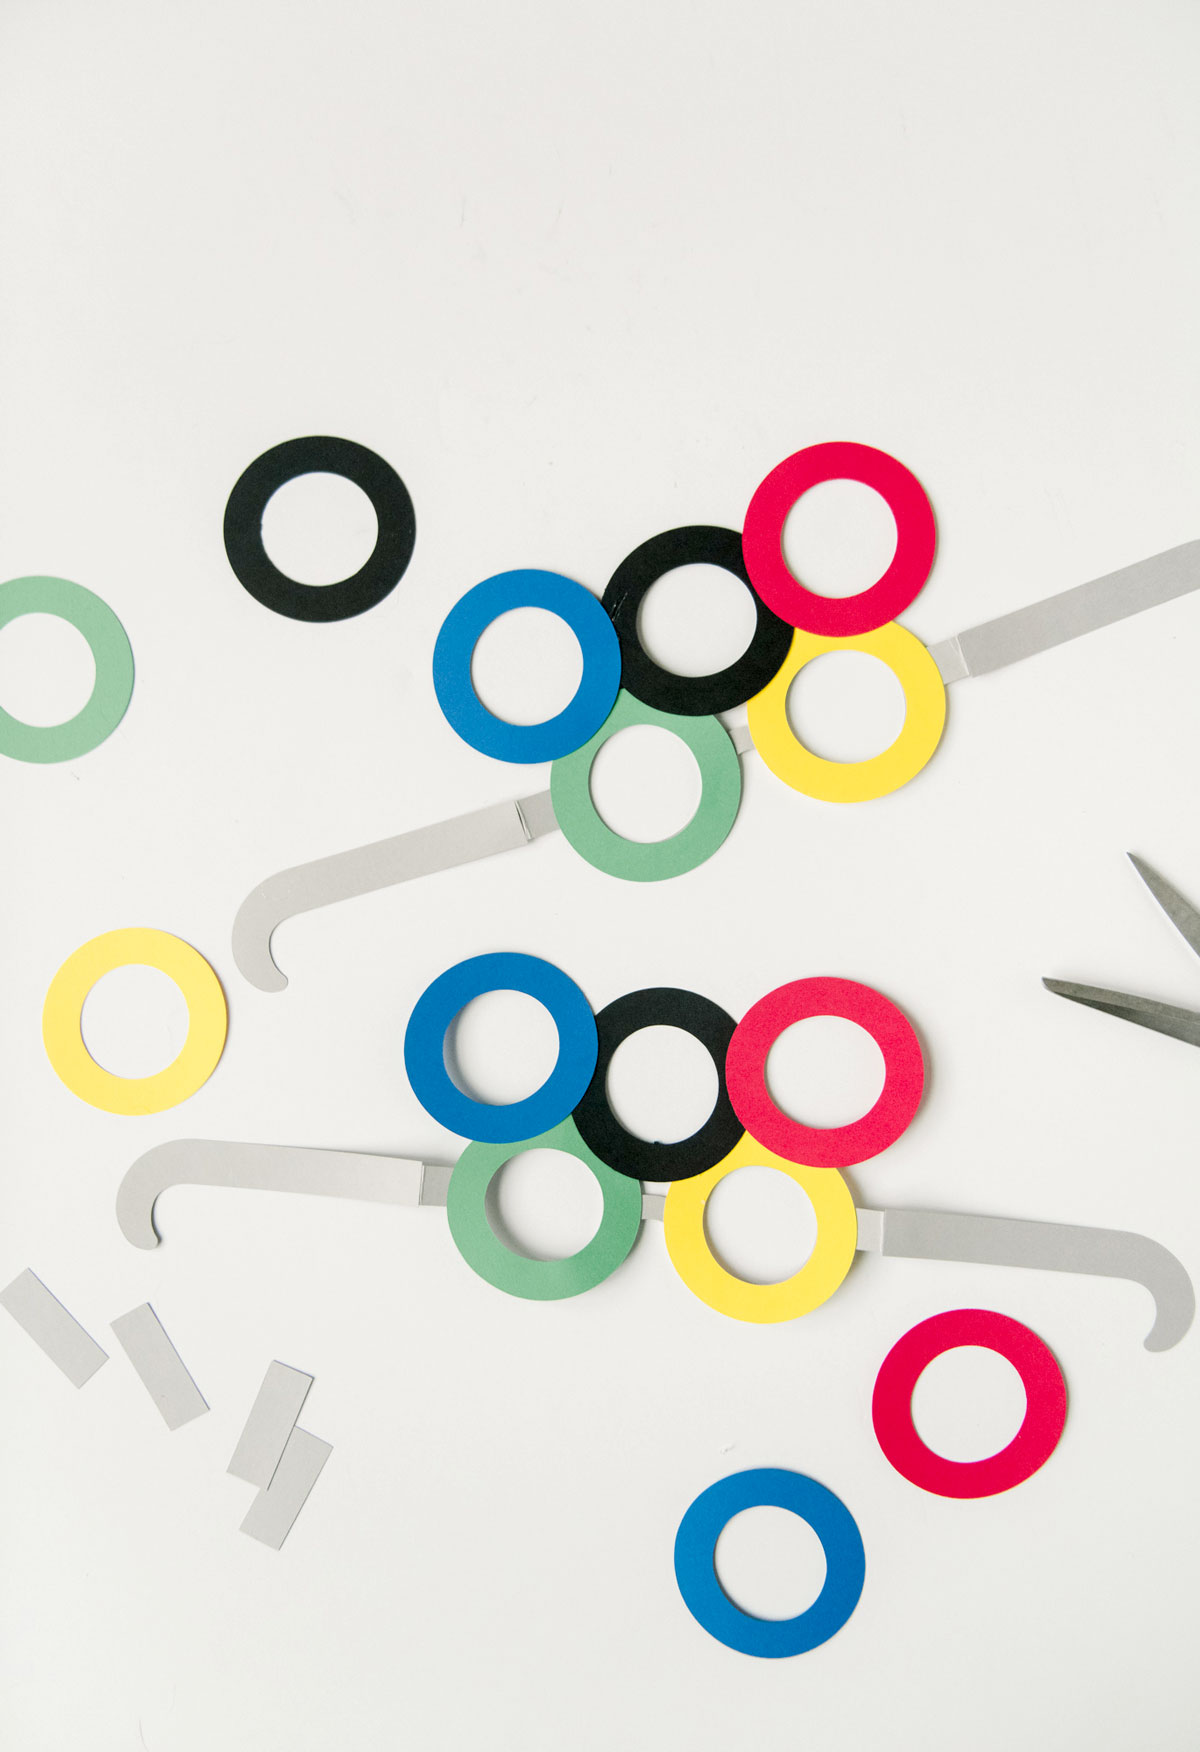
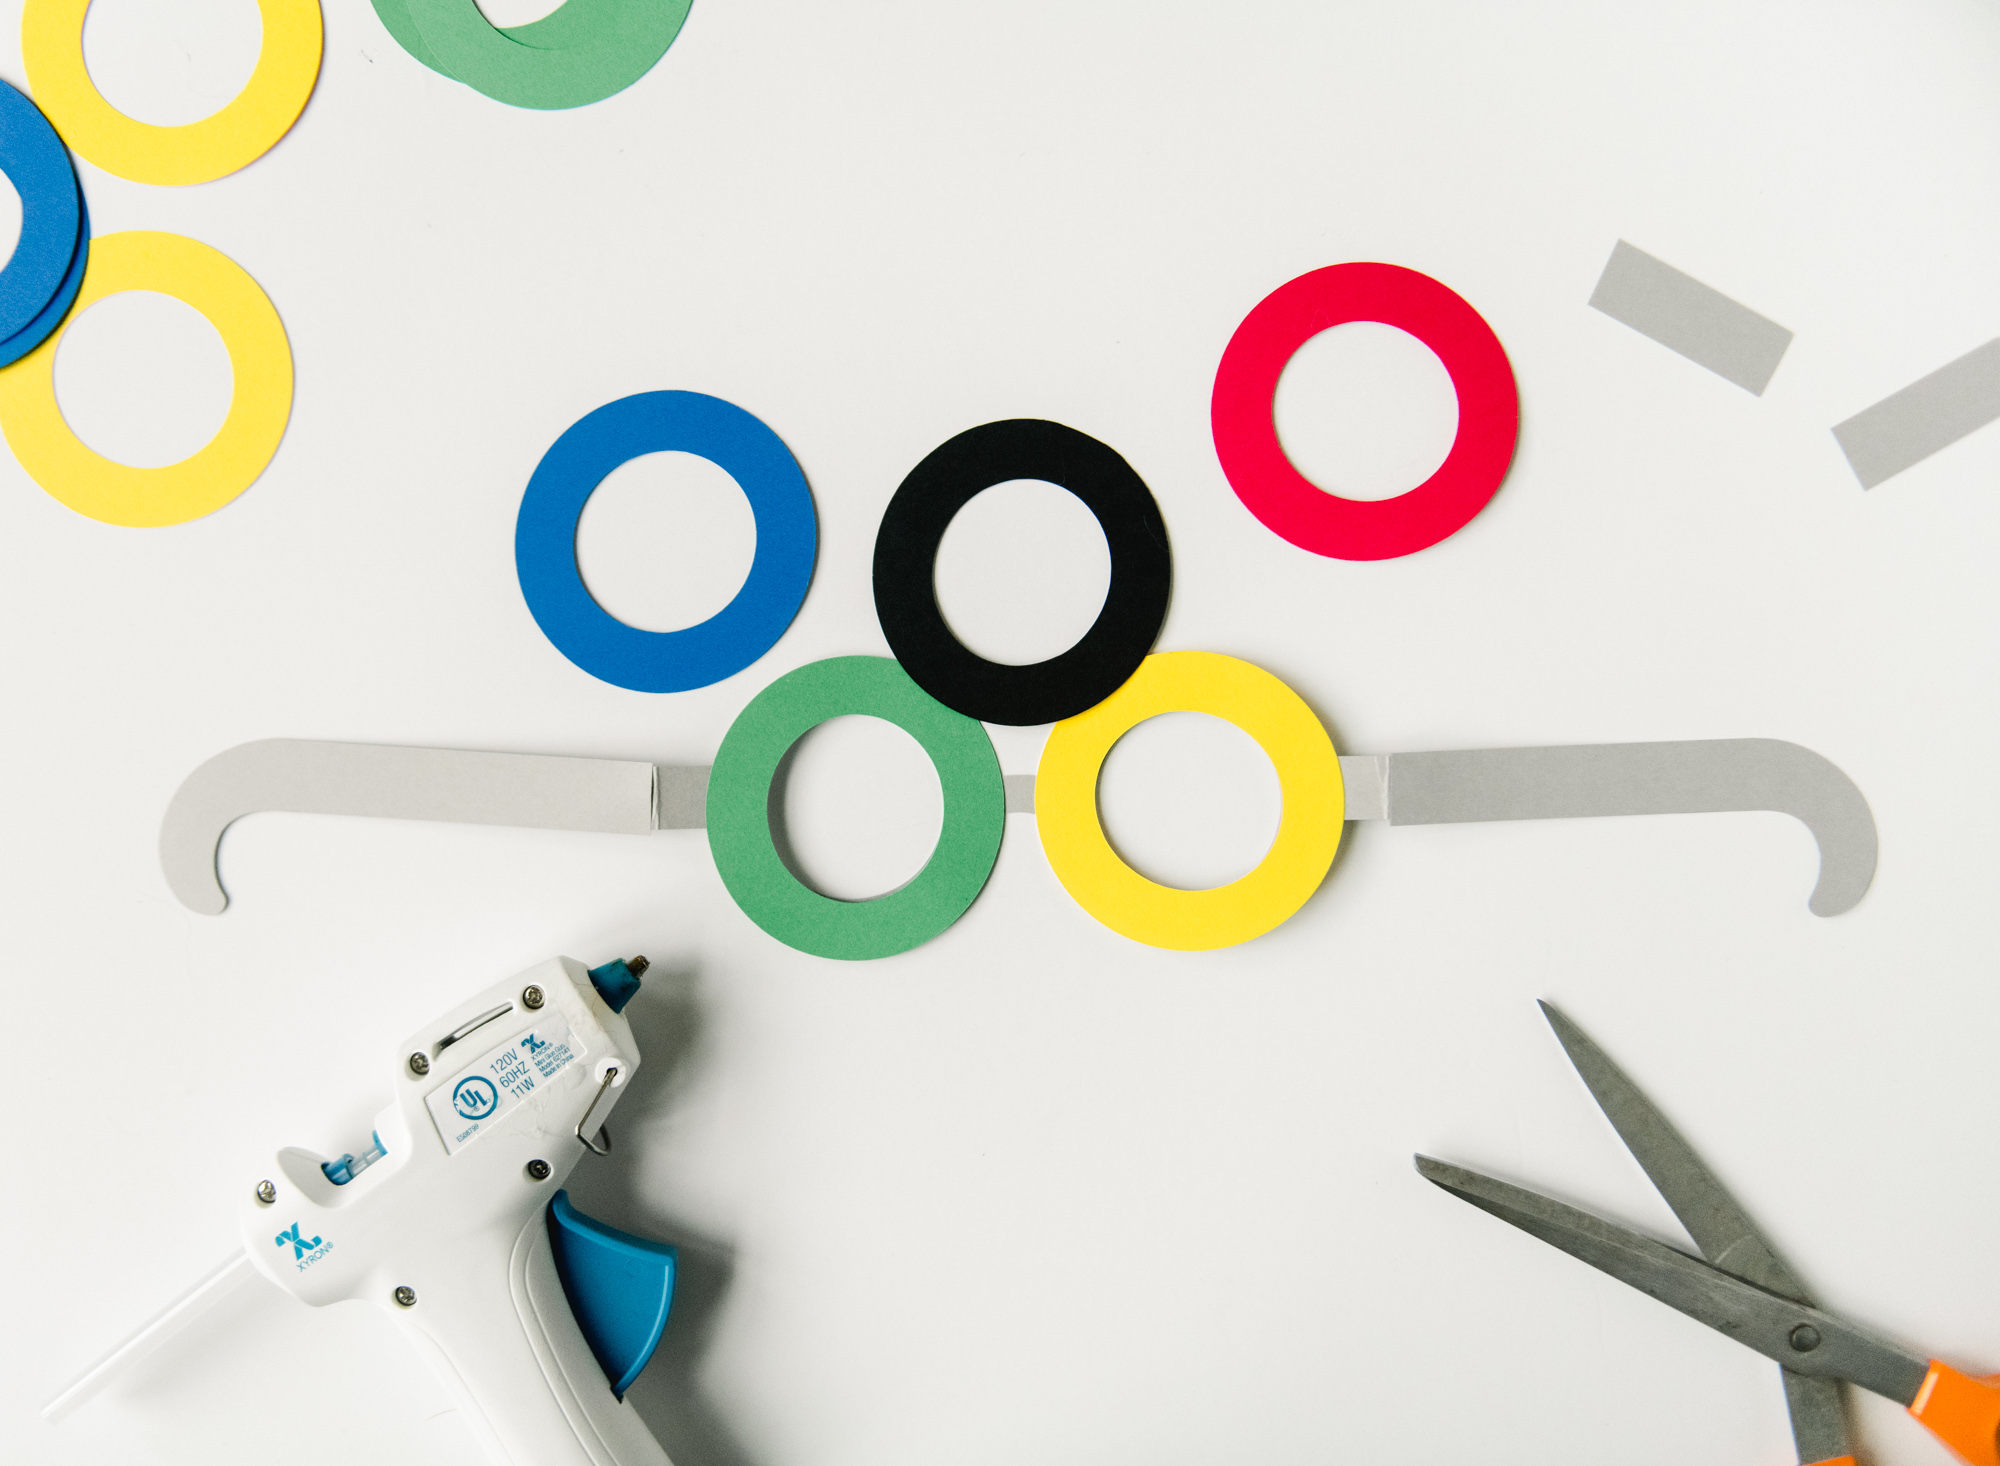
The SVG file is broken into the glasses front, the 2 arms and then the 5 circles for rings. DOWNLOAD HERE 🙂
2. Upload into your Cricut + cut
Upload the file into the design software.
Currently the glasses front, without being folded, measure approx. 8 1/4” wide, but feel free to resize them in the software to be wider or narrower per head size 🙂
**note: the SVG file is currently ALL pieces in one file. So turn “on and off” what layers/shapes you’d like to cut (in Cricut you use the little eye icon next to the shape). I chose to cut the glasses front + arms out of grey cardstock and then cut out each ring color.
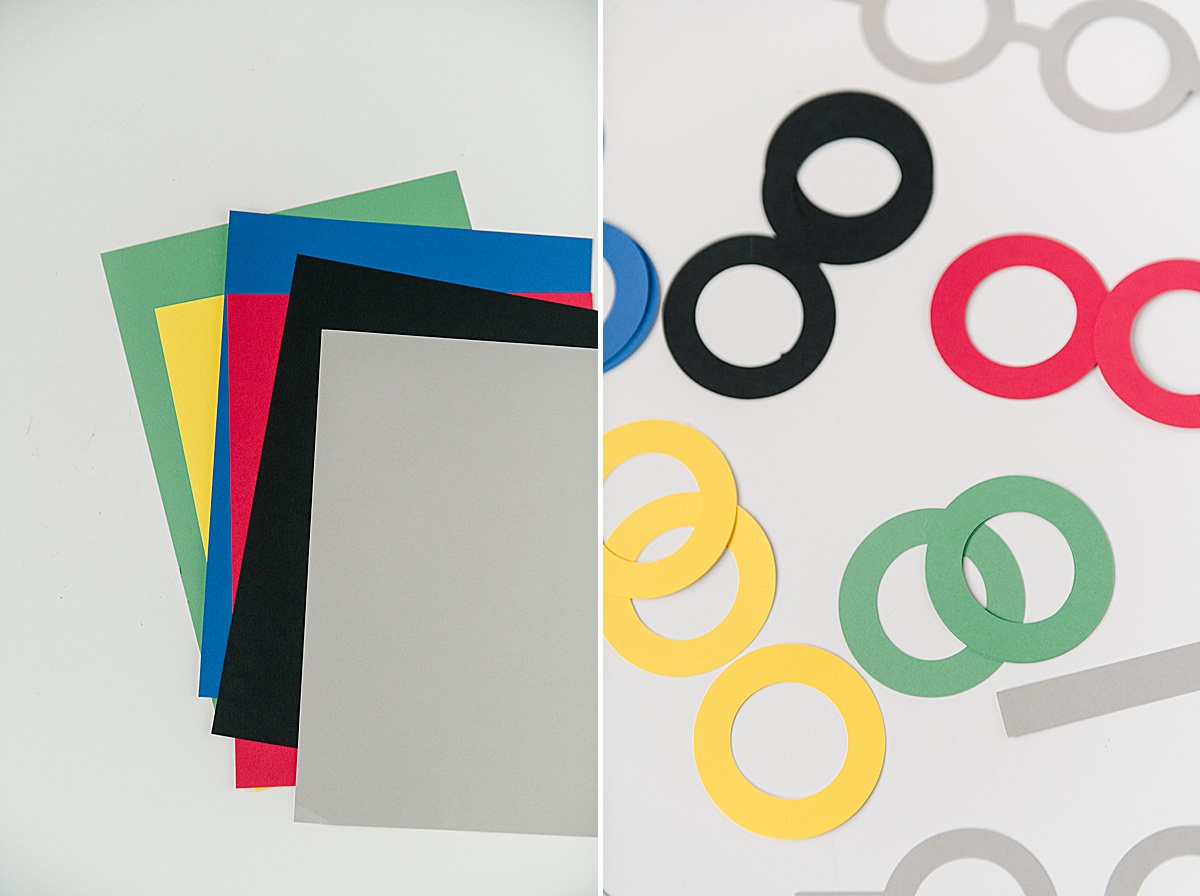
3. Prep Front
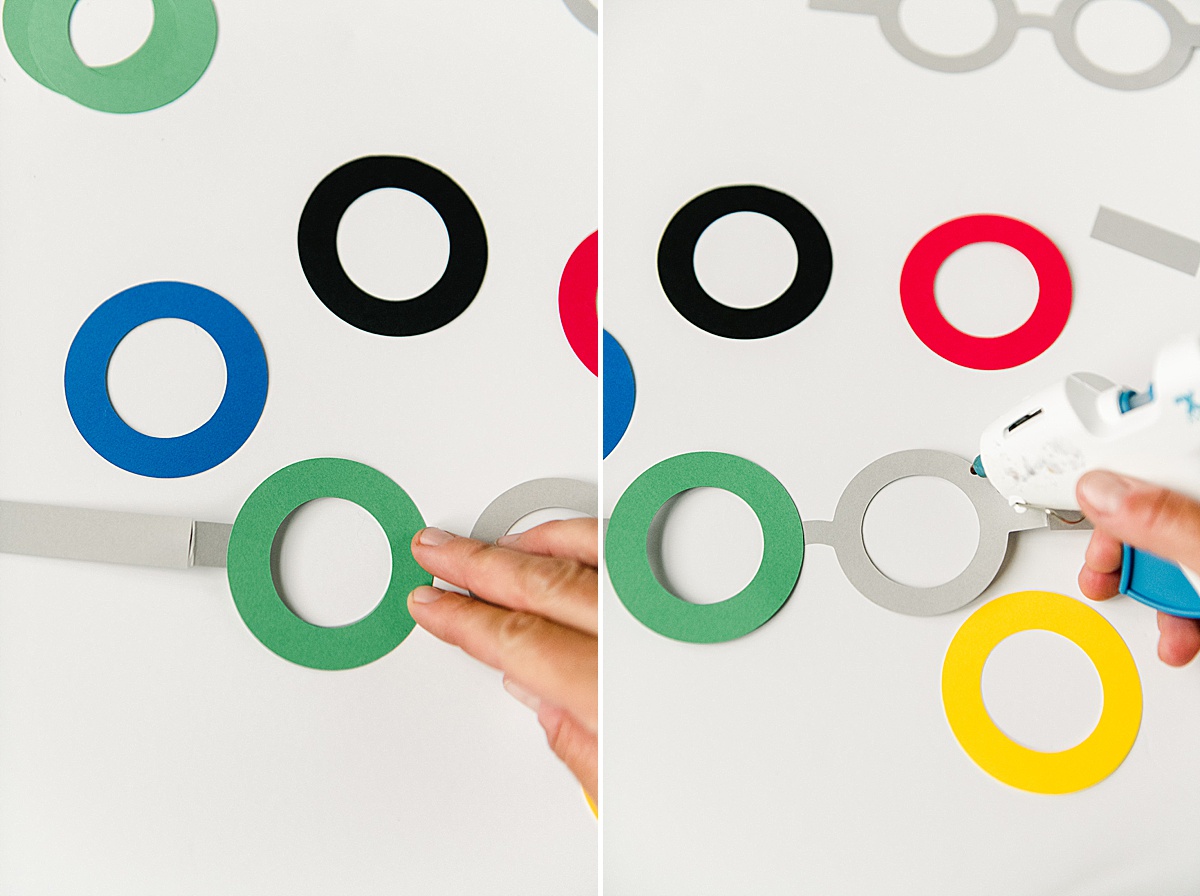
Being by folding down the side portion of the glasses front, then using hot glue, tape or school glue attach the glasses arms to the frame front. The arms are likely longer than needed, so be sure to measure them on your face and cut or trim to the sizing desired! 🙂
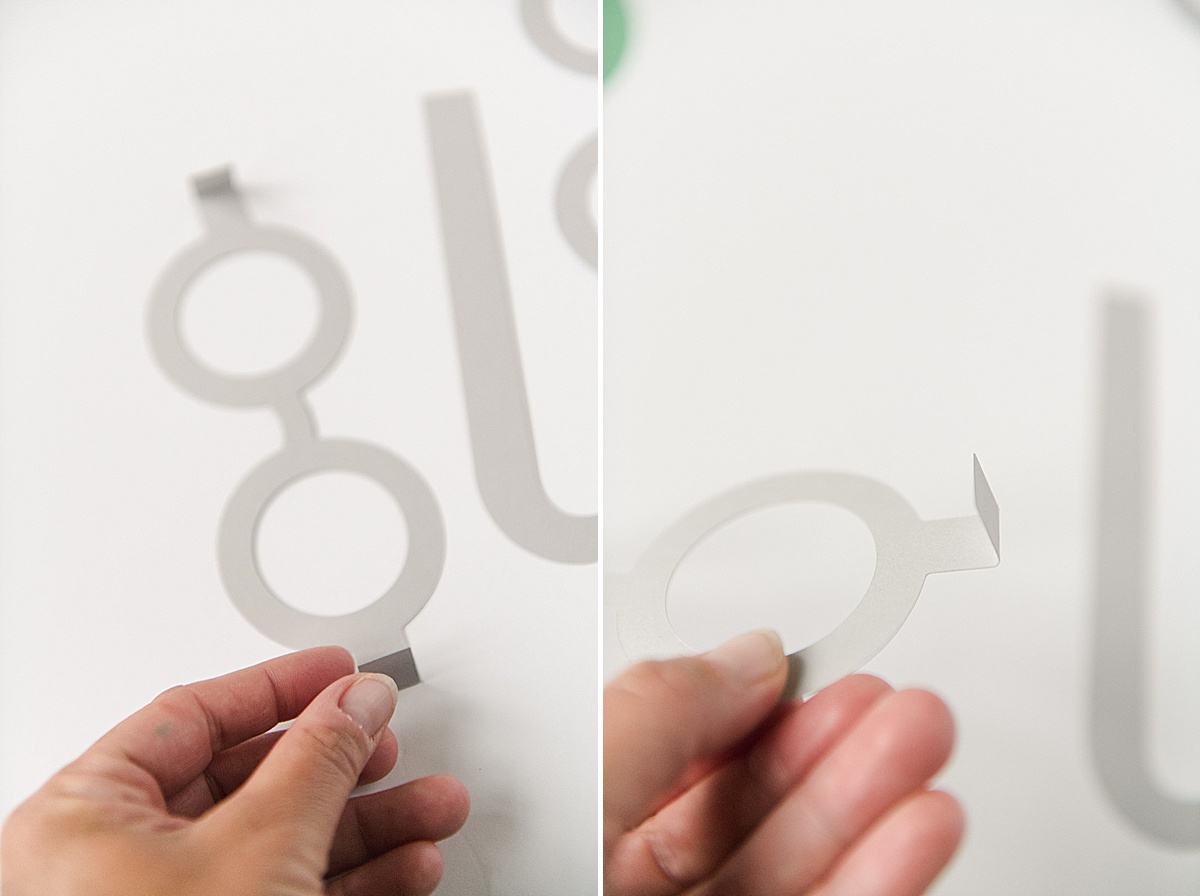
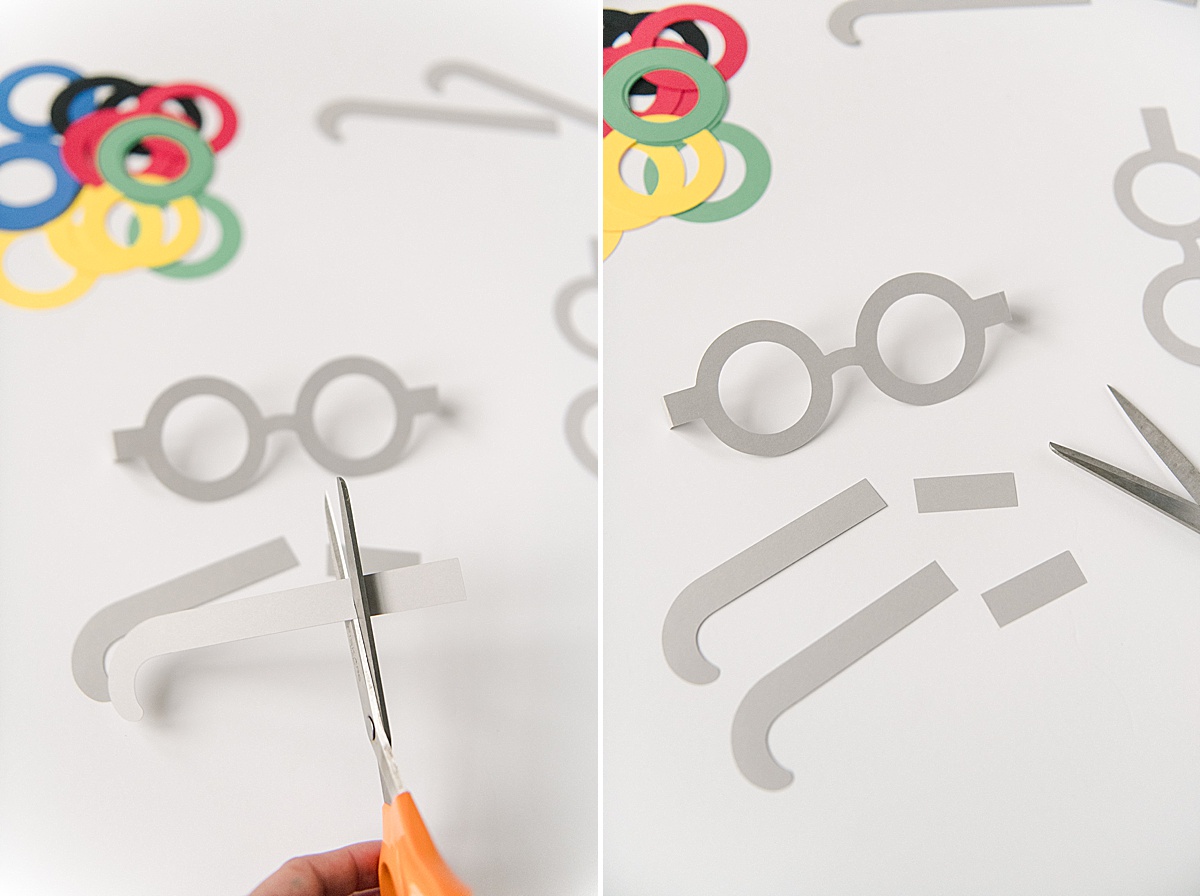
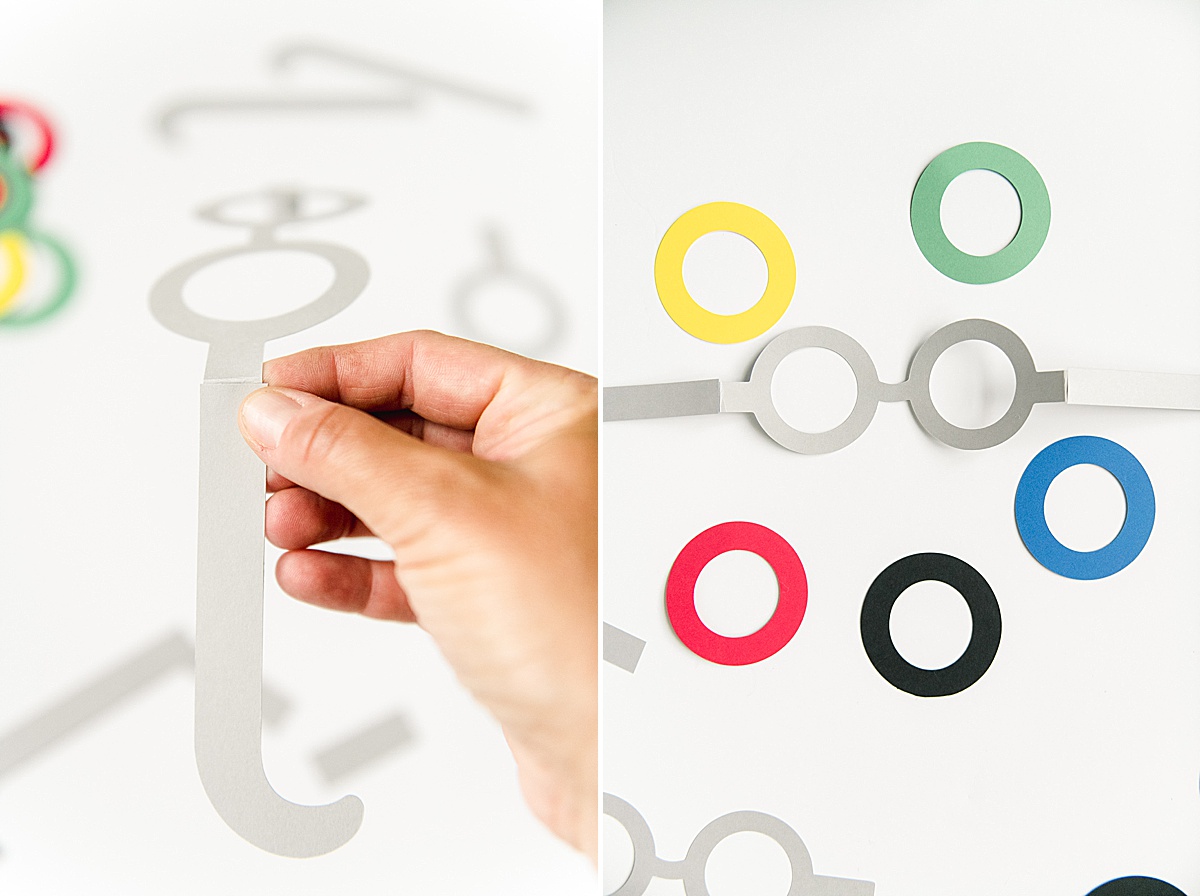
4. Assemble front
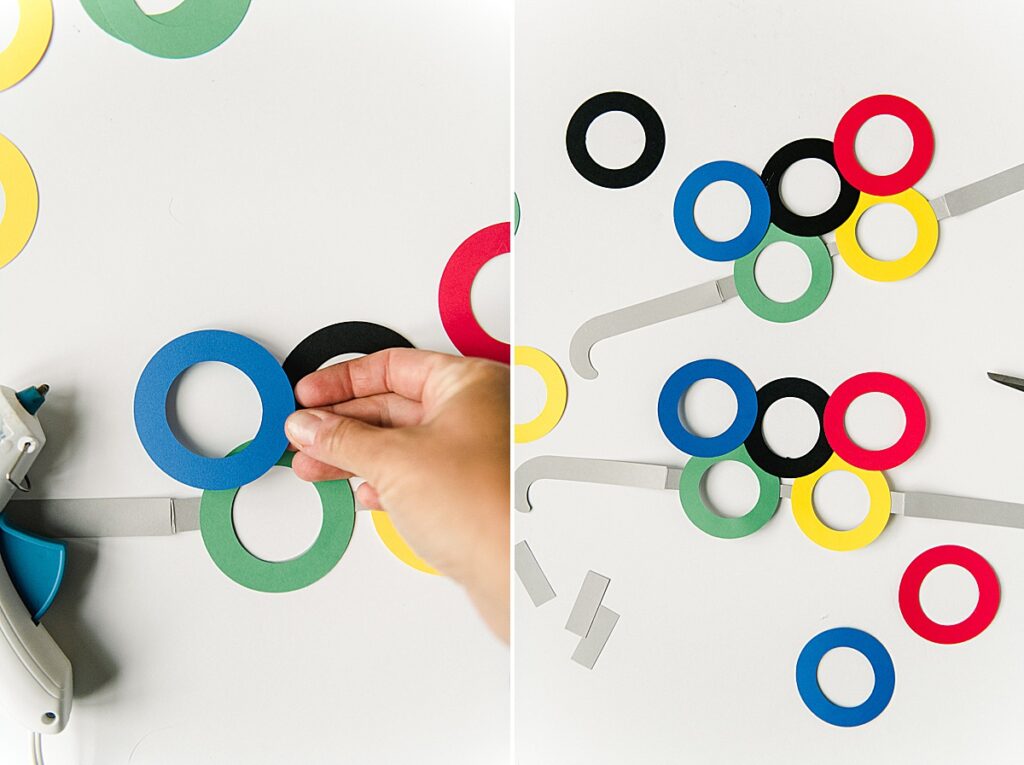
Then lay out your Olympic Ring shapes and begin glueing them onto the frame front. Start by glueing the yellow and green to the frame circles (where your eyes go) and then glue the blue, back and red accordingly. Be sure that each ring overlaps to one another (except the yellow and green) so that the glasses are super sturdy and fun to wear! 🙂
Then grab yourself a notepad to start tracing the Olympic medal count and VOILA! You are ready fo watch the opening ceremonies AND cheer on team USA for the next 2+ weeks while watching the Olympics and Paralympics!


AND AND AND, bonus. I have partnered with a handful of other creative ladies to bring you other FREE Olympic cut files (mine included)! So as you’re prepping for your red, white and blue festivities, check out these other incredible creatives with a link to their free SVG files below:
- On your Mark Get Set Gold SVG – Polka Dotted Blue Jay
- Vault, Beams, Bar, Floor SVG – Liz on Call
- Olympic Torch Cupcake SVG file – Spot of Tea Designs
- Sorry. Can’t. Olympics. Bye. T-shirt – Tried & True Creative
- Olympic Medals – Amy Robinson

