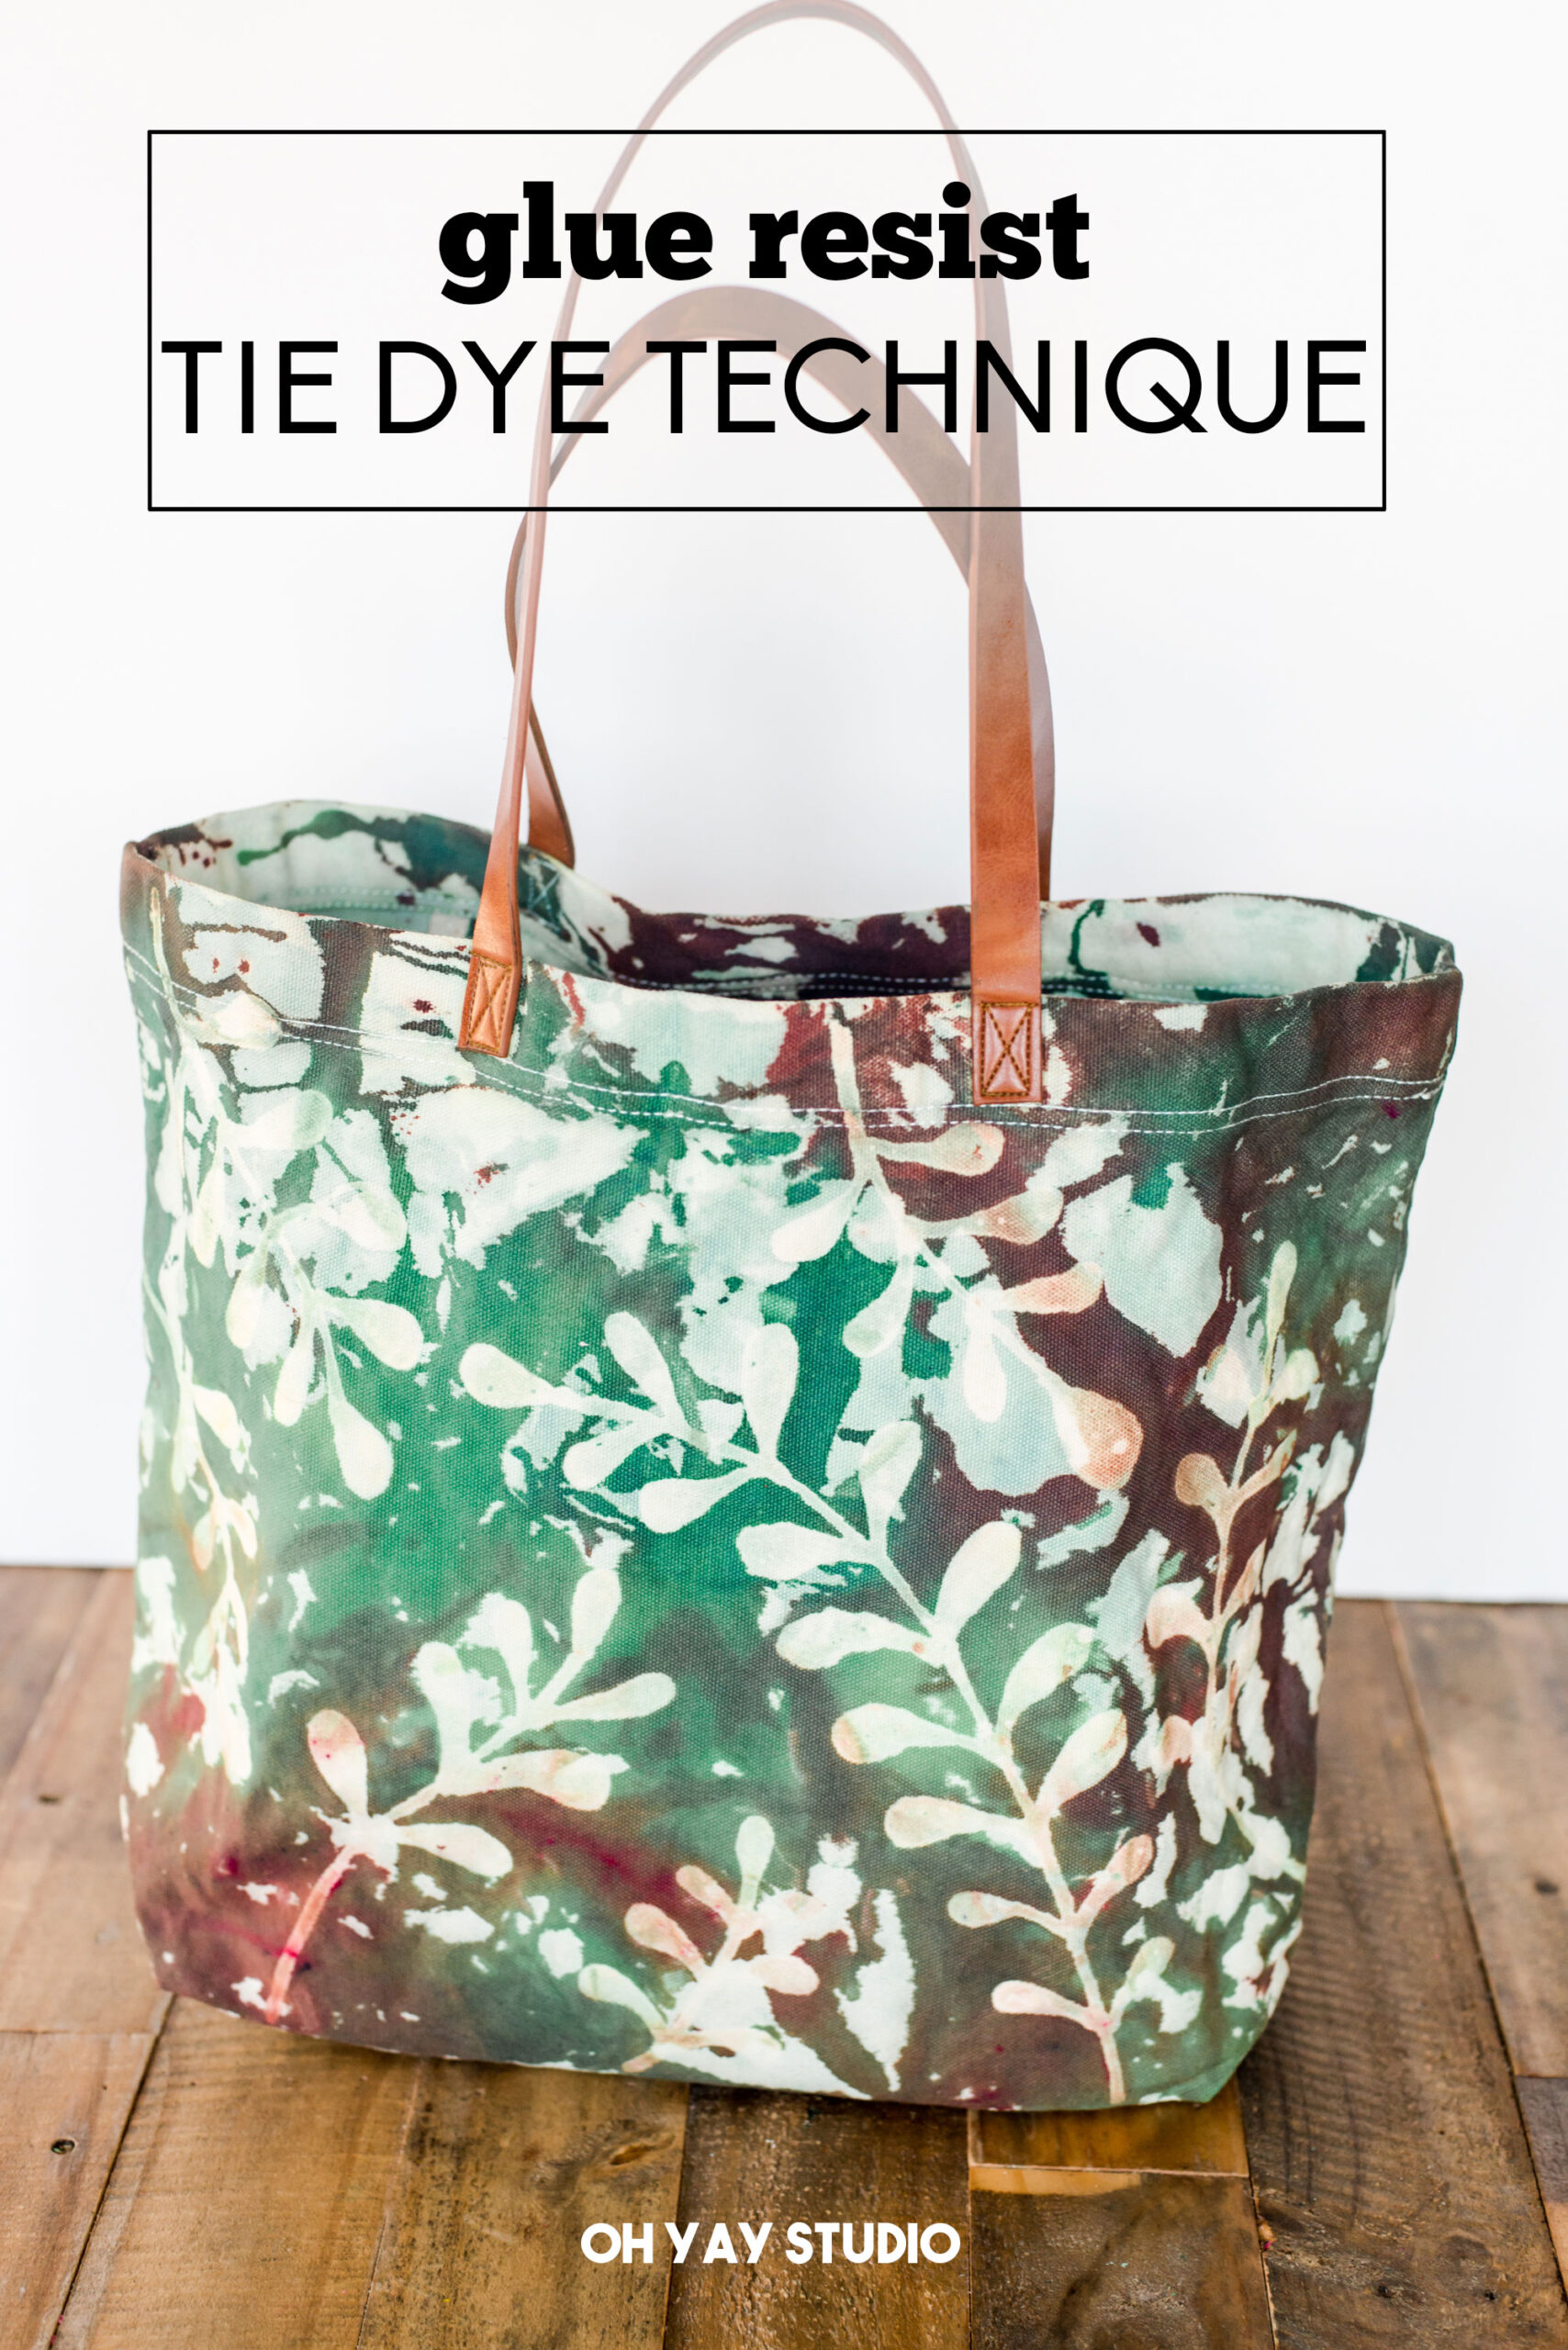
Glue resist Tie-Dye farmers market canvas tote
**Created in partnership with Tulip tie dye products purchased at Walmart
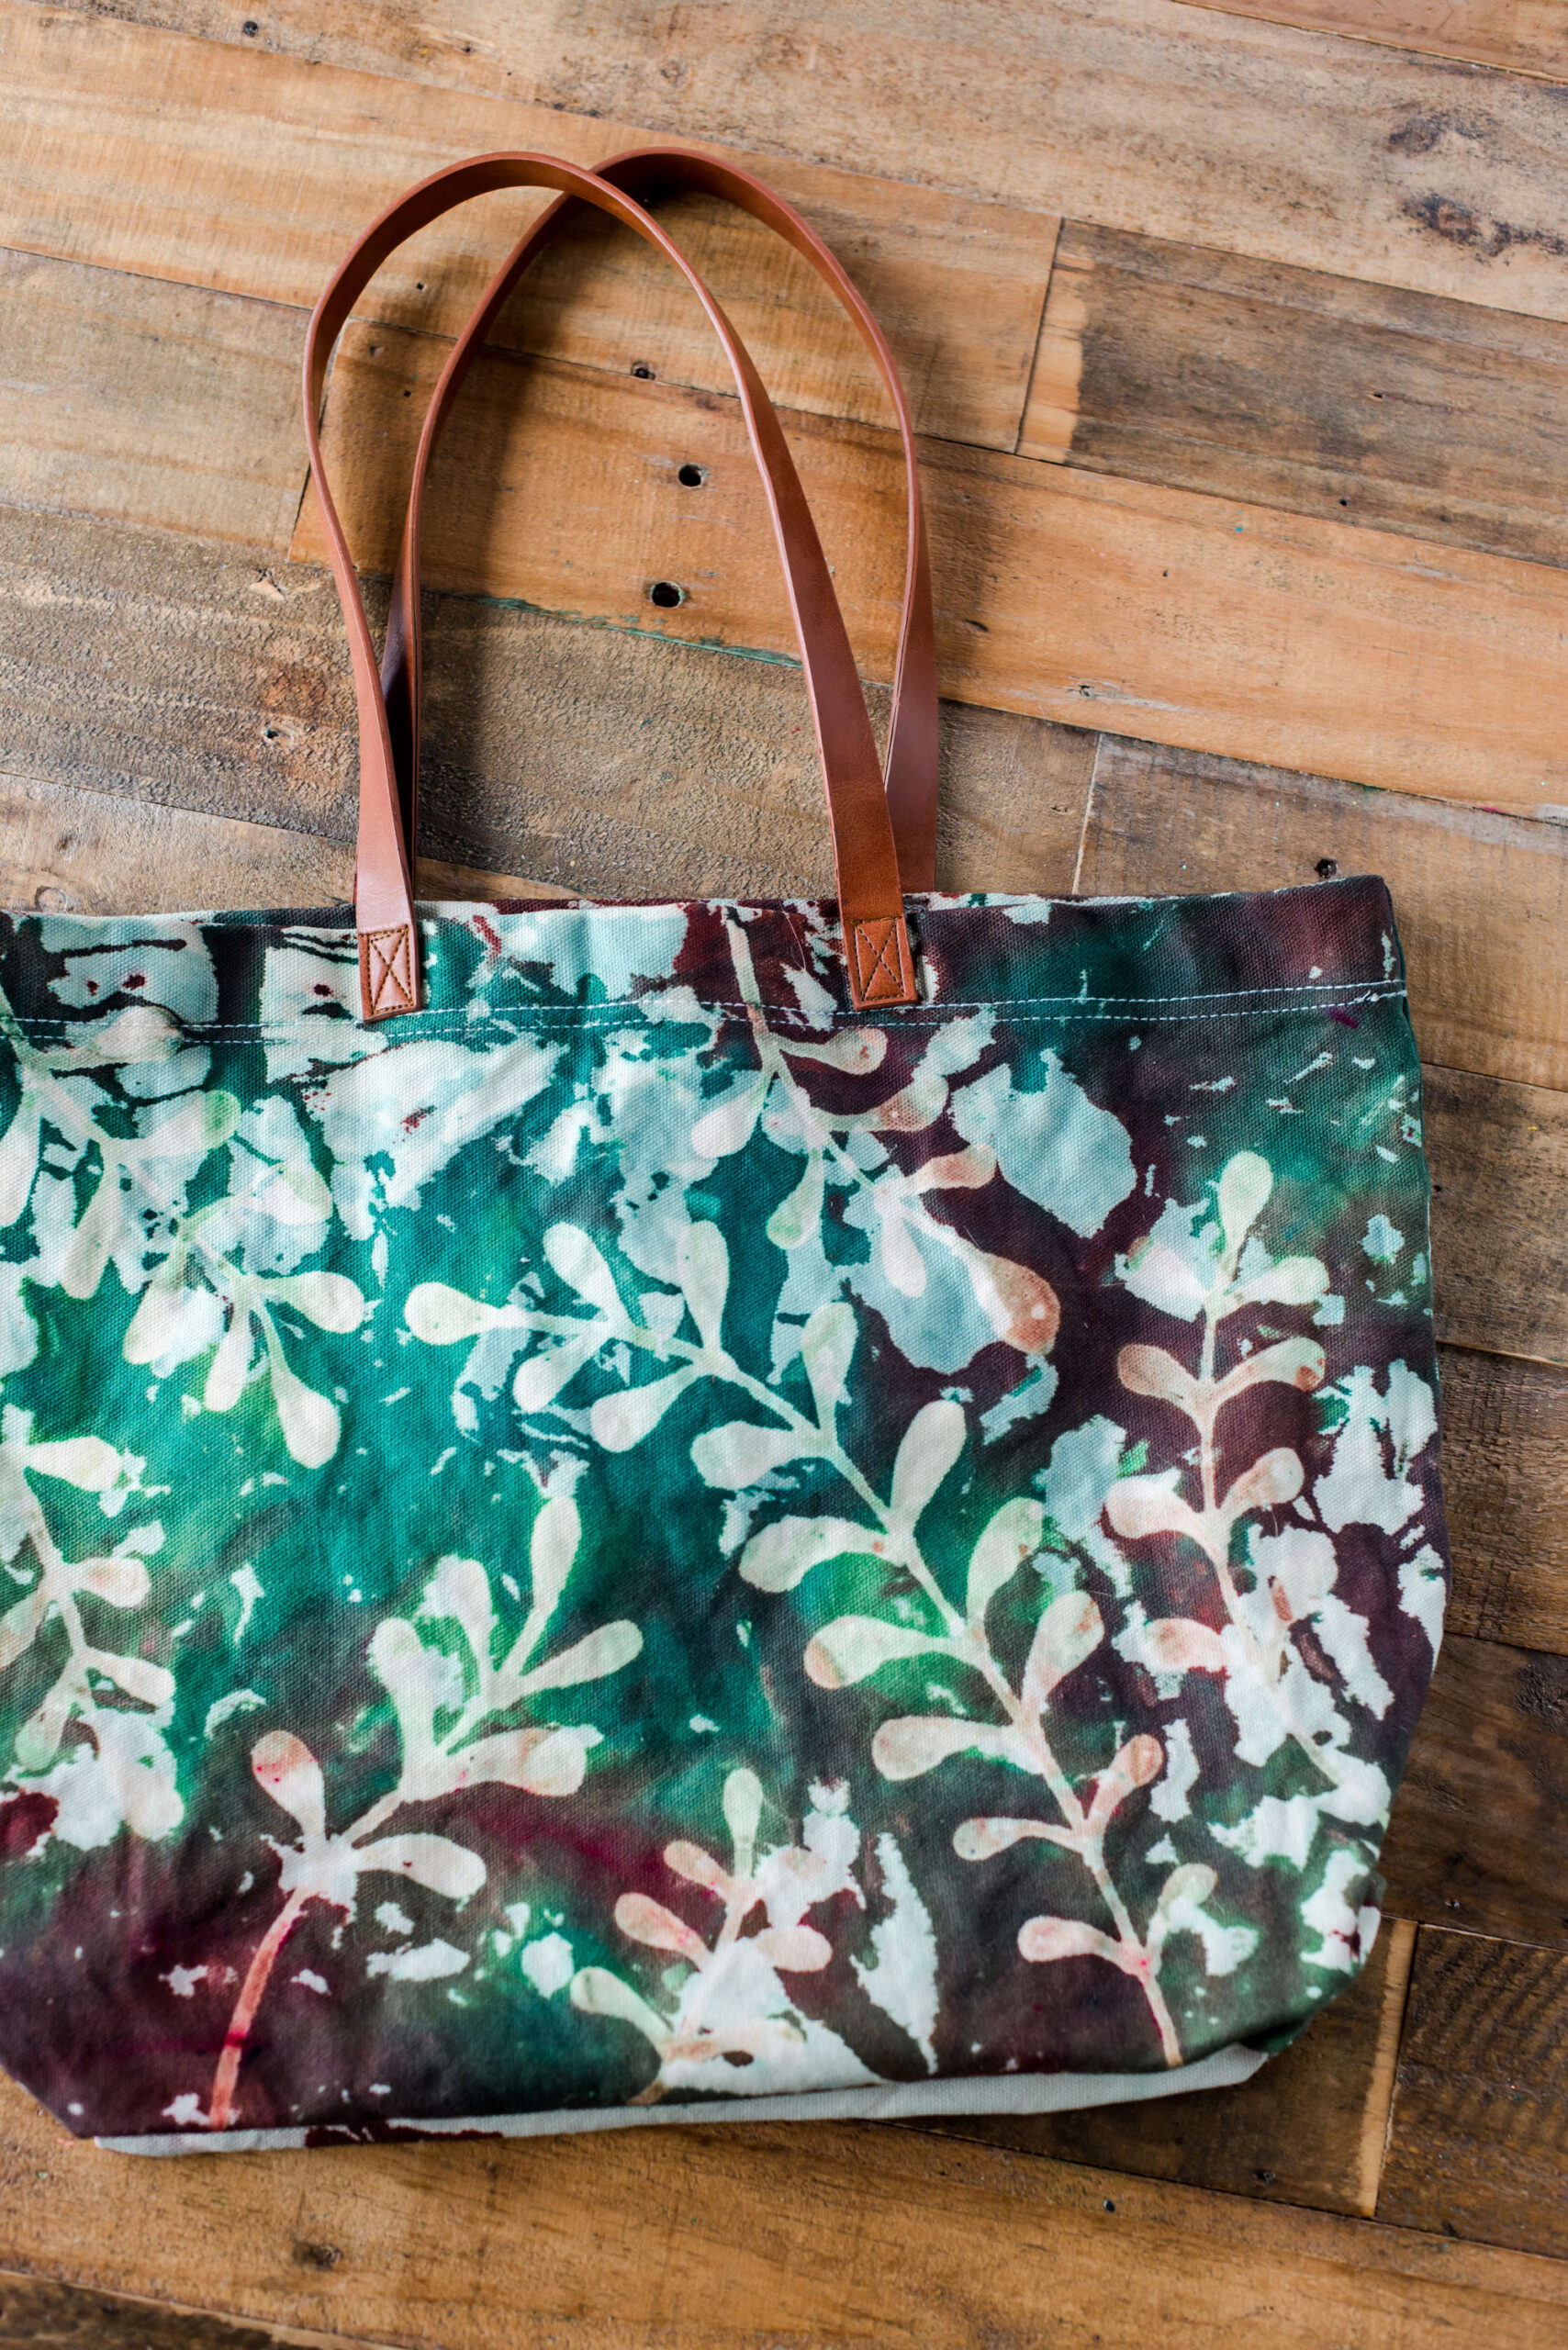
OKKKAYYY! The Tie Dye trend is here and I am not skimming past it! I remember MANNNNY summers with my fingers and nails dyed from dumping and holding and folding and writing out dyed item after item in my backyard! ANNNNND today I am *wildly* excited to share with you this super awesome batik-style technique using the Tulip Camo Tie Dye kit, glue, ANNNND this adorable blank canvas with leather straps all from Walmart to create a summery reusable farmers market tote! 🙂
This technique is *SIMPLE* and it has ENDLESS possibilities once you get the hang of it. And trust me, there are SO MANY awesome blanks in the craft isle at Walmart so pick up a handful of things to add variety to your at-home tie dye crafting fun! 🙂
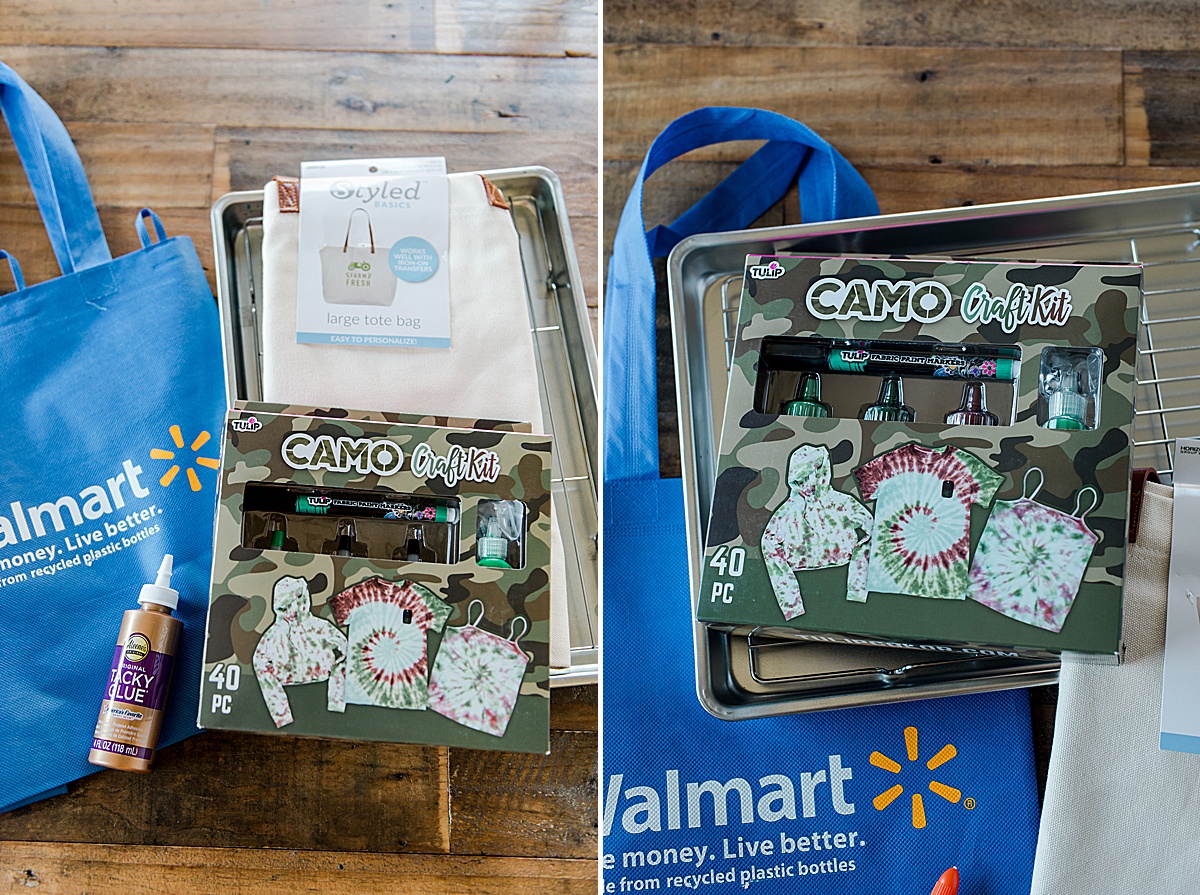
MATERIALS (all avail. to purchase at your local Walmart, talk about easy):
- Tulip Camo Tie Dye craft kit (name…….and comes with all of the “earthy” colors for this project)
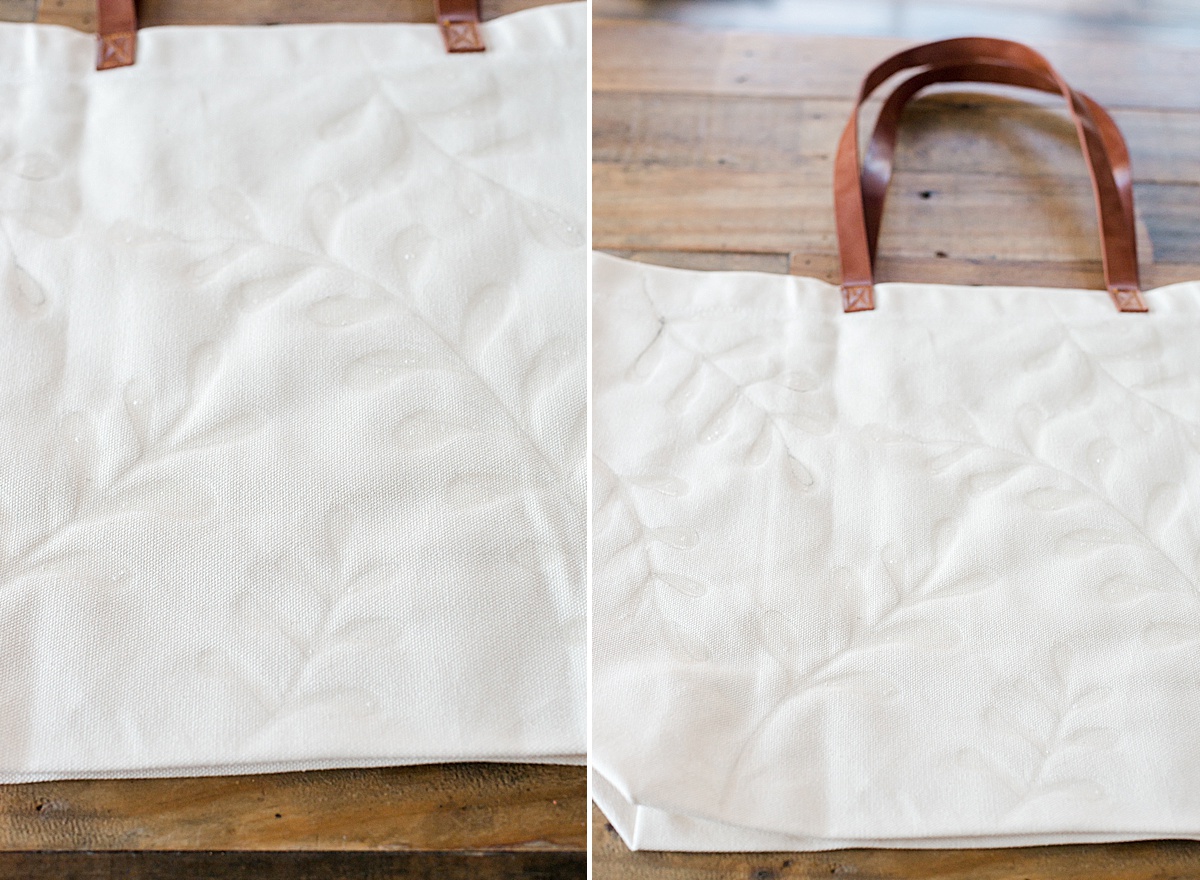
- Canvas totes (I snagged the one with the awesome brown leather straps that had more of an “earthy” look)
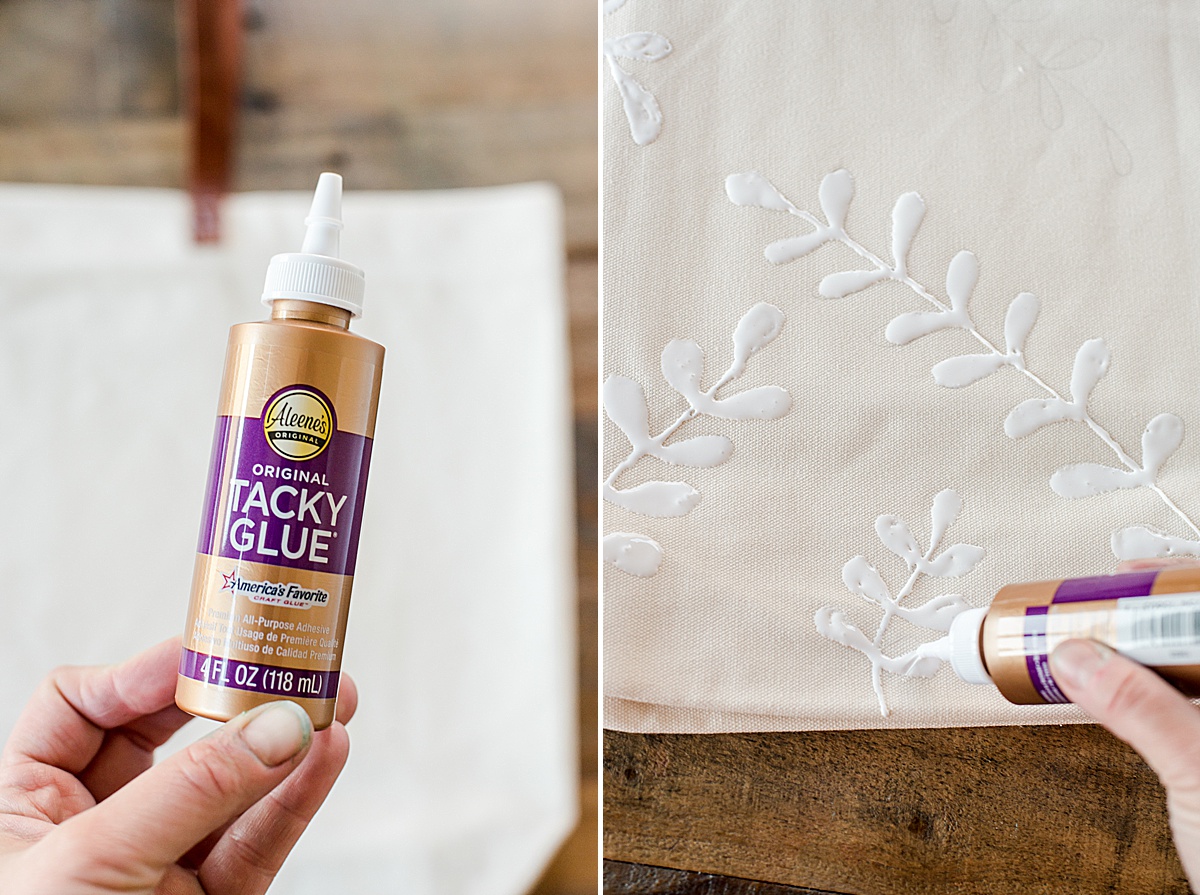
- A bottle of Aleene’s Tacky glue (PVA washable glue)
- A cookie rack and tub (or tray) that is safe to lay the tie dyed product on (ie, don’t re-use this with food at a future date)
- Iron
- pencil
- plastic wrap or plastic bags (I used bags, I like to reuse as much as I can without bringing more plastic into our home)
- optional spray bottle
INSTRUCTIONS:
1. Iron your canvas bag to make sure that all of the wrinkles and creases are out. This is important so that you can
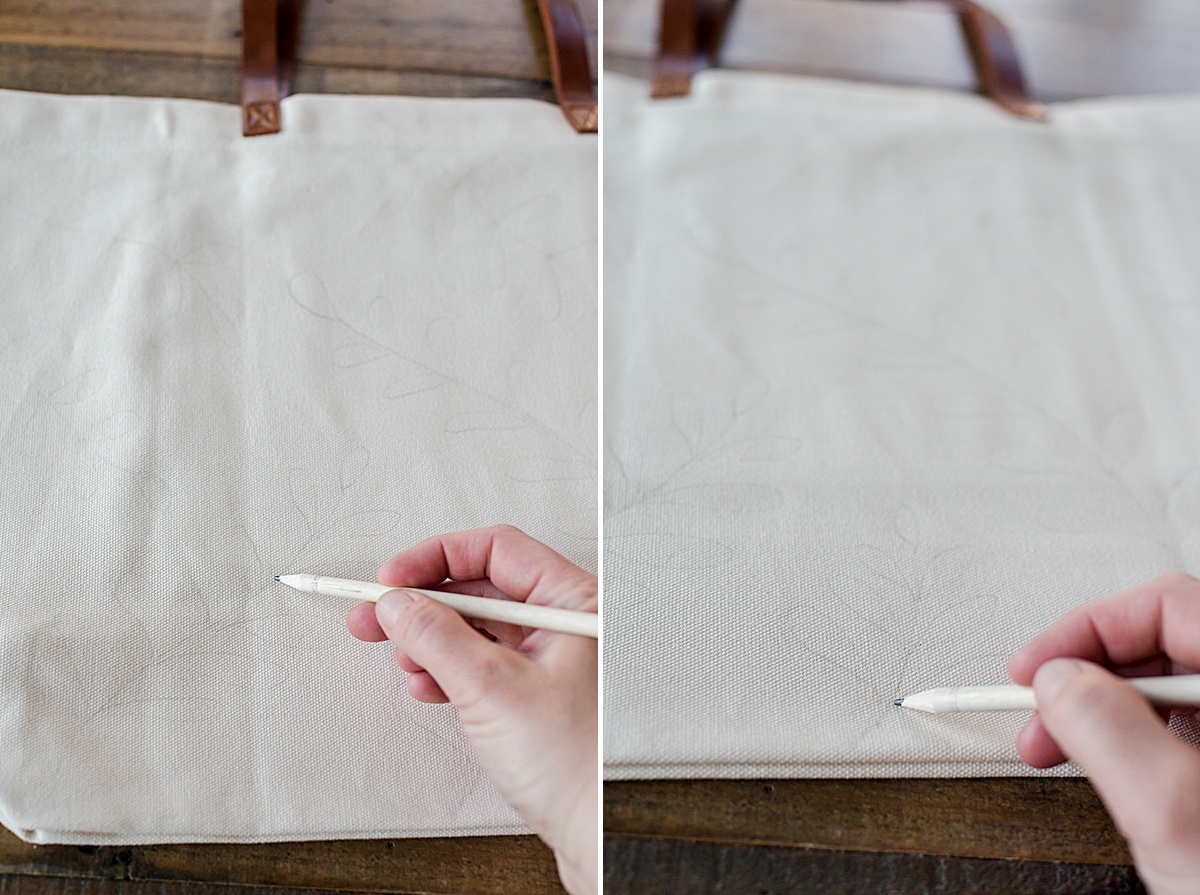
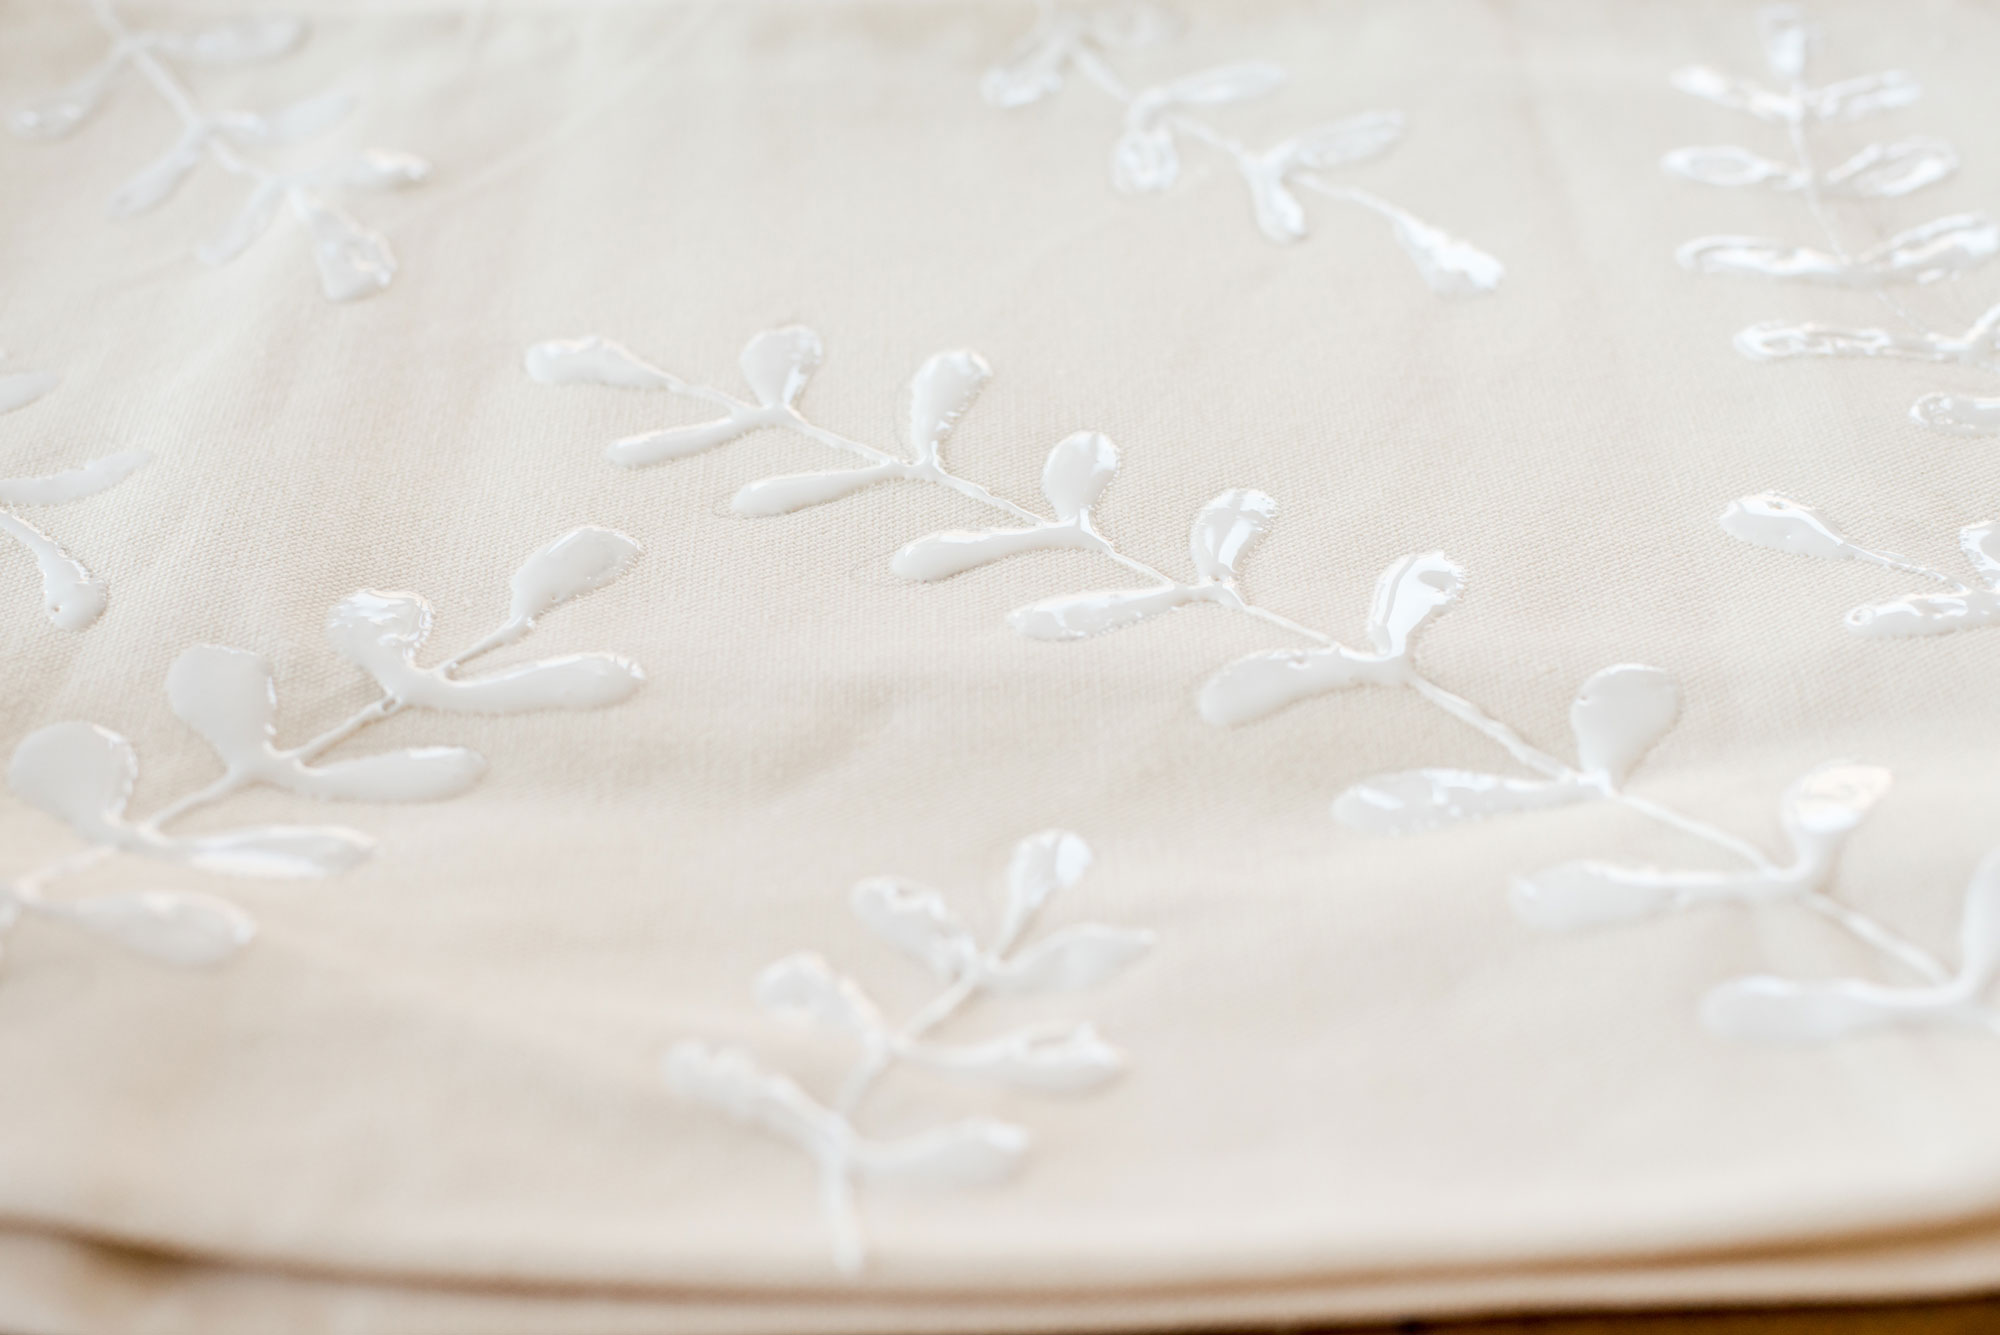
2. Pencil on your design (LIGHTLY….you don’t want your pencil marks to be too dark that potentially don’t wash out in the end). Then generously (but without too much “pooling”) trace your pencil lines with your glue. Begin by testing your “line” on a piece of paper to make sure that you have the right consistency of “squeeze” to cover the canvas in the design you’d like.
*tip – look at various angles, specifically at table height to the garment or canvas tote, to be sure that you’ve covered the areas completely with enough glue to resist the dye. You will want the glue to be “complete and full” in the areas you’ve applied, but not pooling too much that’s its dribbling outside of your shape or line.
3. Prep your canvas tote by scrunching up the canvas (not too much) and using the included rubber bands (in the kit) to “secure” it together in a scrunch. I made sure not to scrunch too tightly as I want to the glue to do most of the “resisting” and not too many folds. I basically just made sure that the tote was scrunched enough to fit on the rack in the tray.
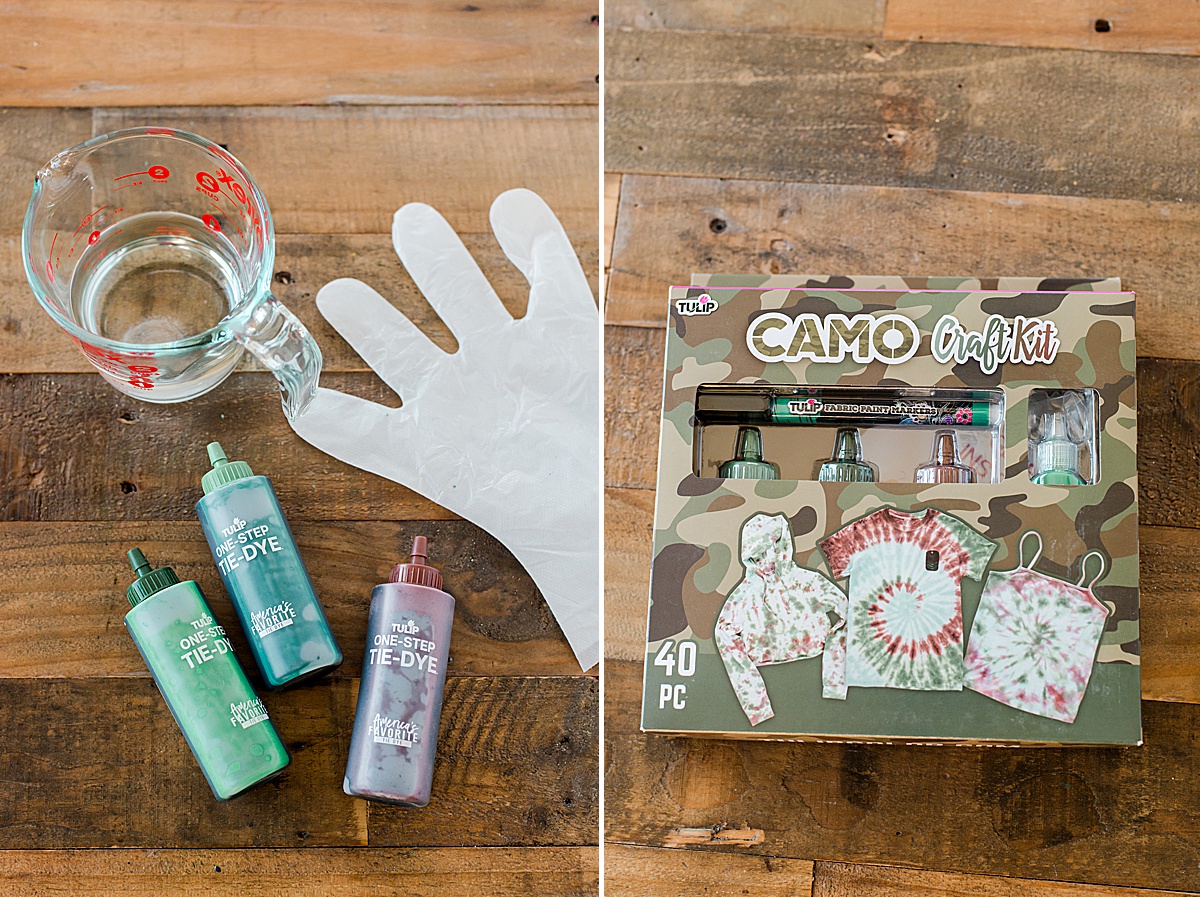
4. Prep your dye by removing the bottles from the Camo Dye kit and filling all 3 colors to the fill line instructed on the bottle! Carefully shake the bottles to make sure all of the dye is mixed
**tip: cover the top of the bottle with a paper towel while you shake to be sure no dye squirts out while mixing. At first I got too excited about mixing and didn’t put the top caps back on tightly enough before shaking. Whoopsies! 🙂
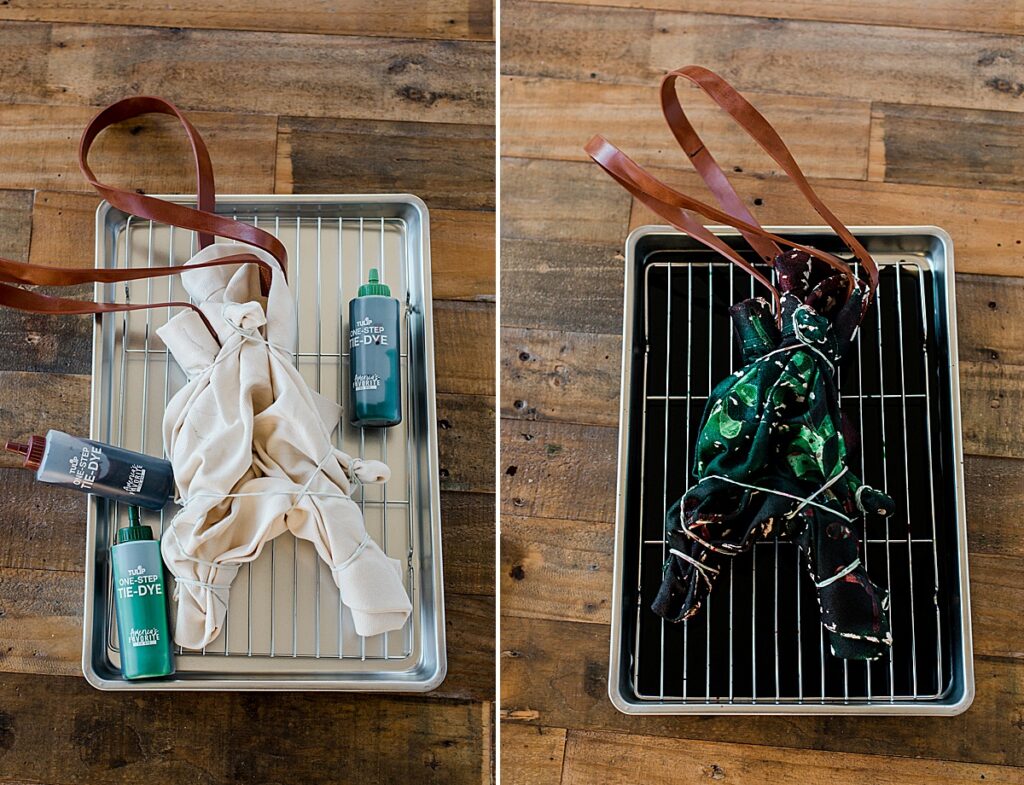
5. Place your scrunched up tote onto the cookie rack inside the tray (this will catch the excess dye AND make sure your tote isn’t “sitting in dye” while it cures overnight). Then with one color of dye, begin to squirt the tote, making sure to fill every crease, crevice, hole and space on the tote. You will notice that the tote seems to want to repel the dye at first, just go slow and take your time applying it. I found that touching the tip of the dye bottle to the canvas, helped it to soak into the tote itself.
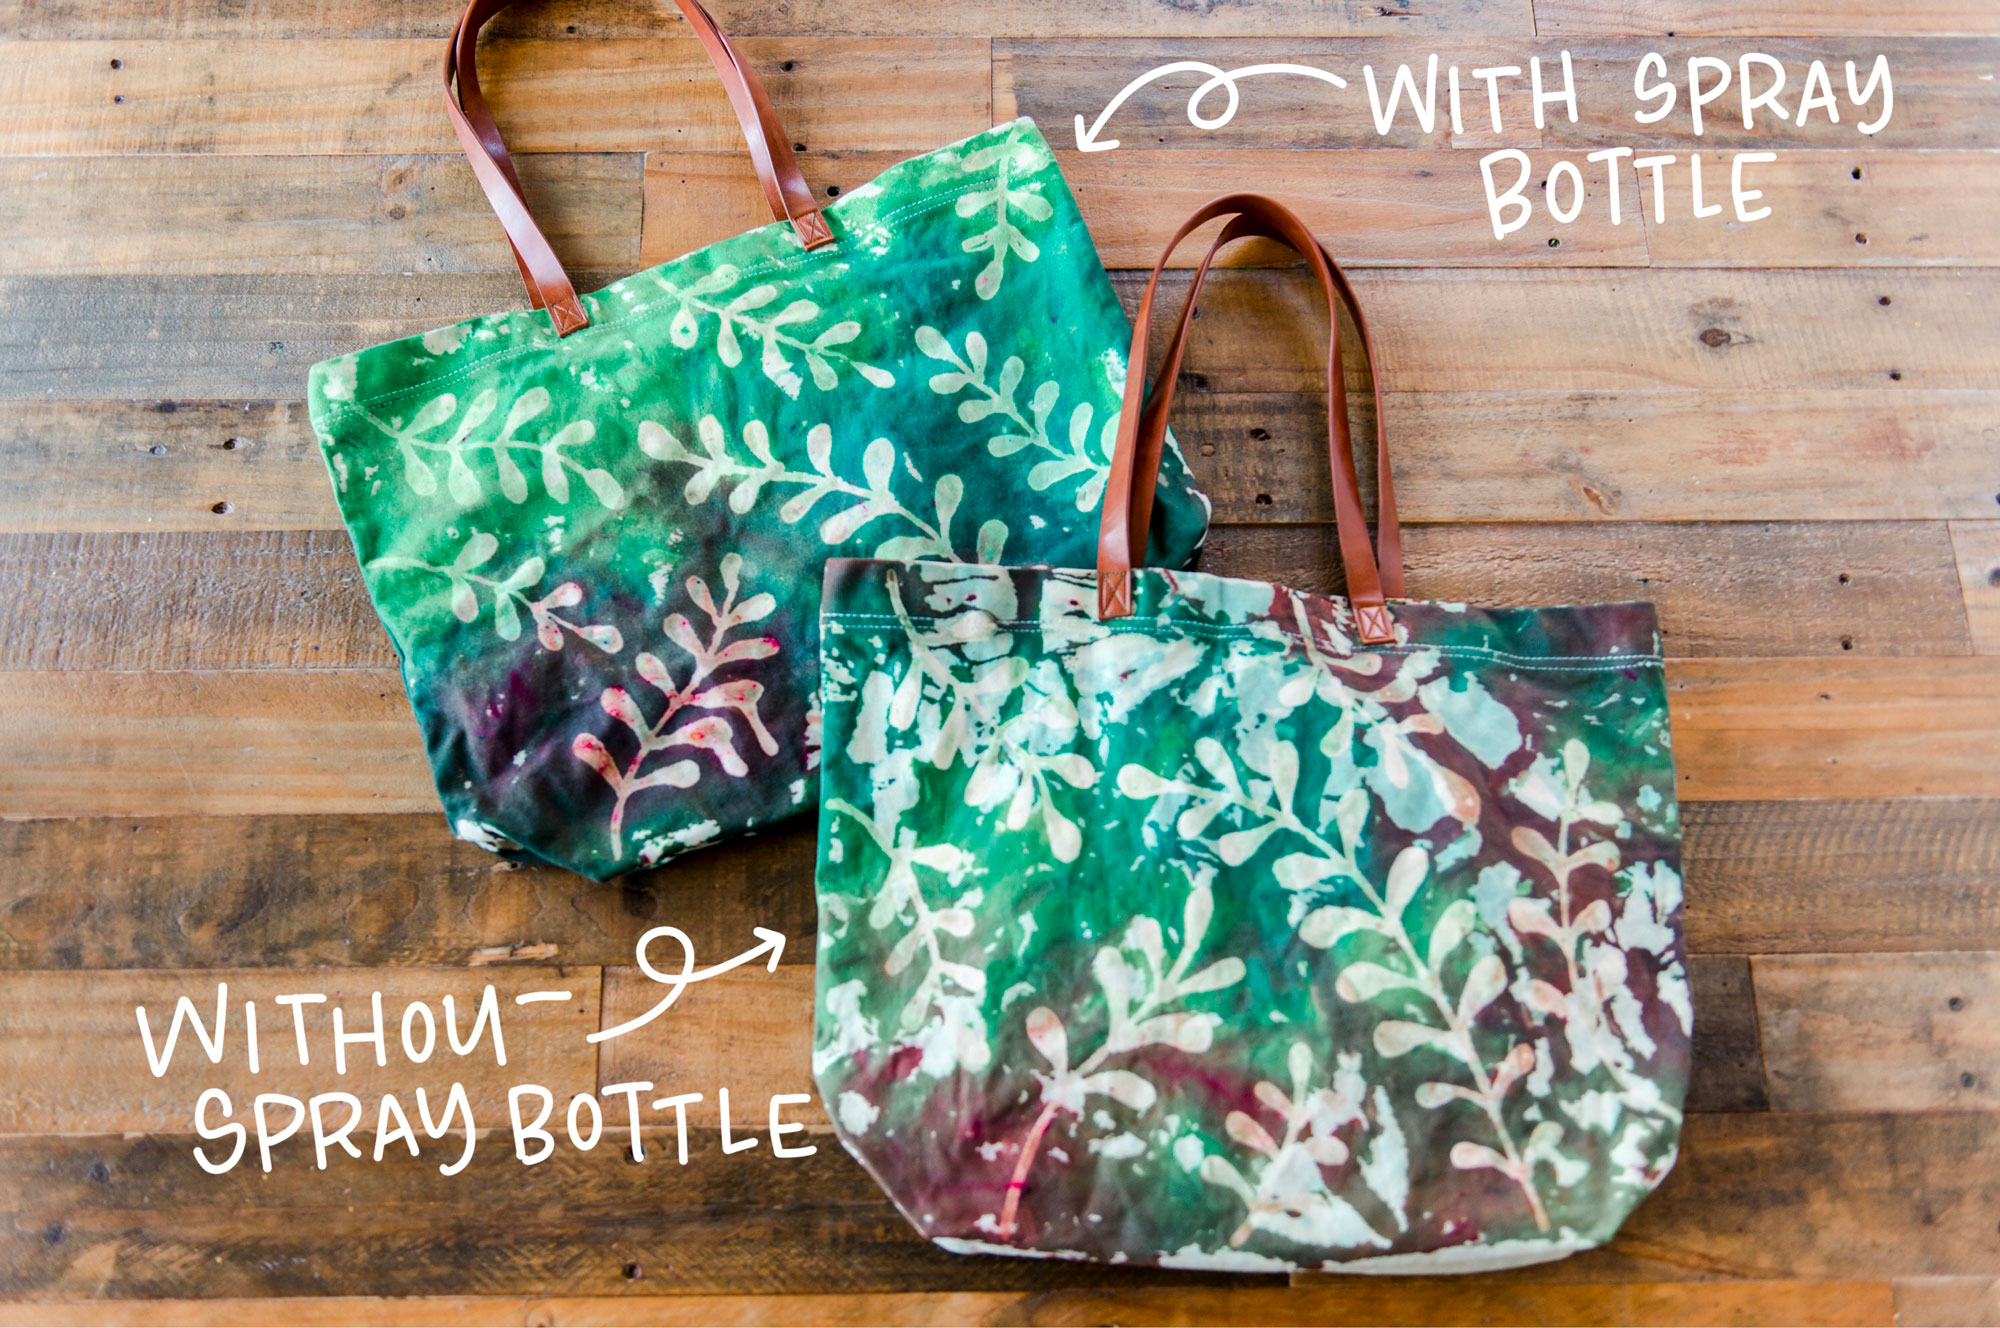
**option: Before applying any dye to the tote, you can lightly spray the canvas with water. This will “prep” the surface of the canvas to allow the dye to soak in faster BUUUUUT it also means that your colors likely won’t be as vibrant. Another option is to apply your dye just the same as in step 5 and then add some squirts to blend the colors as they sit on the surface or to help them soak in. Any time you add more water to the dye process, it has the potential to water down the vibrancy of the colors themselves….so just know this if you choose to use a spray bottle with this step.
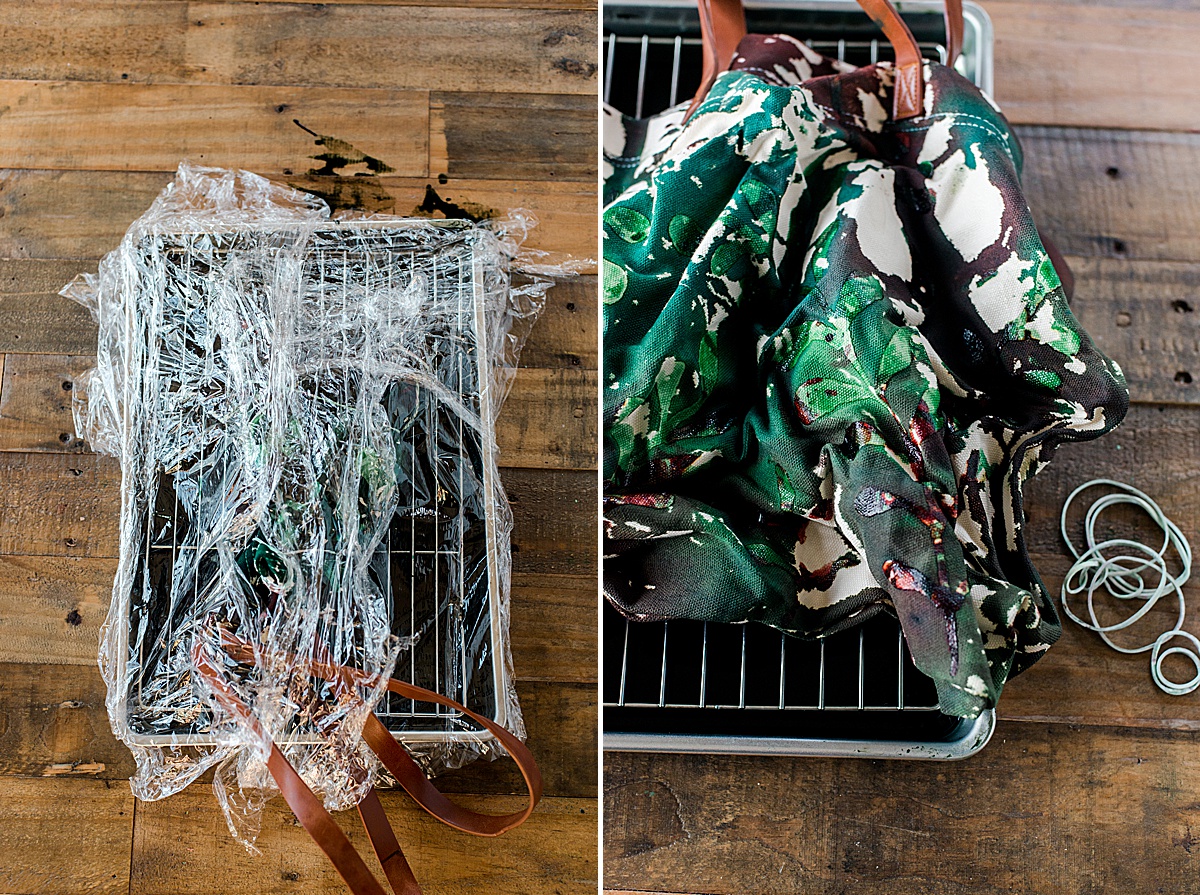
6. Once every area of your tote is covered it’s time to let it sit. Either cover your tray with plastic wrap or remove the tote and place it gently into a reusable plastic bag. Allow to sit overnight (I suggest at least 6 hours)……the longer you let it sit, the more vibrant the colors 🙂 The key here is to seal the tote so that tit doesn’t dry out while you let it sit.
7. After you’ve removed any rubber bands, rinse off any excess dye. Then fill a non-porous sink with enough (preferably warm) water to cover the tote lying flat. Place your tote in the standing water for about 30 minutes….this will allow the glue to begin to soften and lift off. After a few minutes, you can use your fingers to begin to scrape off the glue (you will feel it kinda slimy as it is coming off the canvas).
Don’t be alarmed if you don’t see your design right away……sometimes the dye sits on top of the glue and once the glue is removed the design is revealed more 🙂
8. Repeat step 7 as many times as necessary until the water runs clear and all glue is removed 🙂
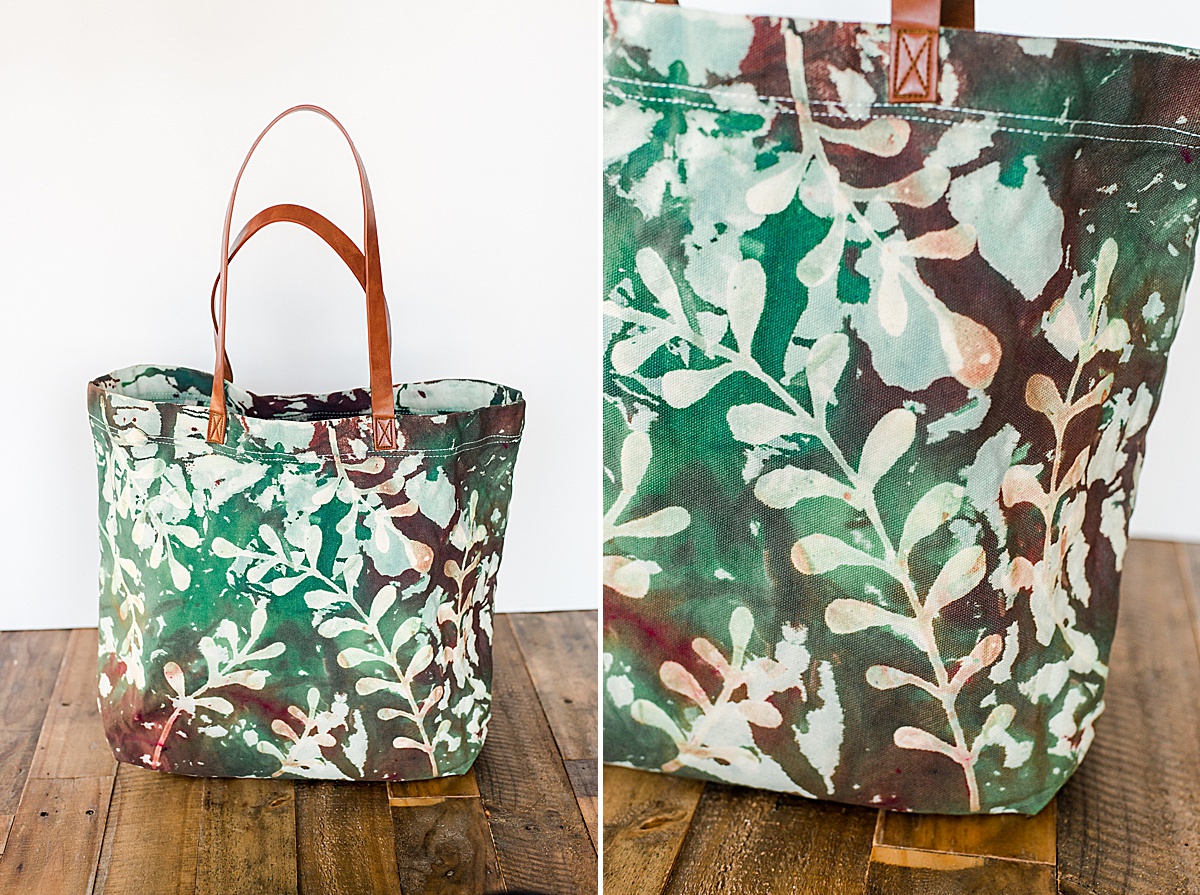
9. Wash and dry your tote (separately than other clothing) then fill it with all of your yummy farmers market purchases or use as a beach bag or on-the-go bag! It’s now time to show off your amaziing tie dye technique! 🙂
OKAYYYYY! Now isn’t this just adorable????!??!
I am obsessed…..and now off to make MORE! 🙂
3 Comments
Comments are closed.