Candy Heart Luminaries
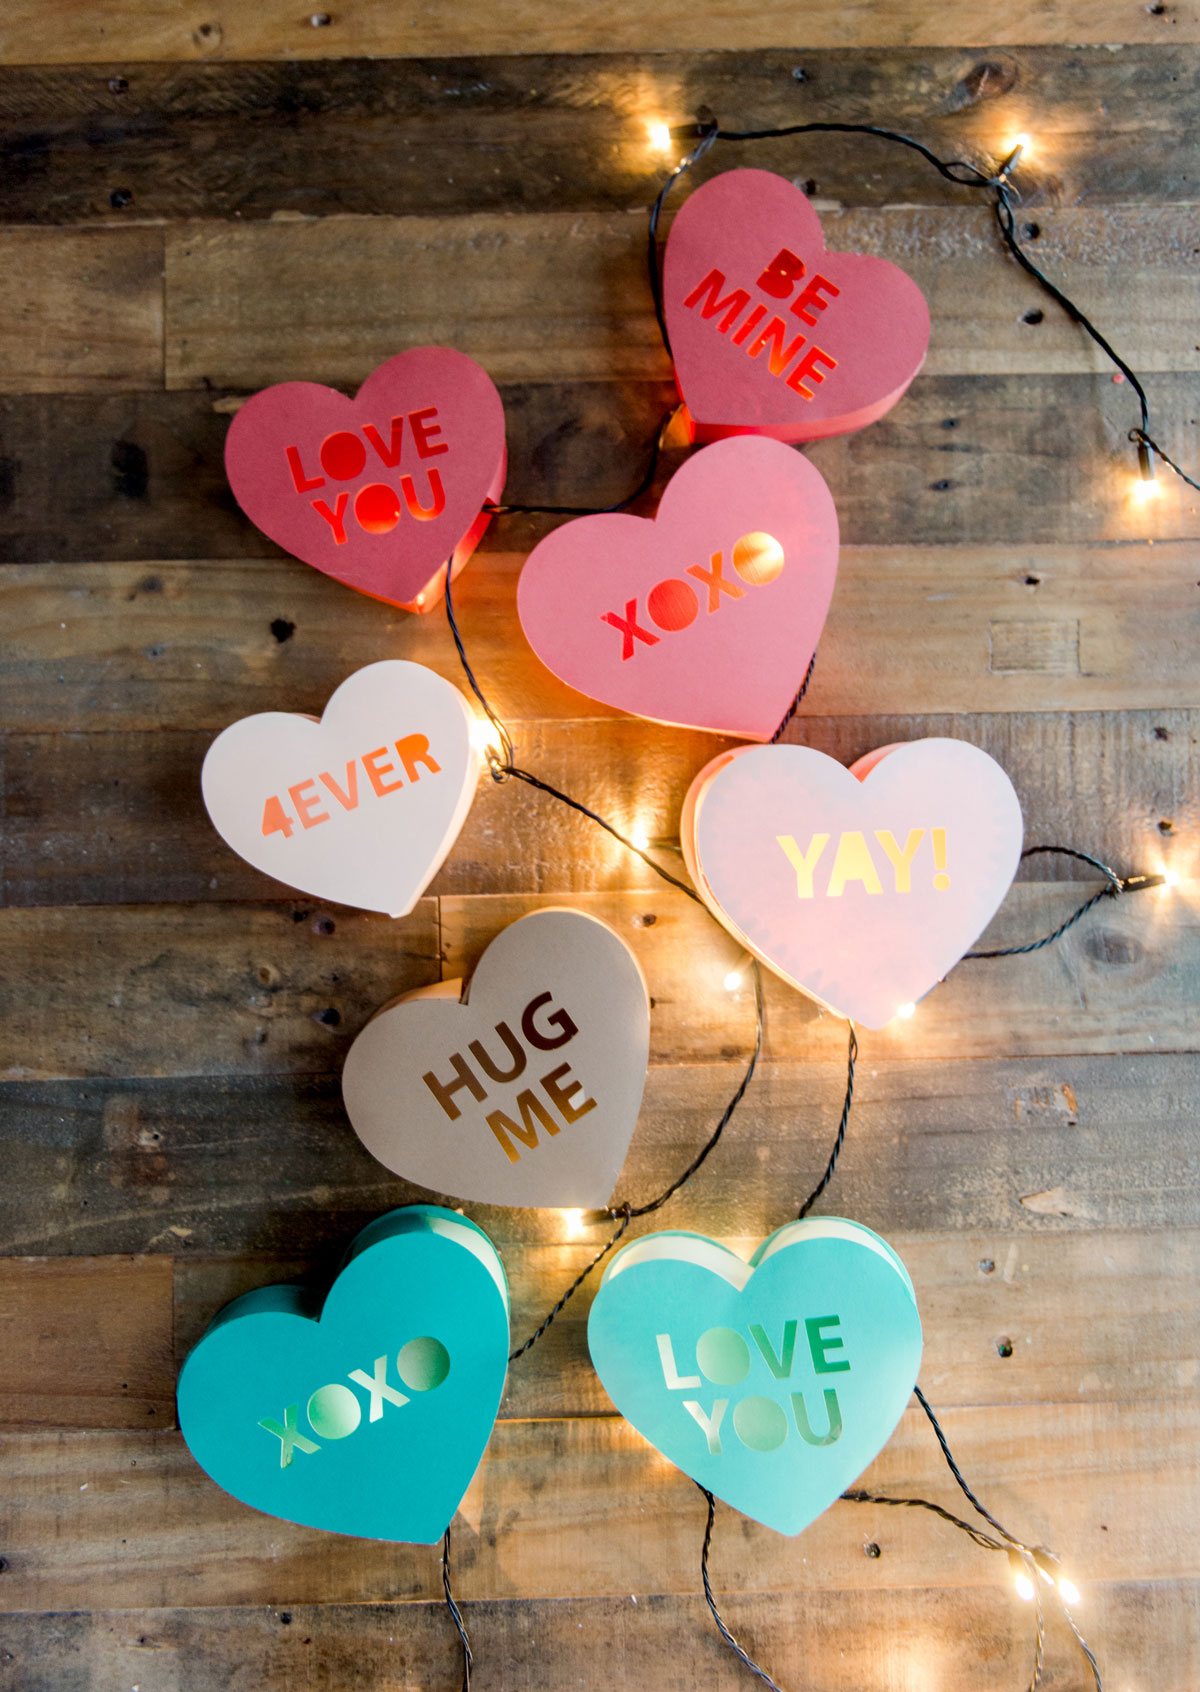
It’s the month of LOOOOVVEEEEE! And here in the midwest it’s still kinda dark outside so of course I had to make some luminaries to add some of that night-time soft glowing light that I just love so much (and kinda crave after we take our Christmas tree down for the year)! 🙂
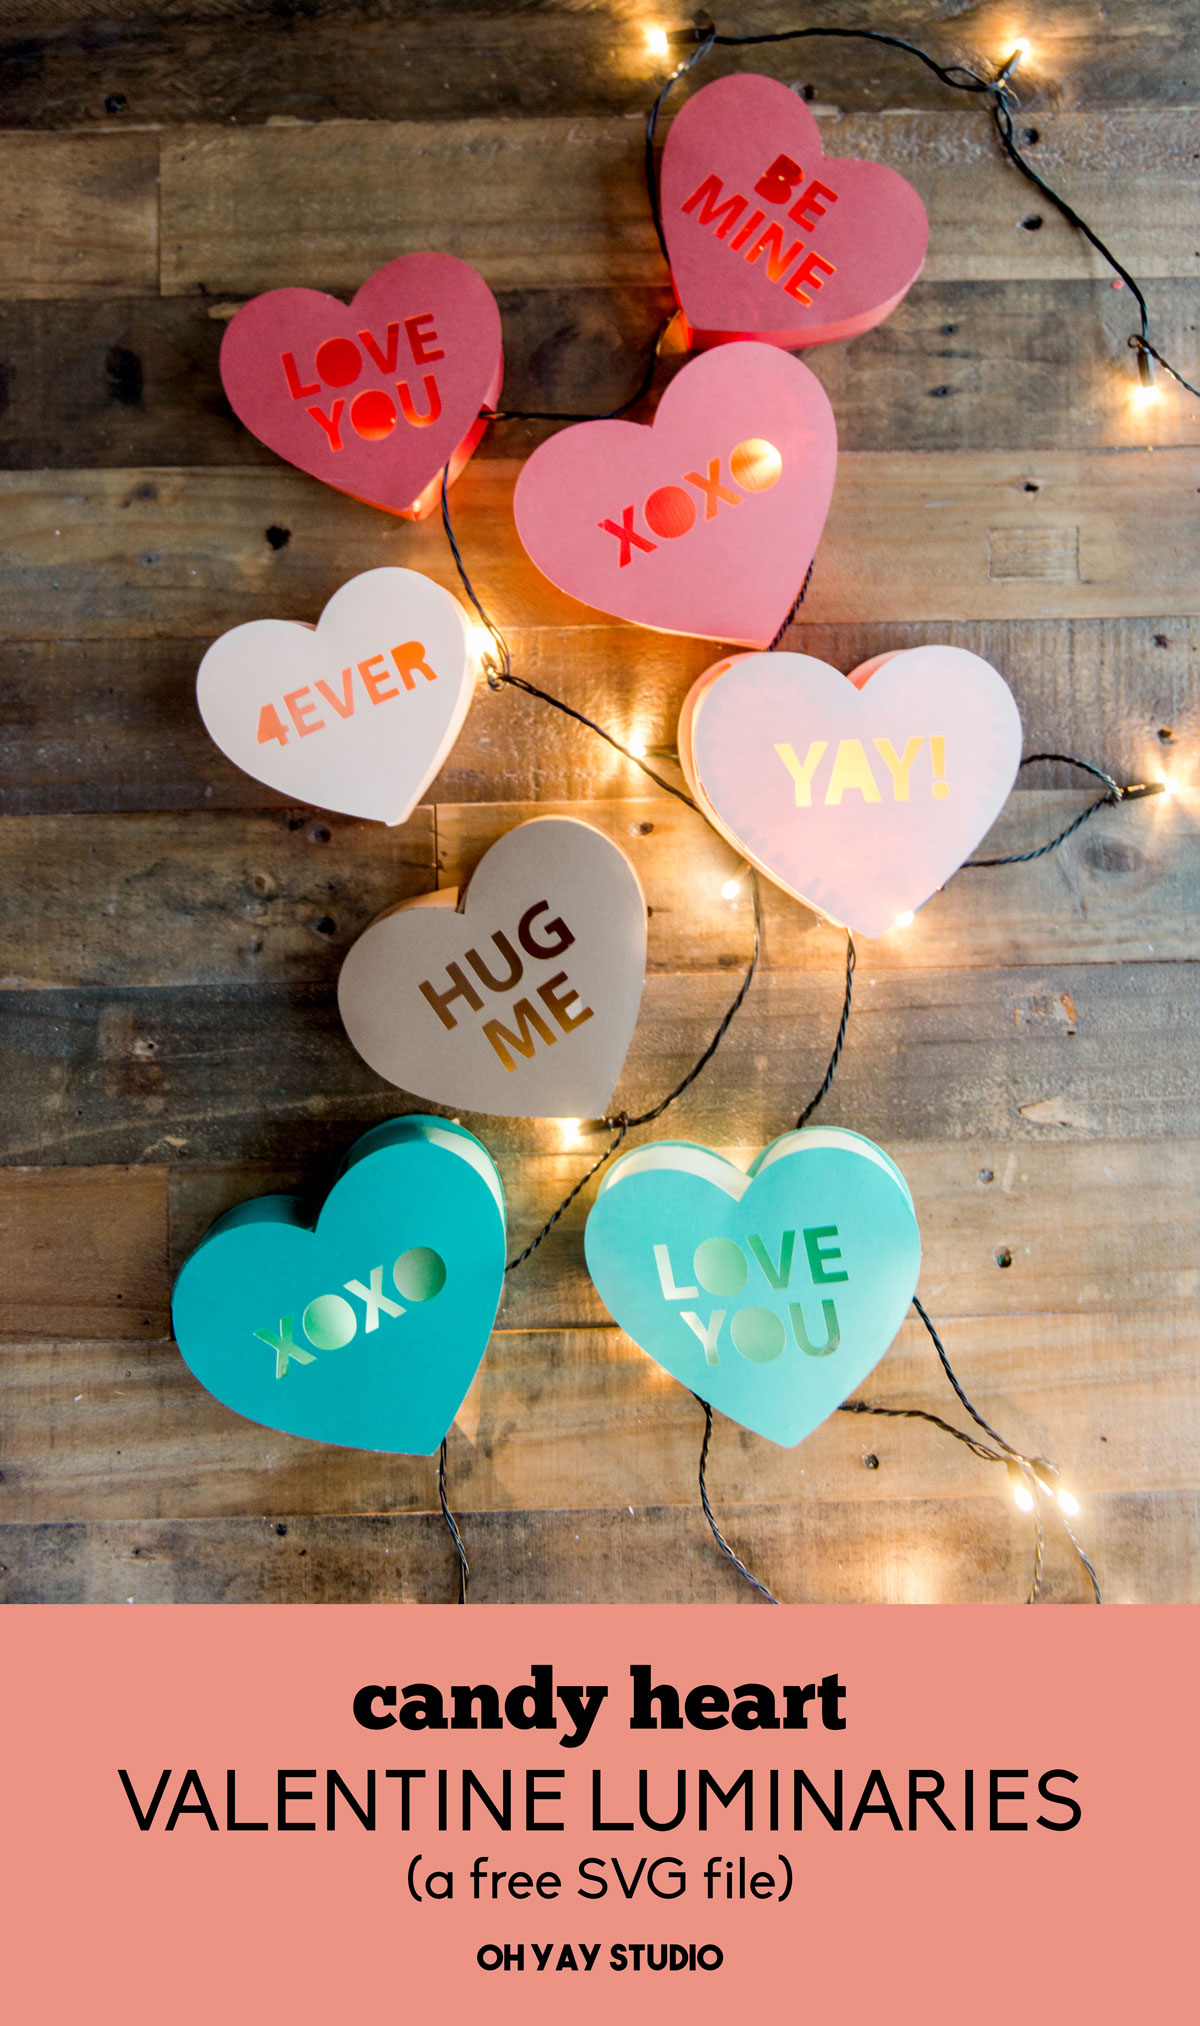
SOOOOO! I made a set of these candy heart’s and turned them into luminaries so that we could group them on our mantle….download the FREE SVG files below (and a whole slew of others at the end of the blog post) and cut out some of your own to get you through those dark wintery nights! 🙂
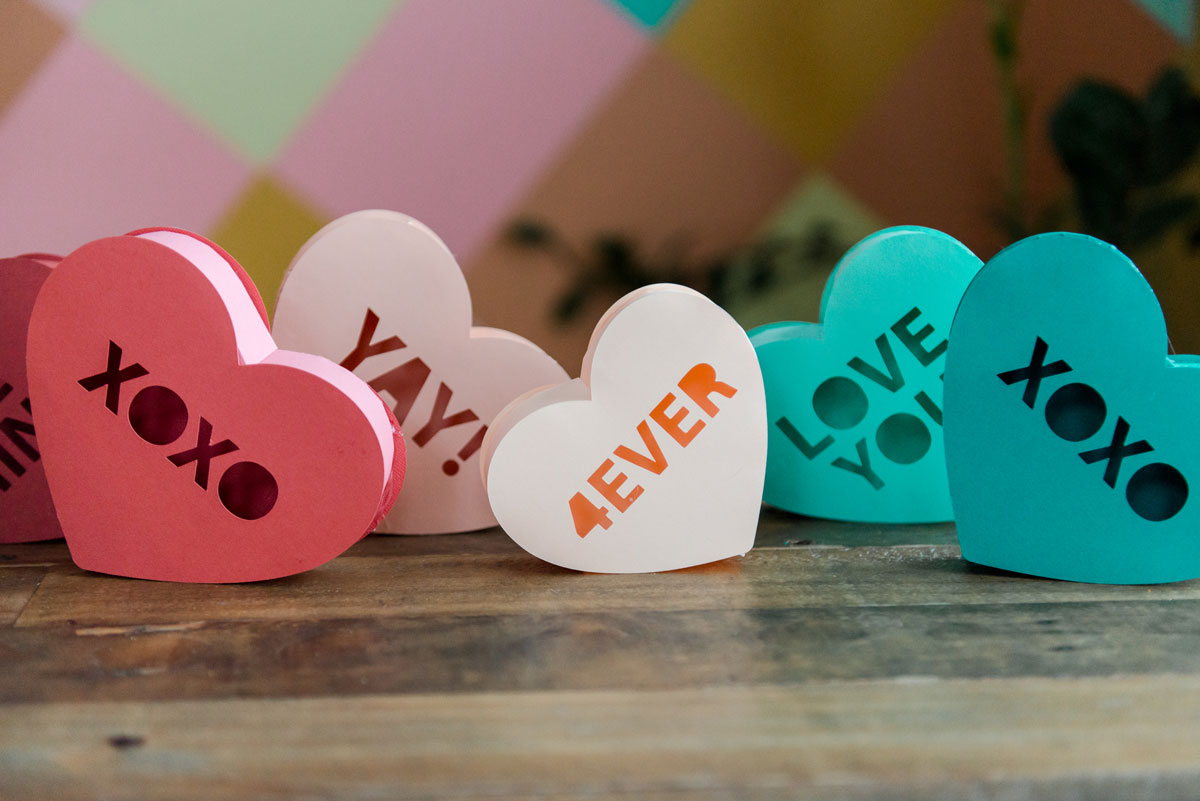
You can make these in any size and group them together on your mantle, kitchen table, or even in the foreground of your zoom calls! 🙂 ANNND feel free to even customize the sayings (if you have extra time to play in design space before cutting them out…….essentially you’d just swap out the wording on the hearts and customize)! 🙂
MATERIALS:
- Downloaded SVG files (below)
- Cardstock paper in various colors
- Your Cricut cut machine (or cutting machine of choice)
- Your scoring stylus + cutting blade for your Cricut
- Hot glue gun or glue of choice
- String of lights to complete luminaries 🙂
INSTRUCTIONS:
- Download the SVG files below
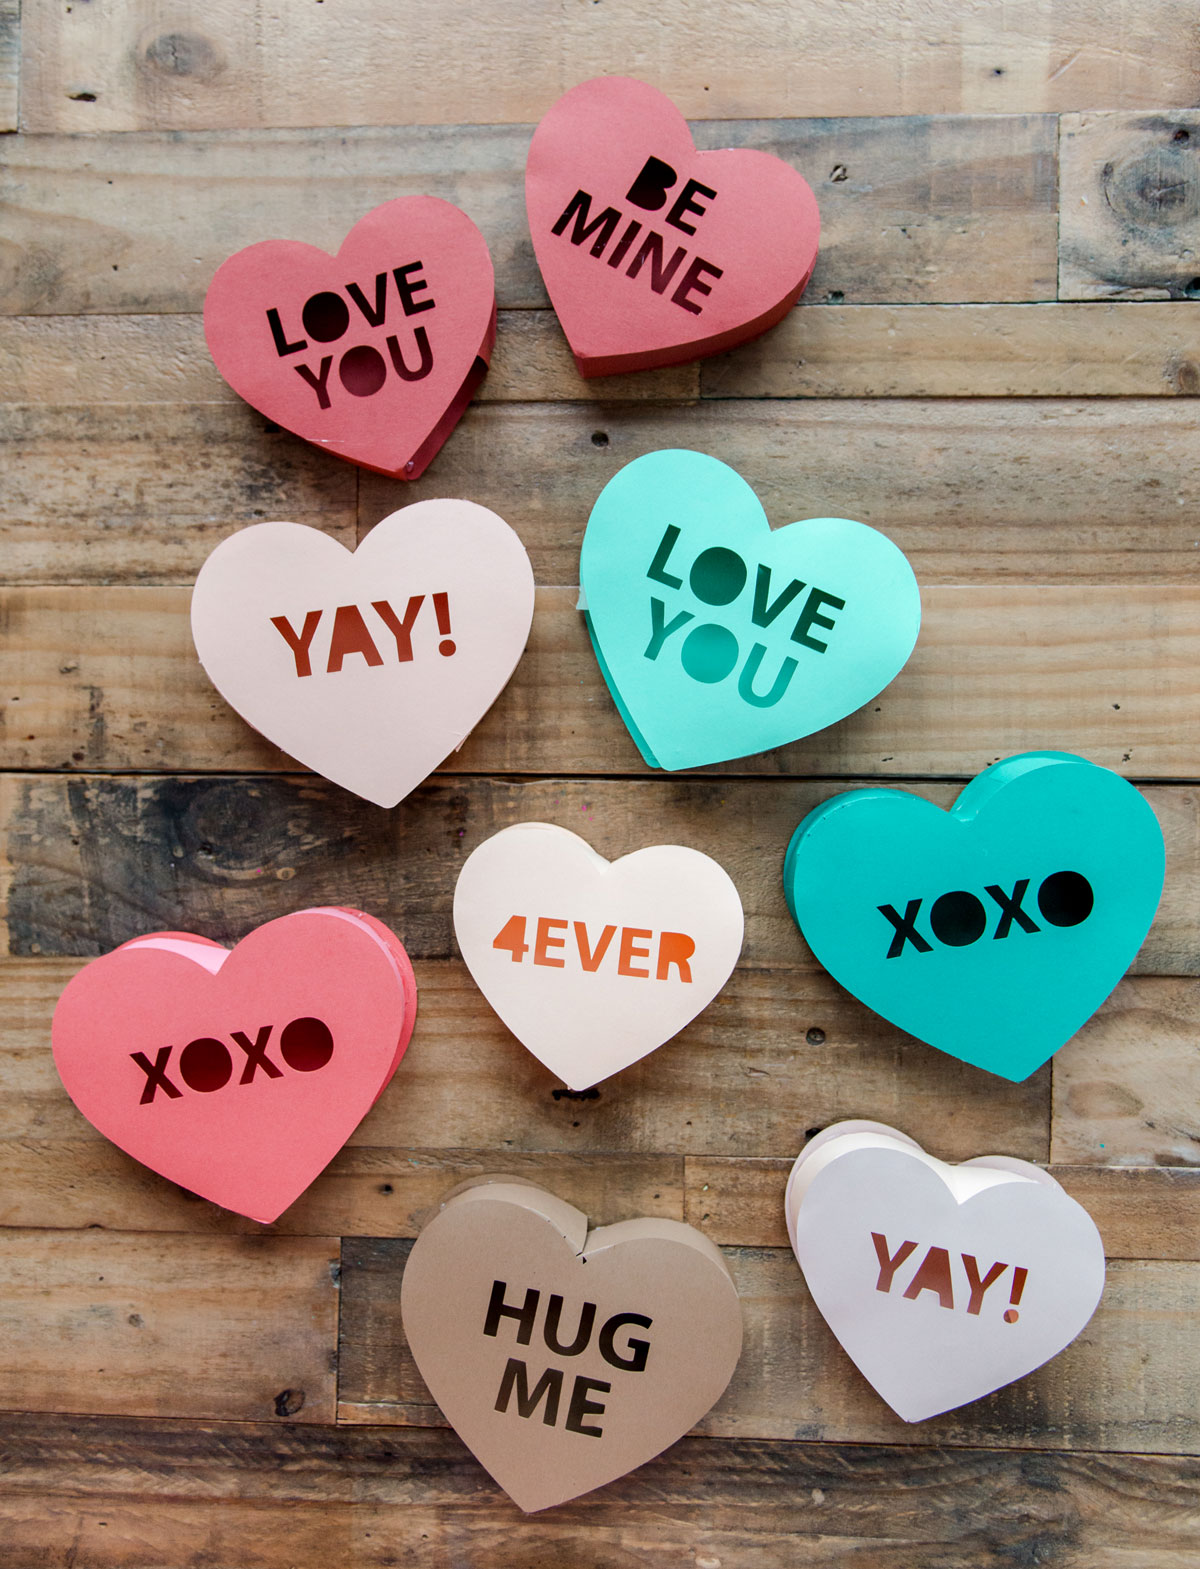
*note: there are 2 files per completed heart – the heart itself and then the side piece
LOVE YOU svg
BE MINE svg
XOXO svg
HUG ME svg
YAY svg
4EVER svg
Heart Side pieces
2. Upload the various heart SVGs into your design software and cut out (you can resize them to any size that you want….I did a larger and smaller size for variety).
3. When you open this file, you will need to do a few things to prep for scoring + cutting:
- a. Go to the right side panel and “ungroup” at the very top of the grey side panel (this will allow you to select the lines to score vs. cut).
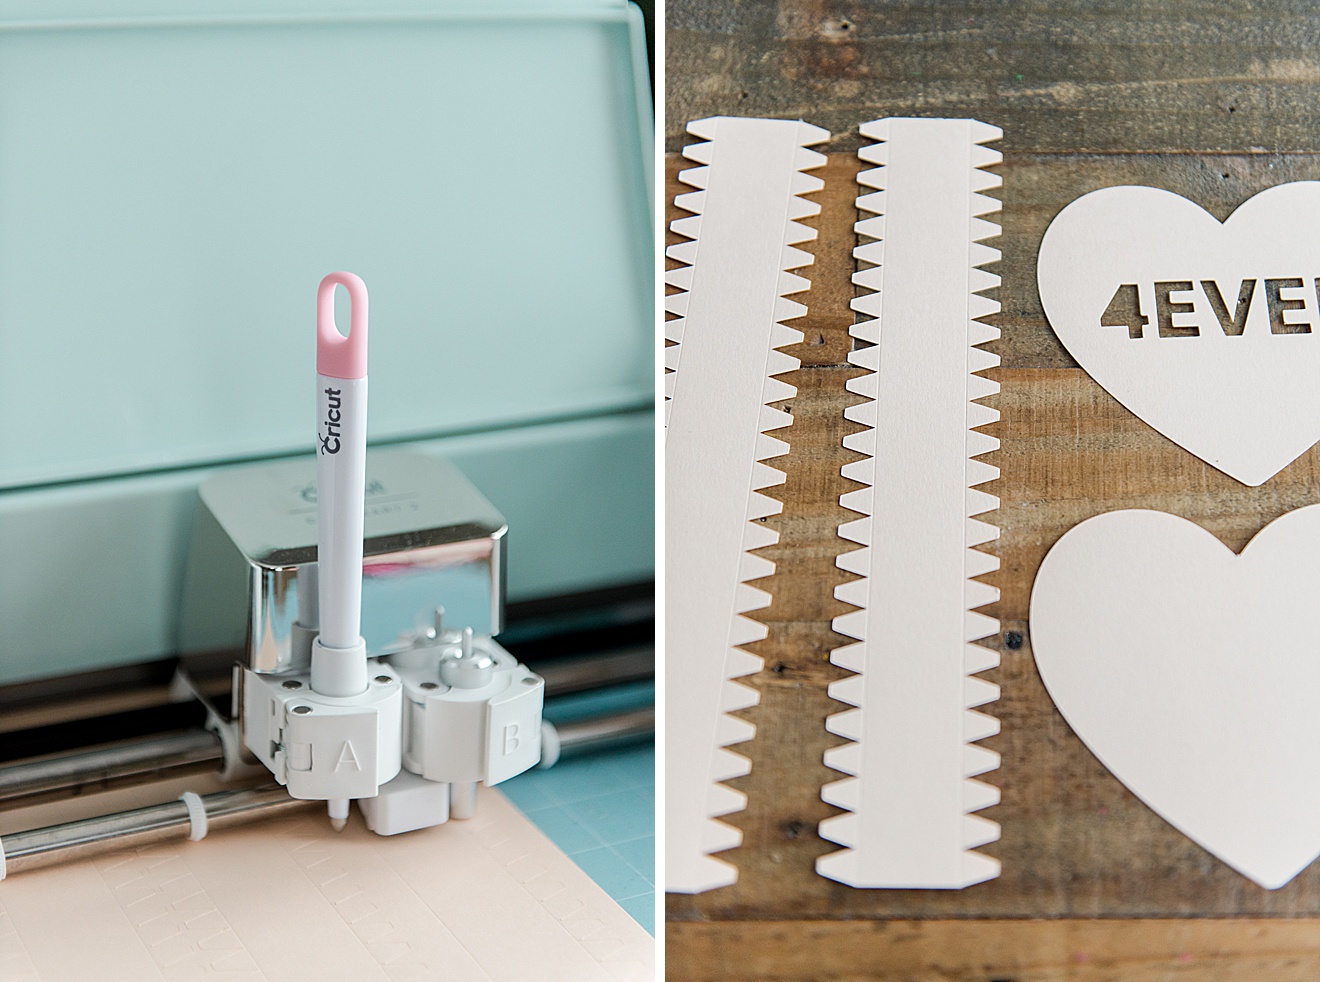
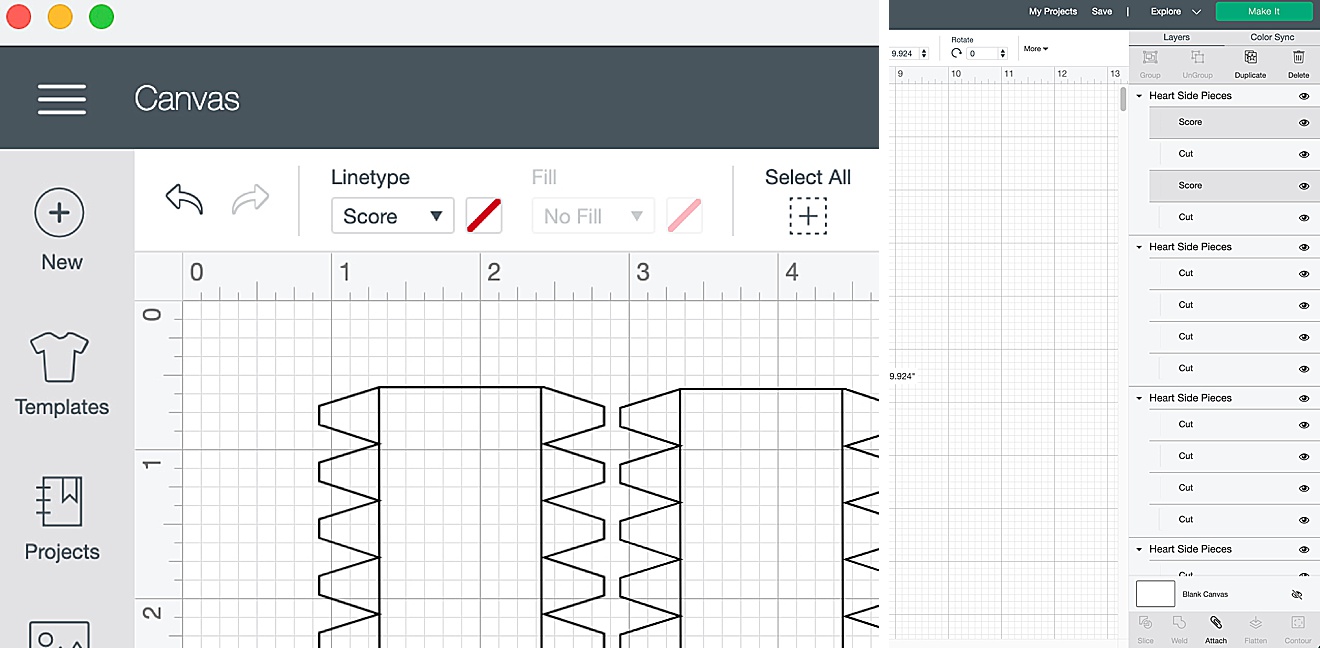
- b. Go to the right side panel (each grouping) and highlight each vertical line that needs to be scored. Then go to the top left “linetype” dropdown and select “score” .
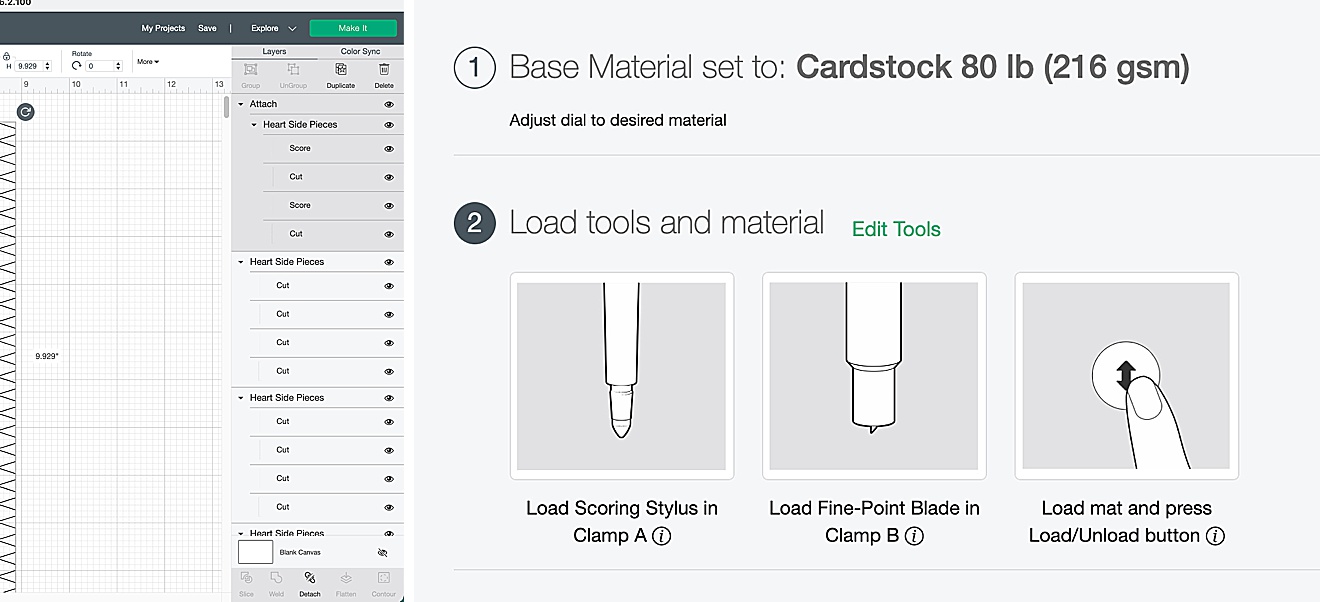
- c. Then with those vertical lines selected (hold shift and select the vertical score lines in each side panel) and go to the bottom and hit “attach” (this will attach the scored line directly to the spot on the side panel.
- d. Repeat b-c for as many side pieces that you think you will need. I used about 1.5 side pieces for each 4.5” finished heart
- e. Follow the instructions on the design software screen on how to insert (and which slot) your scoring stylus + cutting blade + cut out your side pieces! 🙂
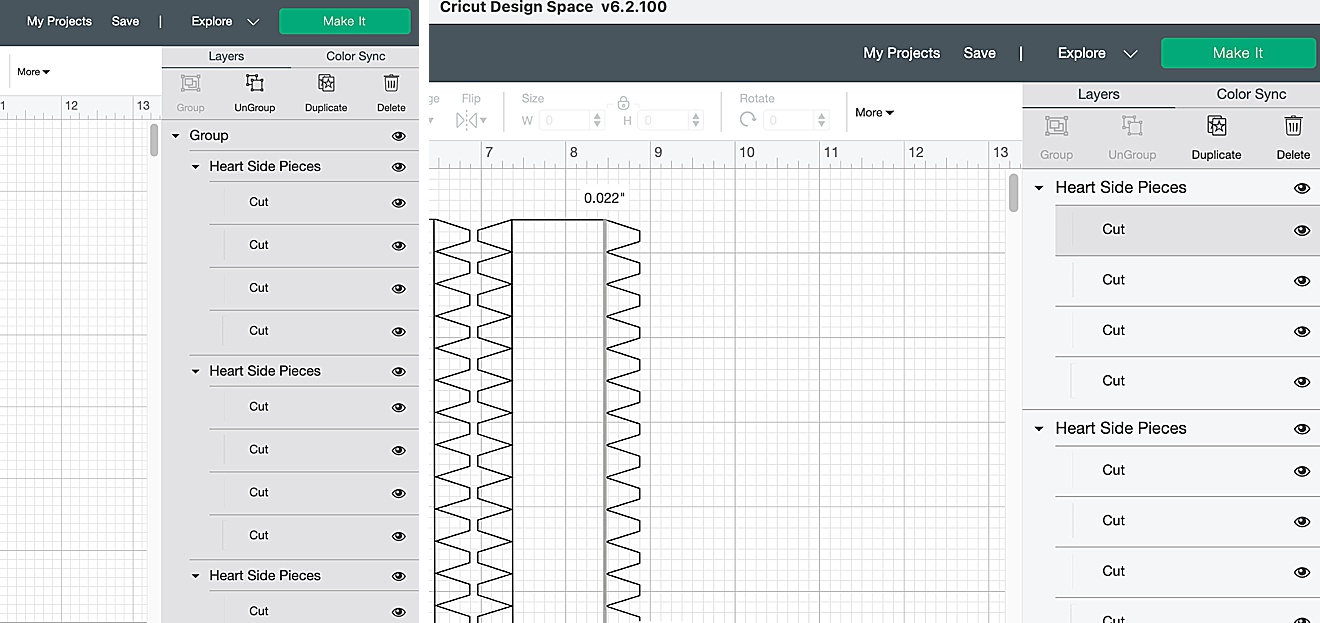
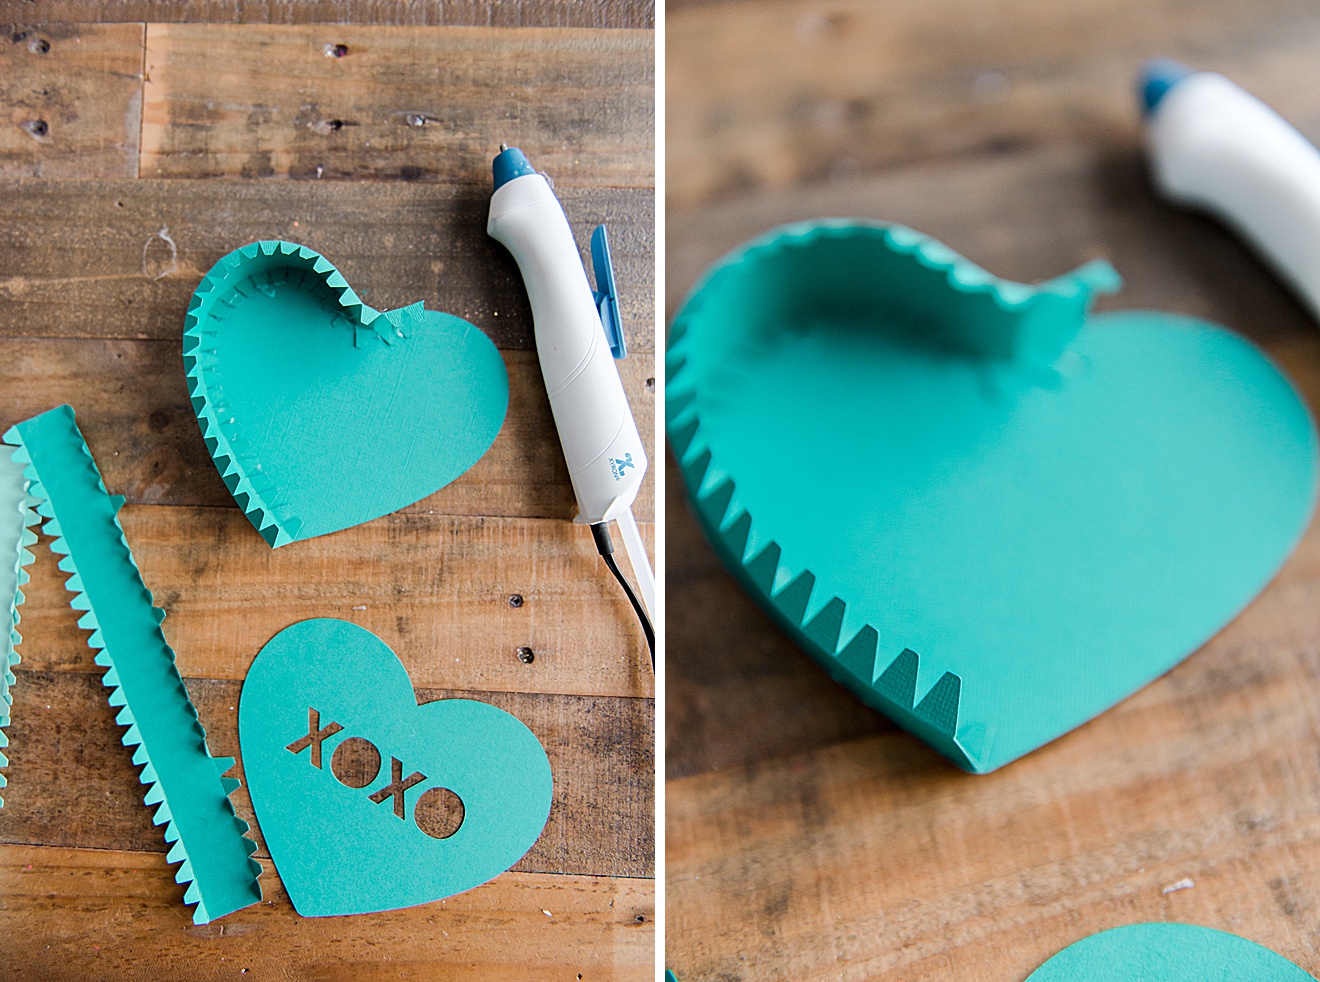
4. Once everything is cut, pull the side pieces (or mountain-y looking pieces) from the sticky mat and then fold the little tabs inward to make a 90* angle. Those tabs will be what you glue to your sides to make them 3D 🙂
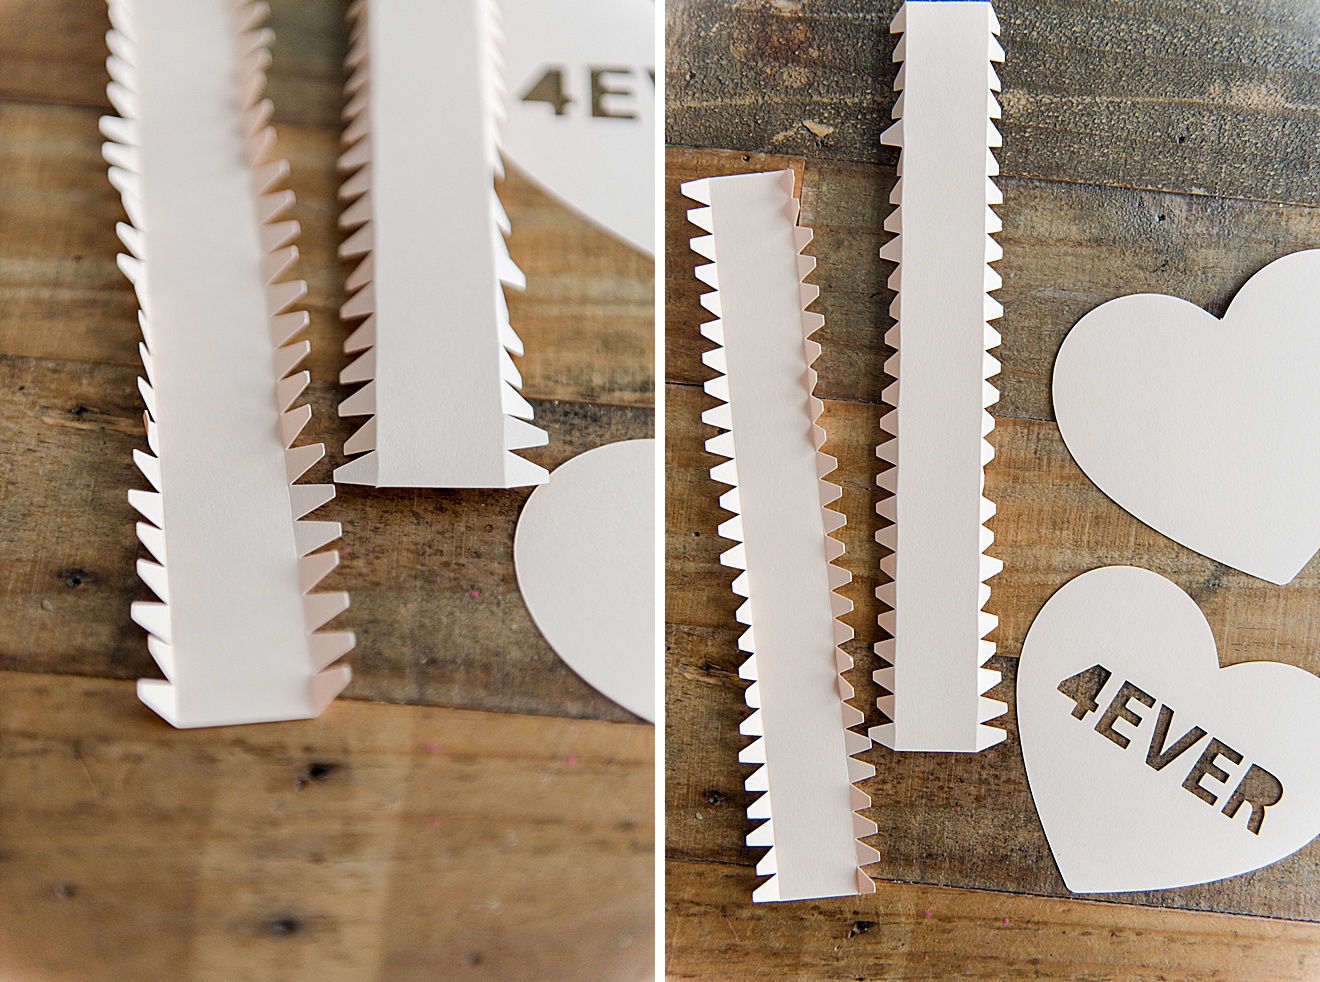
5. Glue the sides to your heart by running a bead of glue along the inside outer edge of one of the hearts. I decided to “break” my sides at the inner tip of the heart (this seems to be the least obvious part to make a “seam” to join the 2 side pieces together. Be sure to leave a 2-4” opening along one of the “flat” side parts of the heart. This is where the heart will “lay down” and where the light from the string lights or tea light will illuminate the heart. Once one side of the heart has the sides attached, run a bead of glue along the other inside outer edge of the heart and attach it all together.
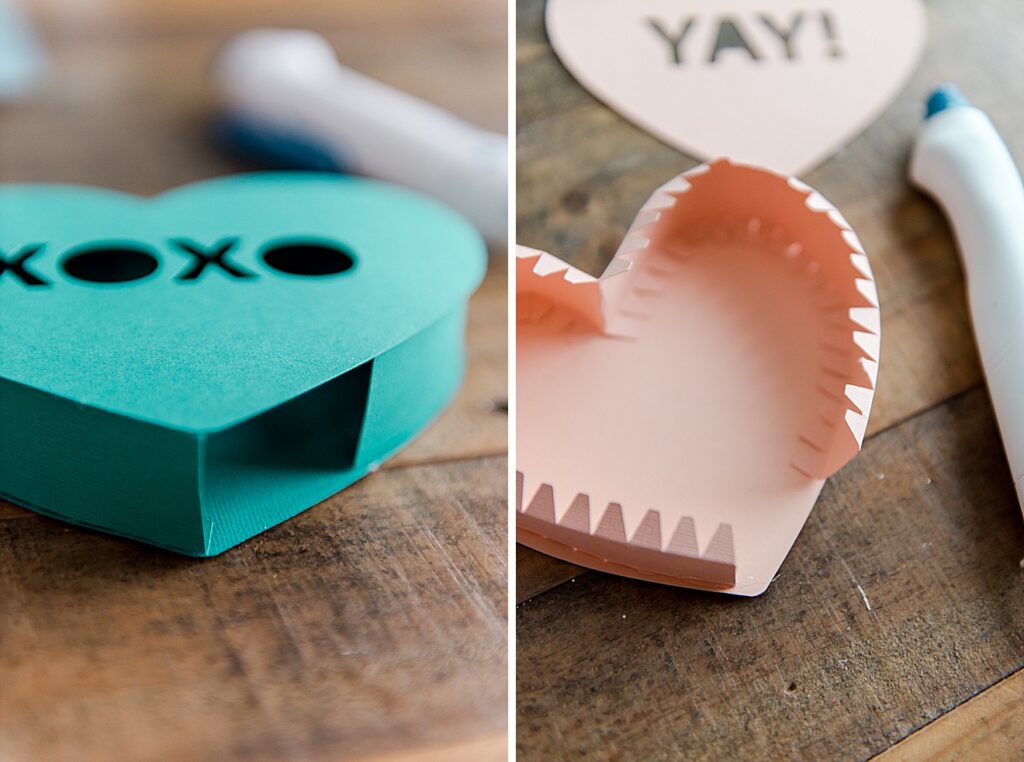
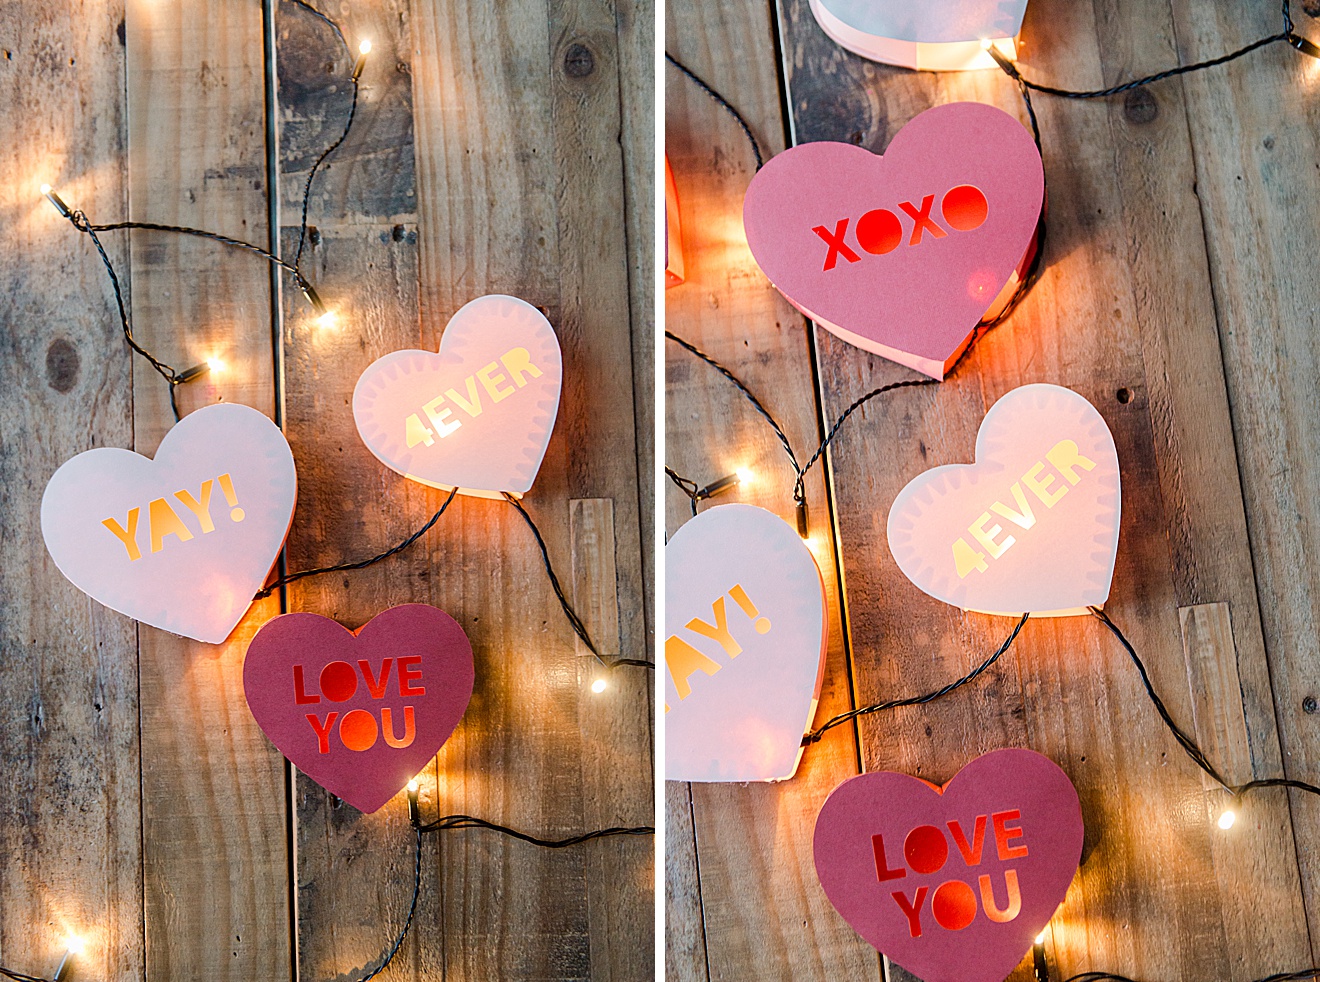
6. You will be left with a little opening near the edge of one of the sides of the heart….this is where the string of lights will be inserted into! Have fun laying out your hearts and leaning them along your mantles!

Won’t the lights start the paper on fire?
Hi Mary! The lights I Have in them aren’t super hot….they are dim Christmas-style lights! In fact, the paper doesn’t even get super hot because the light itself isn’t touching the paper at all, so I haven’t had an issue with it yet. But perhaps just make sure you buy lower wattage lights when you purchase some.
Love, love, love the candy hearts. How do you get the svg? Do I need a special program? I have a Mac and it’s not working….:(
I figured it out!! No need to reply. Thanks.
This is my favorite project in the roundup for real! Love these!!! Such a great idea.